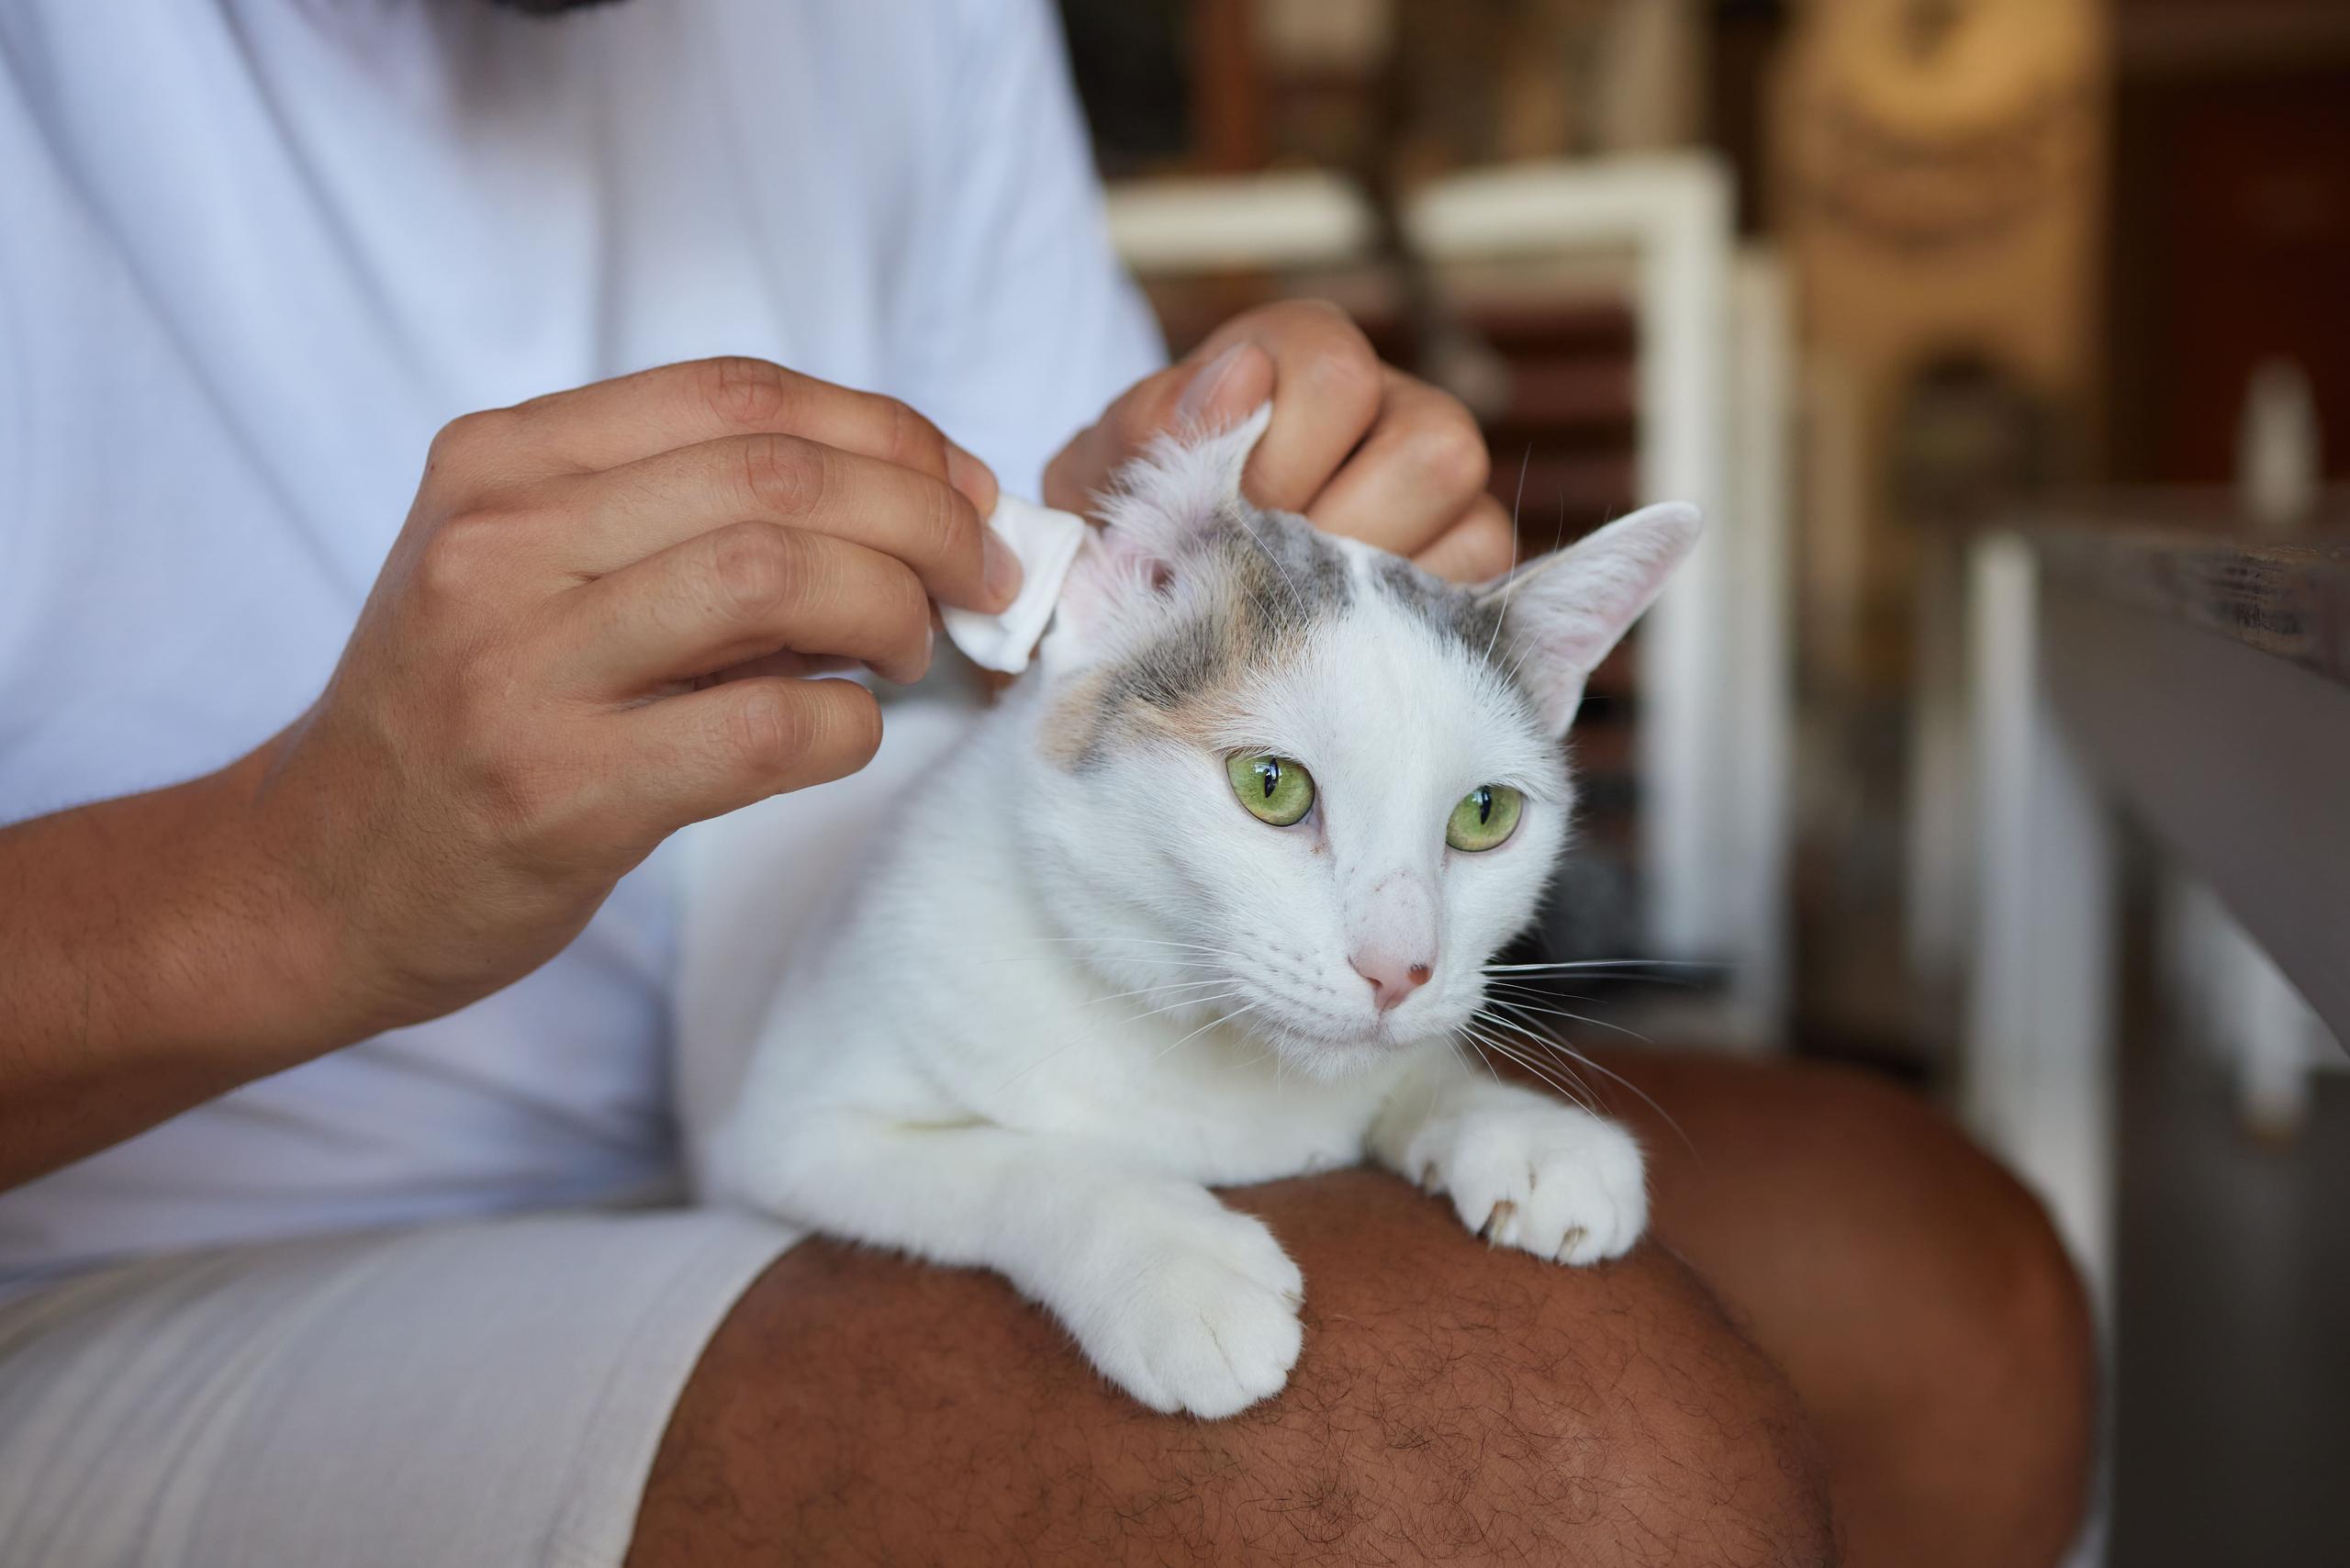

Cleaning your cat's ears is pretty simple, but not every cat needs it. If your vet recommends cleaning, use a cleaner labelled for cats, fill the ear canal as directed, gently massage the base of the ear for about 30 seconds, let your cat shake, and wipe away loosened debris with gauze or a cotton ball. Never use cotton swabs deep inside the ear.
The bigger question is often whether your cat's ears need cleaning at all. Healthy cat ears usually take care of themselves, and over-cleaning can cause irritation. Here's how to check your cat's ears, clean them safely when needed, and know when it's time to call the vet.
In this article
- How to clean cat ears: quick steps
- Do cats need their ears cleaned?
- What you'll need
- How to clean cat ears, step by step
- Cat ear wax: what's normal and what isn't?
- What you should never put in your cat's ears
- How to handle a cat who won't sit still
- How often should you clean your cat's ears?
- Ear mites, infections, and when it isn't just dirt
- When to call the vet
How to clean cat ears: quick steps
You'll need just three basics: a vet-approved ear cleaner labelled for cats, cotton balls or gauze, and treats.
- Choose a quiet room and have your supplies ready.
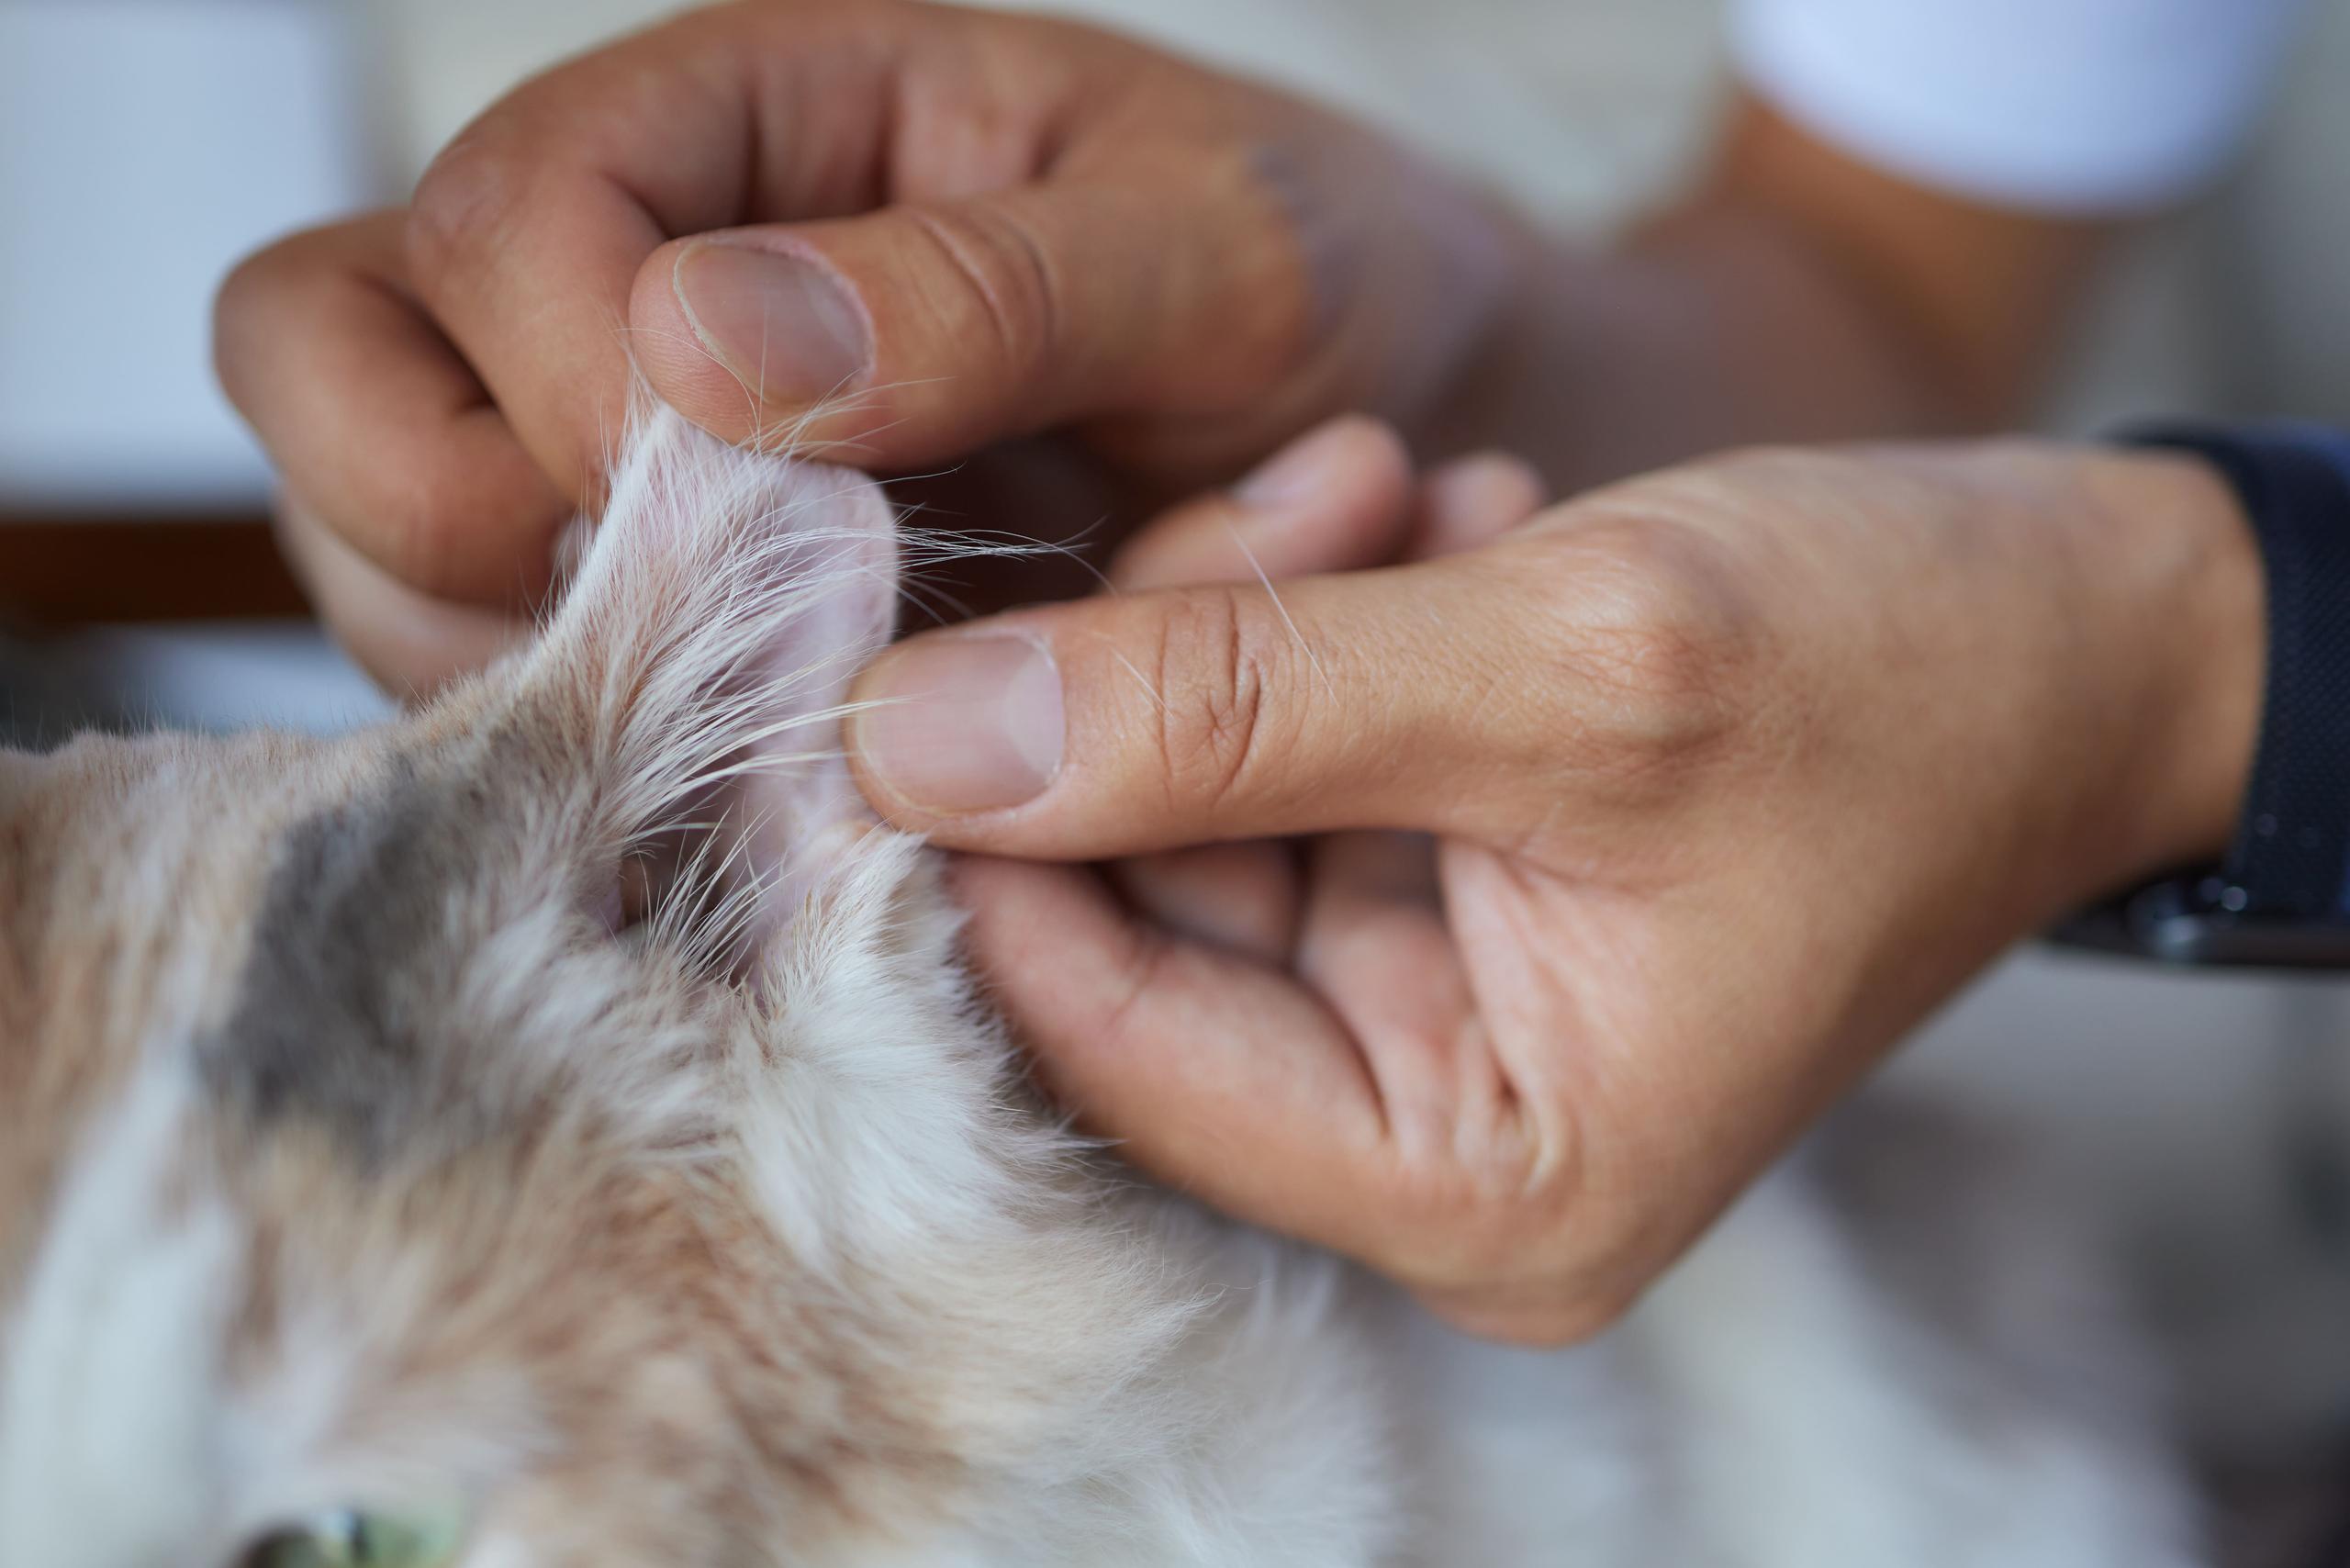
- Gently lift your cat's ear flap.
- Apply enough cleaner to fill the ear canal until you can see the solution at the opening. Don't insert the bottle tip into the ear.
- Massage the base of the ear for about 30 seconds. You might hear a gentle squishing sound as the cleaner loosens wax and debris.
- Let your cat shake their head.
- Use gauze or a cotton ball to wipe away loosened debris from the visible part of the ear.
- Reward your cat and repeat on the other ear if needed.
Only clean as far as you can safely see or reach with your finger wrapped in gauze.
Don't use cotton swabs or try to dig deeper into the ear canal. If your cat's ear is red, painful, swollen, or producing unusual discharge, stop and contact your vet instead of cleaning it at home.
Do cats need their ears cleaned?
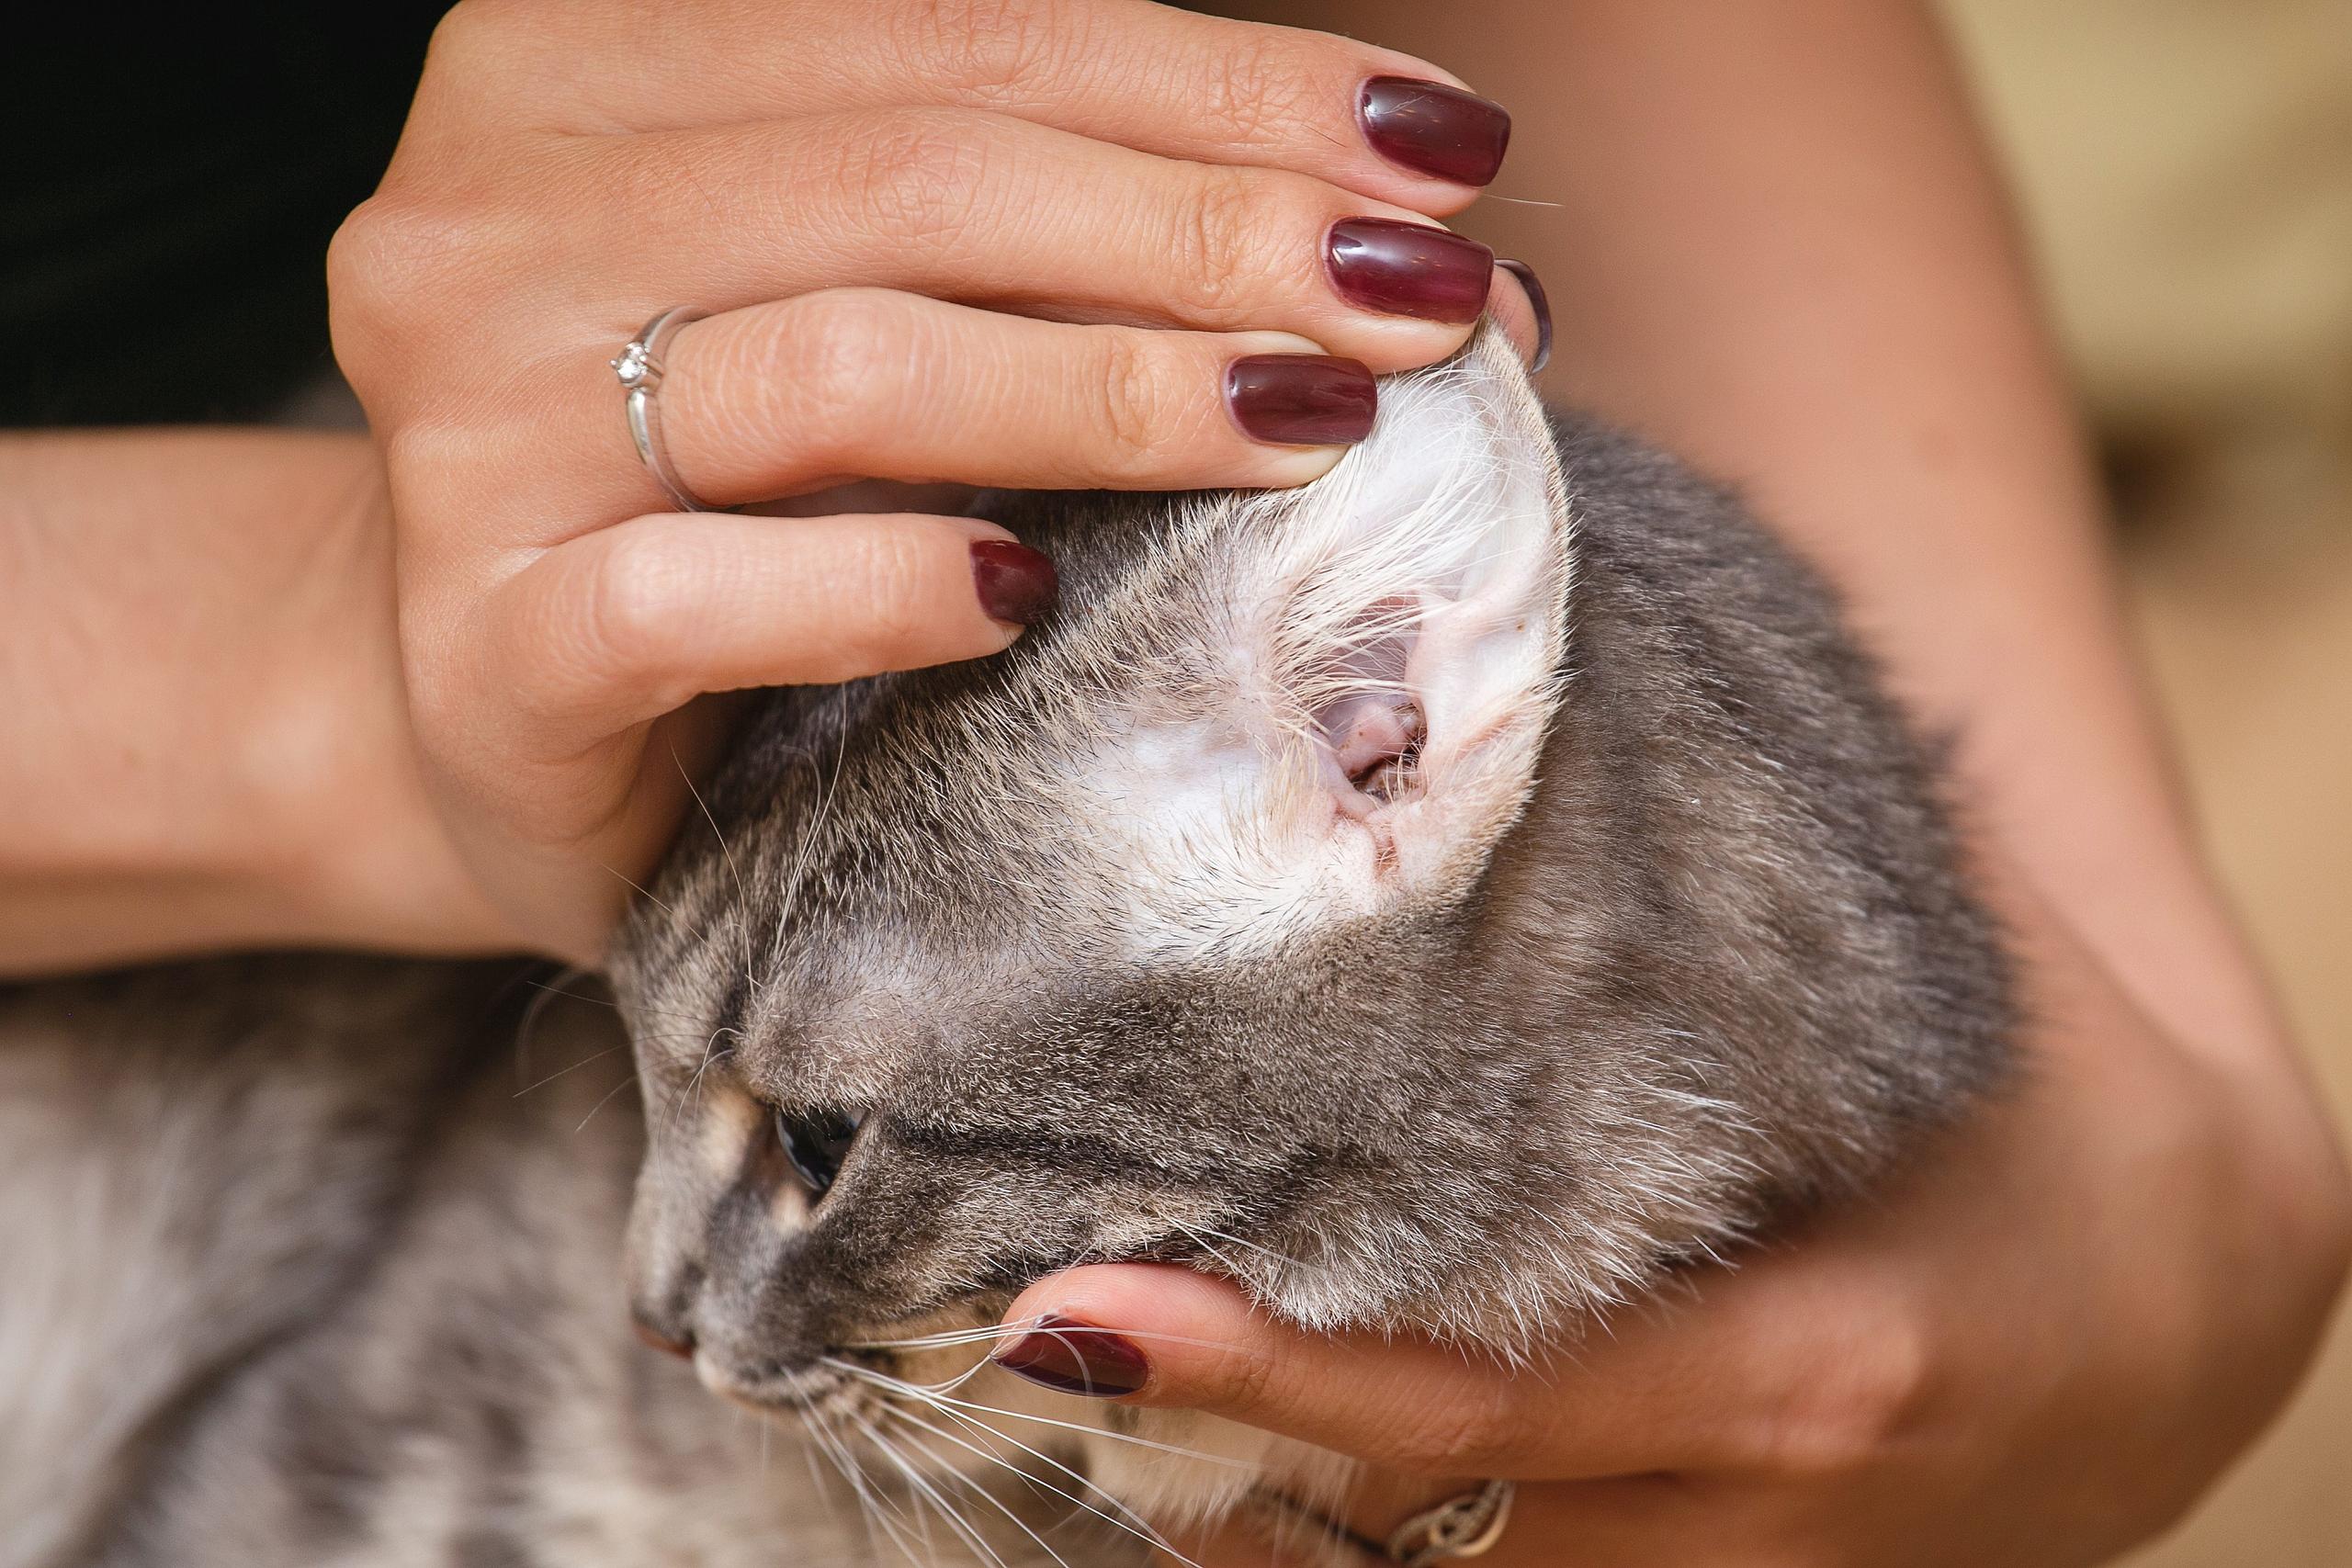
Usually, no. Most healthy cats have clean ears and don't need routine ear cleaning. In fact, cleaning ears that don't need it can irritate the ear canal and lead to bigger problems.
A healthy ear is generally:
- Pale pink
- Free of strong odour
- Free of significant discharge
- Free of heavy debris
Some cats may need more frequent ear care because of recurring wax buildup, a history of ear problems, allergies, or other individual factors. Your vet can recommend a schedule based on your cat's needs.
So instead of making ear cleaning a routine chore, make ear checking part of your cat's regular grooming routine. Clean only when there is a reason to do so.
What you'll need
Keep the process simple. Here’s what you’ll need:
- A vet-approved cat ear cleaning solution
- Gauze squares or cotton balls
- A towel, if your cat needs gentle restraint
- Treats
- An extra helper, if necessary
Avoid using products designed for people or dogs unless your vet specifically tells you to use them for your cat.
If the cleaning solution is cold, let it come to room temperature before use. A cold liquid can make an already suspicious cat even less cooperative.
Also skip paper towels and tissues when possible. They can leave fibres behind and aren't as gentle as gauze or cotton.
How to clean cat ears, step by step
1. Set up before bringing your cat over
Choose a small, quiet room where your cat is less likely to run and hide. Have the cleaner, gauze, and treats within reach.
Try to clean your cat's ears when they're already relaxed rather than immediately after playtime or when they’re already stressed. If your cat is nervous about handling, gently wrapping them in a towel with their head exposed can help. The goal is to limit sudden movement, not to tightly pin or frighten them.
2. Lift the ear flap
Gently hold the tip of your cat's ear flap and lift it enough to expose the opening of the ear canal. Don't force the ear into an uncomfortable position.
3. Apply the cleaner
Use the amount recommended by your vet or the cleaner's instructions. With many veterinary ear-cleaning methods, this means filling the ear canal until cleaner is visible at the opening.
Be careful not to push the bottle tip into the ear canal.
4. Massage the base of the ear
Gently massage the base of the ear for about 30 seconds. This helps the cleaner move through the outer ear canal and loosen wax and debris. A soft squishing sound is normal.
If your cat suddenly reacts as though the ear is painful, stop. A cat who has always tolerated ear handling but suddenly refuses to let you touch one ear may have a medical problem rather than simply being uncooperative.
5. Let your cat shake
Release the ear and give your cat a moment to shake their head. This natural response helps bring loosened debris and excess cleaner toward the outer part of the ear.
6. Wipe the visible area
Use gauze or a cotton ball to gently wipe away debris and excess solution. Don't chase every tiny bit of wax. The goal is to remove loosened material you can safely reach, not to make the ear look perfectly spotless.
Reward your cat before moving on to the second ear.
Cat ear wax: what's normal and what isn't?
A small amount of light brown or amber wax is usually normal. What matters is the whole picture, including the amount of debris, odour, scratching, redness, and your cat's comfort.
Cat ear wax colour chart
|
What you see |
Smell |
What it may indicate |
What to do |
|
Small amount of light brown or amber wax |
Little or no odour |
Normal wax |
Monitor and clean only if your vet recommends it |
|
Dark brown or black, crumbly debris |
May have an odour |
Ear mites or another ear problem |
Call your vet for diagnosis |
|
Yellow, green, or pus-like discharge |
Often unpleasant |
Infection or inflammation possible |
Call your vet |
|
Red or inflamed ear with wax or discharge |
May smell yeasty or foul |
Infection, irritation, or another medical problem |
Call your vet before cleaning |
|
Dry, flaky skin or unusual buildup |
Varies |
Skin condition or irritation possible |
Ask your vet |
Dark debris that looks like coffee grounds is often associated with ear mites, but appearance alone can't confirm mites. Other material, including dried blood and ordinary debris, can look similar. A vet can examine the ear and, when needed, look at a sample under a microscope to determine the cause.
What you should never put in your cat's ears
Never use:
- Cotton swabs inside the ear canal
- Hydrogen peroxide
- Rubbing alcohol
- Witch hazel
- Vinegar-and-water mixtures
- Olive oil, coconut oil, or other DIY oils
- Dog ear cleaners unless your vet approves them
- Leftover prescription ear medication from another pet or previous illness
Cotton swabs can push debris farther into the ear or damage delicate structures. Products such as peroxide and vinegar can irritate an inflamed ear. Using the wrong medication can also be dangerous, particularly if the eardrum is damaged.
Can you clean cat ears without solution?
There isn't a safe way to DIY a homemade cat ear cleaner. If your cat doesn't have an urgent ear problem, wait until you can get a vet-approved product. If your cat does have signs of an ear problem, call your vet instead of trying a home remedy.
How to handle a cat who won't sit still
Some resistance is normal. The key is knowing when your cat is simply annoyed and when they’re telling you something is wrong.
Watch for early signs that your cat is becoming overwhelmed, such as:
- Tail lashing
- Ears flattening
- Body tension
- Trying to pull away
- Growling or escalating defensive behaviour
A loose towel wrap can help prevent scratches and give some cats a sense of security. But don't force a frightened or painful cat through the entire process.
You can also break ear care into smaller steps. Check the ears one day and clean only if needed another day. Or clean one ear and stop, coming back to the other ear later if necessary.
For long-term training, briefly touch and handle your cat's ears during calm petting sessions, then offer a treat. Over time, this can make ear handling less stressful.
If your cat suddenly won't let you near one ear, cries out, or becomes much more defensive than usual, stop and contact your vet. Pain and behavioural resistance aren't always the same thing.
How often should you clean your cat's ears?
For most healthy cats, check the ears about once a month and clean only when necessary. You can make monthly ear checks part of another grooming routine, such as nail trimming or brushing.
Your cat may need a different schedule if they have:
- A history of ear infections
- Recurring wax buildup
- Allergies or skin problems
- A veterinarian-prescribed treatment plan
Cats recovering from an ear infection or parasite problem should follow their vet's instructions rather than a general maintenance schedule.
Ear mites, infections, and when it isn't just dirt
Dirty-looking ears don't always mean your cat simply needs a cleaning.
Ear mites
Ear mites are tiny parasites that can cause intense itching, head shaking, and dark debris in the ears. They're contagious between animals and are especially common in kittens and cats with exposure to other infected animals.
Because other ear problems can look similar, suspected ear mites should be diagnosed by a vet. Veterinarians will often use a combination of physical exam findings like a positive pinnal-pedal reflex along with diagnostics like an ear swab cytology to confirm the presence of ear mites. A positive pinnal-pedal reflex is when a cat immediately tries to scratch their ear in response to their ears being touched or interacted with.
Ear infections
Cats with ear infections may have redness, pain, head shaking, scratching, odour, or black, brown, or yellow discharge. Yeast and bacteria can be involved, but other underlying problems could also be responsible.
This is why treating based on appearance alone isn't a good idea. A treatment that works for ear mites won't necessarily treat a yeast or bacterial infection.
Other ear problems
Foreign material, polyps, and other conditions can also cause ear symptoms. Persistent scratching can even contribute to swelling or an aural hematoma.
The takeaway is simple: if your cat's ears appear painful, inflamed, or significantly dirty, get a diagnosis before starting treatment at home.
When to call the vet
Contact your veterinarian if your cat has:
- Persistent head shaking
- Frequent ear scratching
- A head tilt
- Balance problems or disorientation
- Redness or swelling
- A strong or unusual odour
- Significant discharge
- Visible pain when the ear is touched
- Blood in or around the ear
Don't clean an ear at home first and hope the problem goes away. If an ear is infected, severely inflamed, injured, or has a damaged eardrum, unnecessary cleaning or medication can make the problem worse.
Stop cleaning and call your vet if your cat cries out during the process or if you see blood.
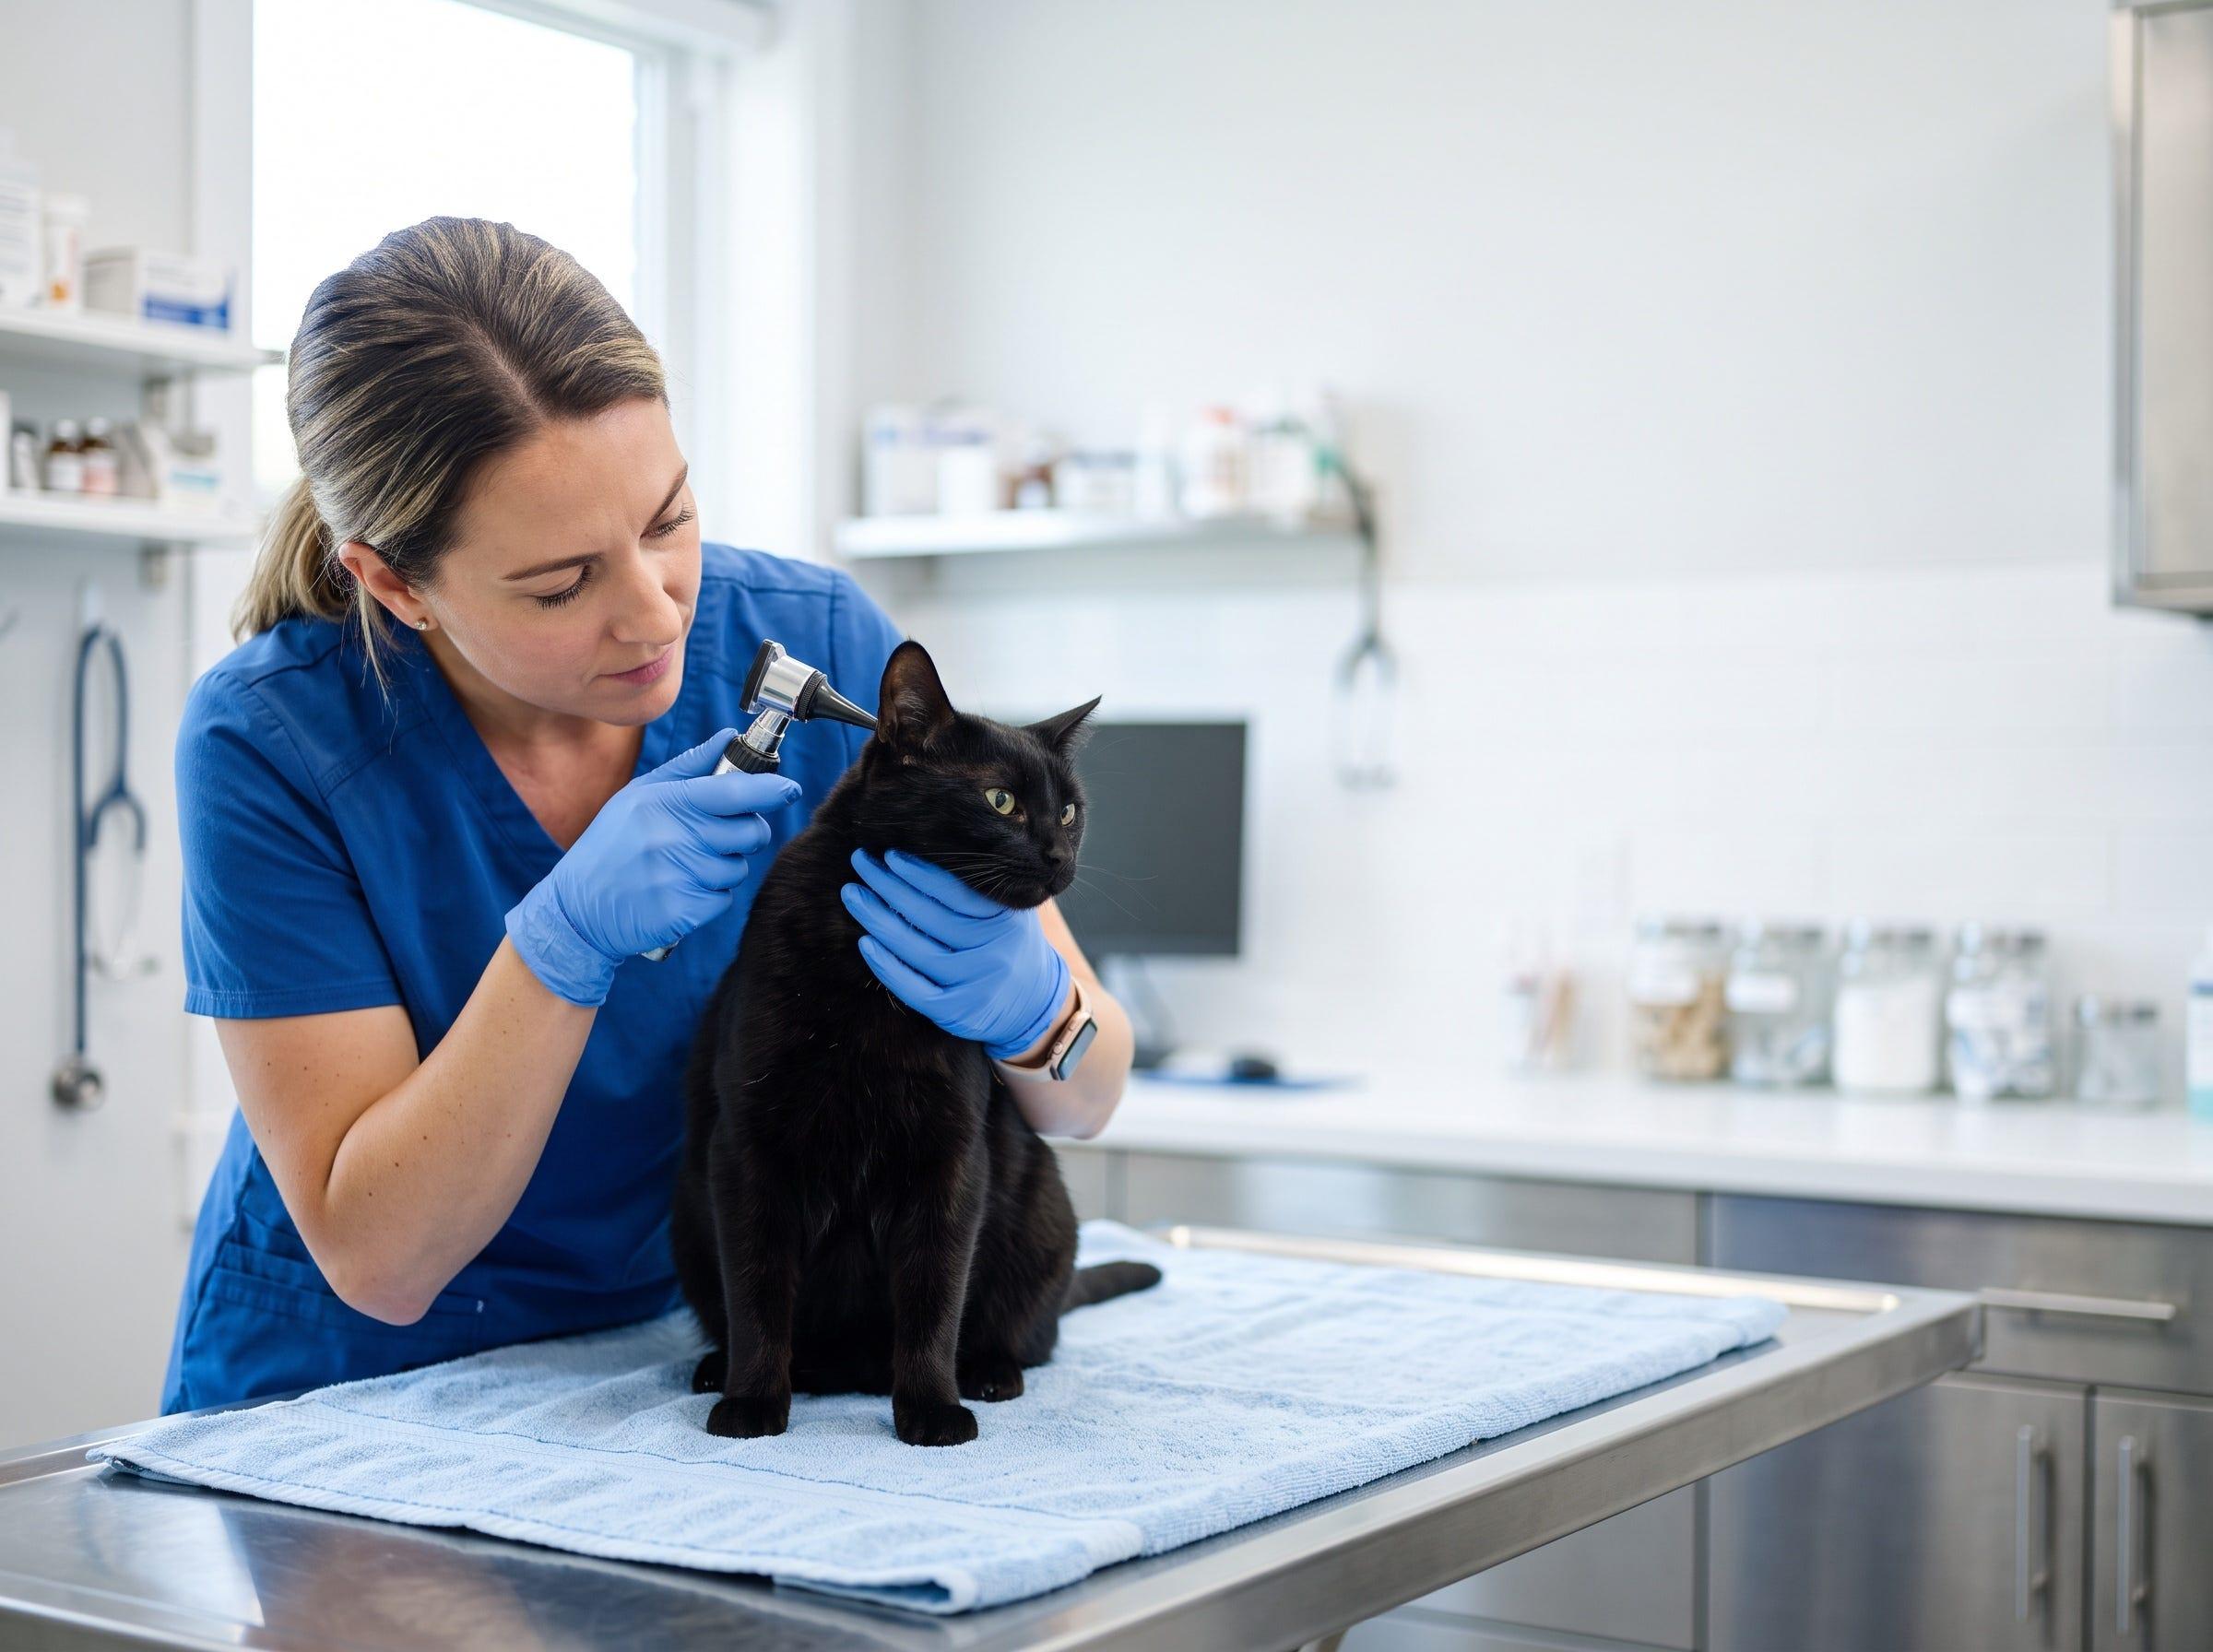
At the appointment, your vet will likely examine the ear with an otoscope and collect a sample of debris for microscopic testing. This helps identify the underlying problem and choose the right treatment.
Before the visit, make a note of:
- When you first noticed the problem
- Whether one or both ears are affected
- How often your cat is scratching or shaking their head
- Any products you've already used
Recurring ear problems are also worth investigating rather than repeatedly treating at home. They may point to an underlying issue that needs attention.
Sources:
Instructions for Ear Cleaning in Cats
Examining and medicating a cat’s ears
Ear Mites: Uncovering, Treating, and Preventing Infestations