The store will not work correctly in the case when cookies are disabled.

Litter-Robot 5 & Pro: Laser board installation guide
- Make sure the unit is in the Home/Ready position.
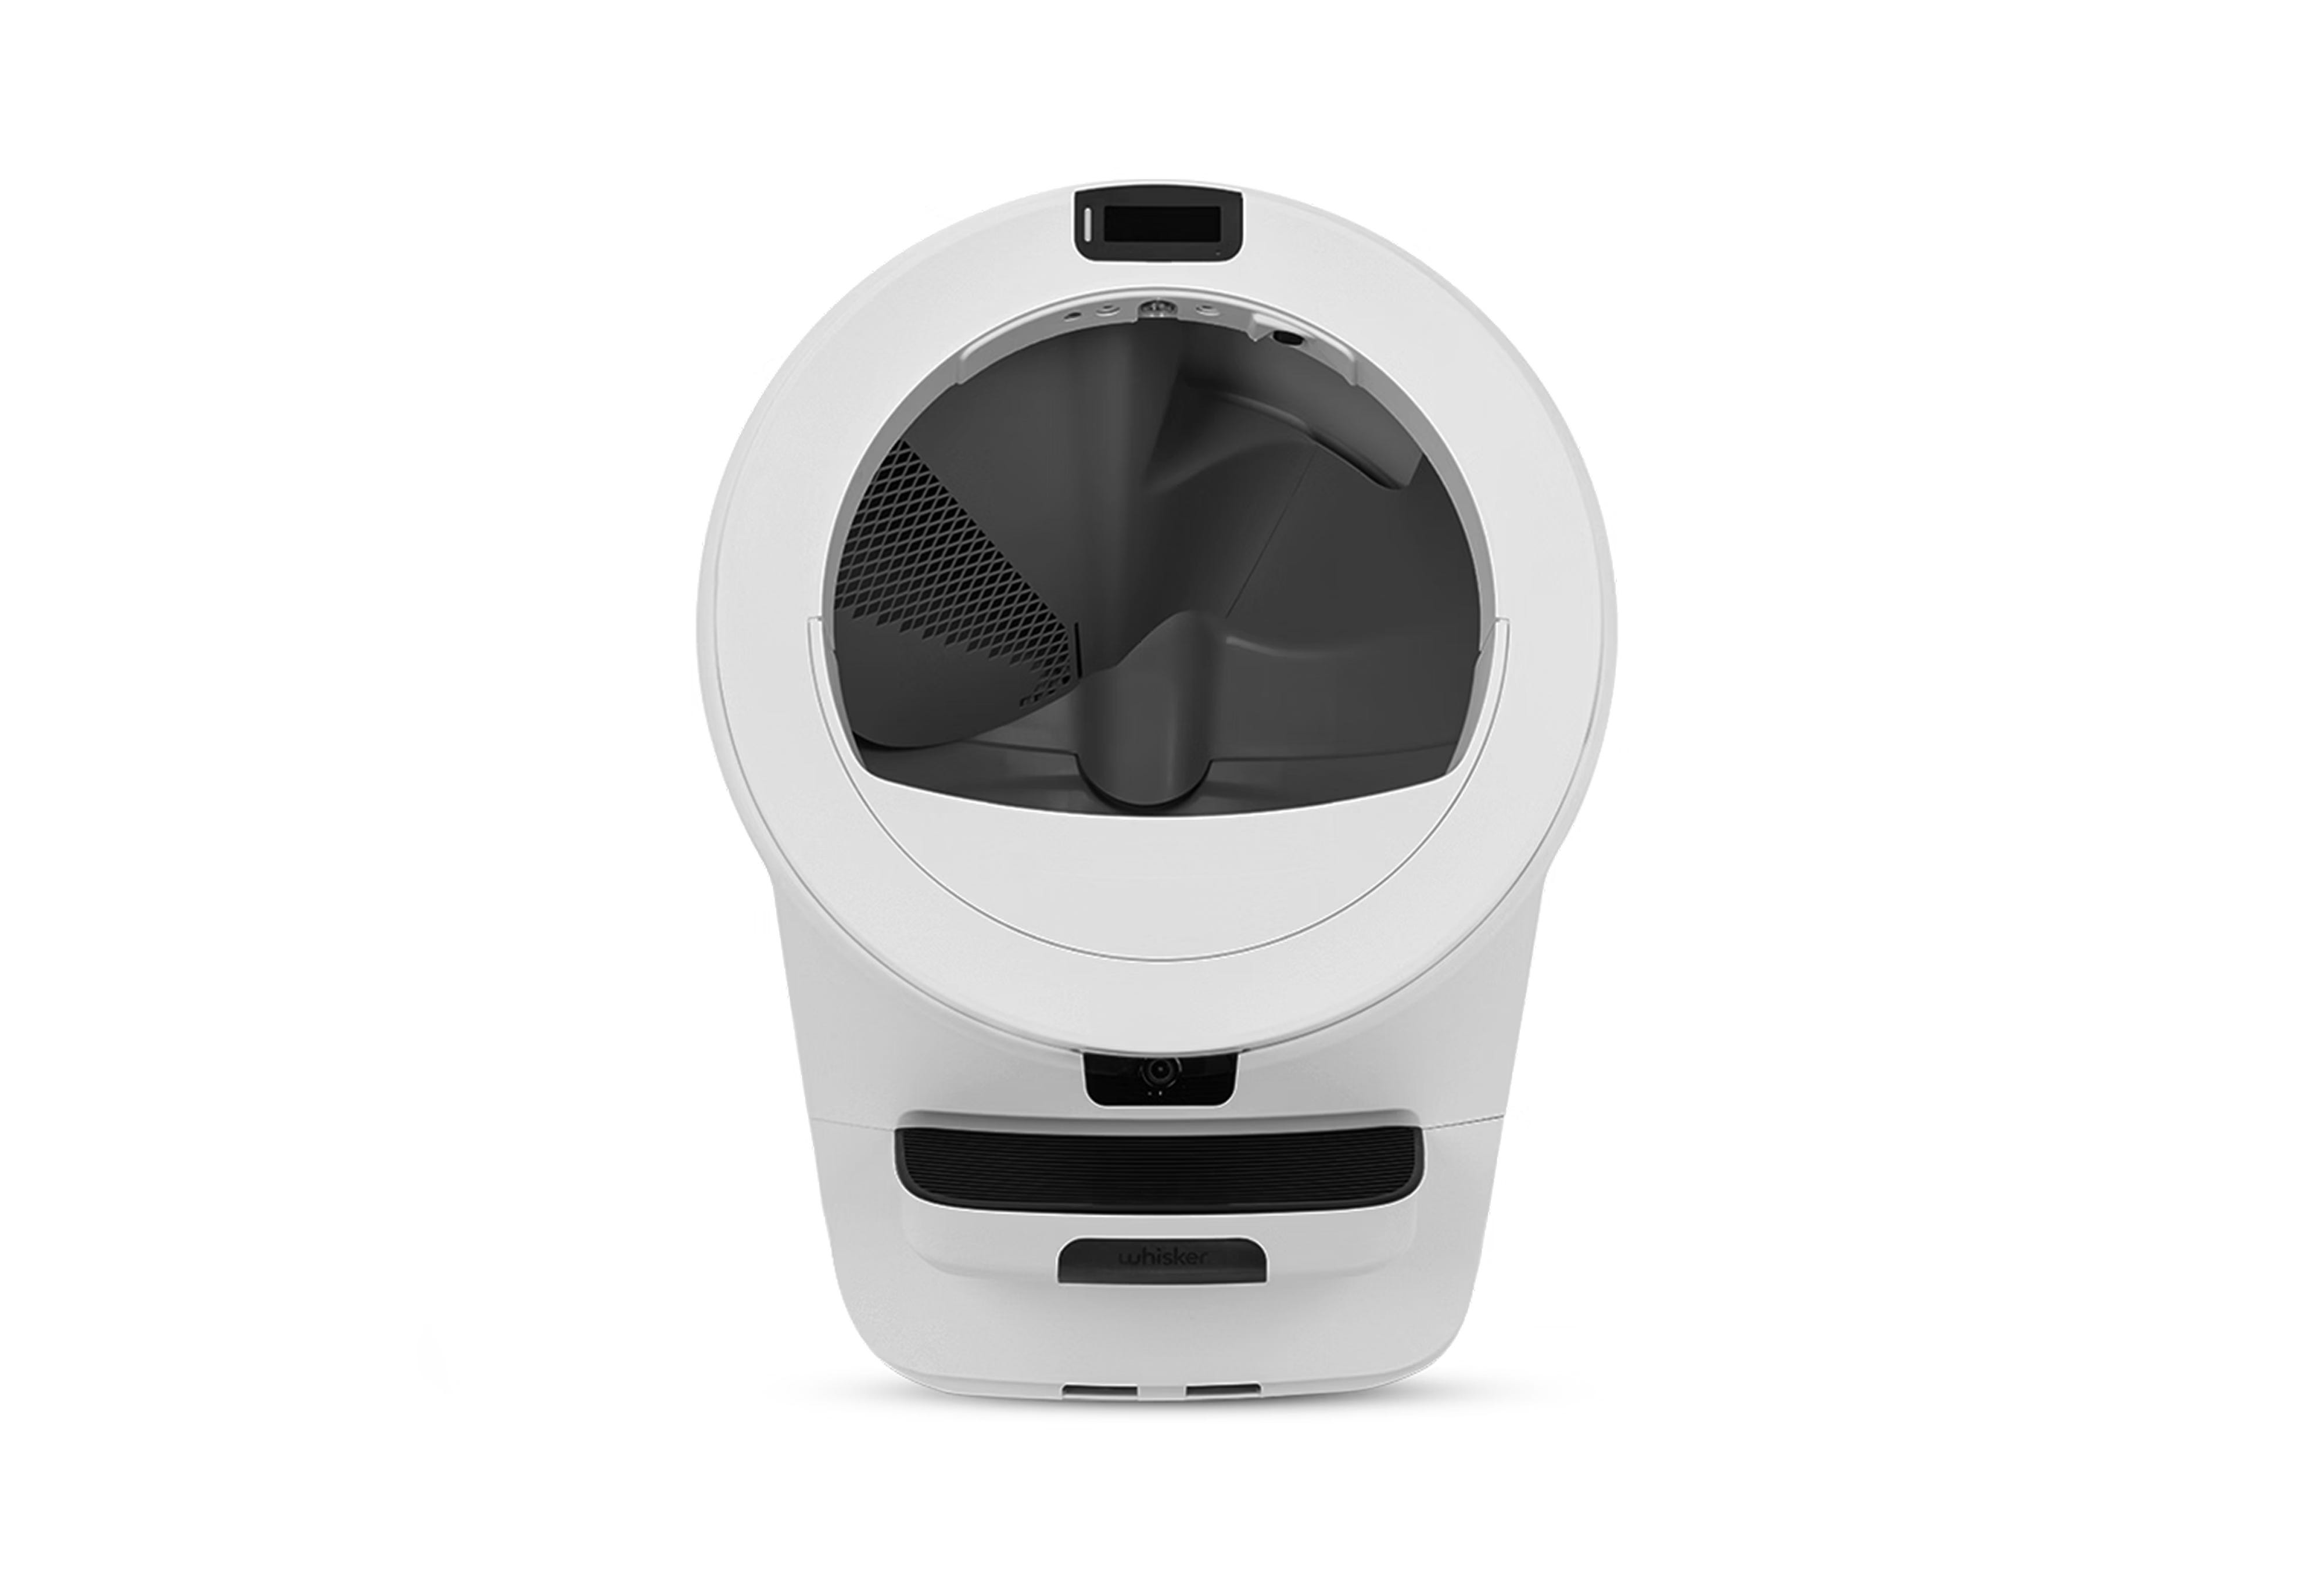
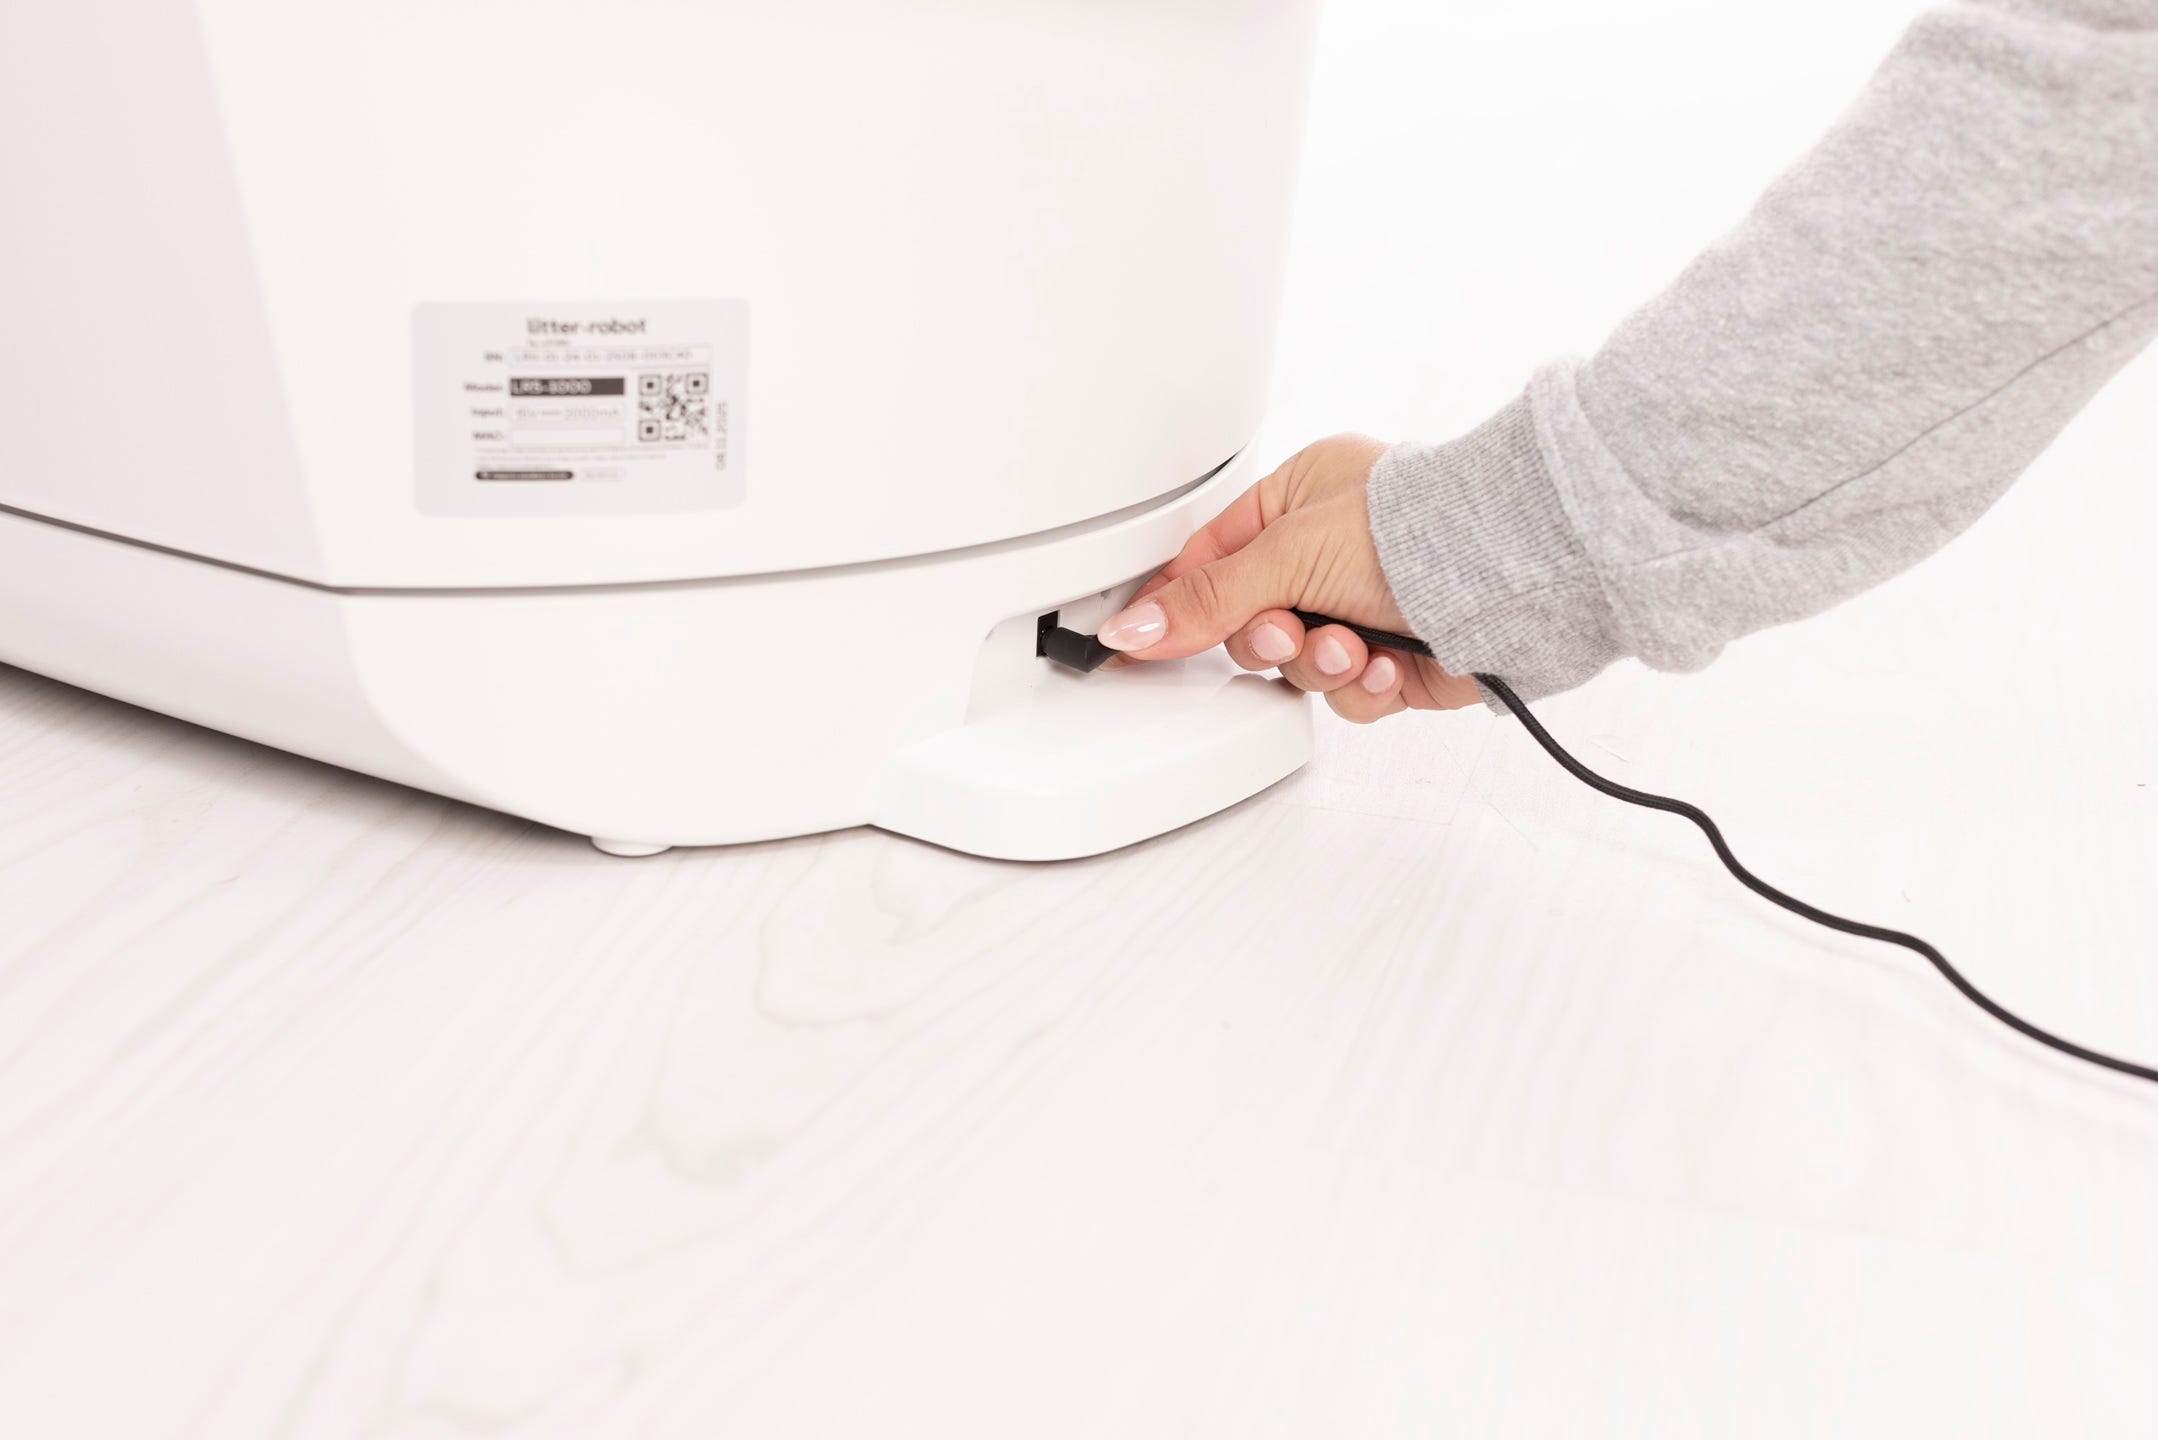
- Press the
 Power button to turn the unit off, then unplug the unit.
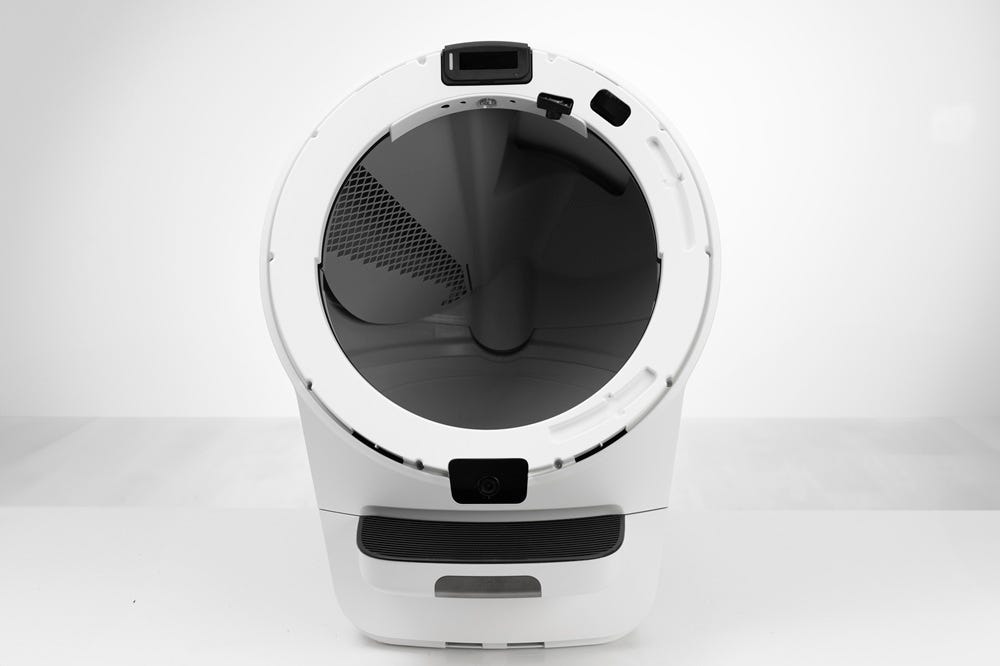
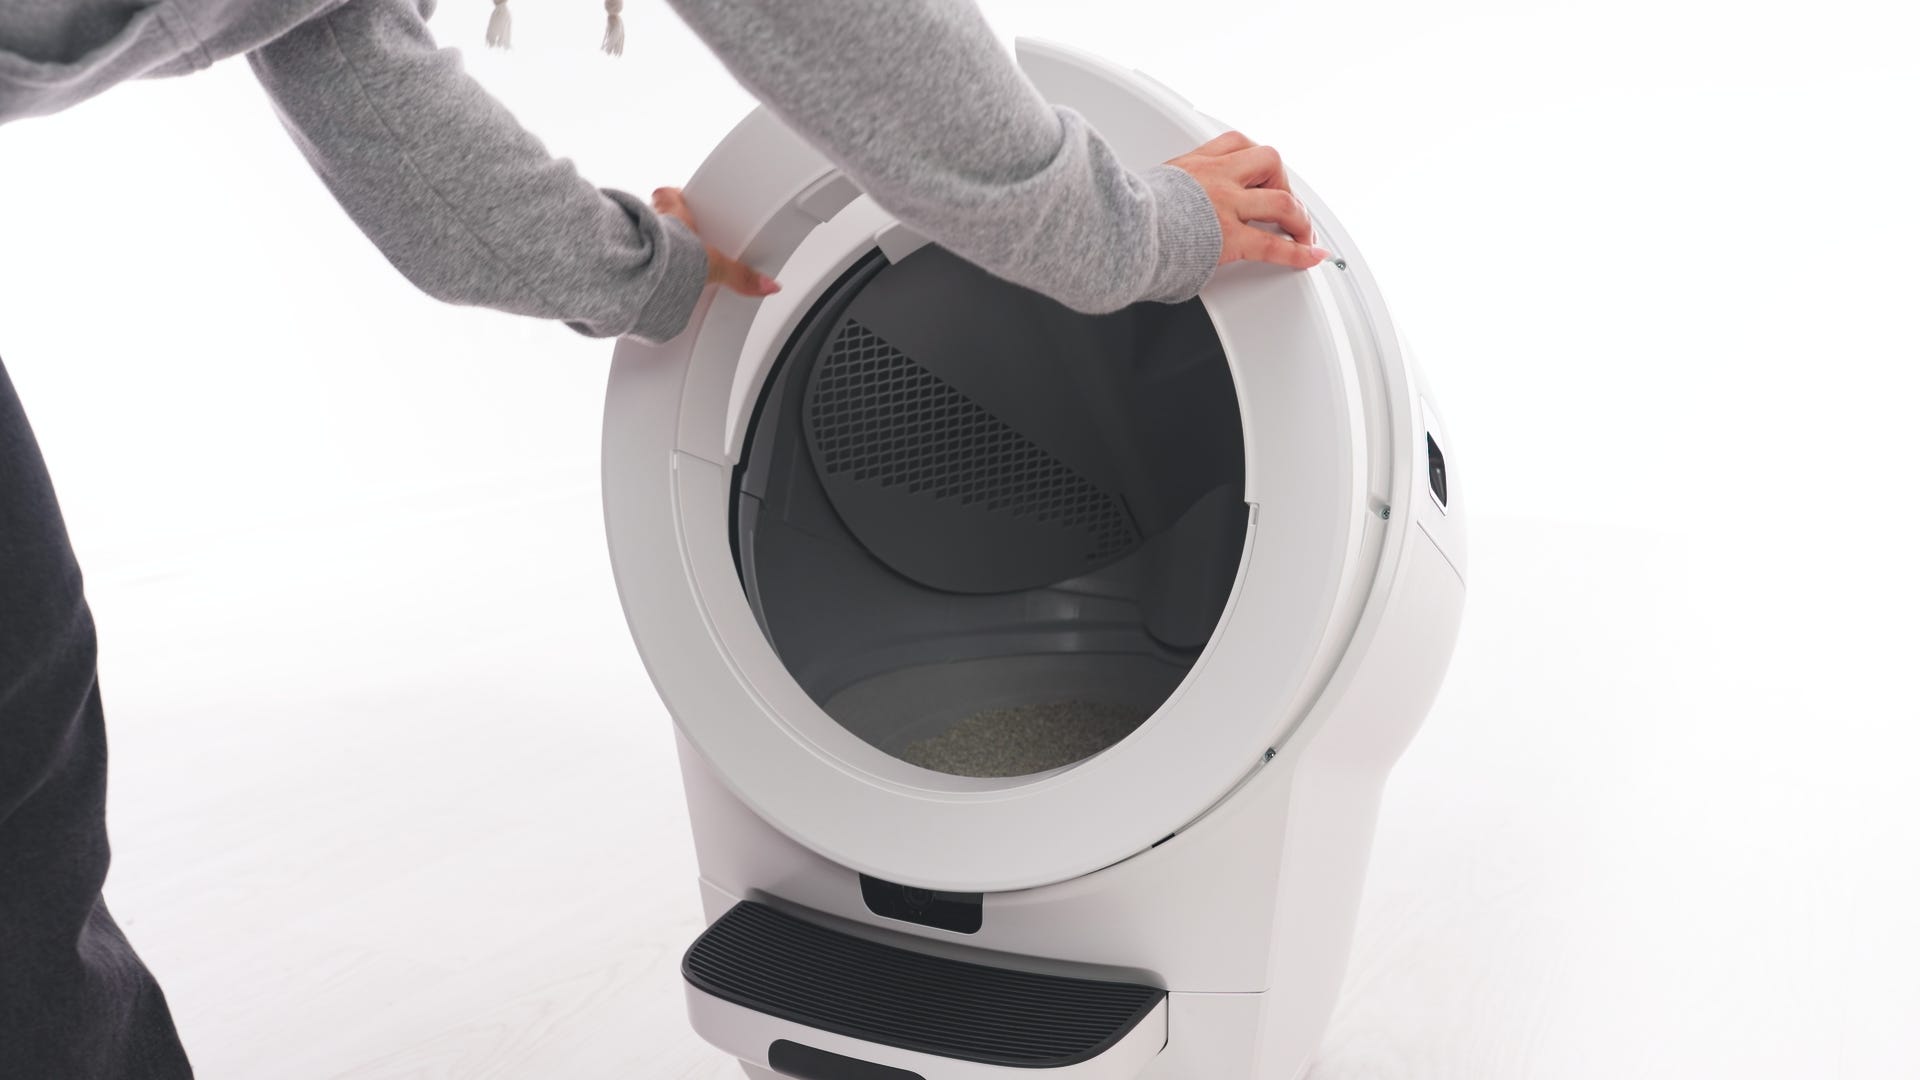
If you have the fence or other accessories installed, remove them from the bezel. Then remove the decorative bezel:
Squeeze the bezel at the 11 o'clock and 1 o'clock positions to disengage the top three snaps on the underside of the bezel.
Pull the top of the bezel towards you to release the top three snaps.
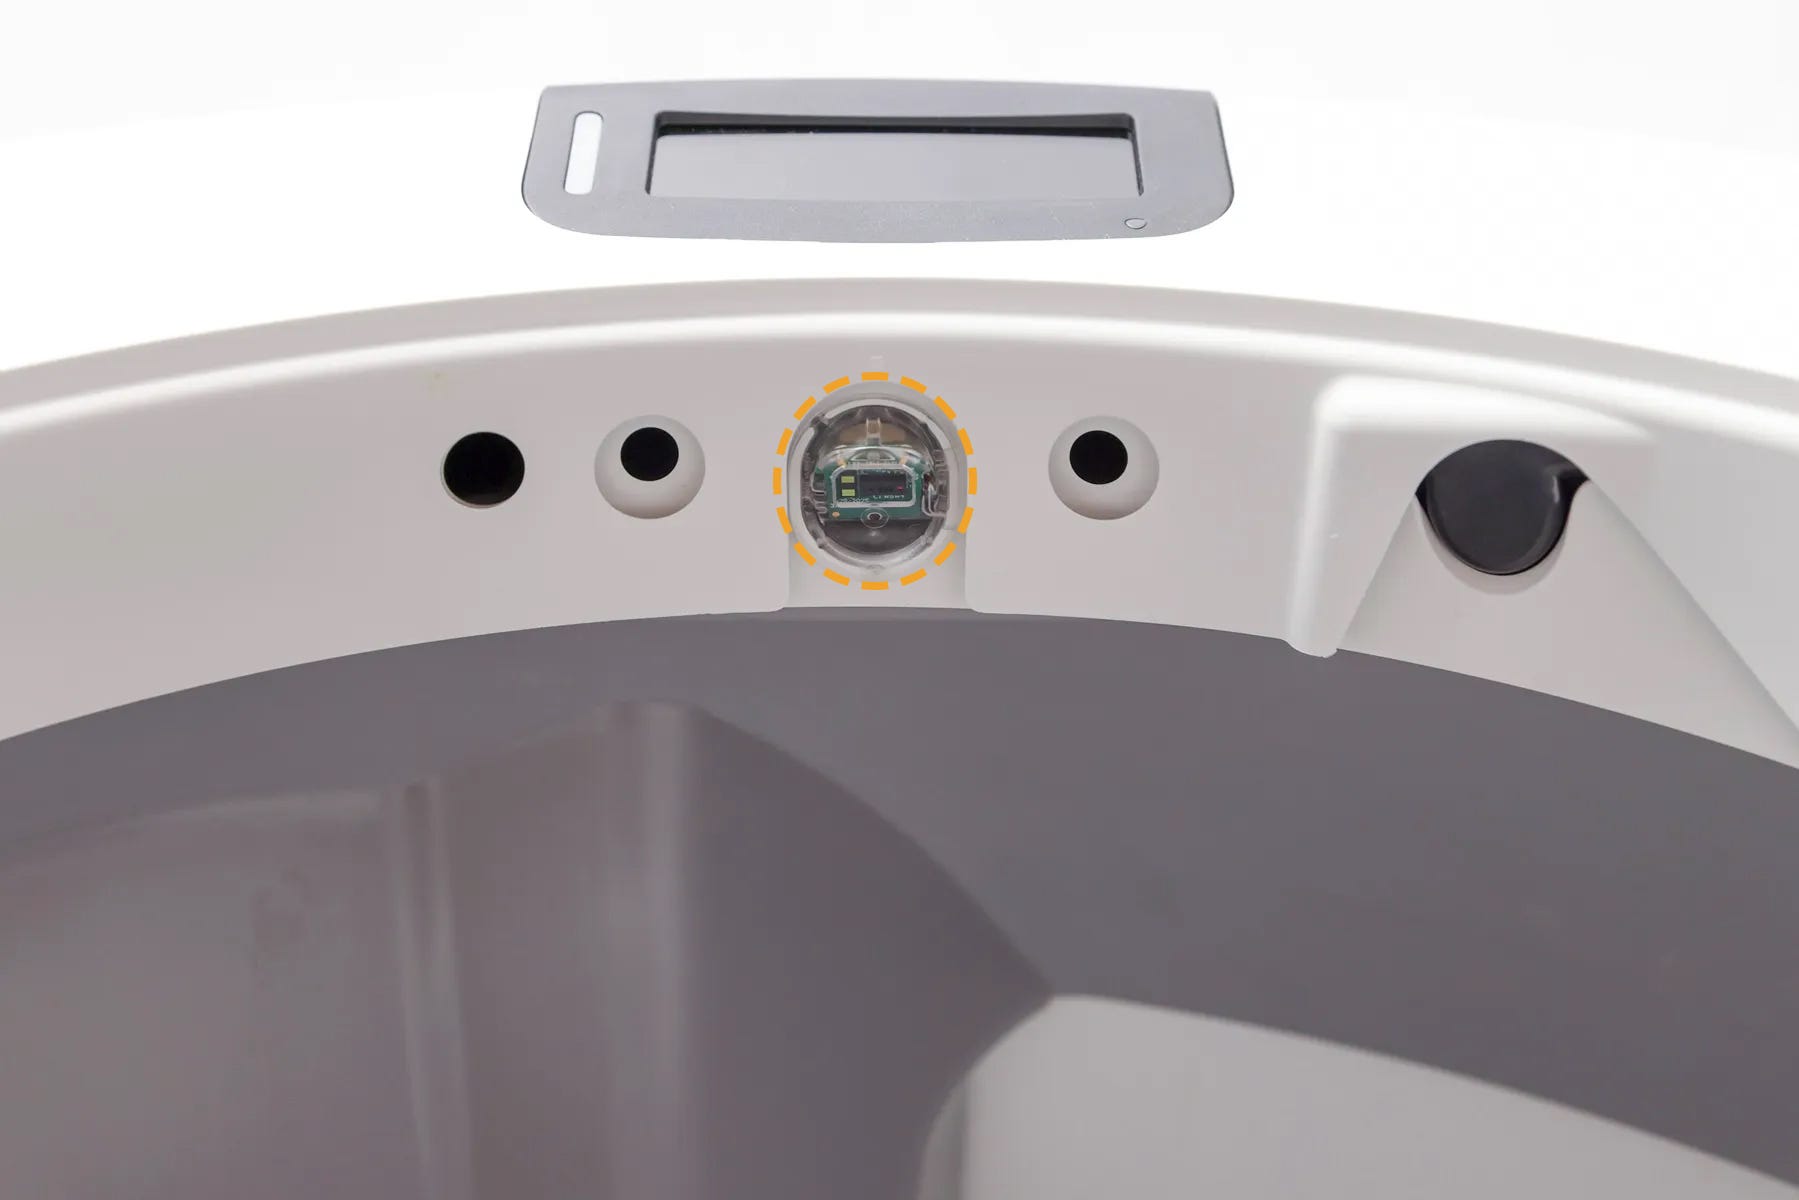
- Place a flat-bladed screwdriver under the right side of the laser board.
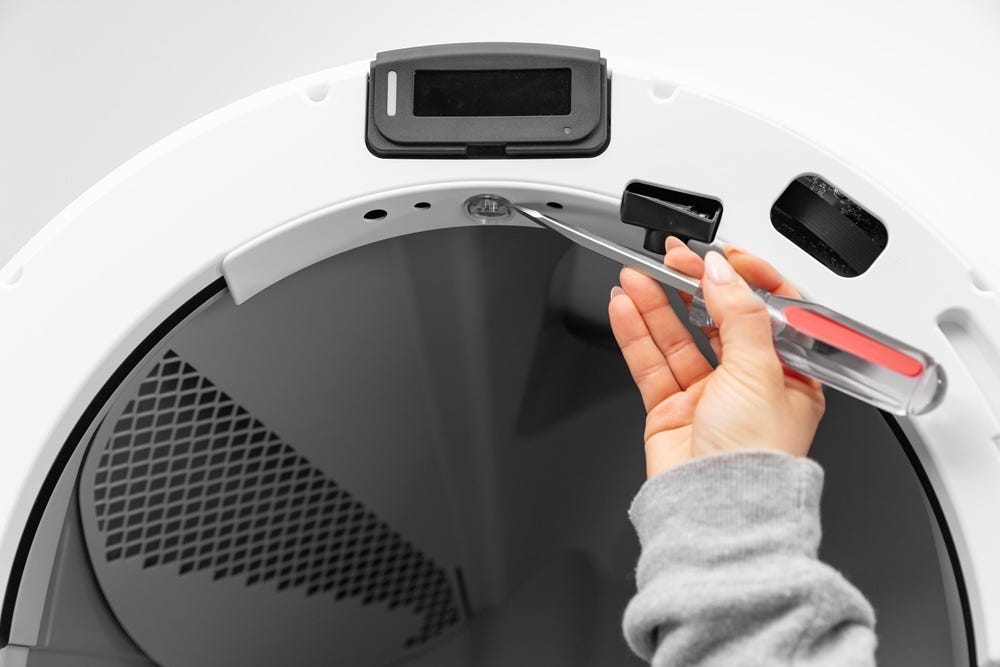
- Carefully press the screwdriver inward and twist to unlatch the plastic snap on the sensor assembly from the structural bezel.
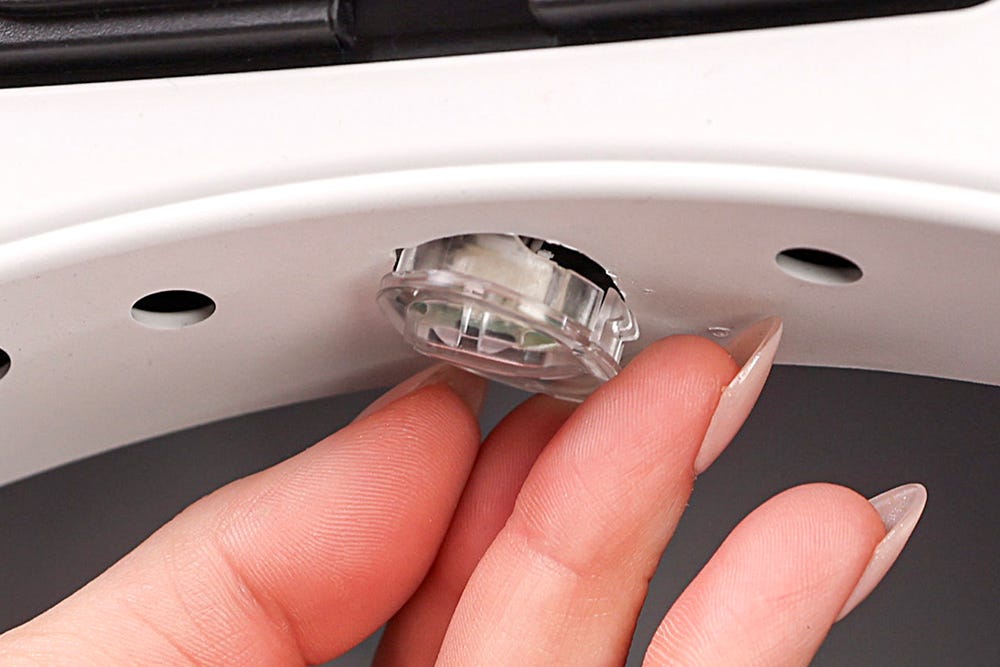
- Firmly holding the plastic sensor with one hand, disconnect the cable with the other hand by holding onto the plastic connector and wiggling as needed to help with removal. Do not pull on the wires themselves.
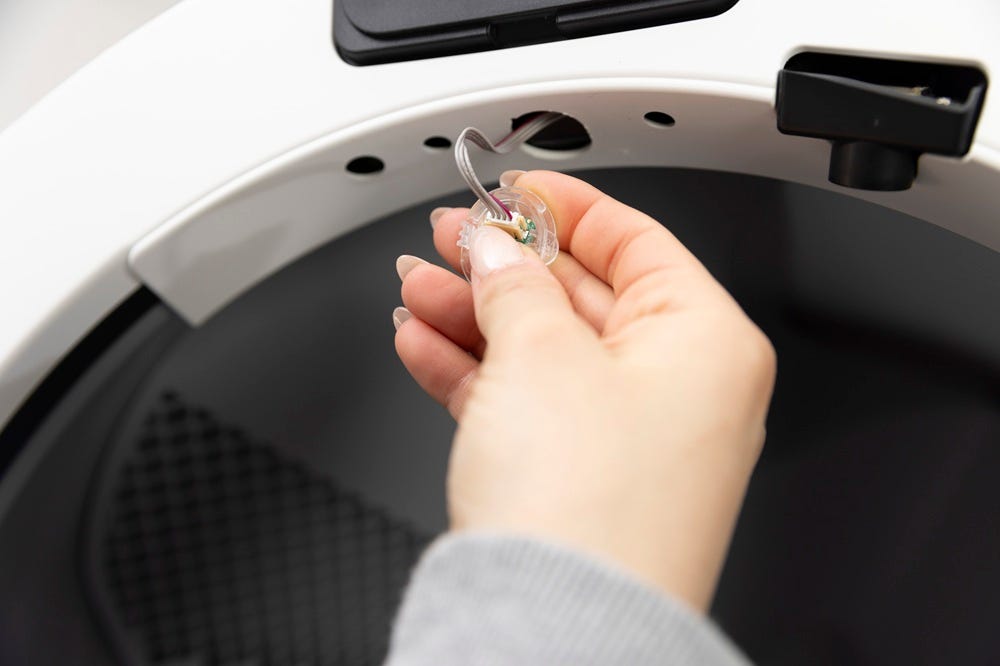
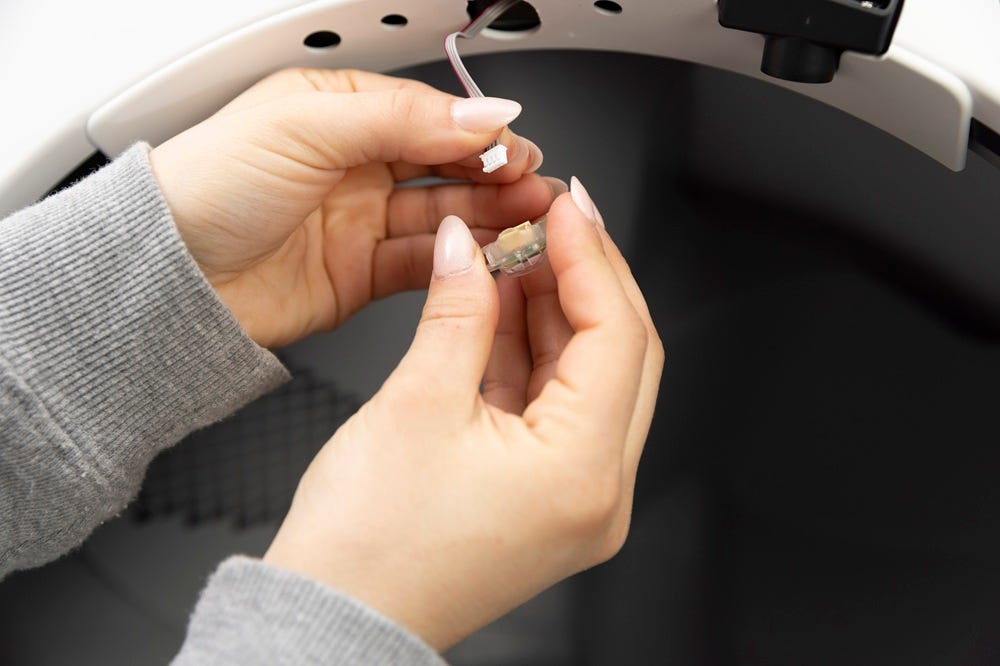
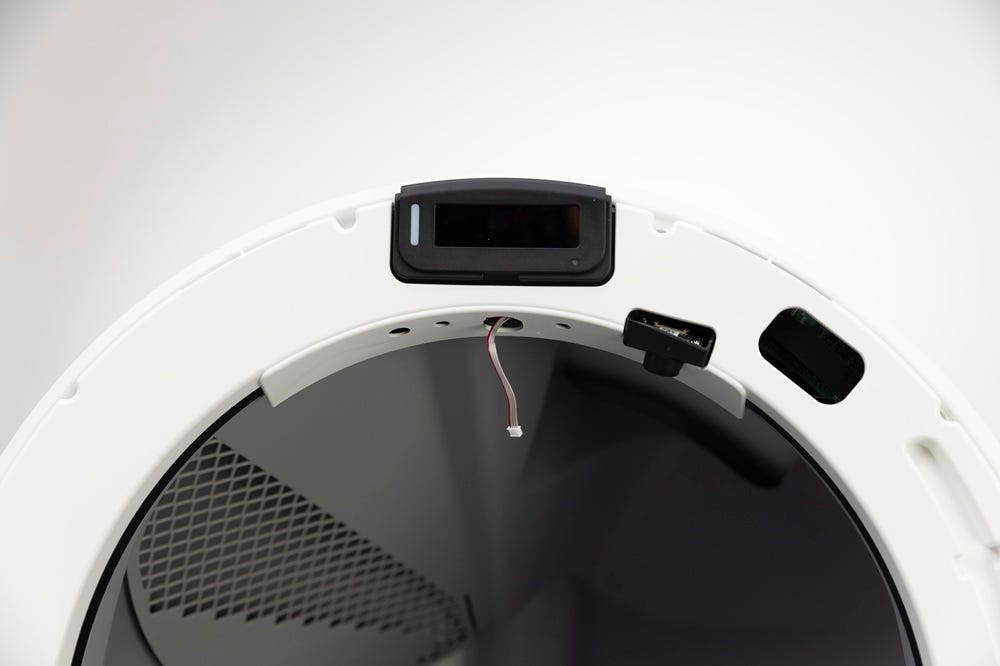
- Replace with new laser board and reinstall the connector.
- Check to make sure that the connectors are oriented correctly, then press until they snap together.
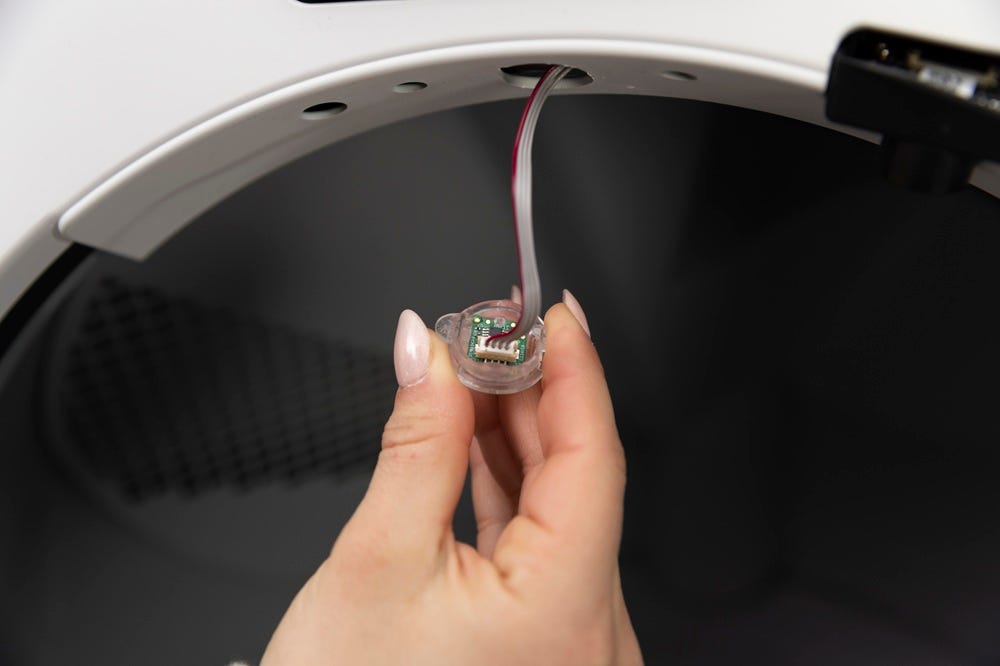
- Reinsert the new laser board assembly into the structural bezel. Tuck the plastic tip behind the bezel, carefully aligning the notch on the bezel with the notch on the sensor. Press the opposite side into the slot until it snaps into place.
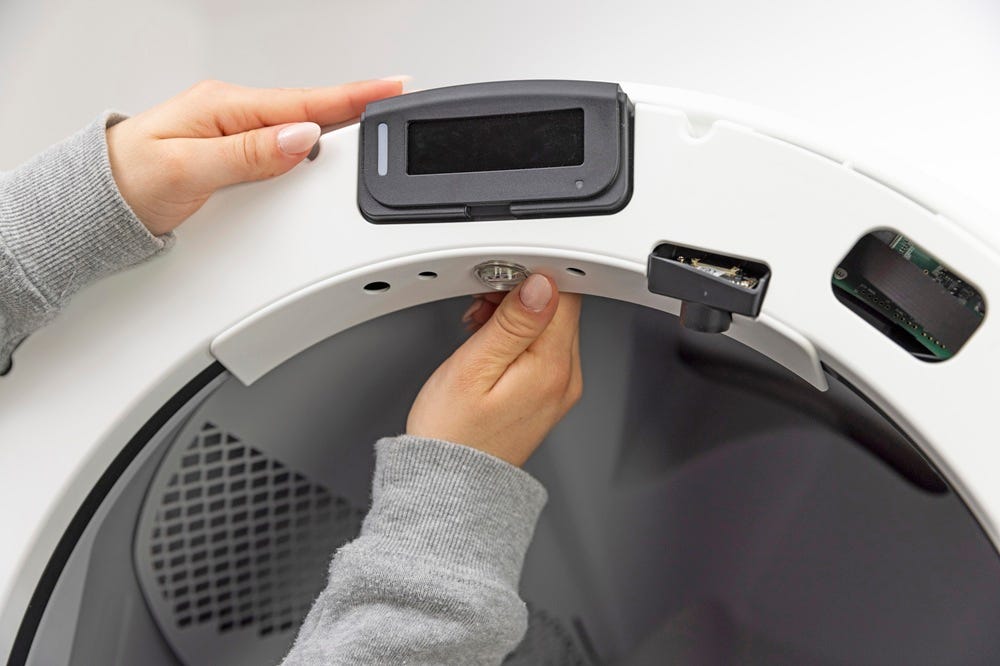
- Reinstall the decorative bezel then any accessories such as the fence.
- Plug the unit in and power it on.
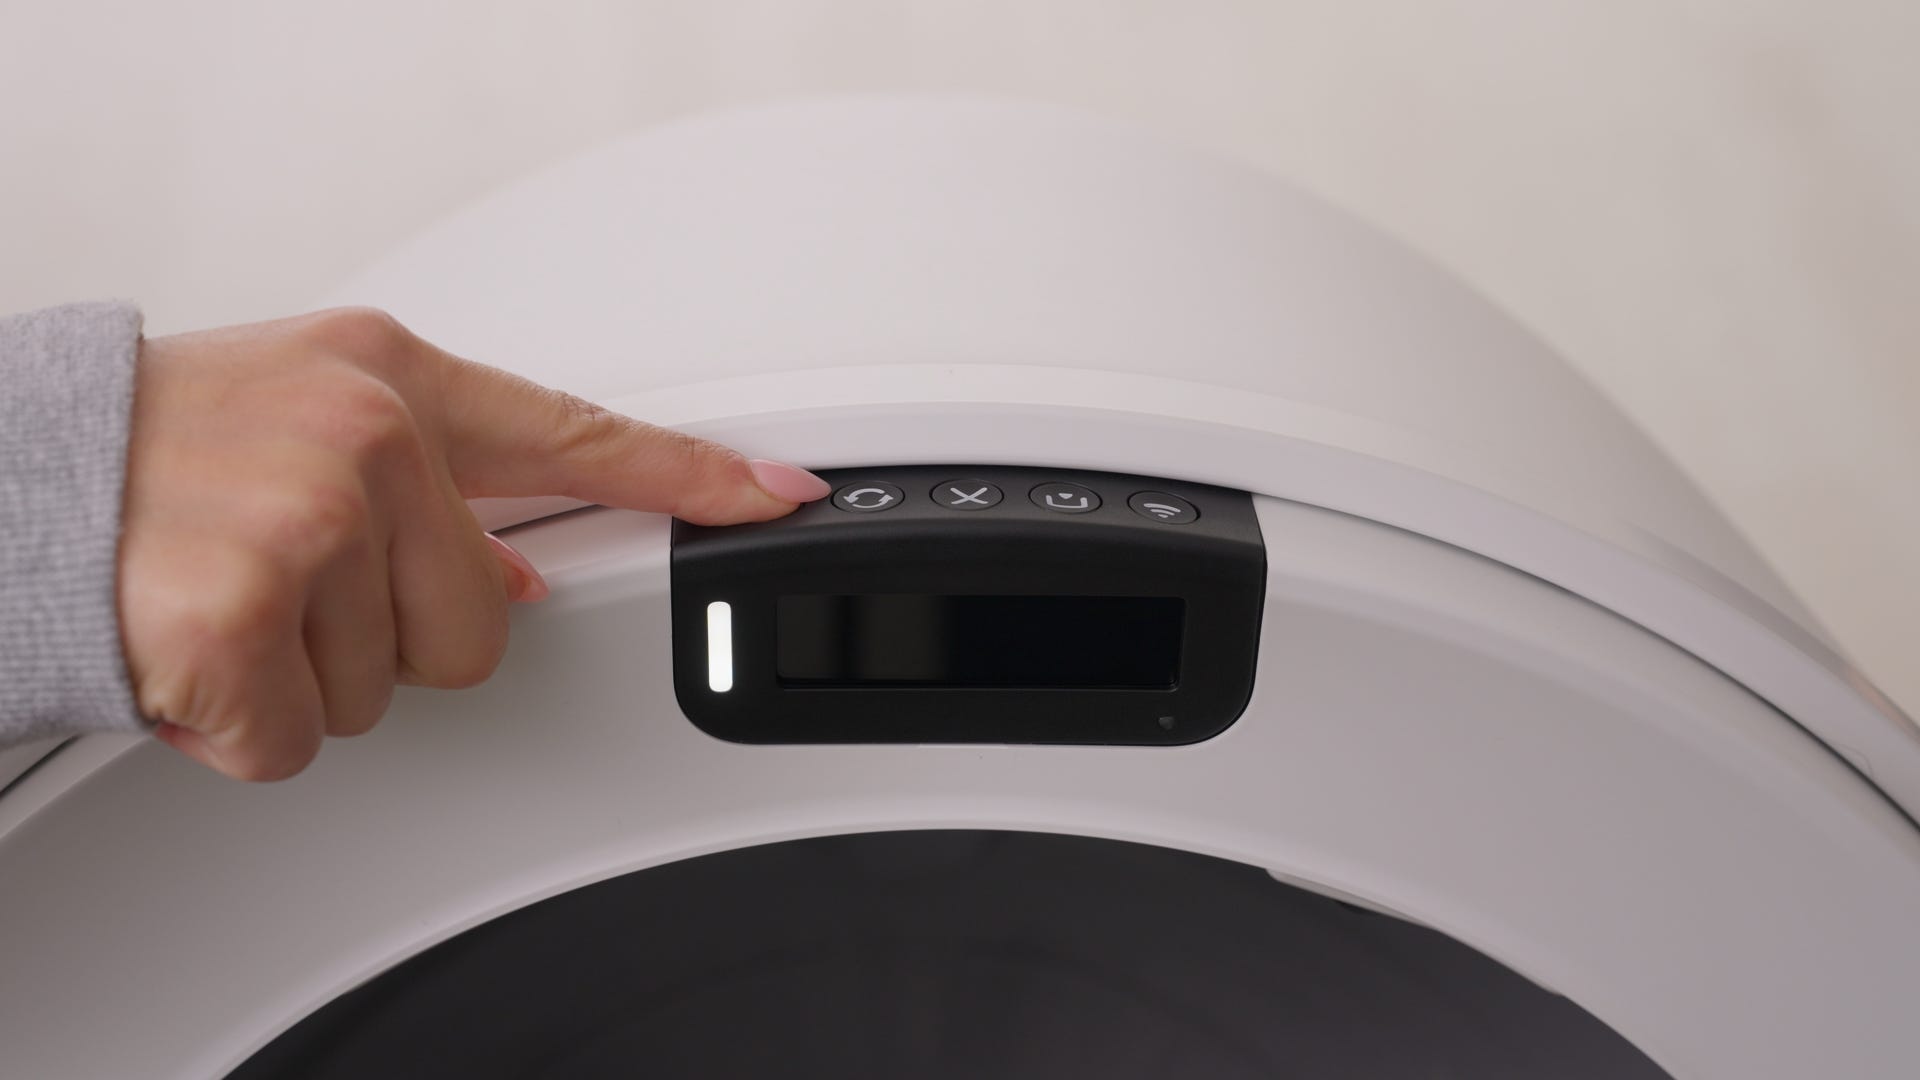
Calibrate the sensors
Lastly, the new laser board must be calibrated to ensure the litter level and drawer full indicator are measured accurately.
Preparation
Update the firmware
- Confirm in the Whisker App that your Litter-Robot 5 is updated to firmware version “5.09.07” or above.
- If your firmware is not on the most current version, contact Whisker Customer Experience for assistance.
Prepare the litter level
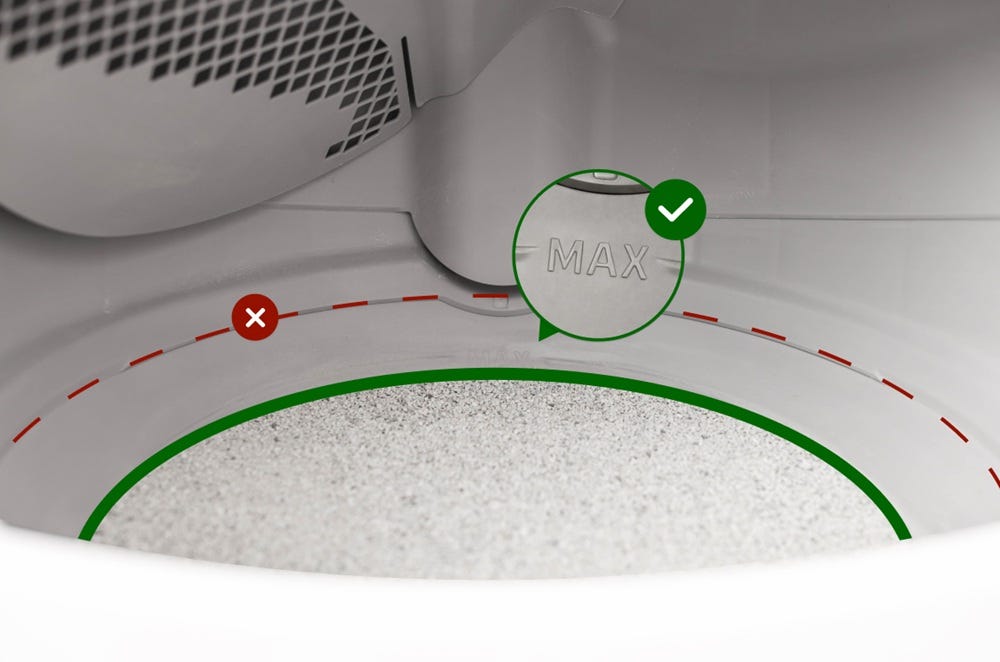
- Add litter to the globe up to the raised MAX fill line.
- Short press the
 Cancel button to zero the weight scale.
Note:
- Any time you affect the weight or placement of the unit (including emptying the waste drawer, adding or removing litter, or cleaning or moving the unit), press the Cancel button to ensure the weight sensors will detect your cat and cycle properly.
- Be careful not to rest on the unit as you press the Cancel button, or your weight will influence the reading.
- Short press the
 Cycle button to run a Clean cycle, allowing any excess litter to sift into the waste drawer.
- Once the globe returns to the Home position, the litter level will be your new default litter bed level.
Note:
Overfilling the globe will result in an inaccurate litter level calibration.
Clean the laser board
Gently wipe the laser board with a soft, dry, clean microfiber cloth to prevent scratching or damaging the components.
Important:
The bezel contains sensitive electronic components. To prevent damage, do not use water, liquids, disinfectant wipes, or damp cloths when cleaning. Avoid using a vacuum or compressed air as well, since this may interfere with the sensors.
- Short press the Cancel button to zero the weight scale.
Calibrate the optimal litter level
- Simultaneously press and hold the Cancel and
 Empty buttons for 3 seconds.
 The robot will perform a Clean Cycle and calibrate the optimal litter bed level.
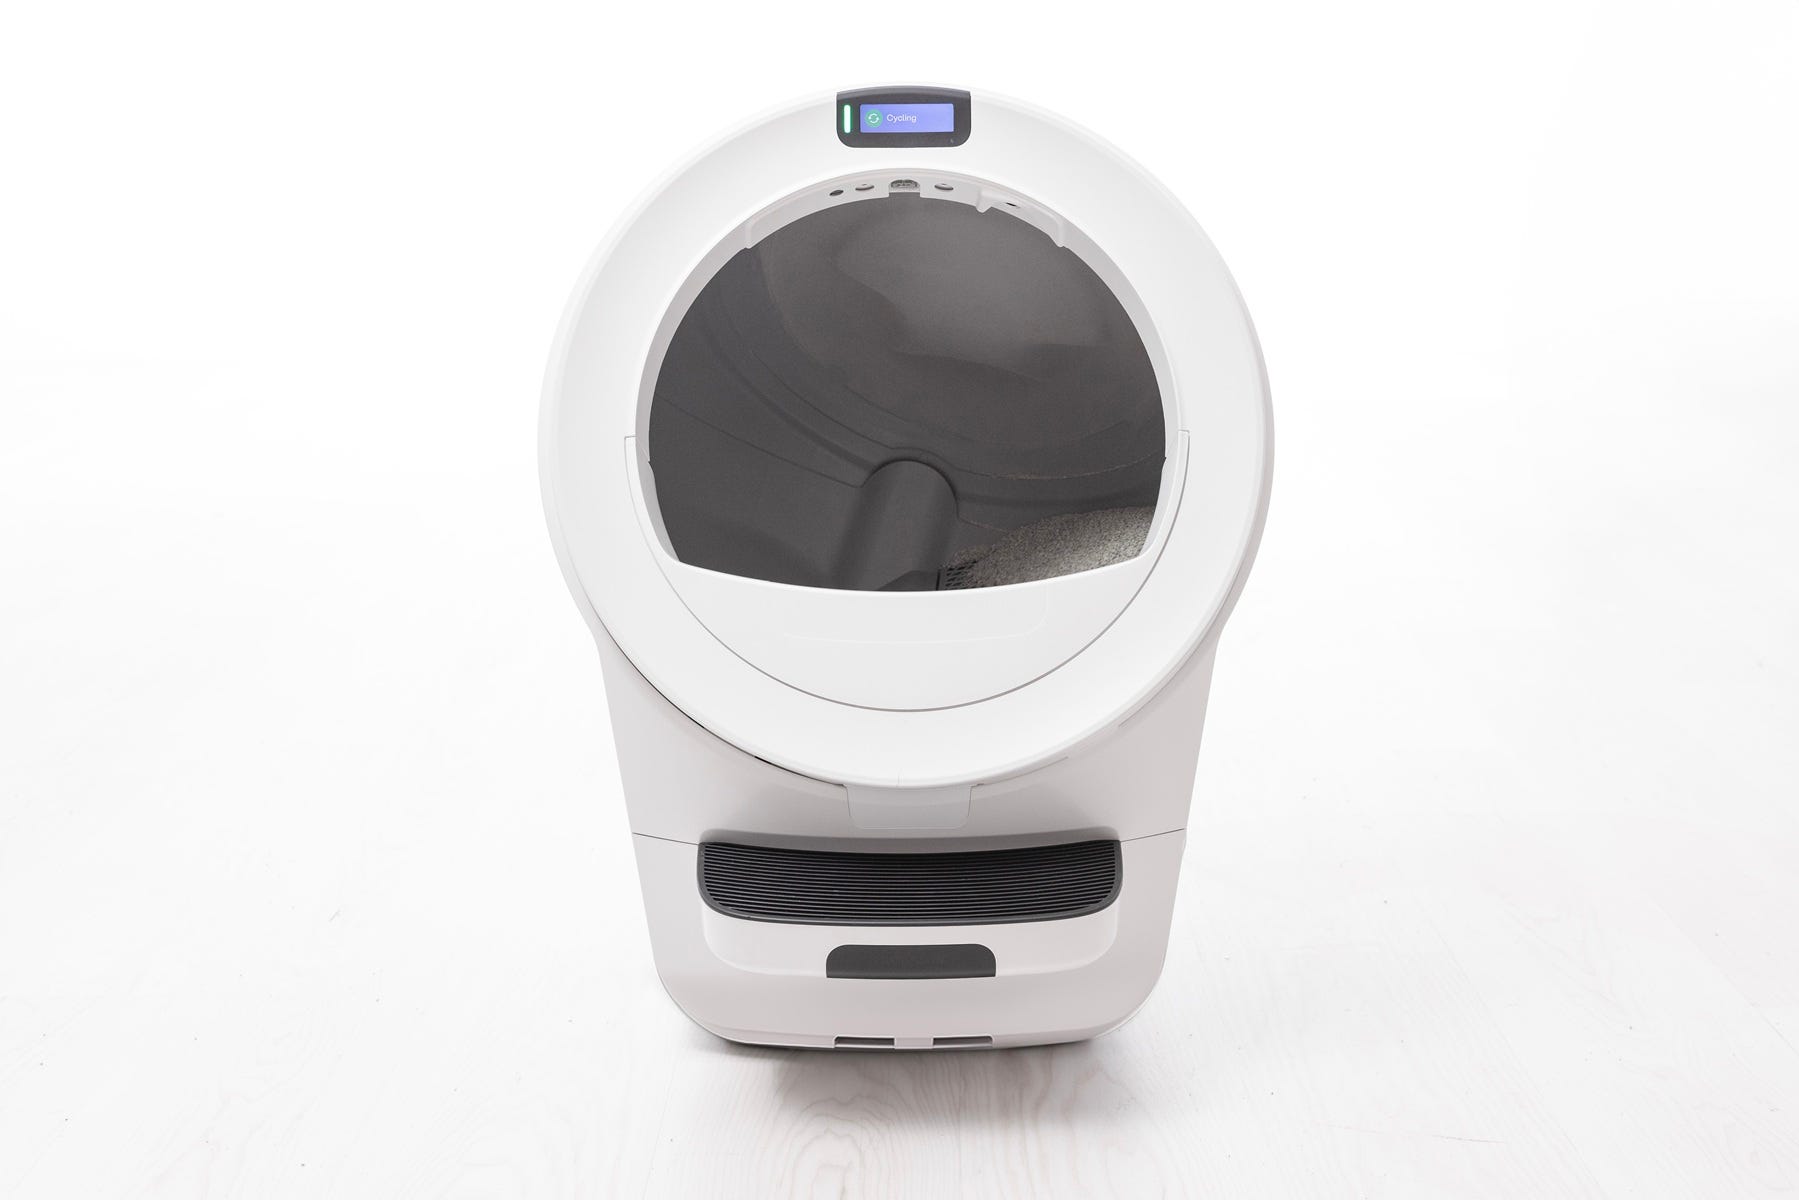
Calibrate the drawer full indicator
Preparation
Remove the waste drawer liner and wipe the drawer clean of debris. (A clean, empty drawer provides a plain surface for calibration.)
If a sticker is present in the waste drawer, add a piece of plain white paper to the bottom of the drawer so the images from the sticker don't shine through.
For example, a sheet of printer paper folded in half. The purpose of the white paper is to provide a reflective surface for the drawer full indicator sensor.
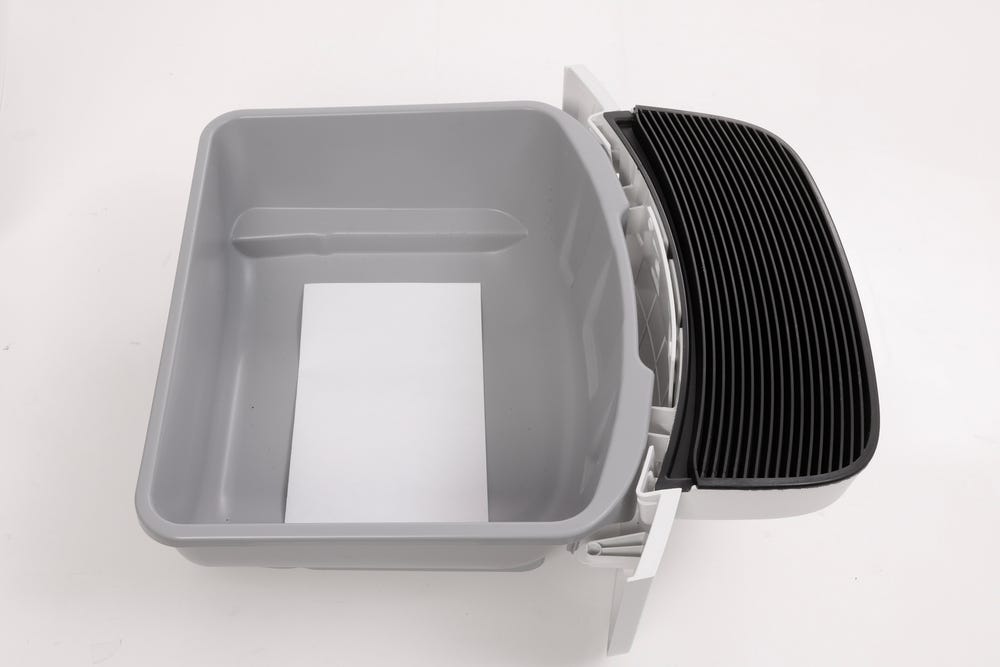
Note: The paper must be plain white with no pattern and must lay flat on the bottom of the drawer.
- Reinsert the waste drawer without a liner, and short press the Cancel button to zero the weight scale.
Button sequence
The next steps are time-sensitive and must be completed in the exact order shown. Review the full sequence below, then perform the button presses without pausing between steps.
Press the Power button to turn the unit off. (Do not unplug it.)
Wait at least 5 seconds.
While the unit is still powered off, short press the control panel buttons in this exact order, one at a time. (Each button must be pressed within 5 seconds of the previous one.):
 Connect
- Cancel
- Connect
- Empty
- Cycle
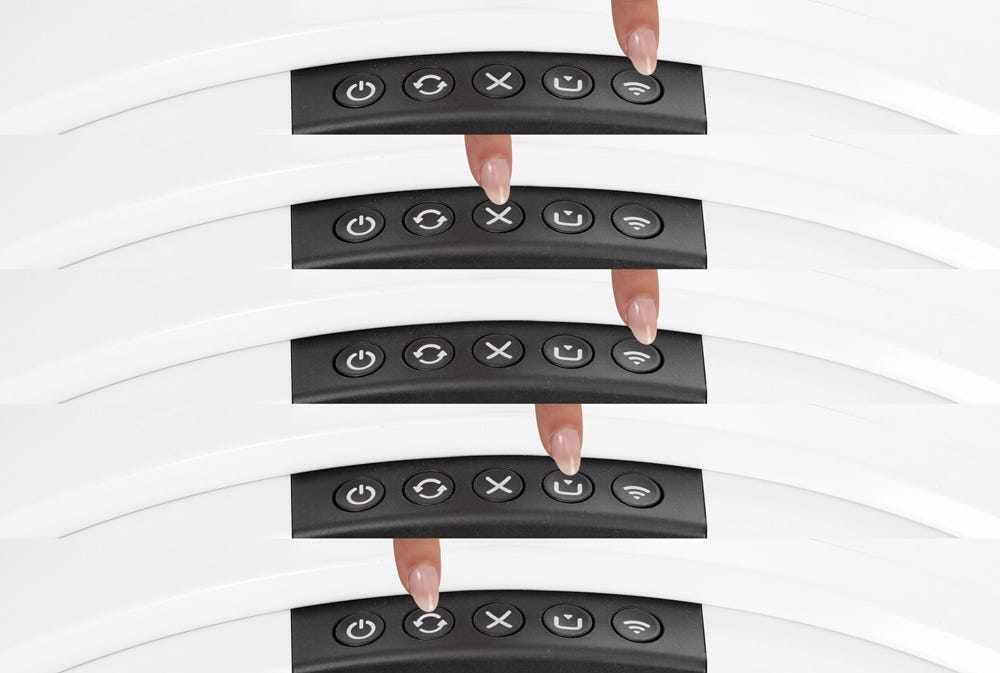
If pressed correctly, the unit will perform a lamp test (globe light illuminates red, green, and blue).
The globe will rotate to the Dump position, allowing the curtain sensor to view the bottom of the waste drawer.
Successful: The unit cycles Home and the waste drawer gauge is accurate in the app and LCD screen.
Unsuccessful: The LCD screen displays an error message. Contact Whisker Customer Experience for more assistance.
Didn't find what you're looking for?
Live support available Mon-Fri: 9AM-9PM EST and Sat-Sun: 9AM-5PM EST, or submit a ticket anytime.