The store will not work correctly in the case when cookies are disabled.

Litter-Robot 5 & Pro: Motor installation guide
Learn how to remove and install the Litter-Robot 5 Motor.
Tools needed:
Phillips-head screwdriver
- Make sure the unit is in the Home/Ready position.
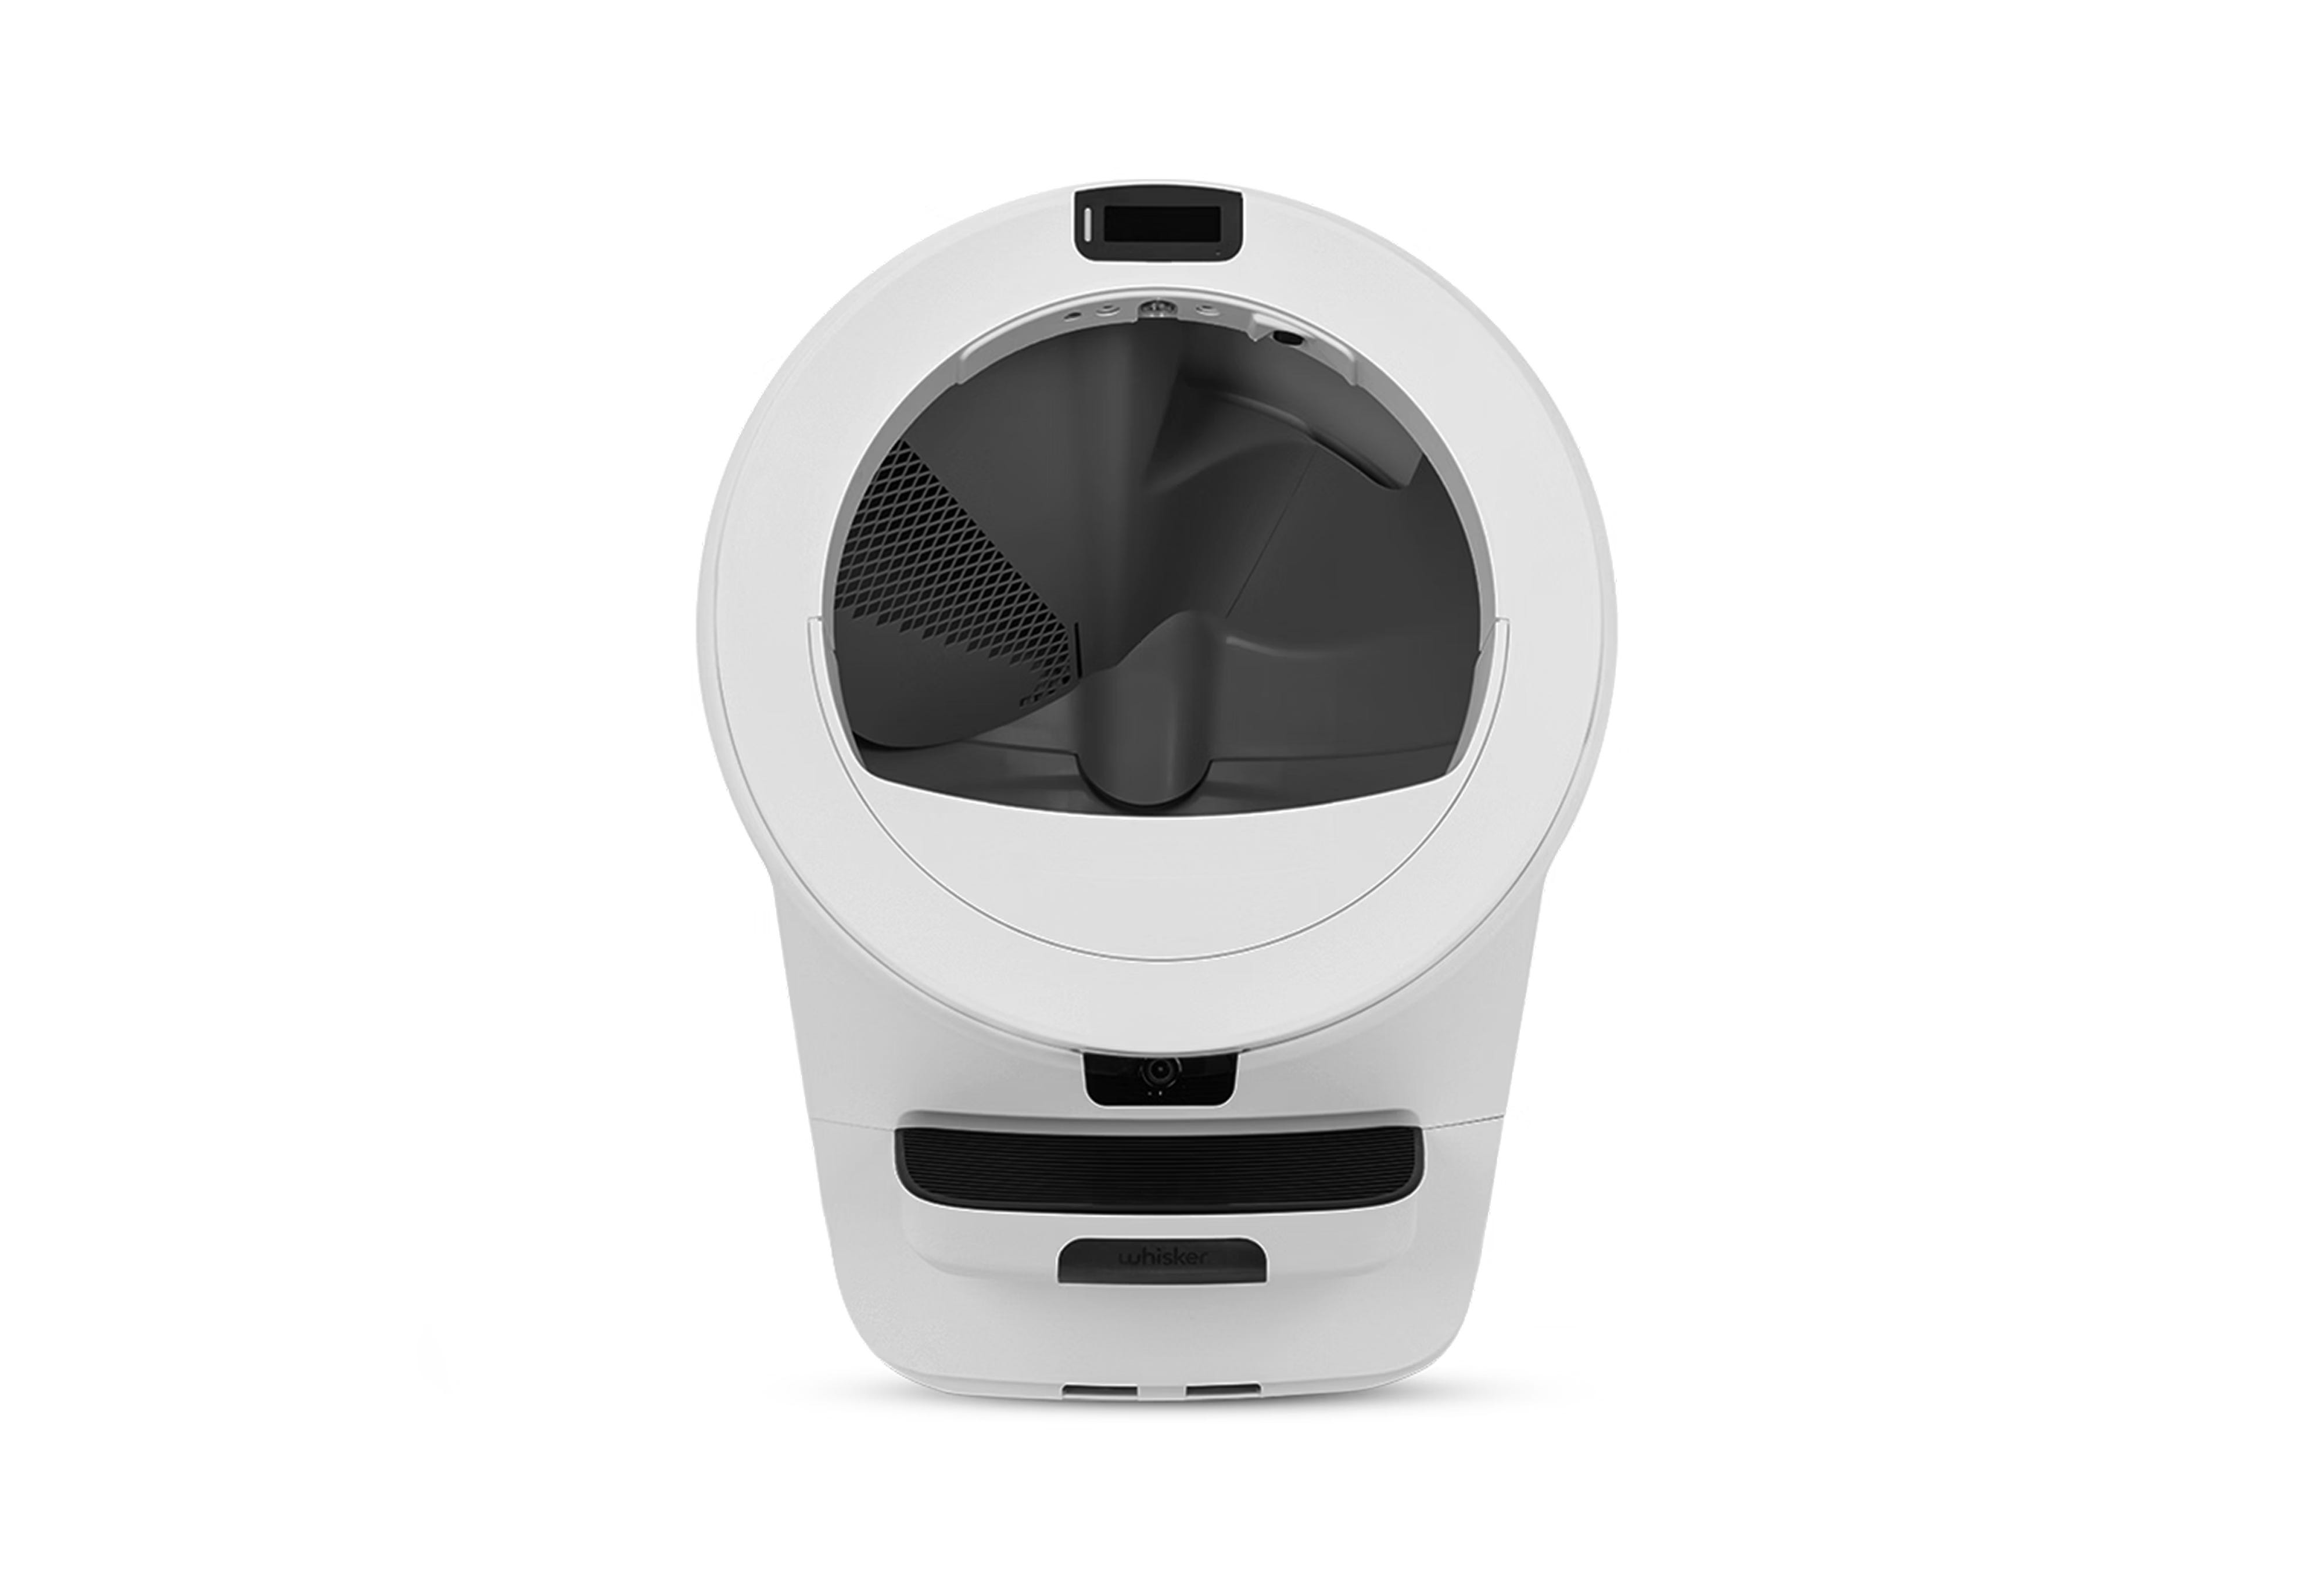
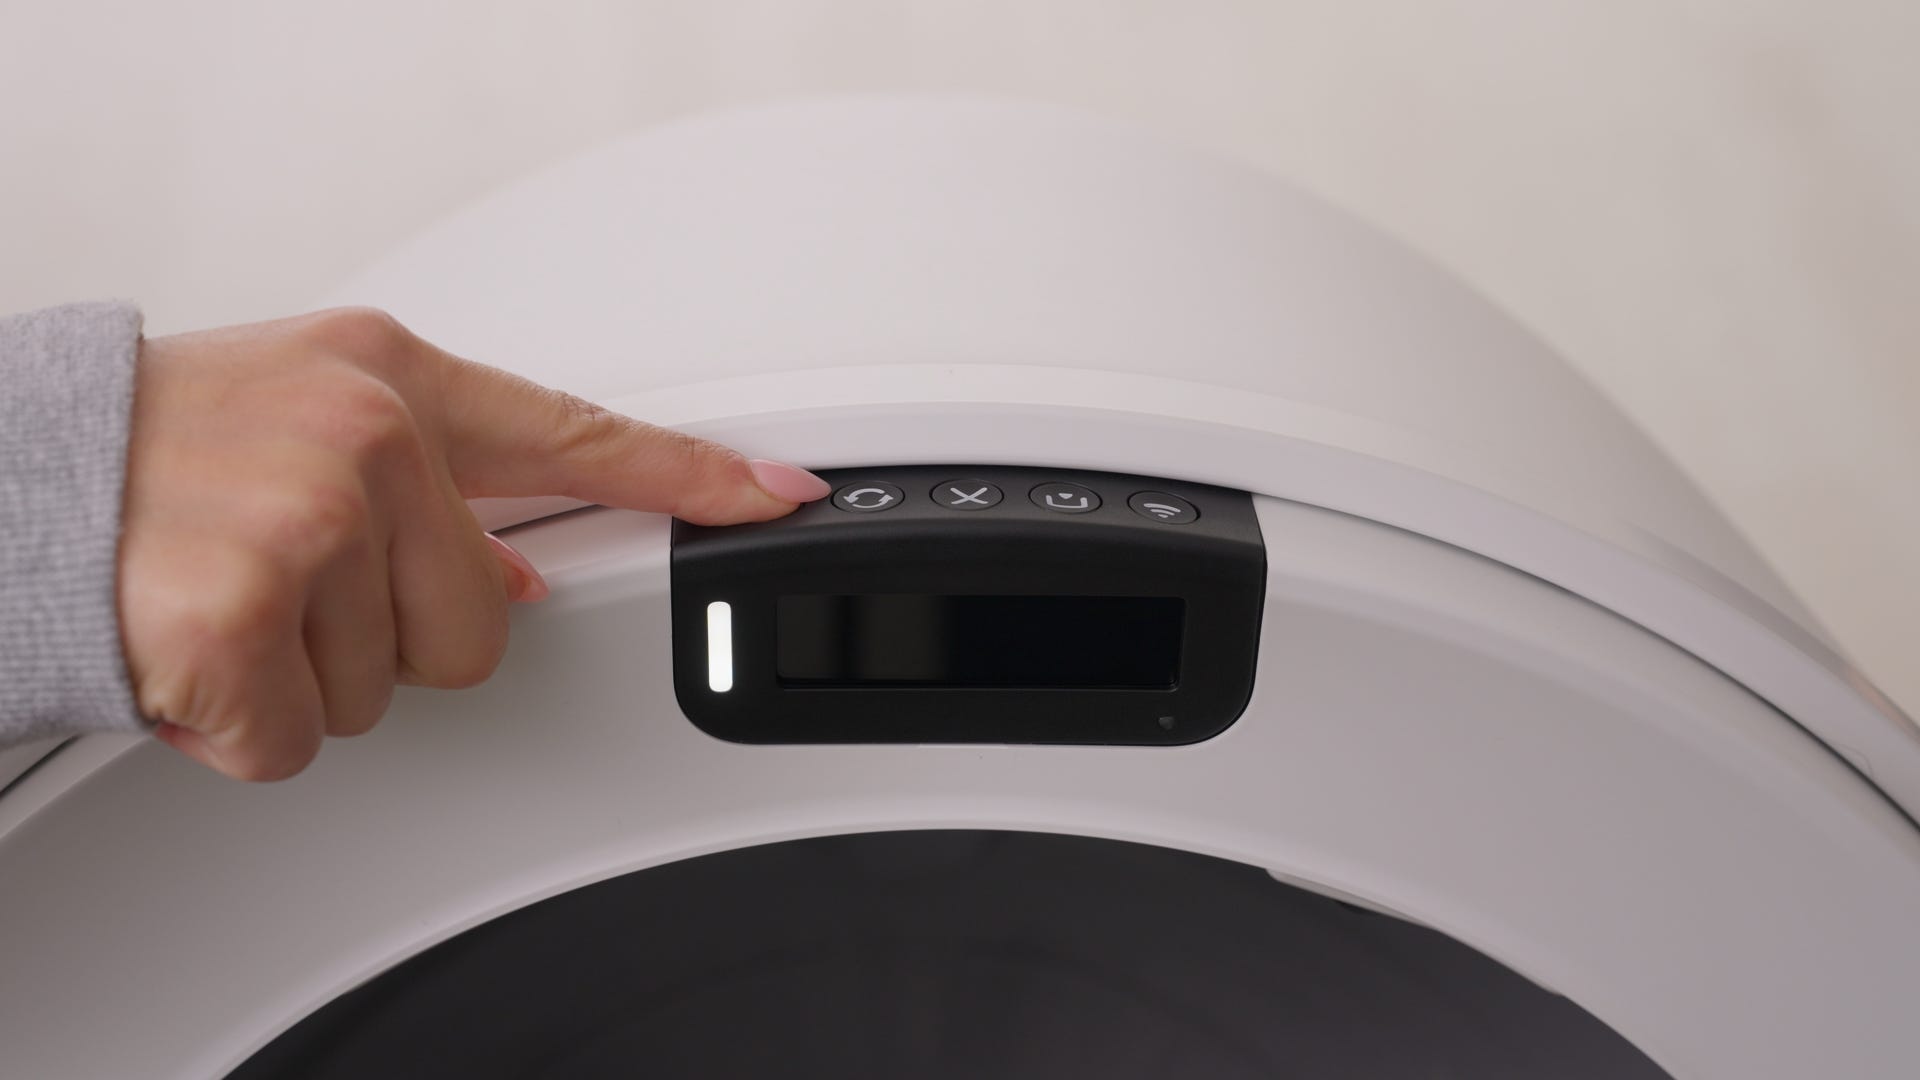
- Press the
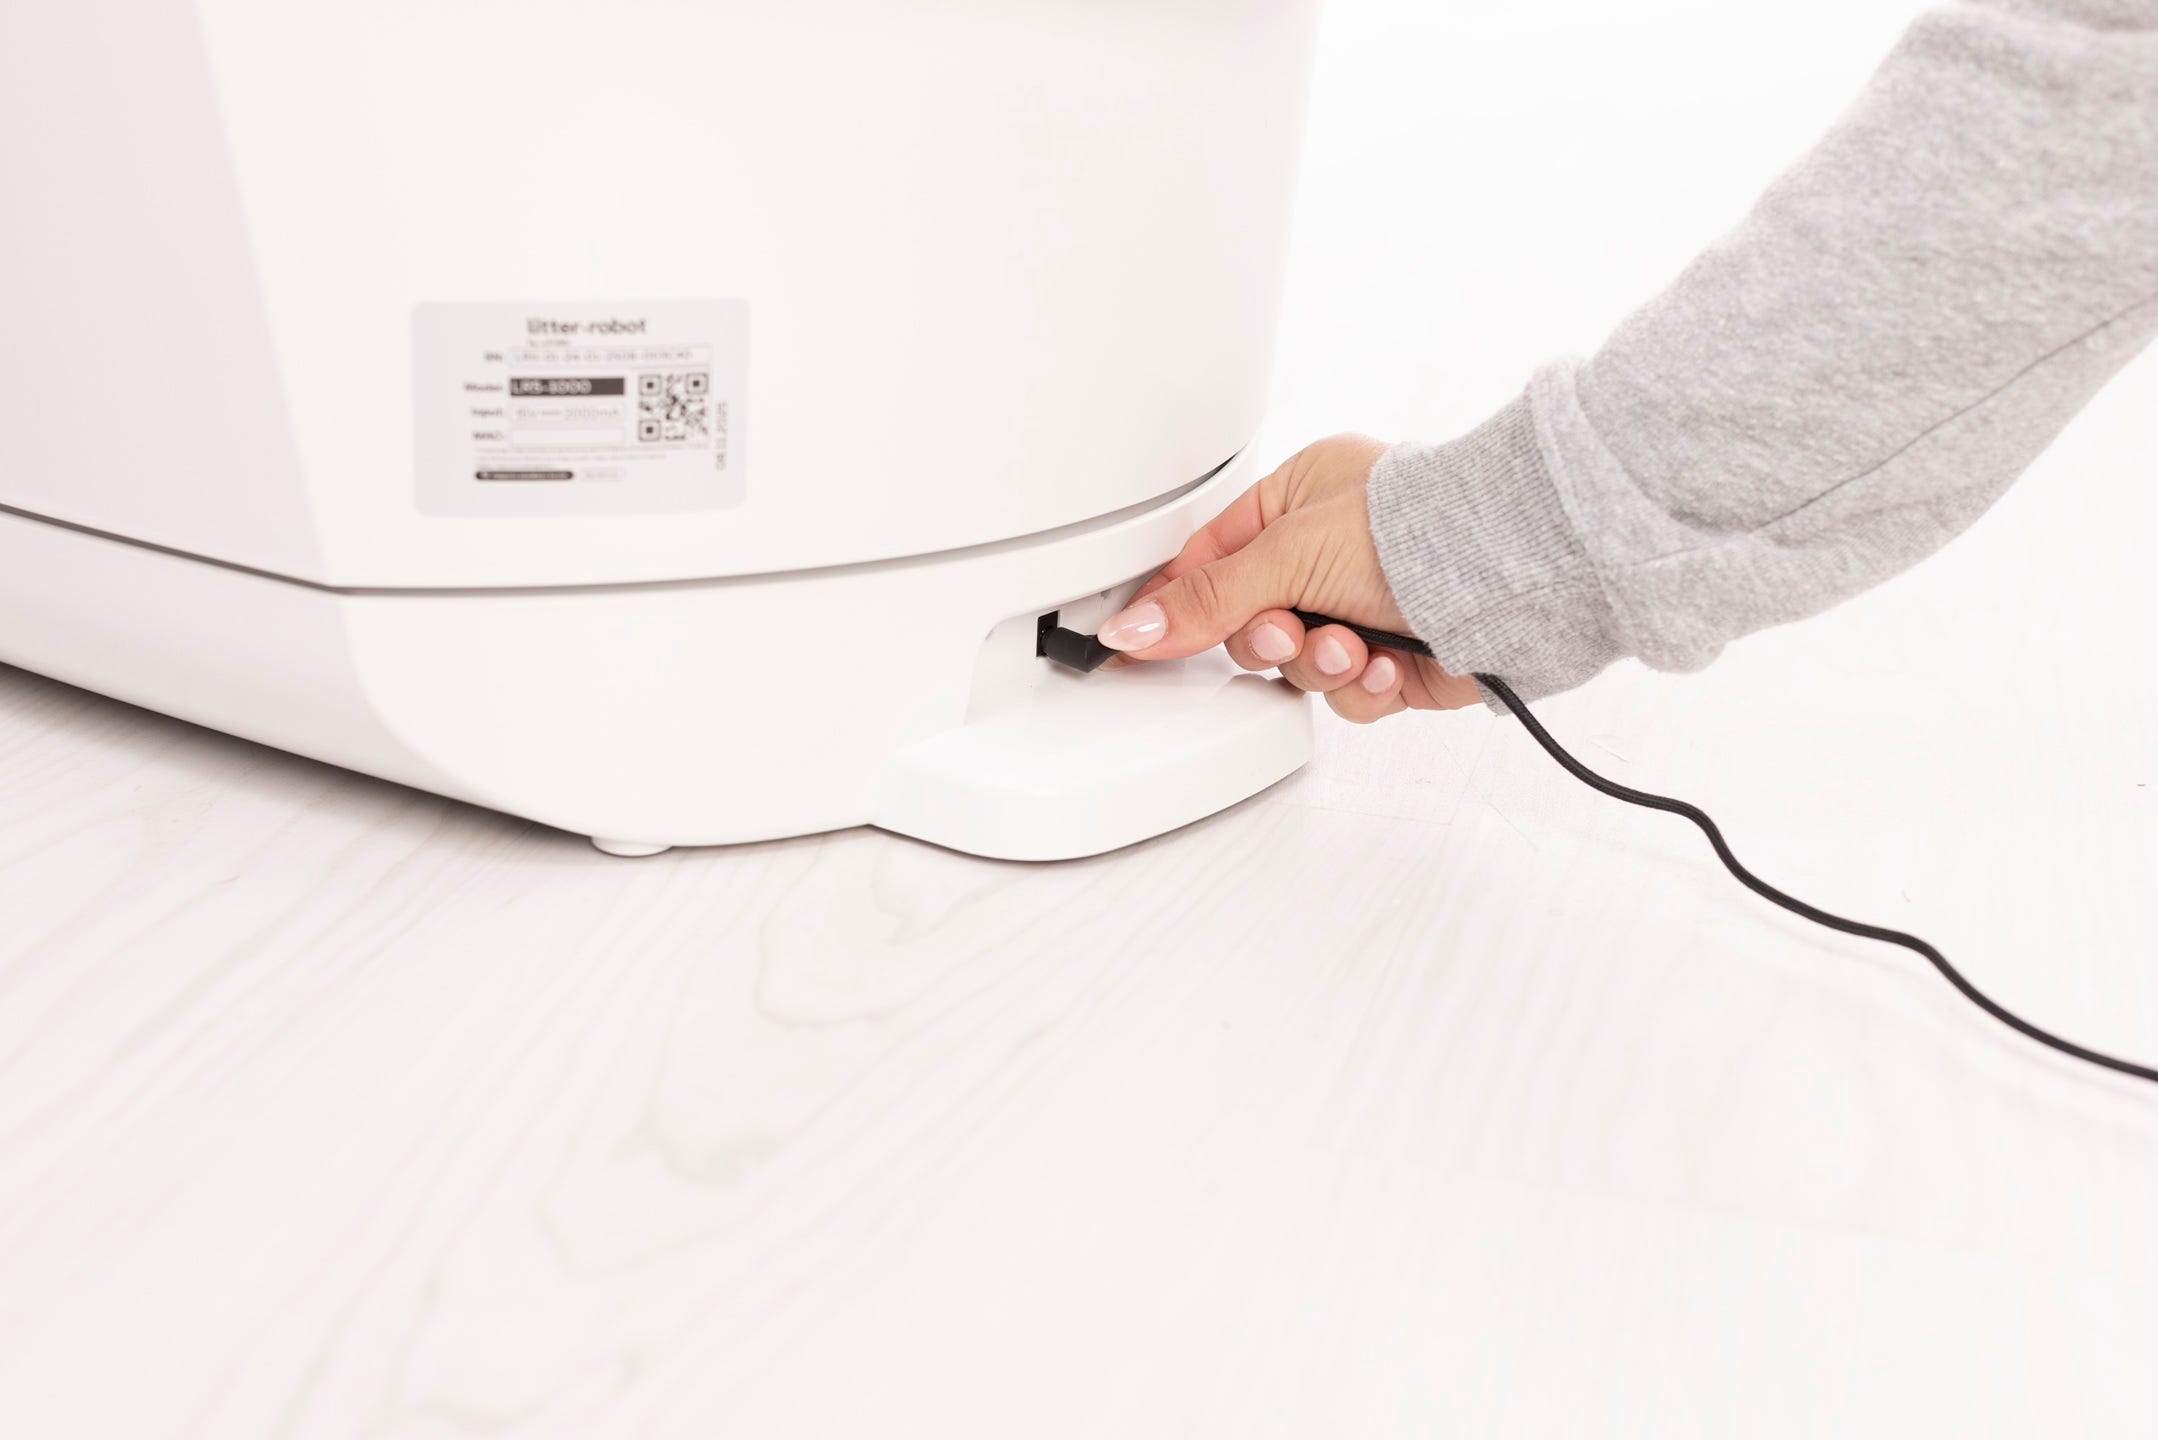
 Power button to turn the unit off, then unplug the unit.
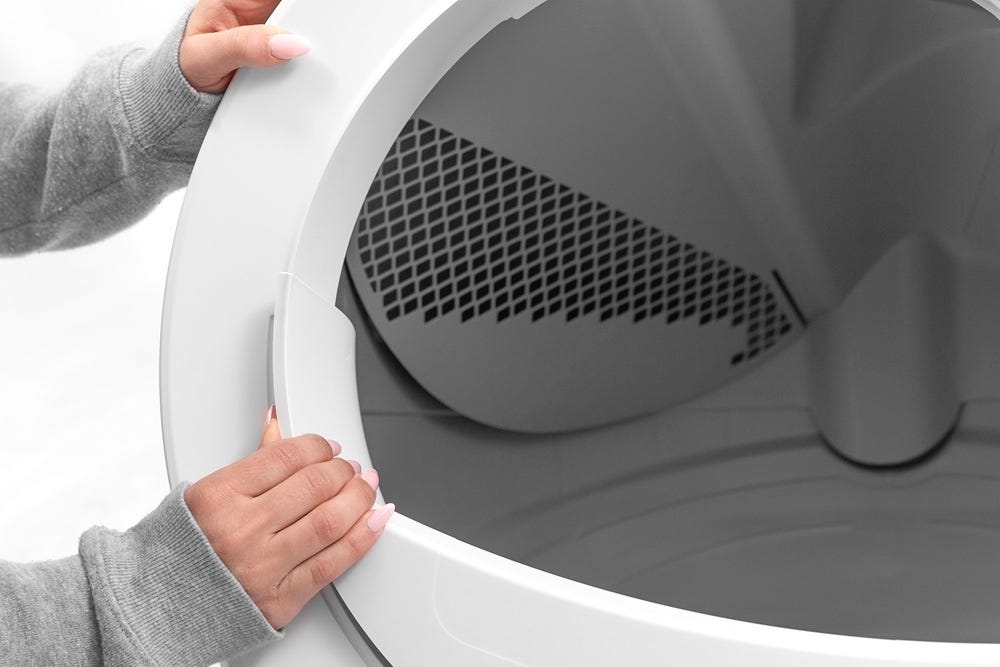
- If you have the fence or other accessories installed, remove them from the bezel
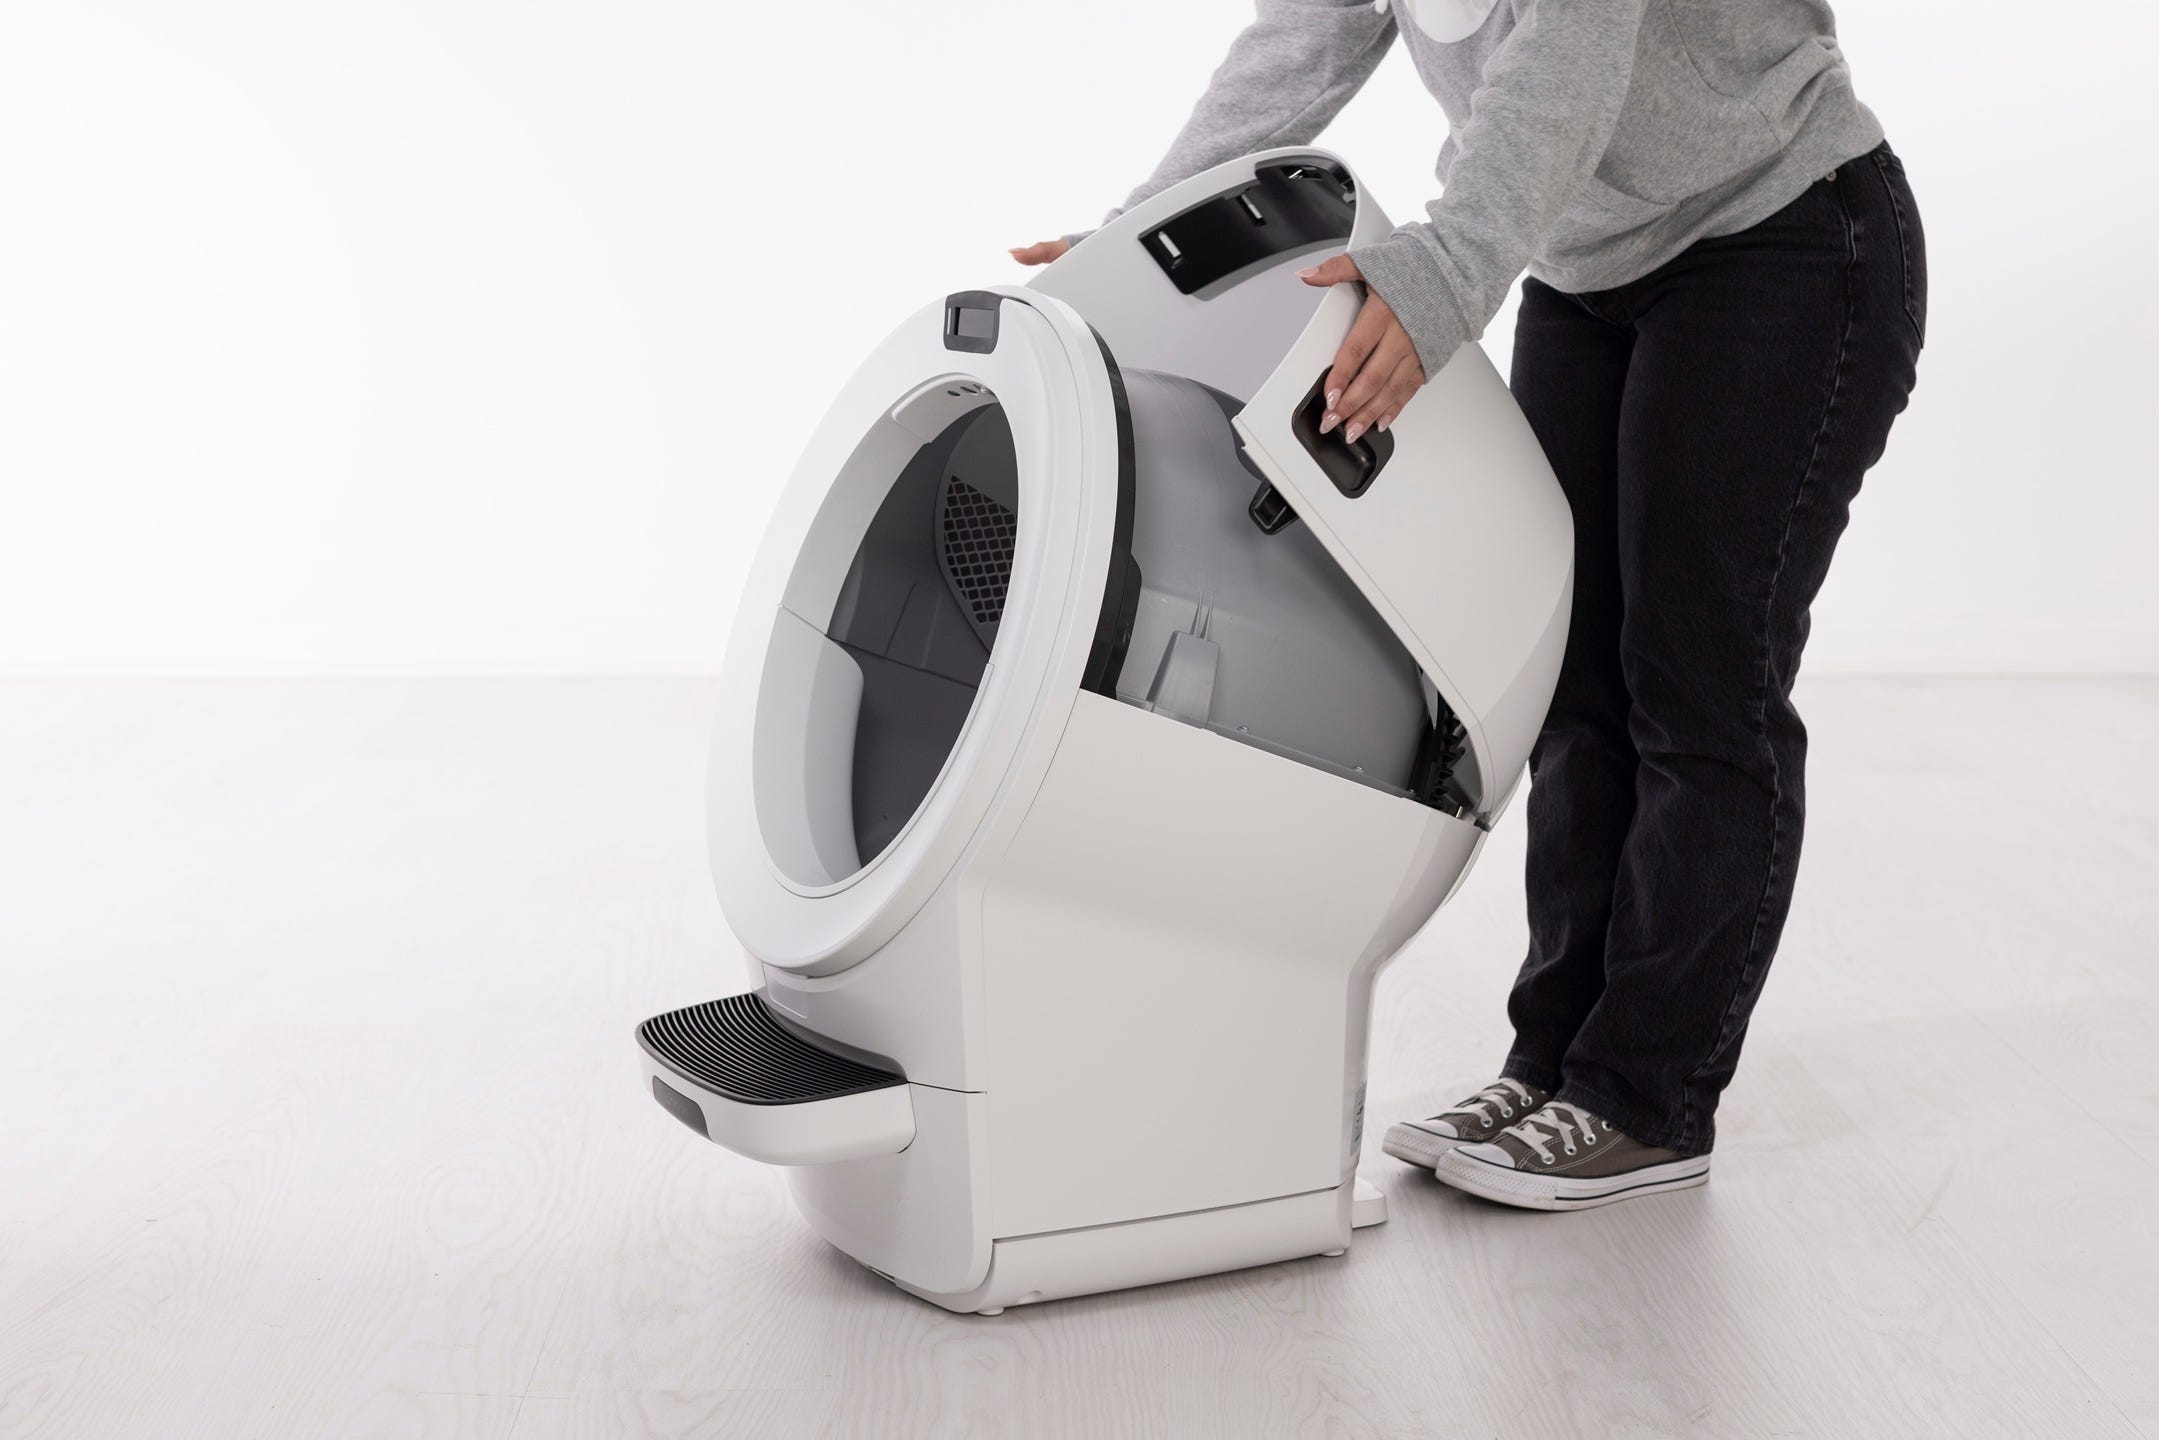
Remove the bonnet:
Press and hold the latches on both sides of the bonnet, then lift and rotate it to about 45° before pulling up and away. Set the bonnet aside.
- Remove the globe and key:
- Grab the black handle located on top of the globe, lift the globe off the base, and set it on the floor. Be mindful of the key, which may have fallen out from the rear of the globe.
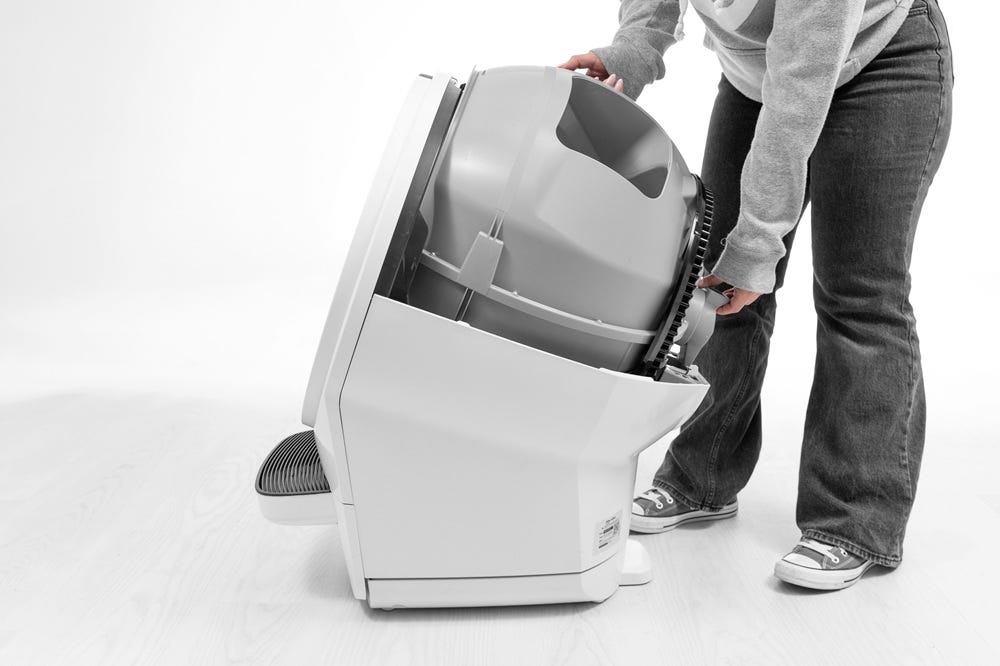
- Locate the motor cover in the base. Using a Phillips-head screwdriver, remove the three (3) screws from the motor cover.
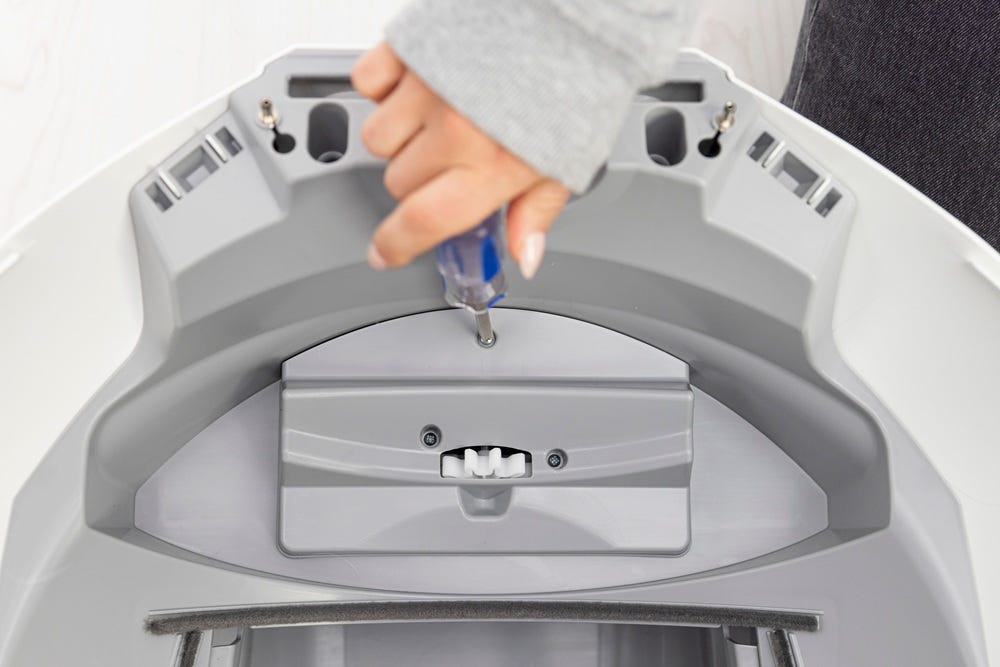
- Remove the motor cover.
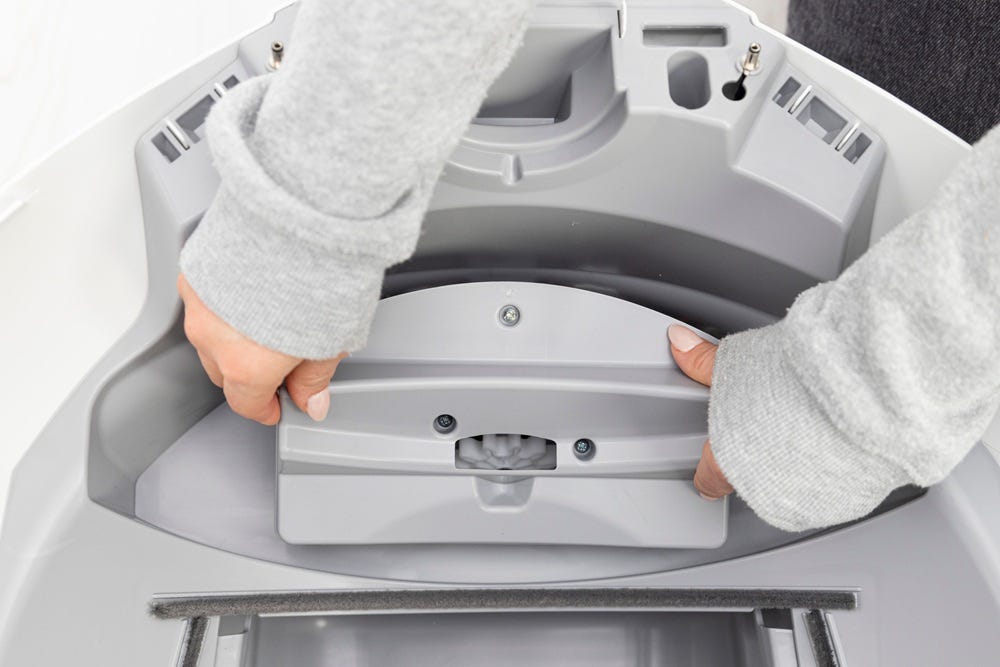
- Remove the rubber motor isolator and set it aside.
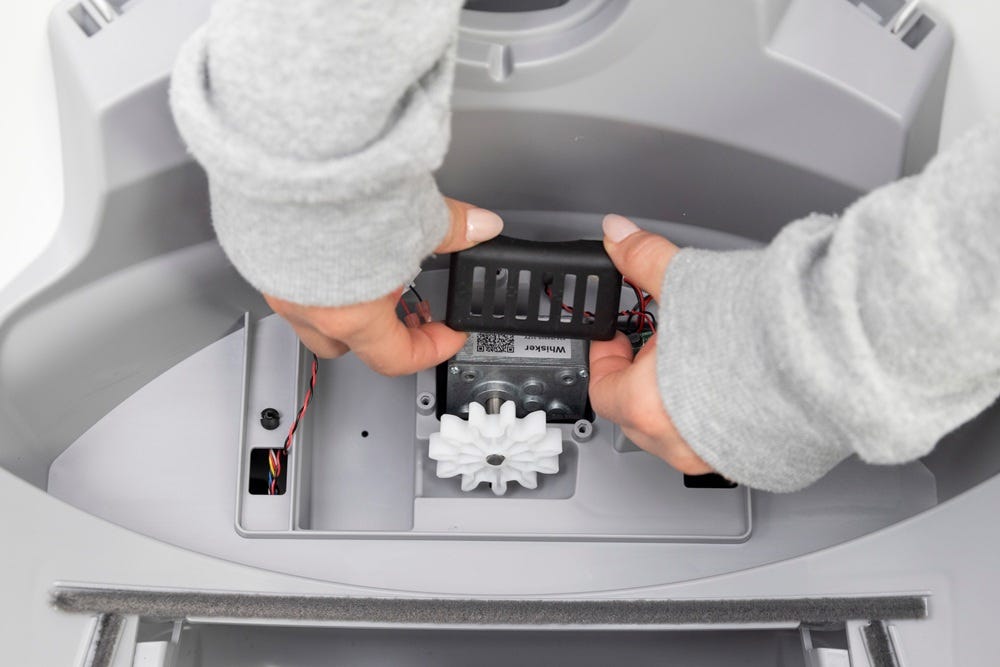
- Locate the motor wire connector. Hold the white plastic connectors on each side and gently pull them apart to disconnect the motor from the wire harness. Avoid pulling on the wires.
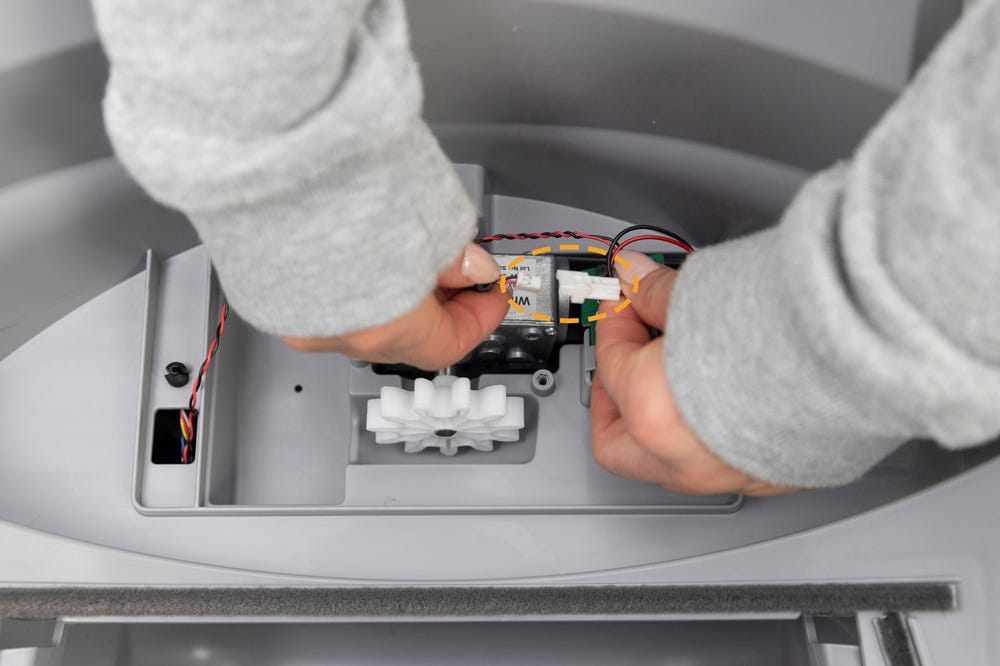
- Gently lift the motor out of the unit. Be careful not to disturb the small green circuit board.
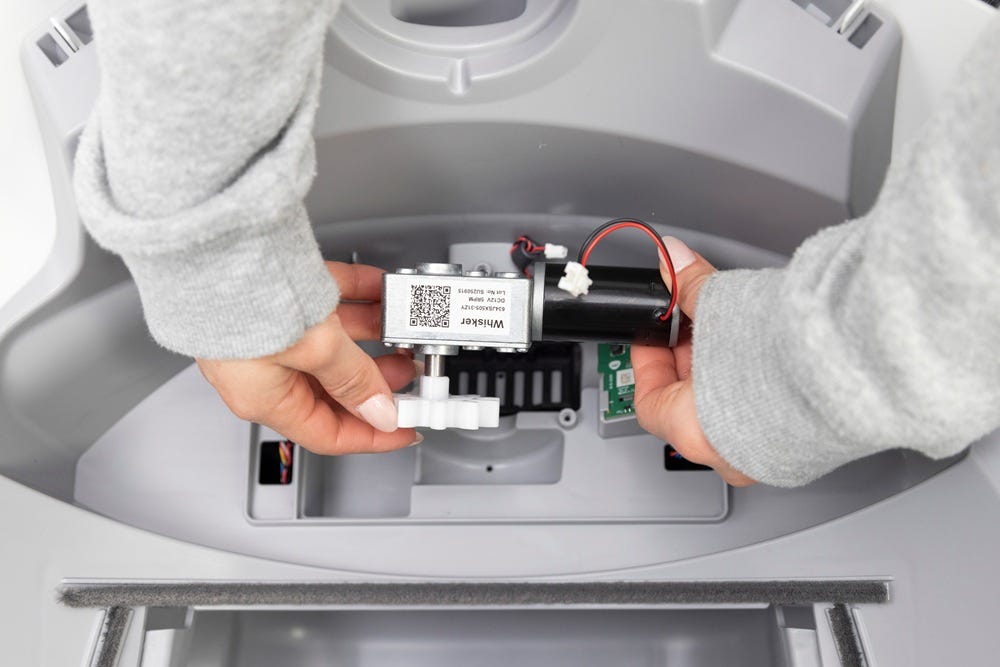
- Install the new motor:
Gently lower the motor into position.
Connect the motor wire connector to the wire harness connector.
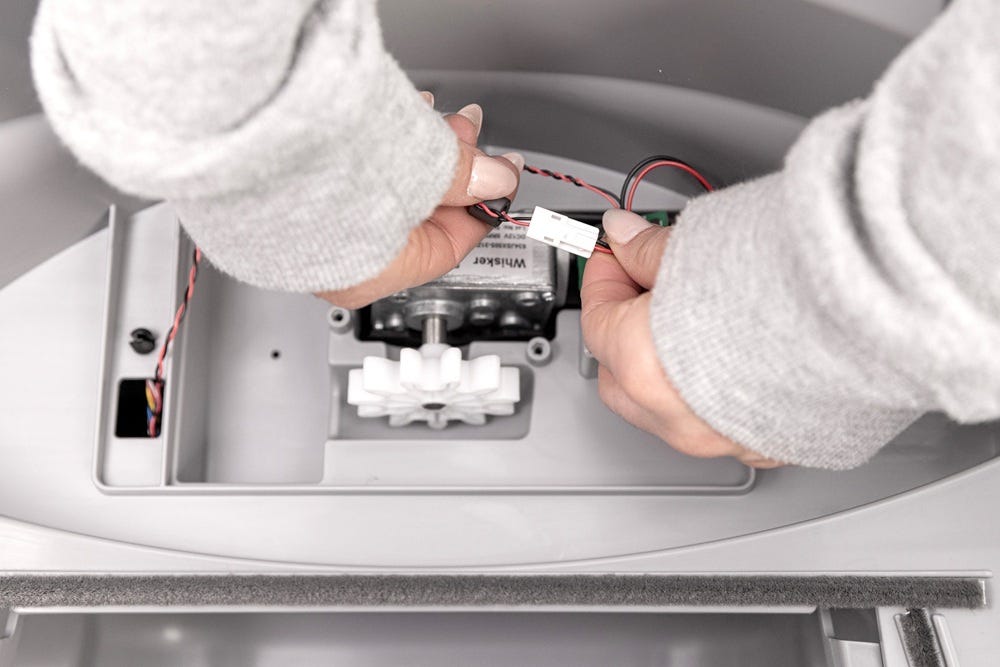
- Check to make sure the motor is properly seated inside the rubber motor isolator.
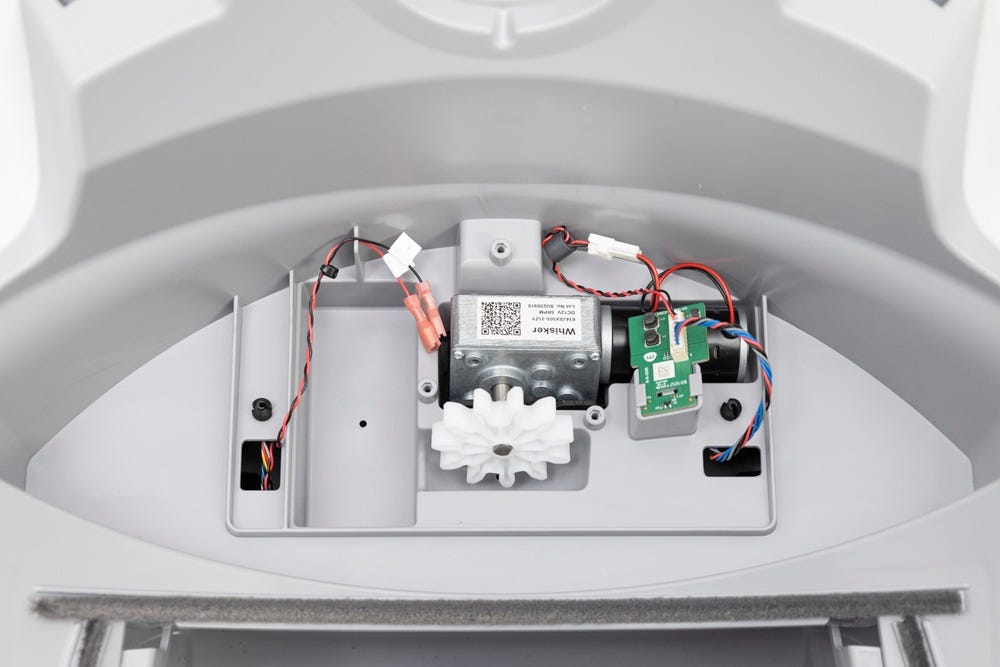
- Place the rubber motor isolator on top of the motor.
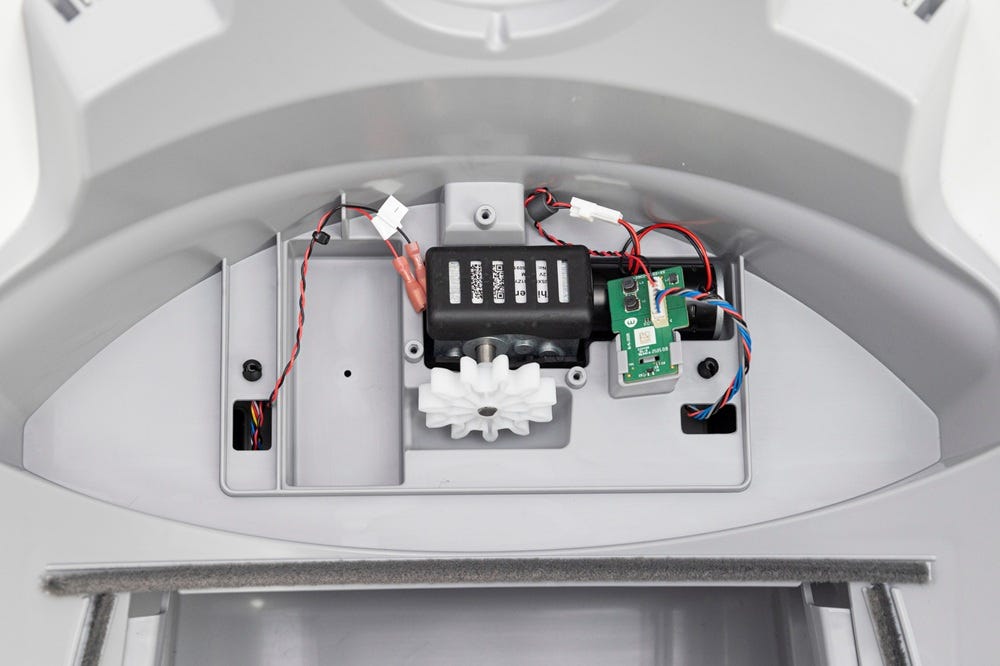
- Ensure the motor wire connector is out of the way and not preventing the cover from resting properly in place.
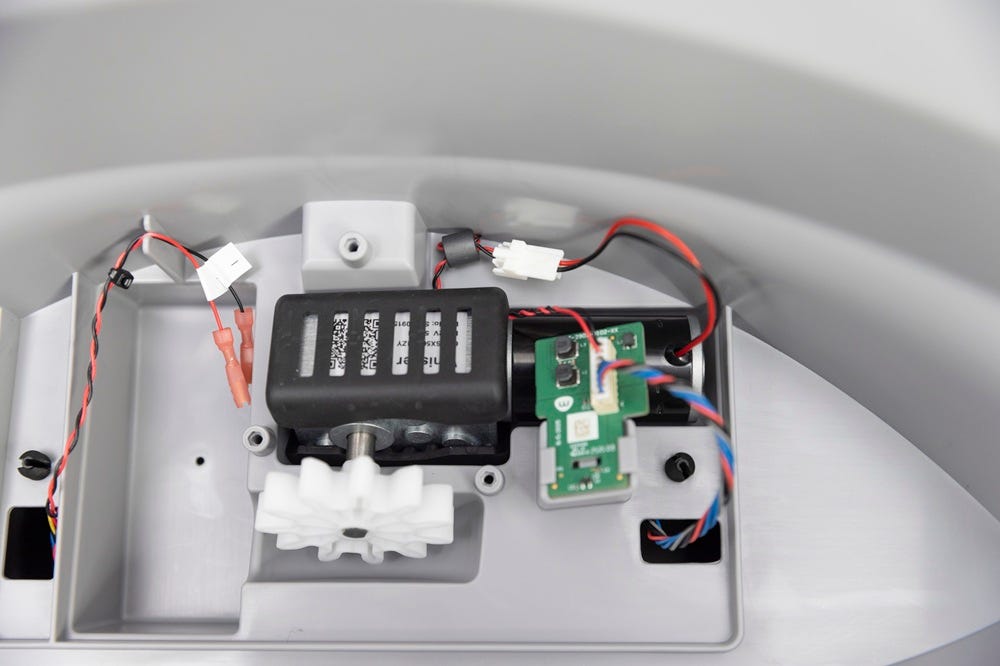
- Reinstall the motor cover using the three (3) Phillips screws – do not overtighten.
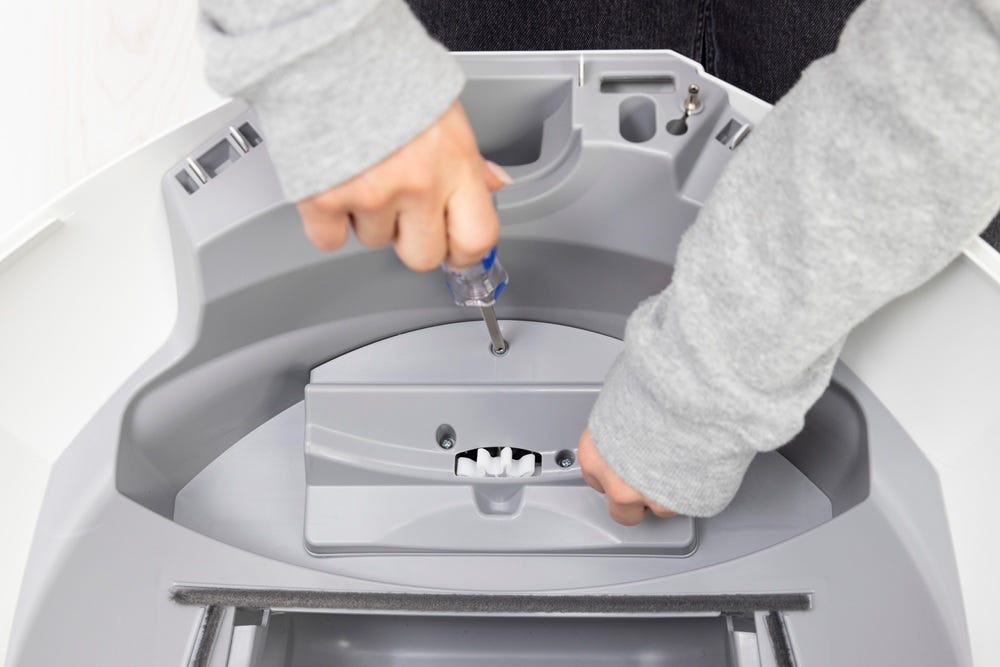
- Reattach the globe and key:
- Ensure the key is inserted into the back of the globe. Lift the globe by the handle with one hand, and use your other hand to hold the key in place as you lower the globe into the base.
- Ensure the back of the globe is sitting flush in the rear bearing pocket. The large black gear on the rear of the globe will line up with the small white gear in the base.
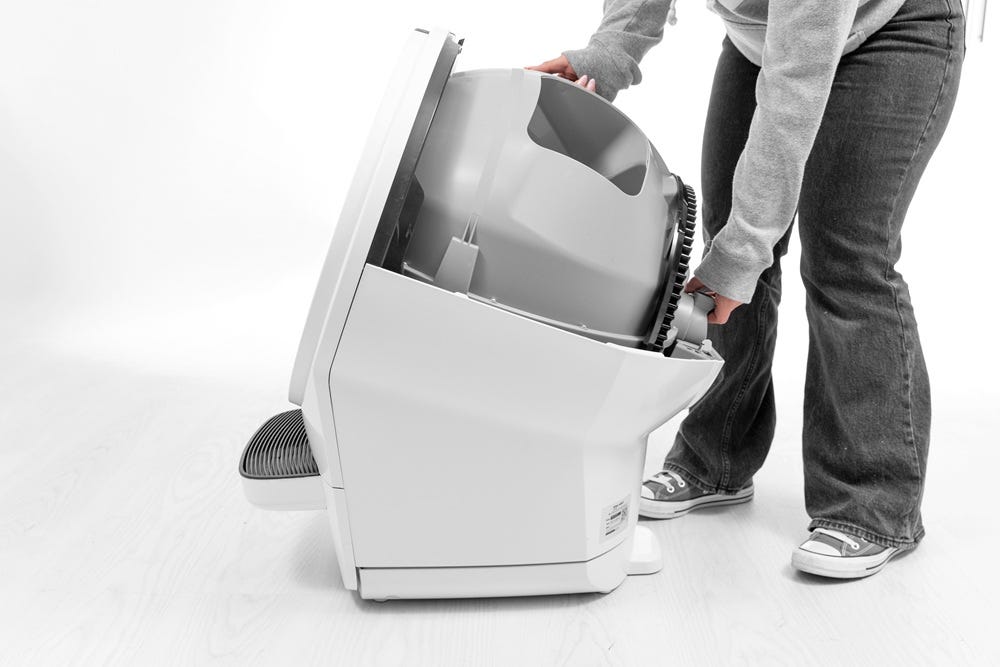
- Replace the bonnet:
- Insert the two rear tabs on the bonnet into the rectangular pockets behind the globe. You may need to rotate the bonnet slightly in either direction until it drops into place.
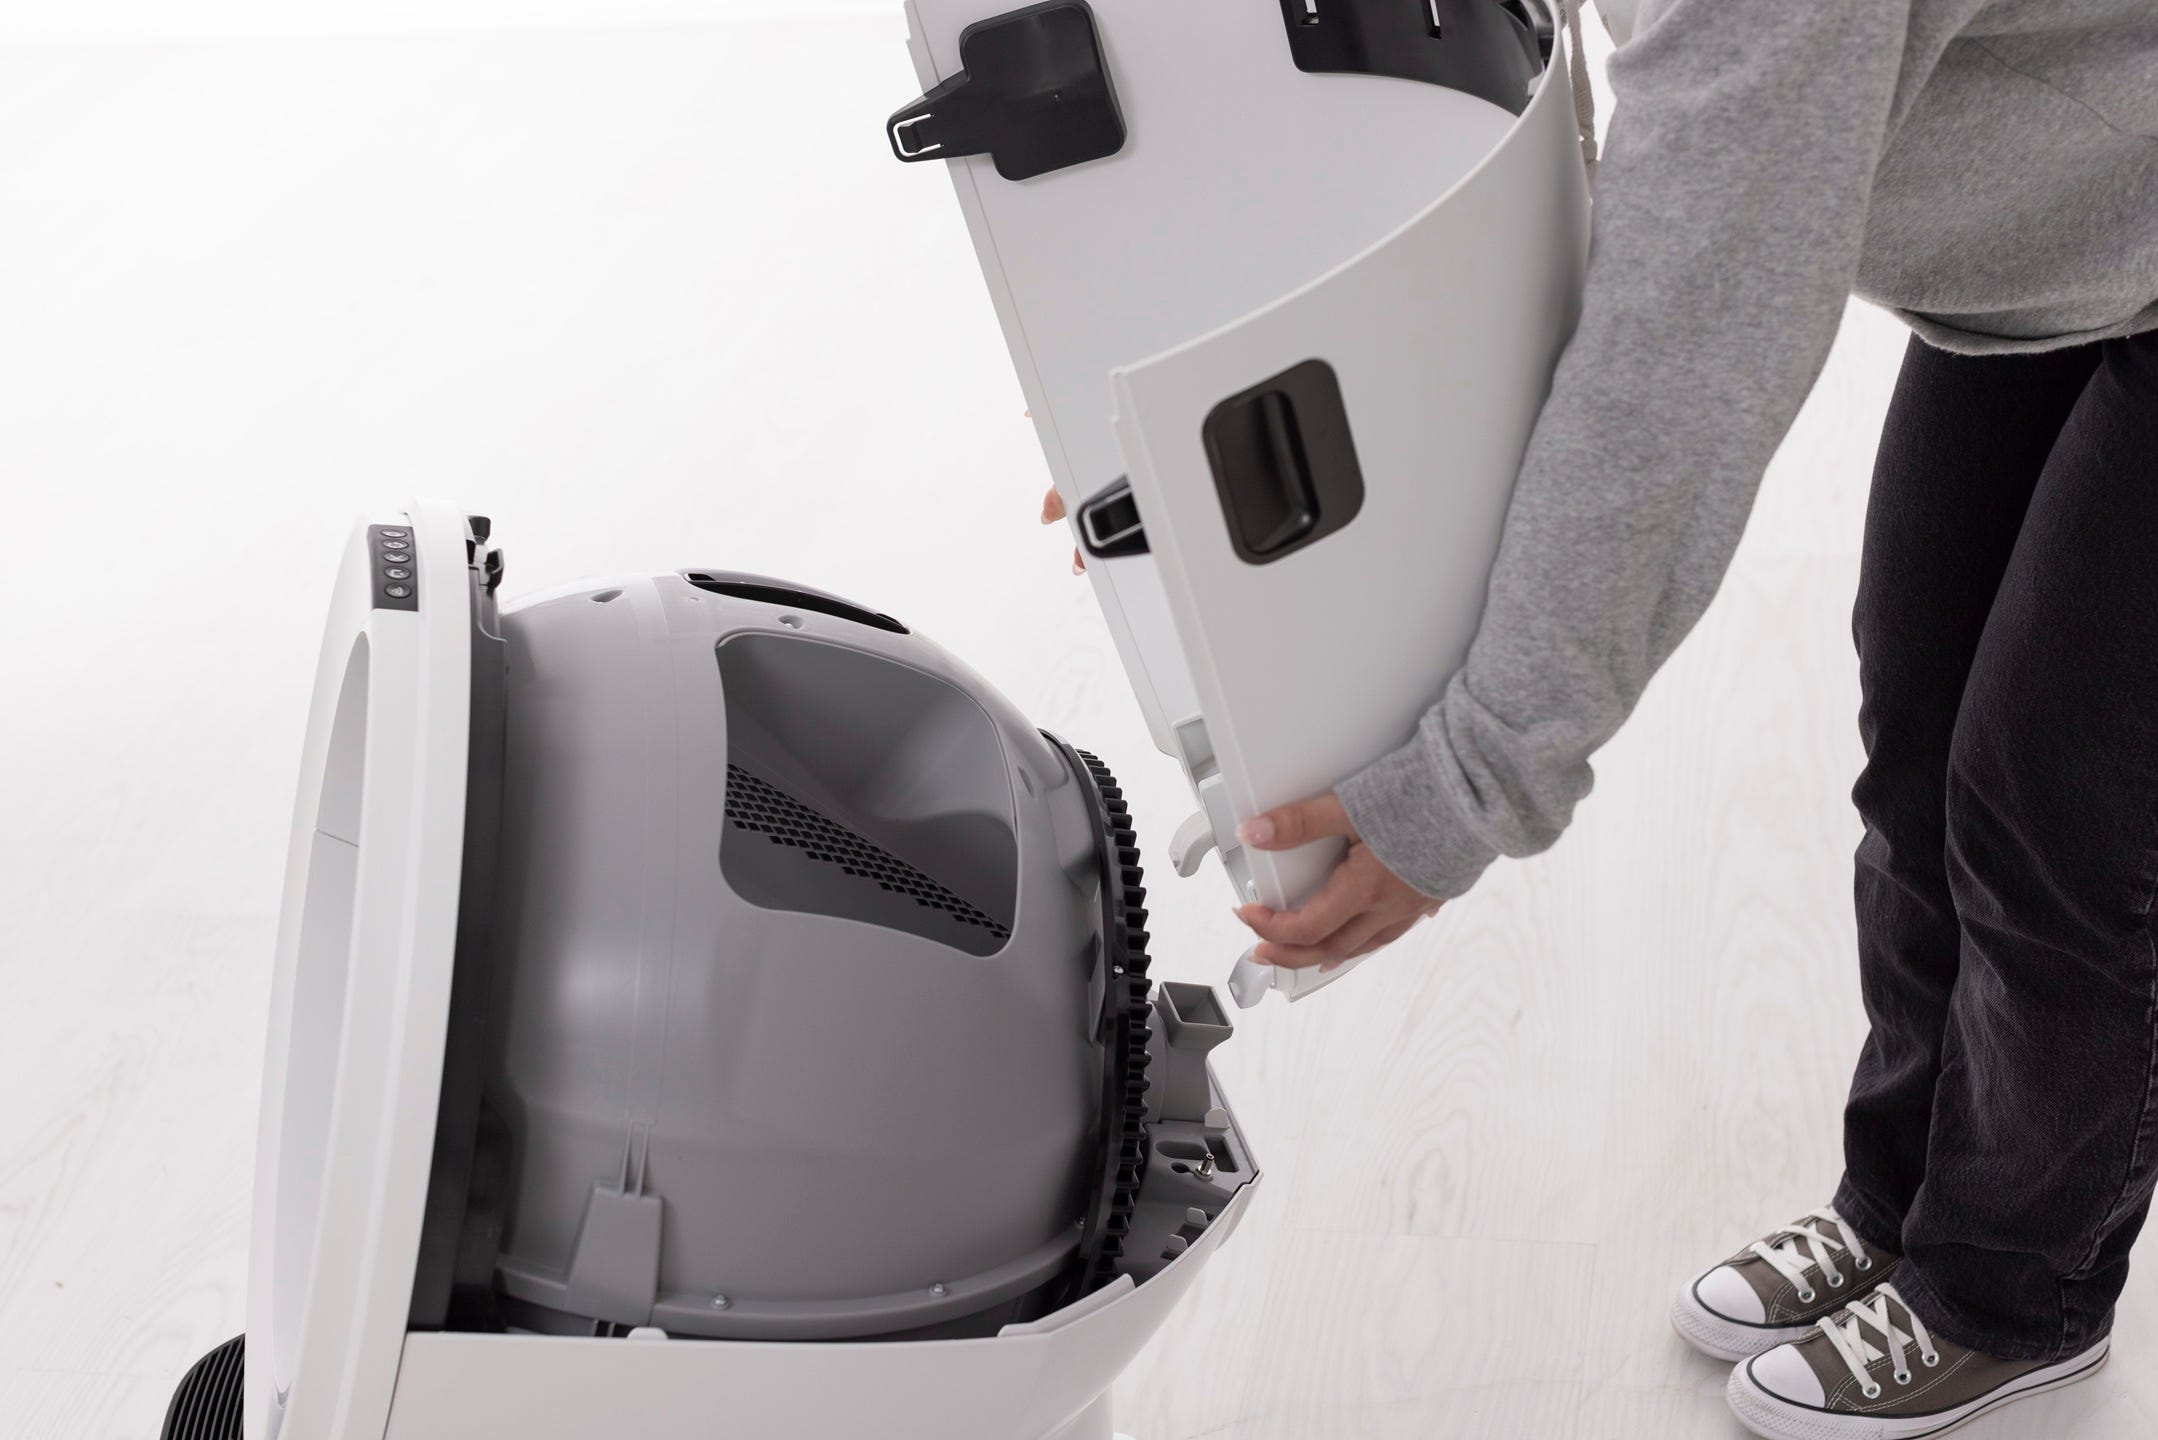
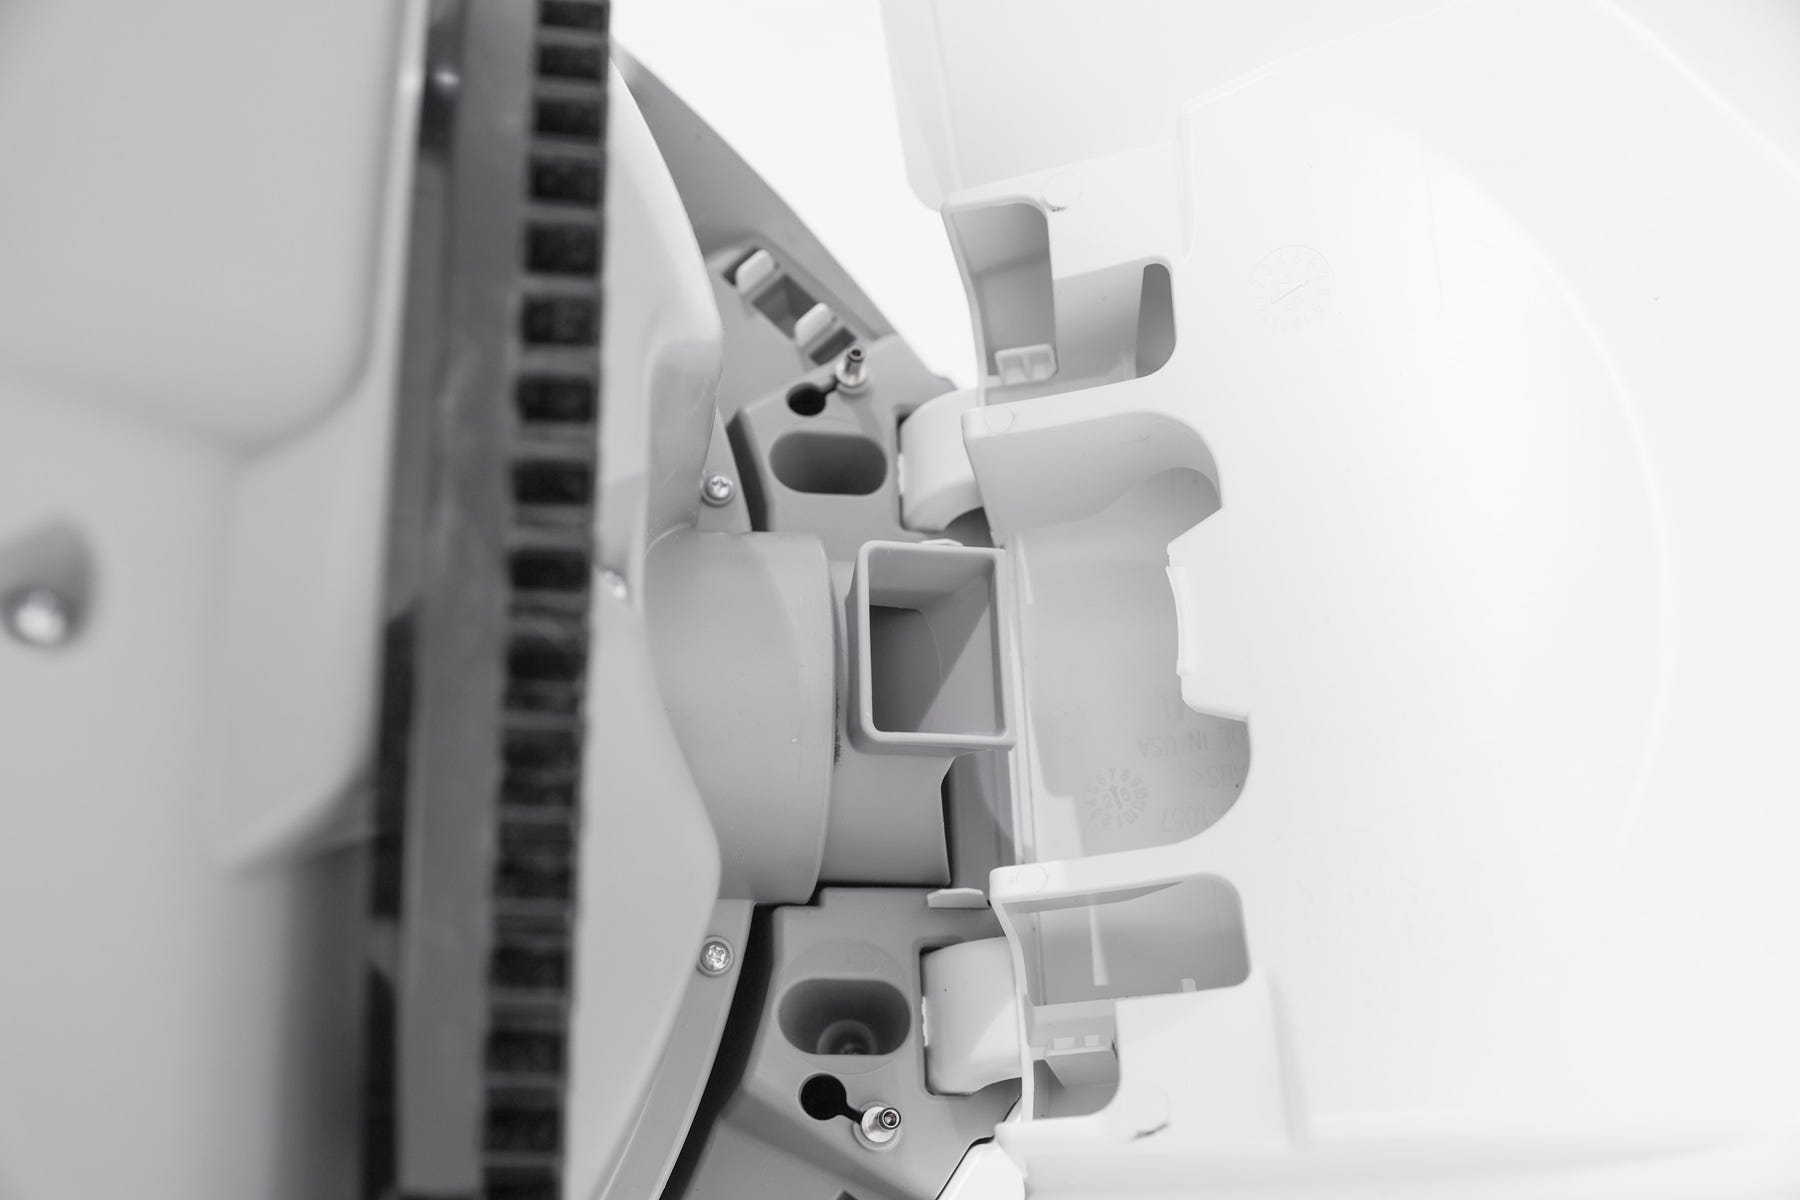
- Rotate the bonnet down over the globe, then push down on the bonnet from the top to make sure it is latched and secure.
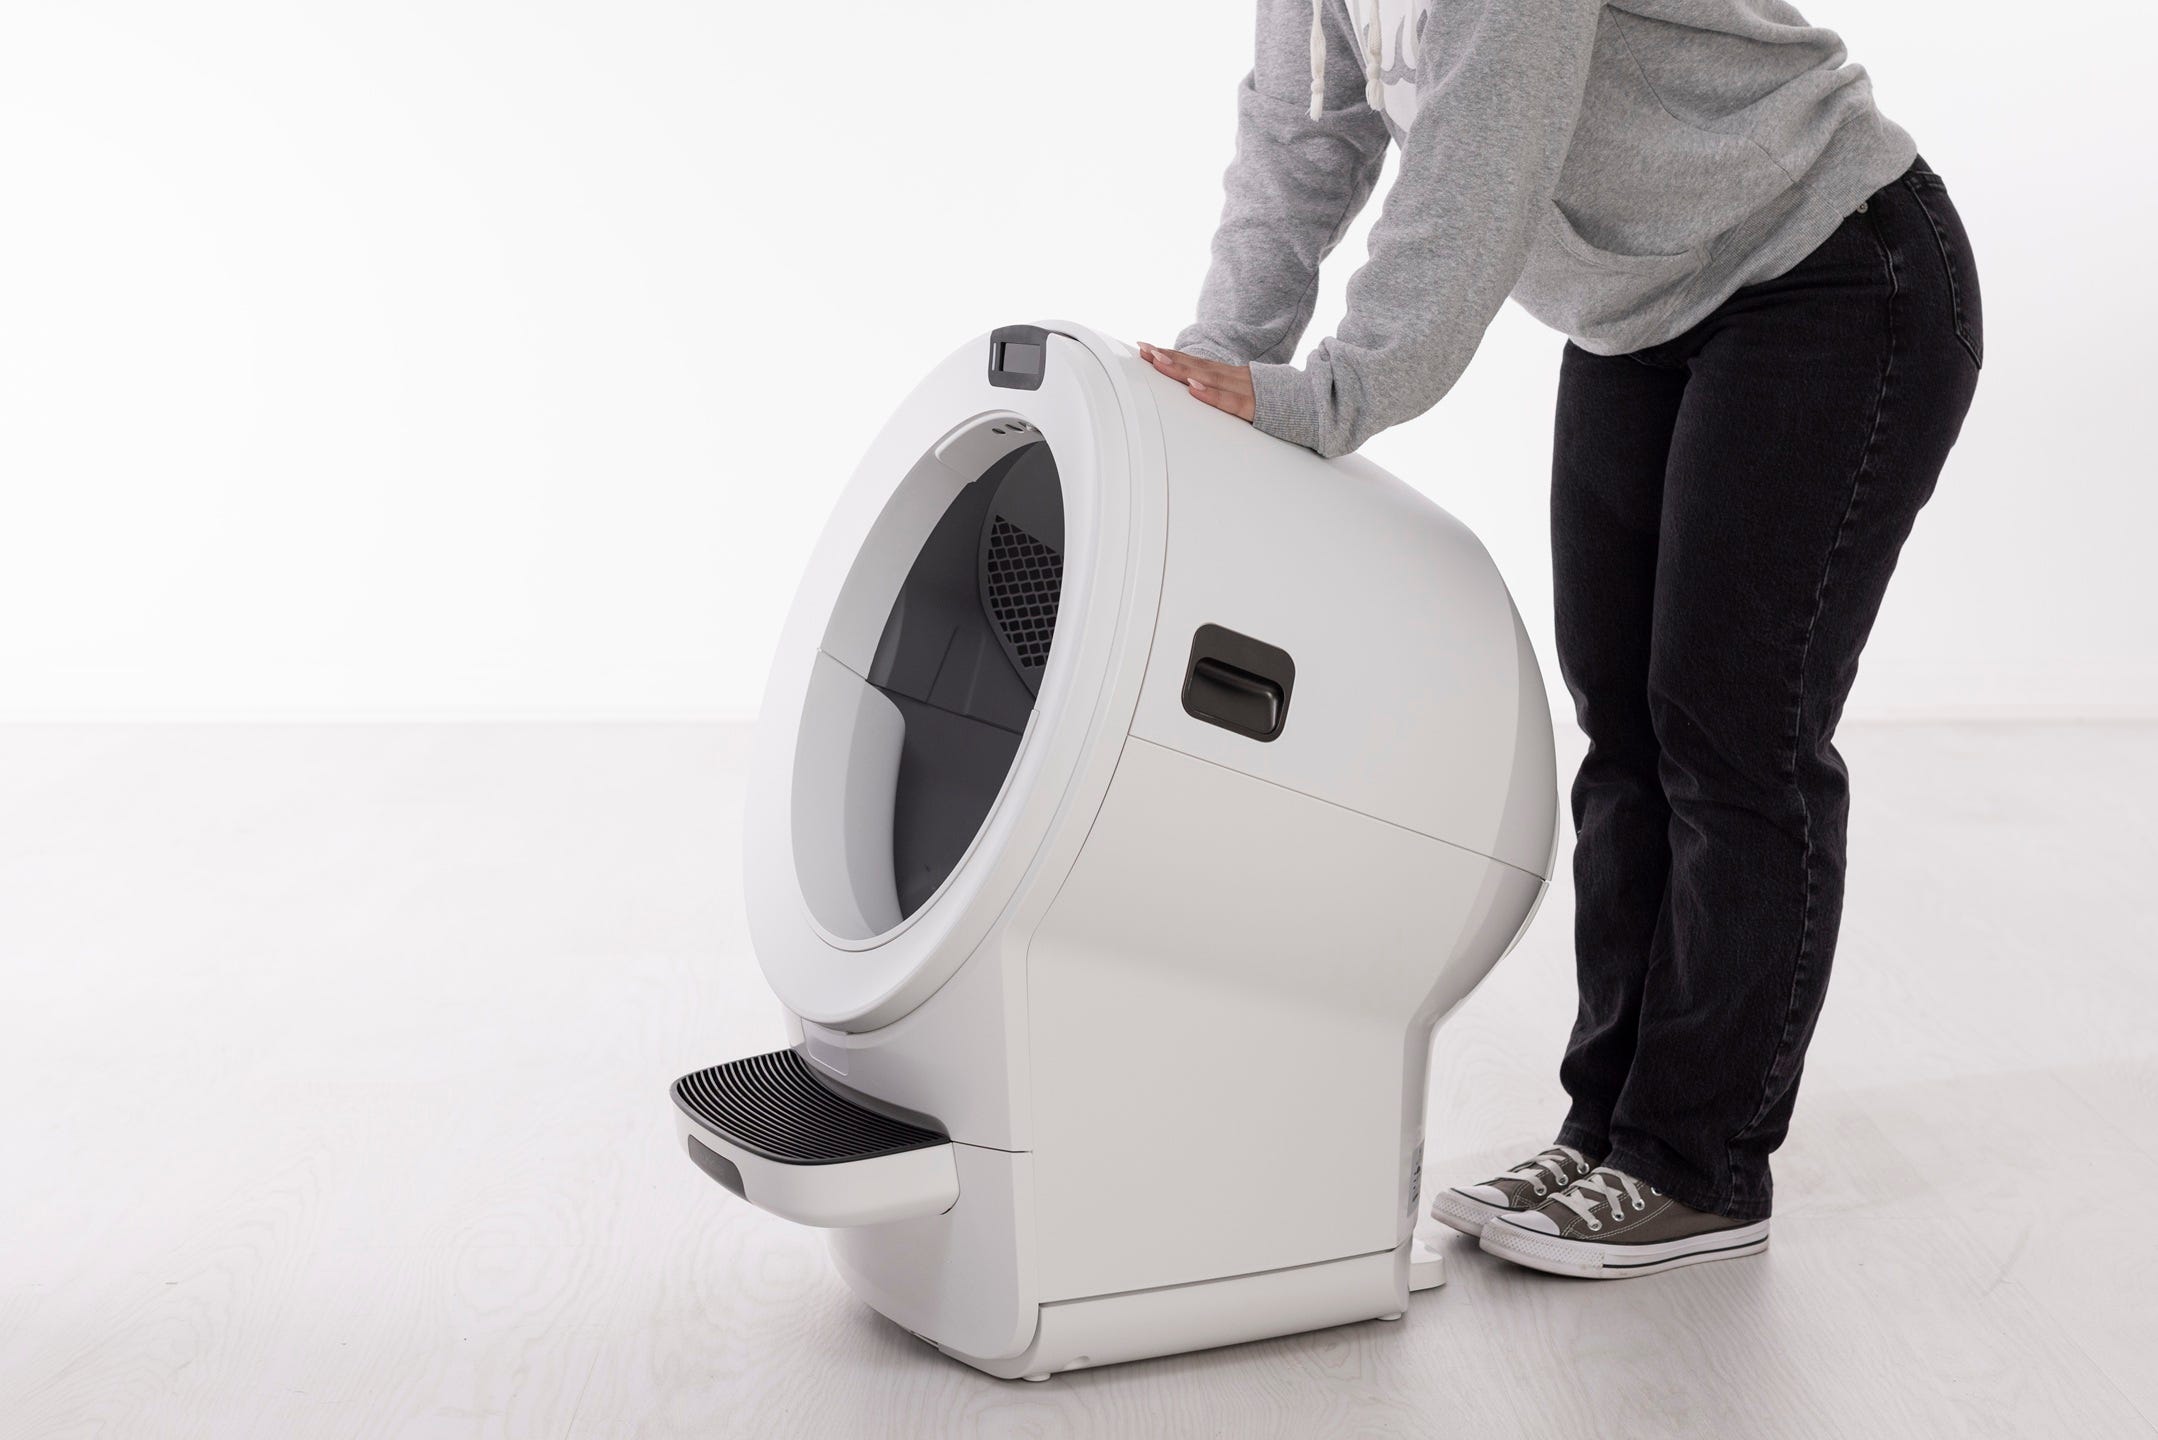
- If desired, re-install the fence or other accessories by snapping them onto the bezel at the globe entrance.
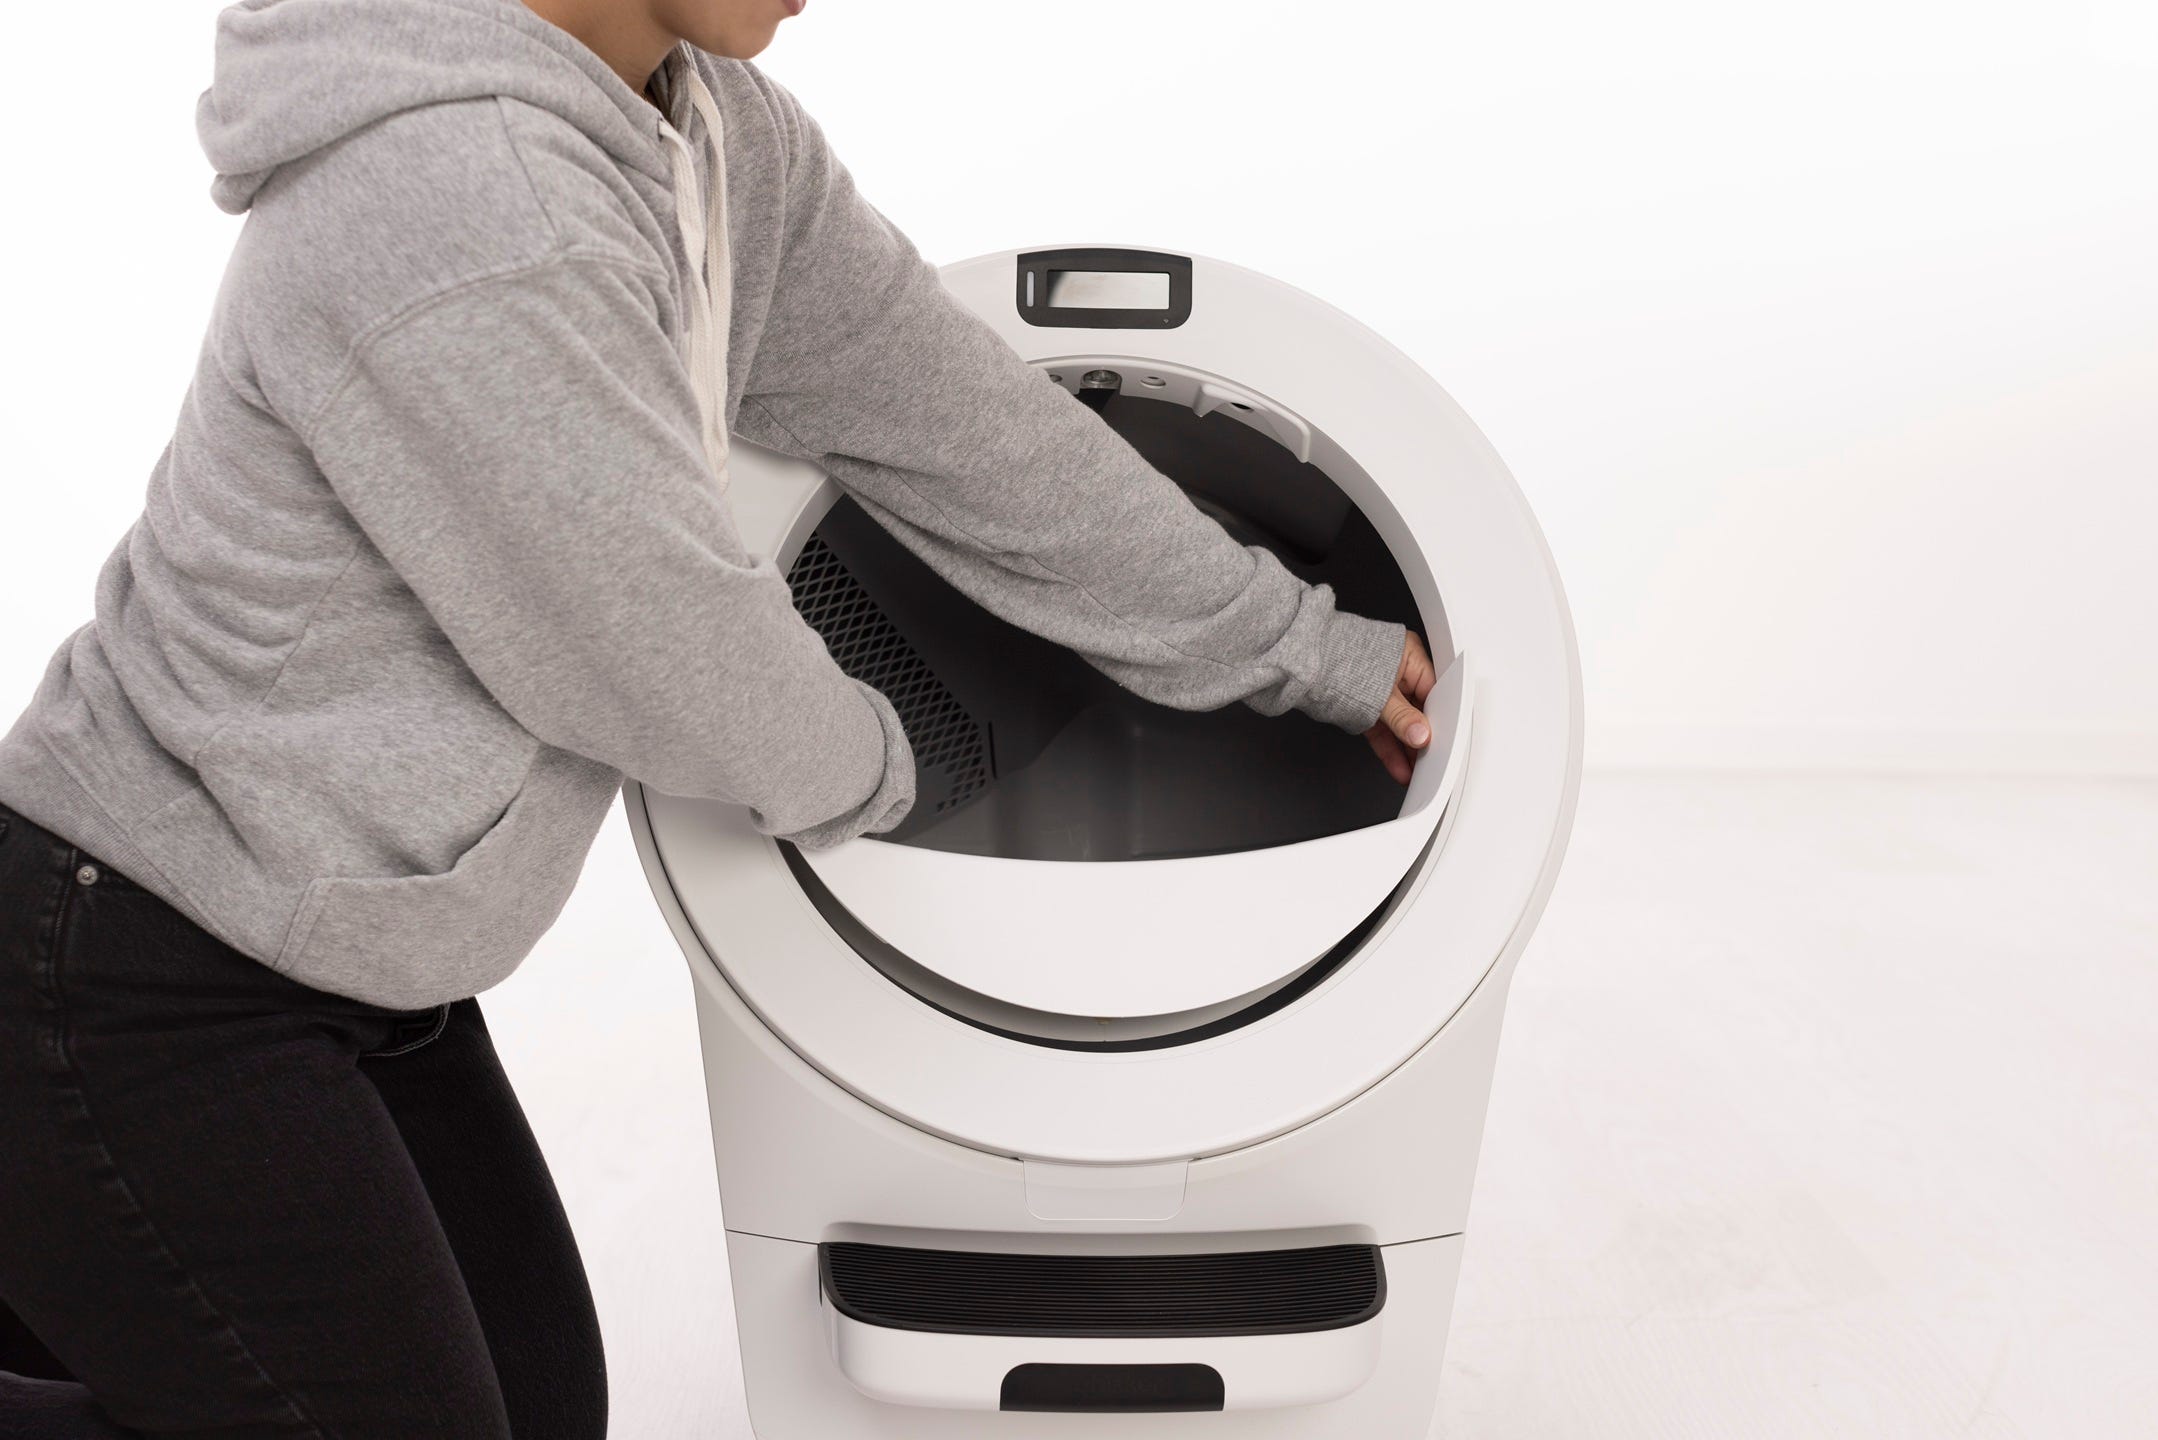
- Plug the unit back in and power it on.
Didn't find what you're looking for?
Live support available Mon-Fri: 9AM-9PM EST and Sat-Sun: 9AM-5PM EST, or submit a ticket anytime.