The store will not work correctly in the case when cookies are disabled.
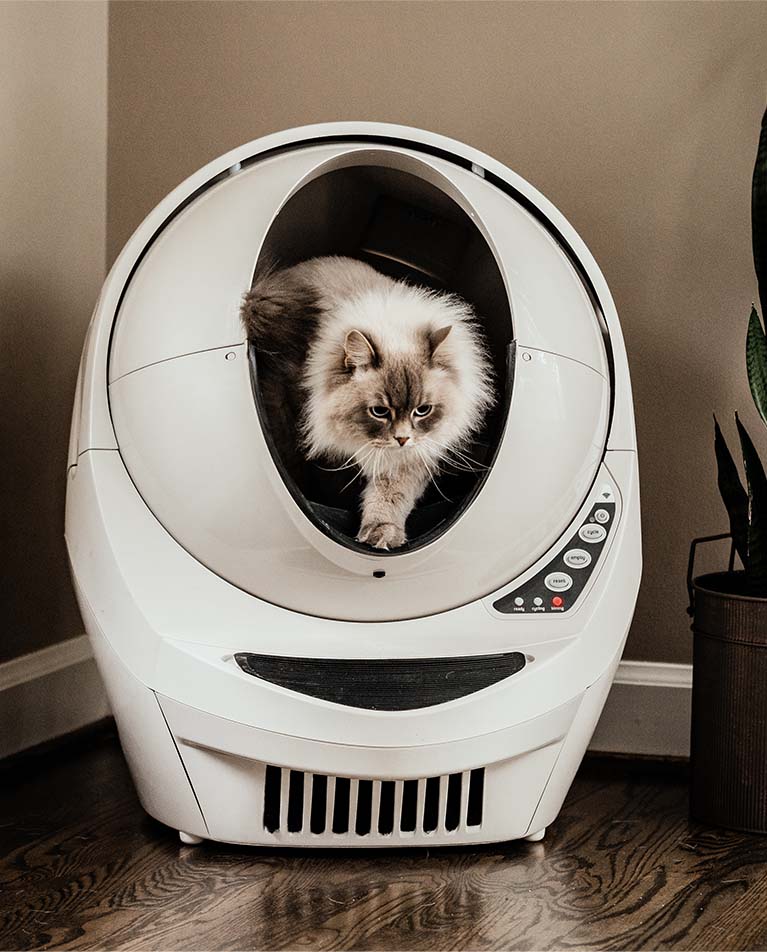
Getting started with Litter-Robot 3
Your Litter-Robot 3 ships fully assembled. Follow these steps to get started or refer to the user manual for more information.
Important safety instructions

Caution
Never push Litter-Robot against a wall or into a corner (must not be touching any walls).

Caution
Cats must weigh at least 2.5 kg to safely use Litter-Robot in automatic mode.

Litter-Robot 3

Power Supply

1 Carbon Filter

3 Waste Drawer Liners

Accessories (optional – sold separately or in a bundle)

Remove cardboard & tape
Remove the cardboard spacers between the bonnet and globe, and between the waste drawer and base. Remove the tape from around the entryway.

Check bonnet tabs
Confirm that the side and rear bonnet tabs on both sides of the unit are secured in their corresponding slots.

Secure the key
Confirm that the key on the rear of the unit is located in the pocket.
Ensure proper placement
Your Litter-Robot comes fully assembled and ready to use. Get started by following the steps below.
- If possible, place Litter-Robot in the same location as the old litter box (at least during transition).
- Make sure the unit is on a firm, level surface in a cool, dry location.
- Locate the unit near a power outlet. Ensure the unit isn’t pushed against a wall or into a corner (must not be touching any walls).
- Place litter mats or rugs in front of the unit.


Add clumping litter
Litter-Robot’s litter sifting system requires clumping litter. Litter beads and crystals that are small enough to pass through the screen will also work.

What not to use
DO NOT use litters that are strictly absorbent, non-clumping, loose-clumping, newspaper-based, or wood-based pellets.

Don’t overfill
Fill the globe through the opening until litter meets the raised fill line when spread flat (3.6-4.5 kg). Be careful not to overfill the globe.

Plug it in
Plug the small end of the power supply into the socket on the back of the base. Then plug the AC/DC adapter into a wall outlet.

Initial clean cycle
Locate and press the Power button. Litter-Robot will perform an initial clean cycle that will last about 2 ½ minutes.


Onboarding the app
Download the Whisker app
For Litter-Robot Connect units only: Download the Whisker app and follow the onboarding instructions.

Screens may vary as app gets updated.


Empty the waste drawer when indicated
Empty the waste drawer when indicated by the app or the flashing blue light on the control panel. How often you empty the waste drawer depends on the number and size of your cats. For two average-sized cats, twice per week is typical. For a single cat, once per week is usually sufficient.
To empty the waste drawer, simply pull out the waste drawer using the handle, and gather the edges of the liner bag and dispose. To install a new liner or trash bag, just roll down the edges of the liner a few times and push the rolled edge of the bag into each of the four tabs. Always press the Reset button after emptying the waste drawer.


Add litter as needed
How often you add litter depends on how many cats use Litter-Robot and how frequently they use it. Litter-Robot uses litter very efficiently since the patented sifting mechanism only removes the clumps. We recommend checking the litter level each time you empty the waste drawer. If the litter is below the raised fill line inside the globe, add just enough litter to meet the line. Always press the Reset button after adding litter.
Control panel buttons


Power
- Press and release the Power button to turn the robot ON or OFF. The robot will begin a clean cycle when power is turned on.
- Press and hold, while at the home position, to enter night light setting mode.
Empty
- Press and release the Empty button to start an empty cycle (empties all litter into the waste drawer).
- Press and hold, while at the home position, to enter wait time setting mode.

Cycle
- Press and release the Cycle button to start a clean cycle.
- Press and hold, while at the home position, to enter sleep mode.

Reset
- Press and release the Reset button to reset the cat sensor. (Do this after emptying the waste drawer, adding litter, etc.)
- Press and hold, while at the home position, to enter control panel lockout.
Solid blue
Robot ready and connected.

Flashing blue
Waste drawer full.

Solid blue and yellow
Sleep mode enabled, within specified sleep time.

Solid yellow
Robot cycling.

Slow flashing yellow
Cycle interrupted or bonnet removed; check for excess litter or check bonnet.

Quick flashing yellow
Potential pinch condition detected; check for blockage and press any button.
Solid red
Cat detected and wait time countdown initiated. No action required or press Reset to cancel timing.

Flashing red
Cat sensor fault. Check for excess weight (such as too much waste or litter) and press Reset.


Litter-Robot 3 Ramp
Learn how to install the Litter-Robot 3 Ramp with our Ramp Installation Guide.

Litter-Robot 3 Fence
Learn how to install the Litter-Robot 3 Fence with our Fence Installation Guide.

Litter-Robot 3 Carbon Filter
Learn how to install the Litter-Robot 3 Carbon Filter with our Carbon Filter Installation Guide.
