The store will not work correctly in the case when cookies are disabled.

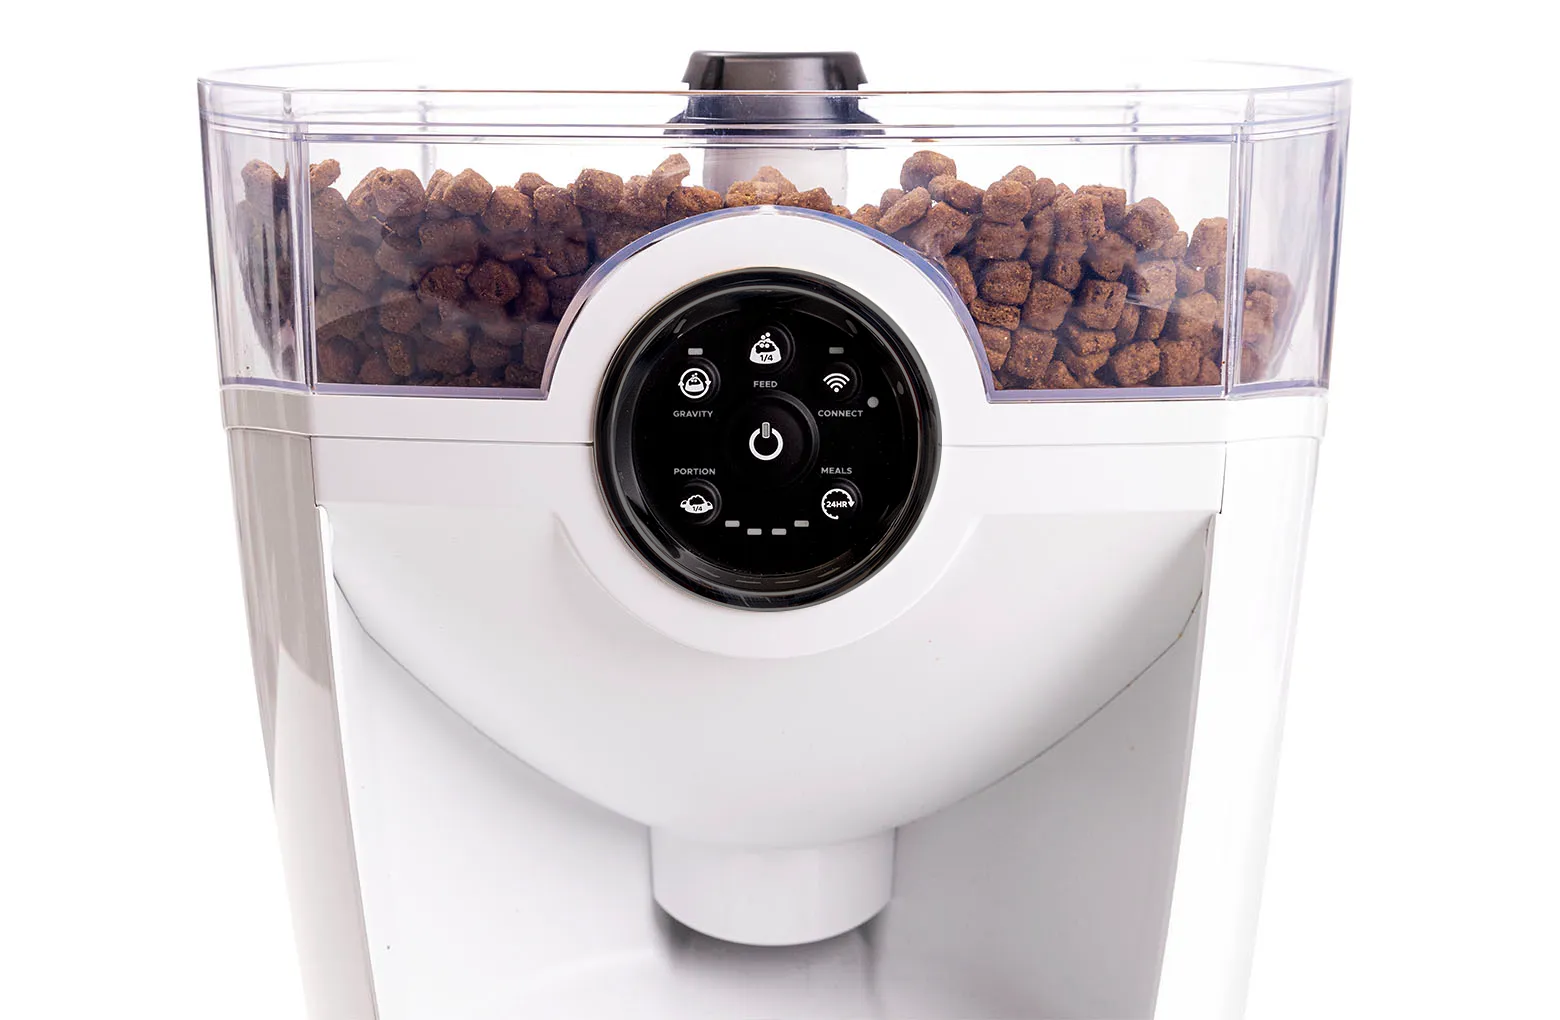
Feeder-Robot: Hopper Insert Installation Guide
Learn how to remove and install the Feeder-Robot Hopper Insert. (No tools required.)
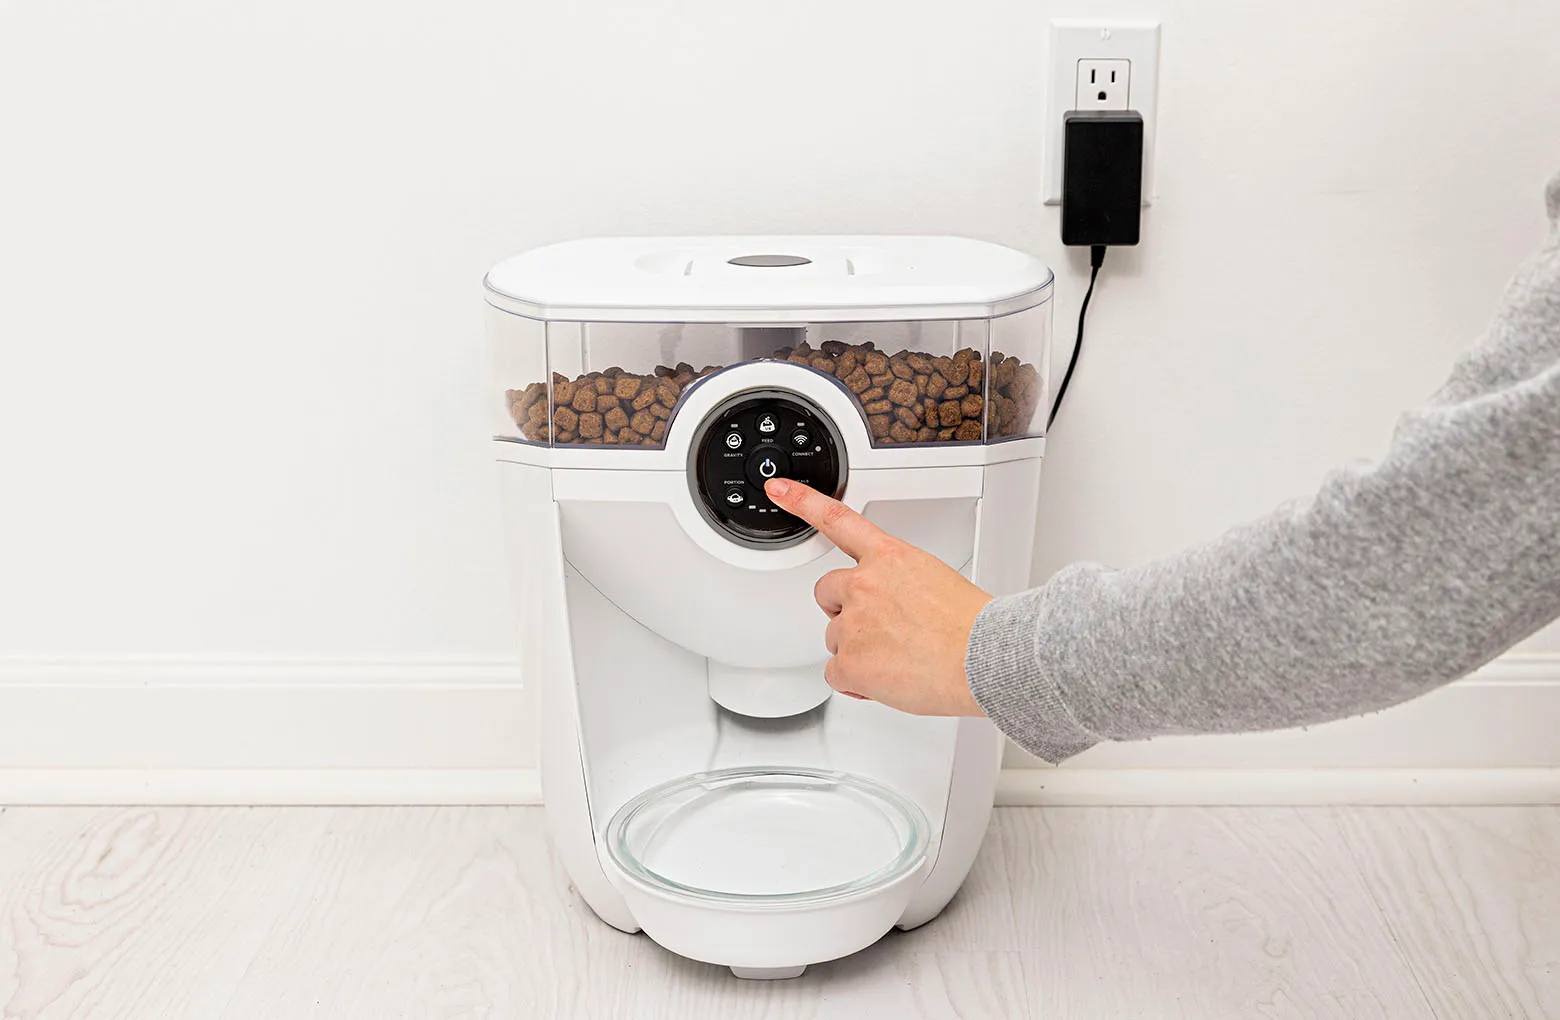
- Press the Power button to turn the unit off.
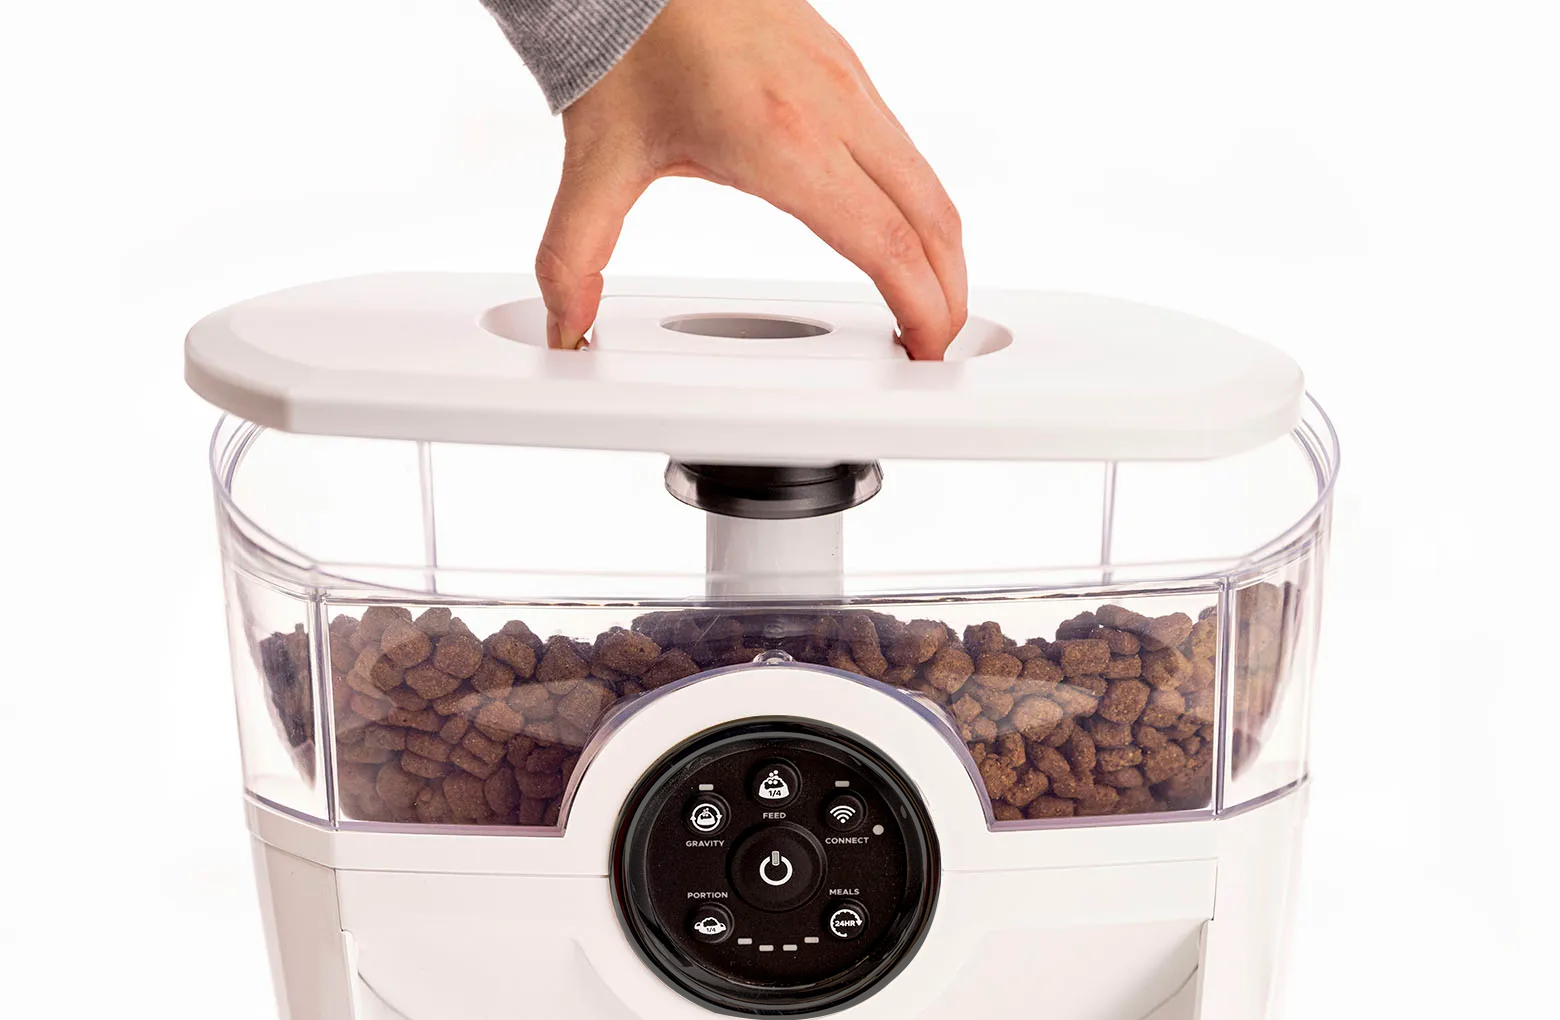
- Remove the hopper lid by squeezing the release in the center of the lid.
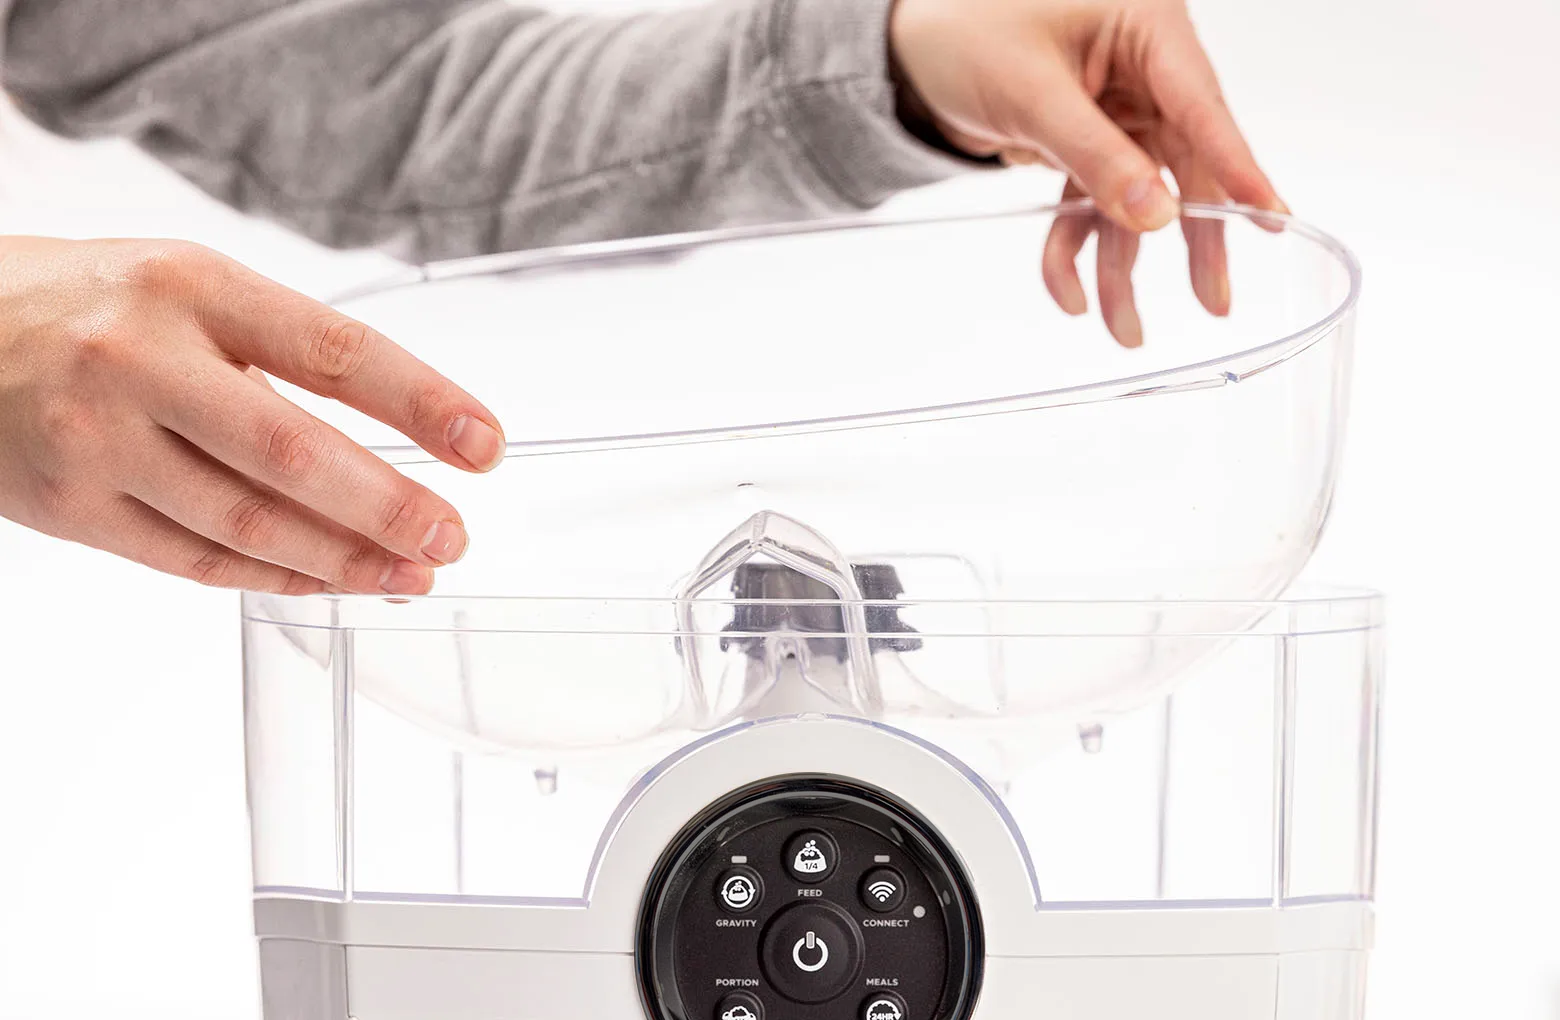
- Remove all food from the hopper (if any) and remove the hopper insert.
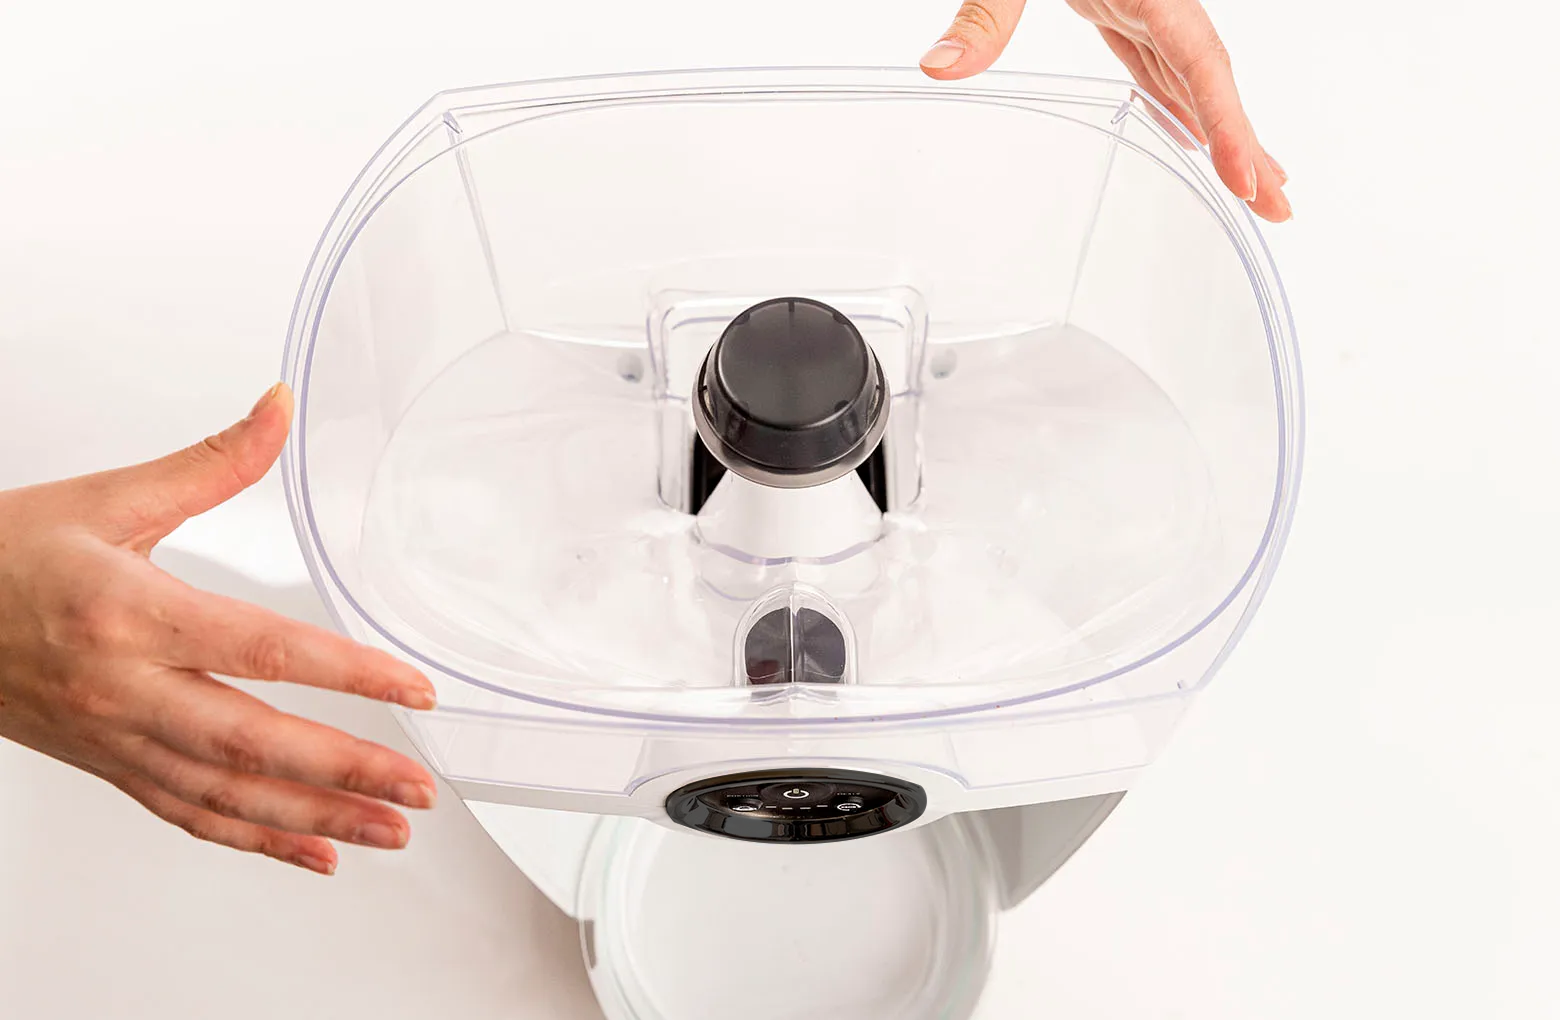
- Install the new hopper insert, ensuring the opening faces toward the back of the unit.
- Add food to the hopper insert.
- Replace the lid and make sure it locks in place with a “click.”
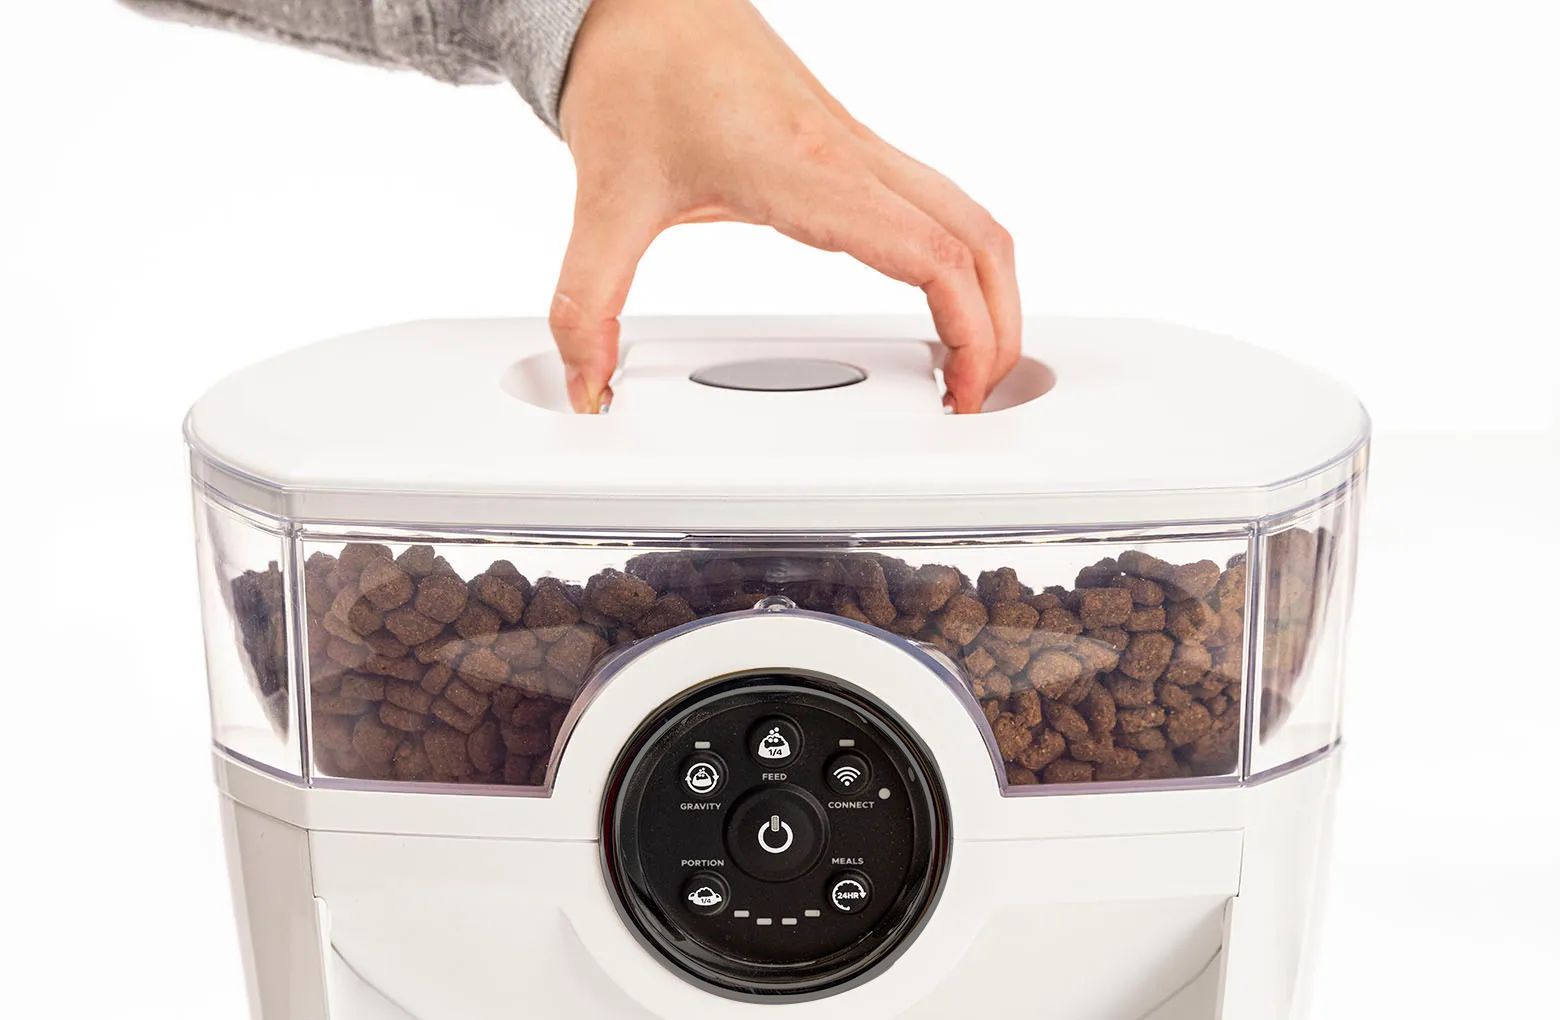
- Press the Power button to turn the unit on.

![]()
Purchase Feeder-Robot Hopper Insert
Questions? Visit whiskersupport.com
Didn't find what you're looking for?
Live support available Mon-Fri: 9AM-9PM EST and Sat-Sun: 9AM-5PM EST, or submit a ticket anytime.