The store will not work correctly in the case when cookies are disabled.
Litter-Robot 3: Pinch contact installation guide
Litter-Robot 3 is equipped with an anti-pinch safety feature. While cycling, if a potential condition is detected, the globe will stop and briefly reverse direction. The yellow light will begin flashing quickly (about four times per second), awaiting your action. Once the blockage is cleared, press any button to return the globe to the Home position. If the pinch detect terminals become damaged, they may need to be replaced.
Tools Needed:
- 6-inch (15 cm) #2 Phillips screwdriver
- Flathead Screwdriver
- Needle Nose Pliers
Disassembly
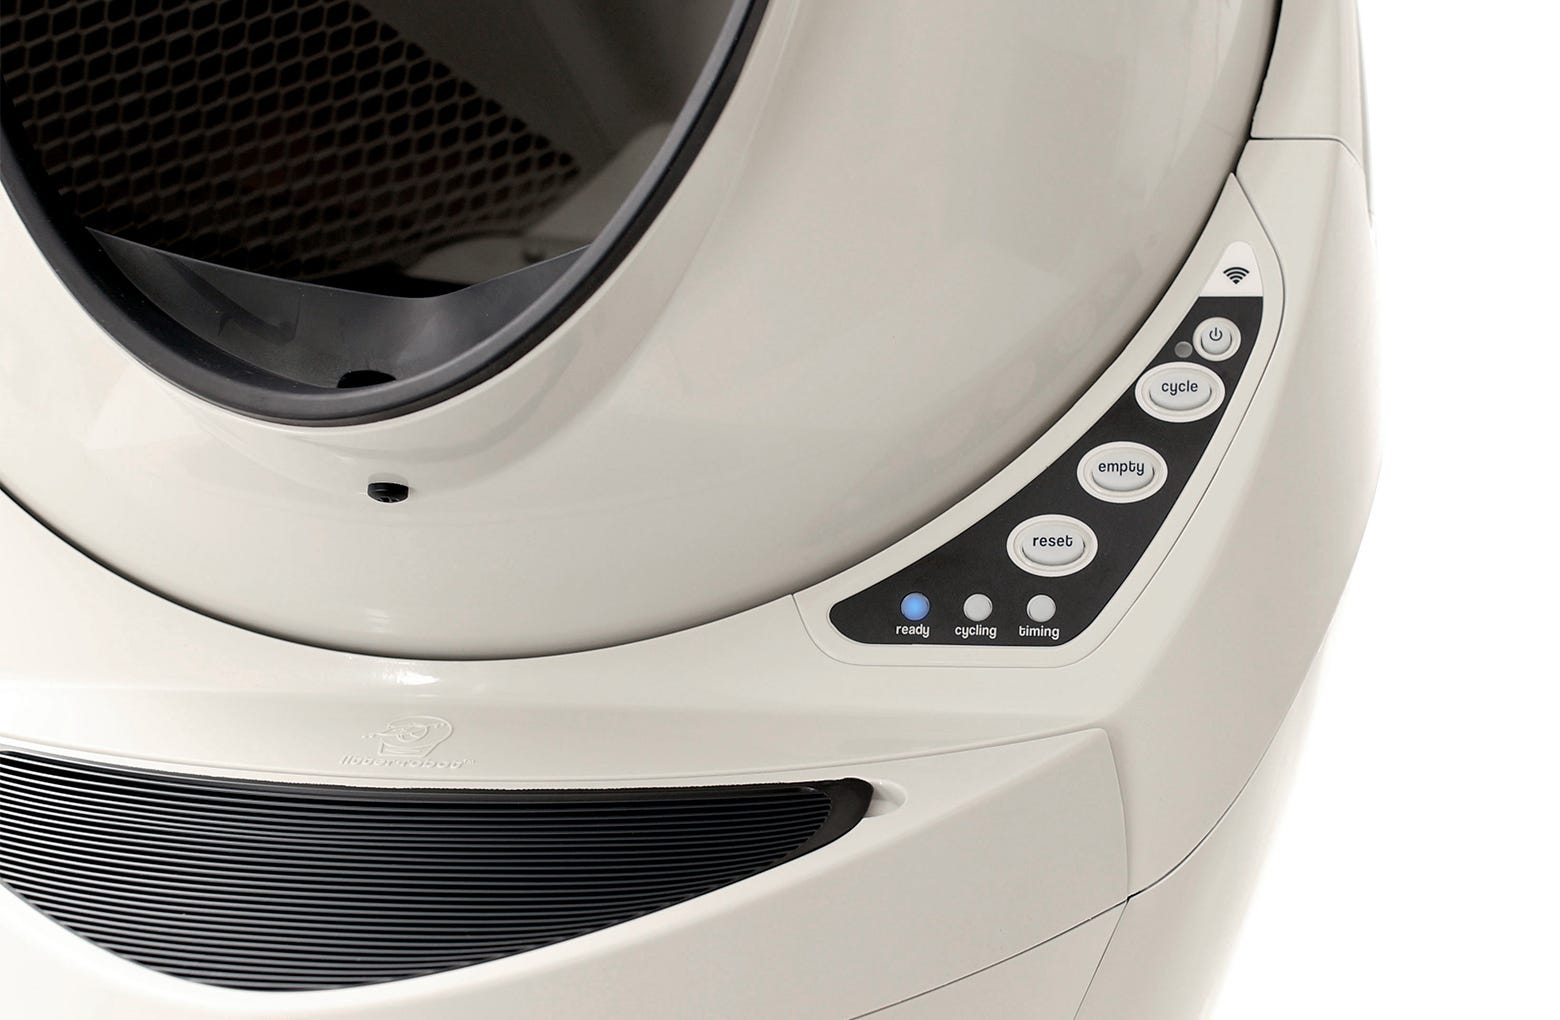
- Press the Power button to turn the unit off.

- Unplug the power plug from the base.
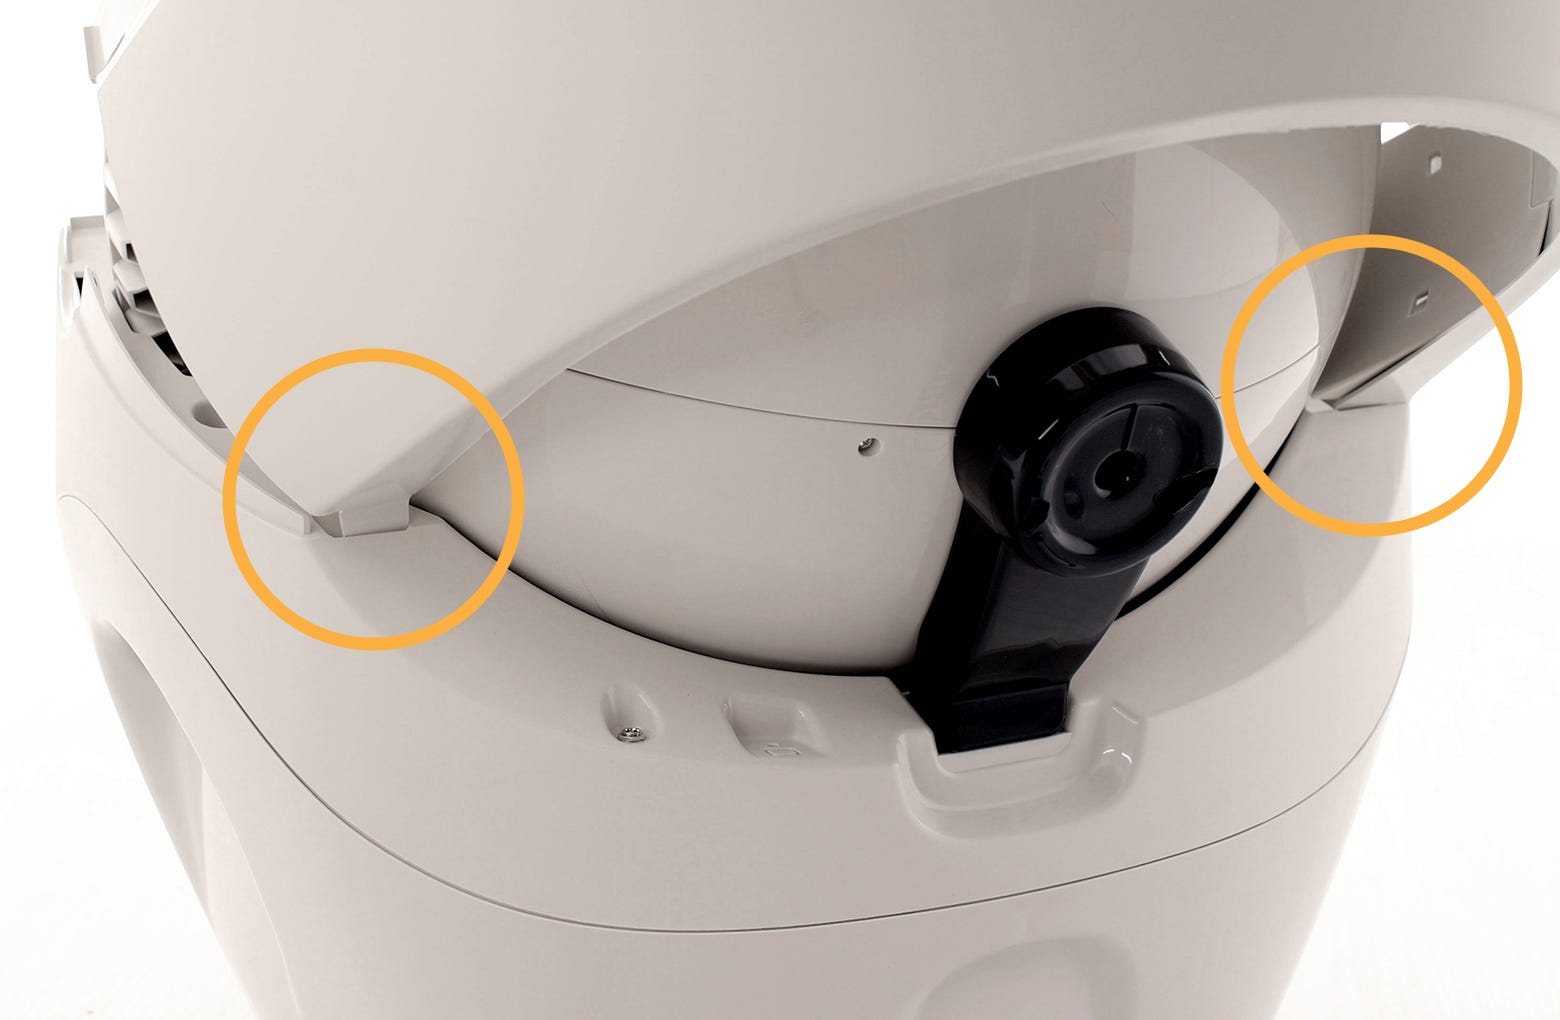
- Press the bonnet tabs on either side of the unit to release the bonnet.
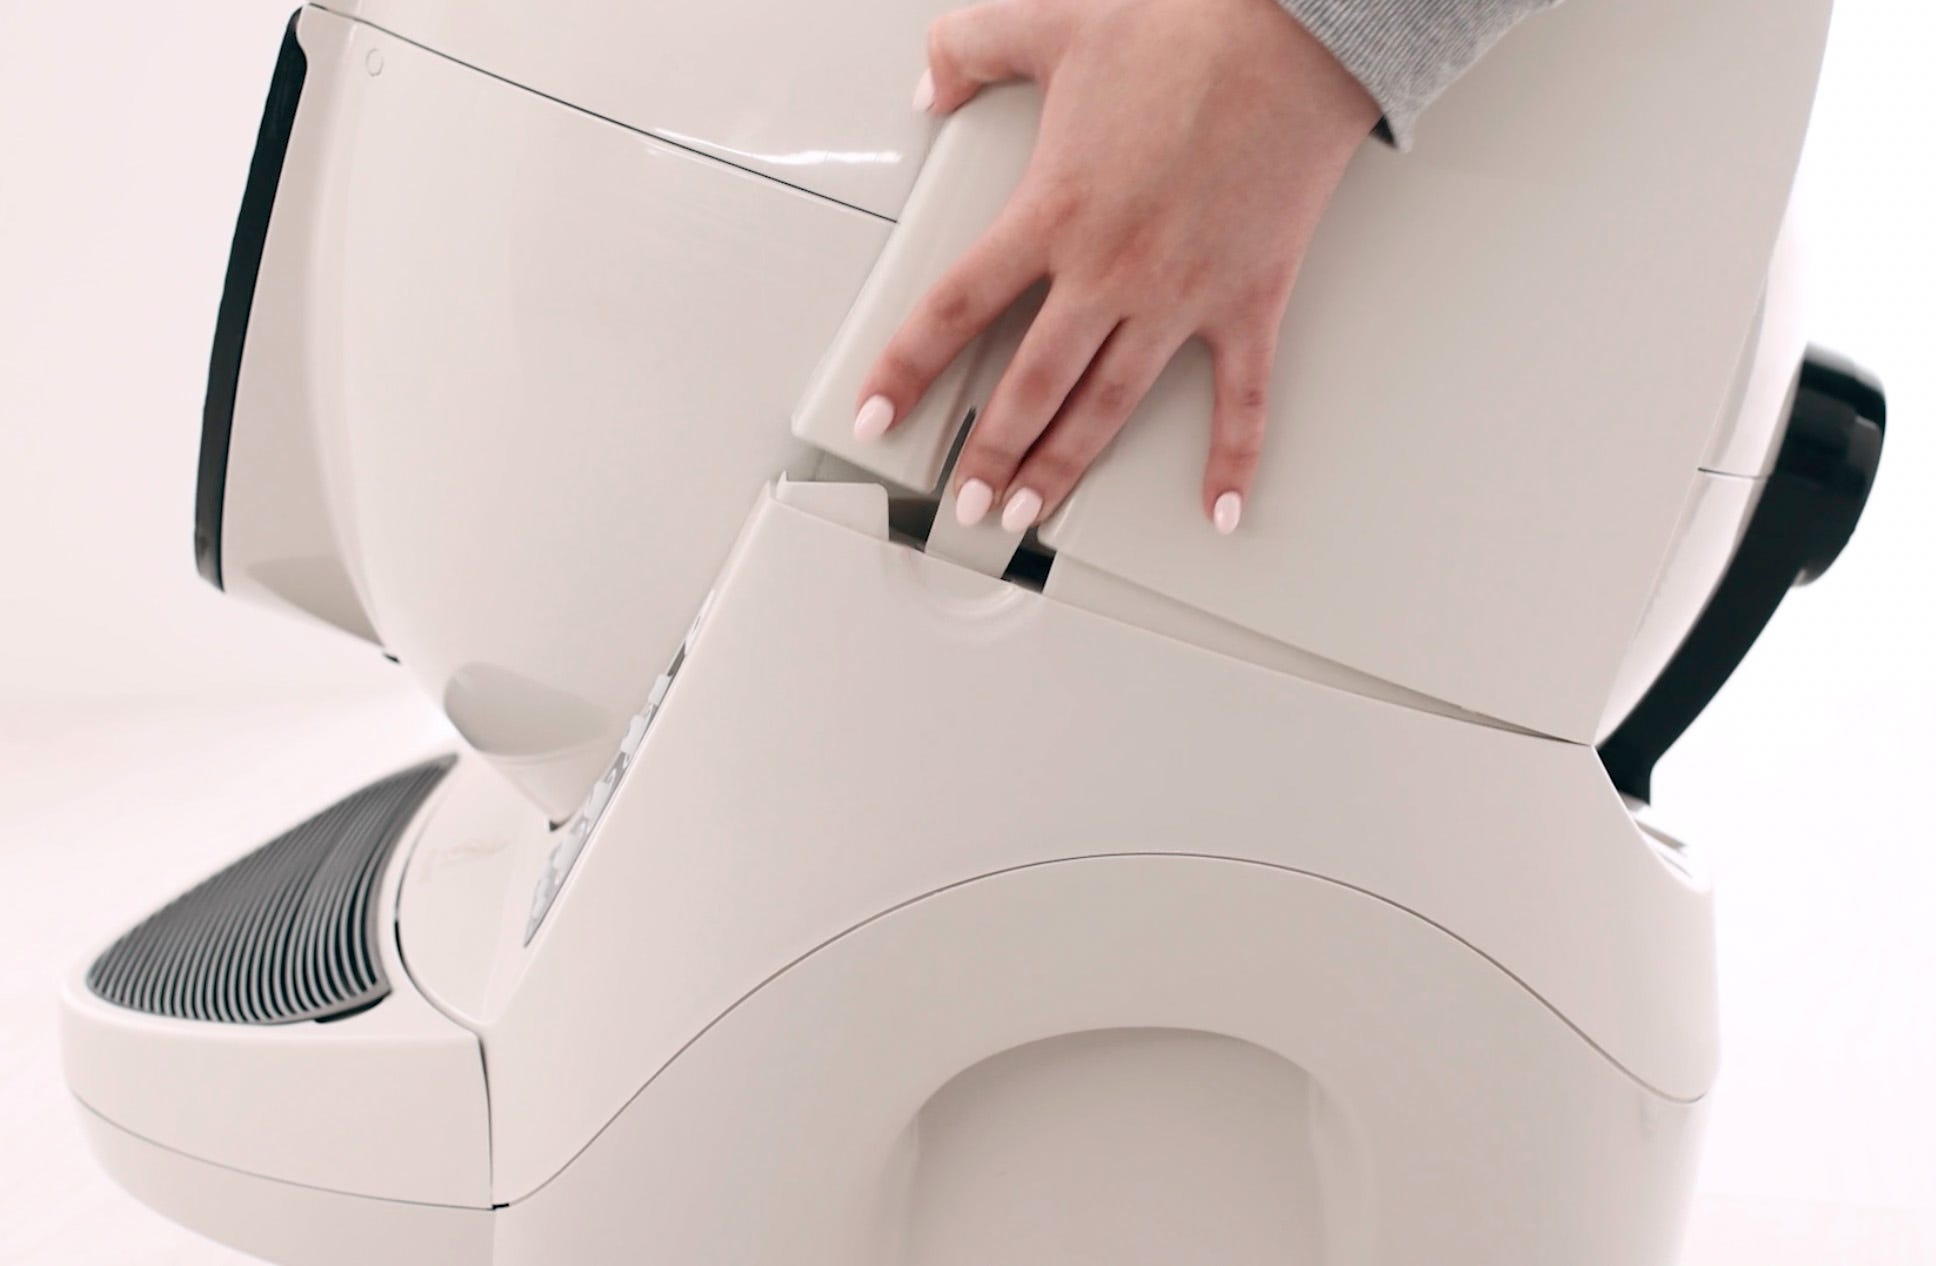
- Rotate the bonnet backward and lift the bonnet up to remove it from the unit.
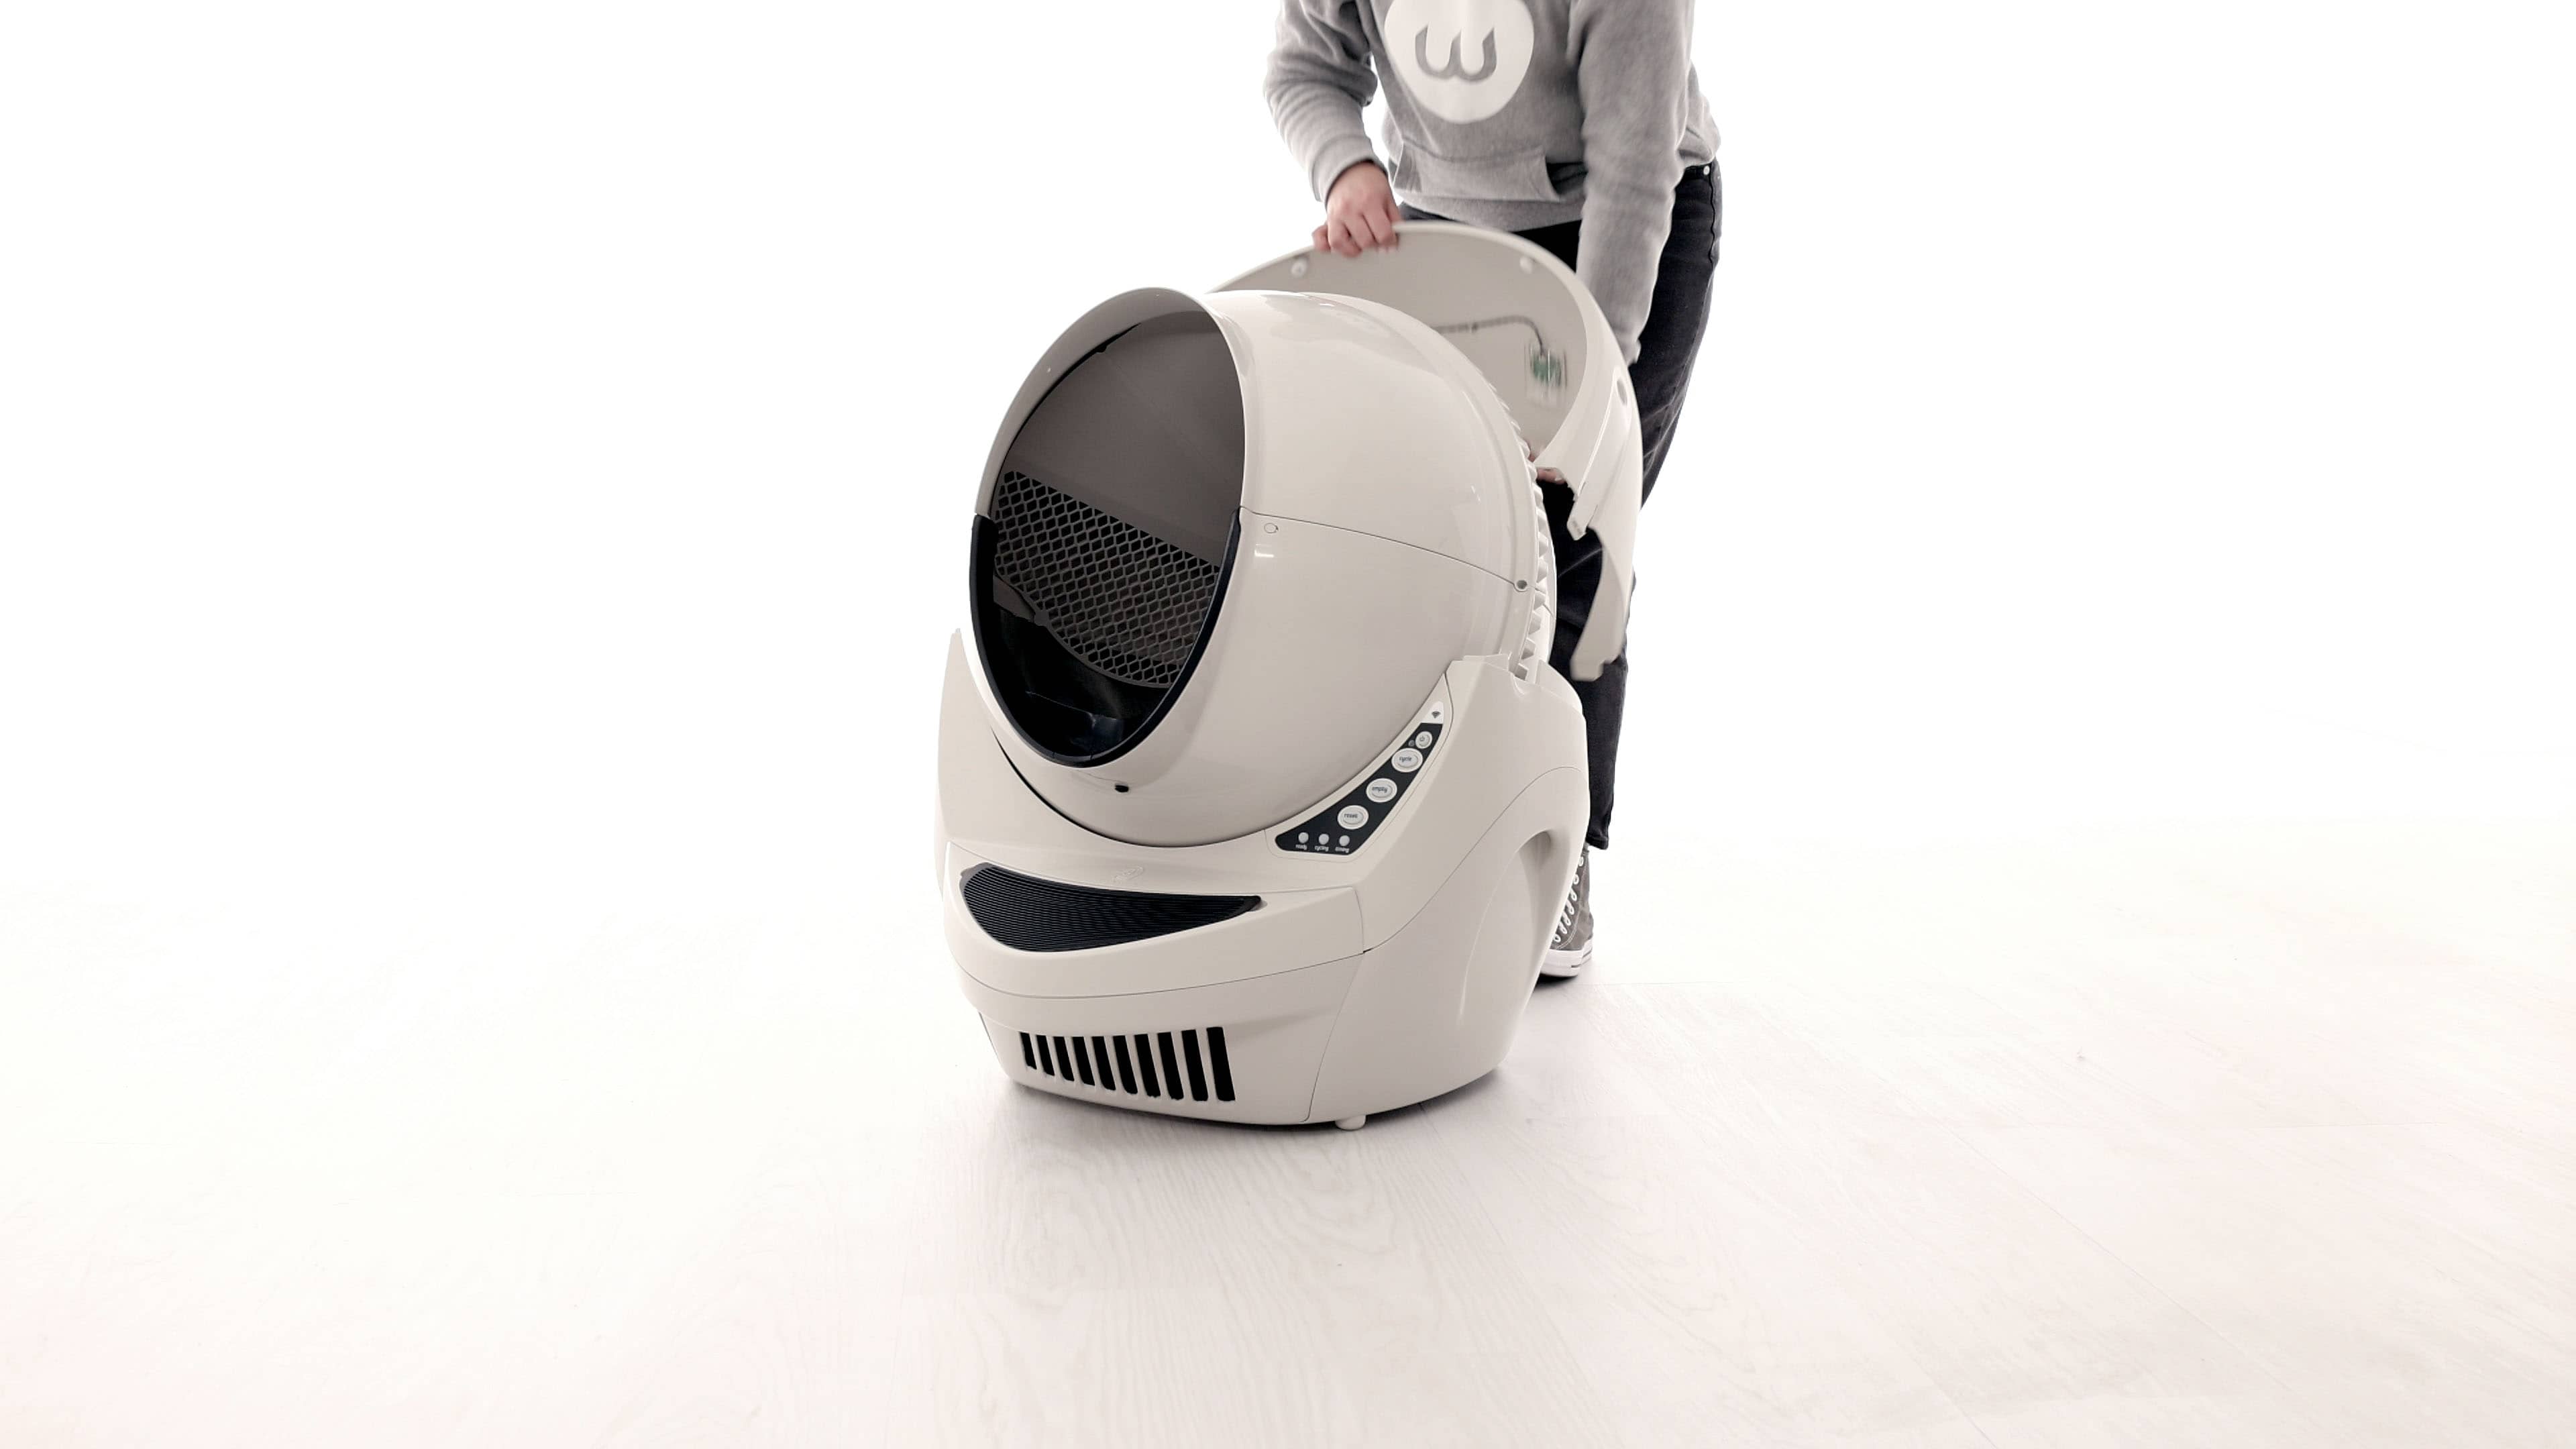
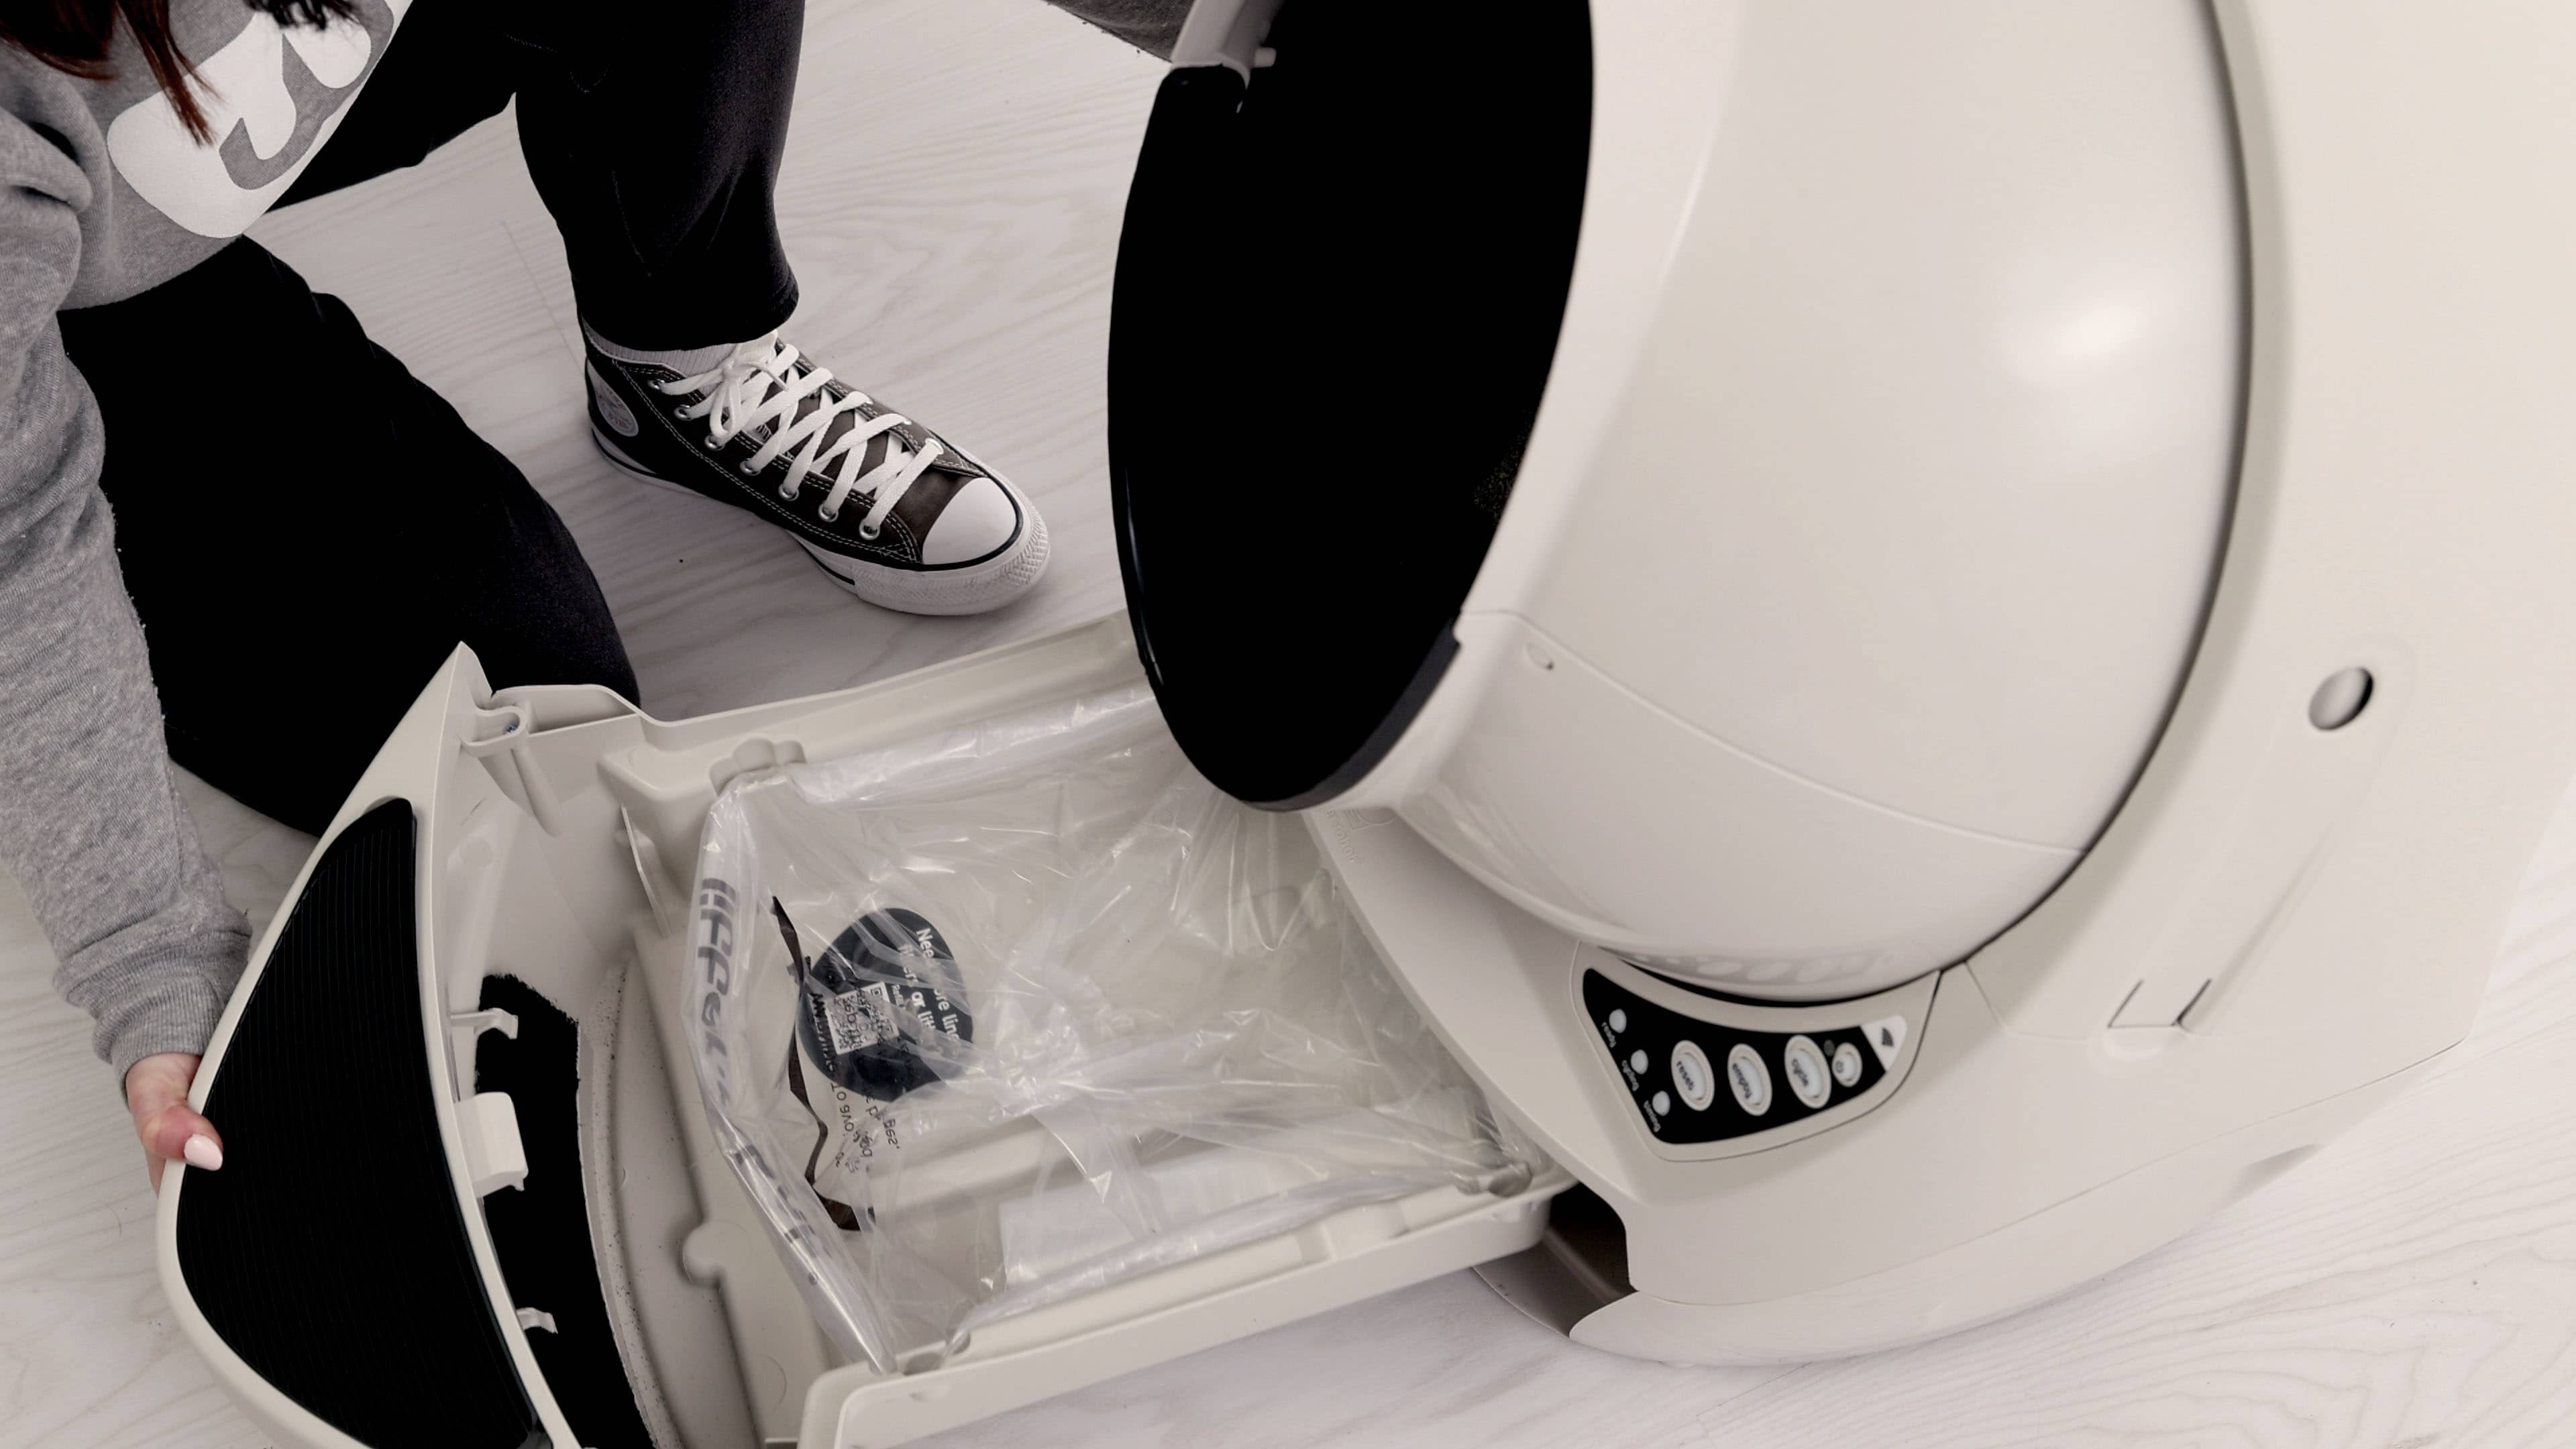
- Remove the globe and set it aside.
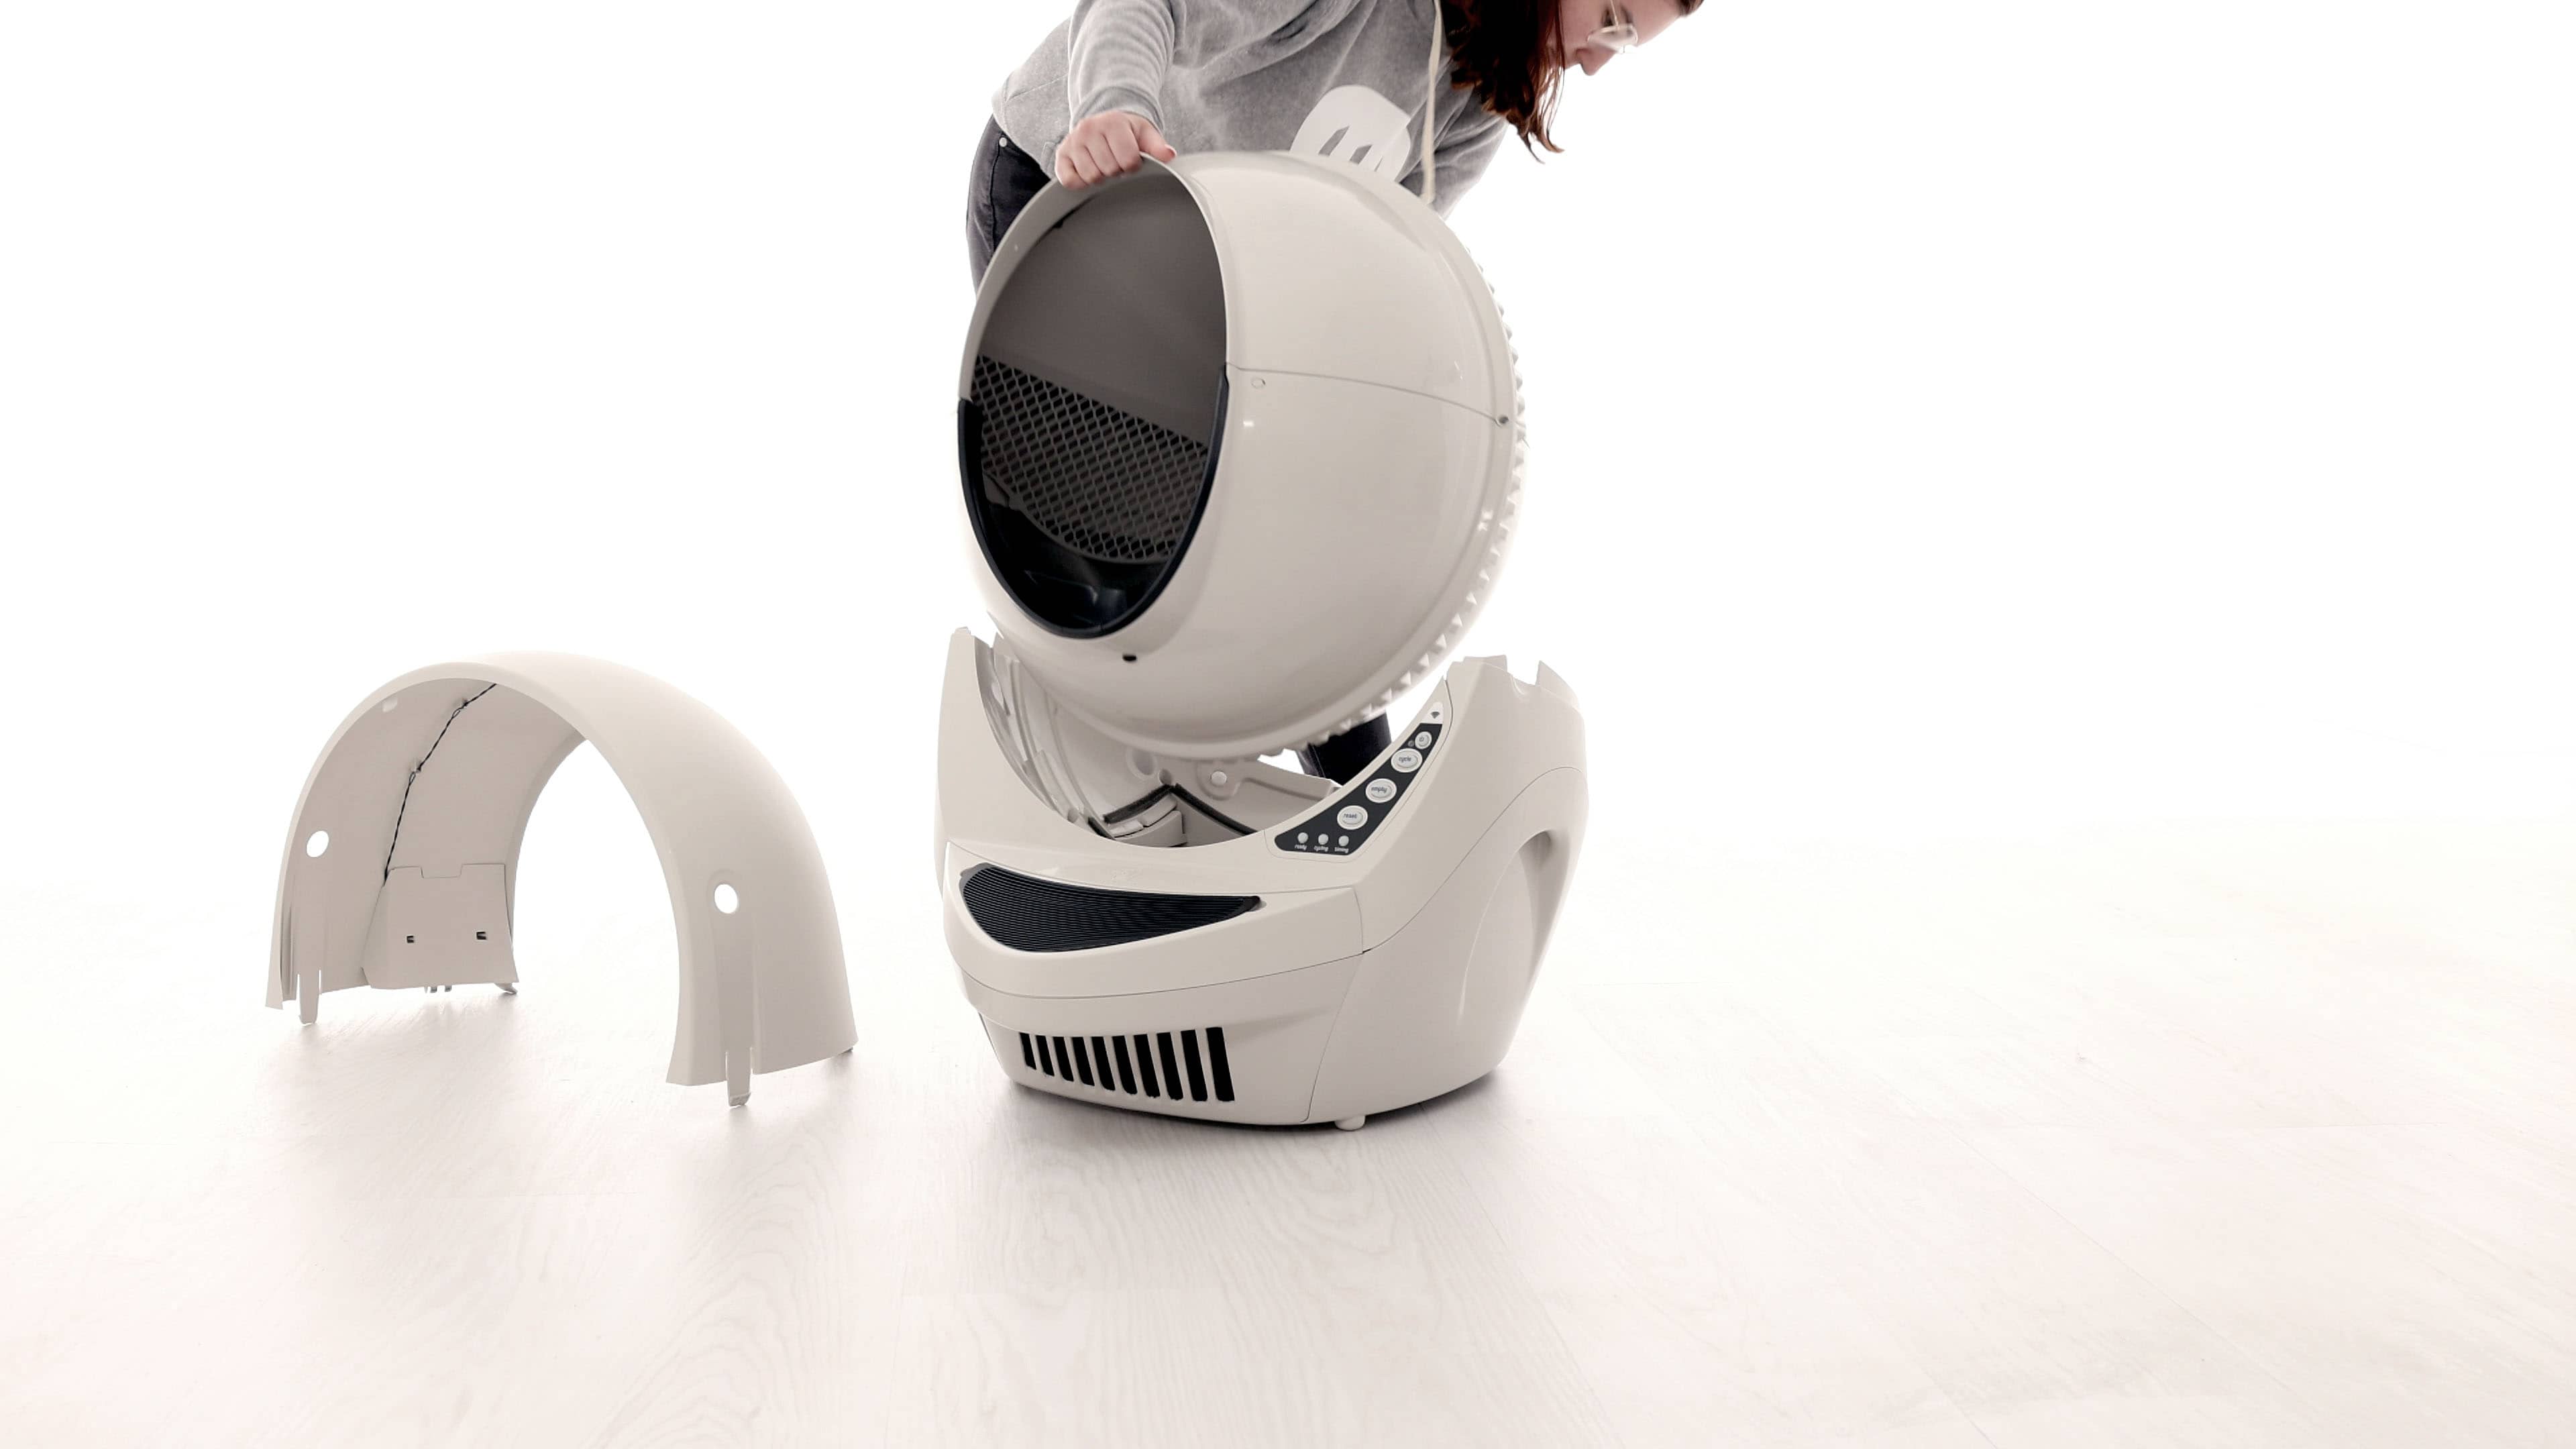
- Remove the waste drawer and set it aside.
Remove old pinch contacts
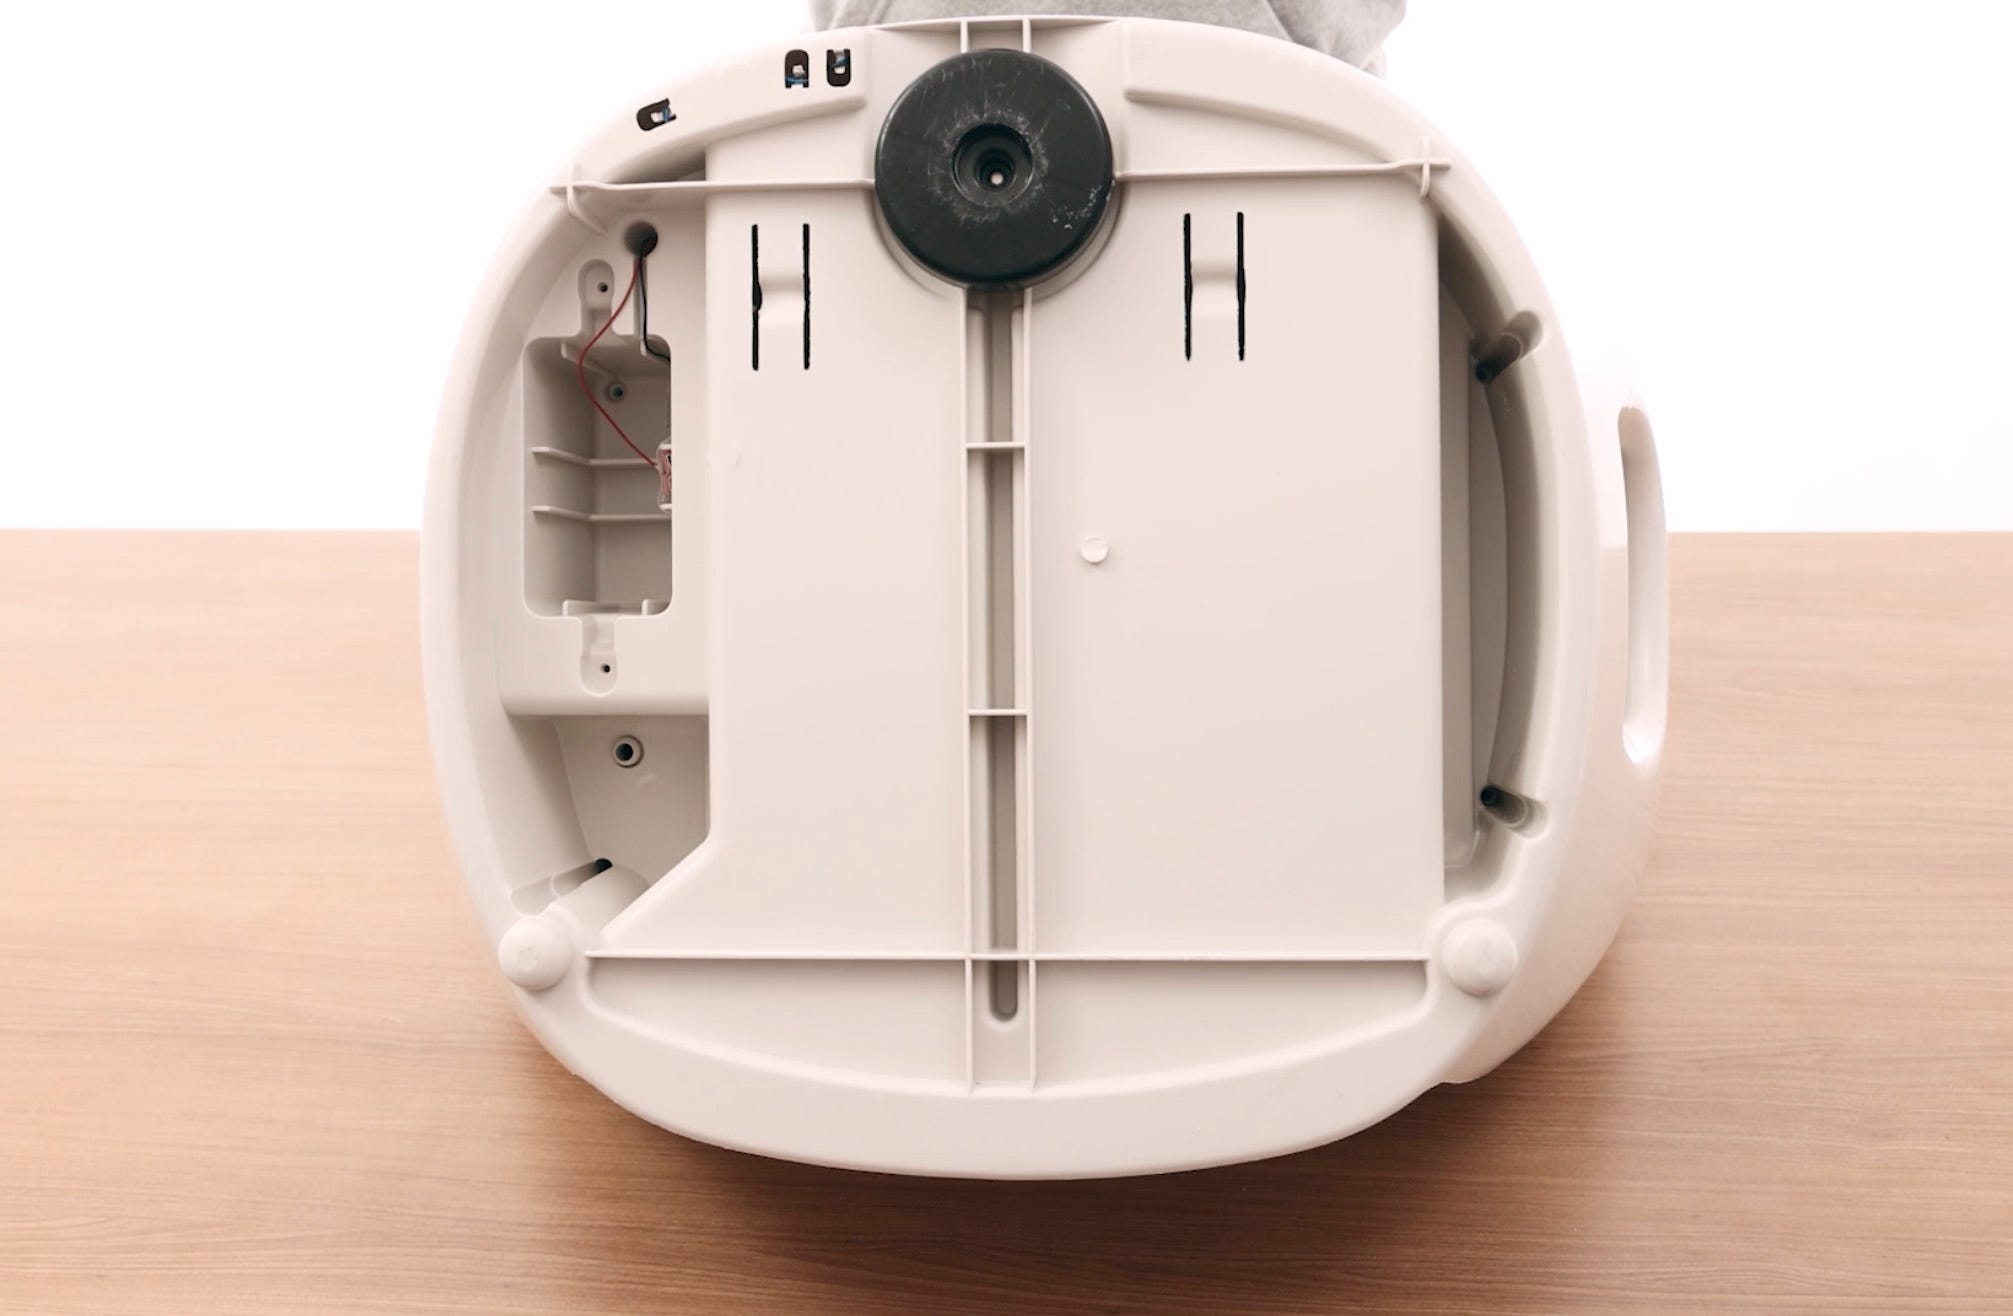
- Gently turn the base over and unscrew the 9 screws (two screws in each handle, one screw in each corner of the unit, and one screw at the rear of the unit behind the black cat sensor foot) that attach the two halves of the base.
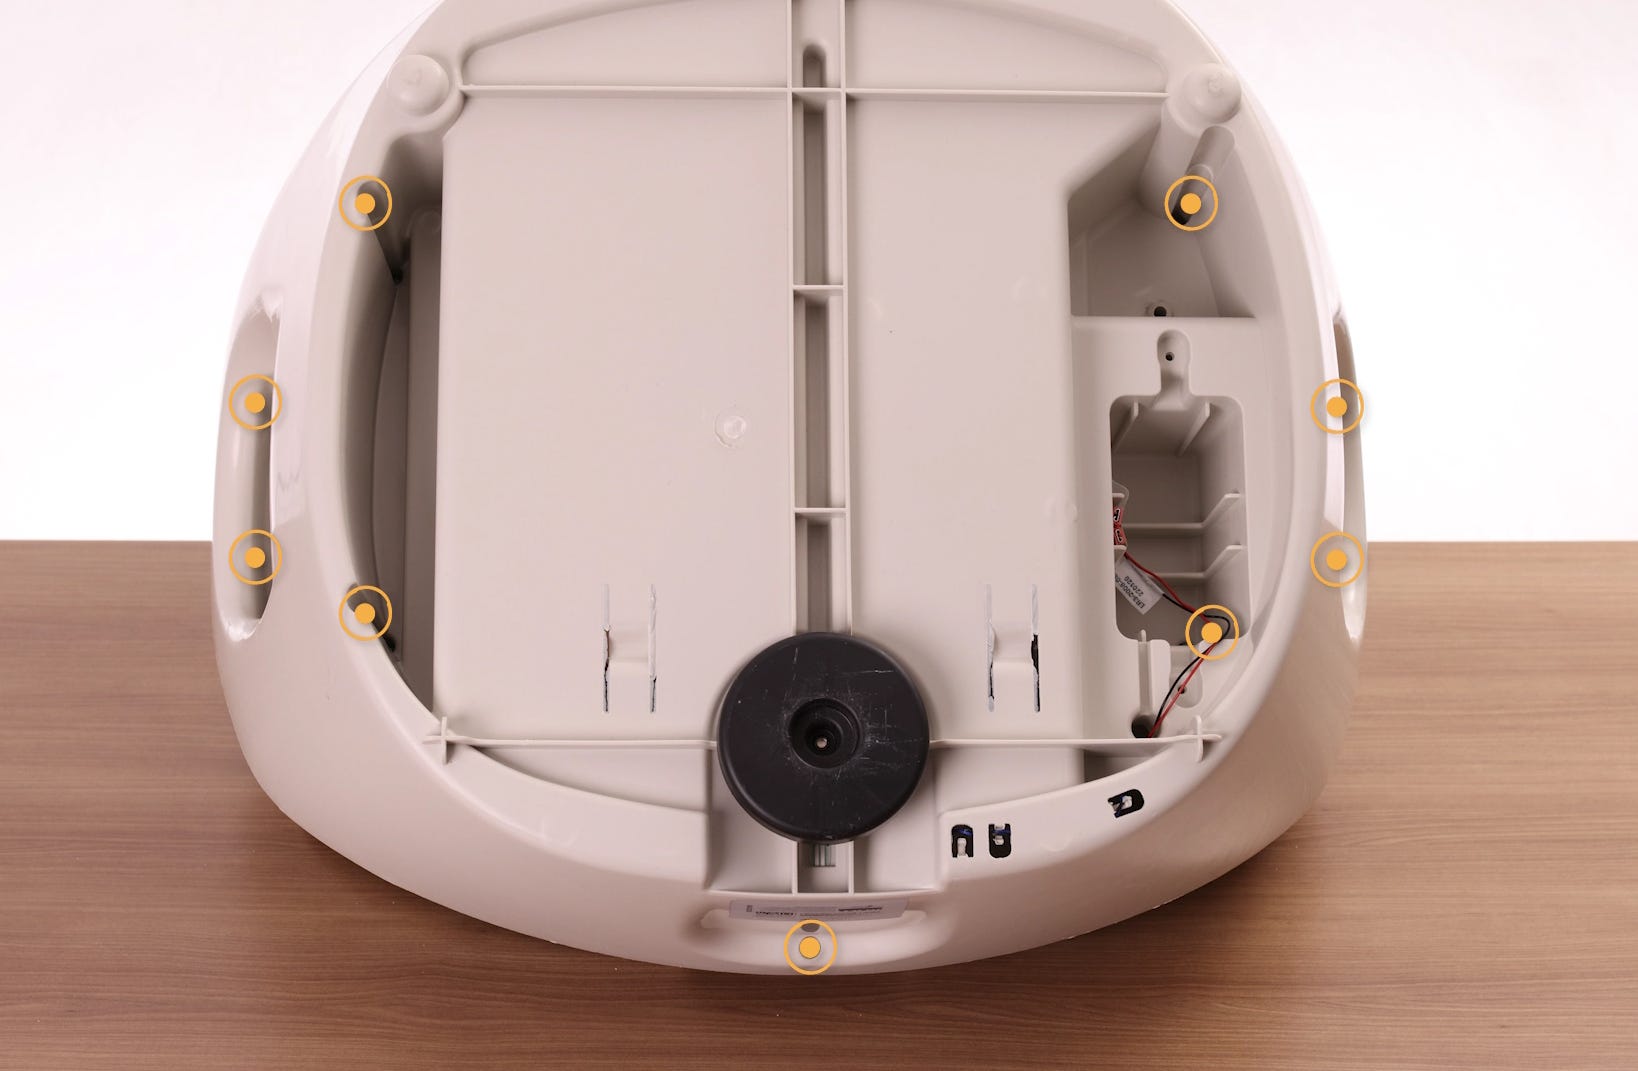
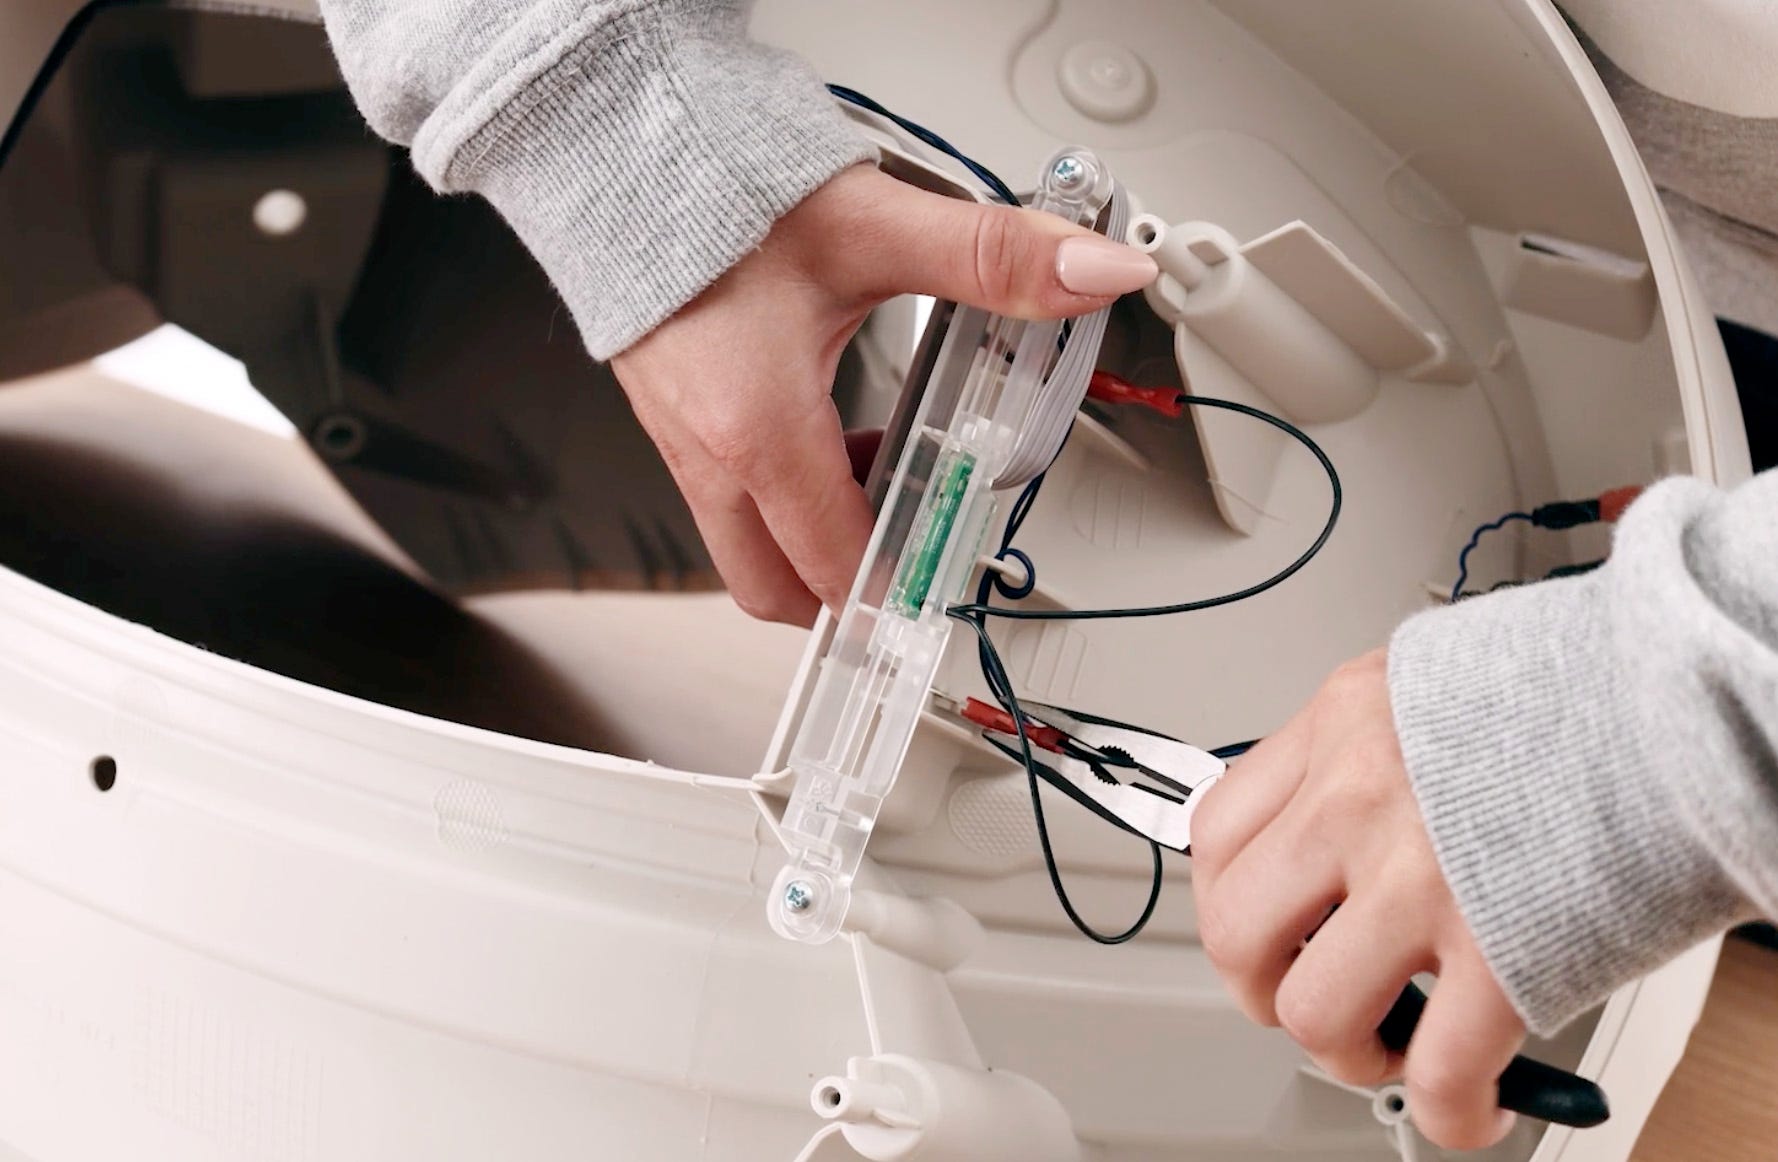
- Lift the top half of the base away from the bottom and set it to the right (remember: there are still connected wires).
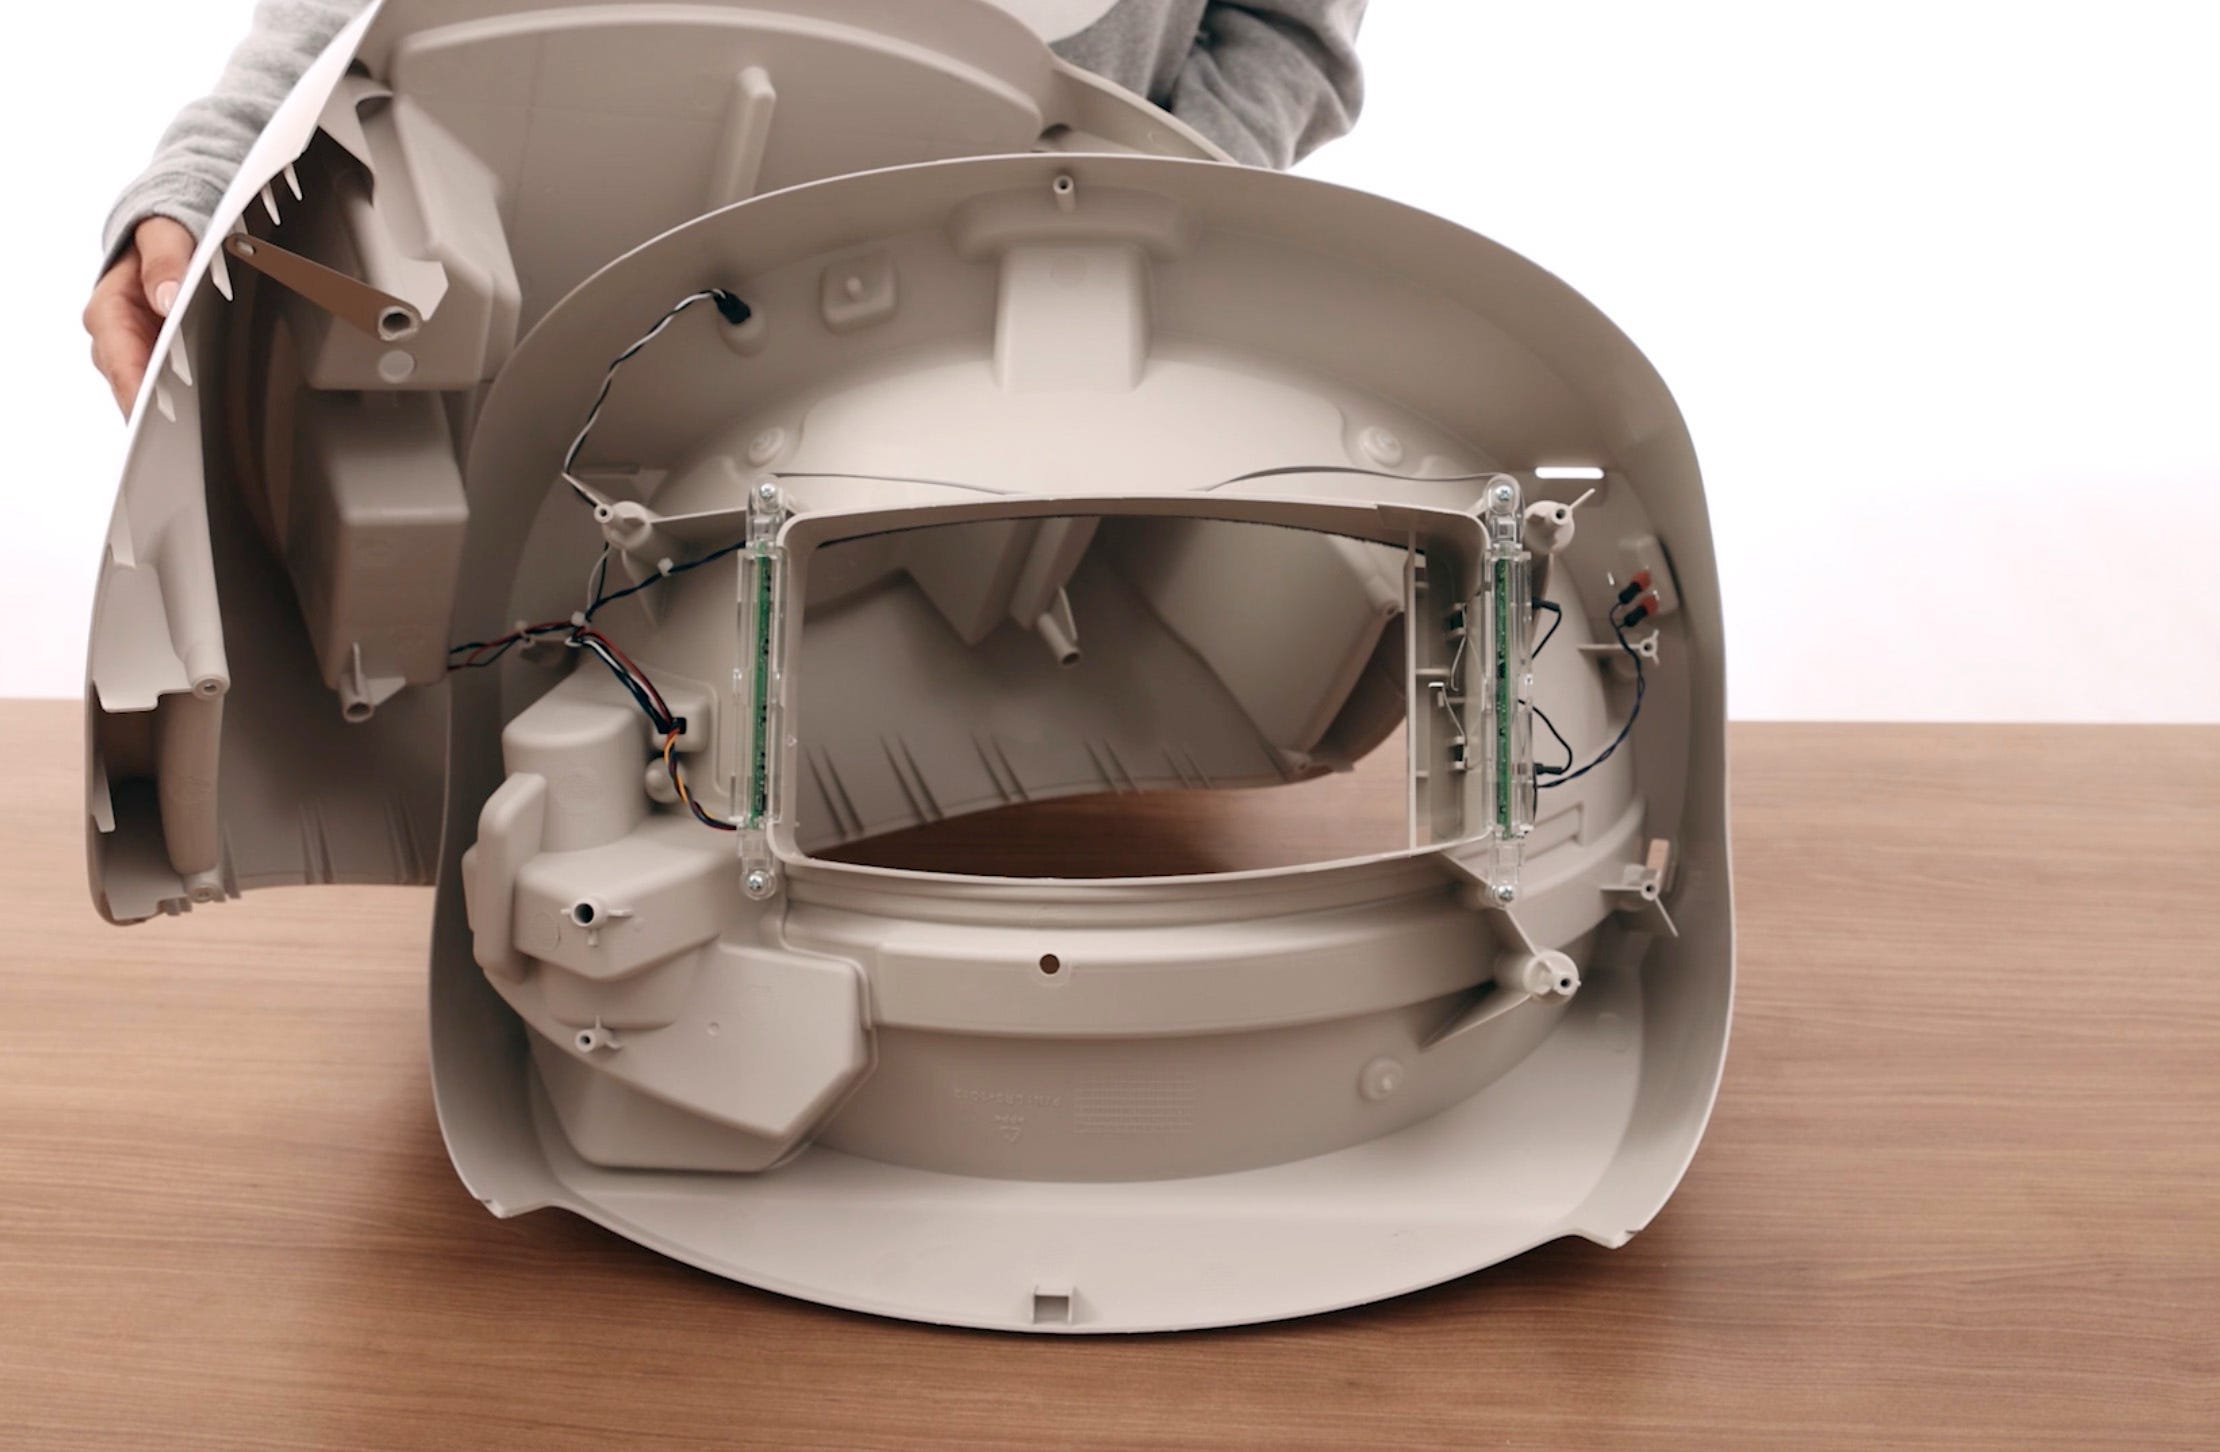
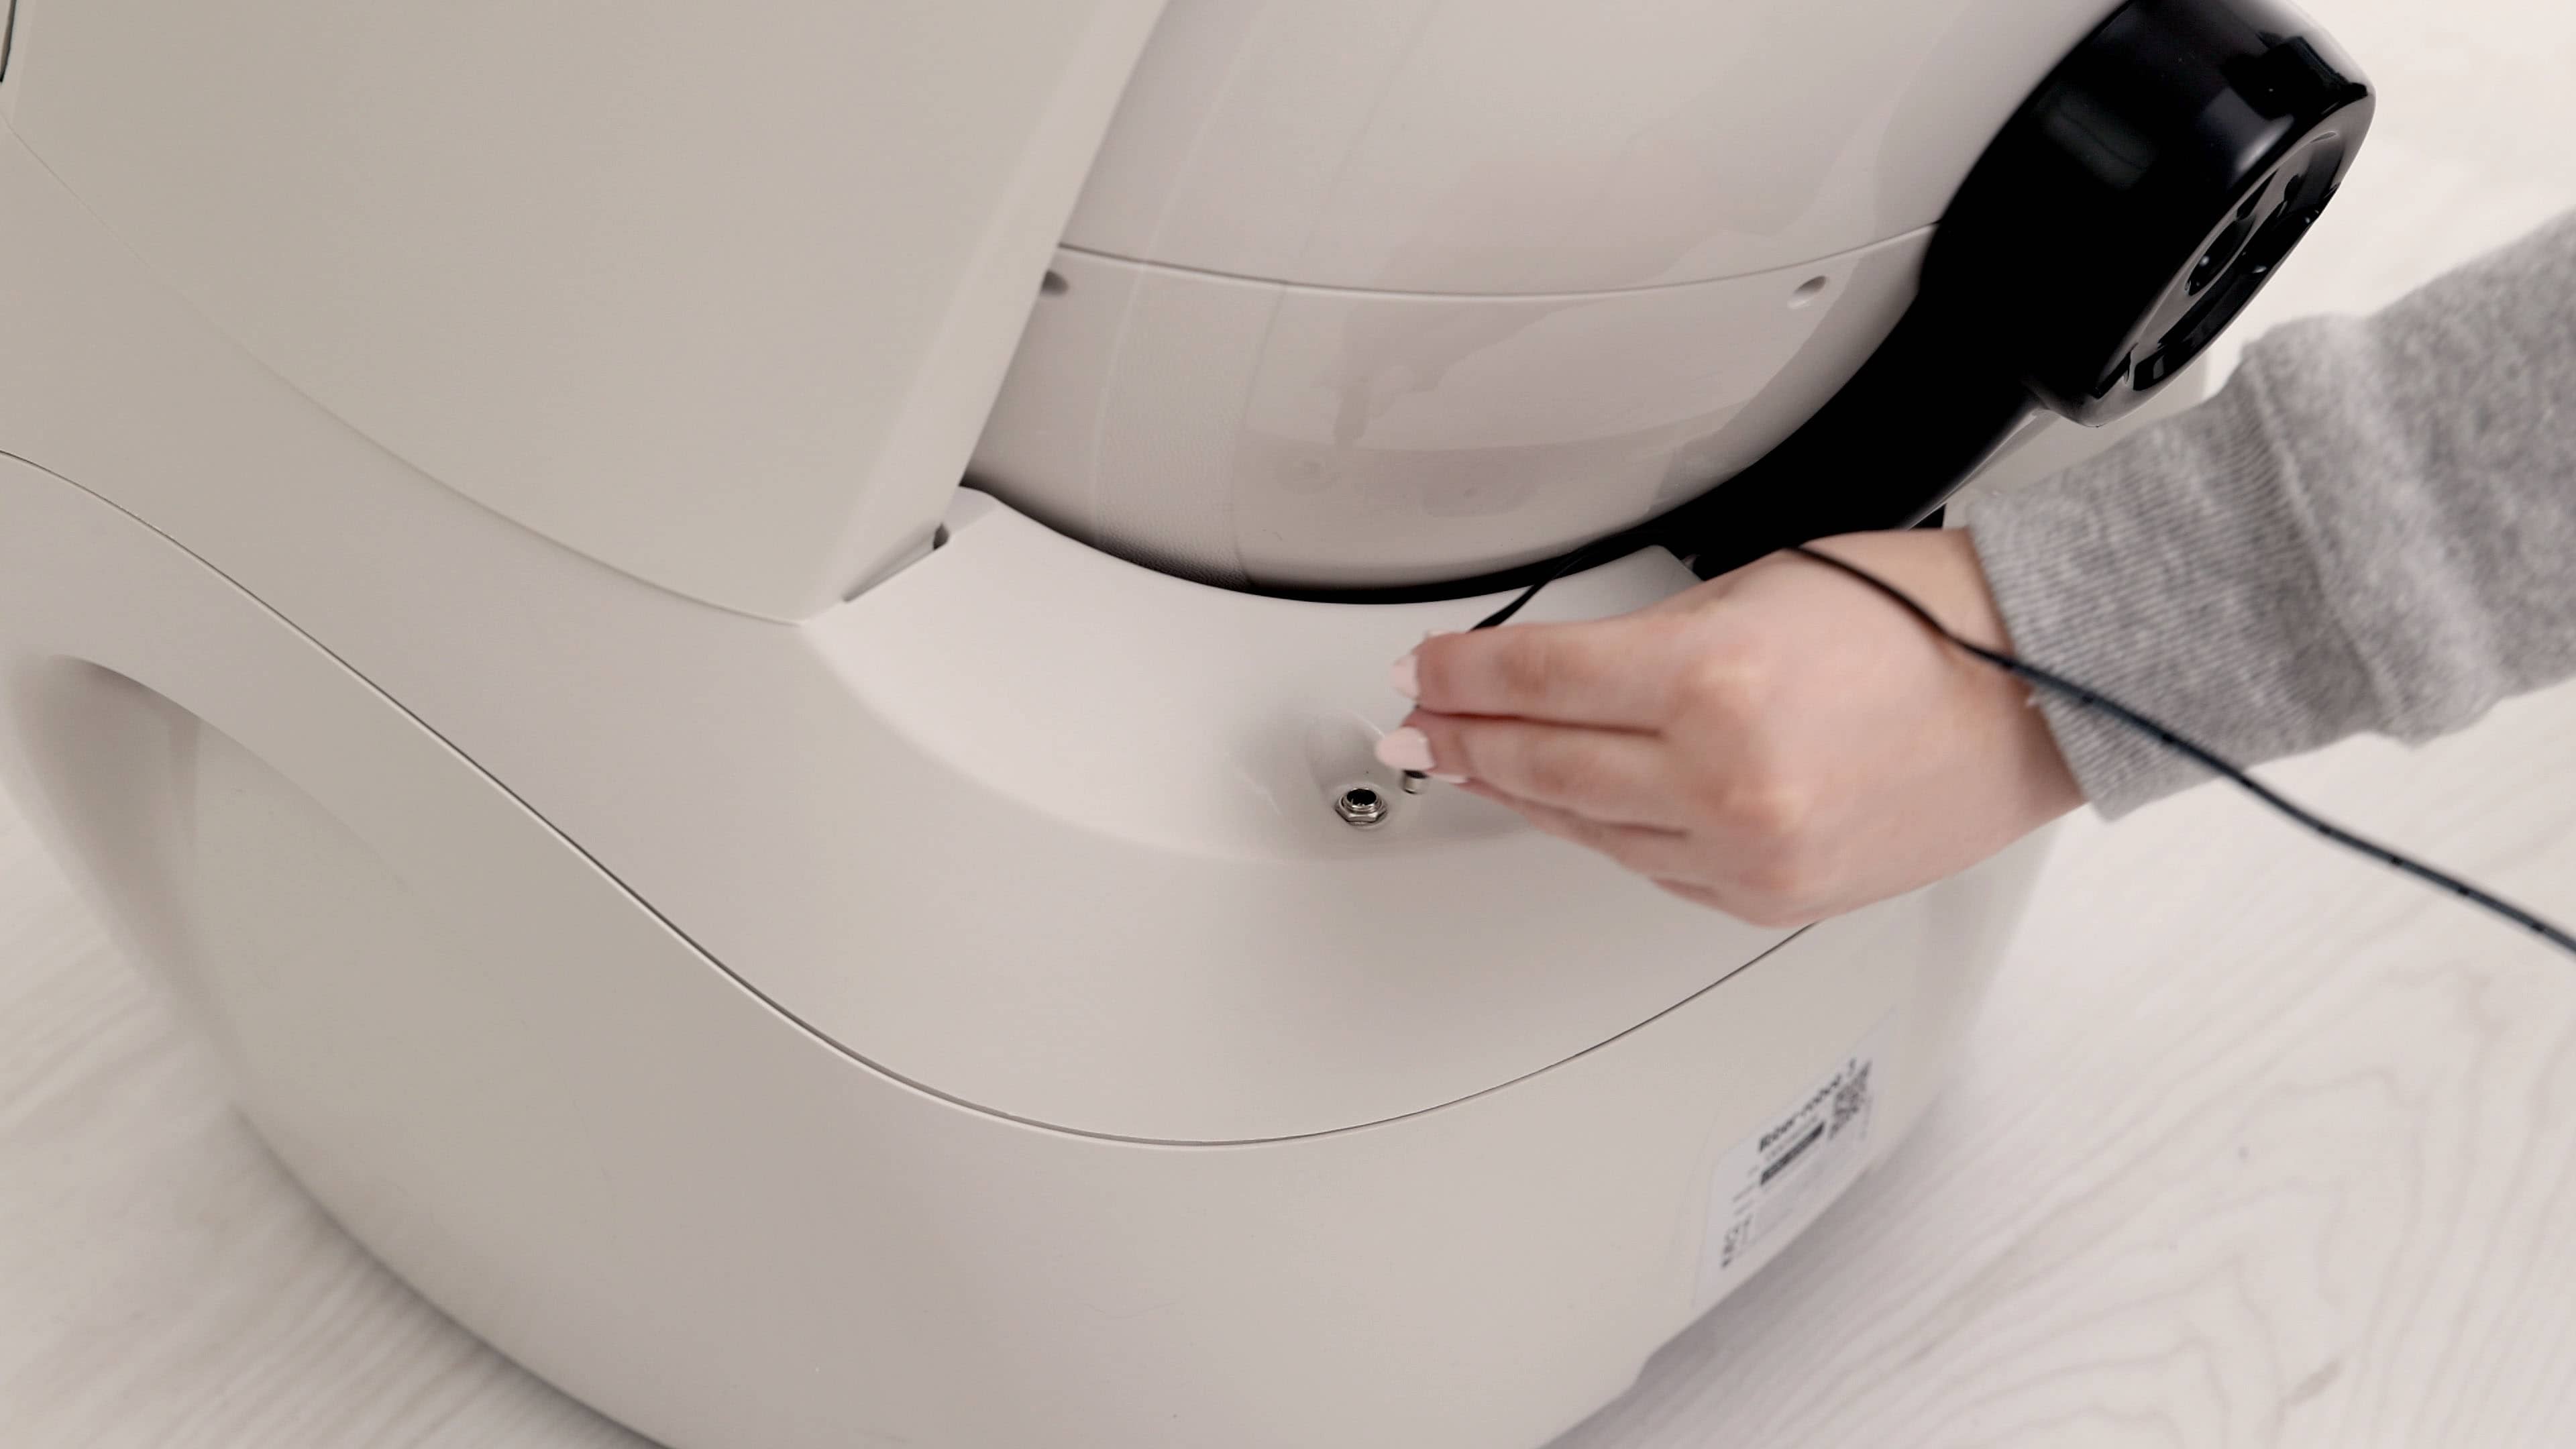
- On the left, locate the two black wires. These are connected to the pinch terminals.

- Use needle-nose pliers to disconnect the two black wires from the pinch terminals.
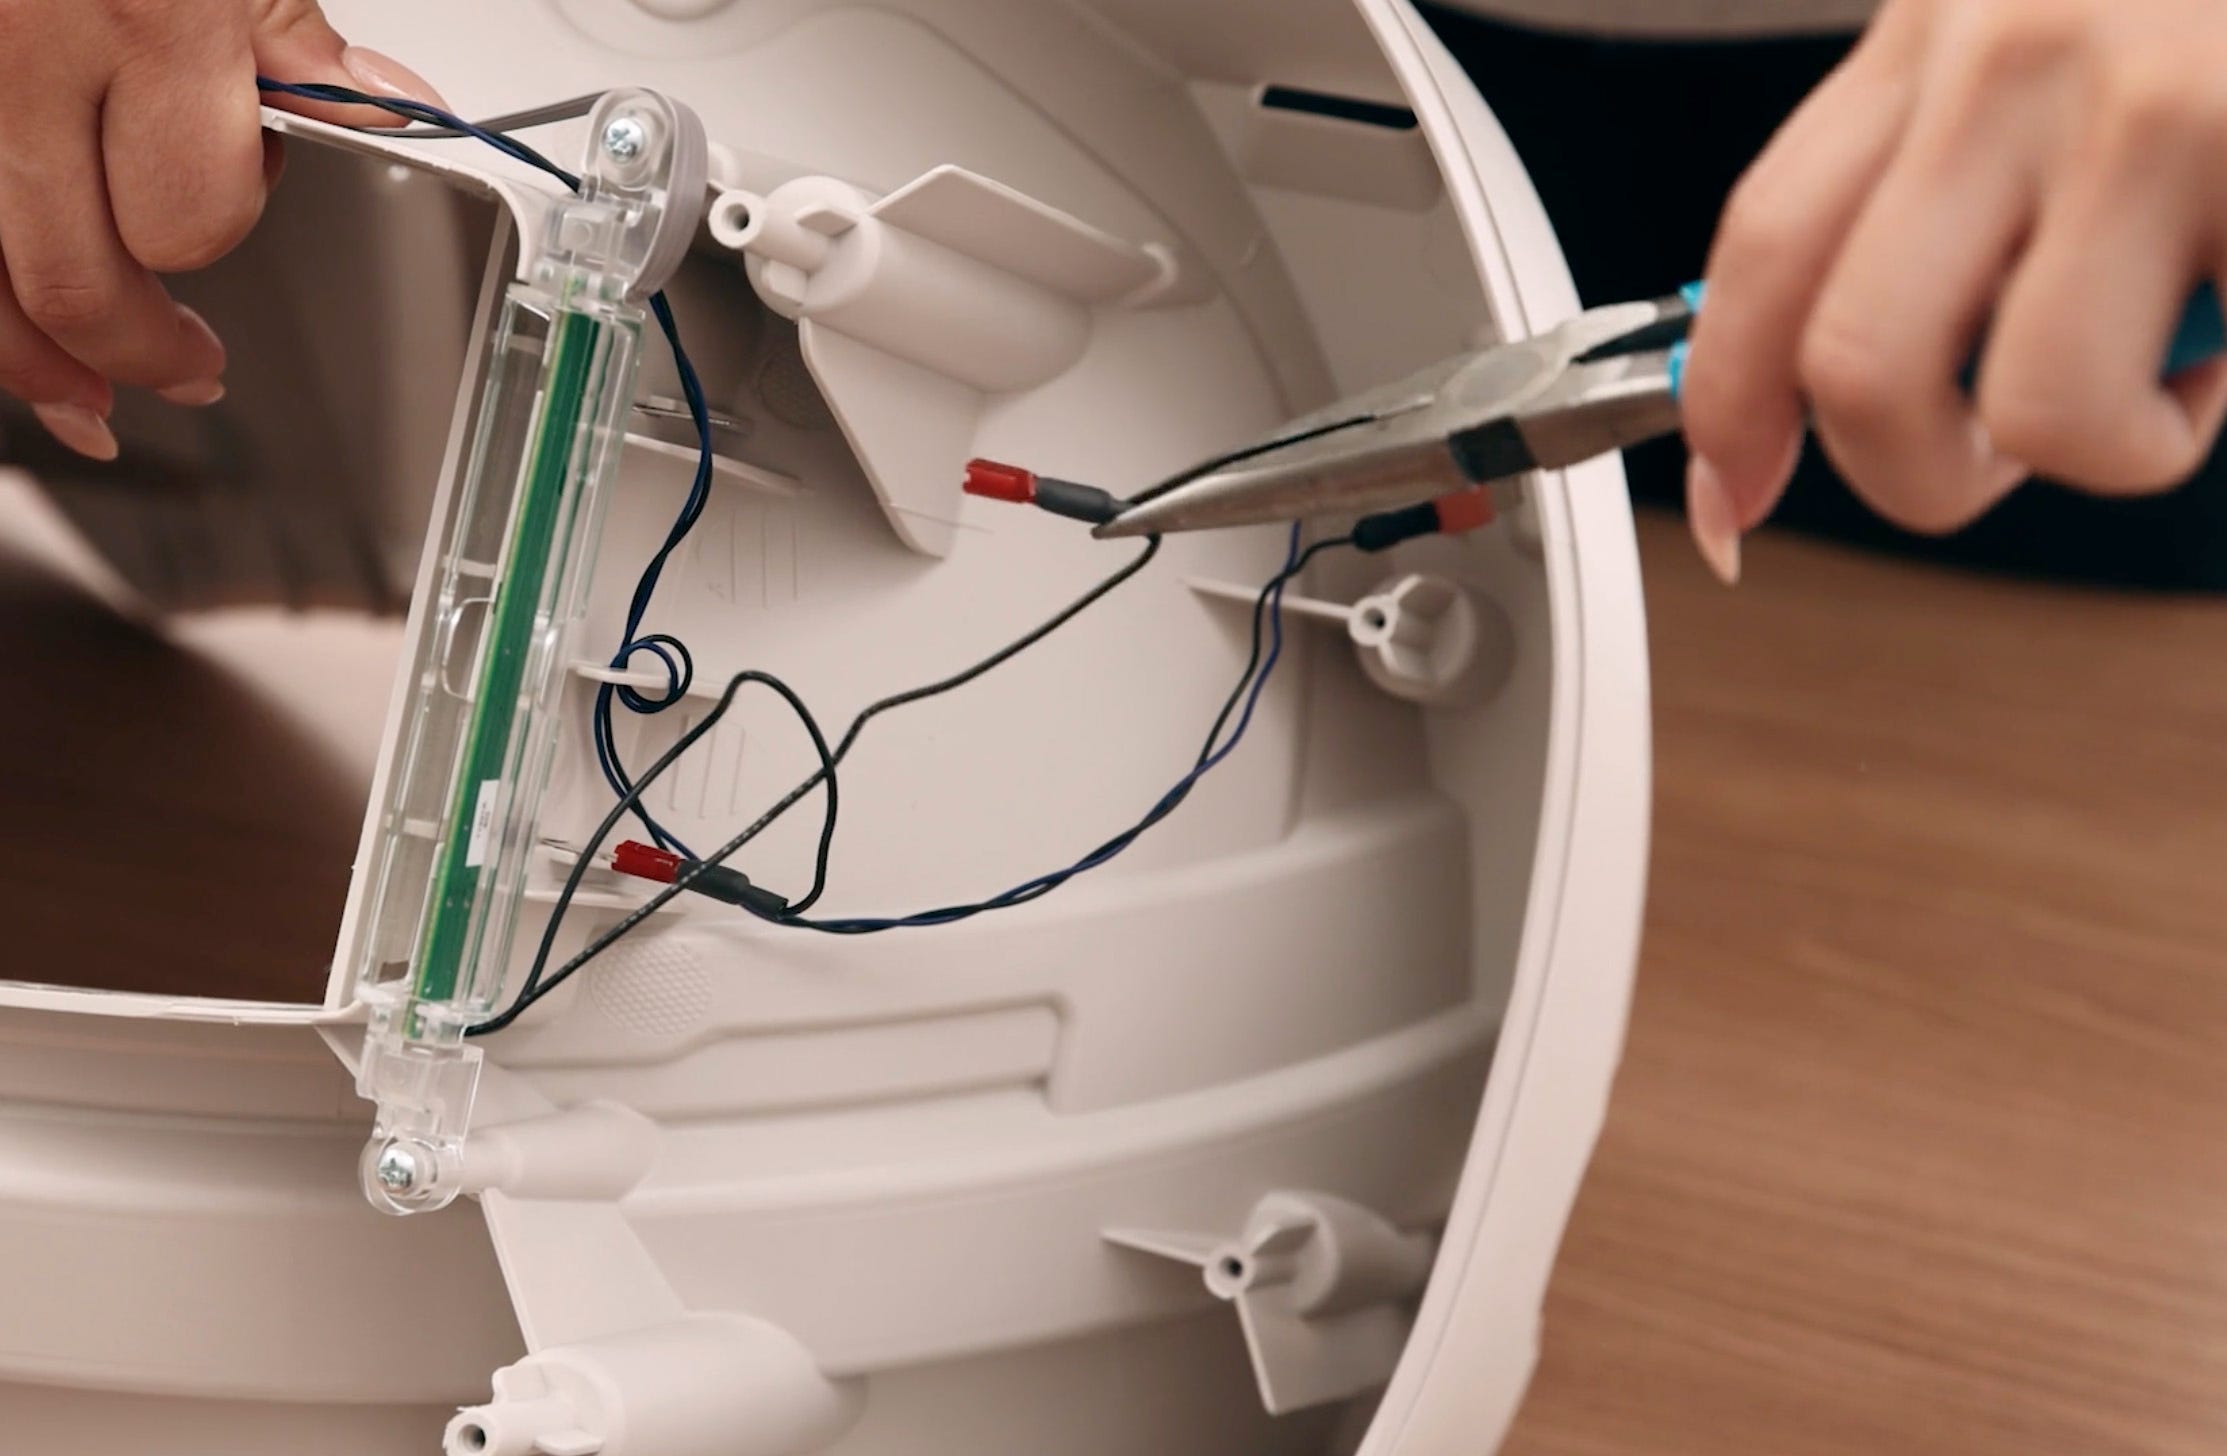
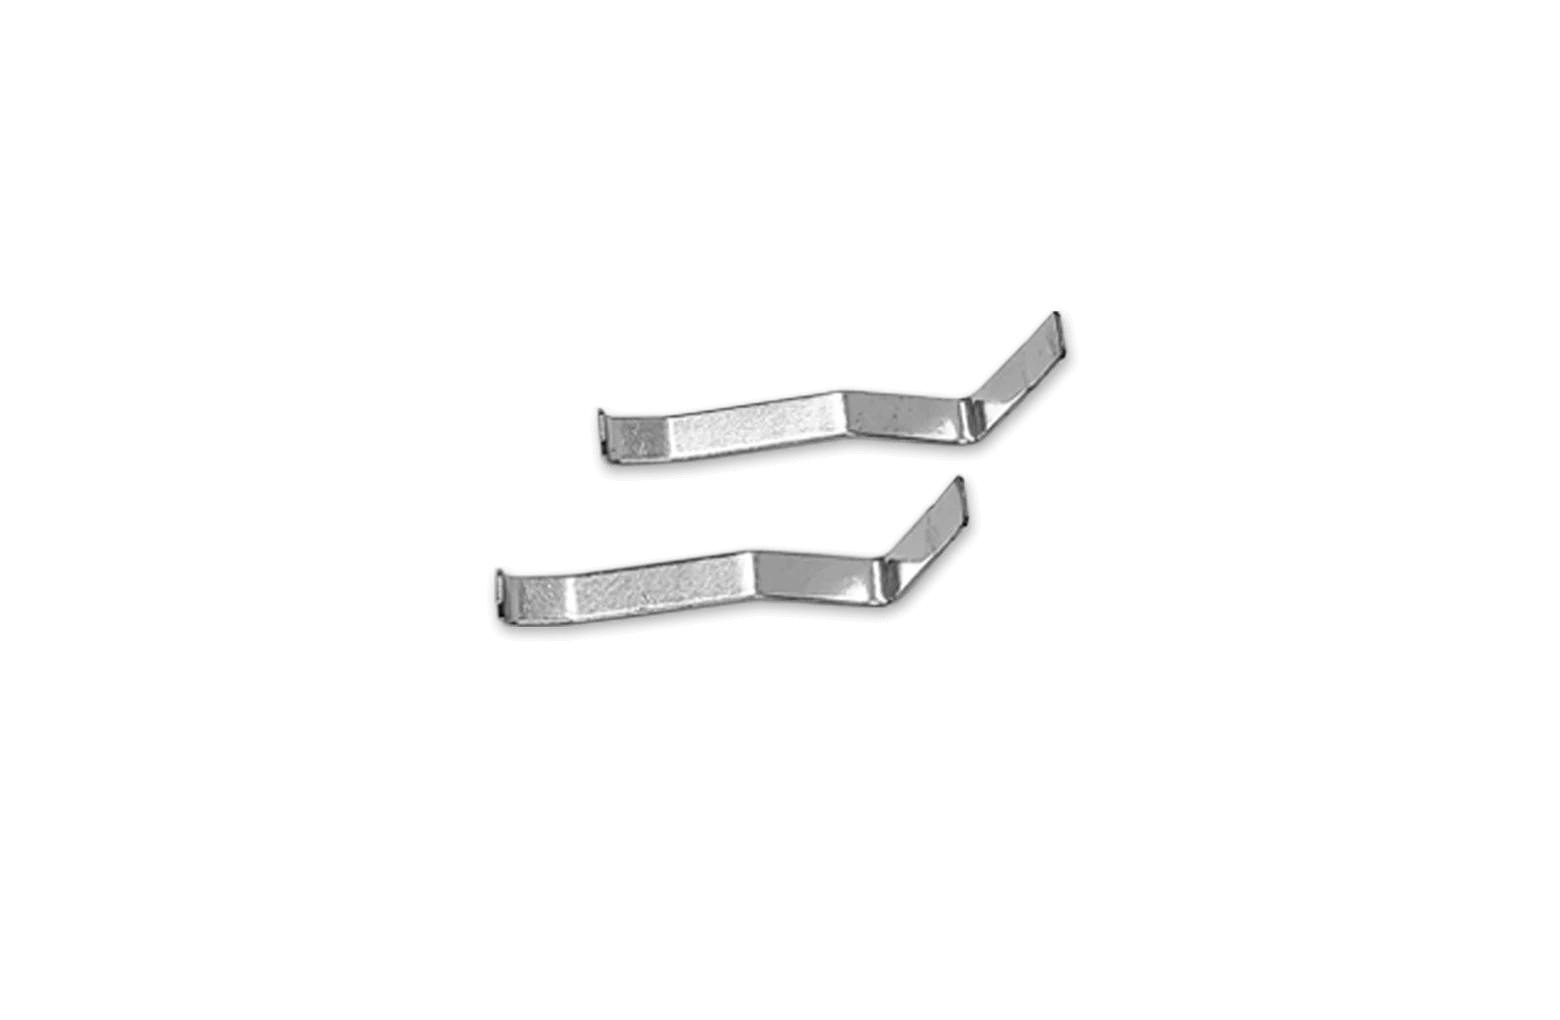
- Note the placement of the metal pinch contacts.

- Using needle-nose pliers, gently remove each of the metal pinch contacts.
Install new pinch contacts
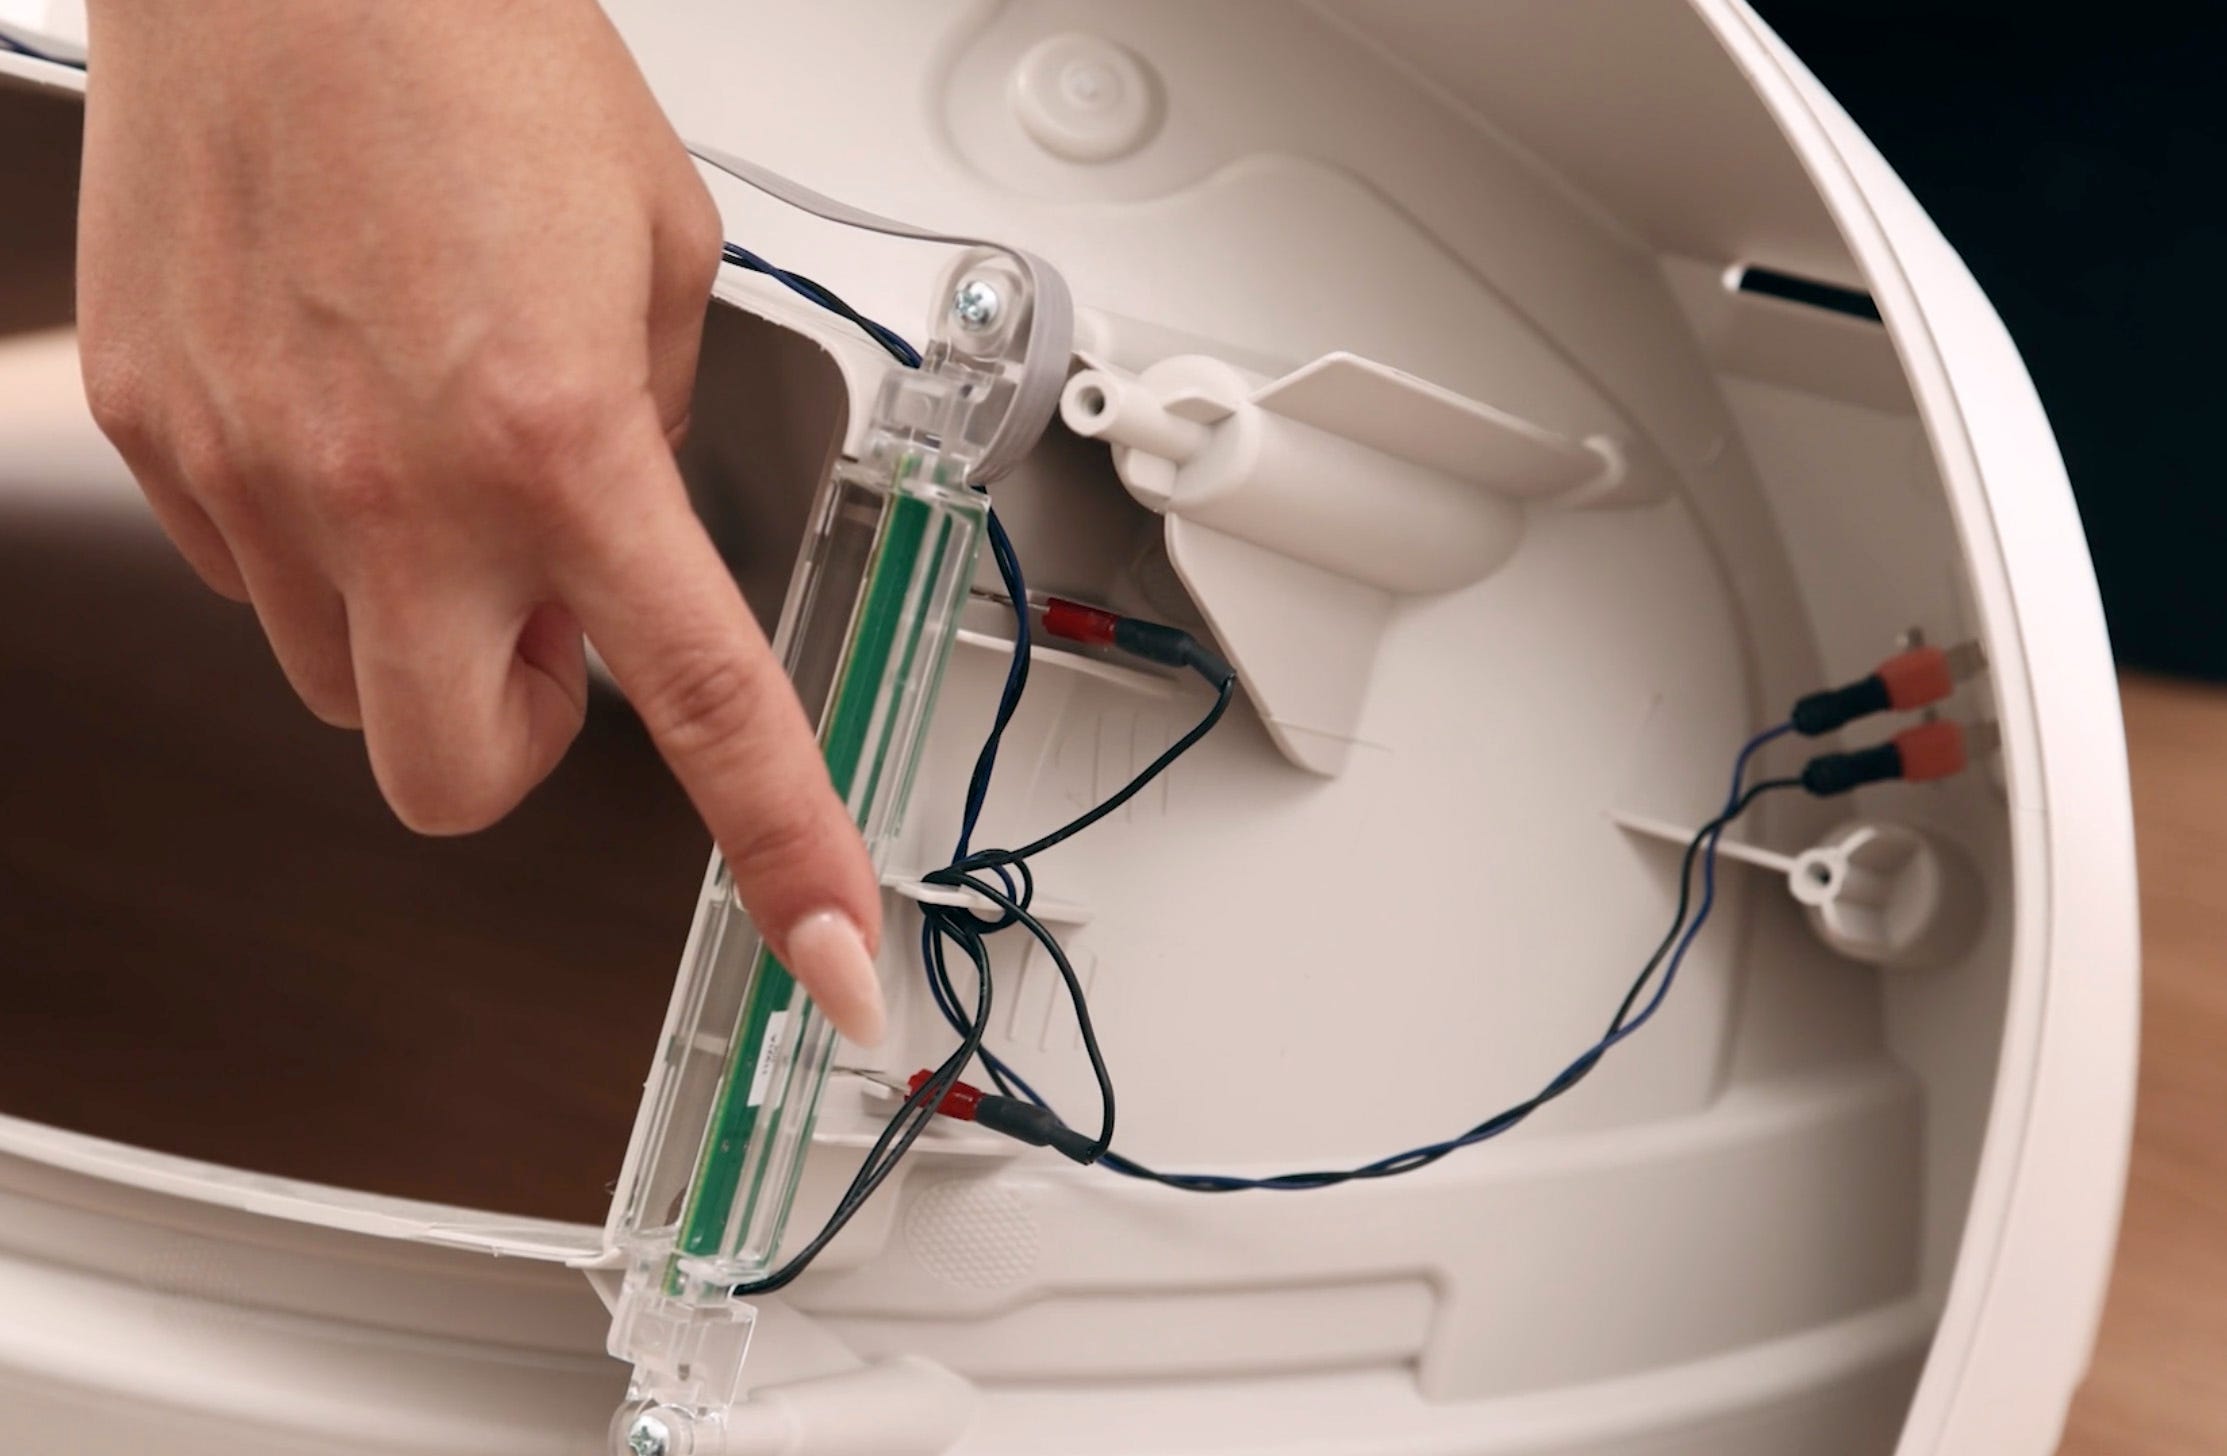
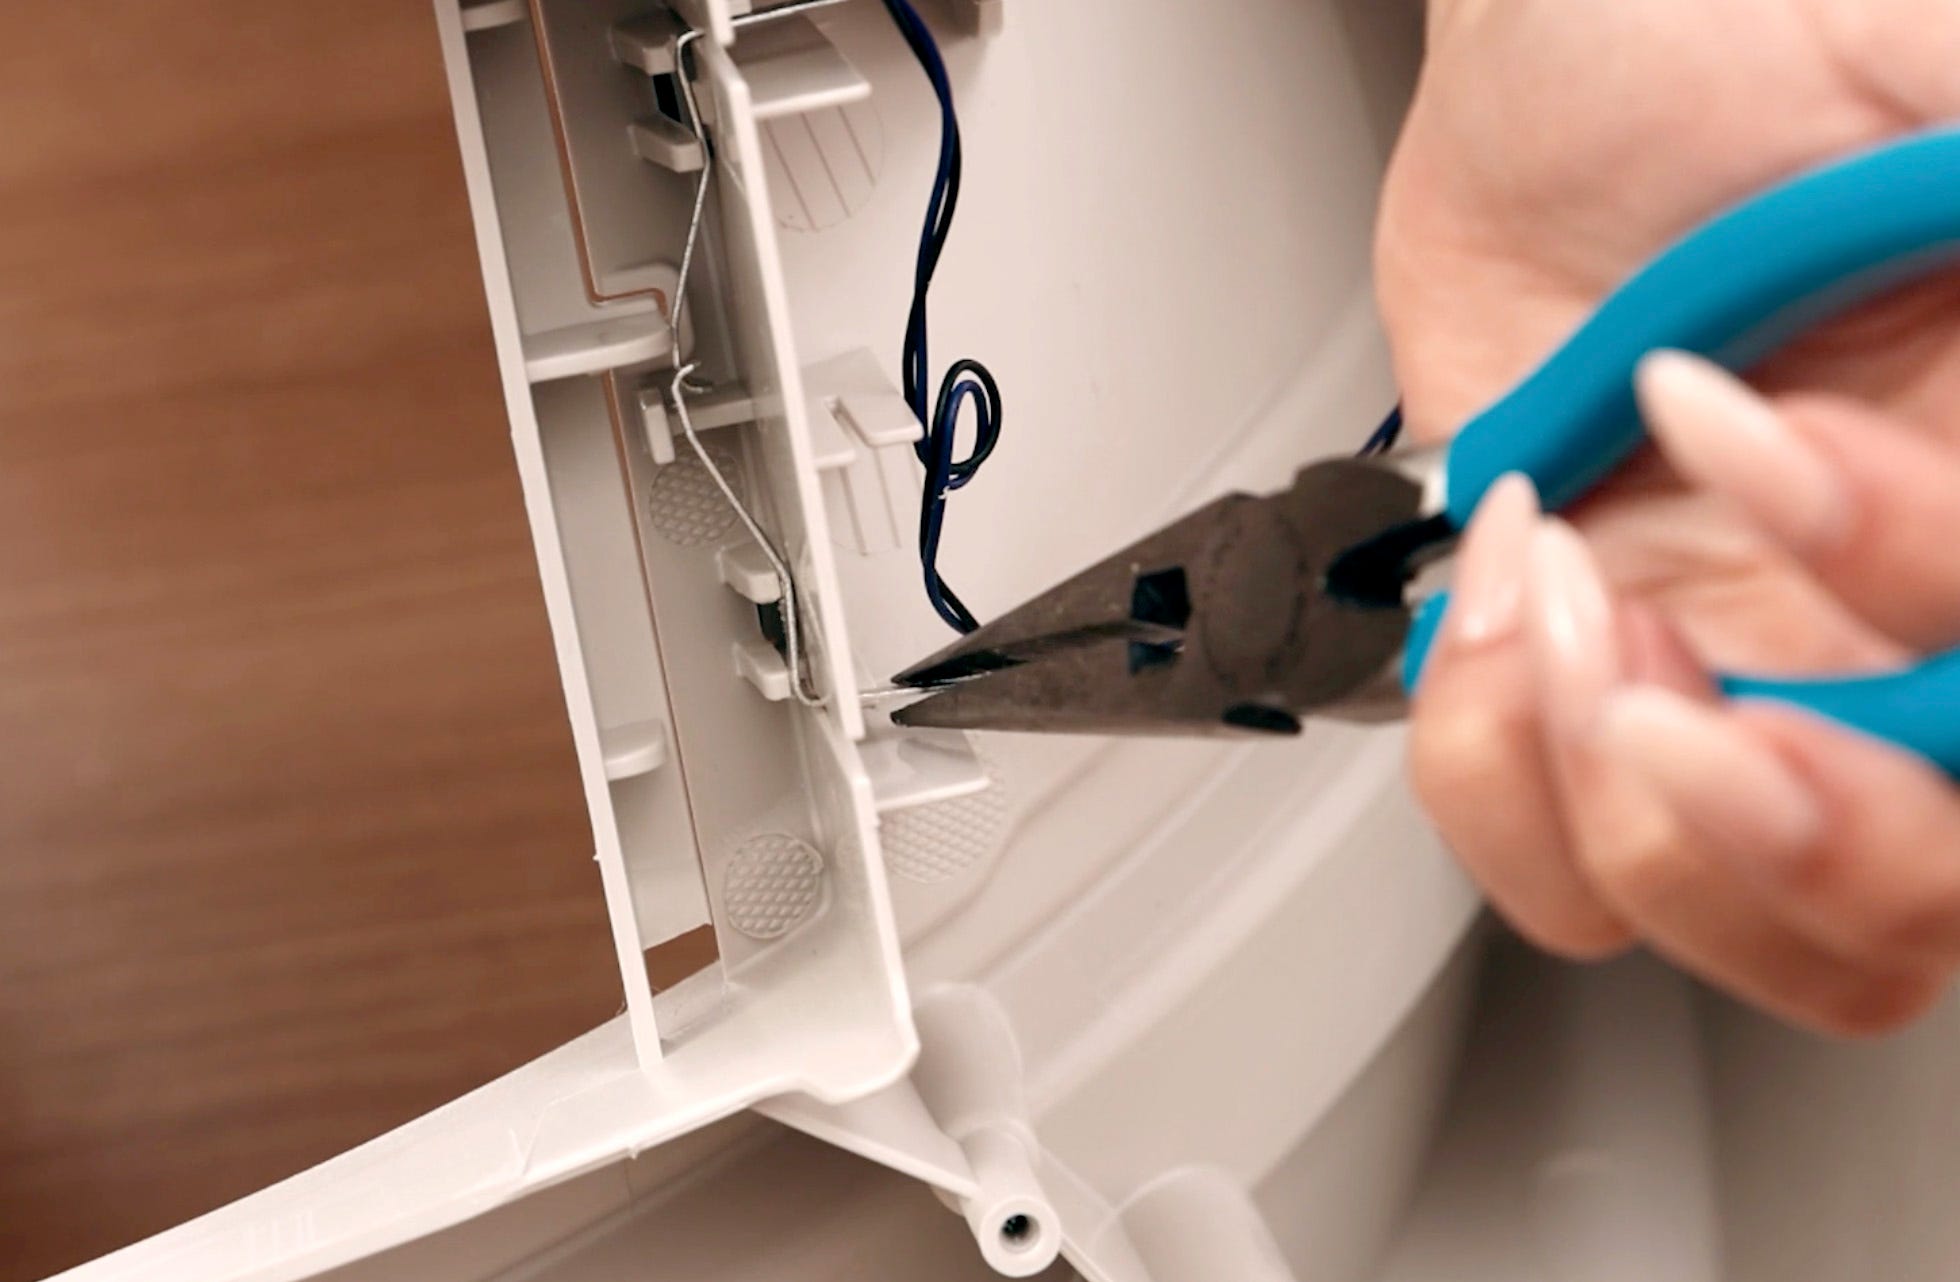
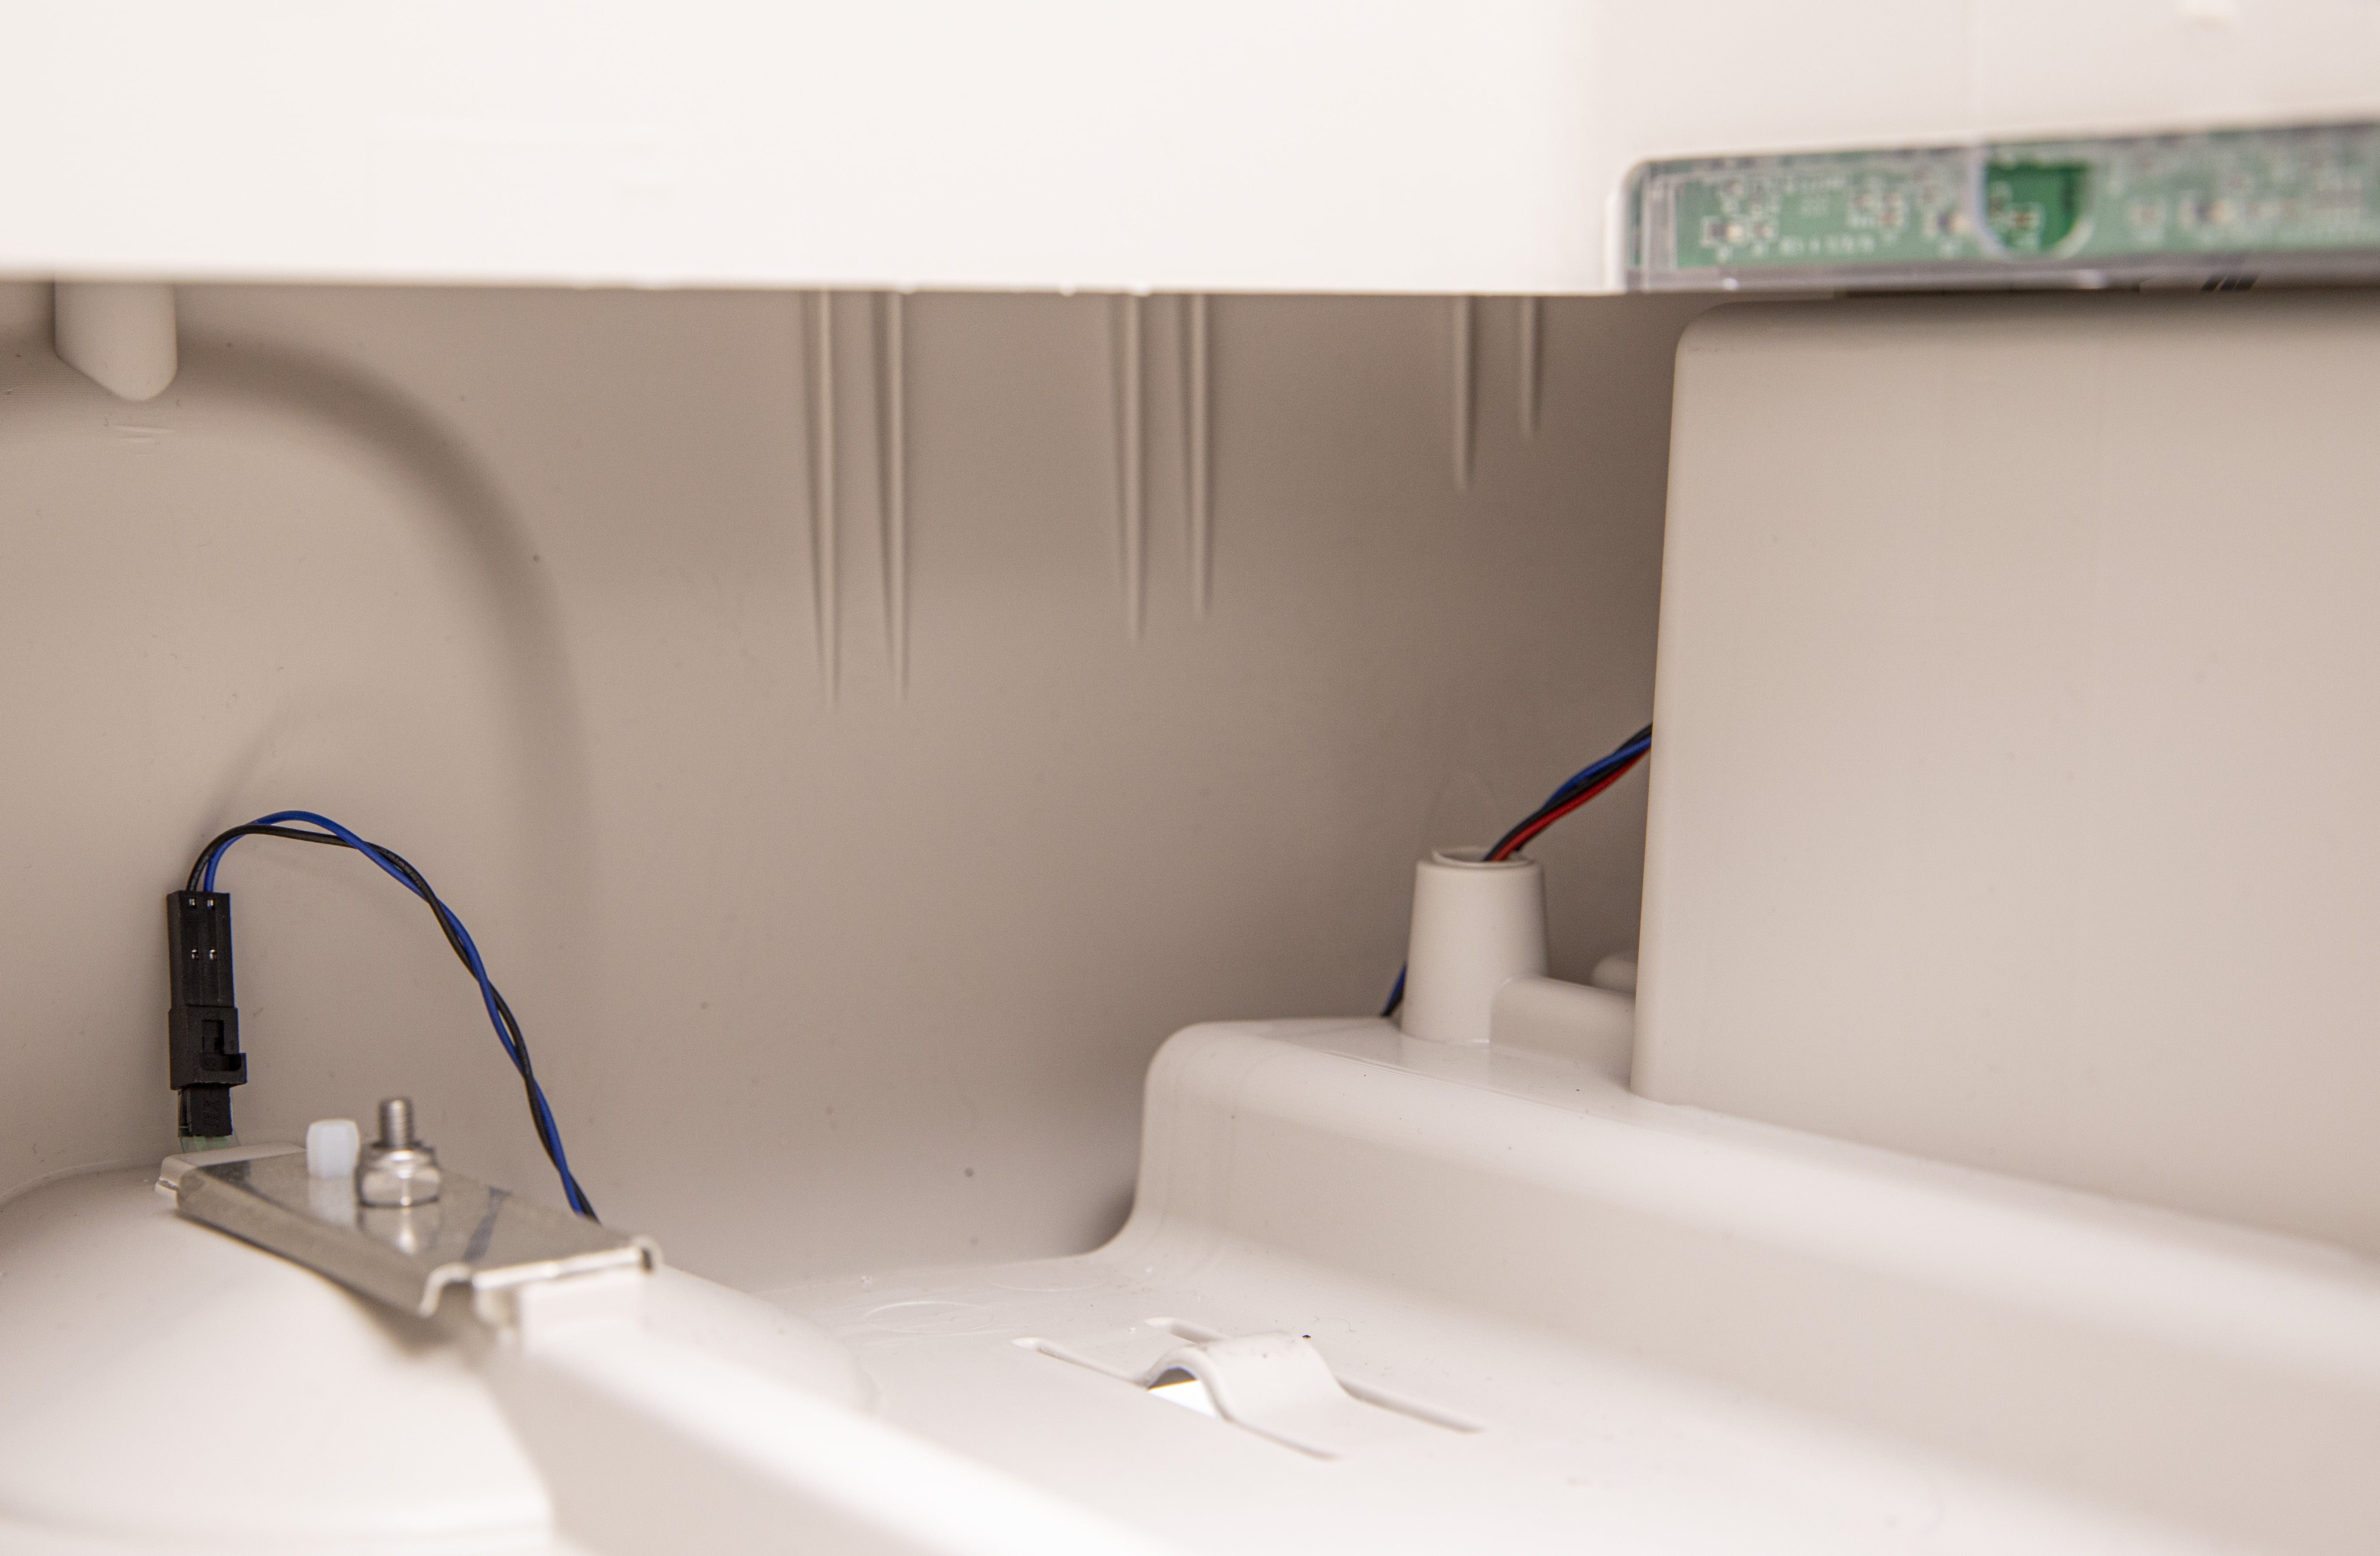
- Using needle-nose pliers, position the new metal pinch contacts.
- Ensure the pinch contacts are fully seated in the slot and that the upper and lower contacts are overlapping. Both pinch contacts should be touching each other. A flathead screwdriver can help to gently push them into place.

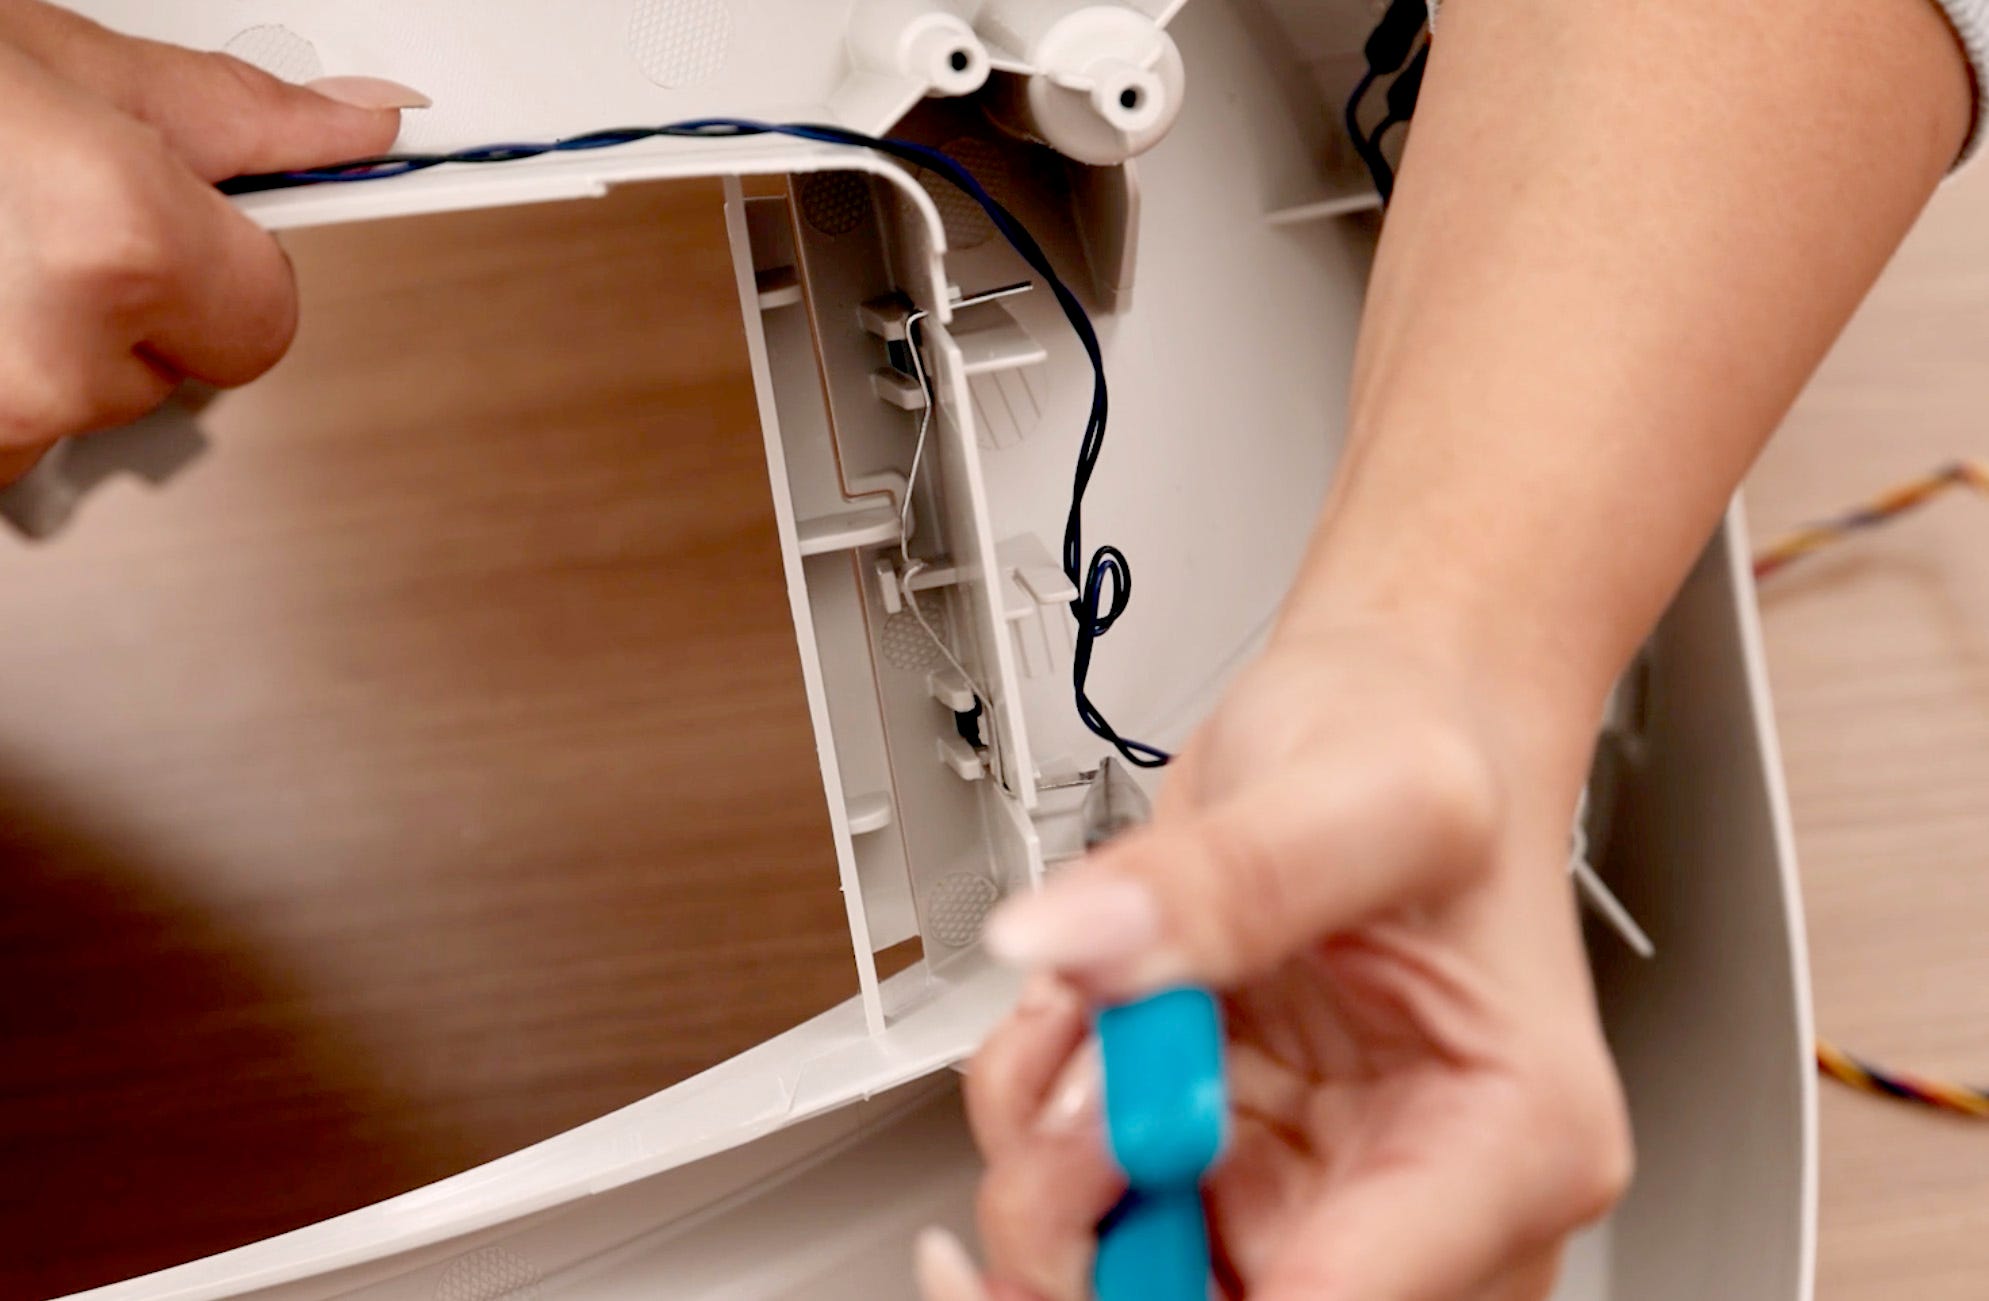
- Reconnect the black wires to the metal pinch terminals in any order. (The wires are not specific to a terminal.) Please note, these need to be securely attached to ensure a sound connection.
- To reduce stress on the component, it is best to place a finger opposite the connector as you apply pressure. Make sure the metal terminal is inserted into the metal connector and not accidentally pushed into its red case.
- To reduce stress on the component, it is best to place a finger opposite the connector as you apply pressure. Make sure the metal terminal is inserted into the metal connector and not accidentally pushed into its red case.
Reassemble Litter-Robot
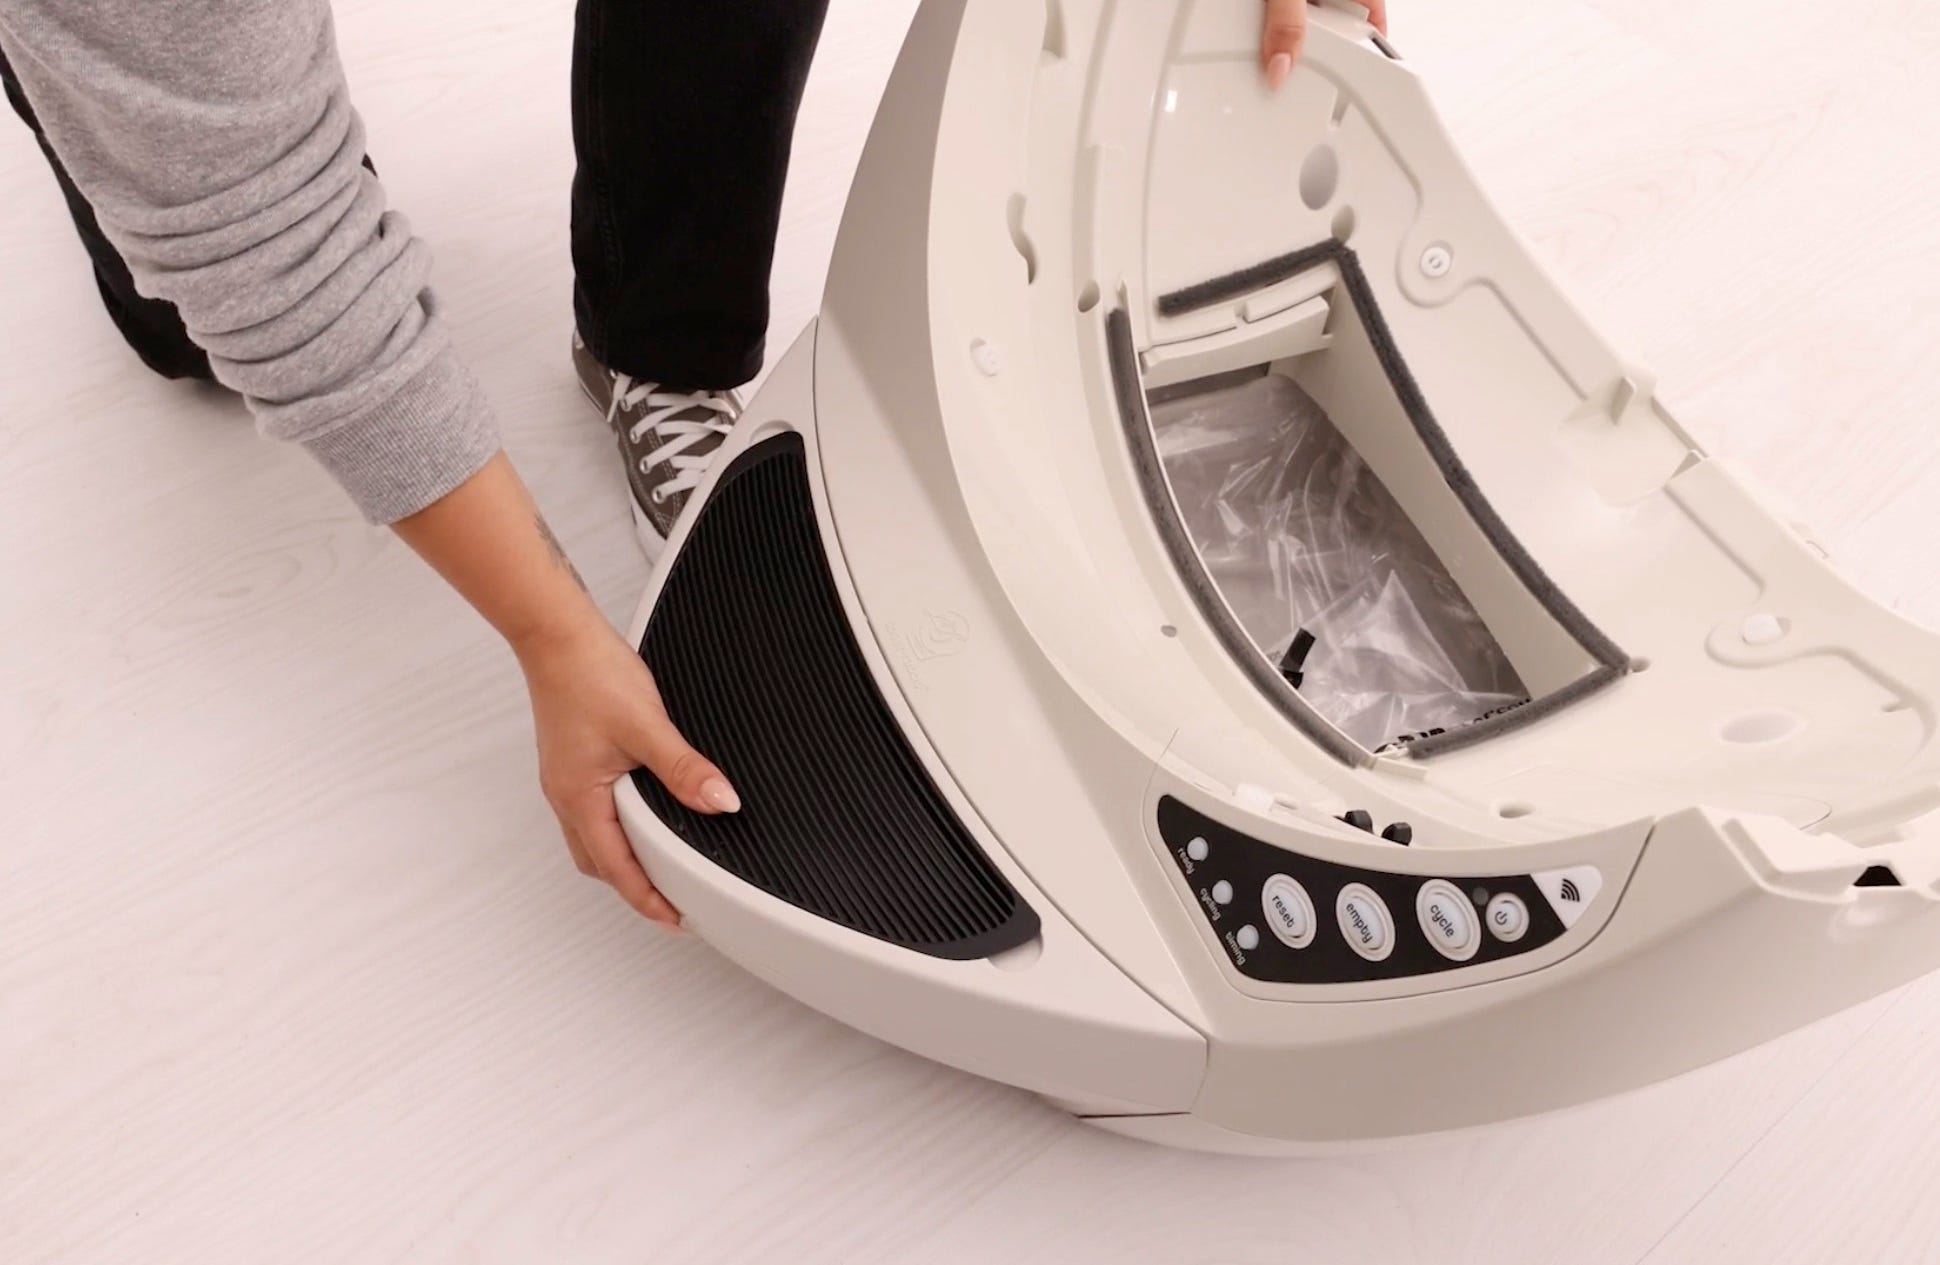
- Replace the other half of the base, making sure the top and bottom halves of the screw bosses align and that the edges, or seams, are aligned so that there is no gapping or overlapping.
- BEFORE tightening any screws, carefully rotate the base and look through the front where the waste drawer would be. Make sure the wires are placed on the interior of the screw boss, so they do not get in the way of the waste drawer. You may have to separate the base to reposition the wires.
- Once everything is seated correctly, tighten the 9 screws. Be careful not to overtighten.
- Replace the waste drawer.
- Replace the globe, ensuring it is positioned correctly. Visually check that the large gear that runs around the globe is sitting in the track on the base.
- At the back of the globe, turn the black key into the key pocket.
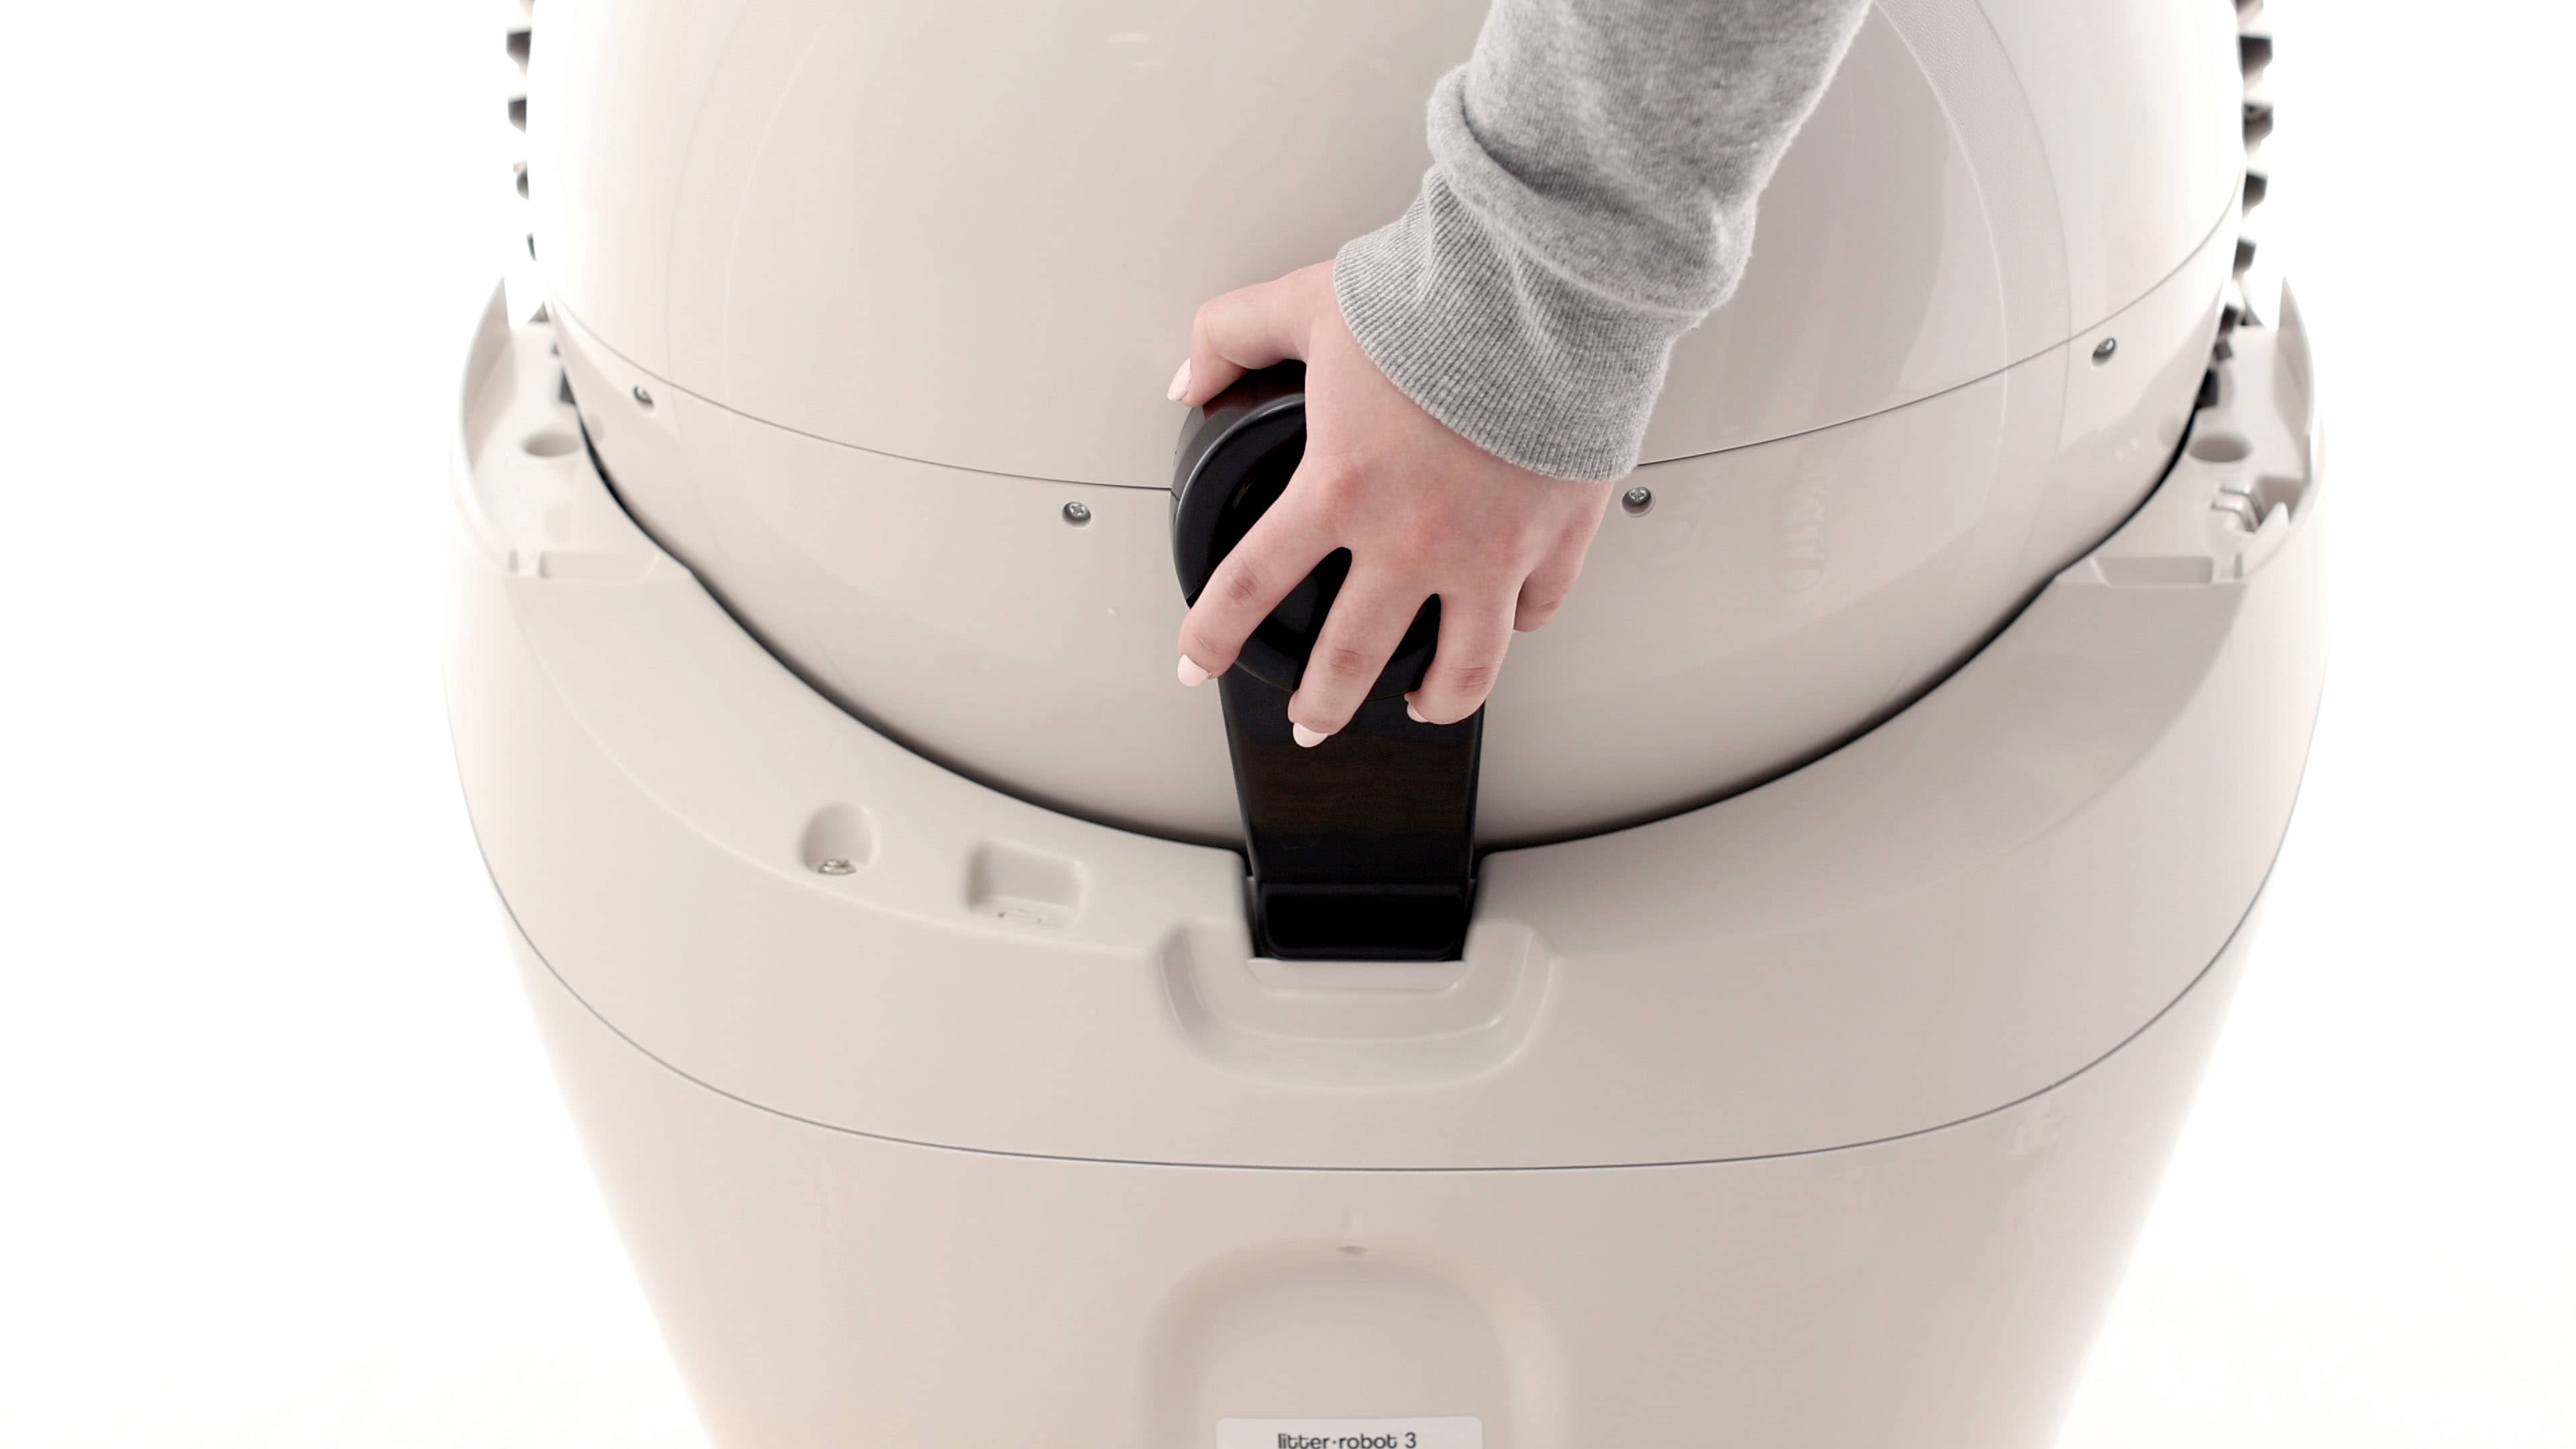
- Replace the bonnet, sliding the tabs on both sides into the slots in the base.
- Rotate the bonnet forward, aligning the tabs with the corresponding slots in the base. Snap the bonnet securely into the base.
- Plug the power plug into the base.
- Press the Power button to turn the unit on.
- Once the initial clean cycle is complete, the unit should return to the home position displaying a blue “ready light” status.
- If your unit does not cycle or does not cycle properly, review your installation.
If you're getting three flashing lights, it is most likely due to the position sensor being out of place. Follow the steps in our Litter-Robot 3: All three lights flashing (Globe position fault) guide to inspect the position sensor.
Didn't find what you're looking for?
Live support available Mon-Fri: 9AM-9PM EST and Sat-Sun: 9AM-5PM EST, or submit a ticket anytime.