The store will not work correctly in the case when cookies are disabled.

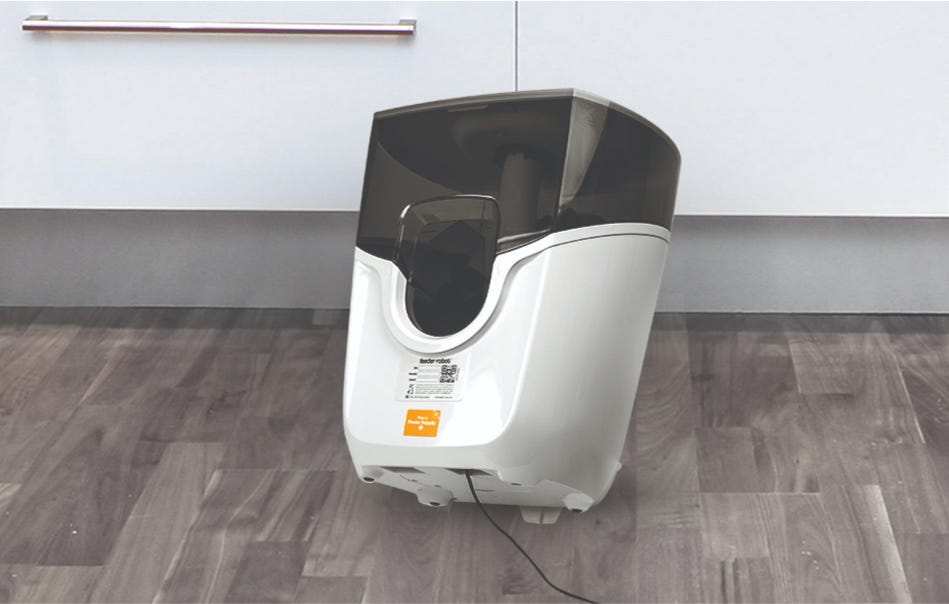
Feeder-Robot: Backup Battery Installation Guide
Feeder-Robot can be equipped with a backup battery (sold separately) that provides approximately 24 hours of operation in power-saving mode if power is interrupted.
Note: When power is interrupted, the unit will automatically switch to battery power and a blinking yellow light will illuminate the power button on the control panel. Feeder-Robot will switch back to household power when it returns, and the unit will begin recharging the battery.
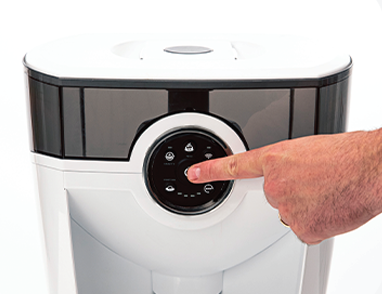
- Press the power button to turn the unit off.

- Unplug the unit. The power input is located underneath the unit.
- Gently turn the unit over to access the battery pocket on the underside of the base.
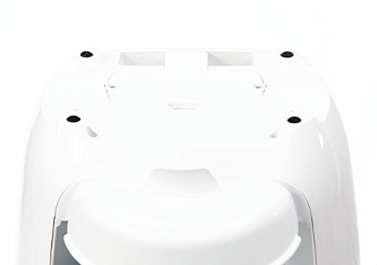
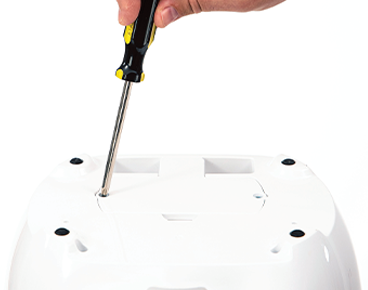
- With the use of a Phillips screwdriver, remove the two screws at the bottom of the unit and lift up the plastic cover.
- Connect the battery, making sure to connect the leads and terminals correctly: RED lead to the RED terminal and BLACK lead to the BLACK terminal. lnsert the battery into the pocket.
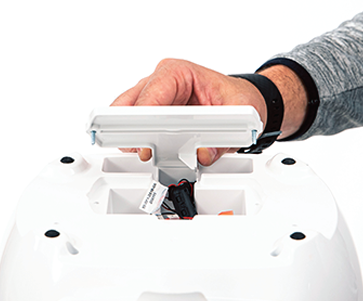
- Reinsert the plastic cover, inserting the small plastic tab first to ensure the plastic cover sits flush.
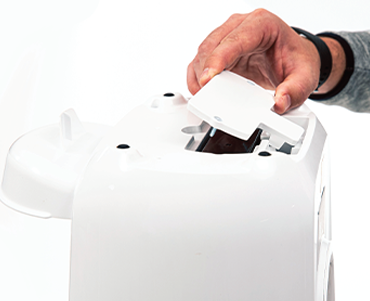
- Attach the plastic cover using the screws provided.
- Plug the unit back in and power it on.
Didn't find what you're looking for?
Live support available Mon-Fri: 9AM-9PM EST and Sat-Sun: 9AM-5PM EST, or submit a ticket anytime.