The store will not work correctly in the case when cookies are disabled.
Litter-Robot 3: Fixing the globe magnets
If you've previously disassembled your globe at its y-axis for deep cleaning or a globe liner replacement, it's possible that it was reassembled incorrectly.
Litter-Robot 3 uses two magnets located in the globe gear track to monitor the position of the globe. The magnets could be missing or put in backward, reversing the required polarity.
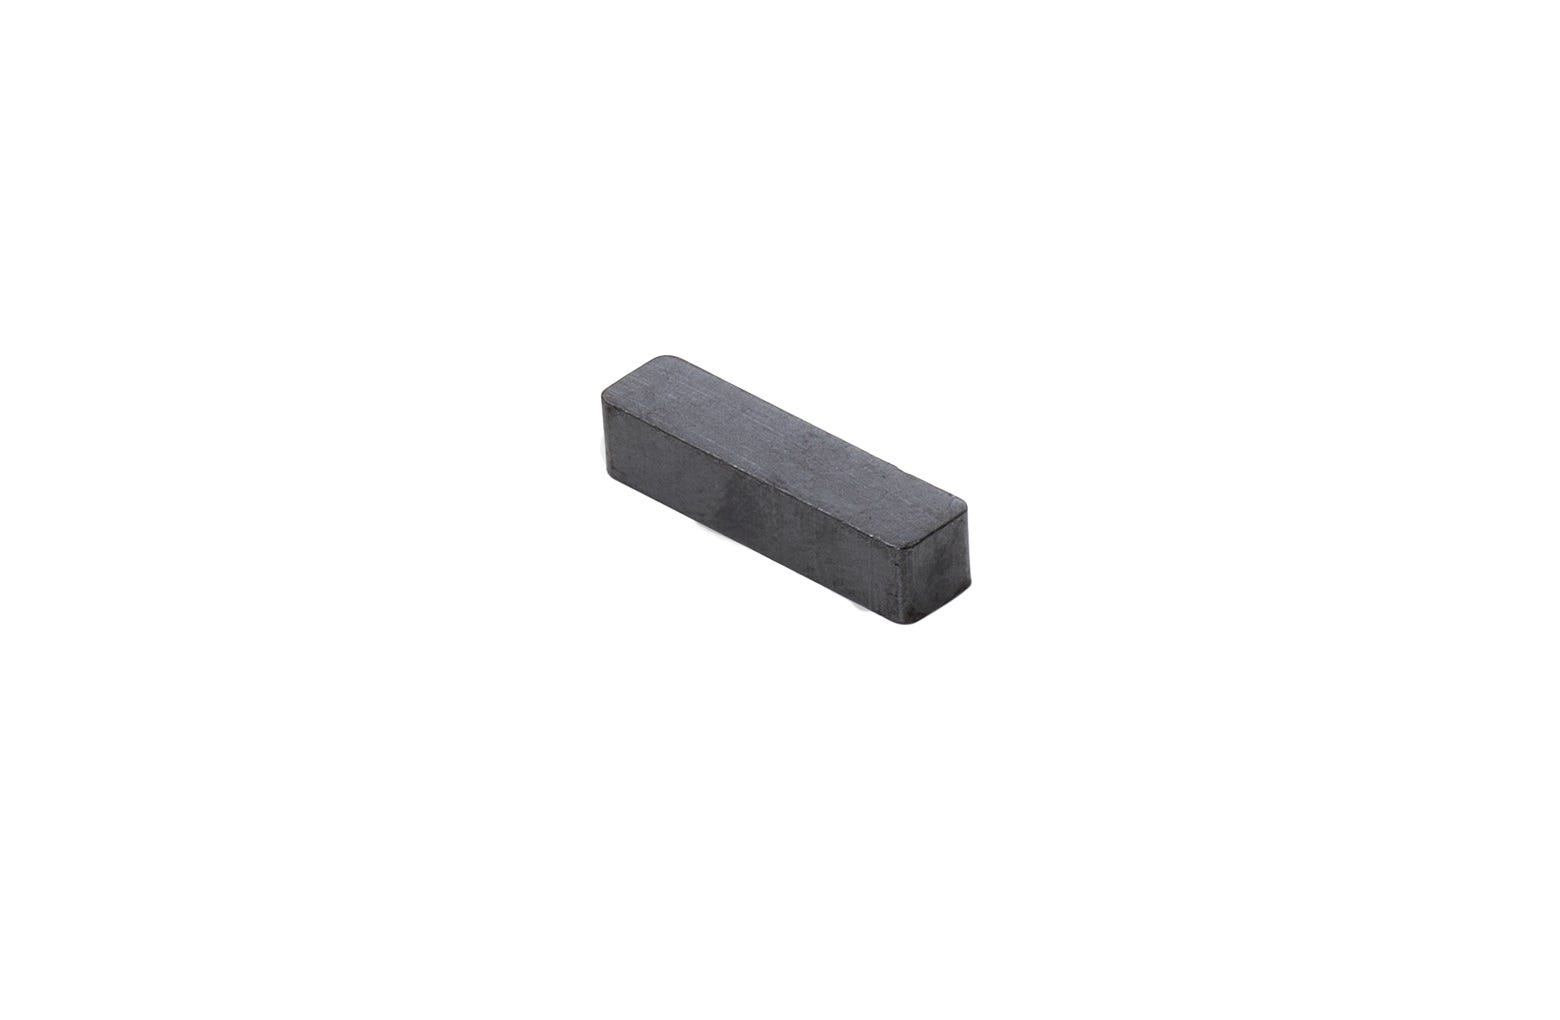 (Globe magnet)
If you have recently disassembled your globe, follow these troubleshooting steps.
Do not perform these steps if your globe has never been disassembled.
Tools Needed
- Standard household magnet
- Phillips Screwdriver
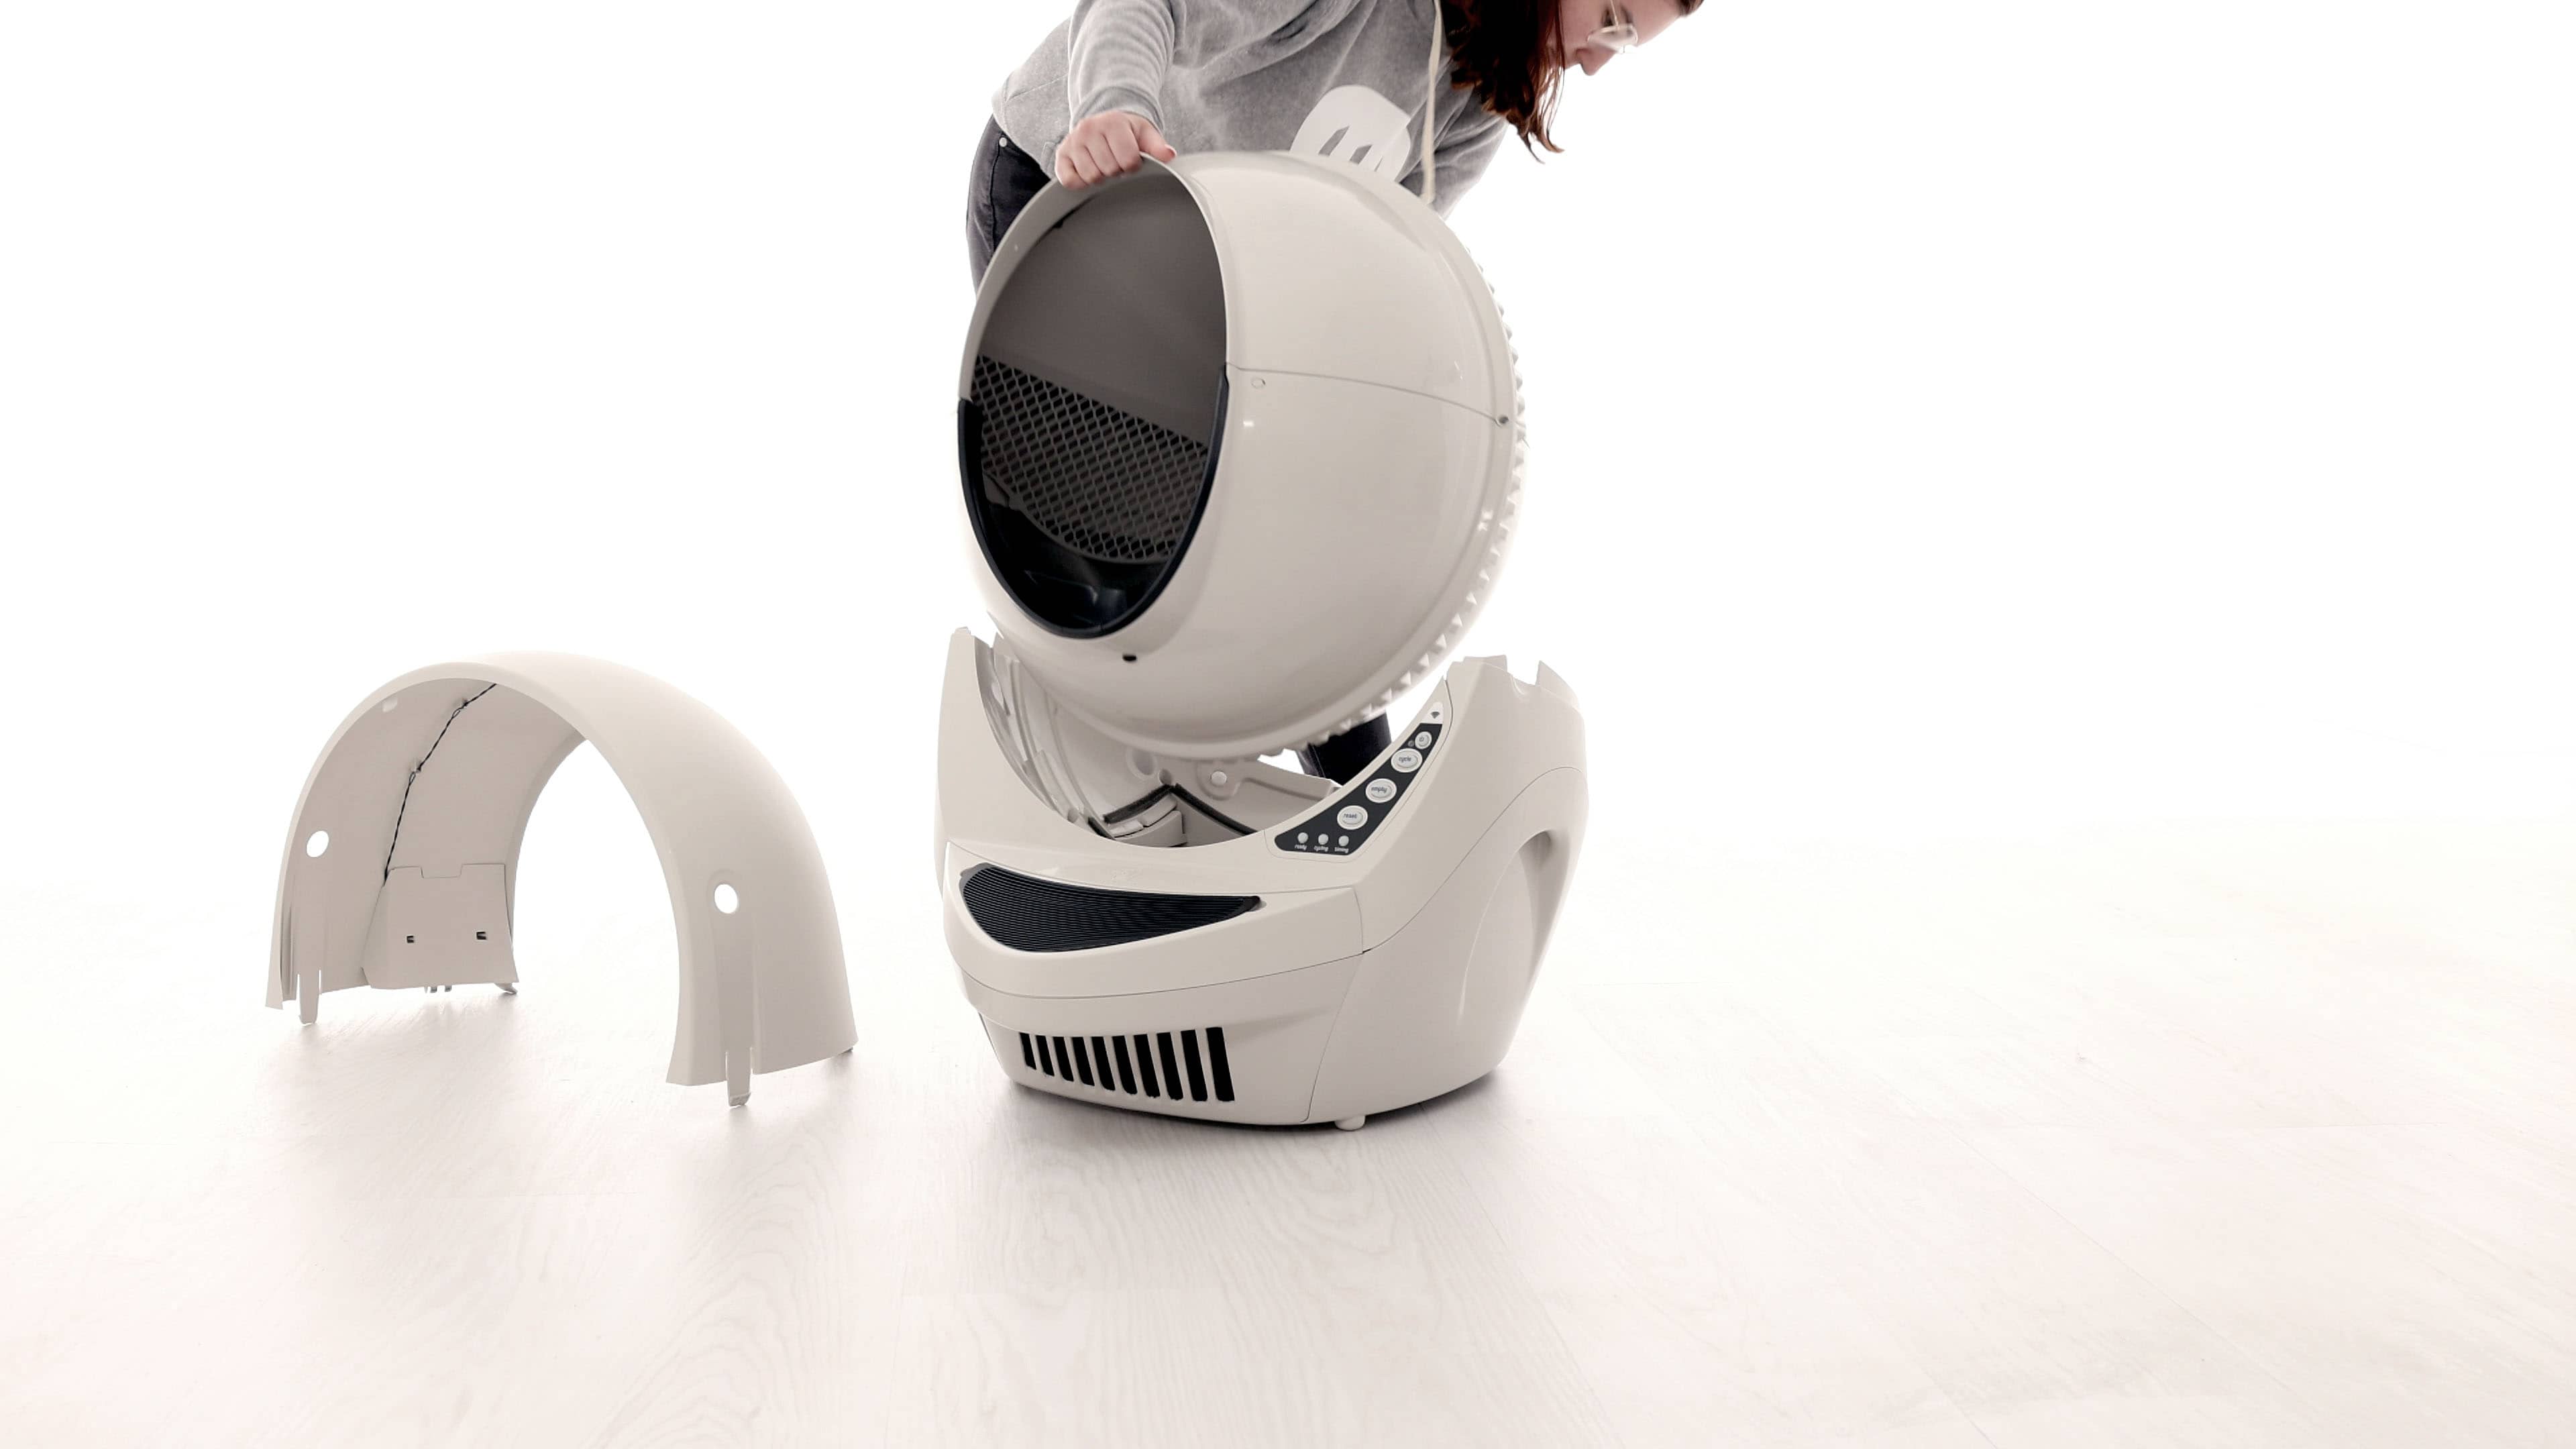
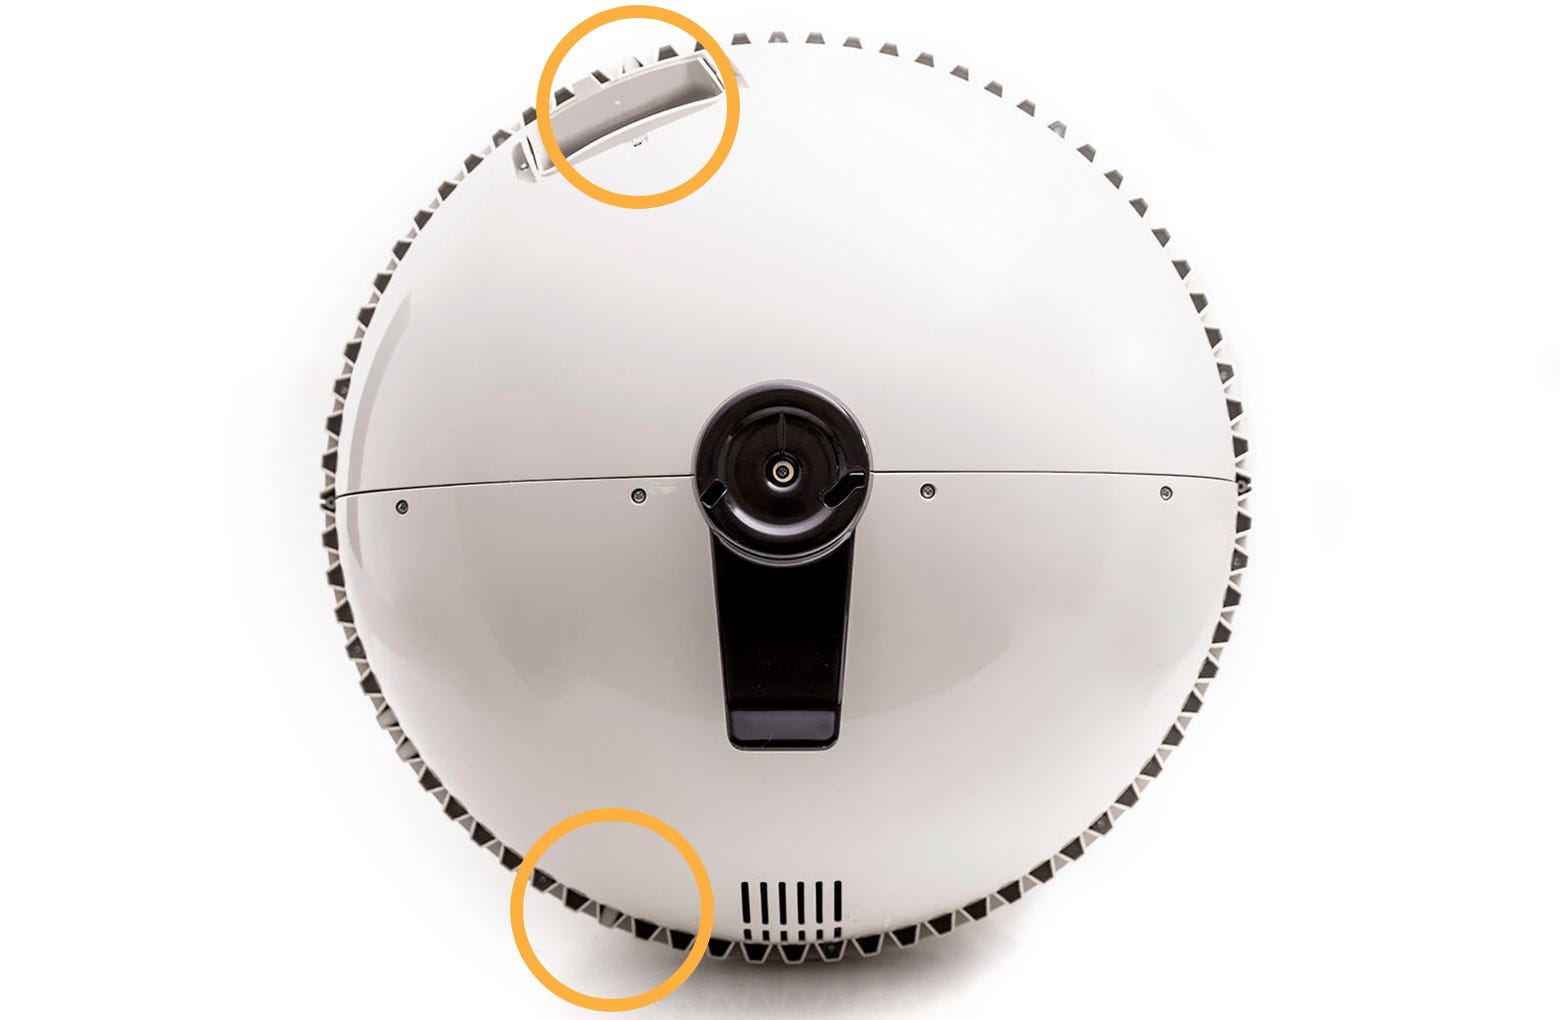
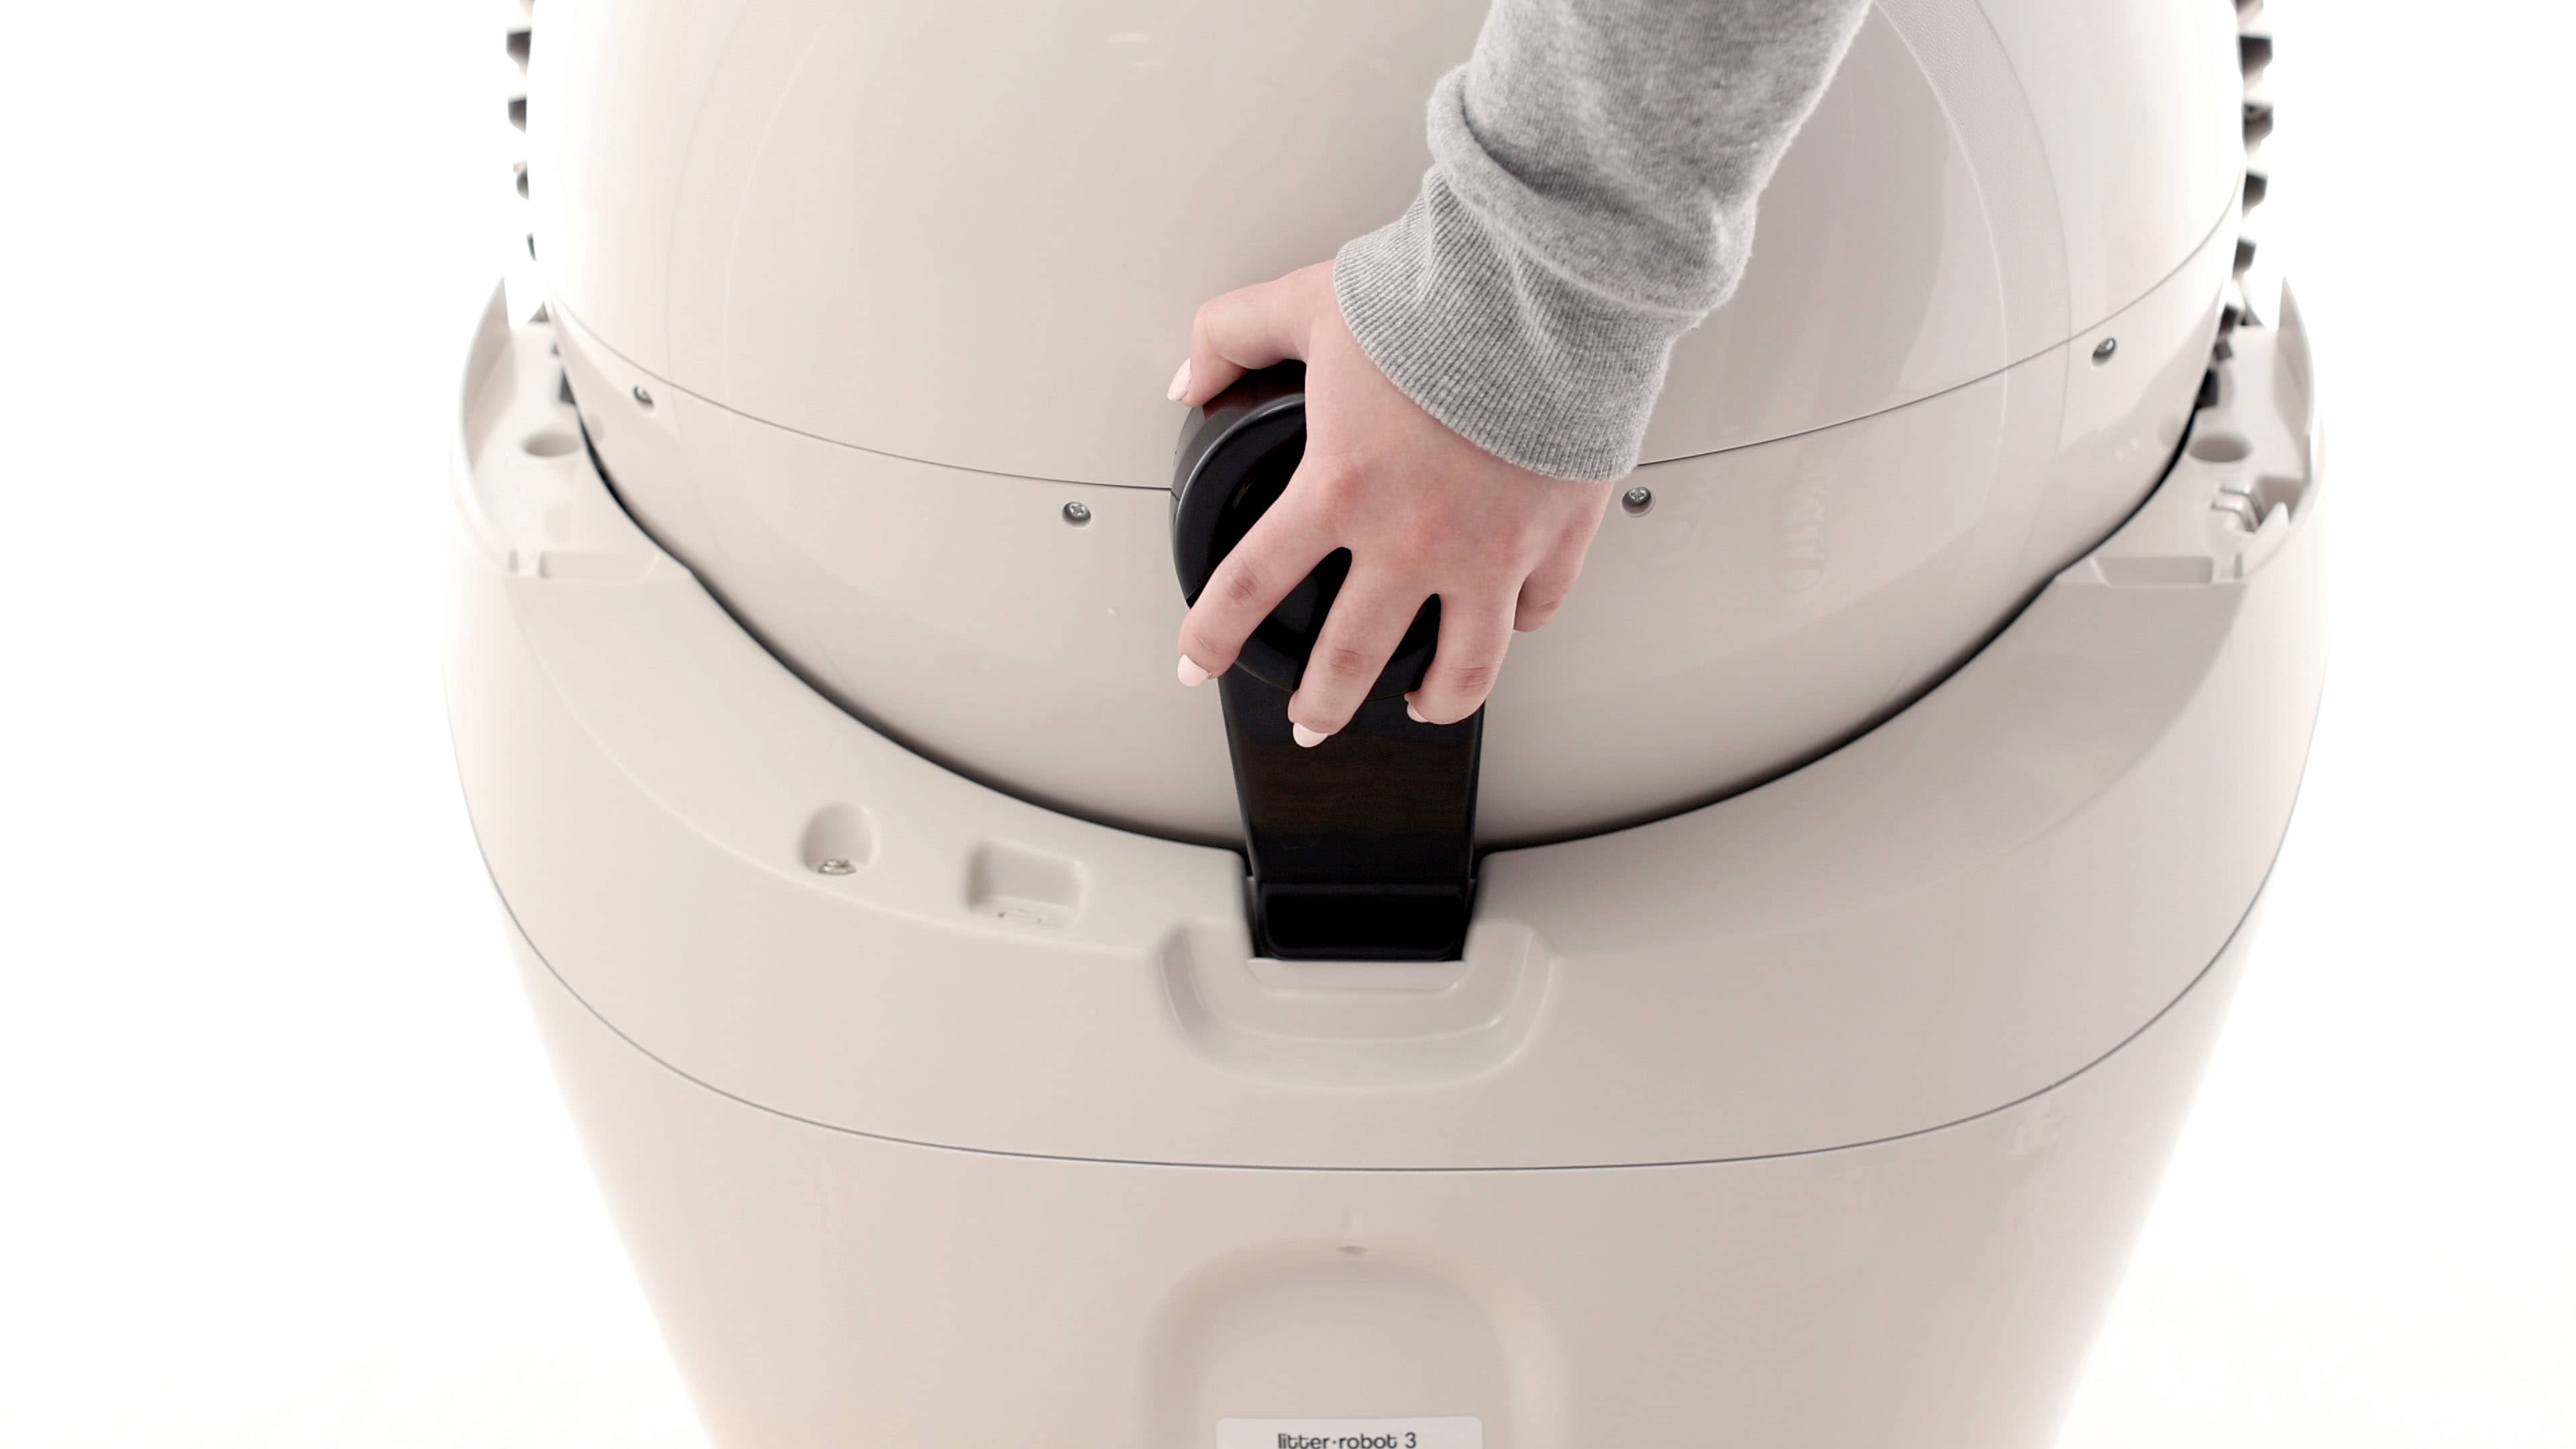
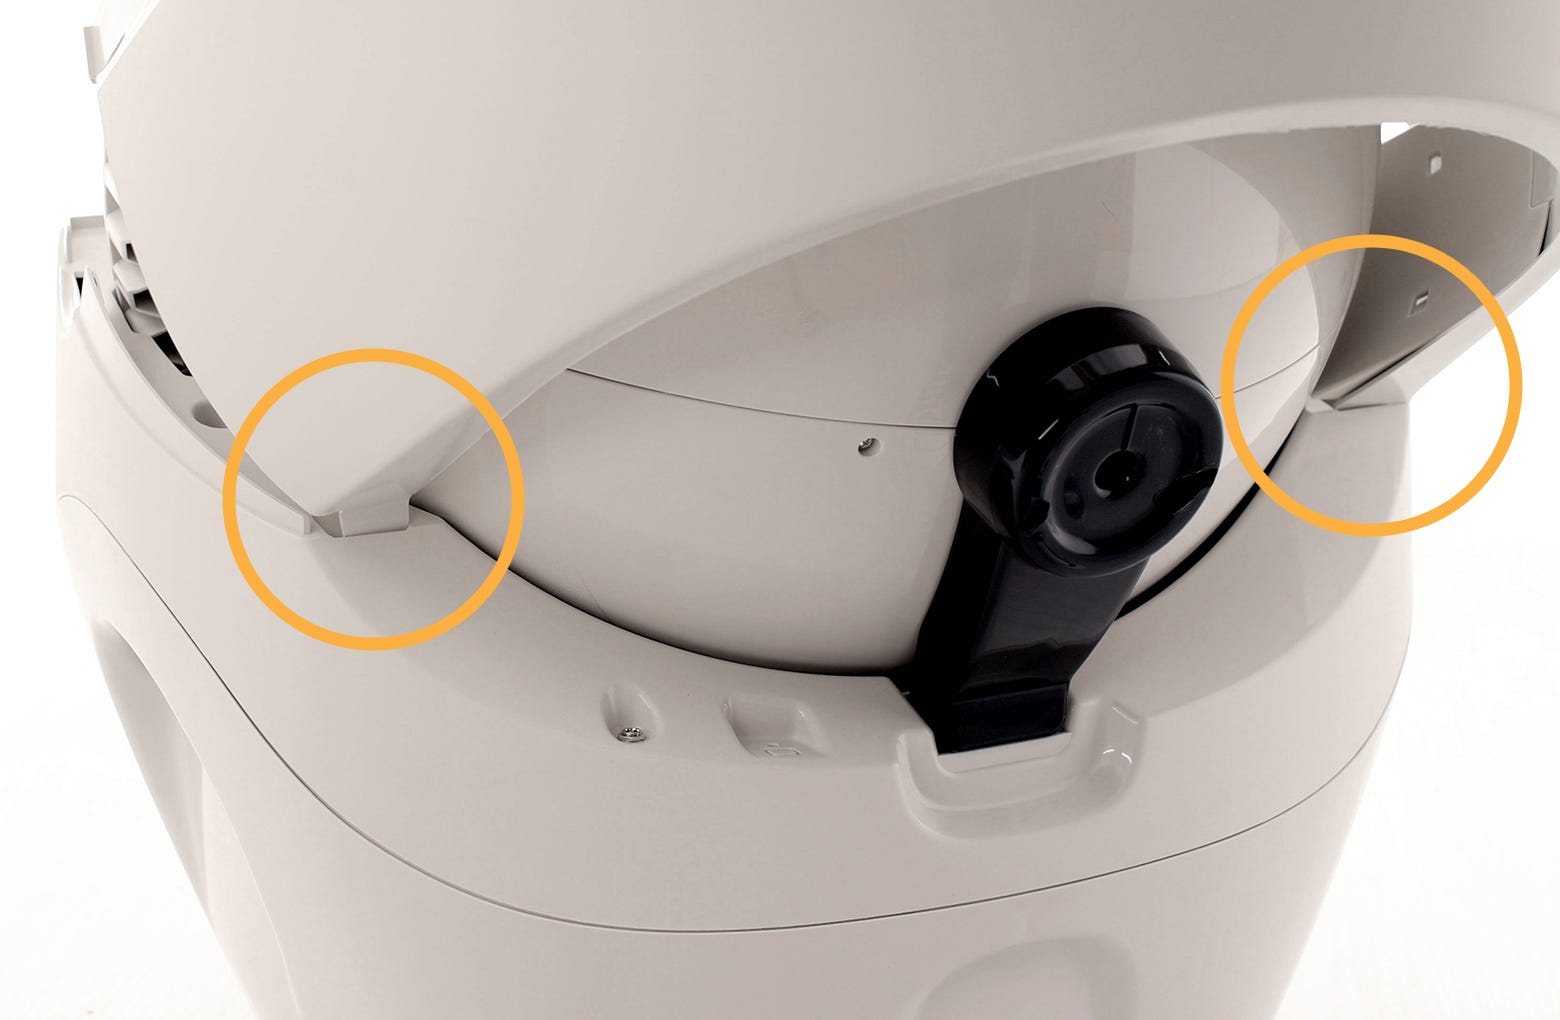
- Remove the bonnet by pressing the latches on both sides of the bonnet then lift while rotating it backwards. There are two plastic tabs on the back of the bonnet that should slide up and out of the base. Set the bonnet aside. Reference this video on how to remove and replace the bonnet.
- Remove the globe and set aside. Be careful not to let the globe roll.
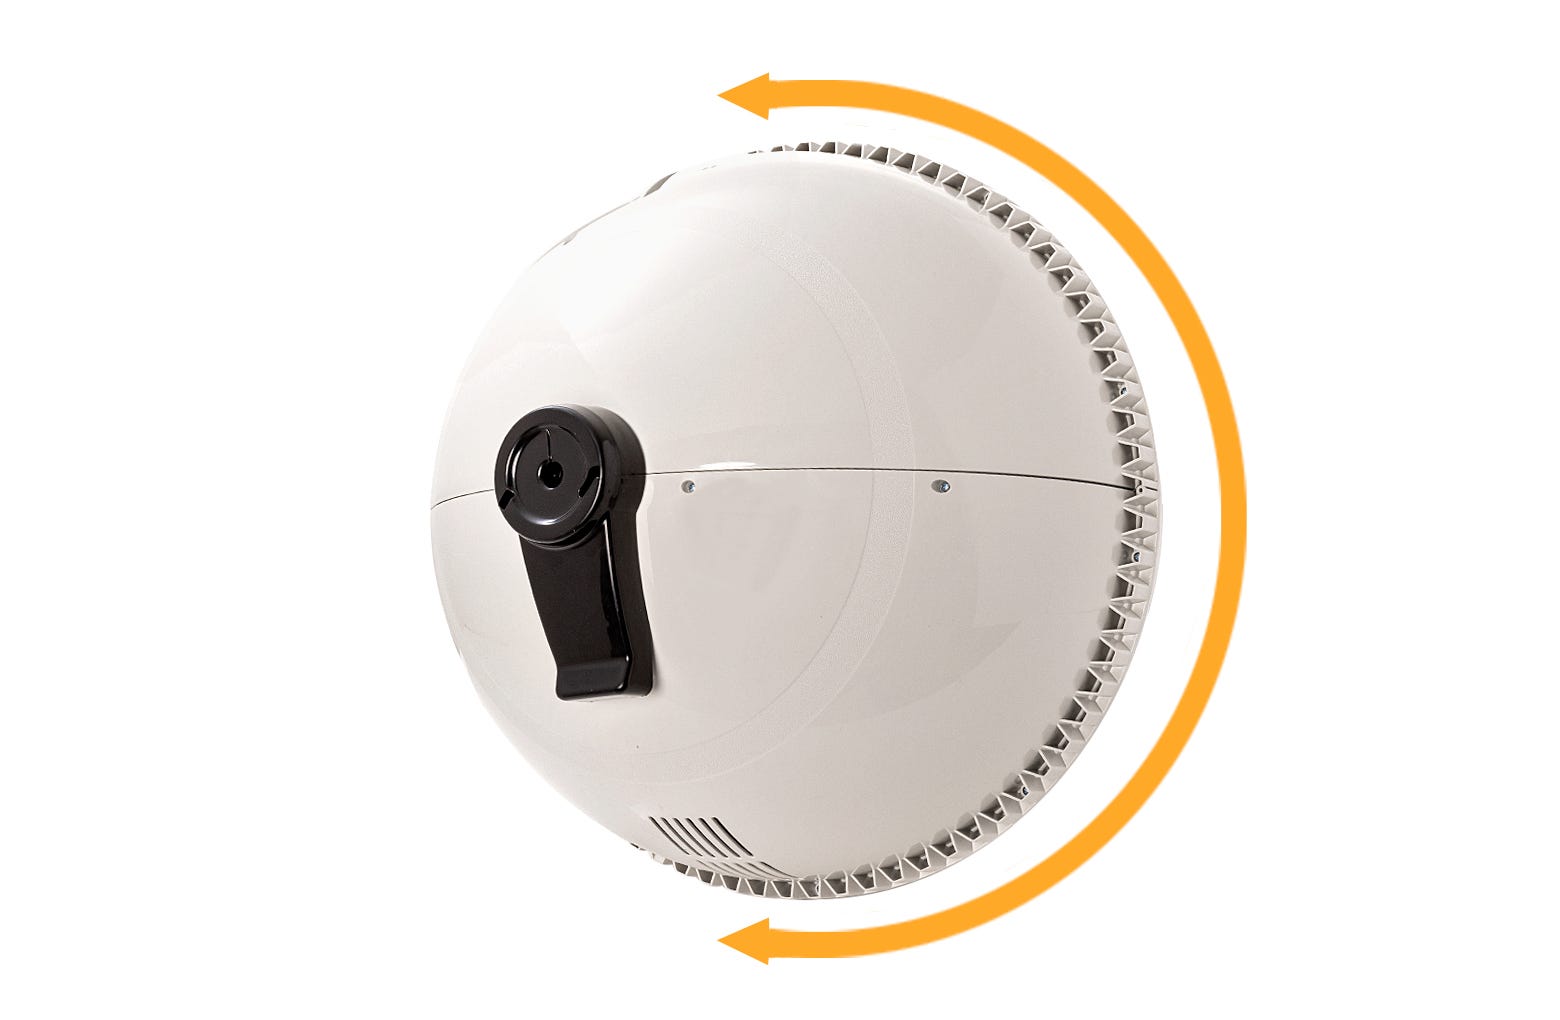
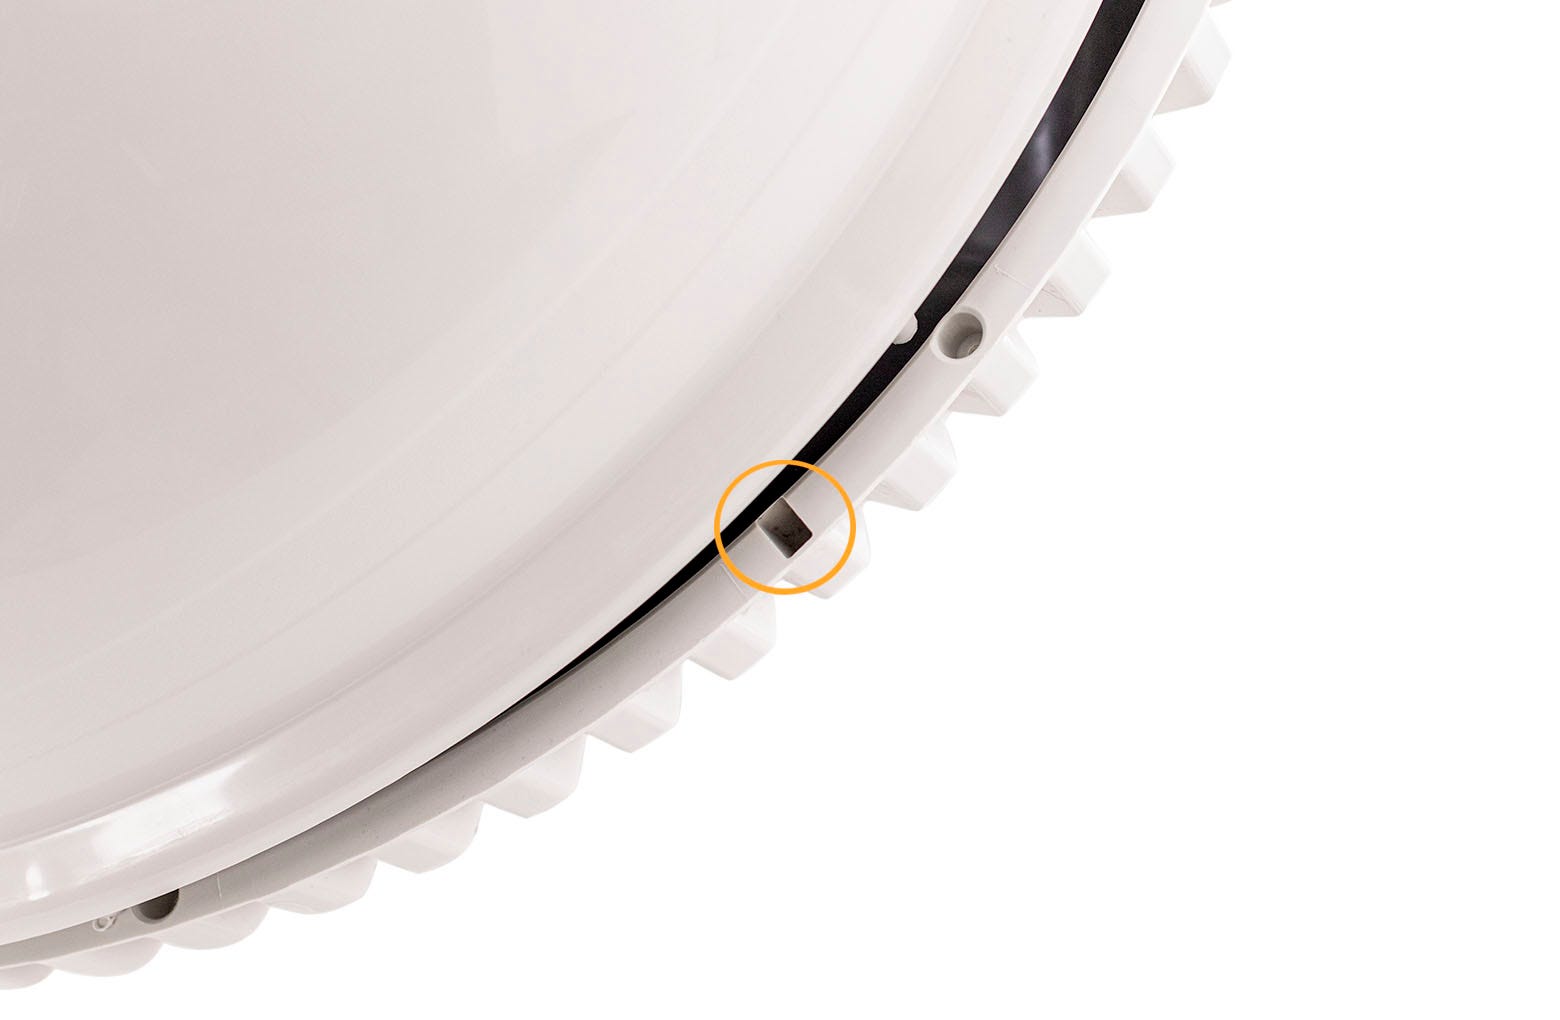
- Use a standard household magnet to check that the magnets are present. The magnets are located in the gear track that runs around the whole globe. Slowly move your magnet over the gear track. Standing in front of the globe opening, you should feel magnets near the 1 o'clock and 5 o'clock positions.
- If the magnets are both present, but you are still receiving the three flashing lights error, the magnets should be re-oriented to the correct polarity.
- You'll need to take apart the globe along the y-axis to continue.
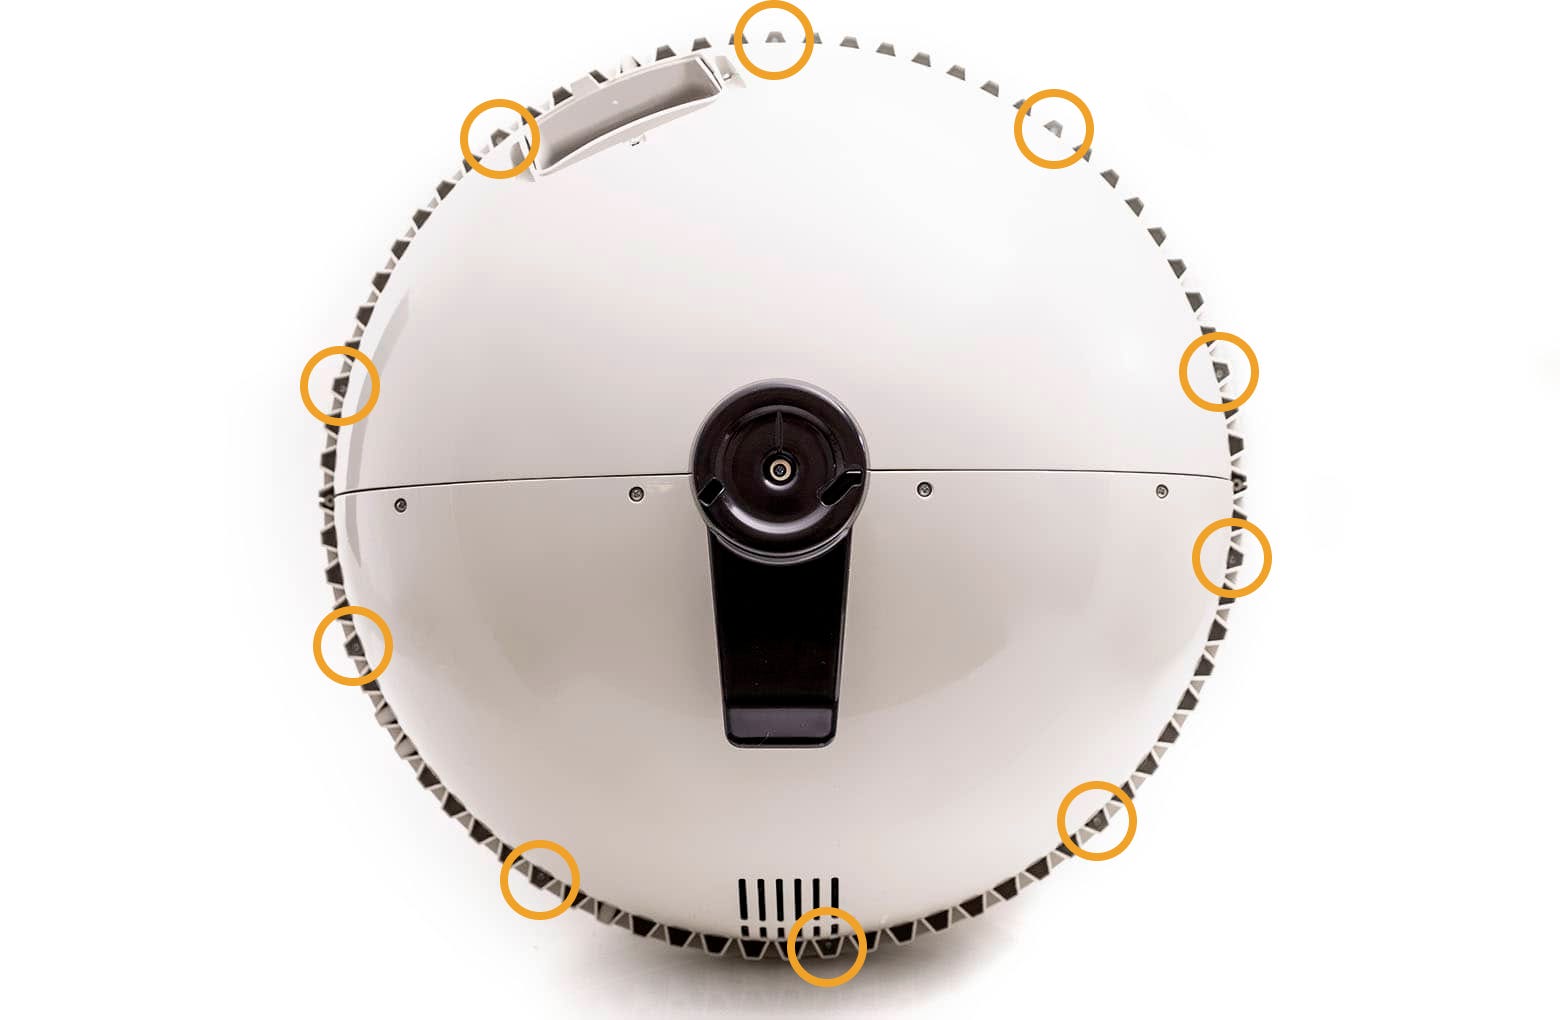
- Remove the 10 screws around the y-axis of the globe. Set the screws aside.
- Once you disassemble the globe, locate the two globe magnet pockets, which contain the two magnets.
- Use one of the following steps based on the light code you are seeing:
- Blue → Yellow → Red Cycling: This means the unit cannot find the Dump position.
Disassemble the globe and flip the magnet that is at the 1 o’clock position.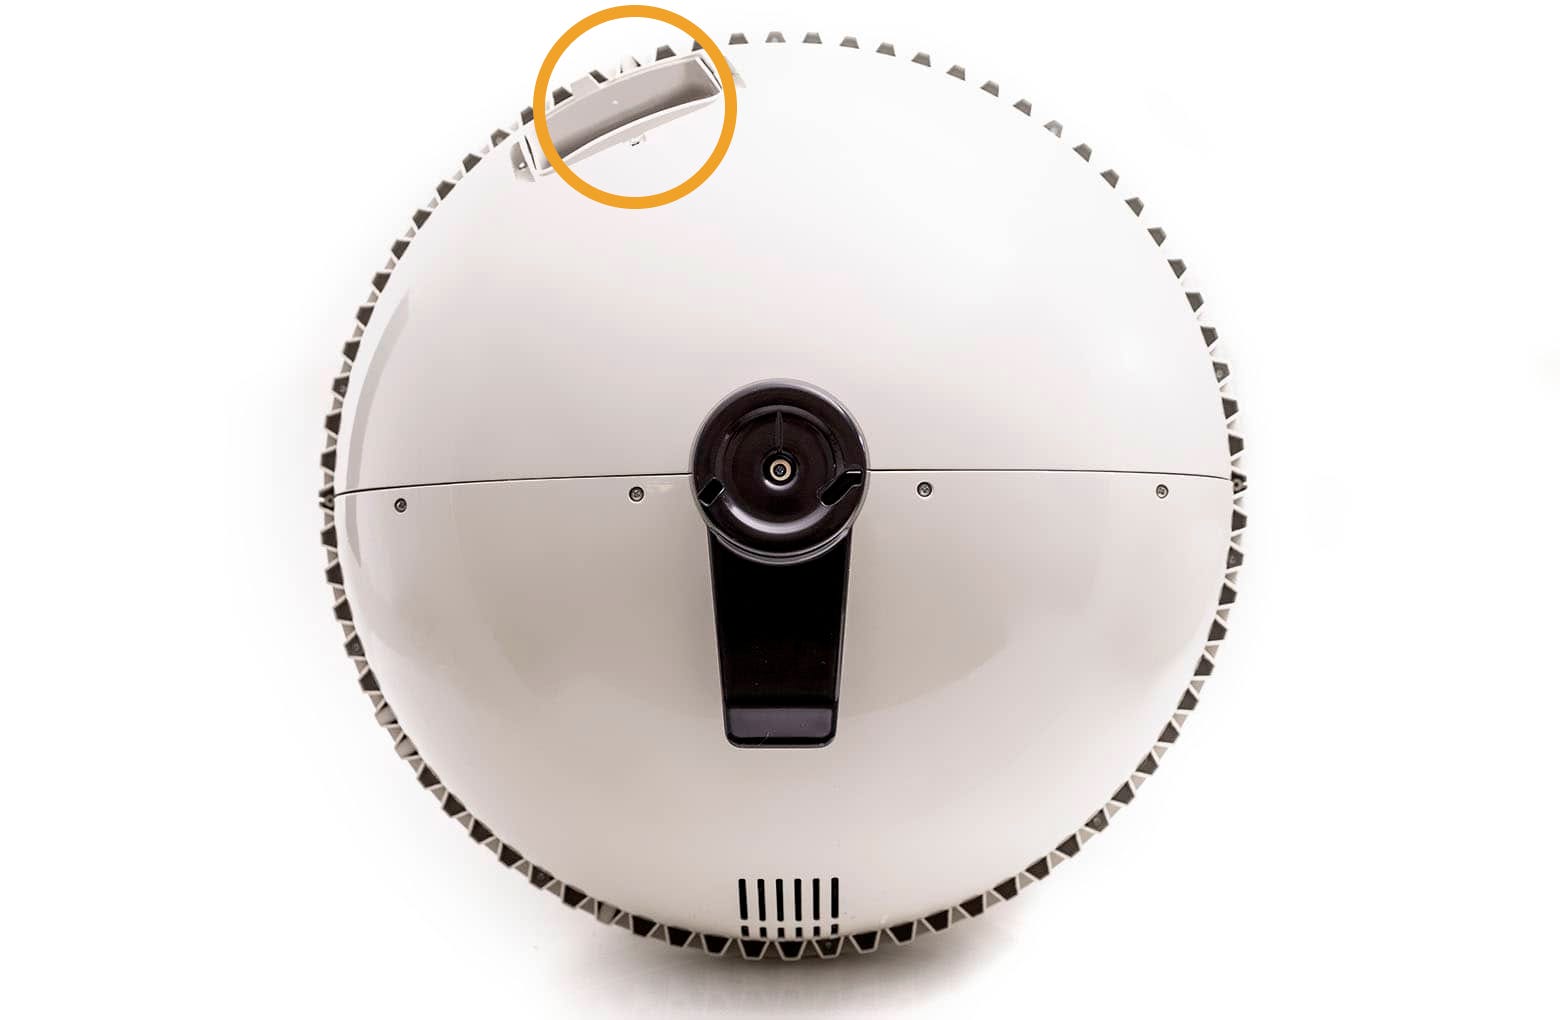
- Red → Yellow → Blue Cycling: This means the unit cannot find the Home position.
Disassemble the globe and flip the magnet that is at the 5 o’clock position.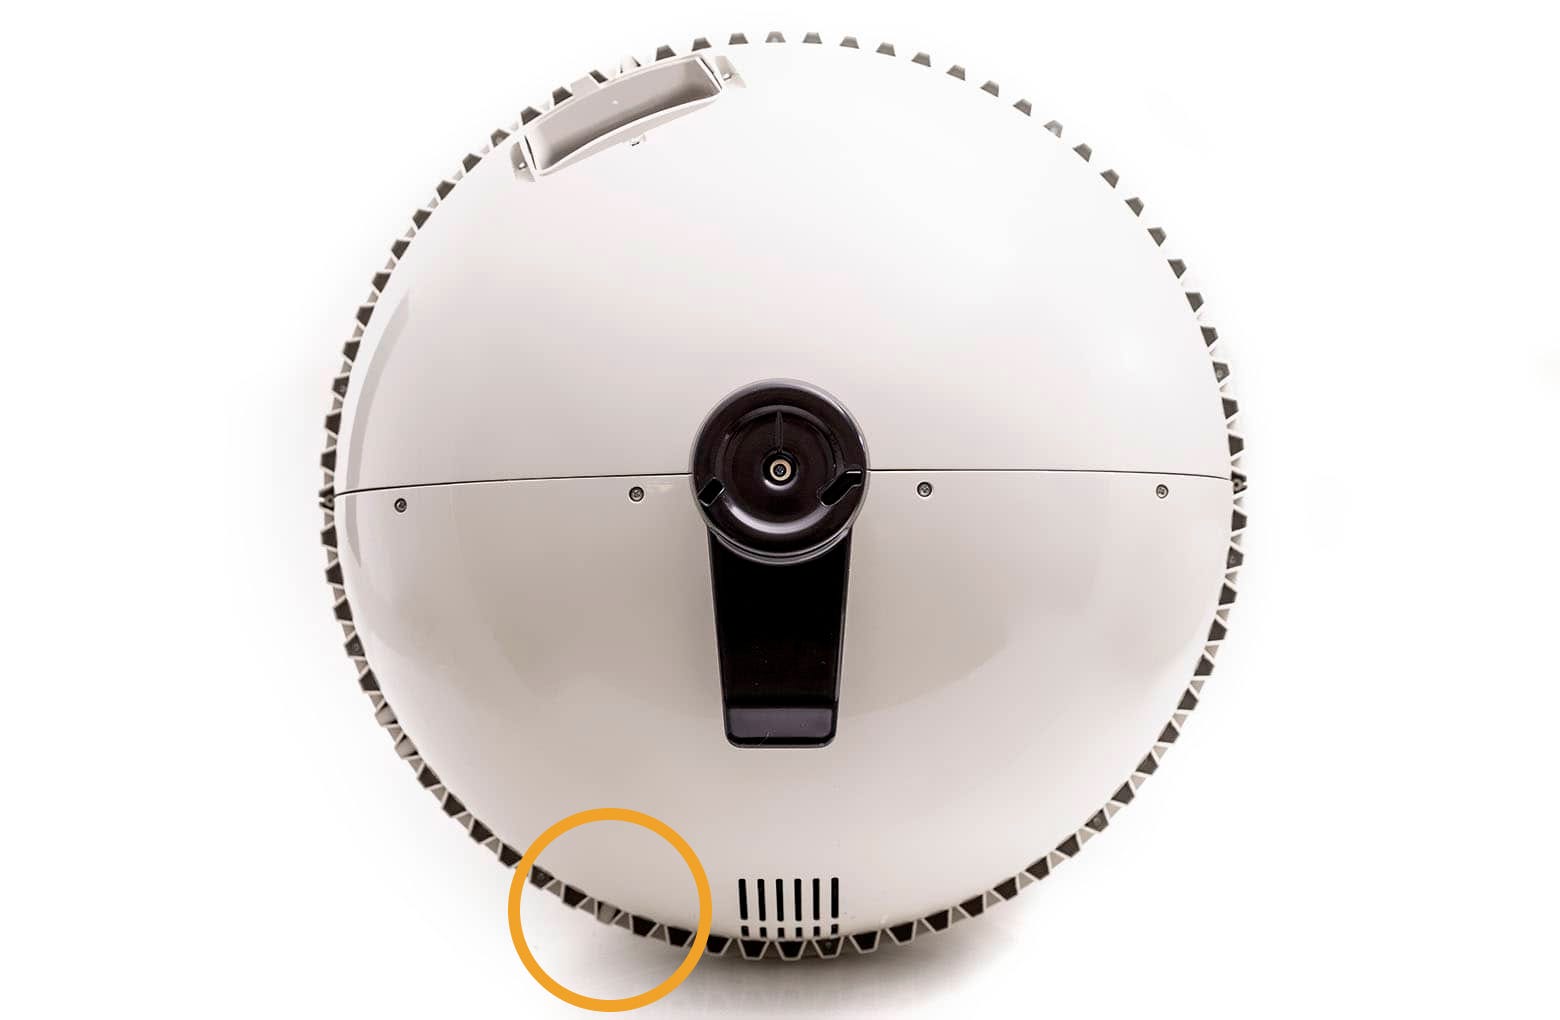
- All three flashing simultaneously: This means the unit cannot find the Dump or Home position.
Disassemble the globe and flip the magnets at both the 1 o’clock and 5 o’clock position.
- Blue → Yellow → Red Cycling: This means the unit cannot find the Dump position.
- Replace the globe, making sure it is on straight and in its tracks.
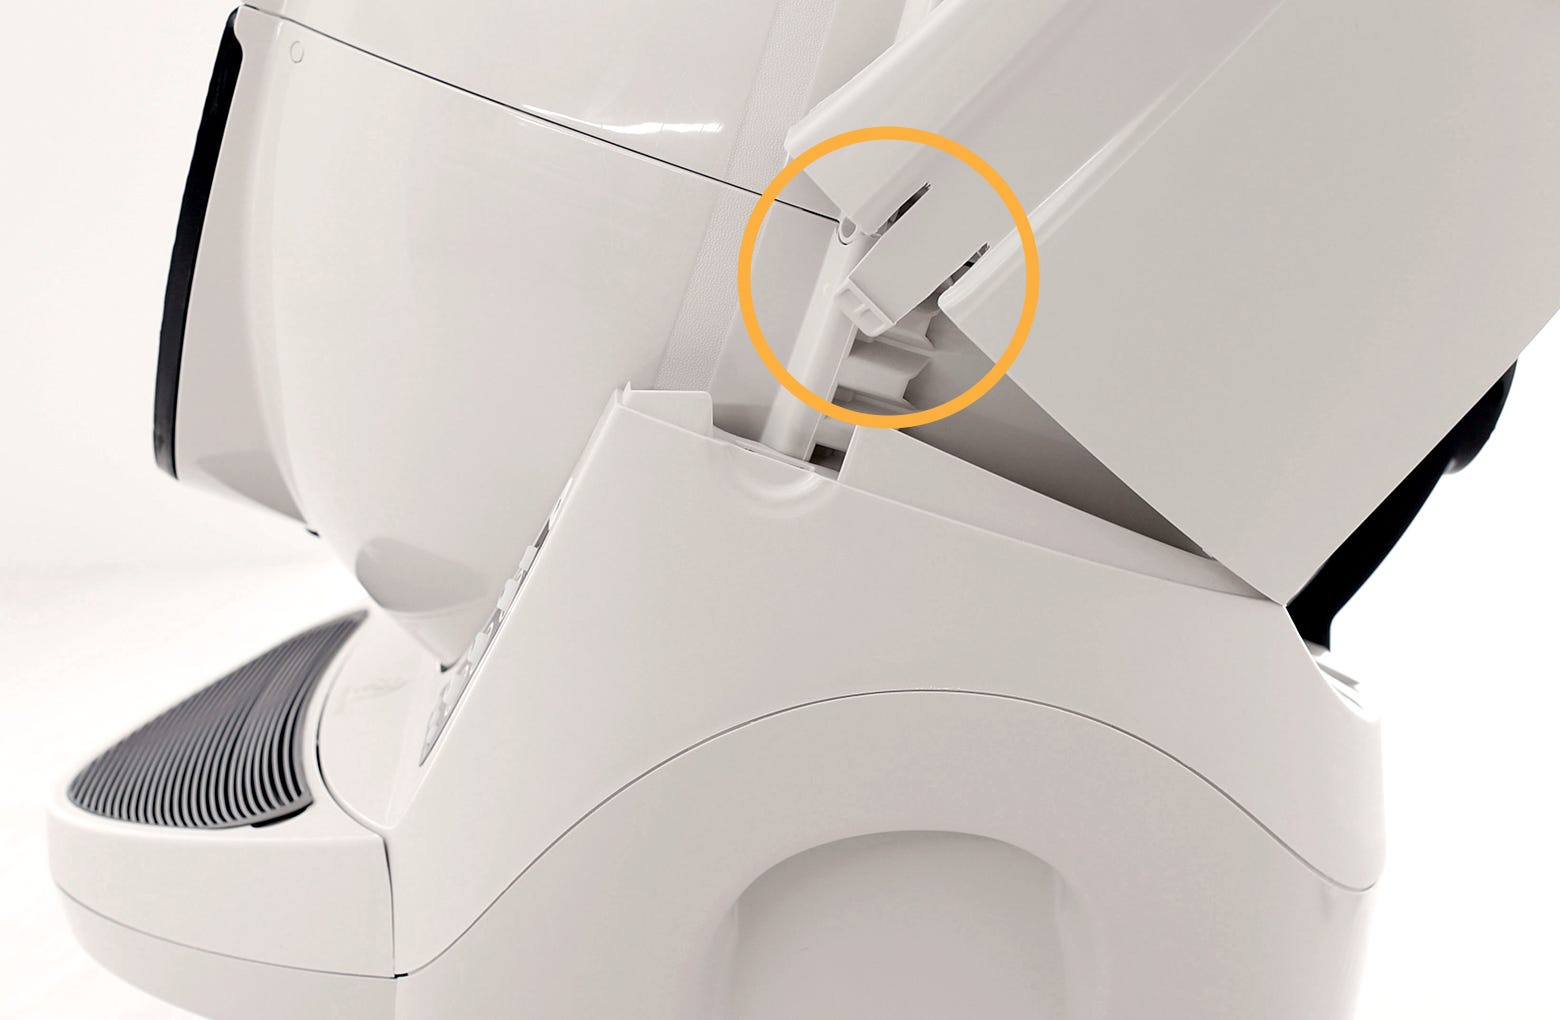
- At the back of the globe, turn the black key into the key pocket.
- Replace the bonnet by inserting the bonnet tabs into the rear bonnet slots, then press the latches while rotating it forward until the latches click into place.
- Plug Litter-Robot into the wall
- Press the Power button to turn the unit on.
- Once the initial Clean cycle is complete, the unit should return home displaying a blue 'ready light' status. From the Home position, press the Reset button to zero the weight sensors.
Successful: If your unit returned home and displays a solid blue light, you've been successful.
Unsuccessful: If you've completed this troubleshooting and you are still receiving the three lights flashing error, complete the troubleshooting in our Litter-Robot 3: All three lights flashing guide.
Need technical support?
Our Troubleshooting Wizard will solve most issues and is the fastest way to get help.
Didn't find what you're looking for?
Live support available Mon-Fri: 9AM-9PM EST and Sat-Sun: 9AM-5PM EST, or submit a ticket anytime.