The store will not work correctly in the case when cookies are disabled.
Litter-Robot 3: Assembly and disassembly
Litter-Robot is built in a modular way to make troubleshooting and maintenance simple. We’ll show you how to disassemble your unit to access certain areas for ongoing maintenance.
Litter-Robot 3 has four main components: the bonnet, the globe, the base, and the waste drawer.
Disassembly
Preparation
- Make sure the unit is in the Home position.
- Press the Power button to turn the unit off then unplug the unit from the wall.
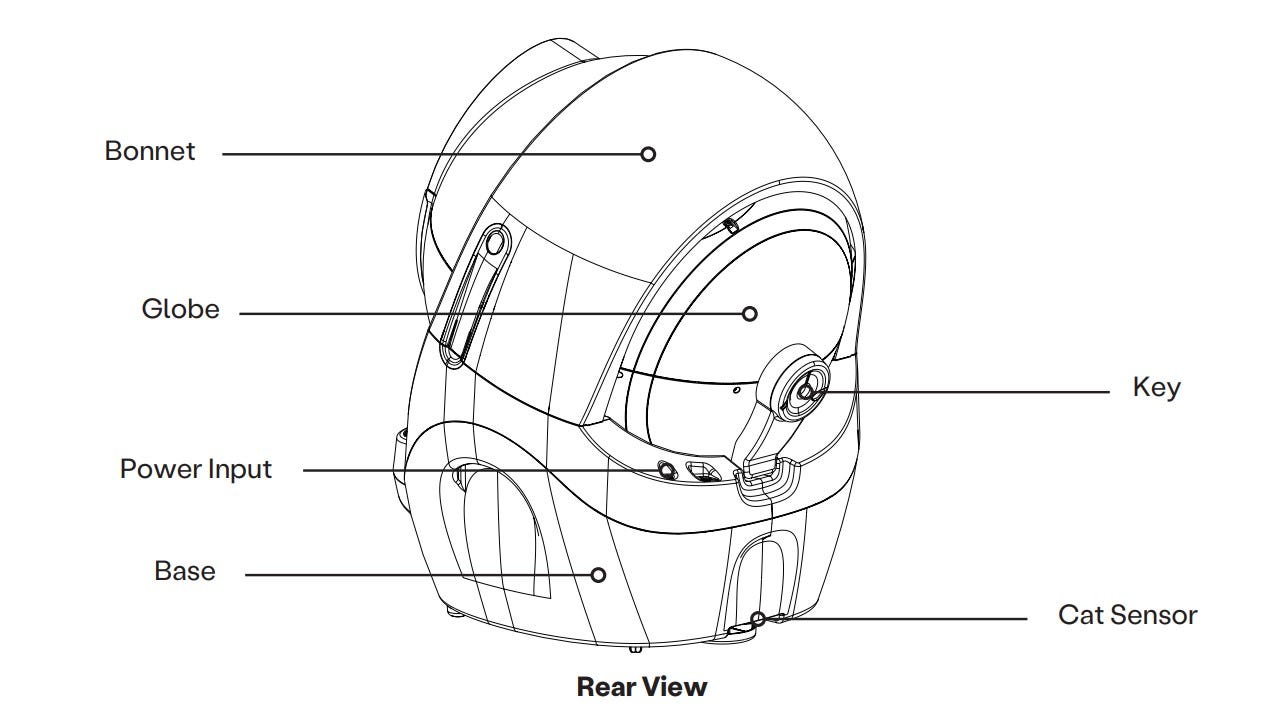
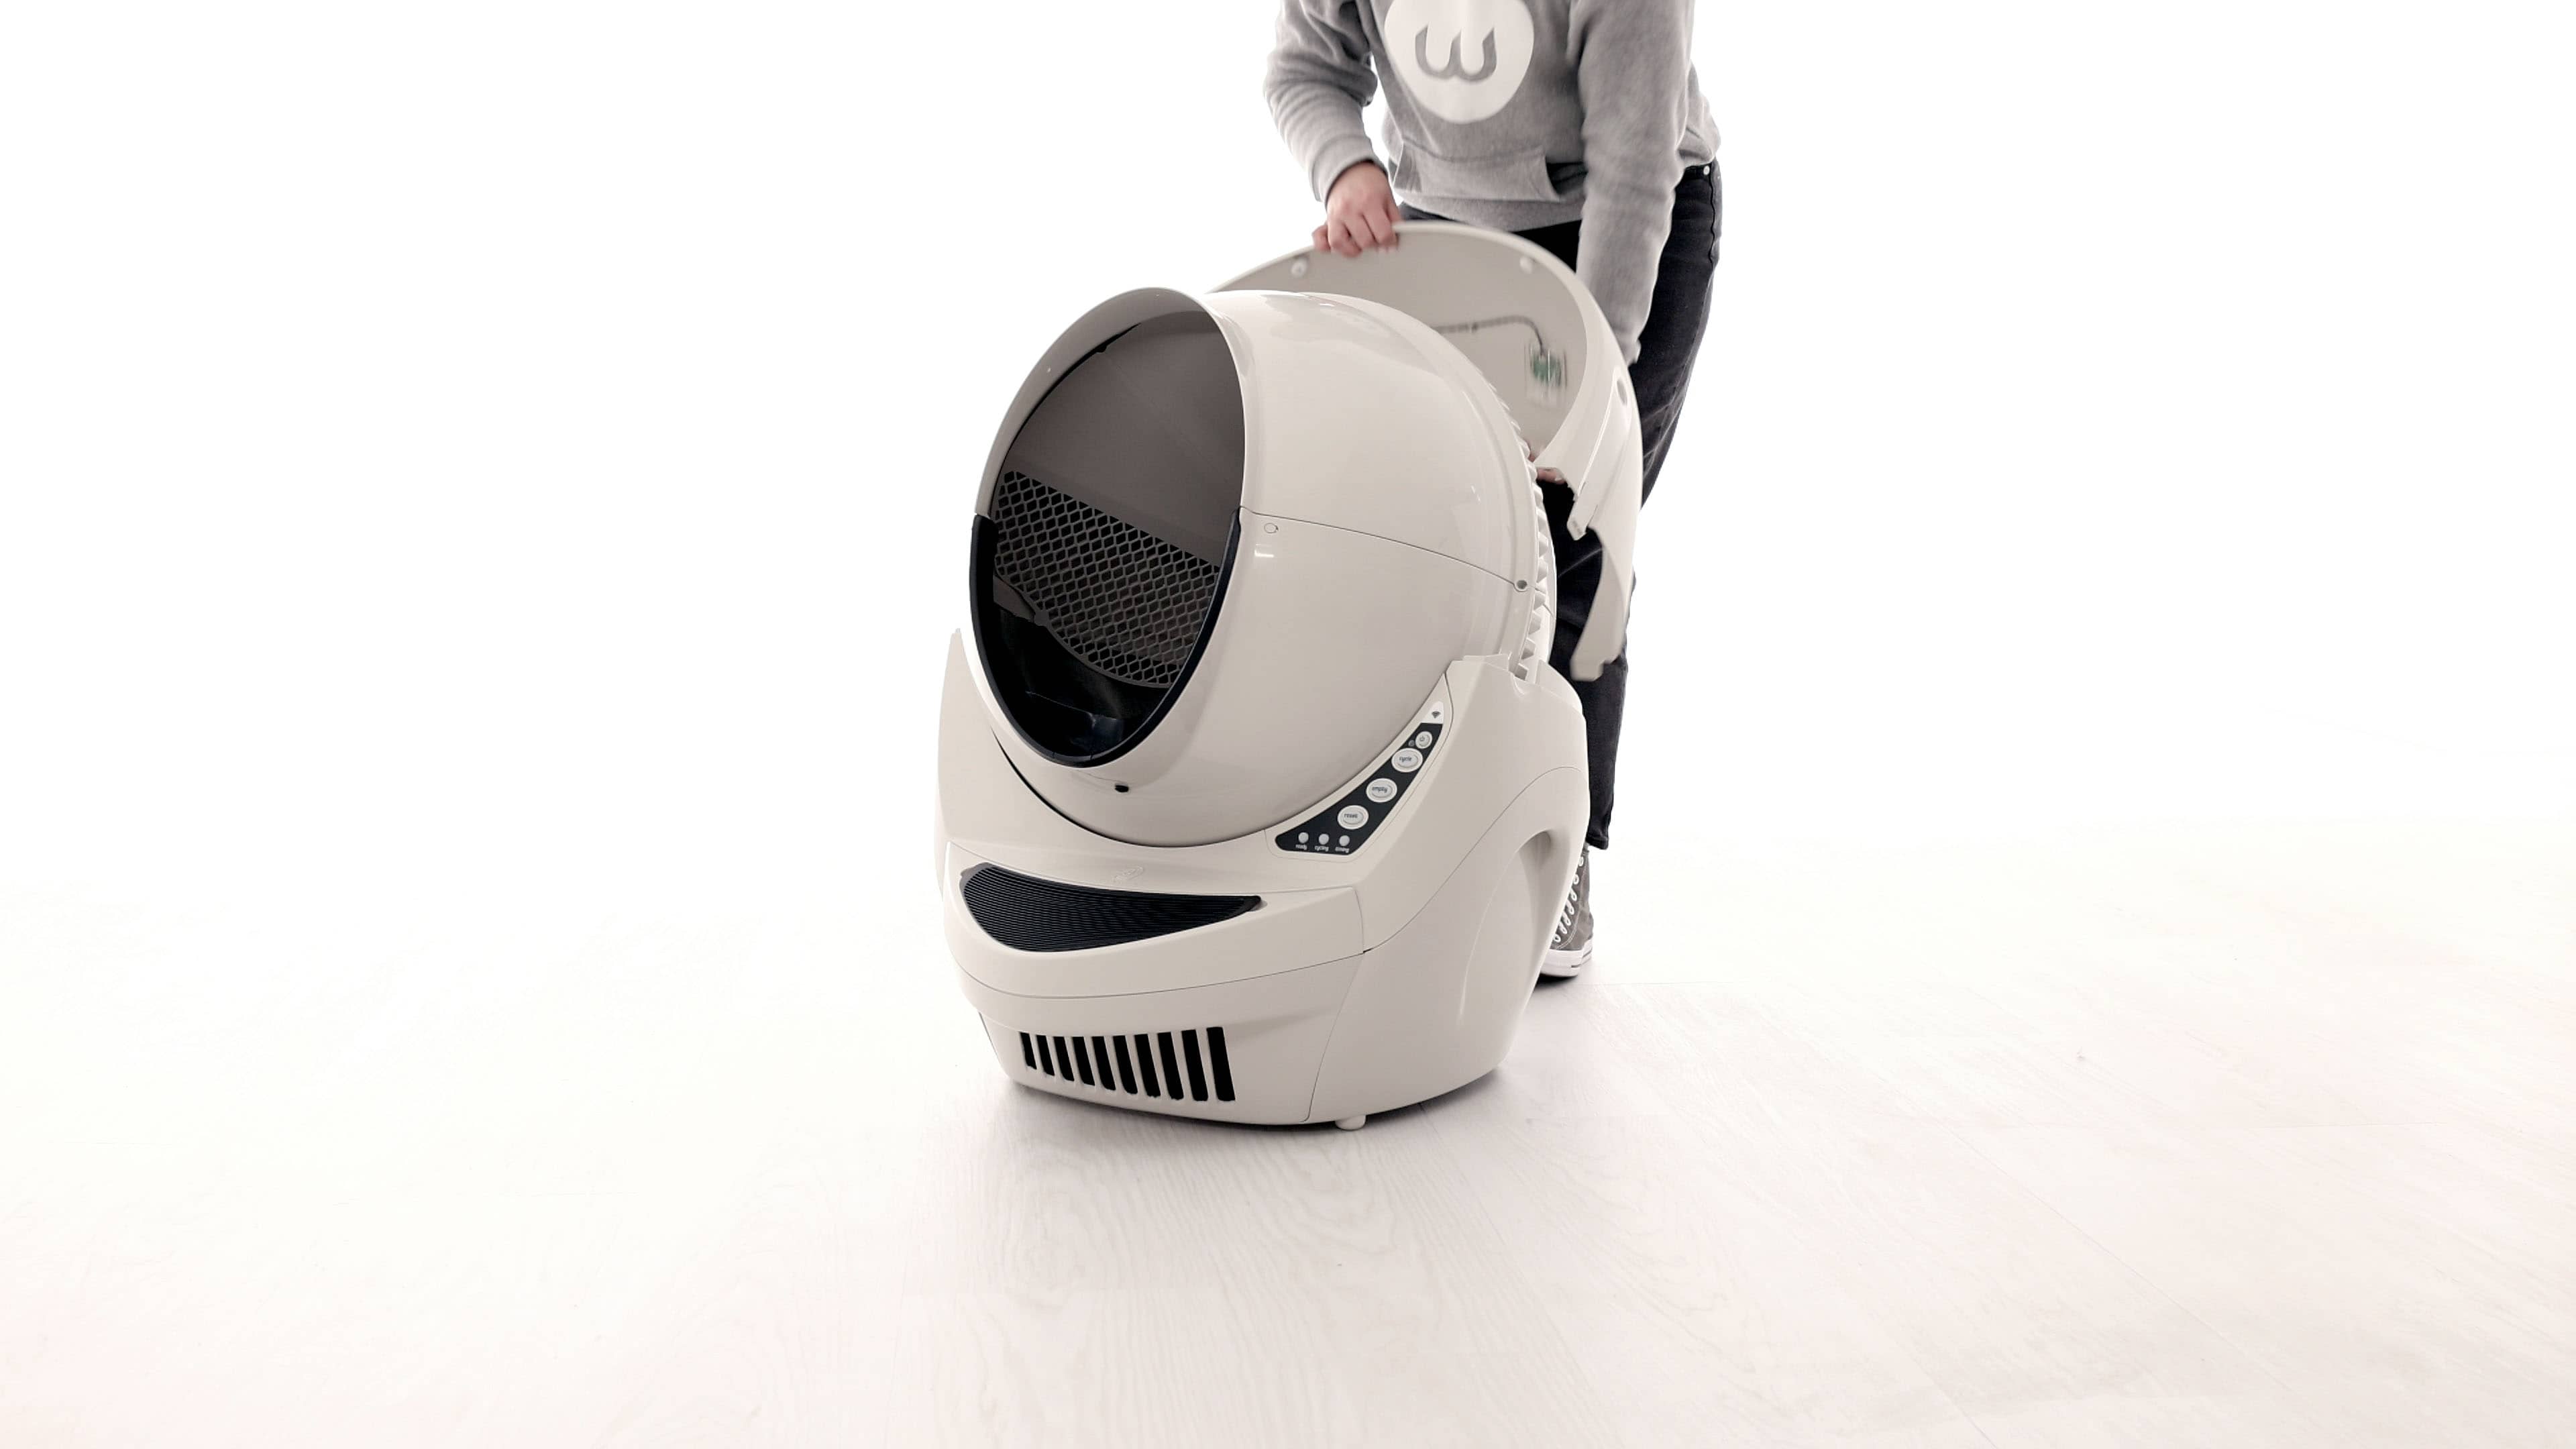
Removing the bonnet
- Remove the bonnet by pressing the latches on both sides of the bonnet.
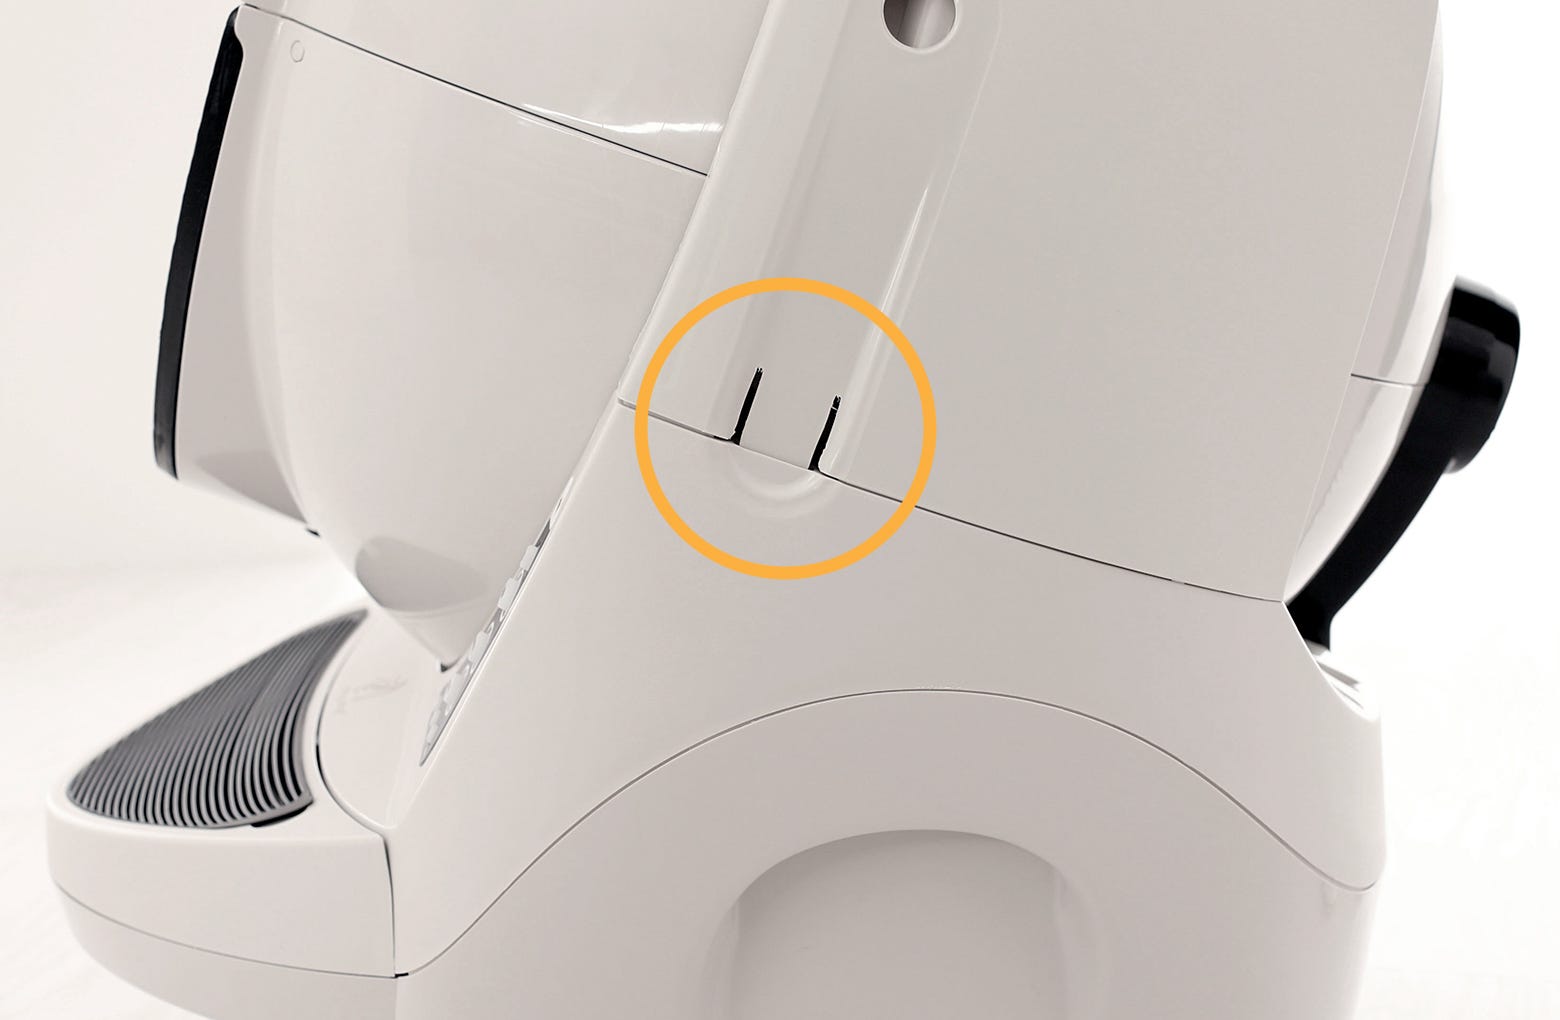
- Lift while rotating it backwards.
- There are two plastic tabs on the back of the bonnet that should slide up and out of the base.
- Set the bonnet aside.
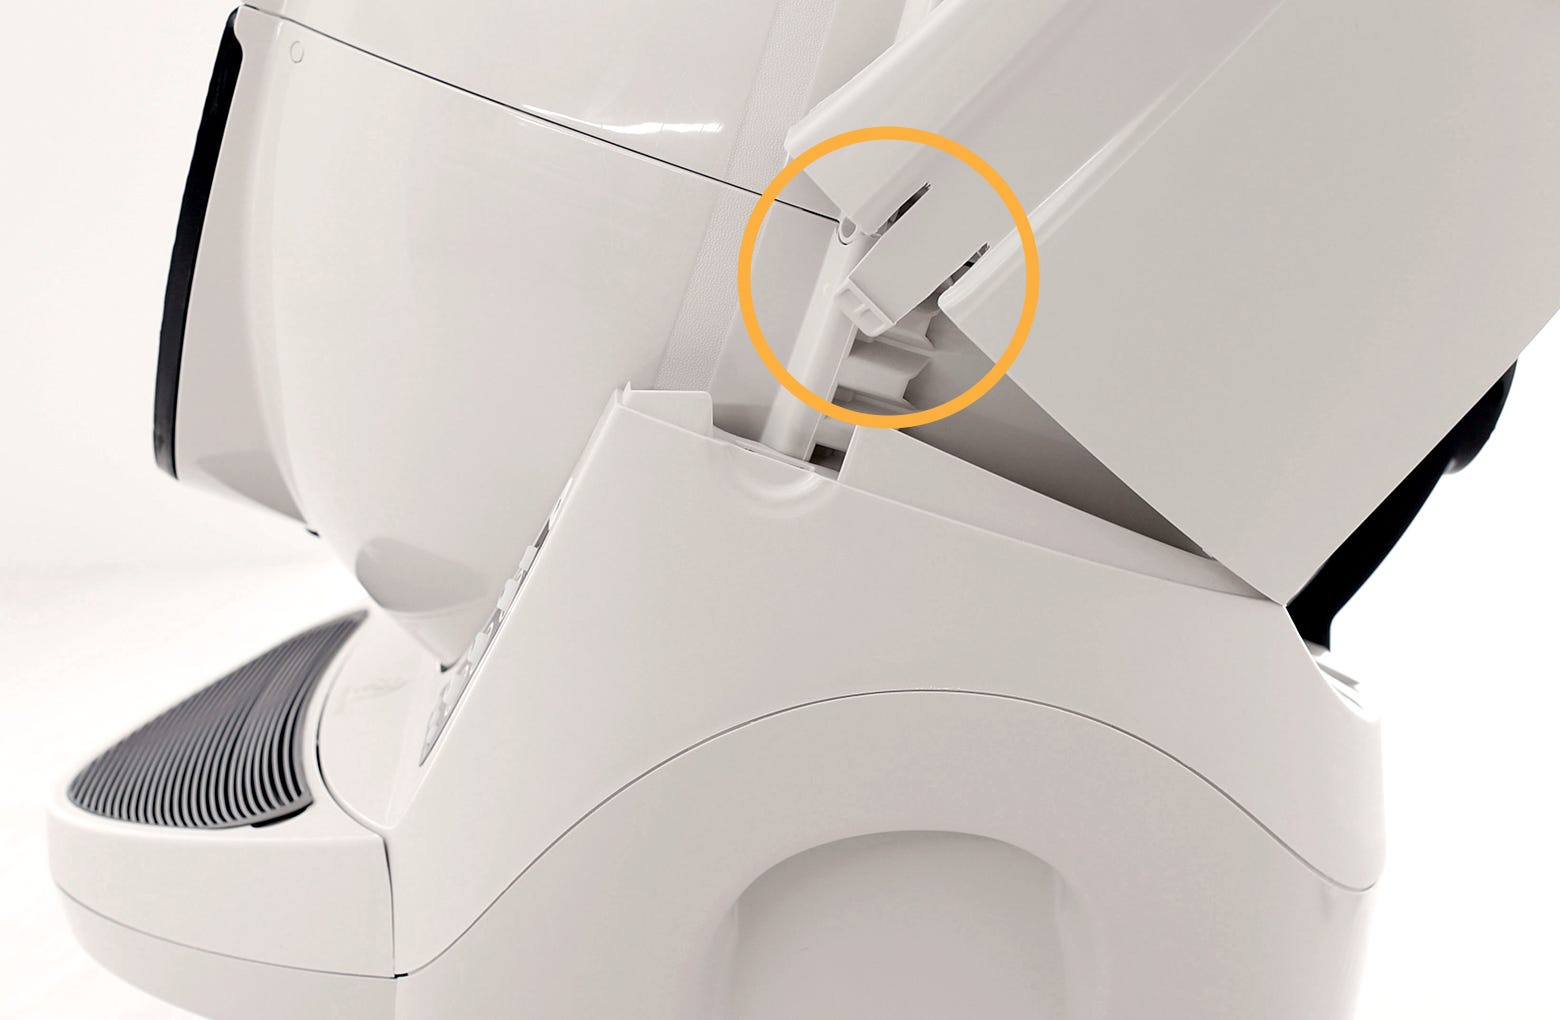
Removing the globe
- To remove the globe, simply grab the top of the globe at the entrance and lift the globe off the base.
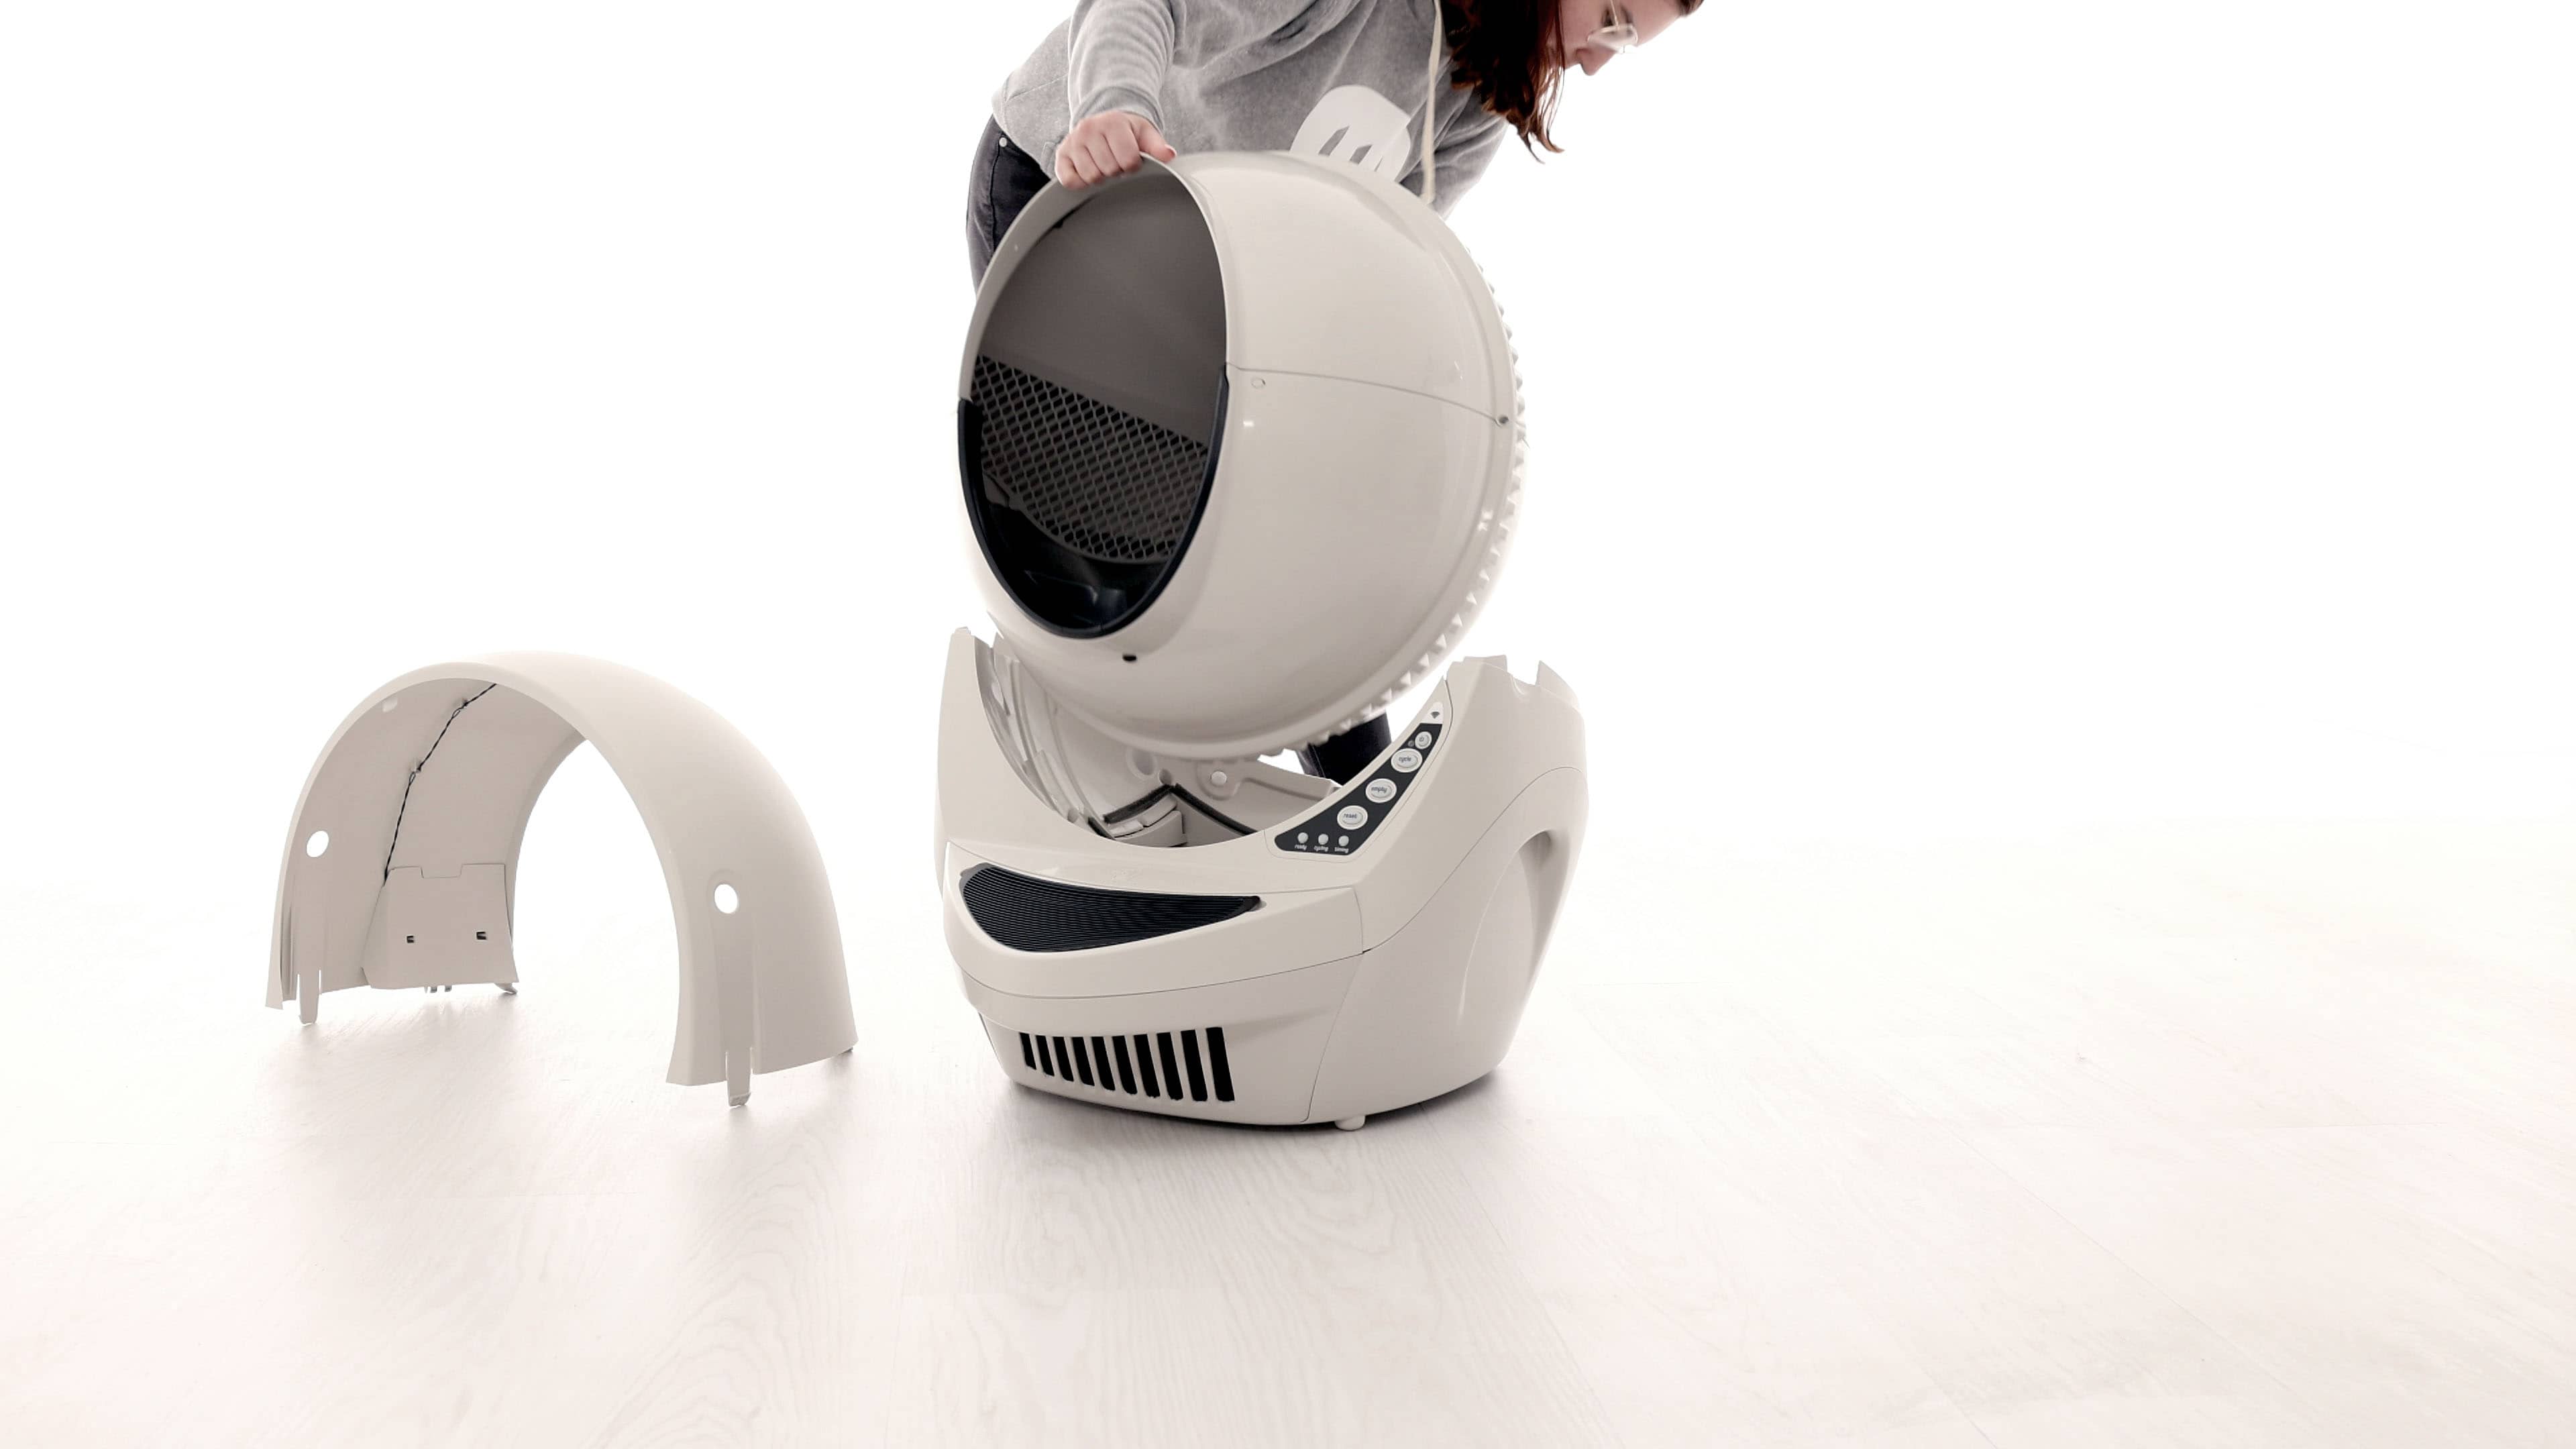
- Set the globe aside.
A firm, level surface is required for accurate detection of cats and weight readings.
- If you had to replace the base, this is when you’d remove the new base from the box and place it in the desired location near a power outlet.
- The new base, which has a new serial number, will need to be onboarded to the Whisker app.
- Open the Whisker app and follow the onboarding instructions. Once complete, your newly onboarded Litter-Robot 3 will appear as a new robot in the Whisker app.
- Delete your old robot: In the Whisker app, select your old Litter-Robot 3 unit from the dashboard, tap on the Settings gear in the top right corner, tap Delete Robot, then tap Yes.
Assembly
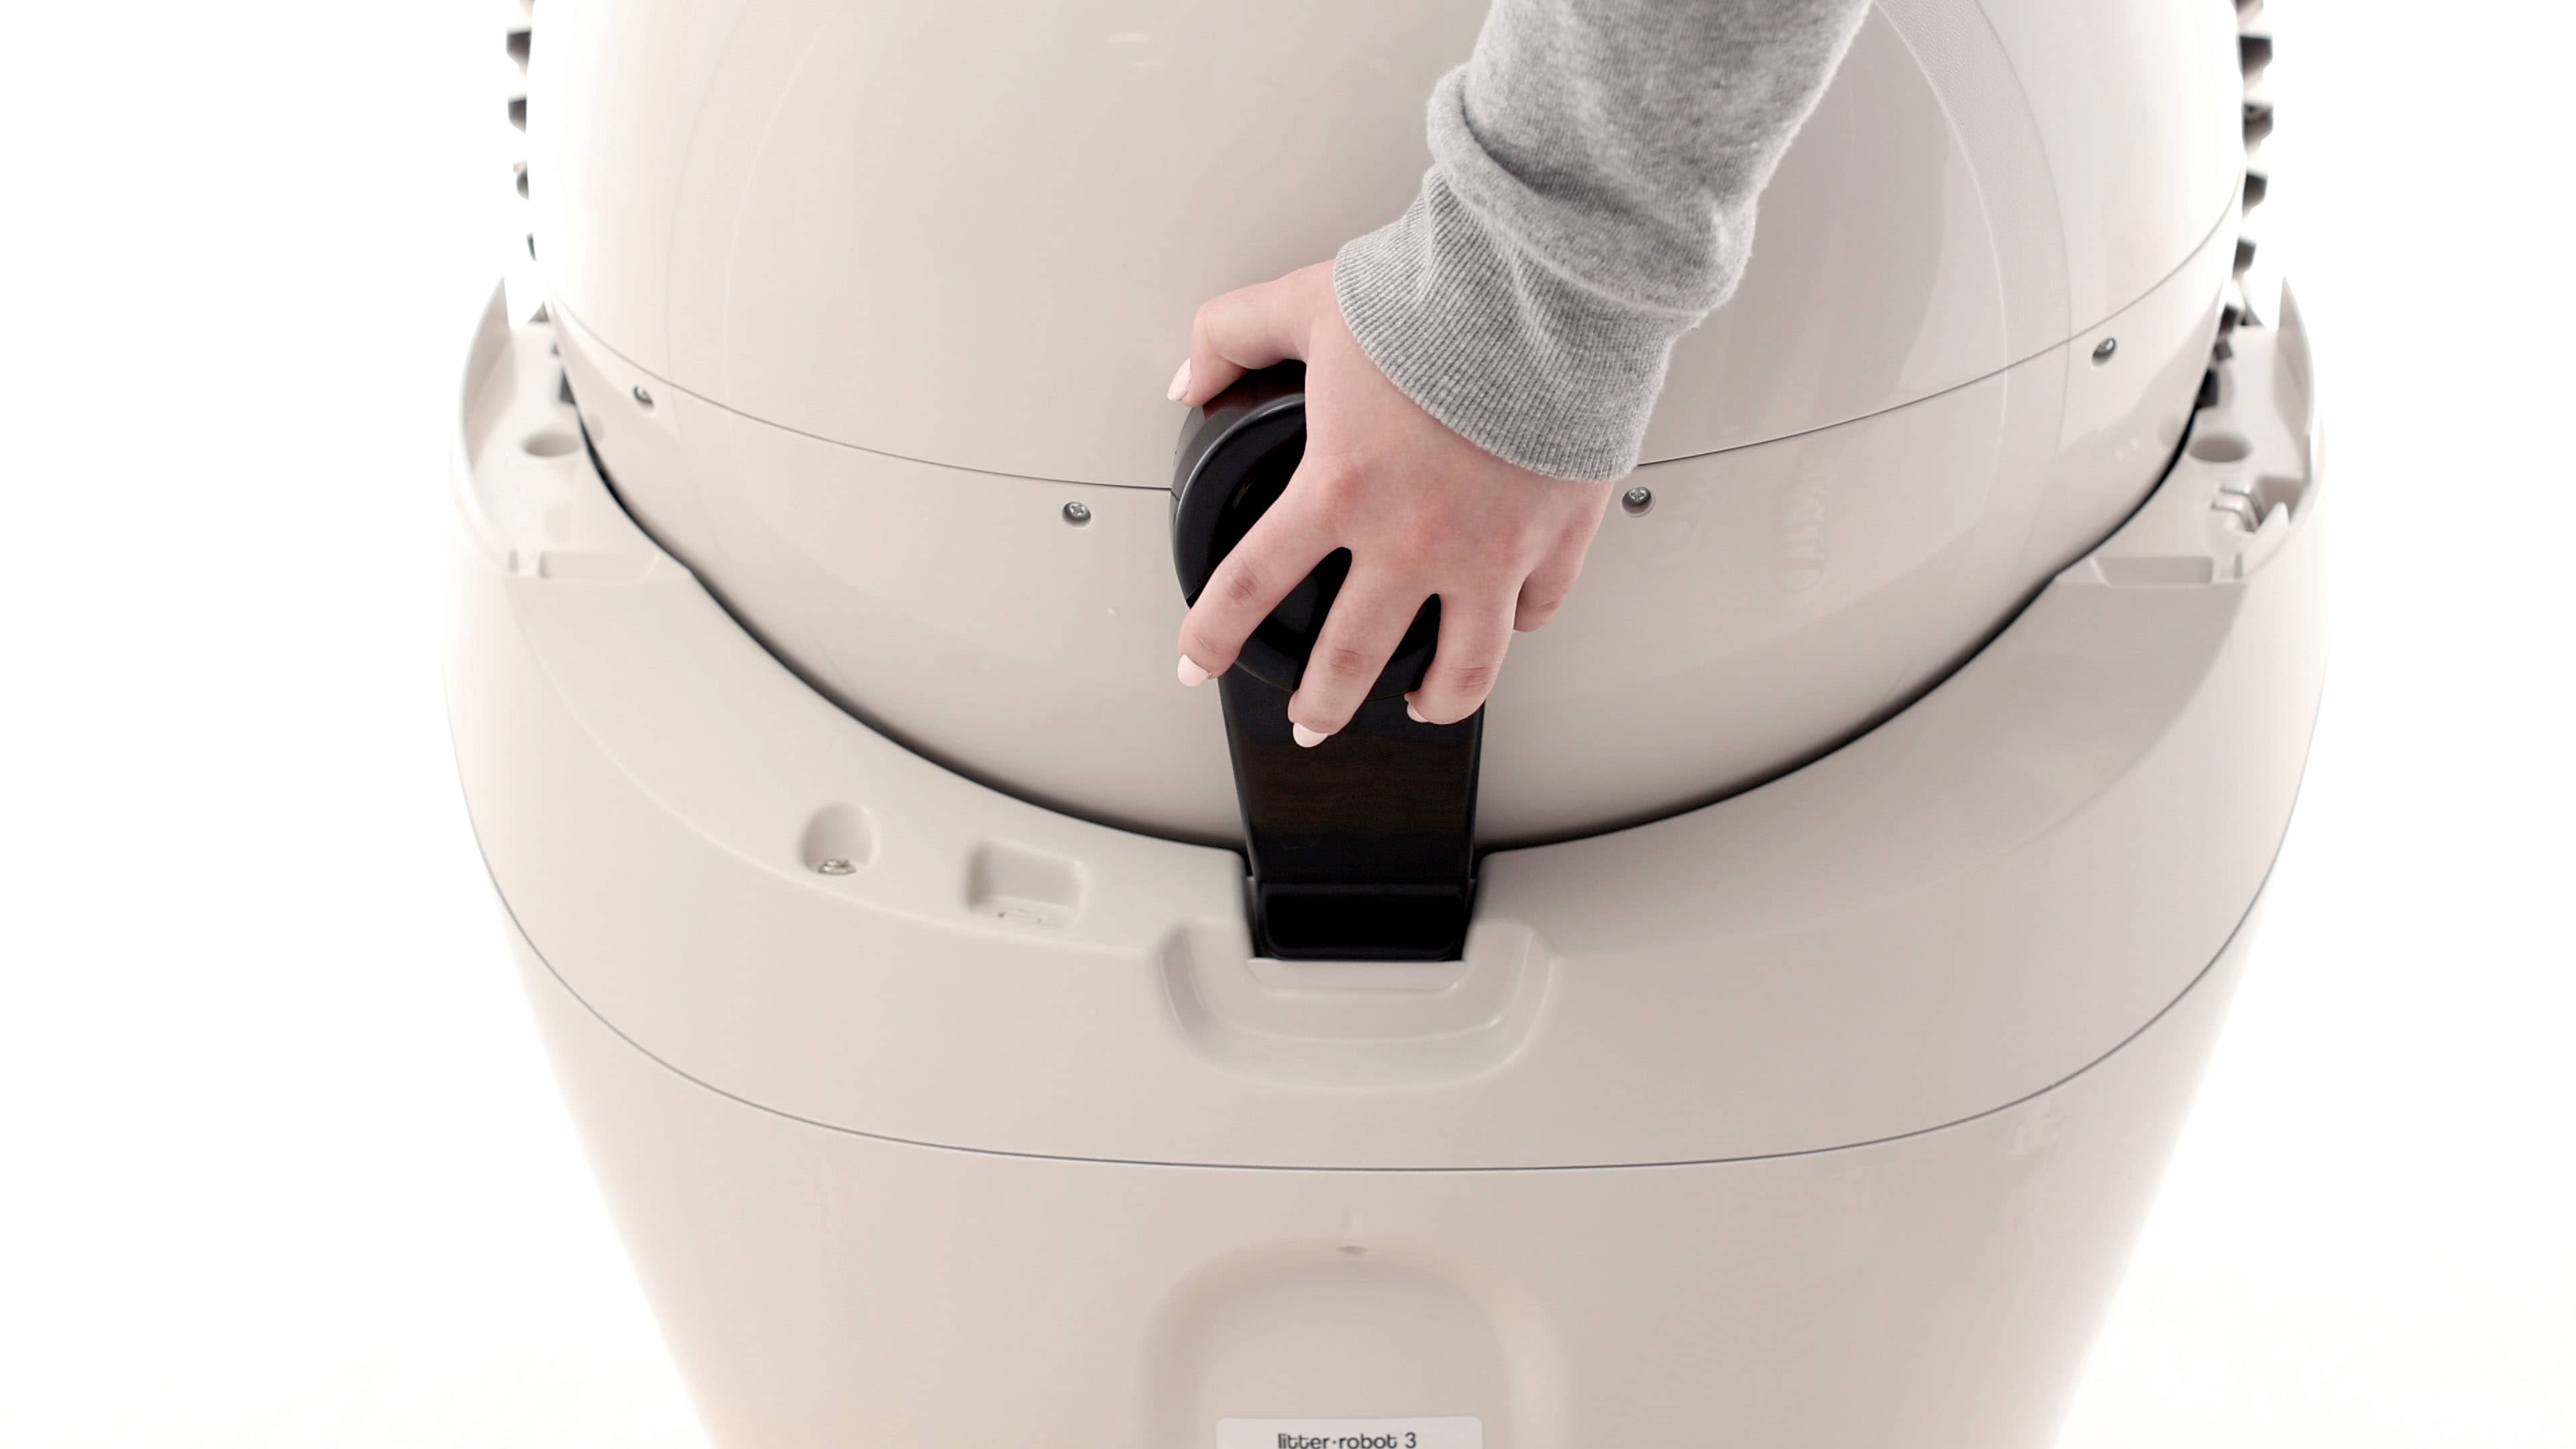
Installing the globe
- Replace the globe, making sure it is on straight and in its tracks.
- At the back of the globe, turn the black key into the key pocket.
Installing the bonnet
- Replace the bonnet by inserting the bonnet tabs into the rear bonnet slots
- Press the latches while rotating it forward, until the latches click into place.
Installing the waste drawer liner
Litter-Robot ships with a waste drawer liner installed.
These liners are made specifically for any Litter-Robot model, but an 8-13 gallon (30-49L) trash bag will also work. Clear bags work best.
- Open a new drawer liner and roll down the edges about four times.
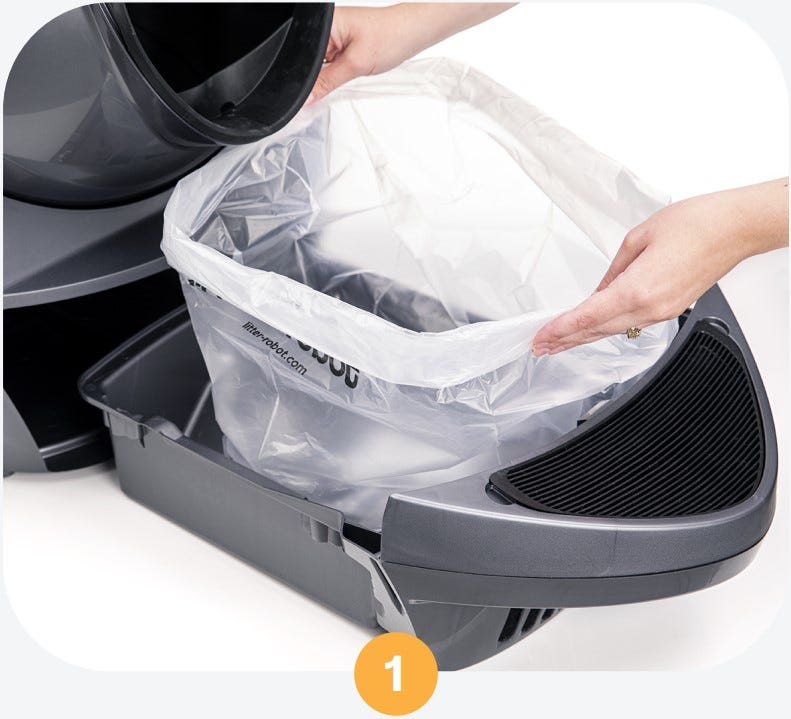
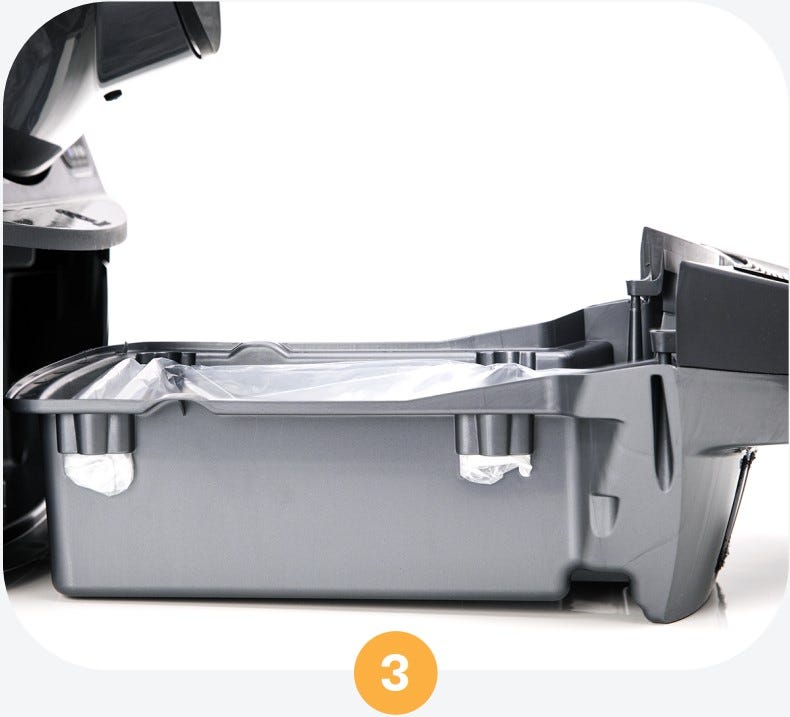
- Start at the back of the waste drawer and push the rolled edge of the bag into each of the four tabs, keeping the bag taut across the back and sides. Pull the slack forward toward the carbon filter.
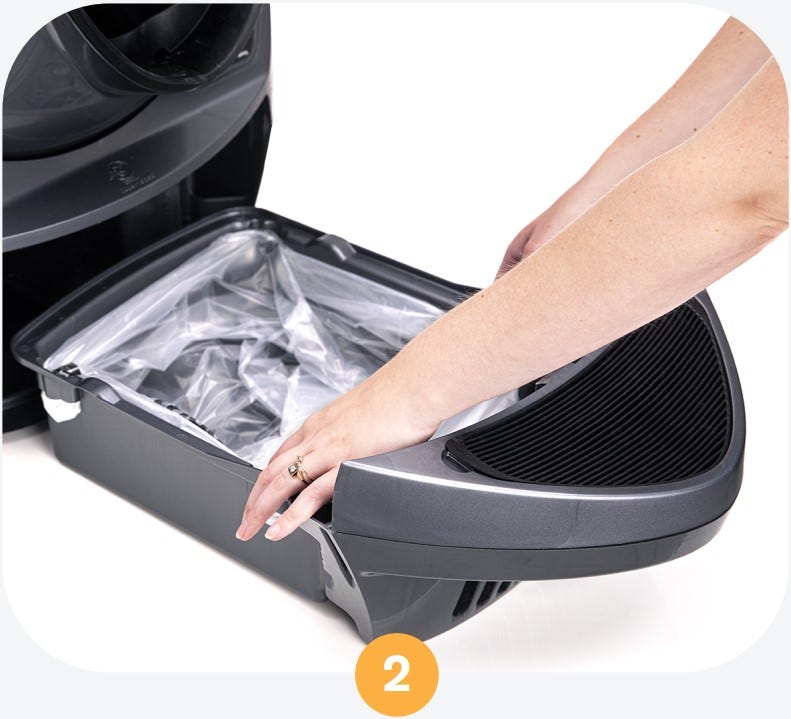
- Make sure the bag does not come up past the top of the sides of the waste drawer, which can result in a false flashing blue "drawer full" light on the control panel.
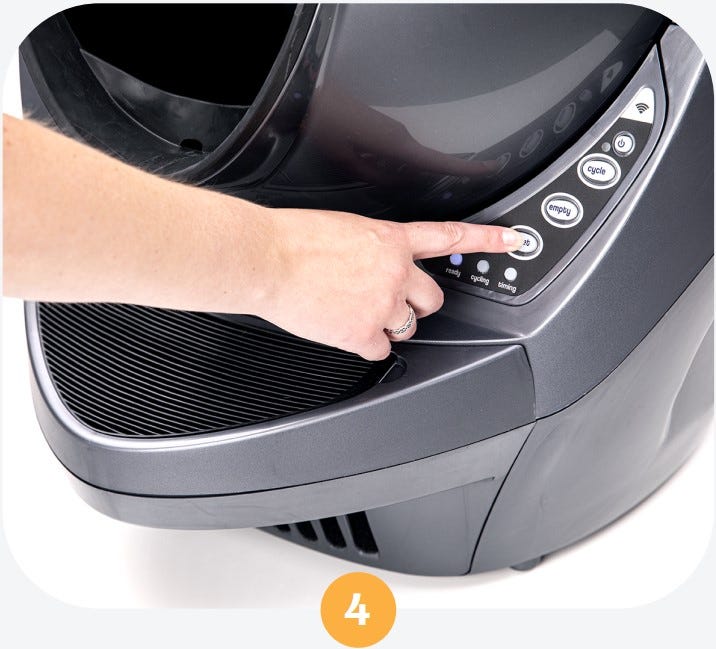
- Slide the drawer closed and press the Reset button to zero the cat sensor.
Installing the fence
1. Hold the fence upright inside the globe.
2. Tilt the bottom of the fence toward you to align the back of the fence with the built-in kickguard on the globe.
3. Keep the wing tabs of the fence inside the globe while rotating it downward. Gently pull forward and push down on the front of the fence to snap it over the lip of the globe.
4. Make sure the fence is level and the three tabs along the outer rim of the fence are secured over the lip.
Installing the backup battery
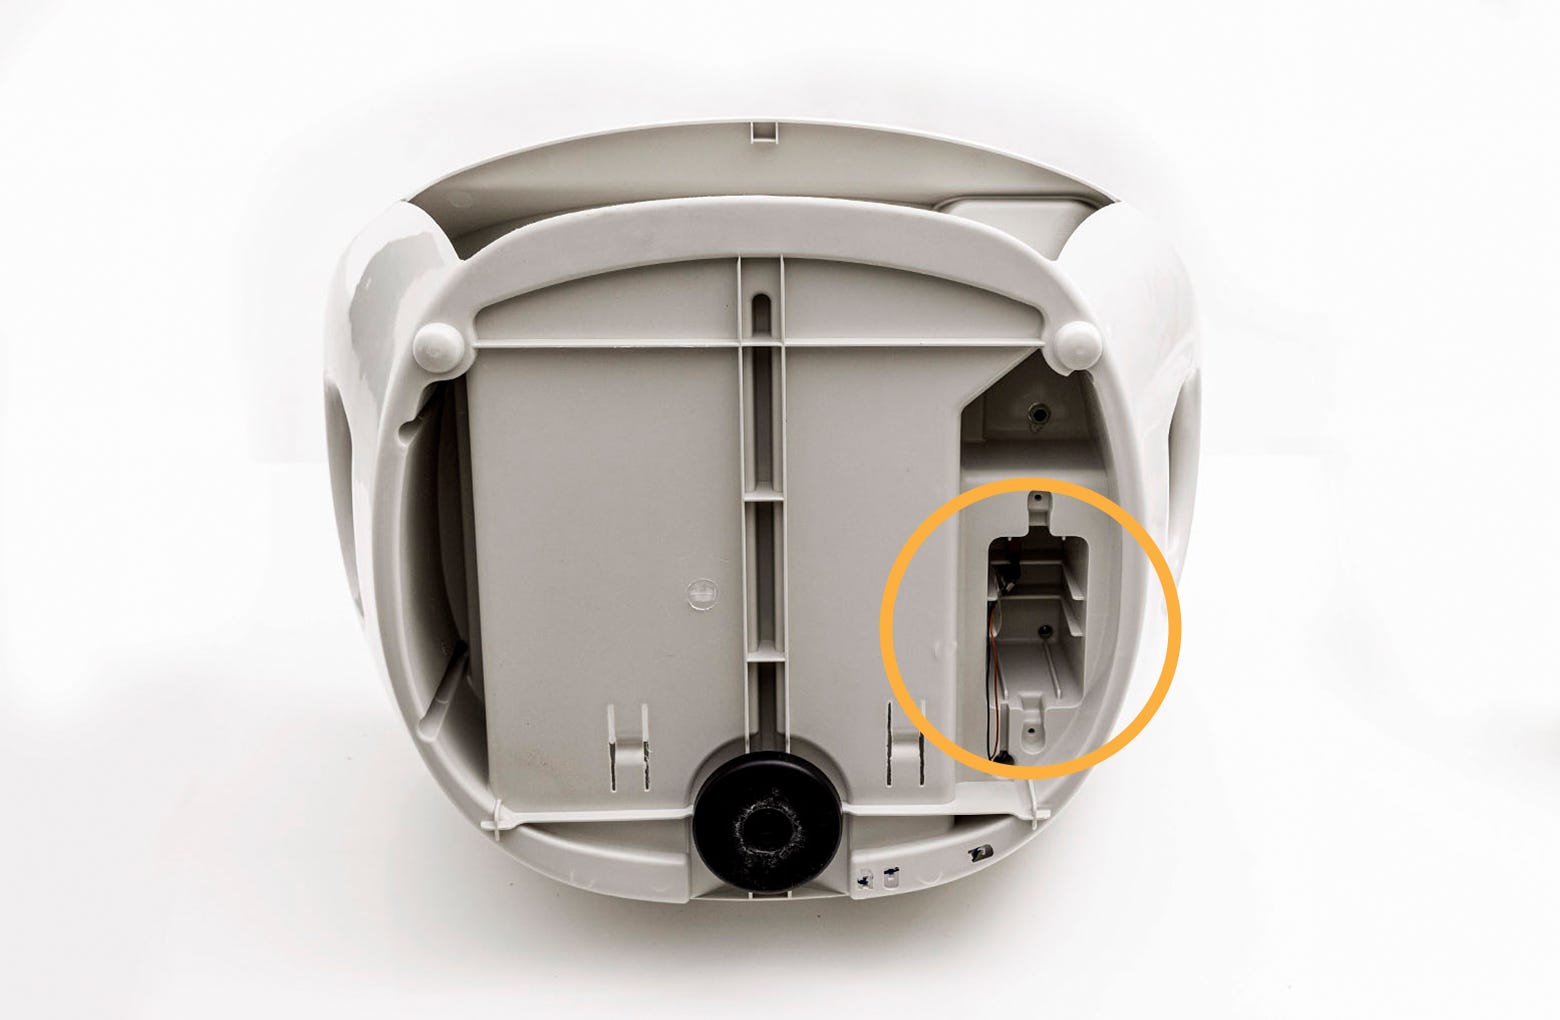
The optional Litter-Robot 3 Backup Battery allows your Litter-Robot 3 to remain operational for 24-48 hours in the event of a power outage. Gently turn the unit over to access the battery pocket on the underside of the base. The red and black wire will connect to the optional backup battery.
Visit our Litter-Robot 3: Backup Battery Installation Guide for step-by-step installation instructions.
Questions? Visit whiskersupport.com
Didn't find what you're looking for?
Live support available Mon-Fri: 9AM-9PM EST and Sat-Sun: 9AM-5PM EST, or submit a ticket anytime.