The store will not work correctly in the case when cookies are disabled.

Litter-Robot 5 & Pro: Globe liner installation guide
Learn how to remove and replace the rubber globe liner in Litter-Robot 5.
Note: Do not discard the liner weight and weight retainer found in the old globe liner. You will use these pieces to install the new globe liner.
You will need:
- Phillips-head screwdriver
- Flathead screwdriver or panel removal tool
Remove the old Litter-Robot 5 Globe Liner
- Make sure the unit is in the Home/Ready position.
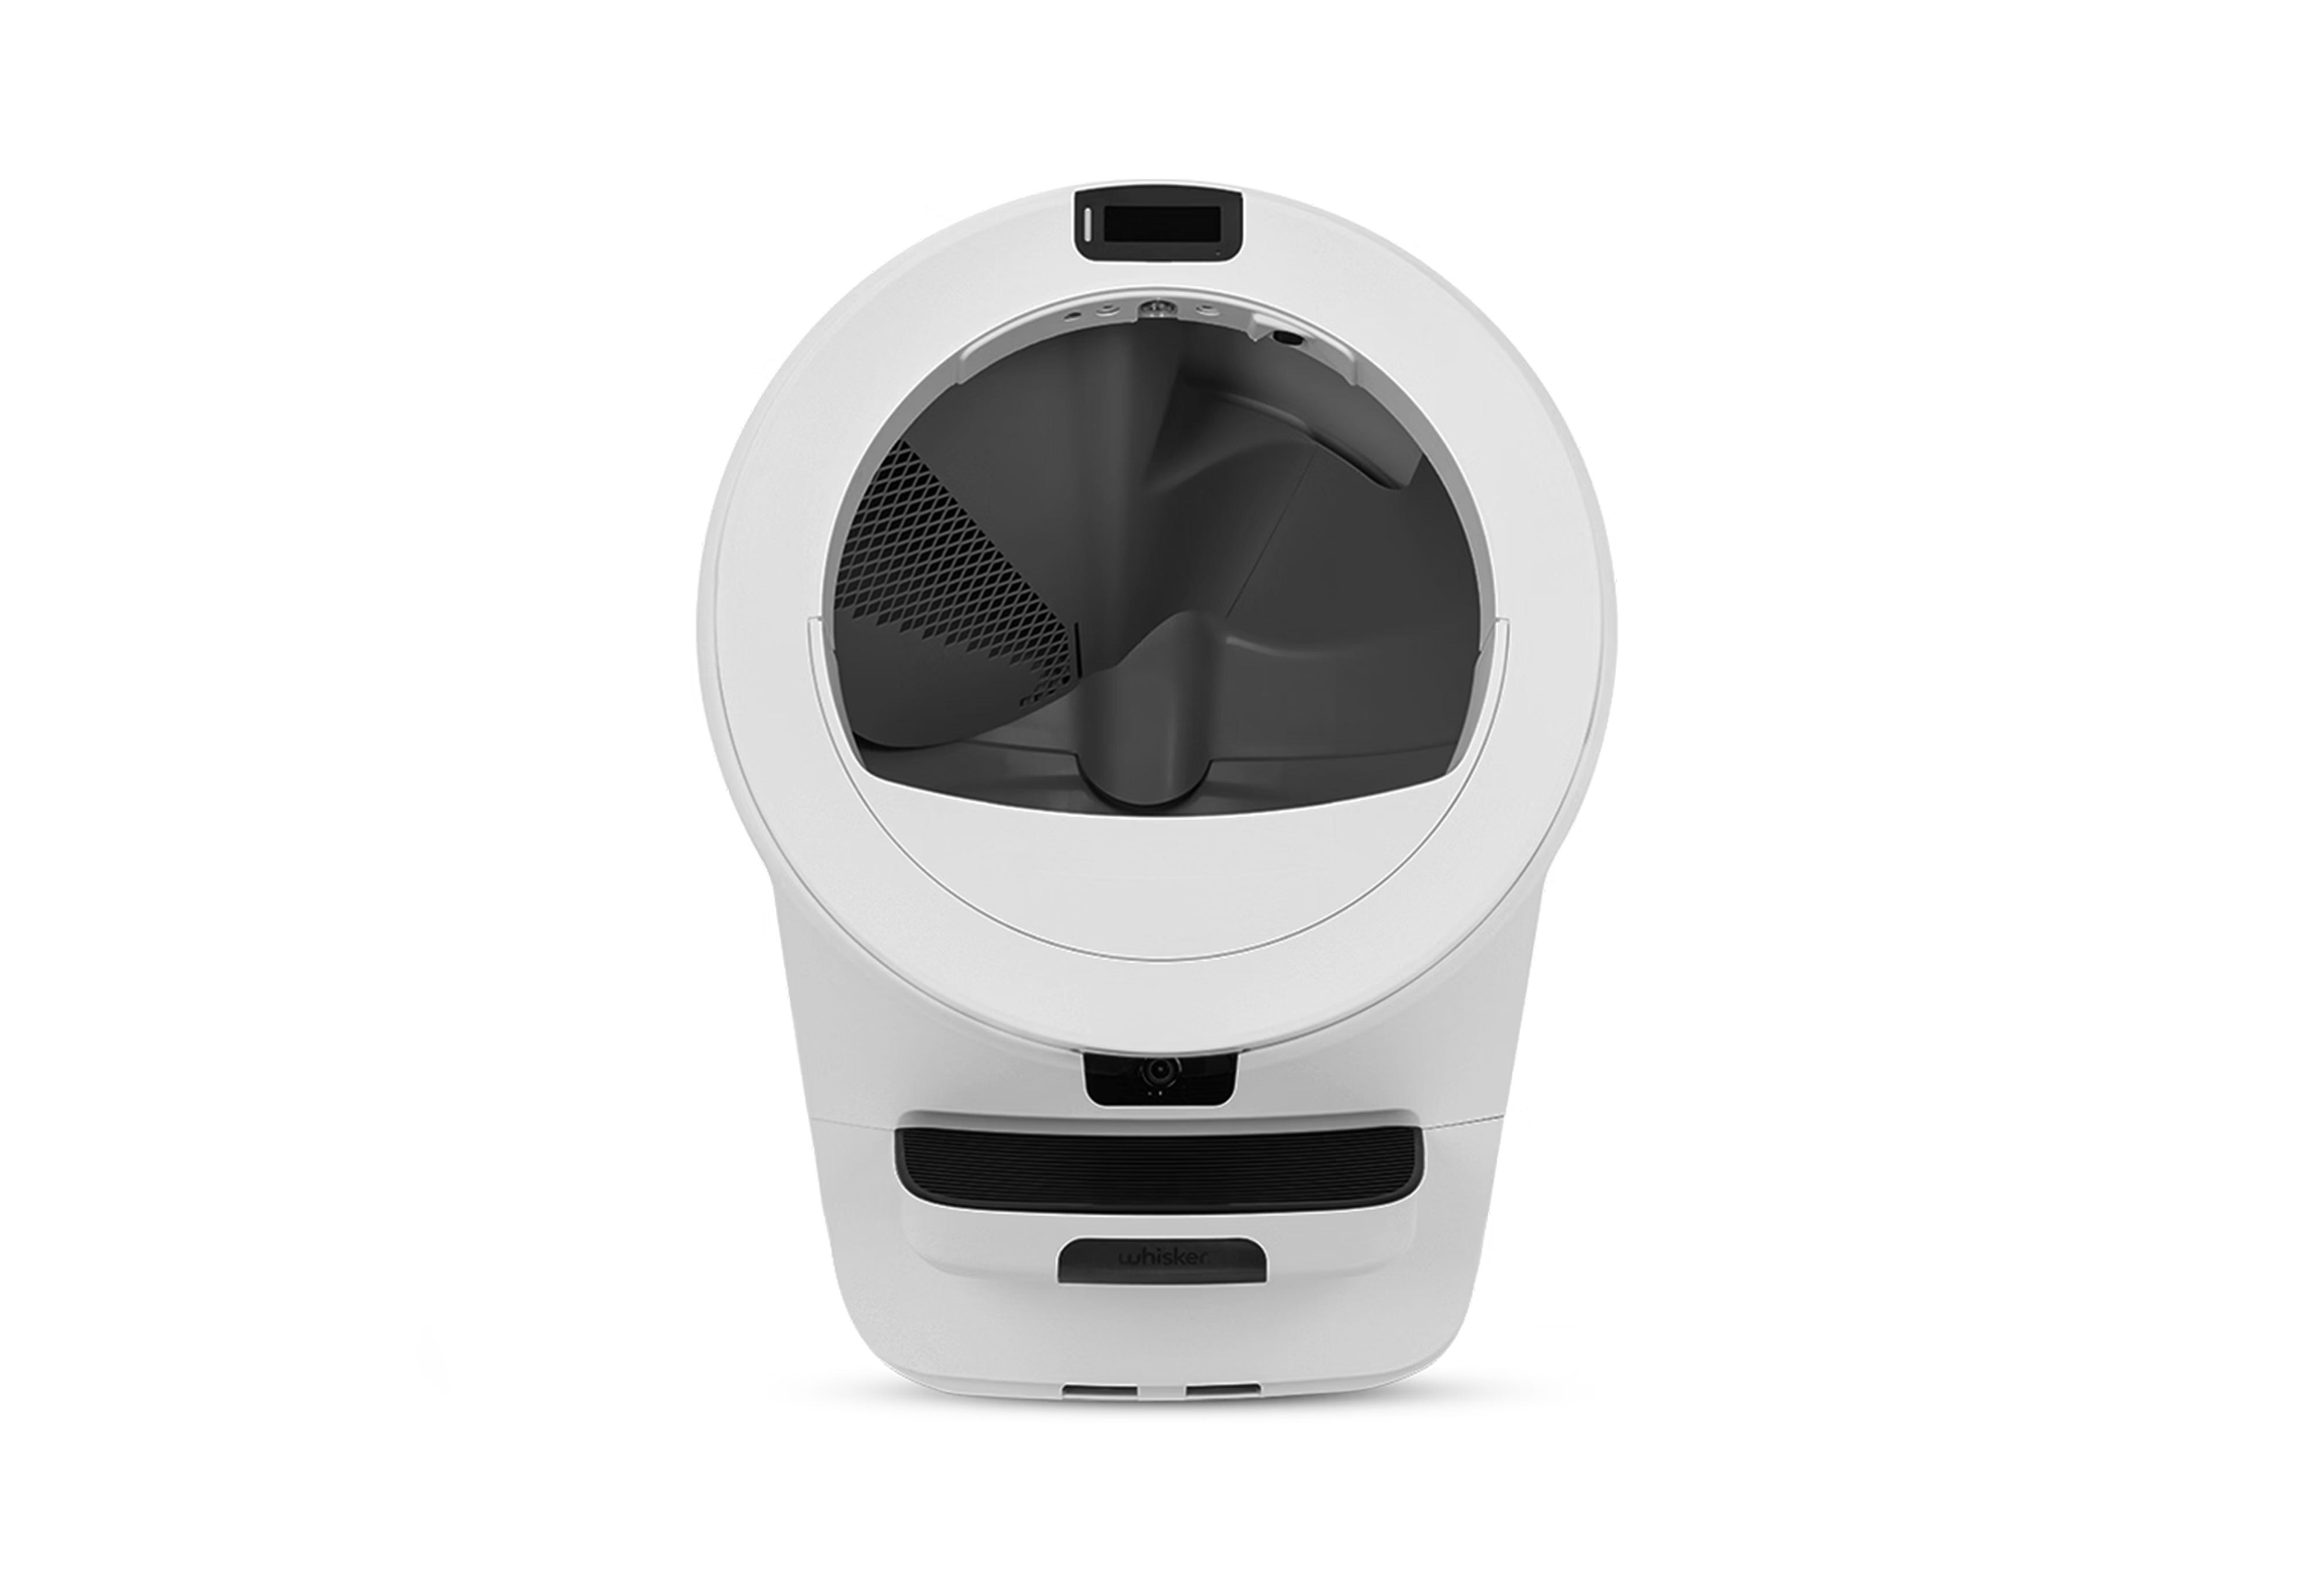
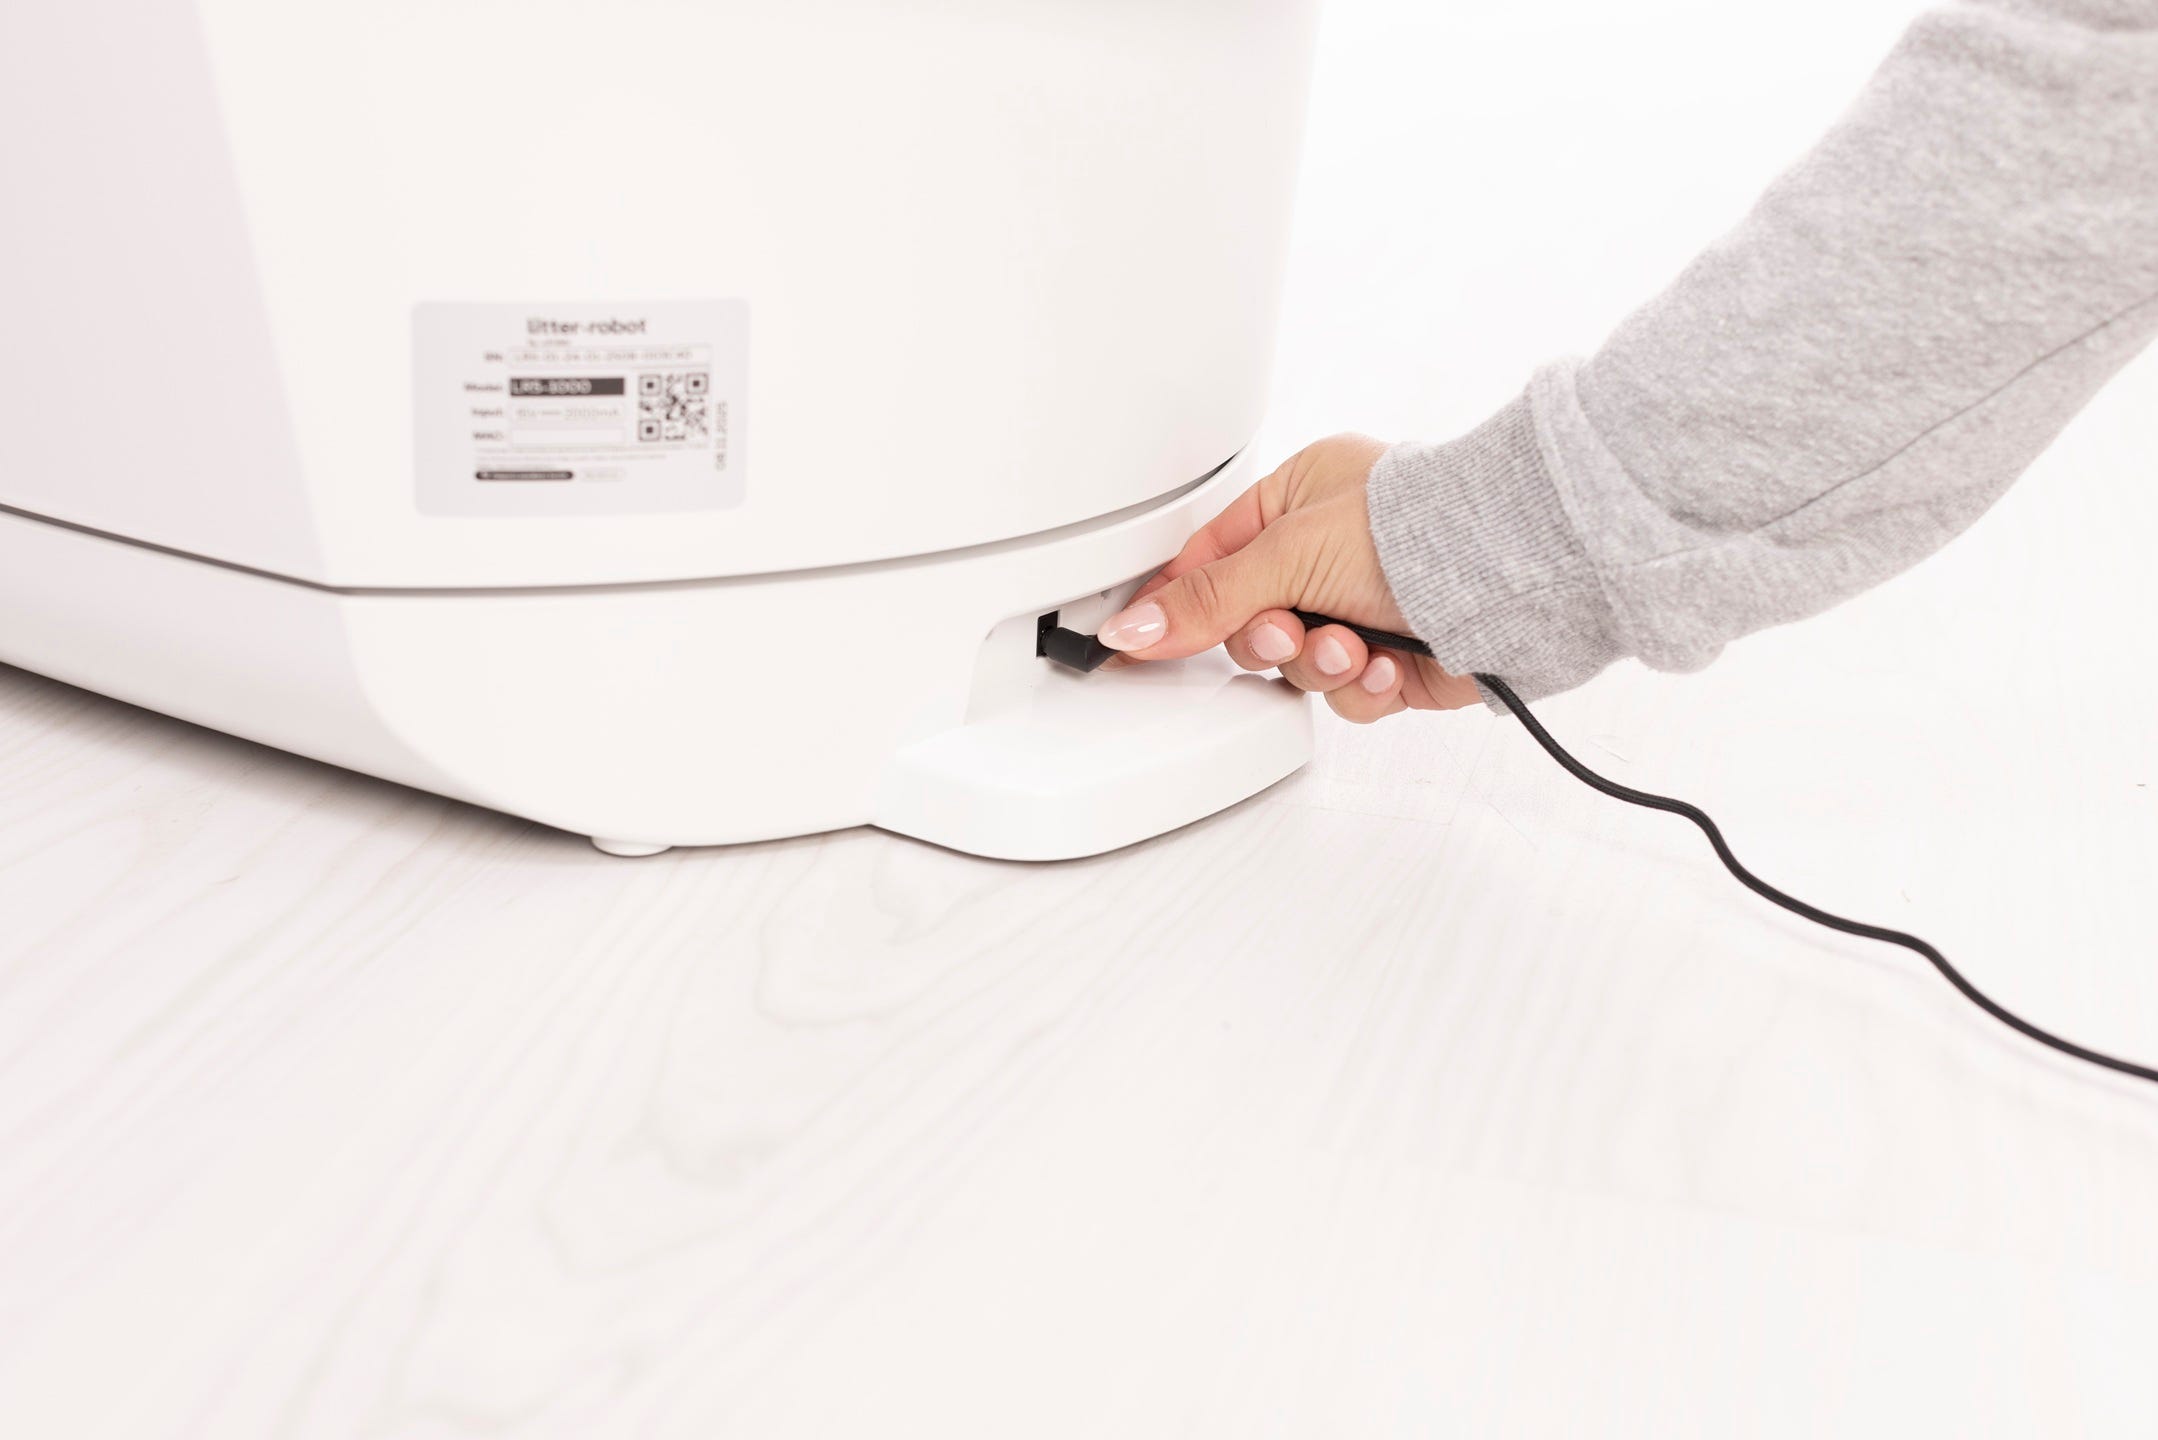
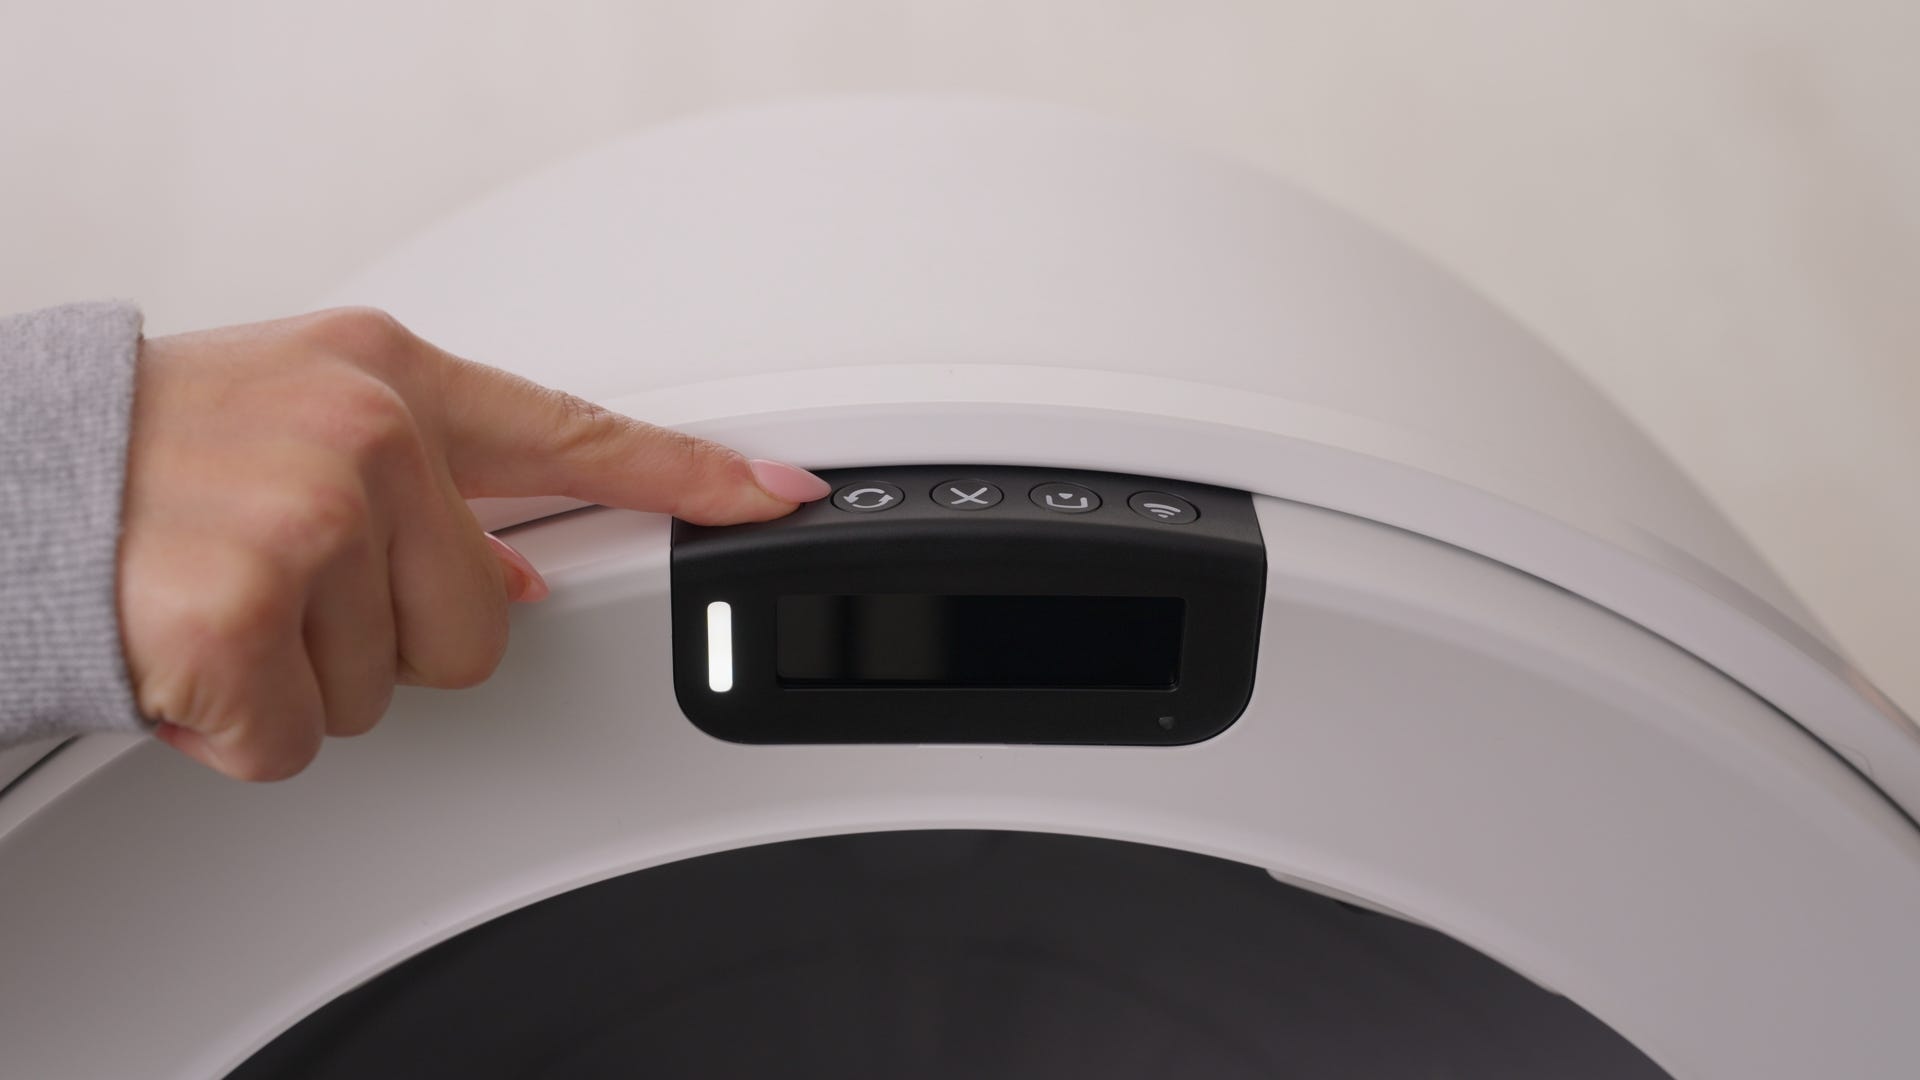
- Press the Power button to turn the unit off, then unplug the unit.
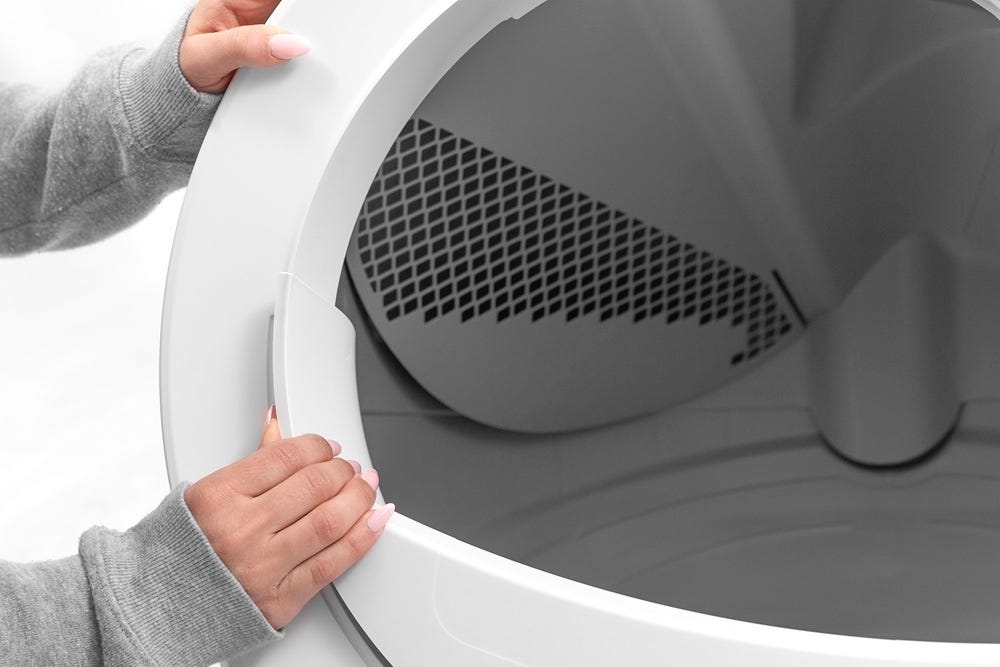
- If you have the fence or other accessories installed, remove them from the bezel.
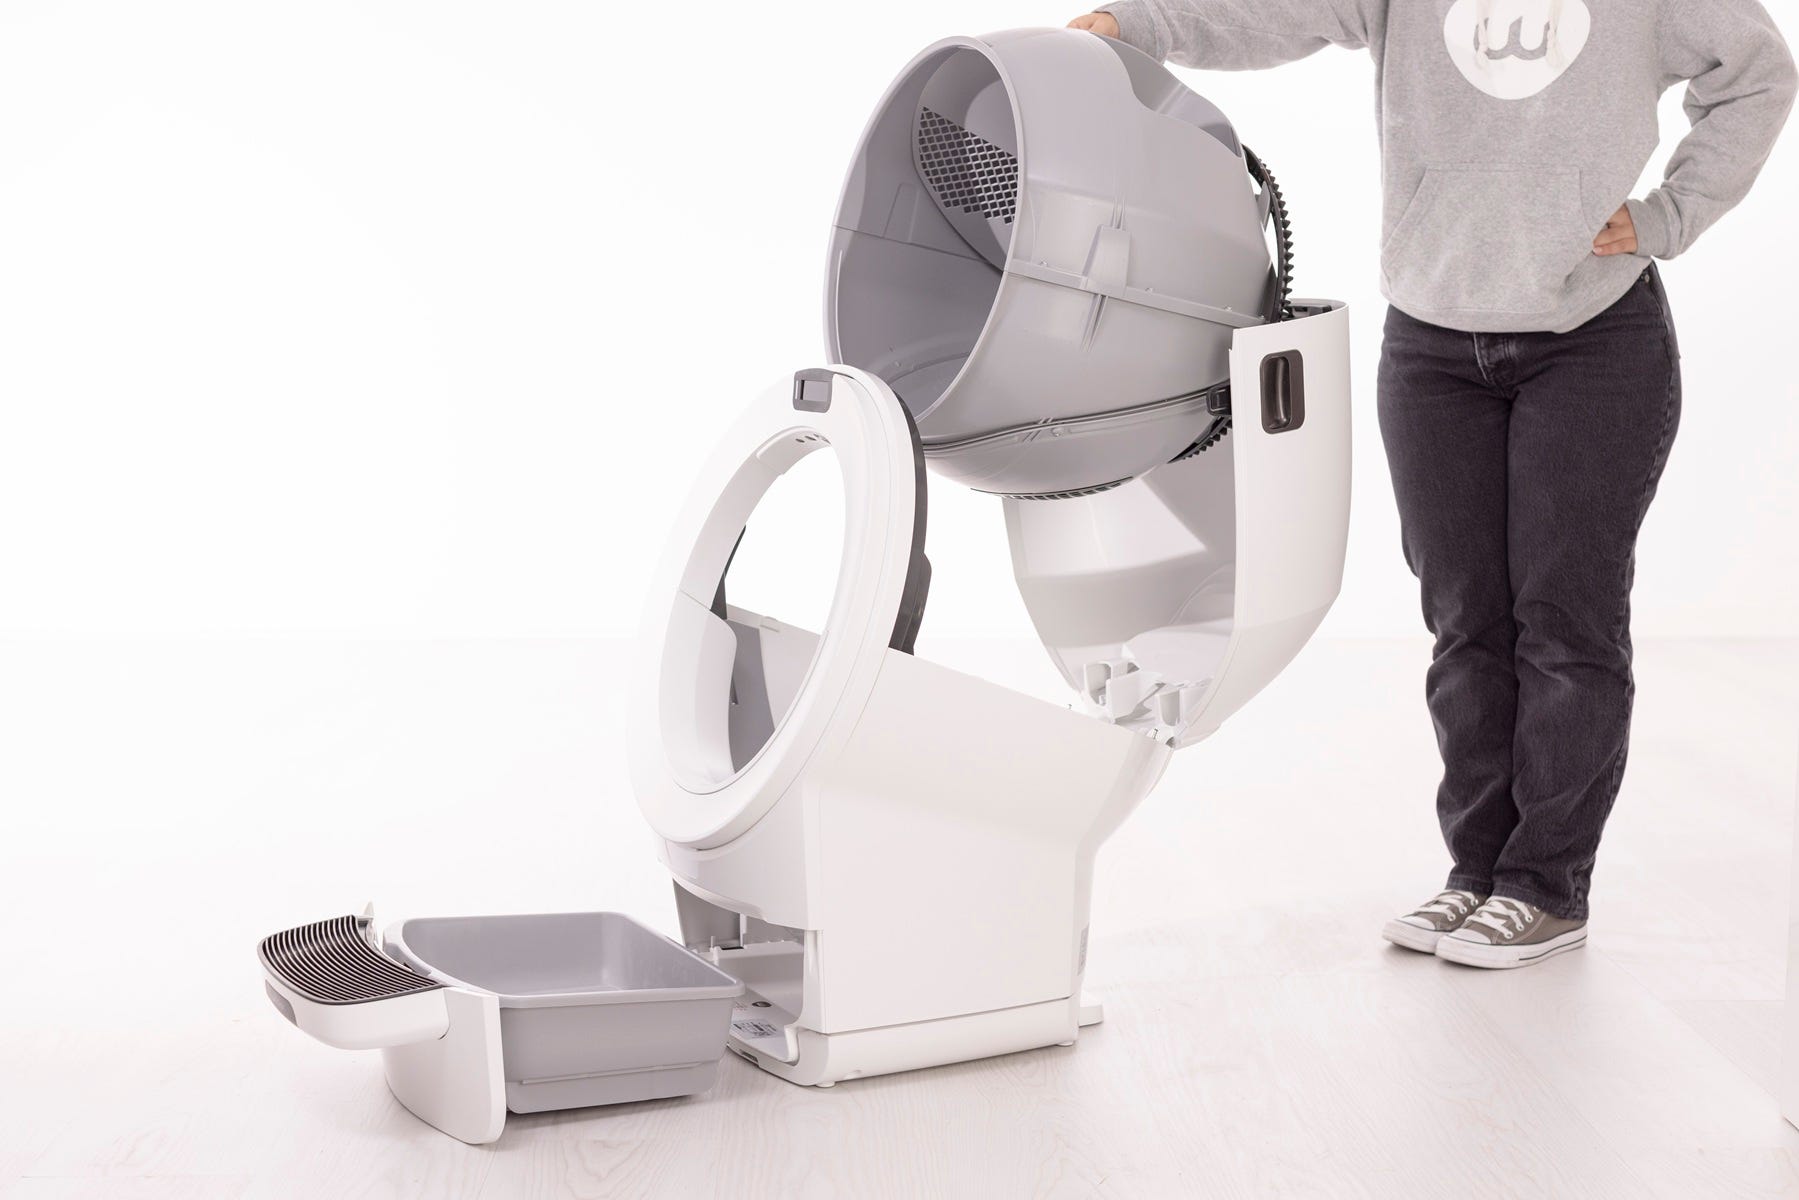
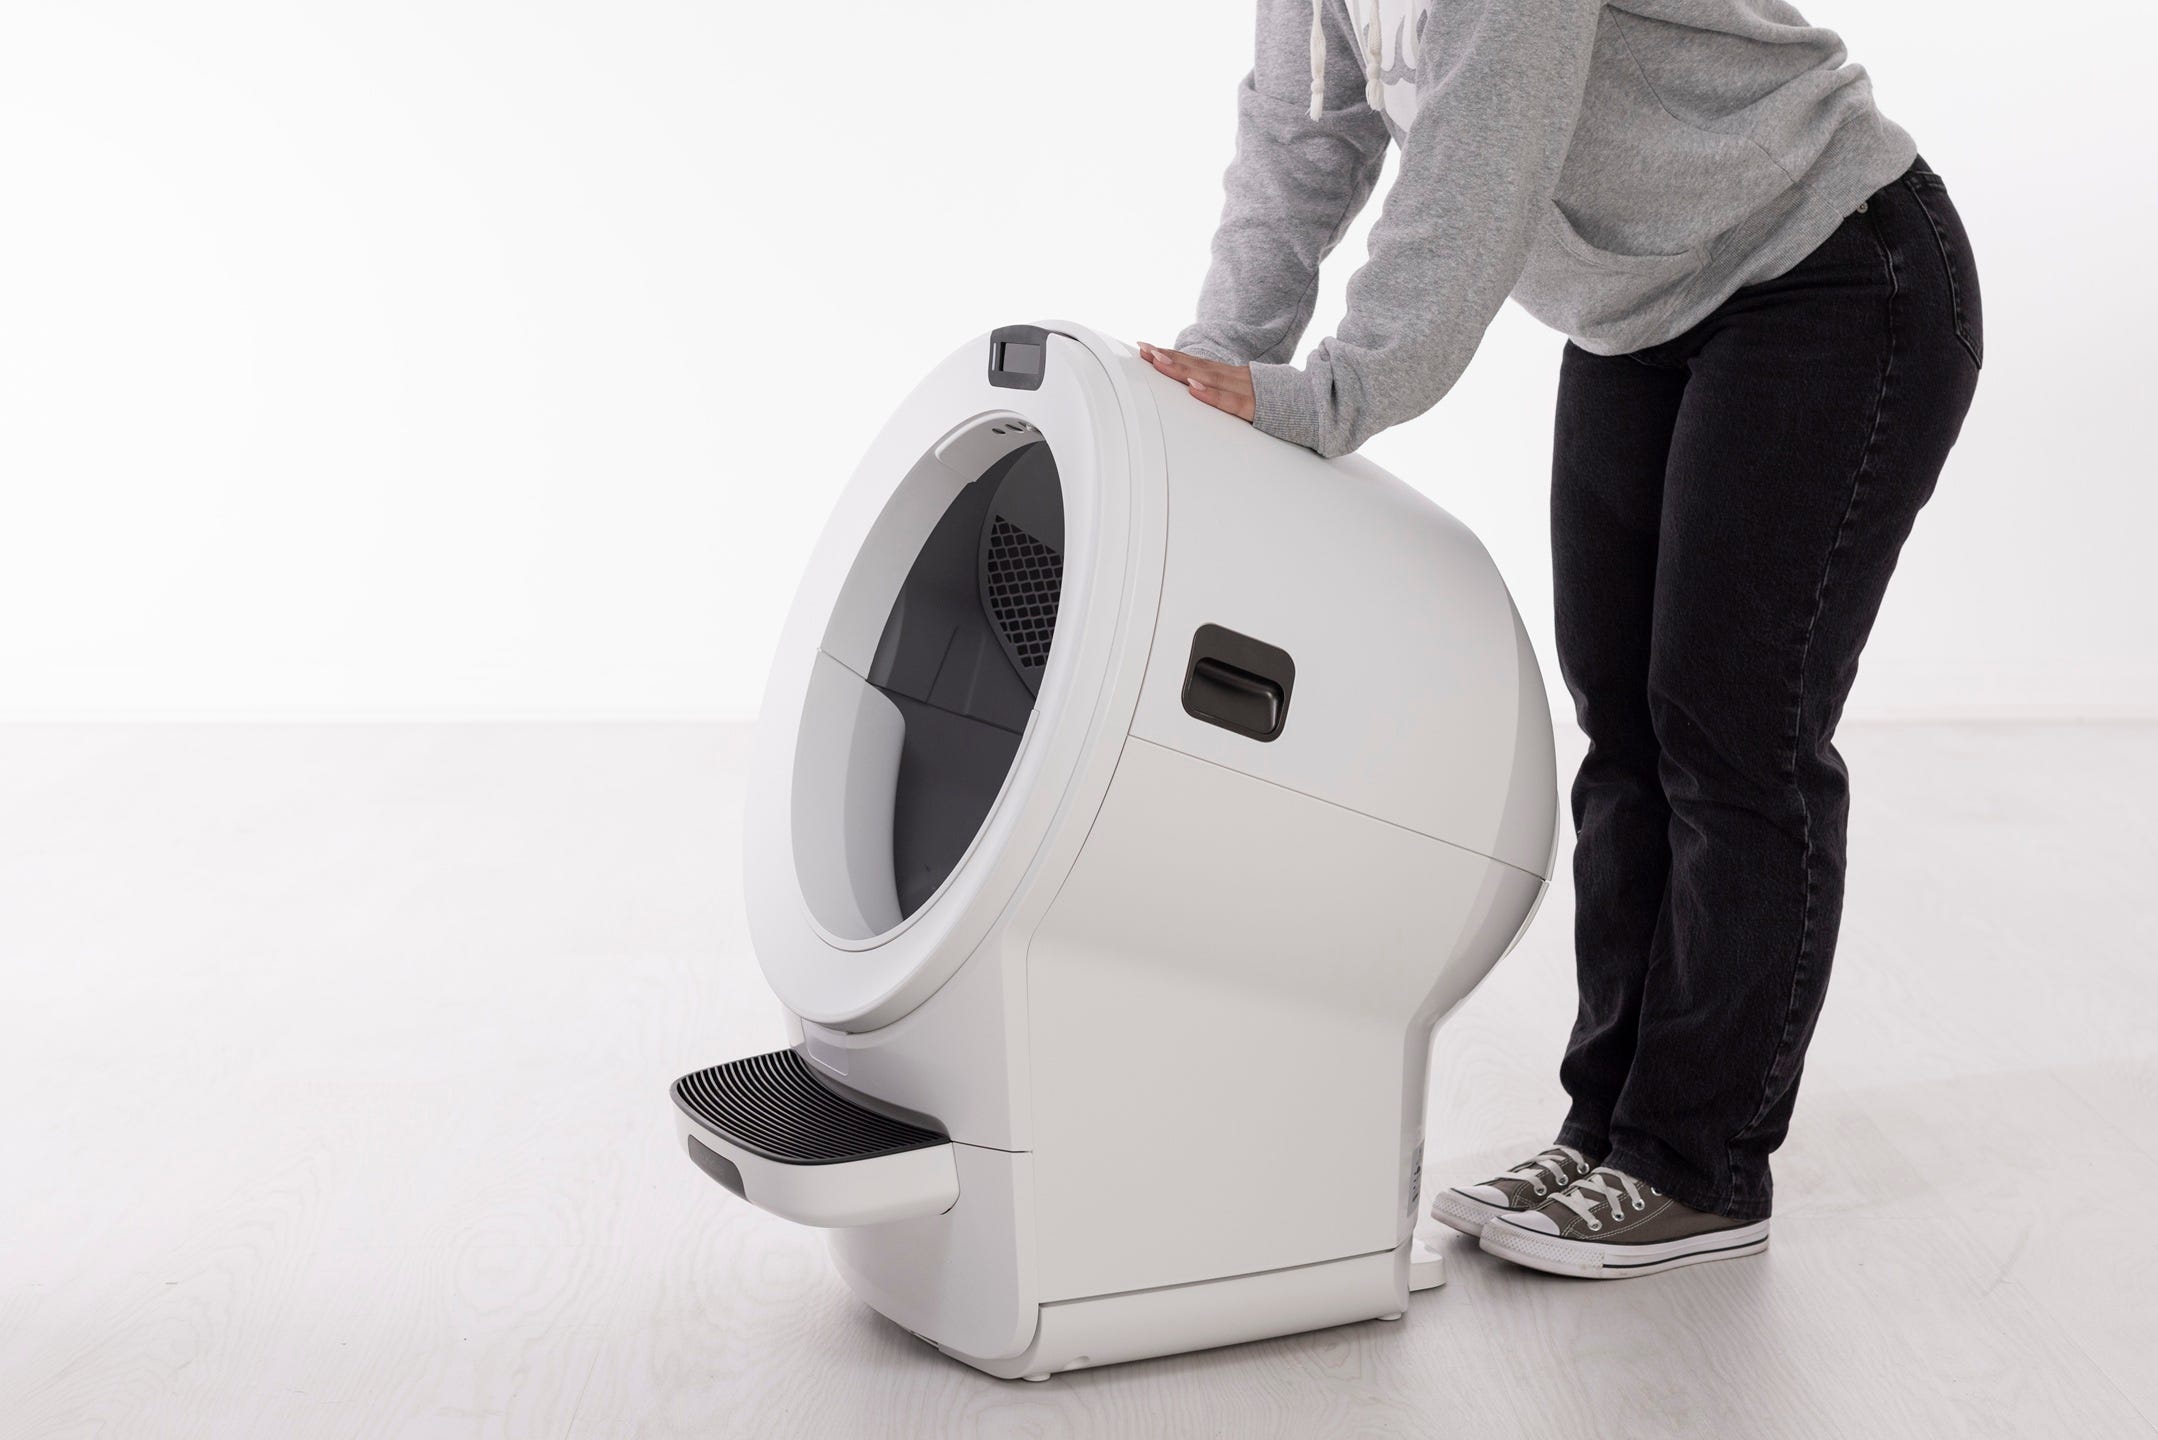
- Open the bonnet: press and hold the latches on both sides of the bonnet, then lift and rotate the bonnet to its open position.
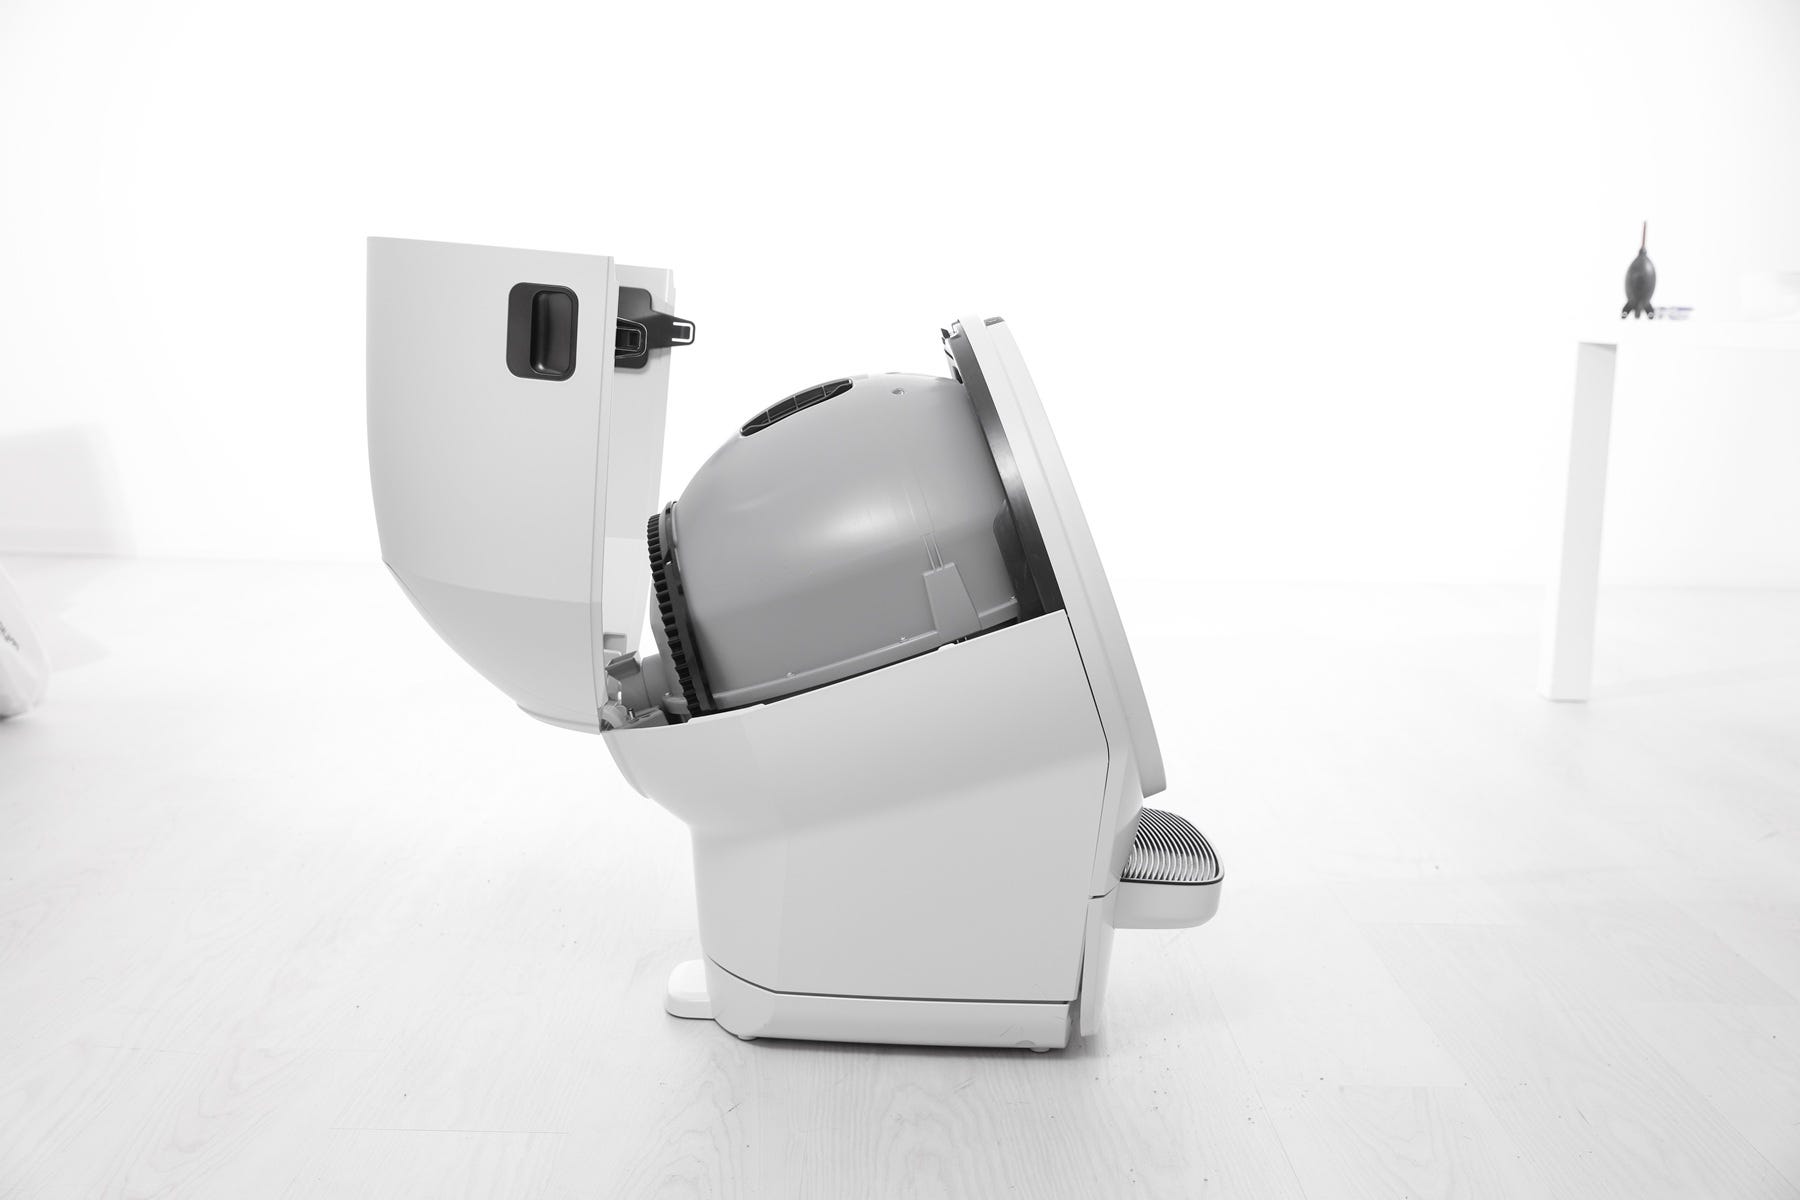
Note: Though it is not necessary, it may be easier to proceed with the bonnet removed. To do so, pull up on the bonnet and slowly rotate it forward until it disengages from the unit frame behind the robot. Set the bonnet aside.
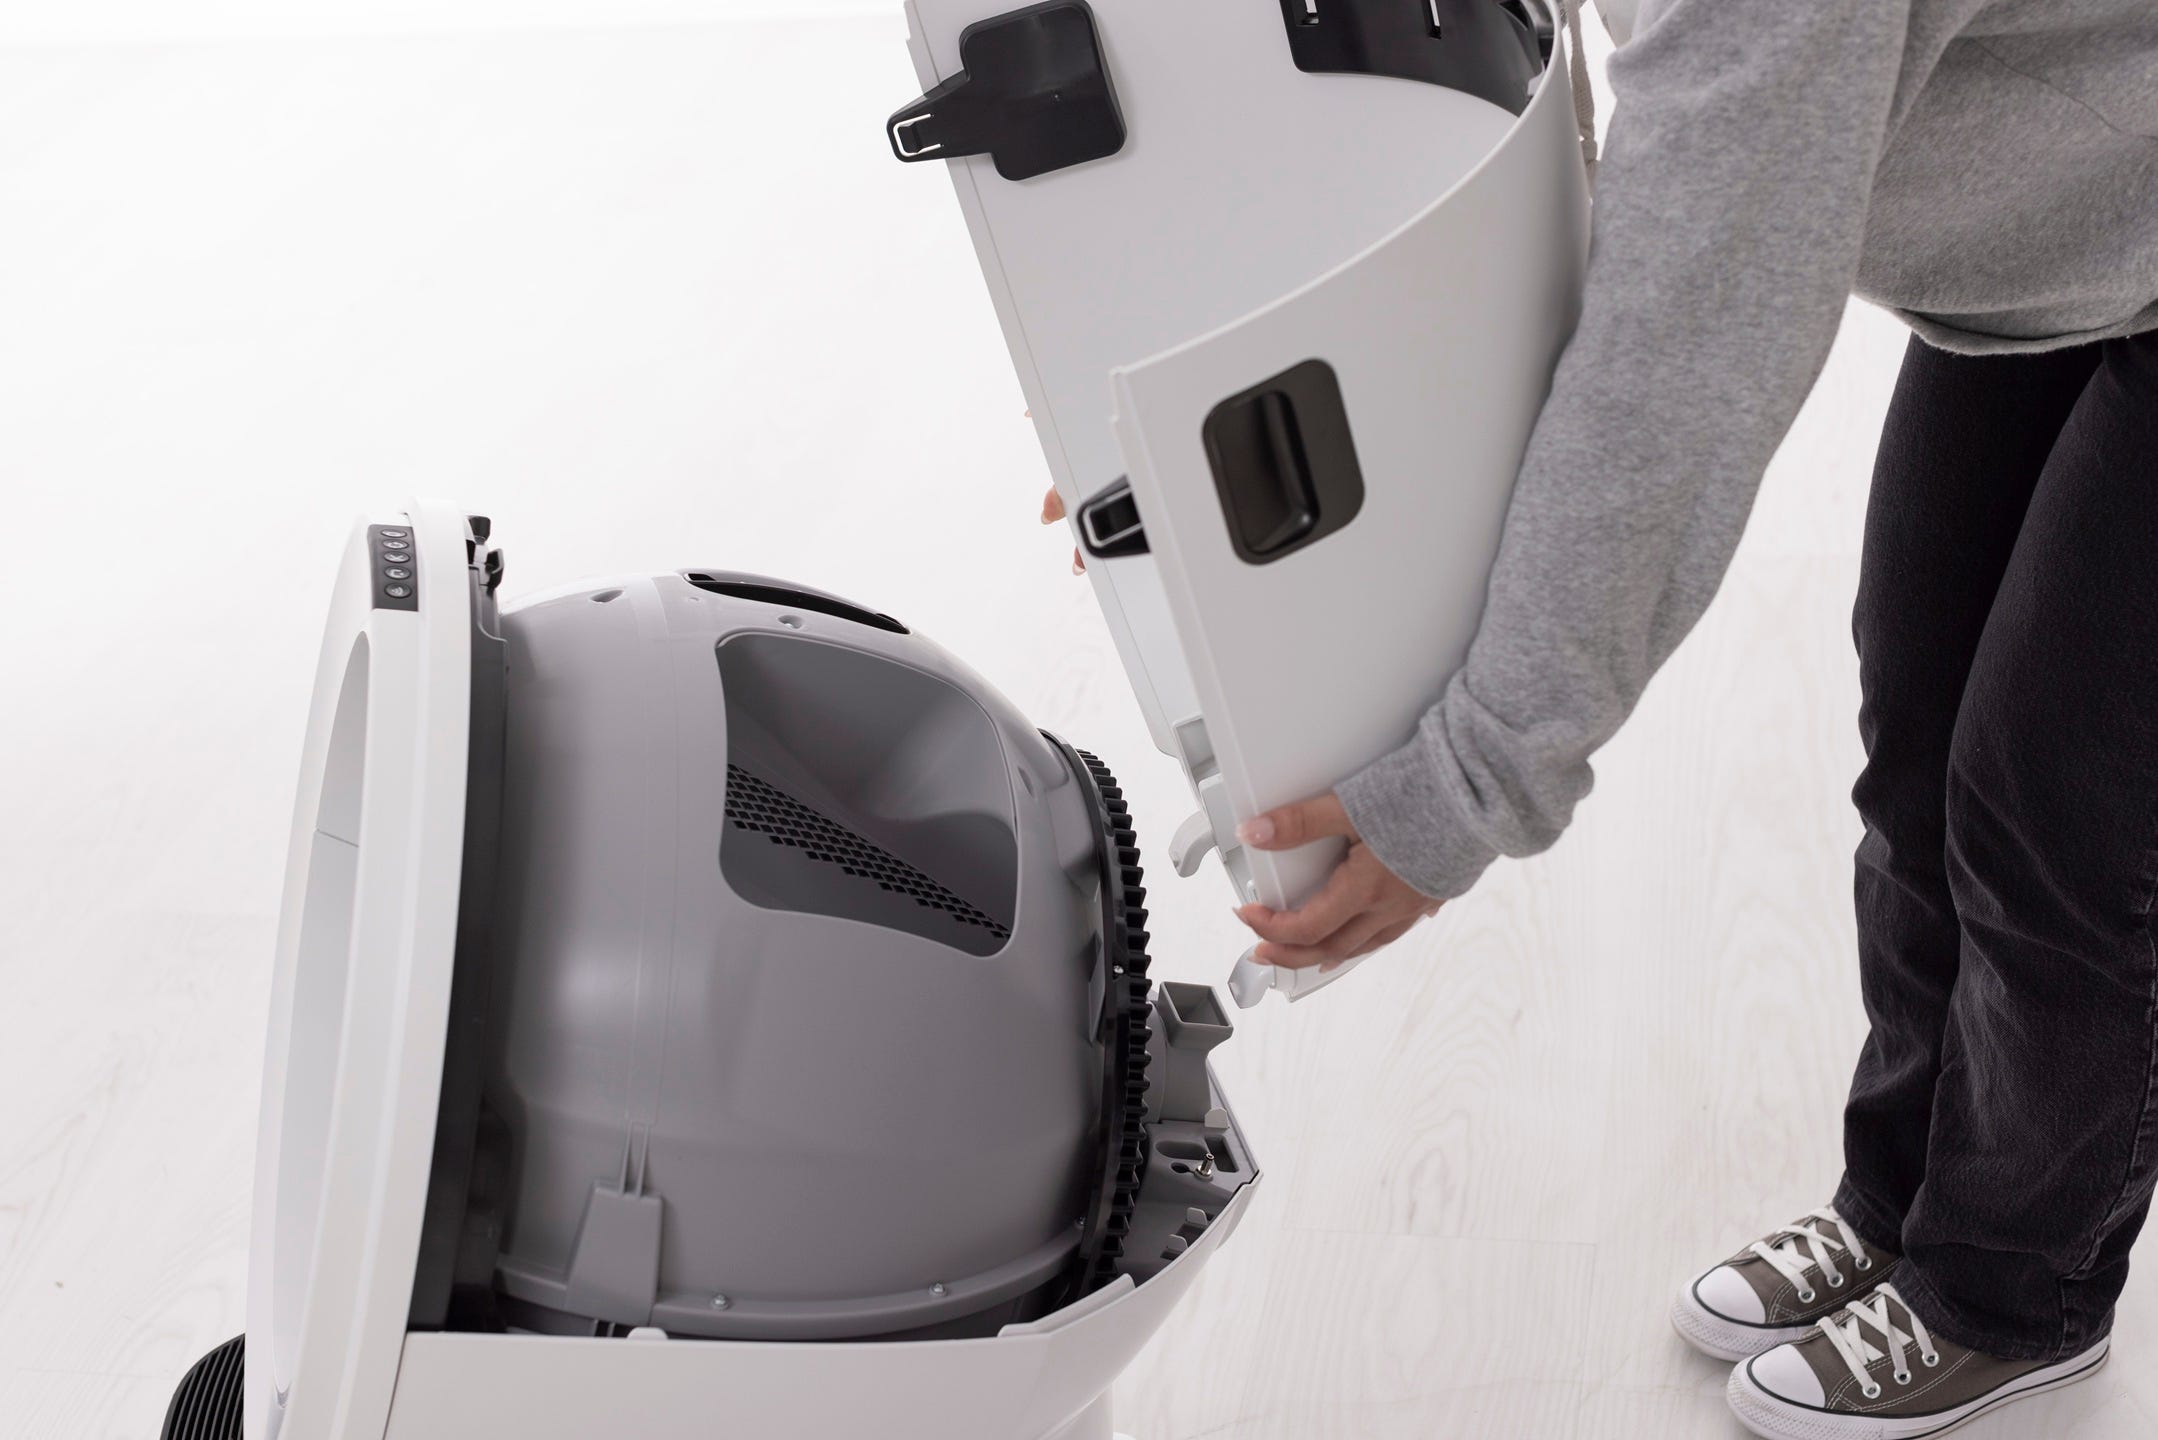
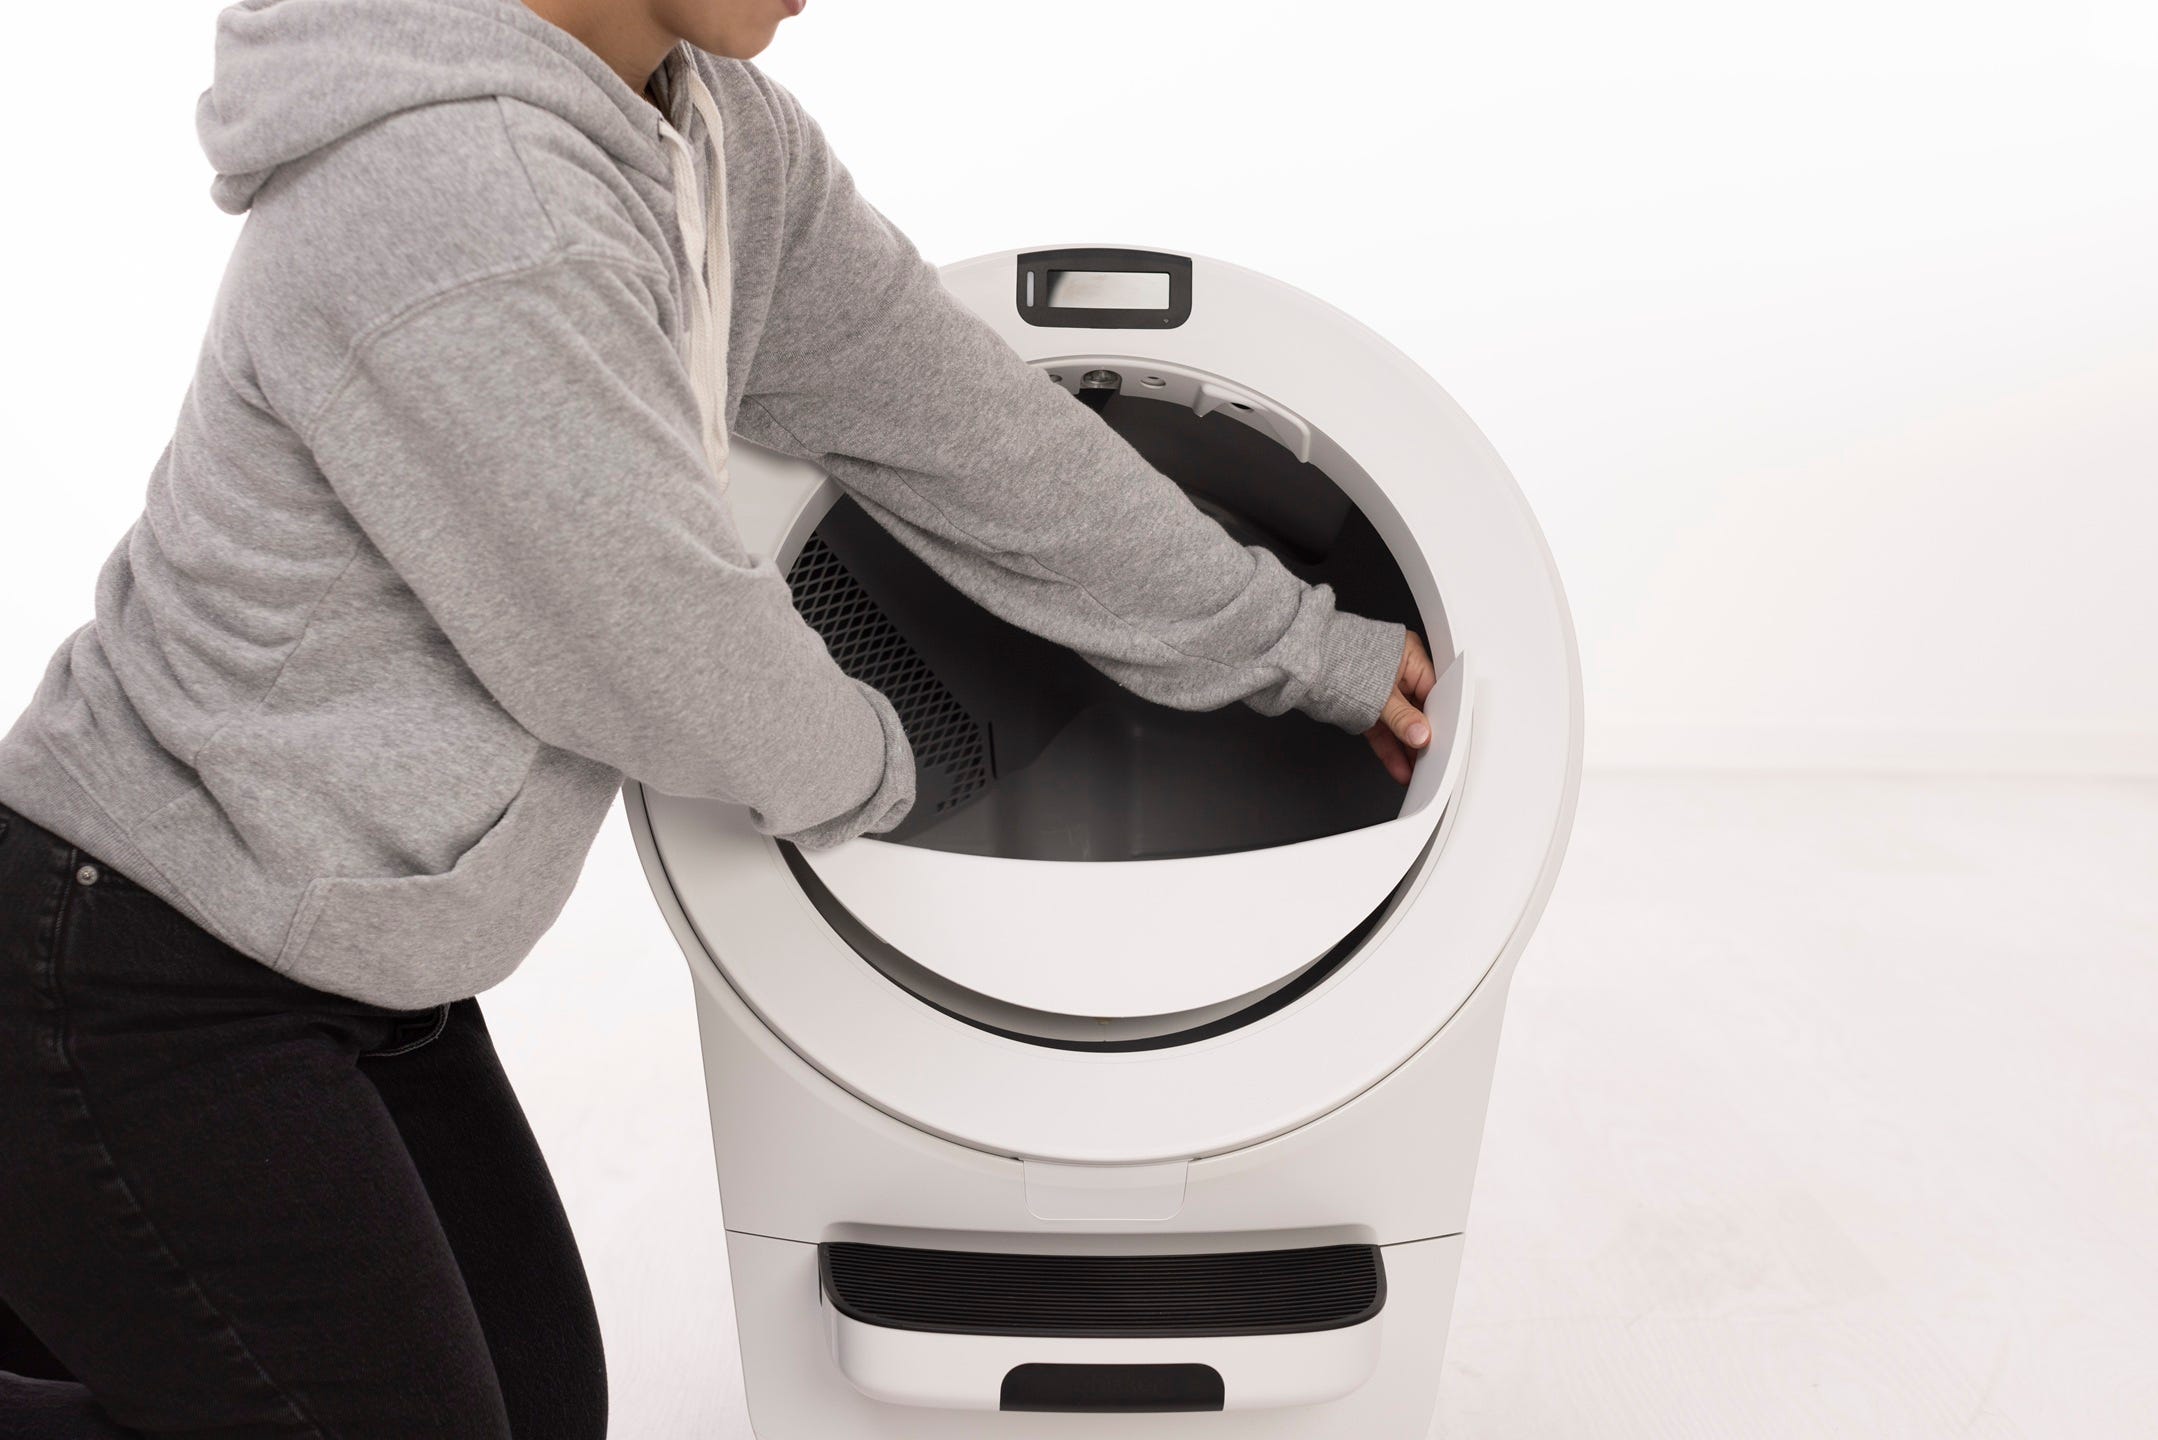
- Remove the globe and key: Grab the black handle located on top of the globe, lift the globe off the base, and set it on the floor. Be mindful of the key, which may have fallen out from the rear of the globe.
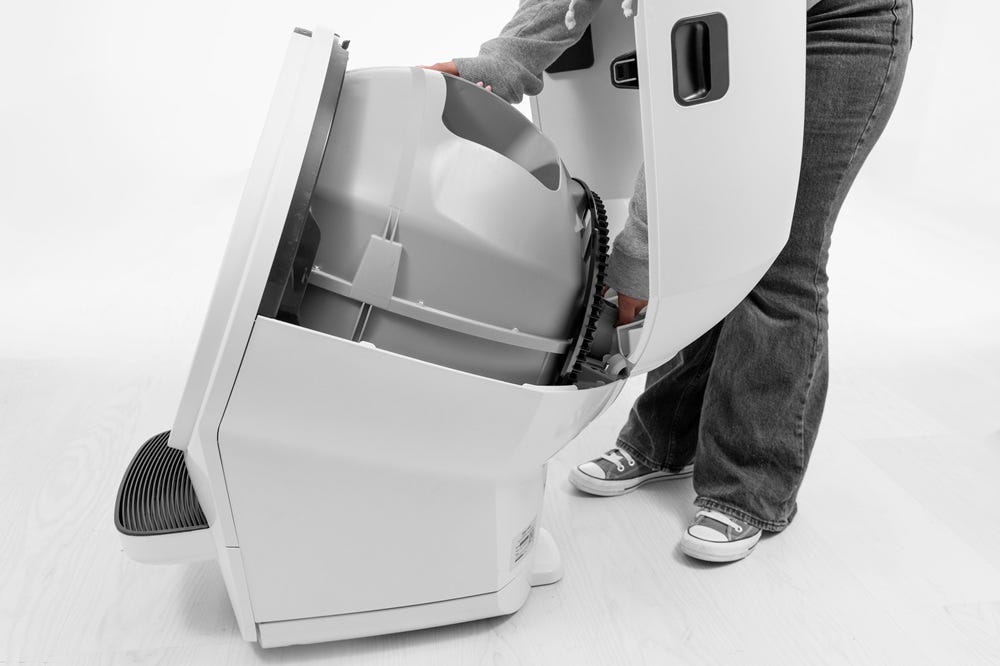
- Remove the four (4) screws holding the black gear track to the back of the globe; set aside.
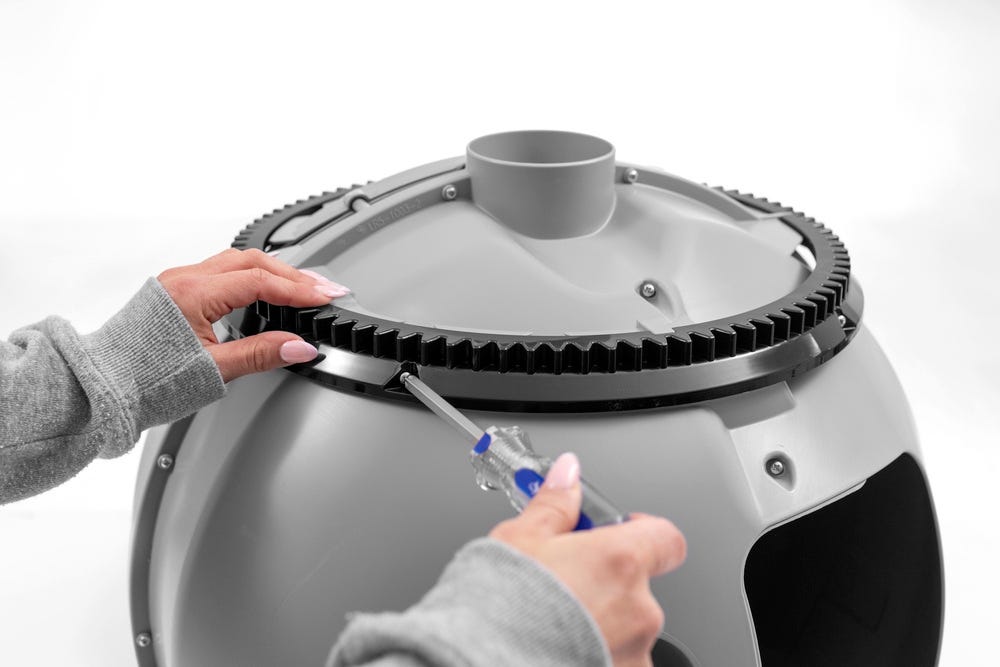
- Remove the black gear track; set aside.
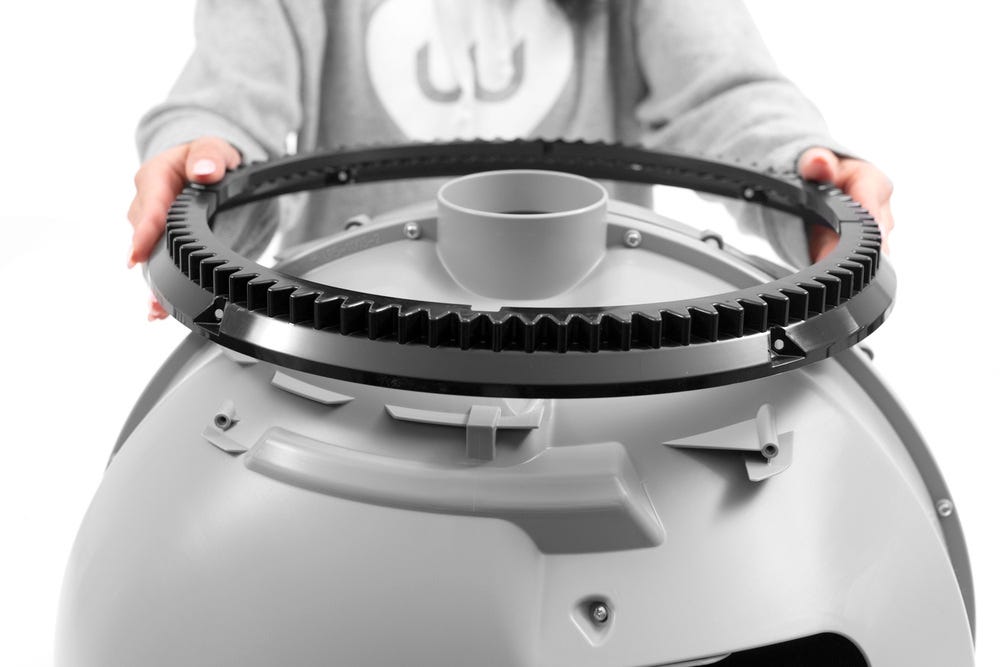
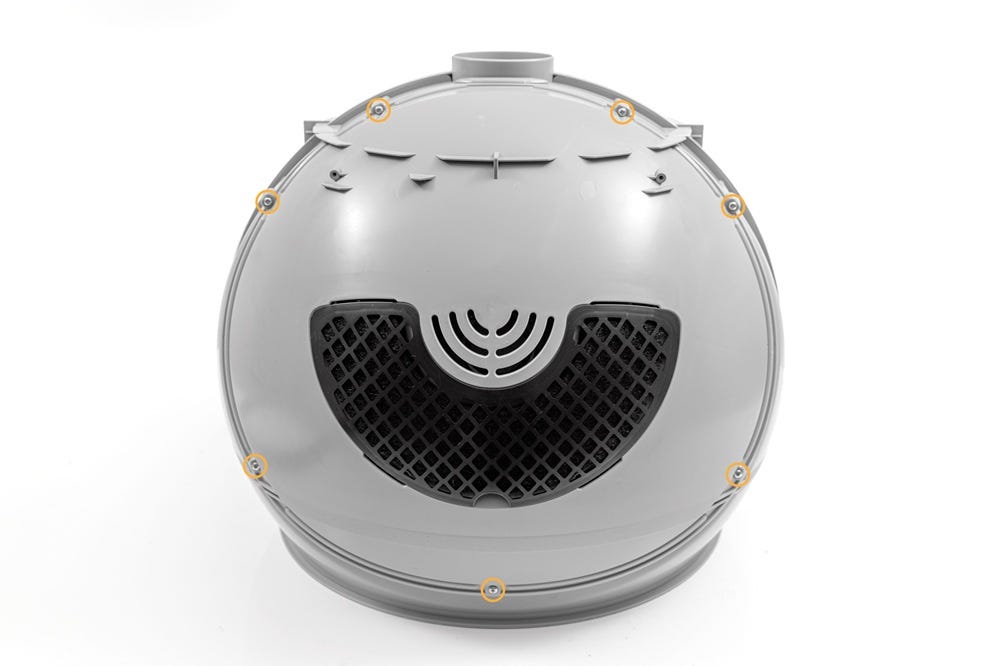
- Remove the seven (7) screws holding the globe cap and globe together; set aside.
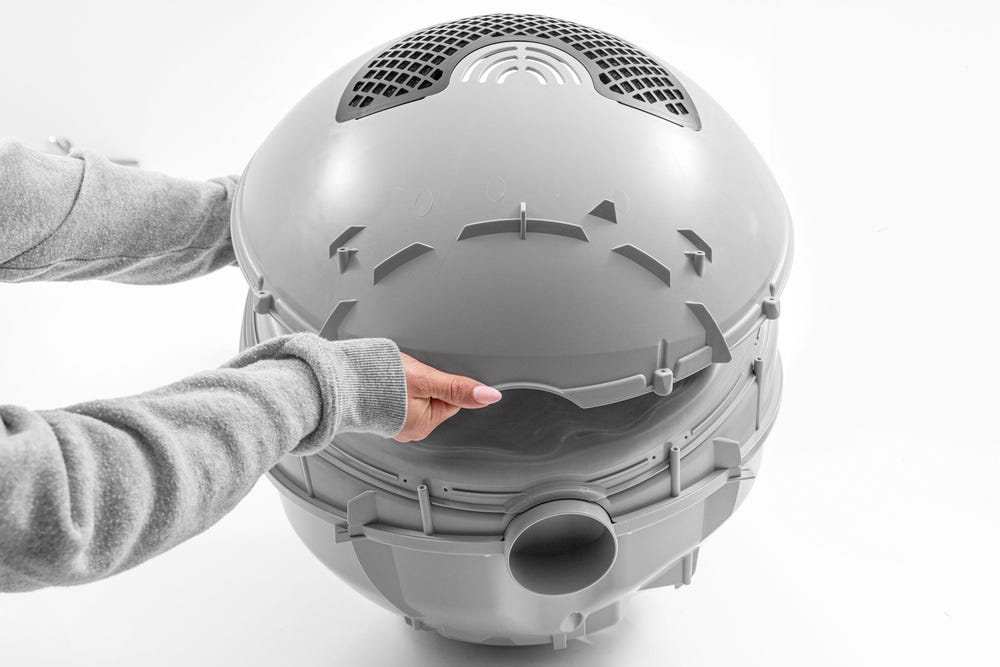
- With the globe positioned as shown; lift the globe cap away. It should now separate from the lower half of the globe. Set aside.
- Remove the liner from the globe.
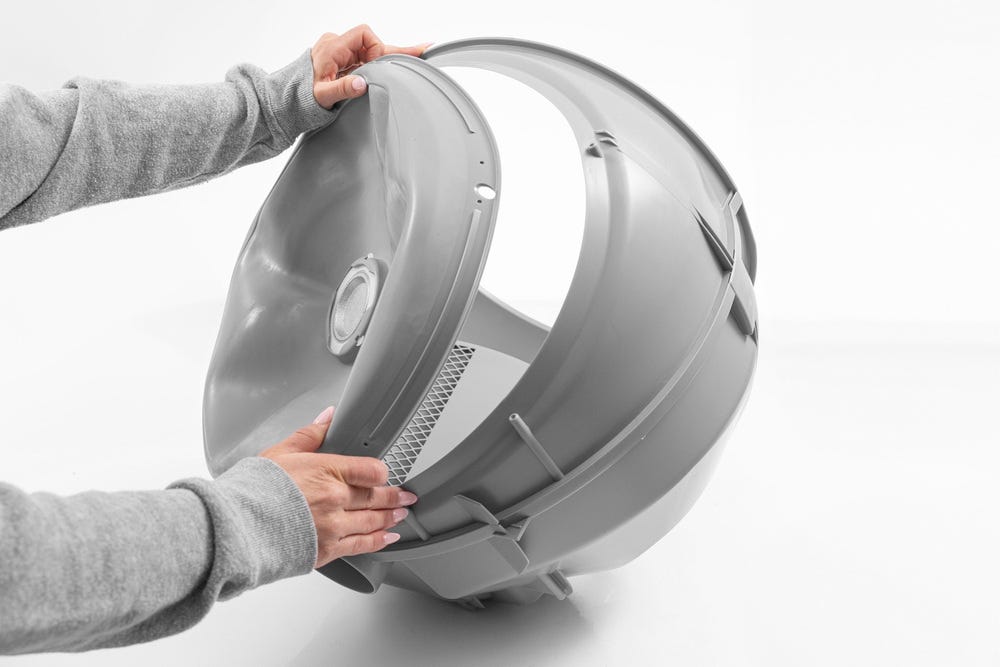
- Remove the liner weight retainer and set aside.
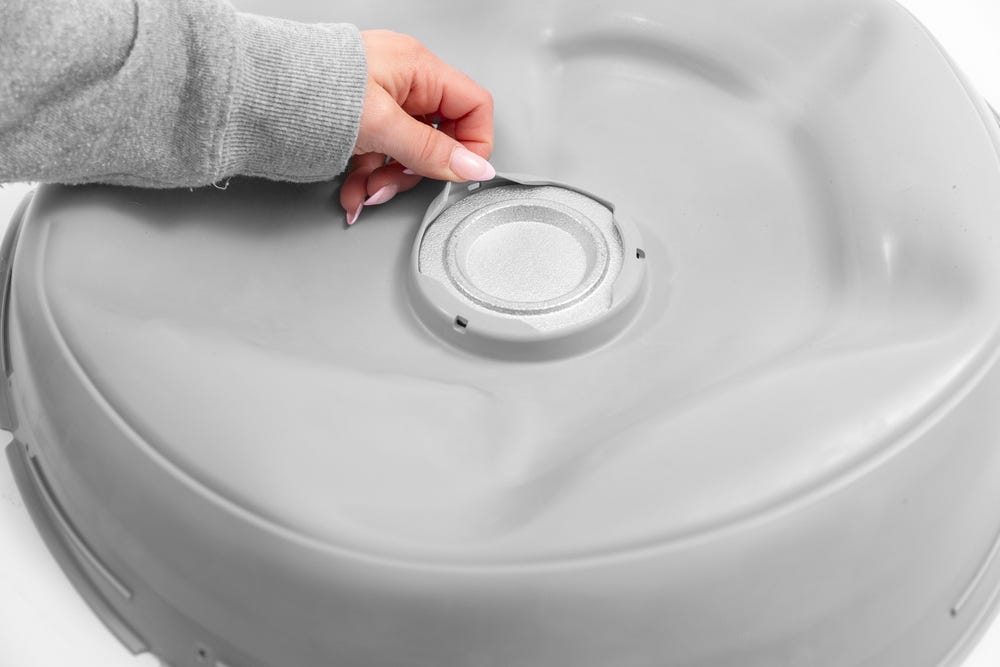
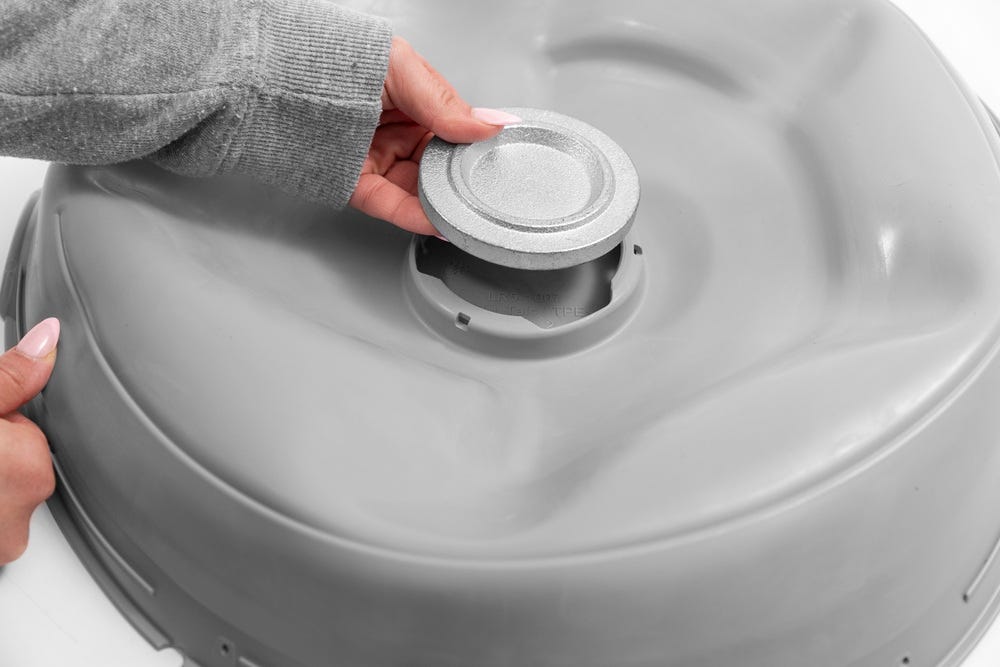
- Remove the liner weight. Do not discard.
Install the new Litter-Robot 5 Globe Liner
- Insert the round liner weight into the center location as shown (see image). Fold the outer lip over the edge of the weight.
- Place the weight retainer on top of the liner weight, then align the three tabs on the retainer with the matching slots in the liner.
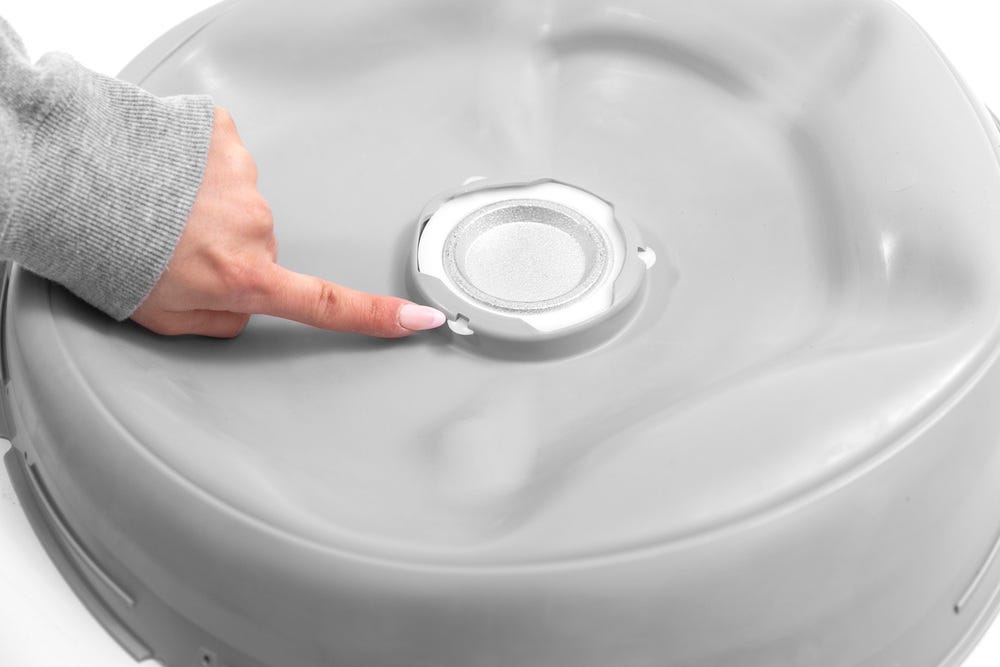
- Place the liner onto the lower half of the globe by aligning the holes in the liner outer ring with the screw bosses on the lower globe.
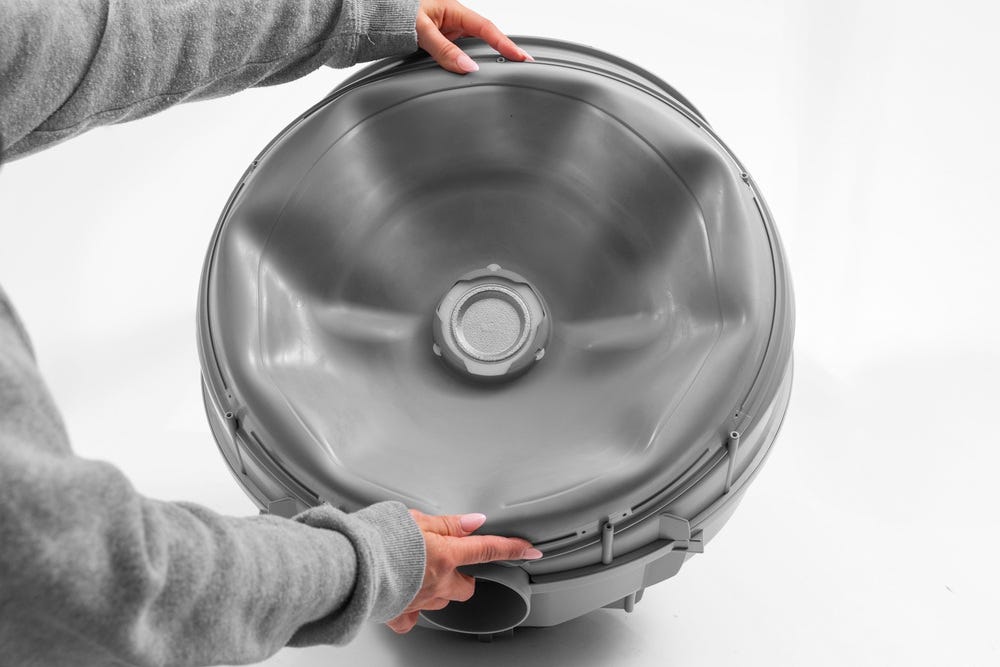
- Place the globe cap over the liner and align the screw holes with the screw bosses.
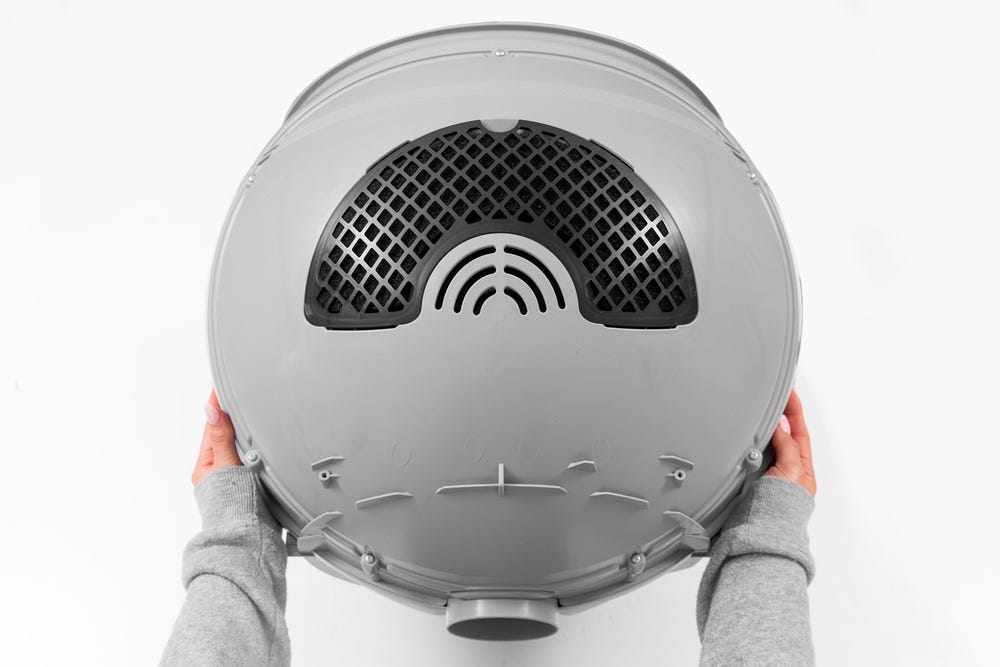
- Install the seven (7) Phillips screws to secure the globe liner between the lower globe and the globe cap. Do not overtighten.
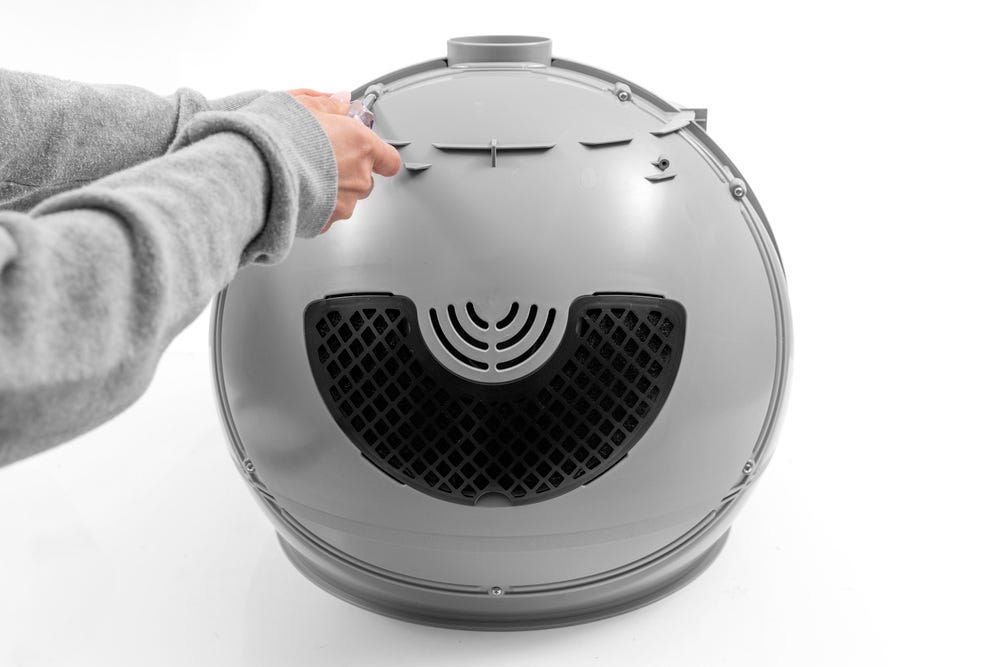
- Lay the globe on its face (opening down) and place the gear track back into position. Note the size of the alignment slots for proper orientation.
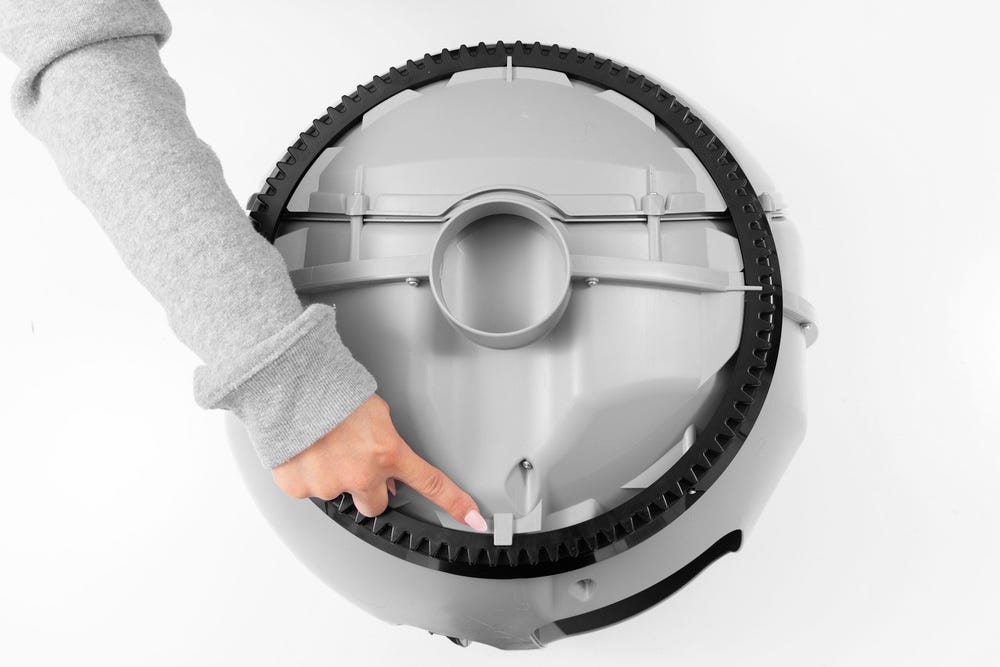
- Attach the globe track to the backside of the globe using the four (4) Phillips screws. Do not overtighten.
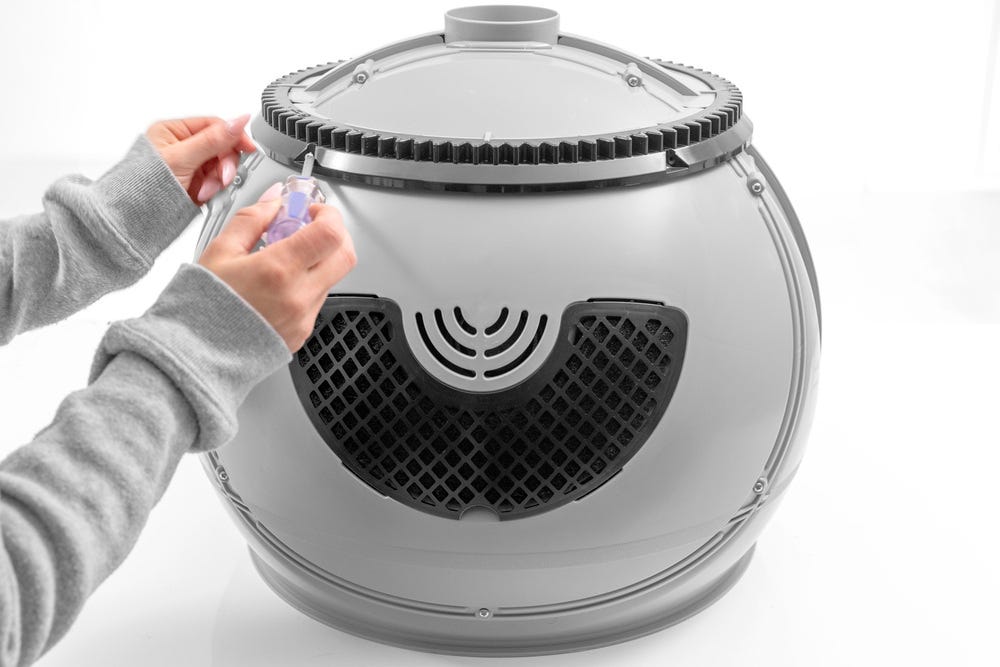
- Reattach the globe and key:
Ensure the key is inserted into the back of the globe. Lift the globe by the handle with one hand, and use your other hand to hold the key in place as you lower the globe into the base.
Ensure the back of the globe is sitting flush in the rear bearing pocket. The large black gear on the rear of the globe will line up with the small white gear in the base.
- Replace the bonnet if it was previously removed. Insert the two rear tabs on the bonnet into the rectangular pockets behind the globe. You may need to rotate the bonnet slightly in either direction until it drops into place.
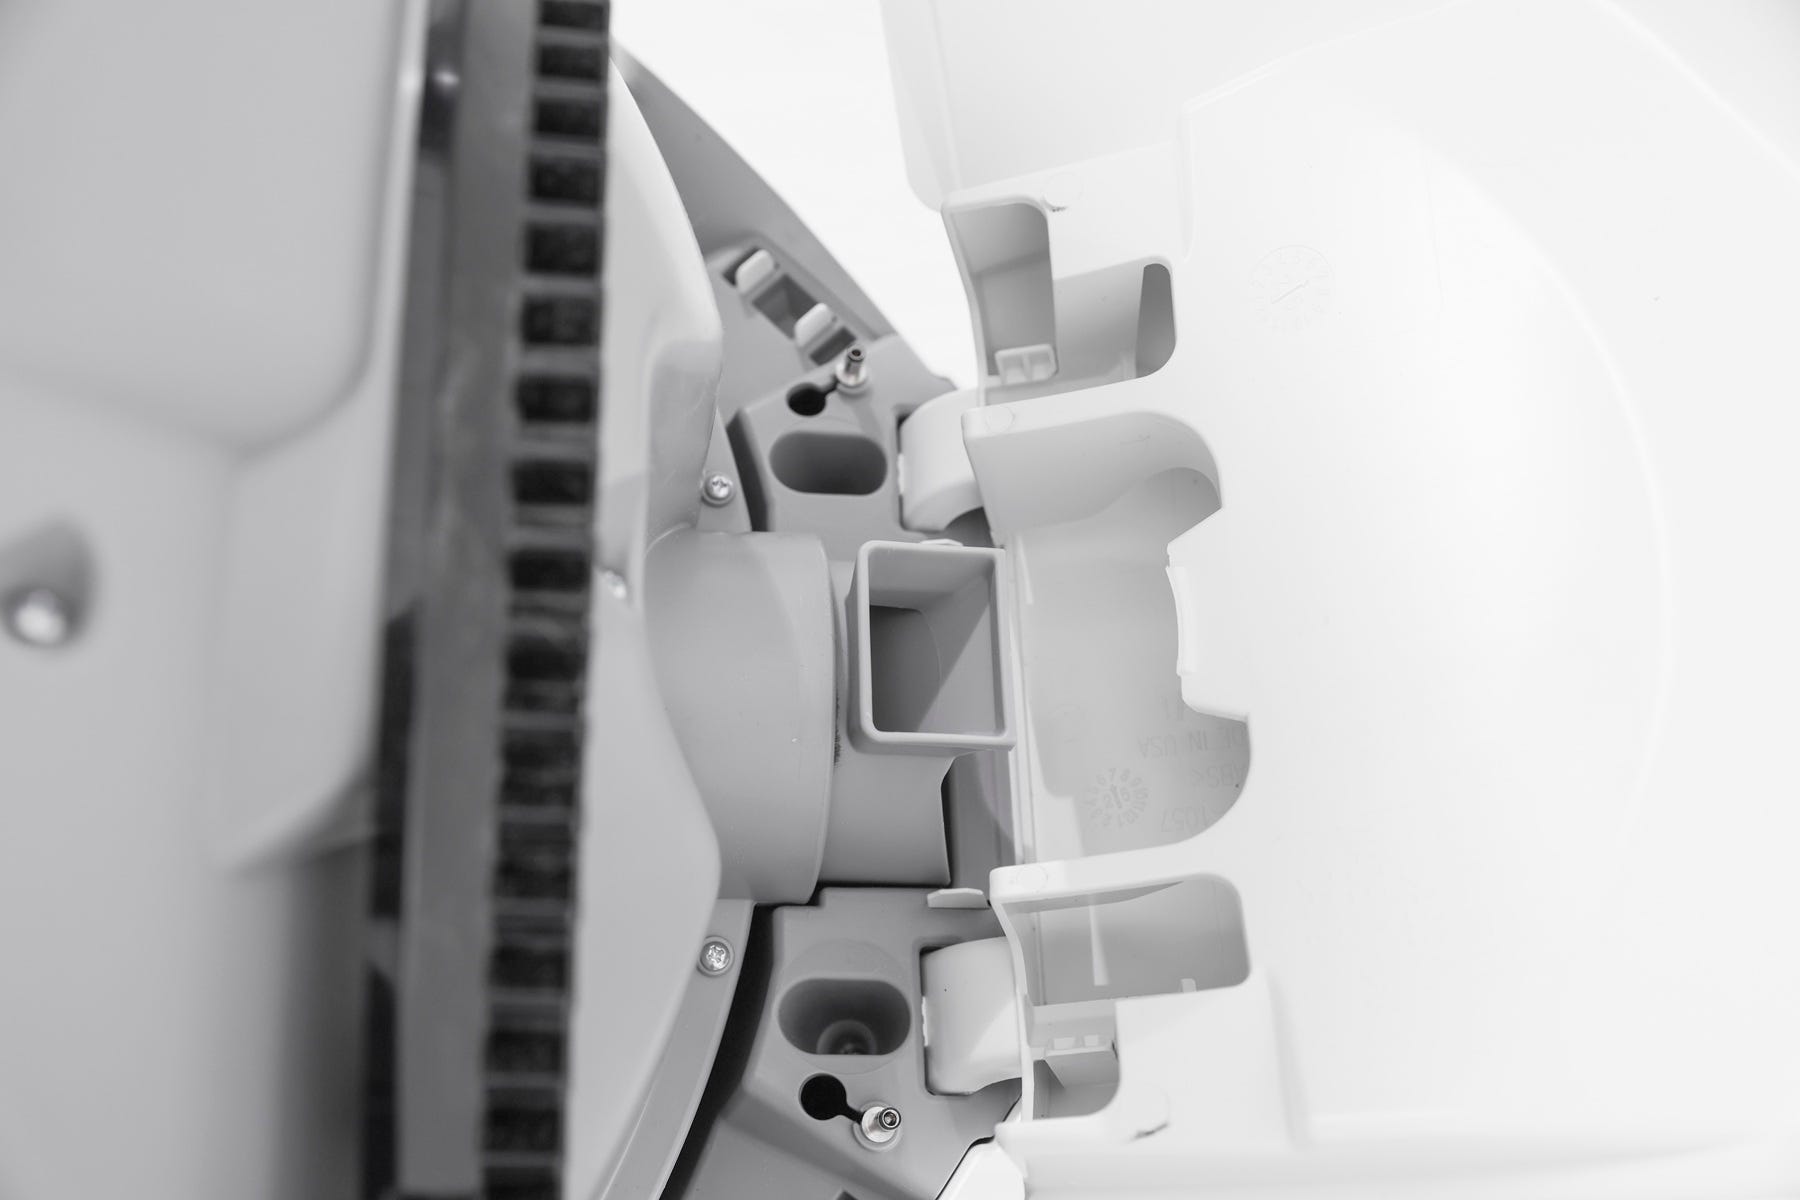
- Close the bonnet: Rotate the bonnet down over the globe, then push down on the bonnet from the top to make sure it is latched and secure.
- If desired, re-install the fence or other accessories by snapping them onto the bezel at the globe entrance.
- Plug the unit in and power it on.
Didn't find what you're looking for?
Live support available Mon-Fri: 9AM-9PM EST and Sat-Sun: 9AM-5PM EST, or submit a ticket anytime.