The store will not work correctly in the case when cookies are disabled.
Litter-Robot 5 & Pro: Safety bar disconnect (Pinch bar fault)
If Litter-Robot 5 or Litter-Robot 5 Pro displays a Safety Bar Disconnect message or Pinch Bar Fault and is flashing red, this means the robot detected an issue related to the pinch bar safety system.
This cat safety feature helps protect pets by stopping the robot if resistance or contact is detected near the pinch bar area.
If the message appears immediately when the unit is powered on
If Safety Bar Disconnect / Pinch Bar fault appears as soon as the unit is turned on, there is likely an issue with your Litter-Robot.
Note: Litter-Robot 5 Pro models may also notice that the front-facing camera indicator light is not illuminated, which means the camera is not operating or recording.
Please contact us by phone or live chat so that we can provide assistance.
If the message appears after the unit was running normally
If the robot was operating normally and the message appears during or after a cycle, follow the steps below to check the pinch bar area, clear debris, and reassemble the unit.
Preparation
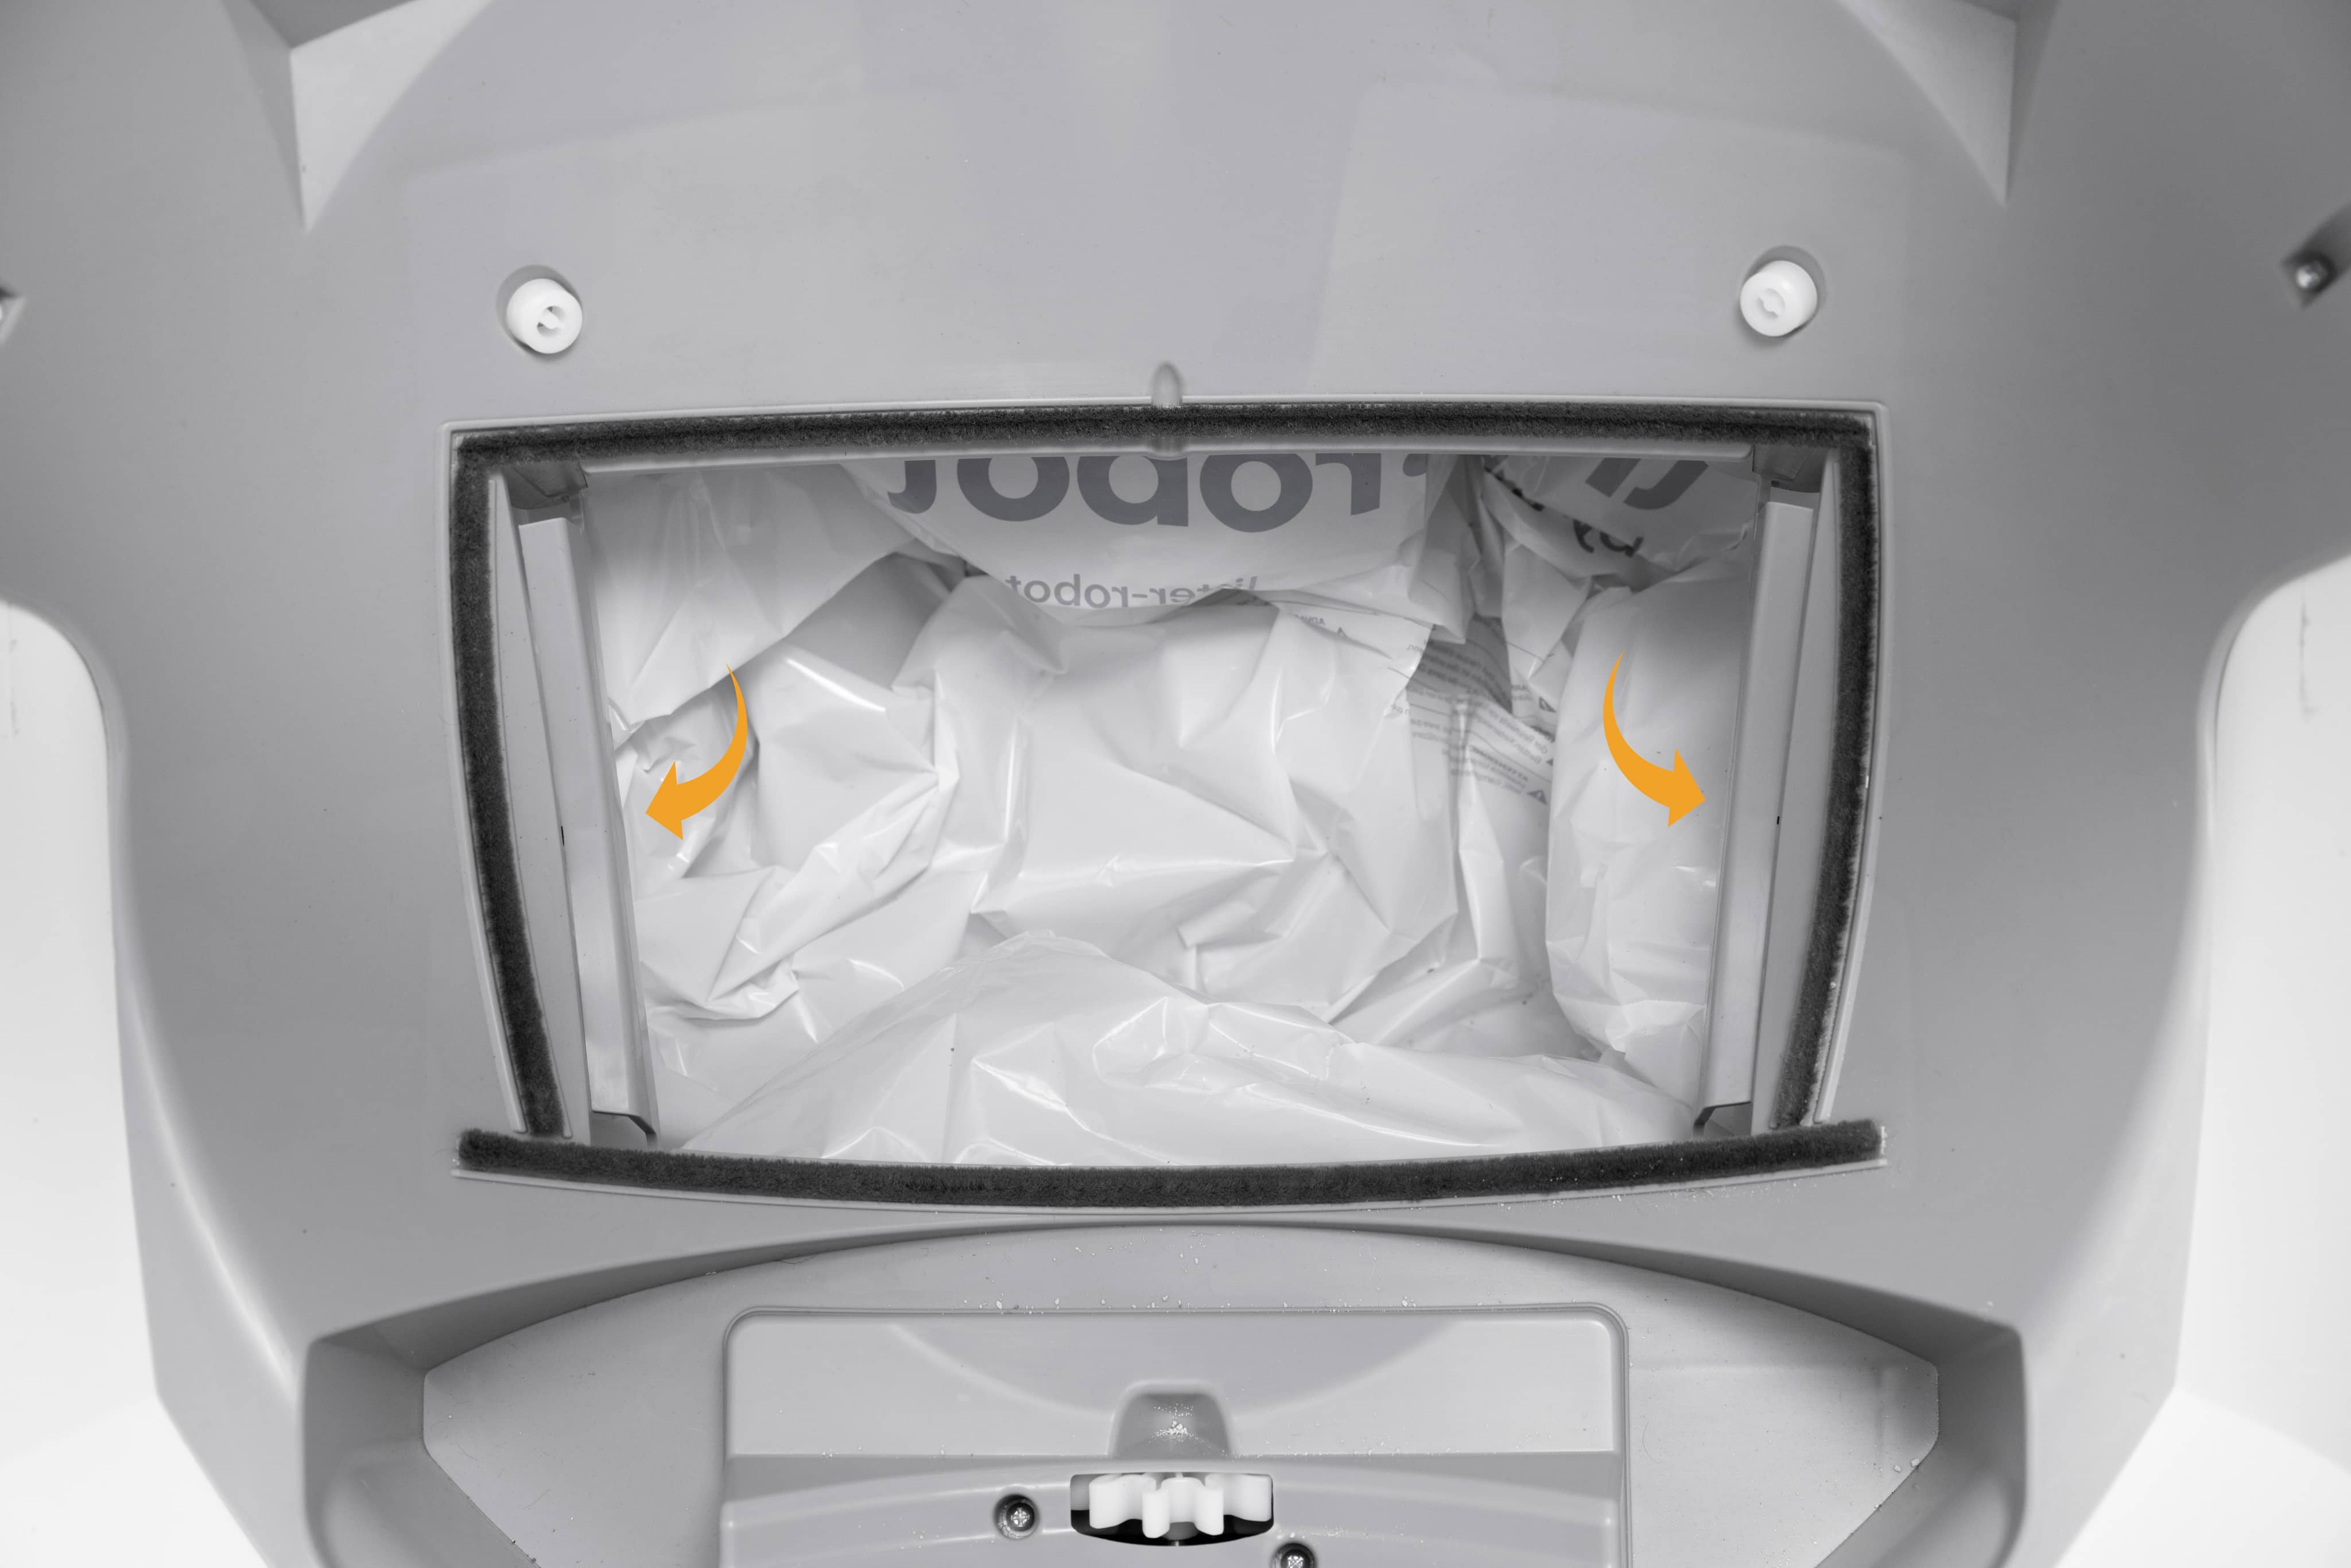
- First, check inside the waste drawer to see if there are any foreign objects that could be activating the sensors.
Now, run a test cycle.
Press the
 Cancel button to zero the weight scale.
Press the
 Cycle button to start a Clean Cycle.
After the test cycle, Litter-Robot should return to the Home position.
Successful: If the unit completes the cycle and returns Home without displaying the message, the issue is resolved.
Unsuccessful: If you continue to see the Safety Bar Disconnect / Pinch Bar Fault message, please continue below.
Troubleshooting
Check for any additional items or debris that might be contacting the pinch bar area.
First, remove the bonnet and globe to inspect the unit.
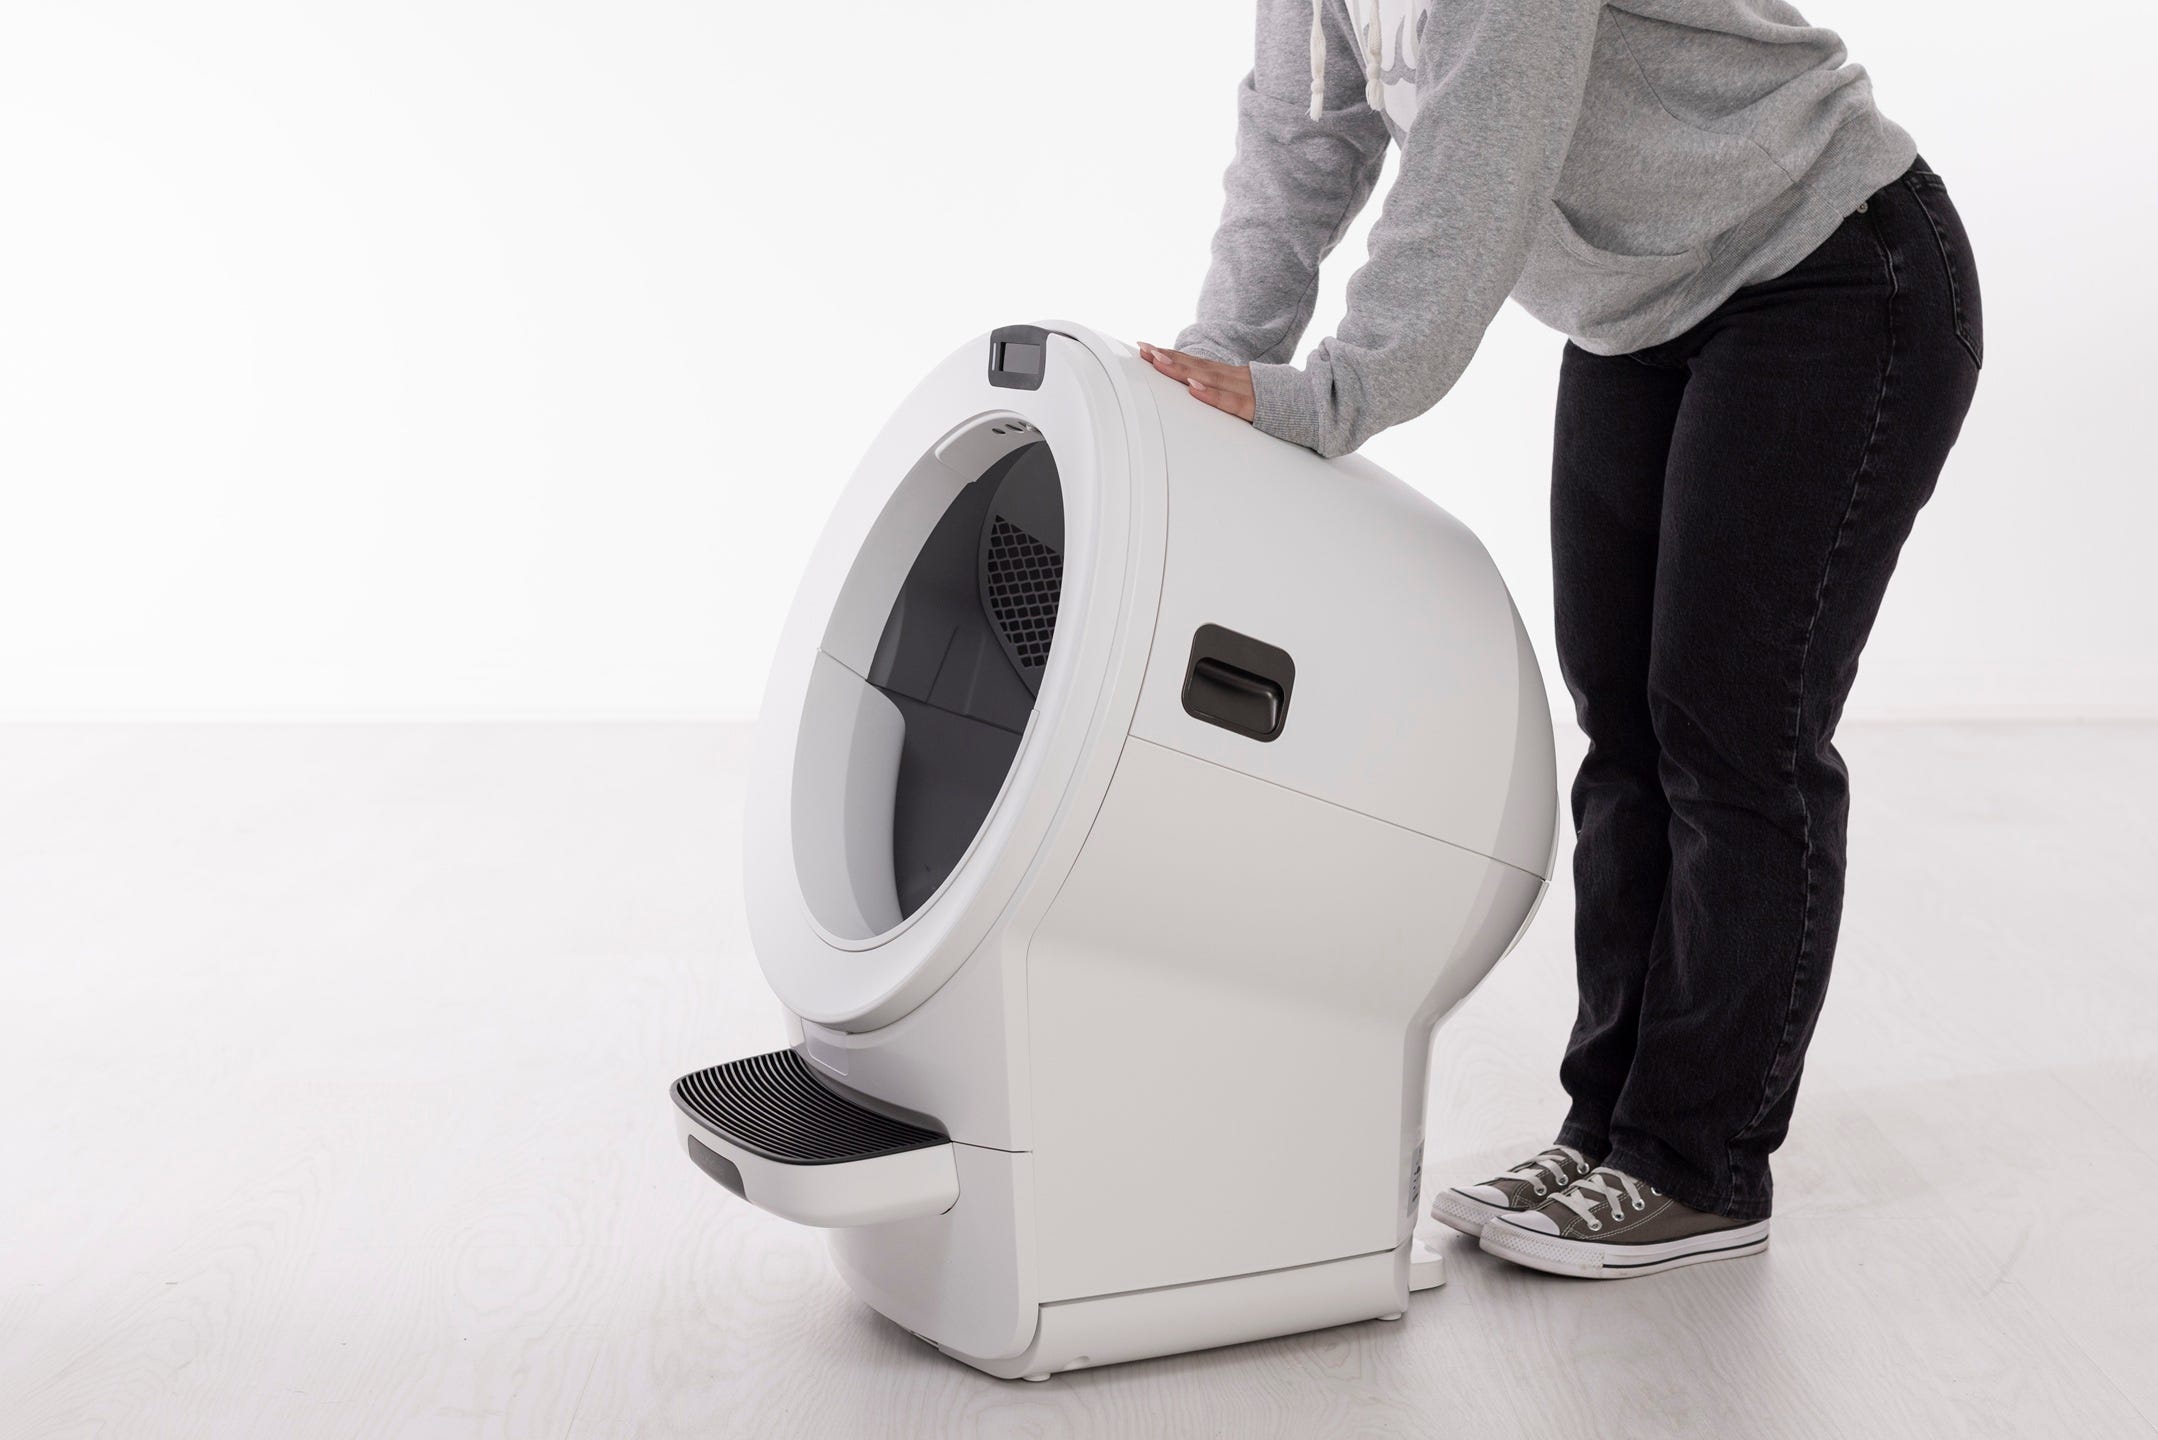
Before you begin
Make sure the unit is in the Home position.
Press the
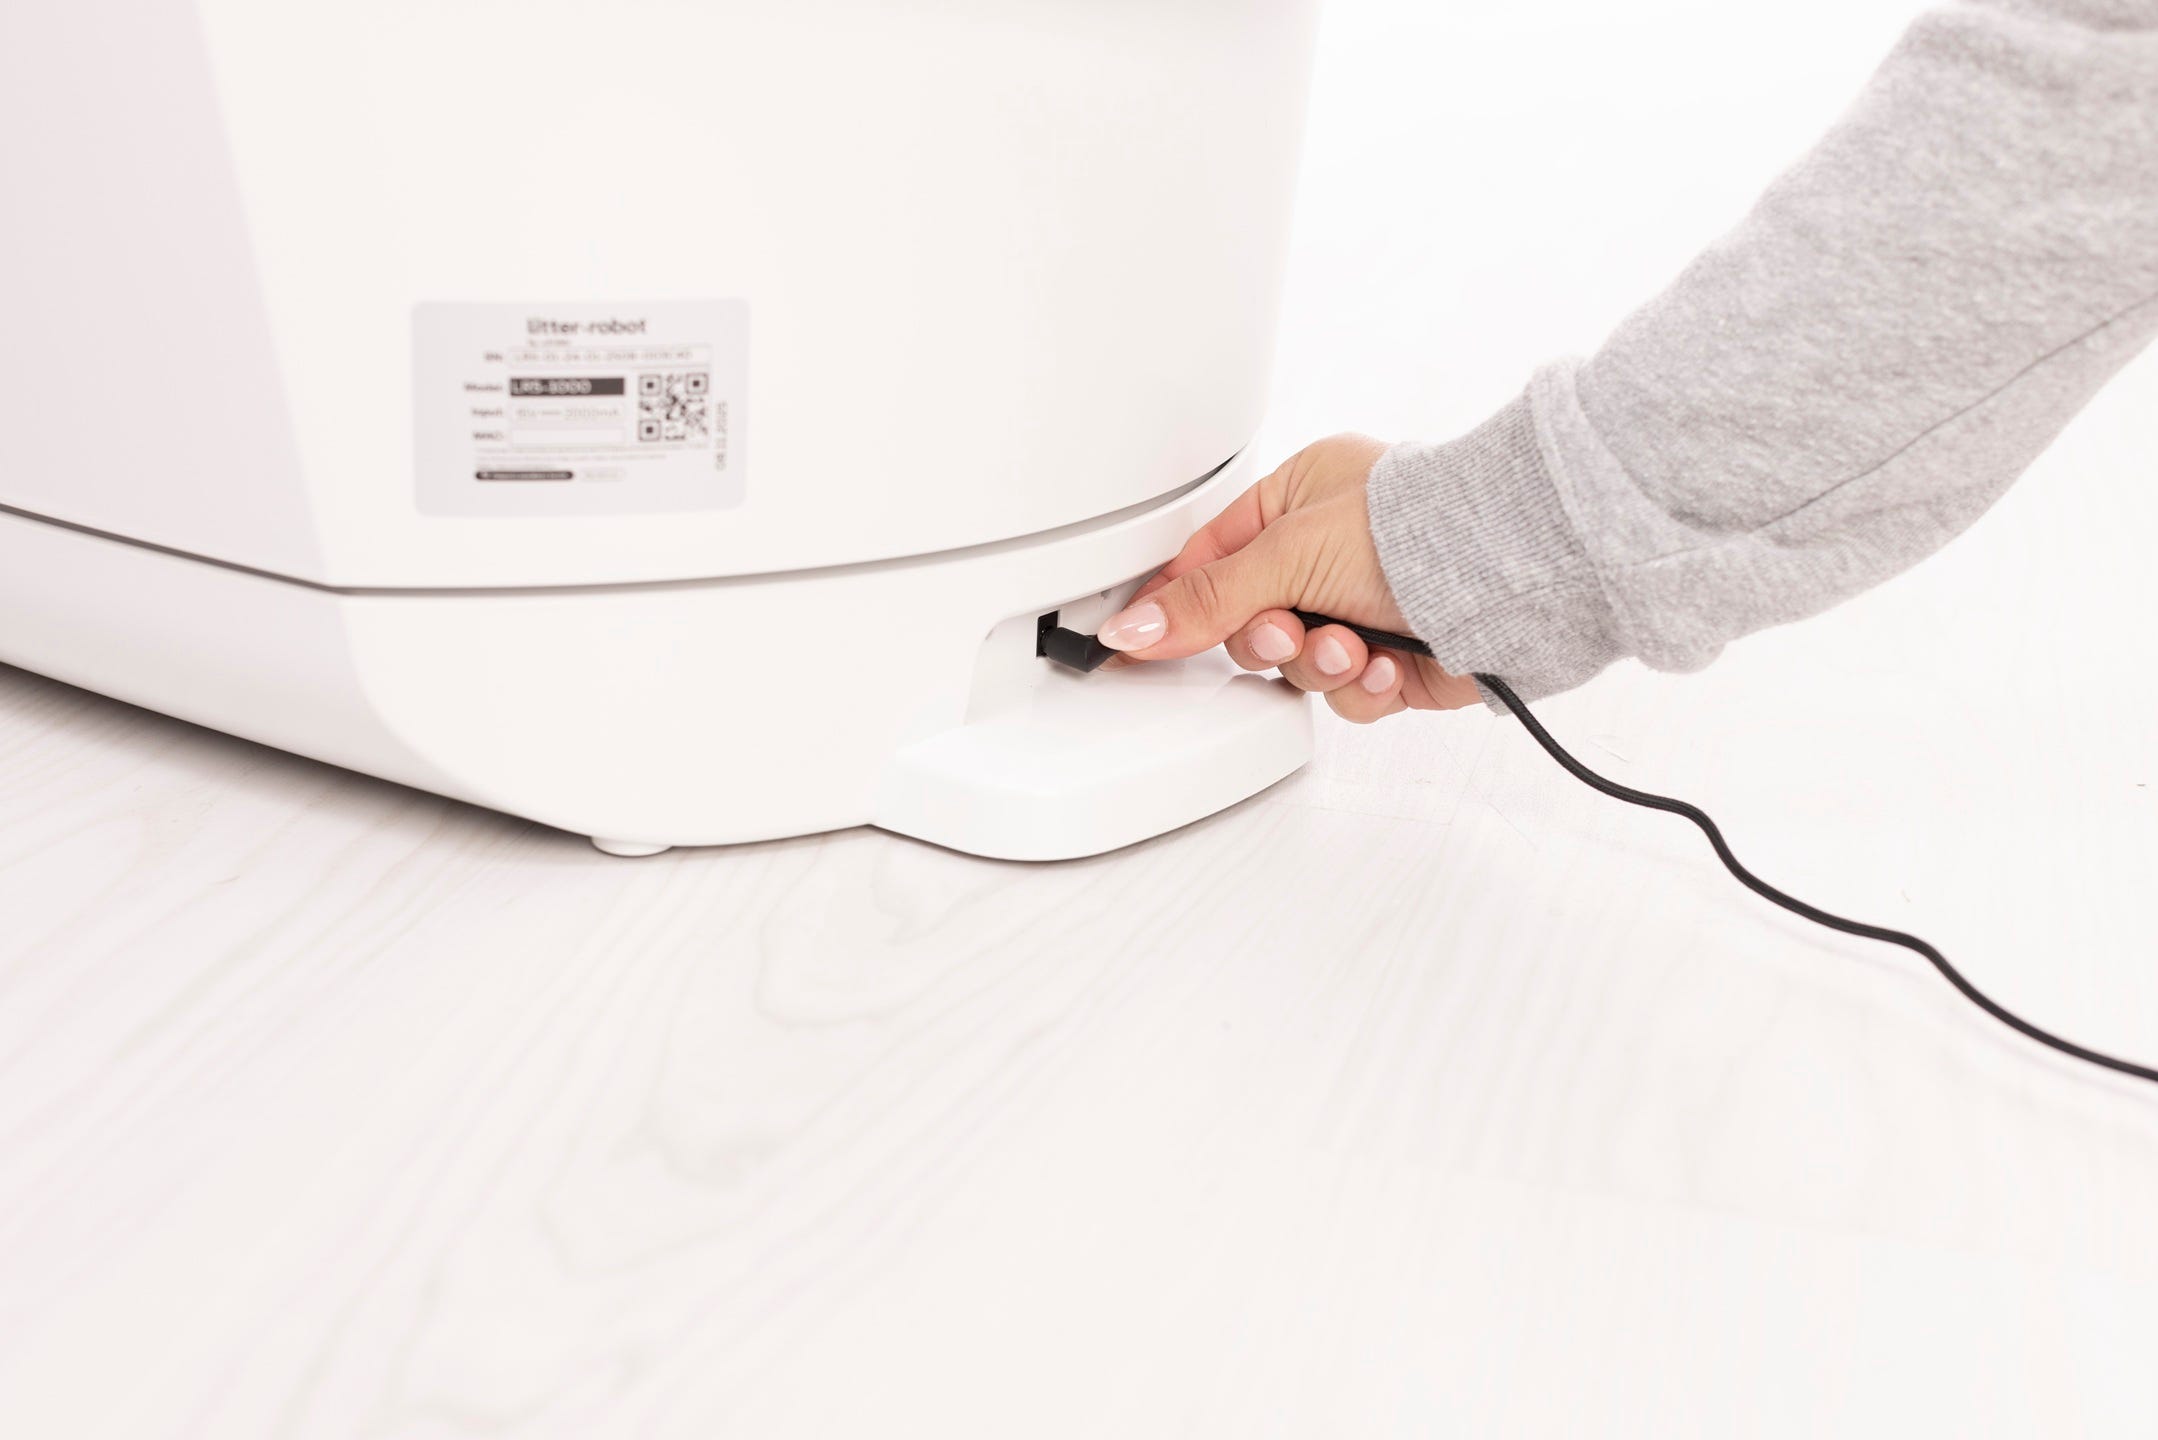
 Power button to turn the unit off. Unplug the unit by removing the power jack from the base.
Removing the bonnet and globe
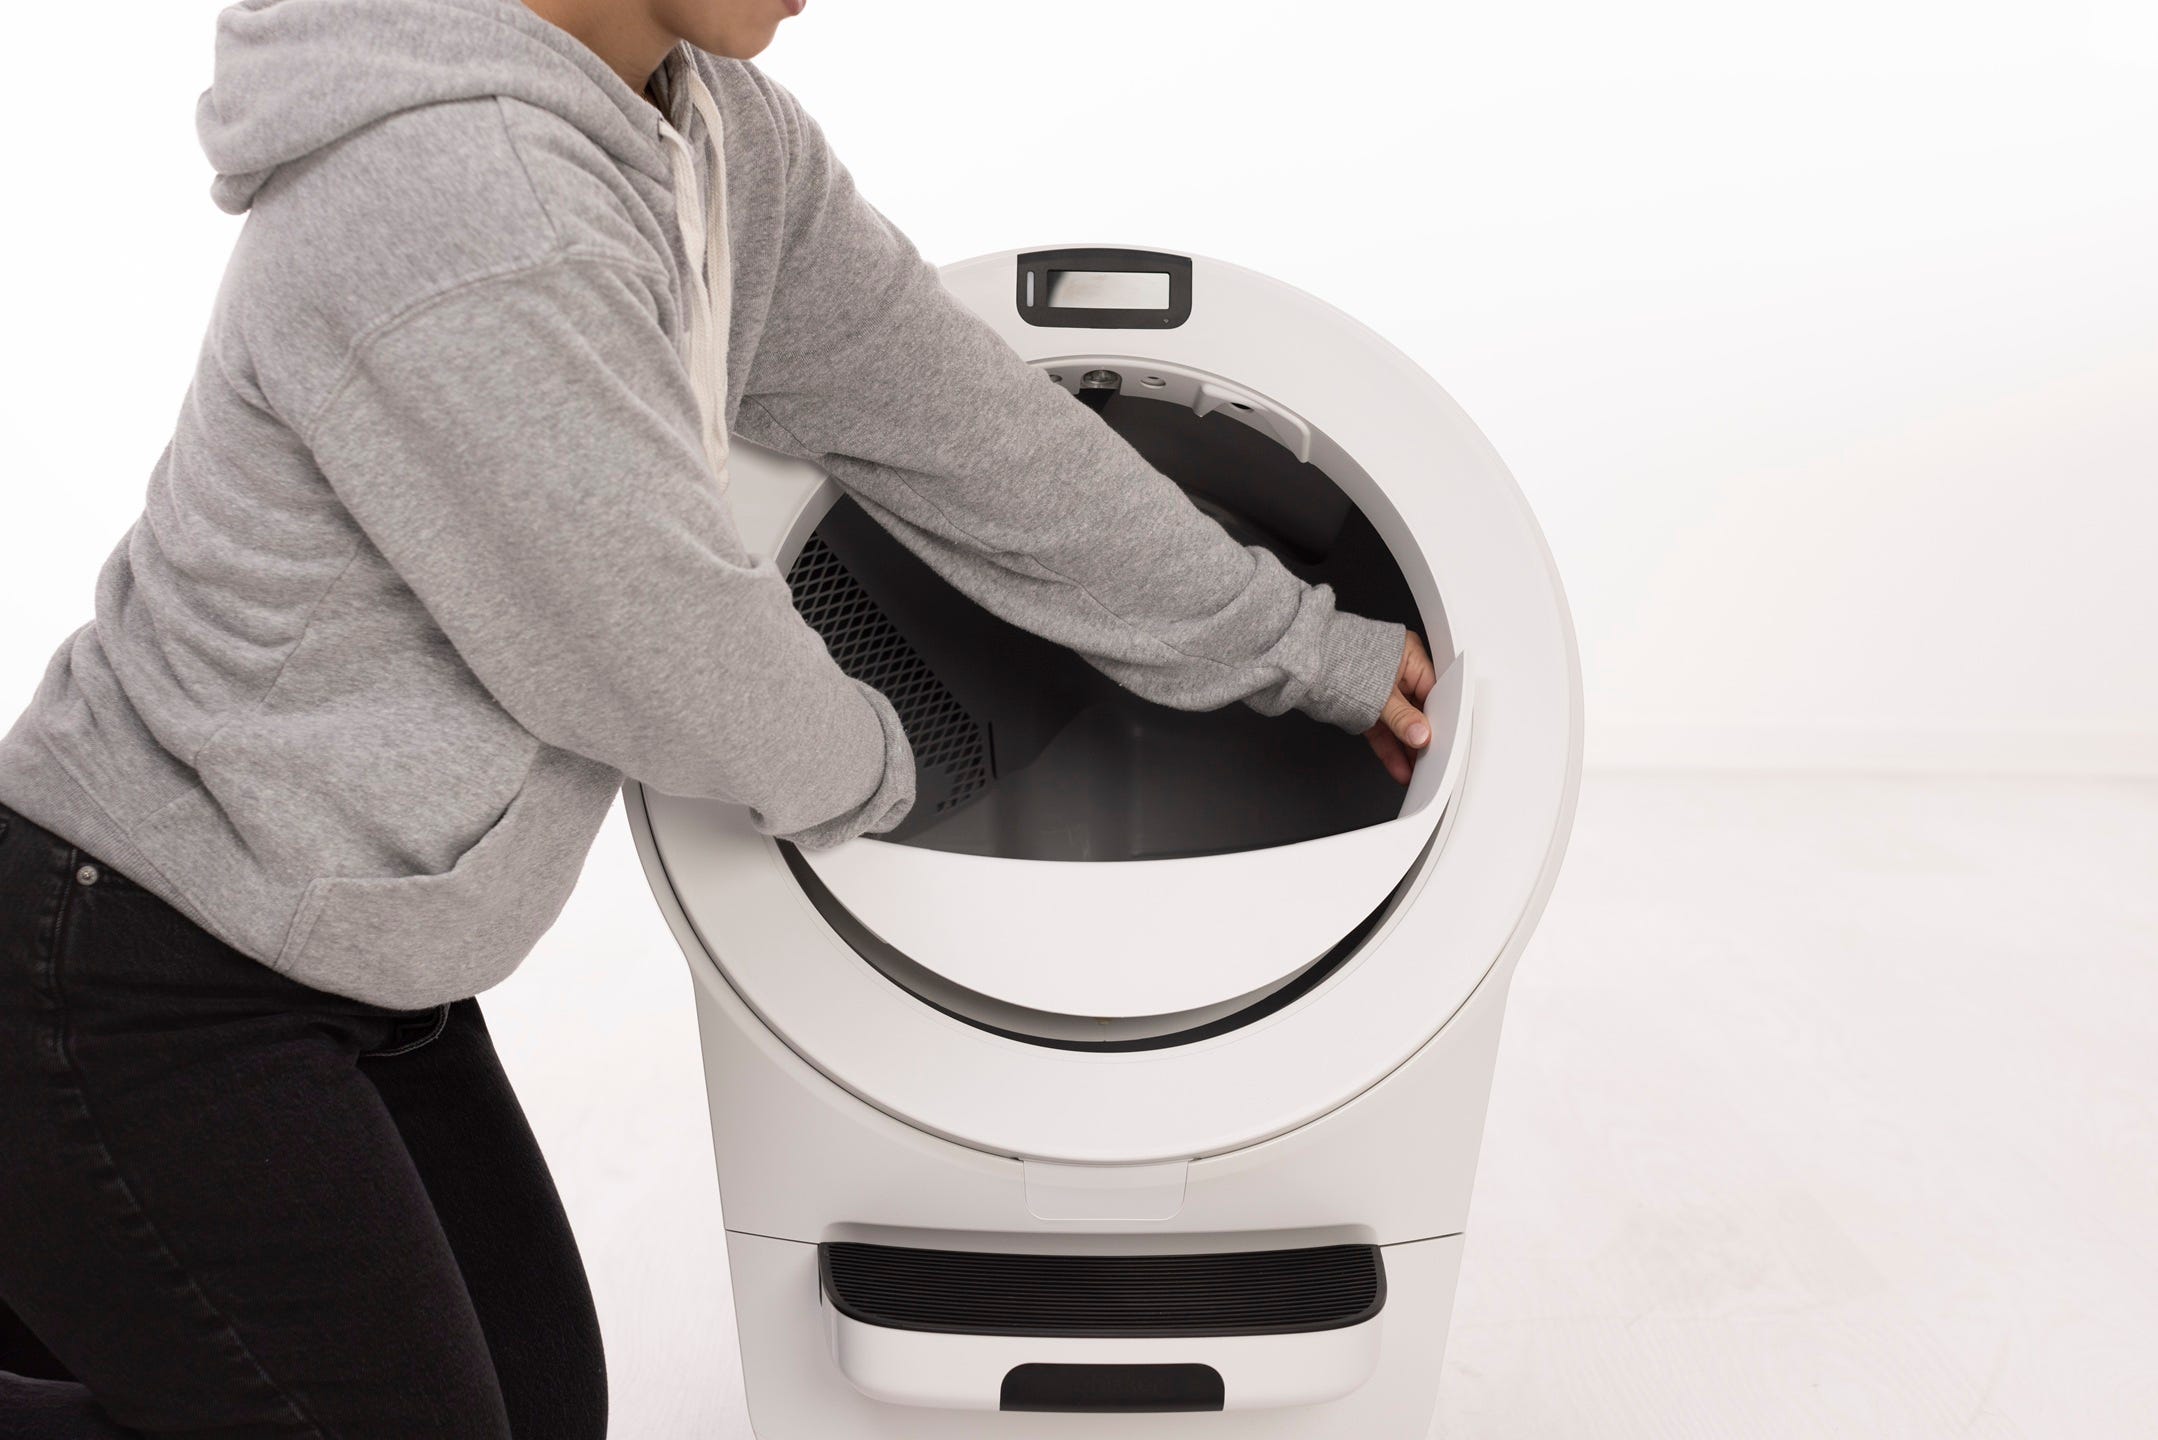
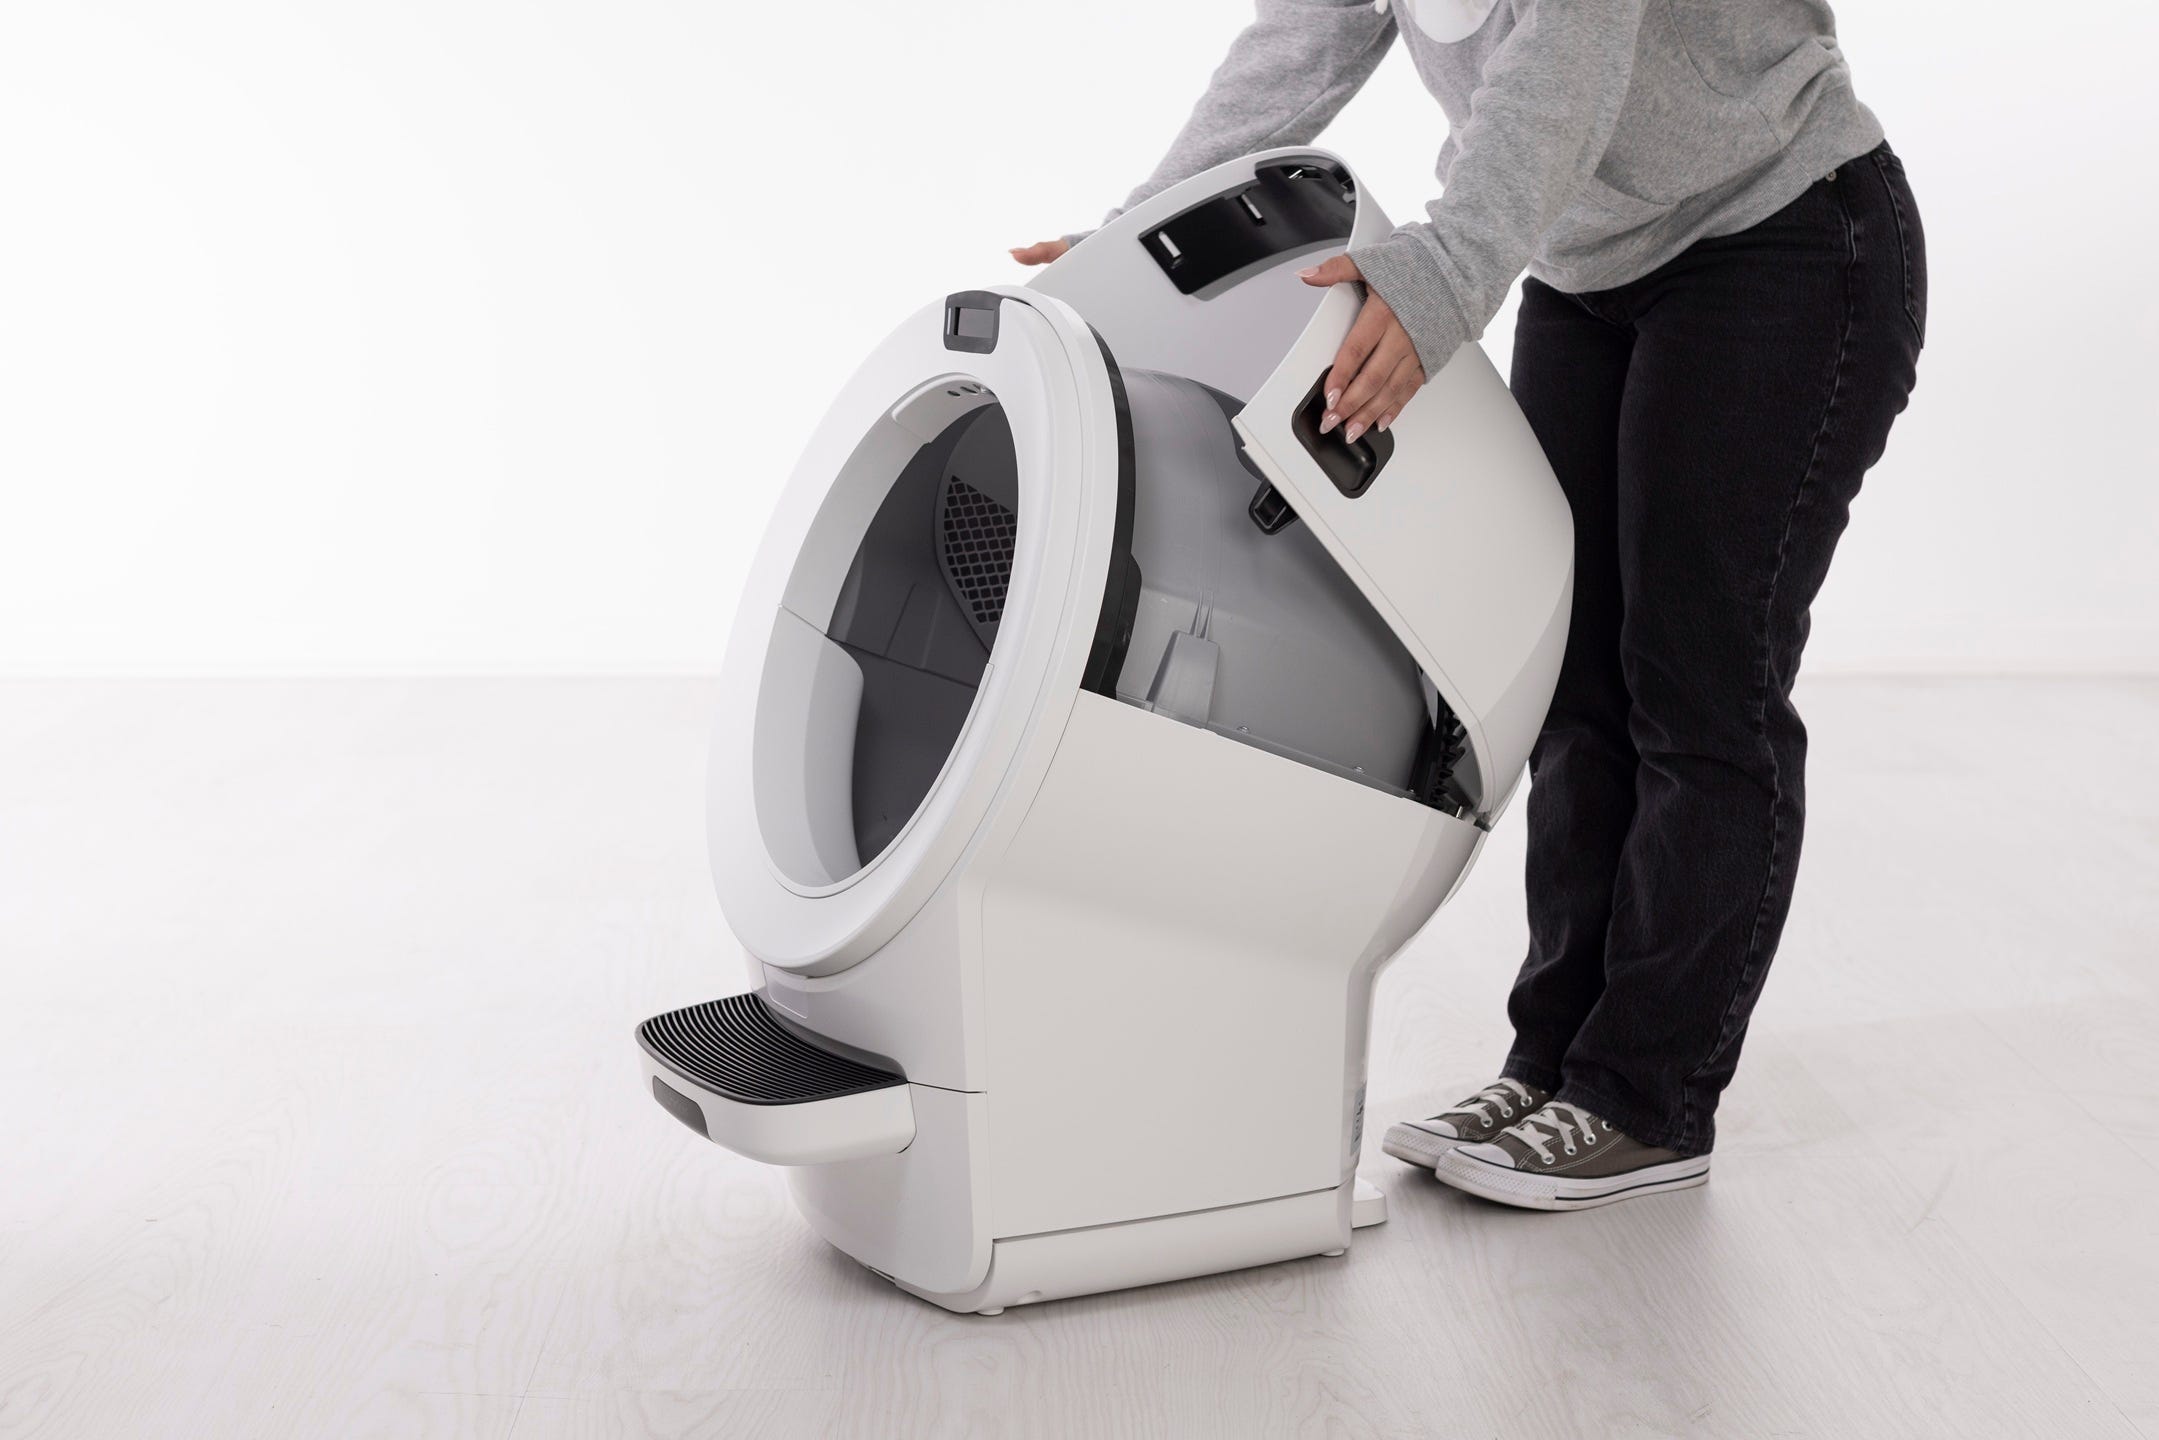
Removing the bonnet
Press and release the bonnet latches on both sides of the bonnet.
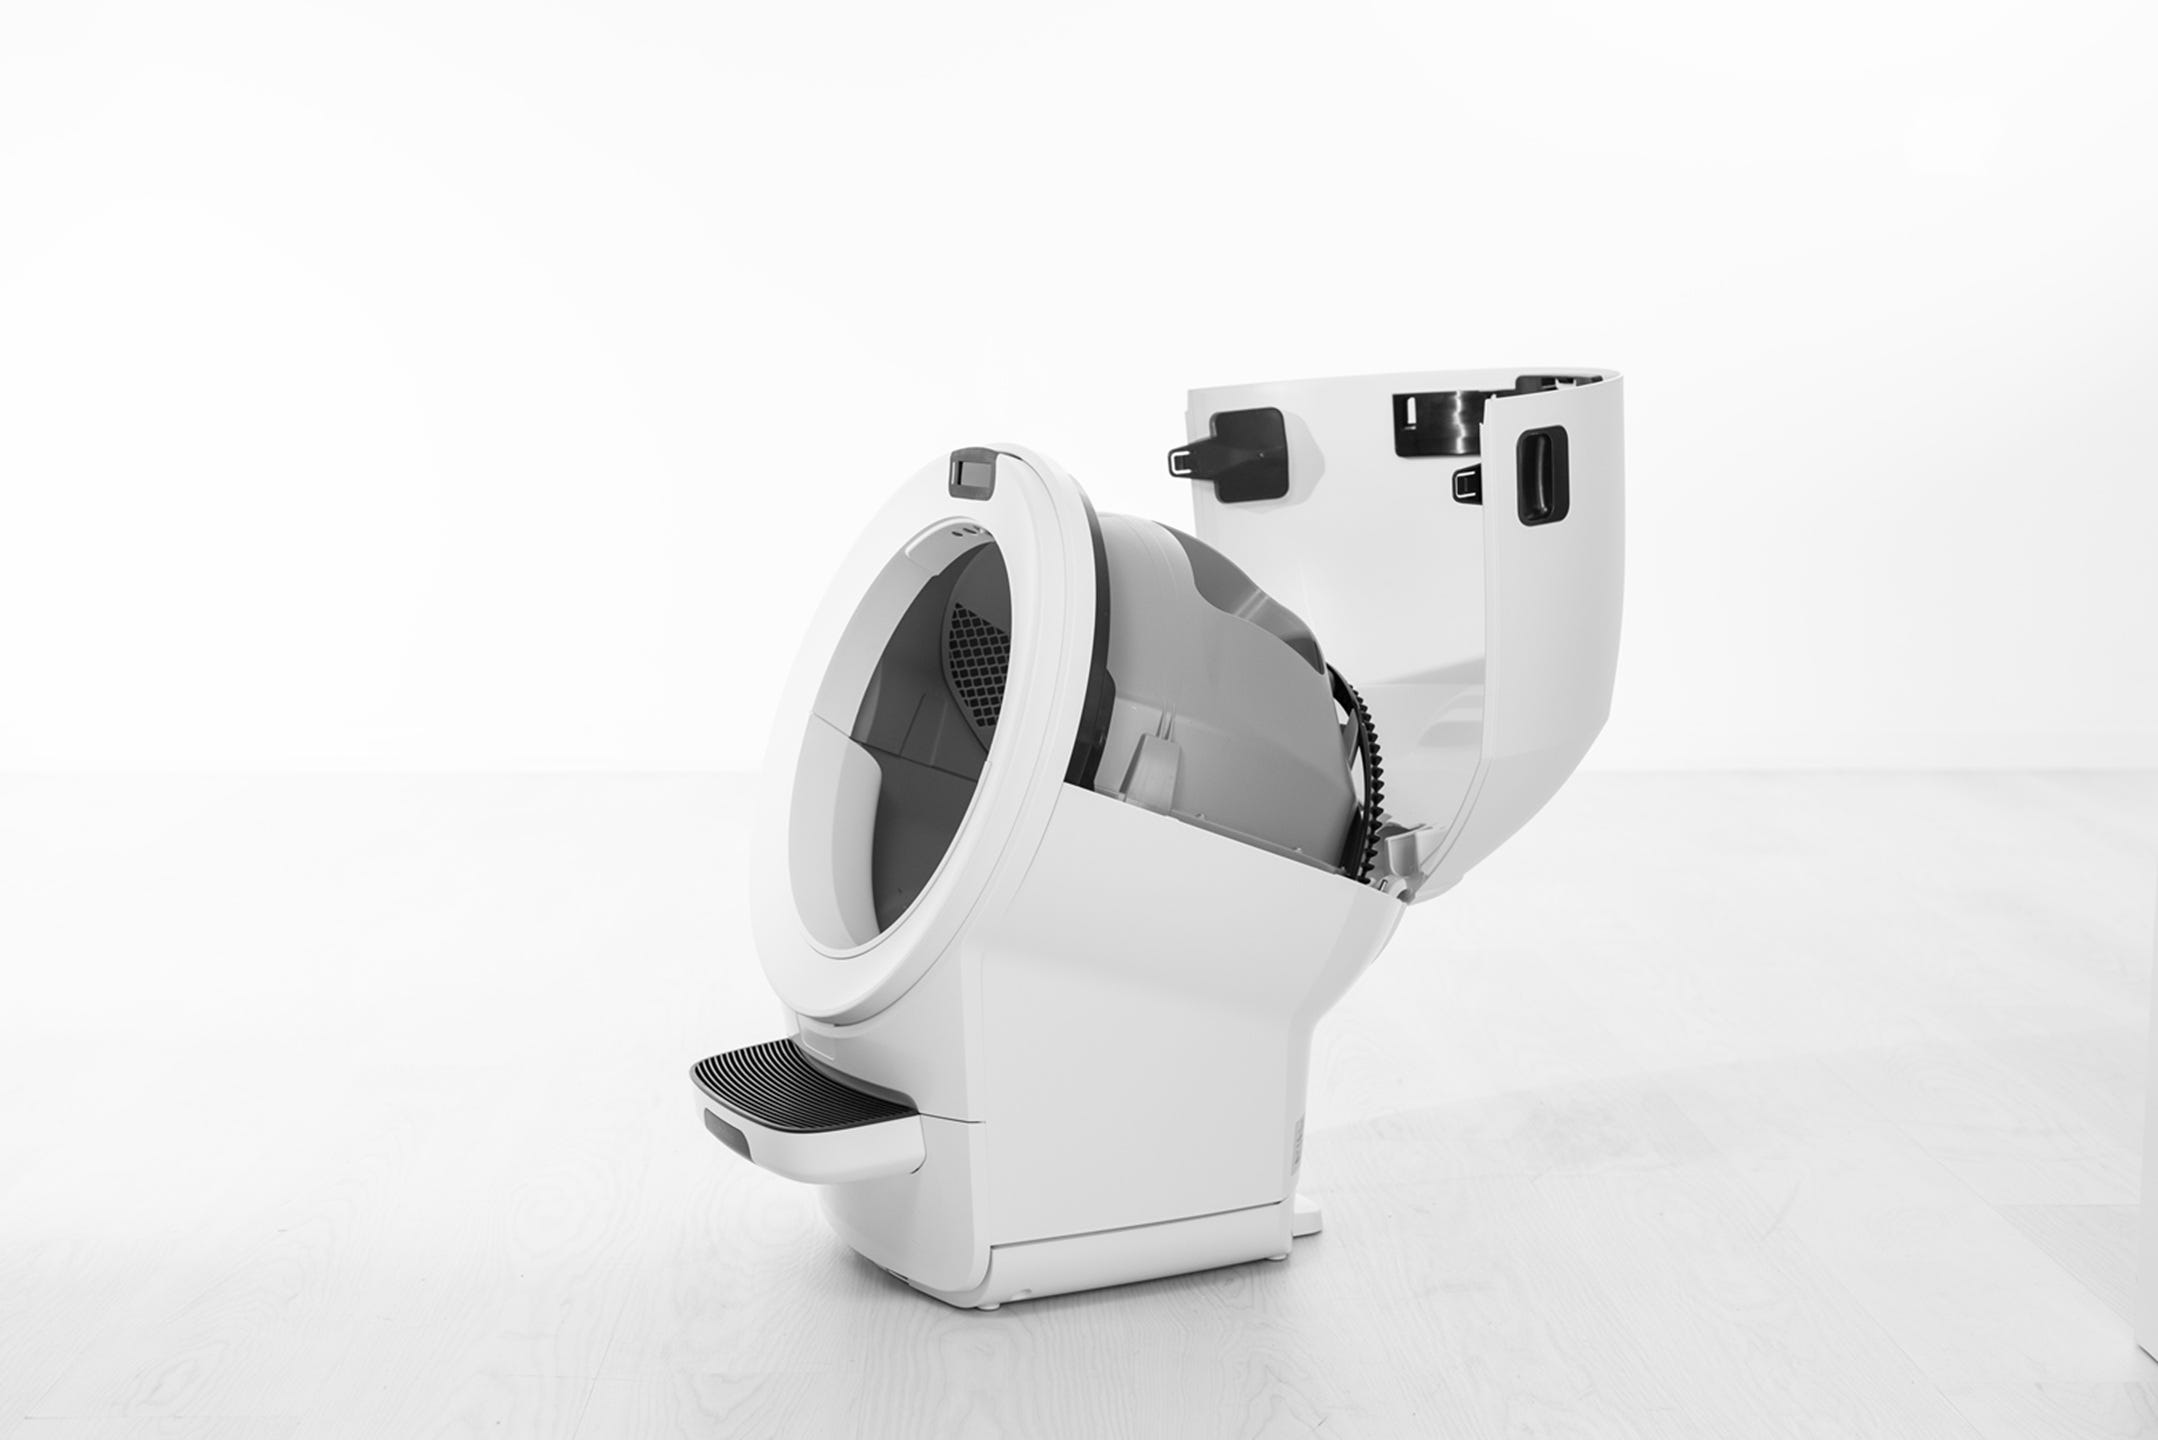
- Lift and rotate the bonnet to the open position.
If any accessories (such as a fence or shield) are installed, remove them from the bezel.
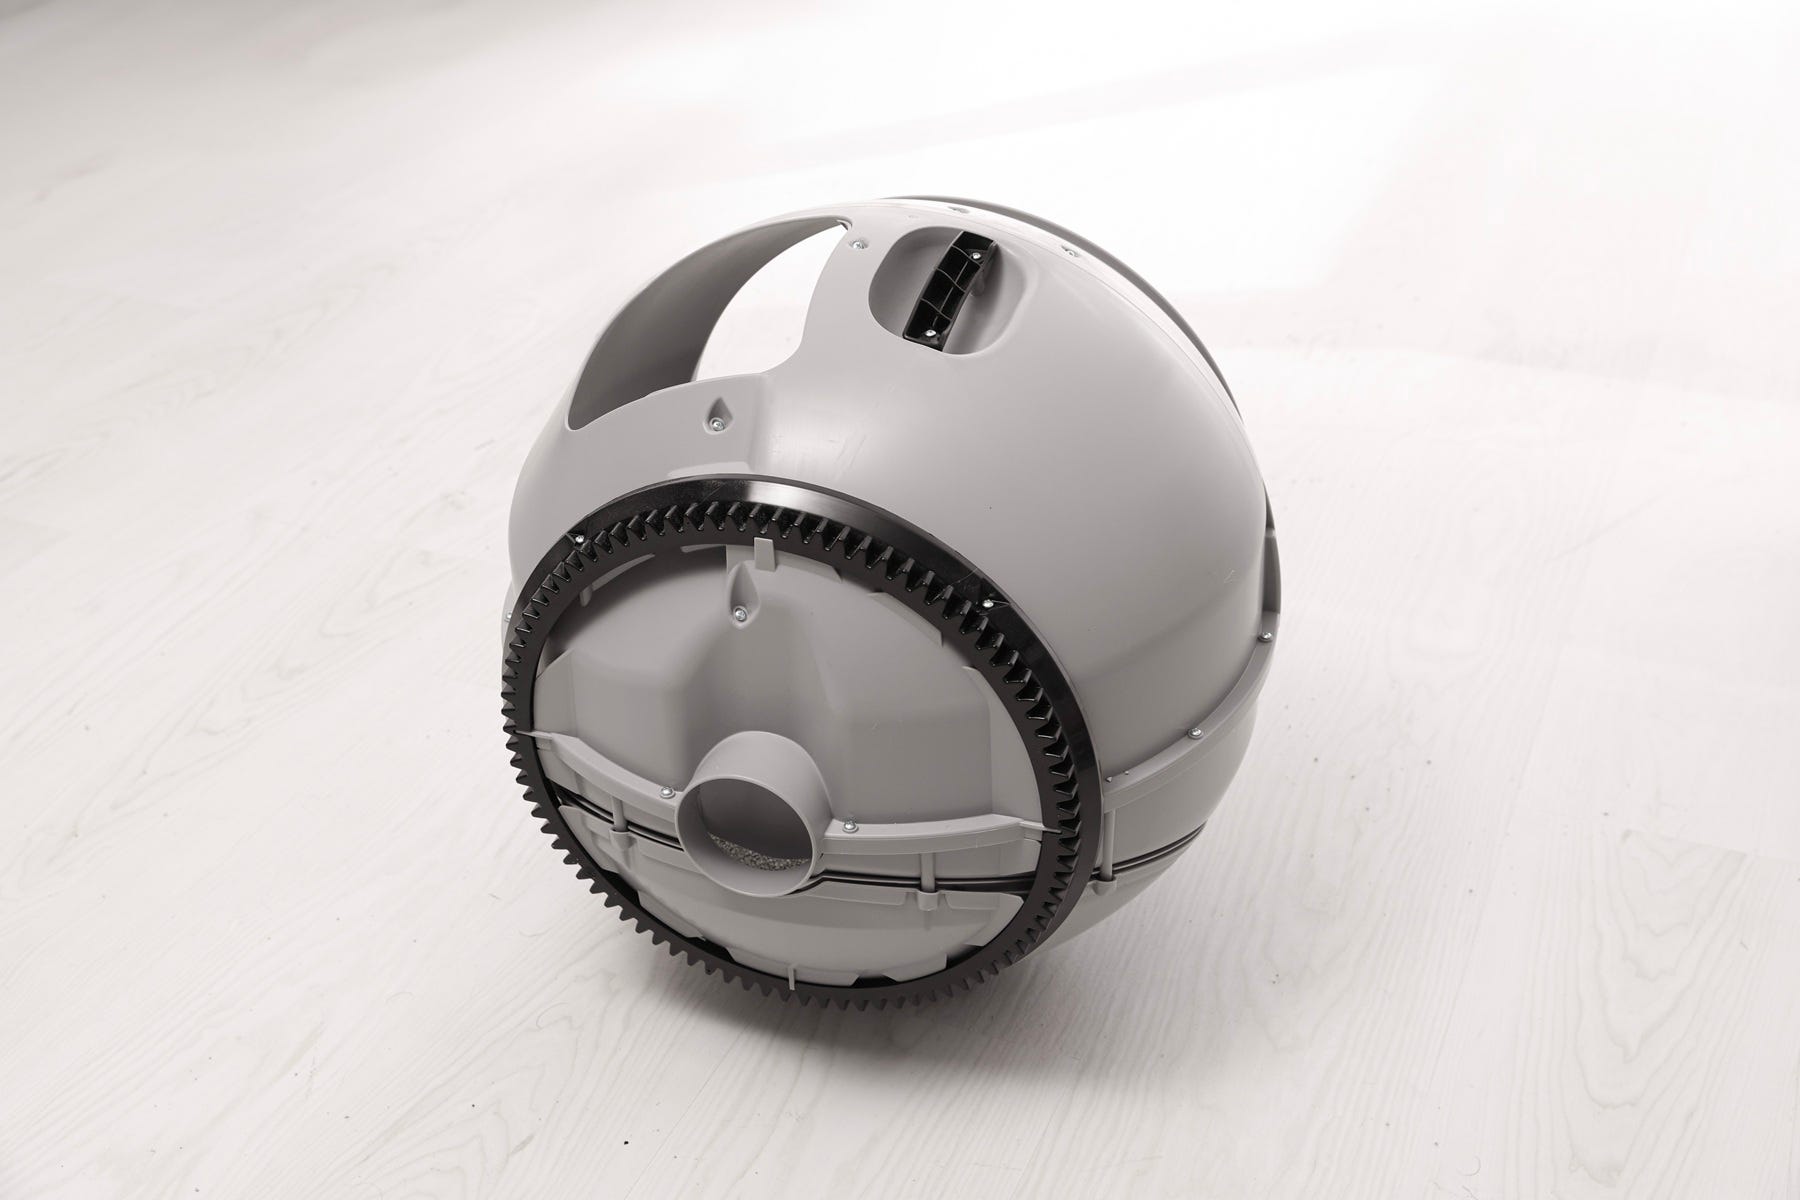
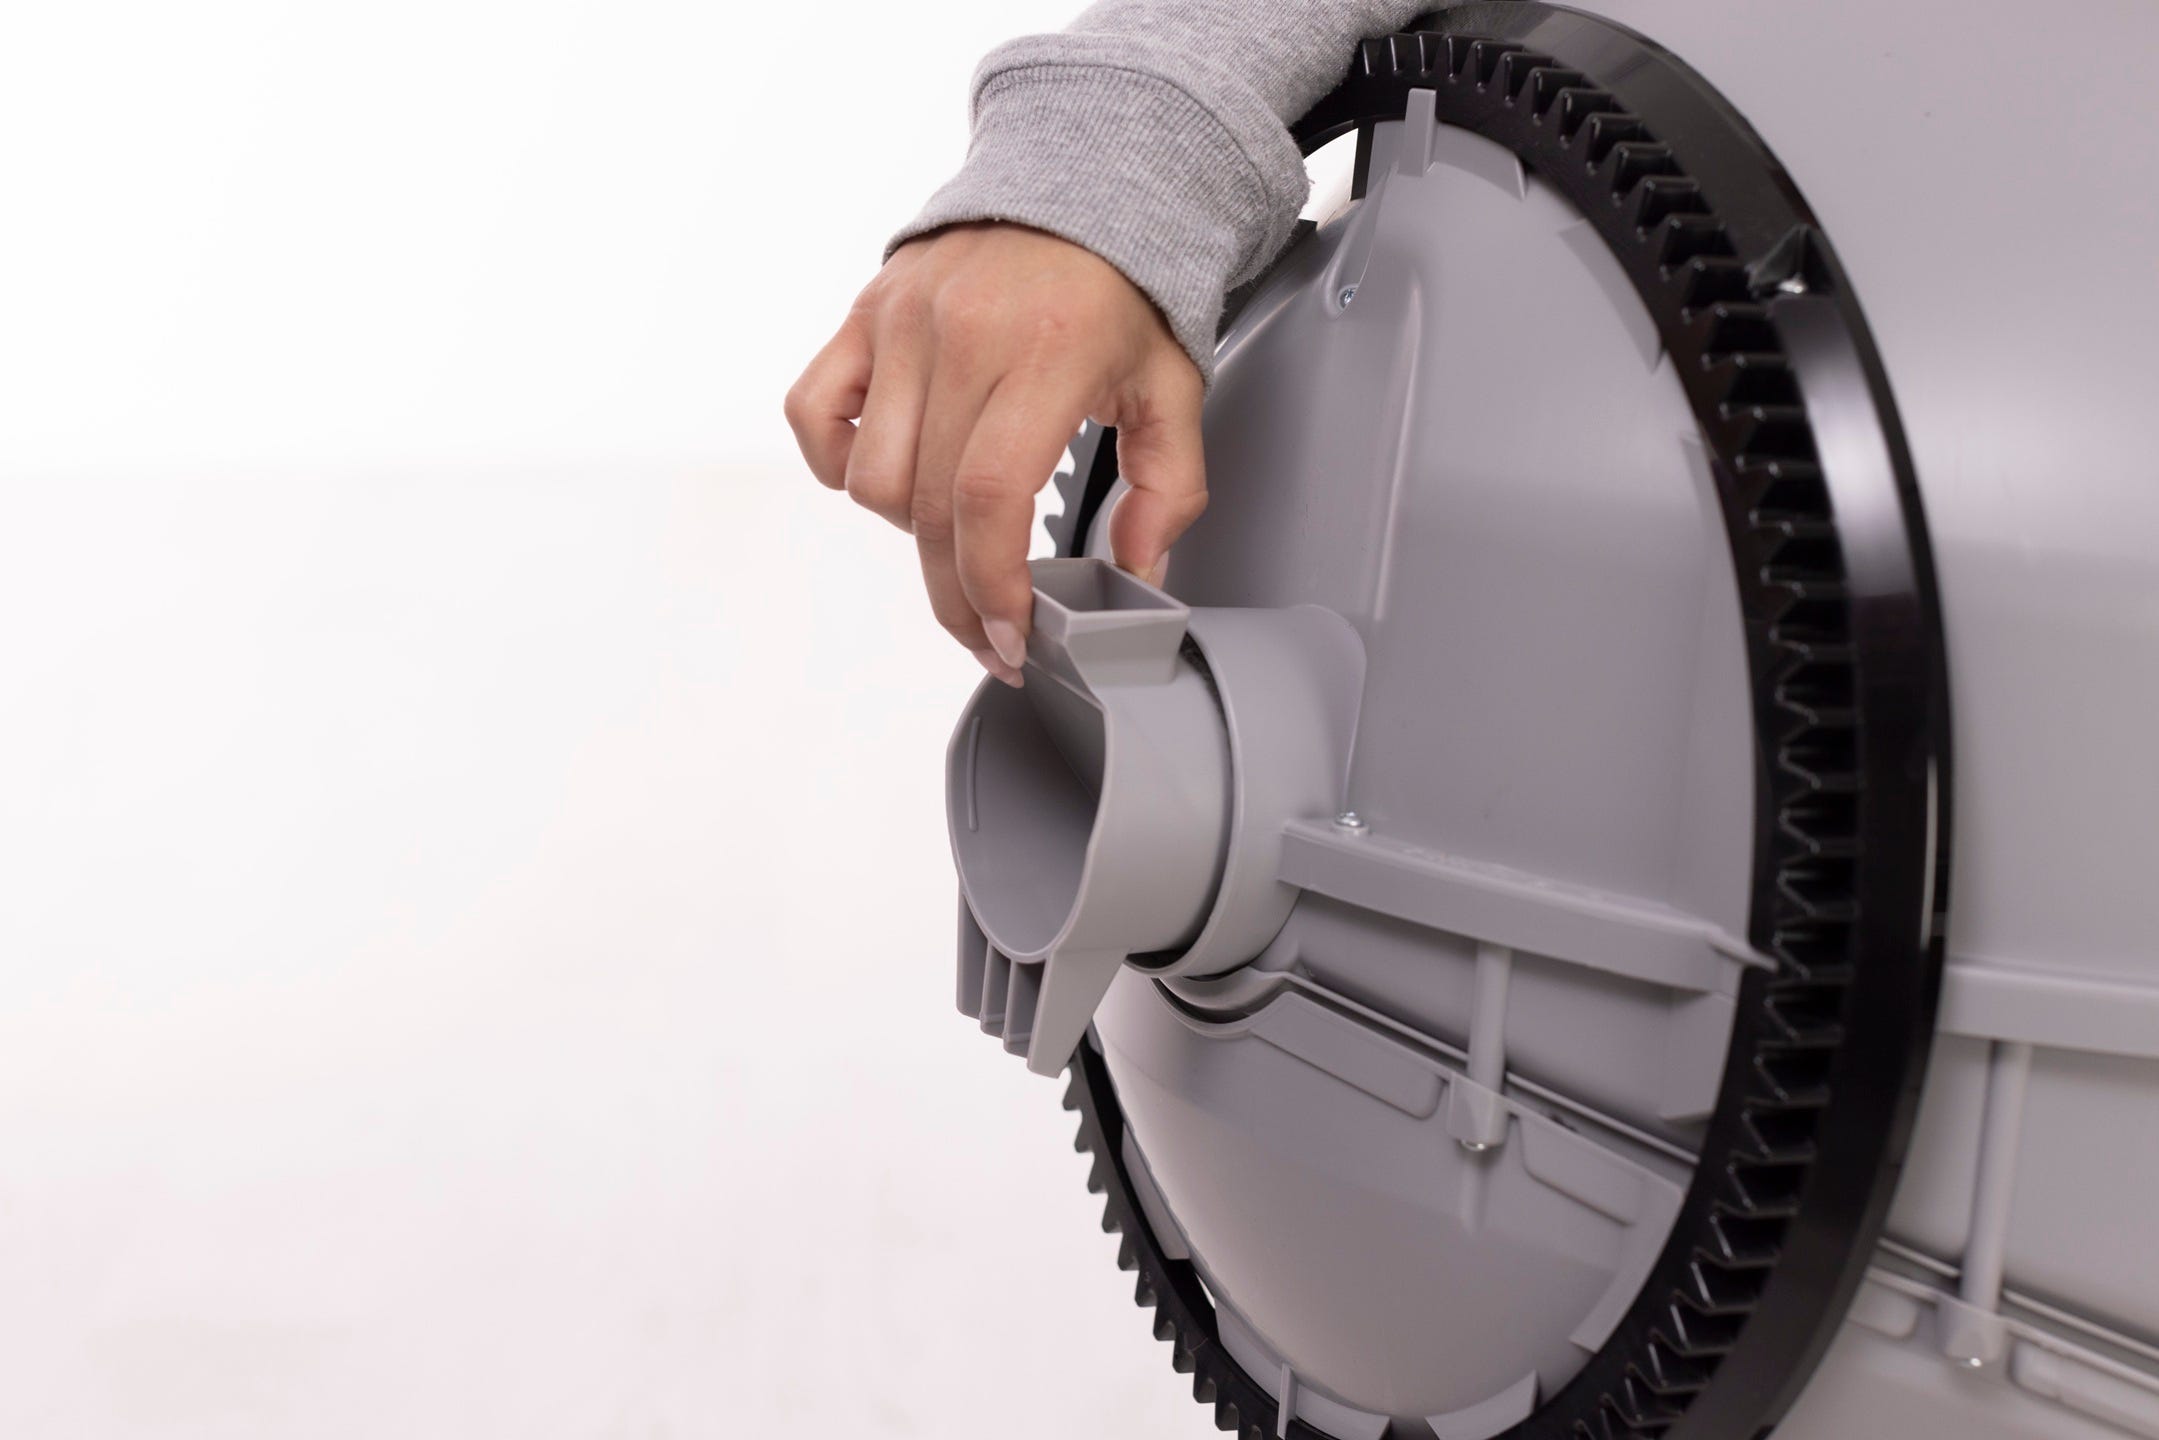
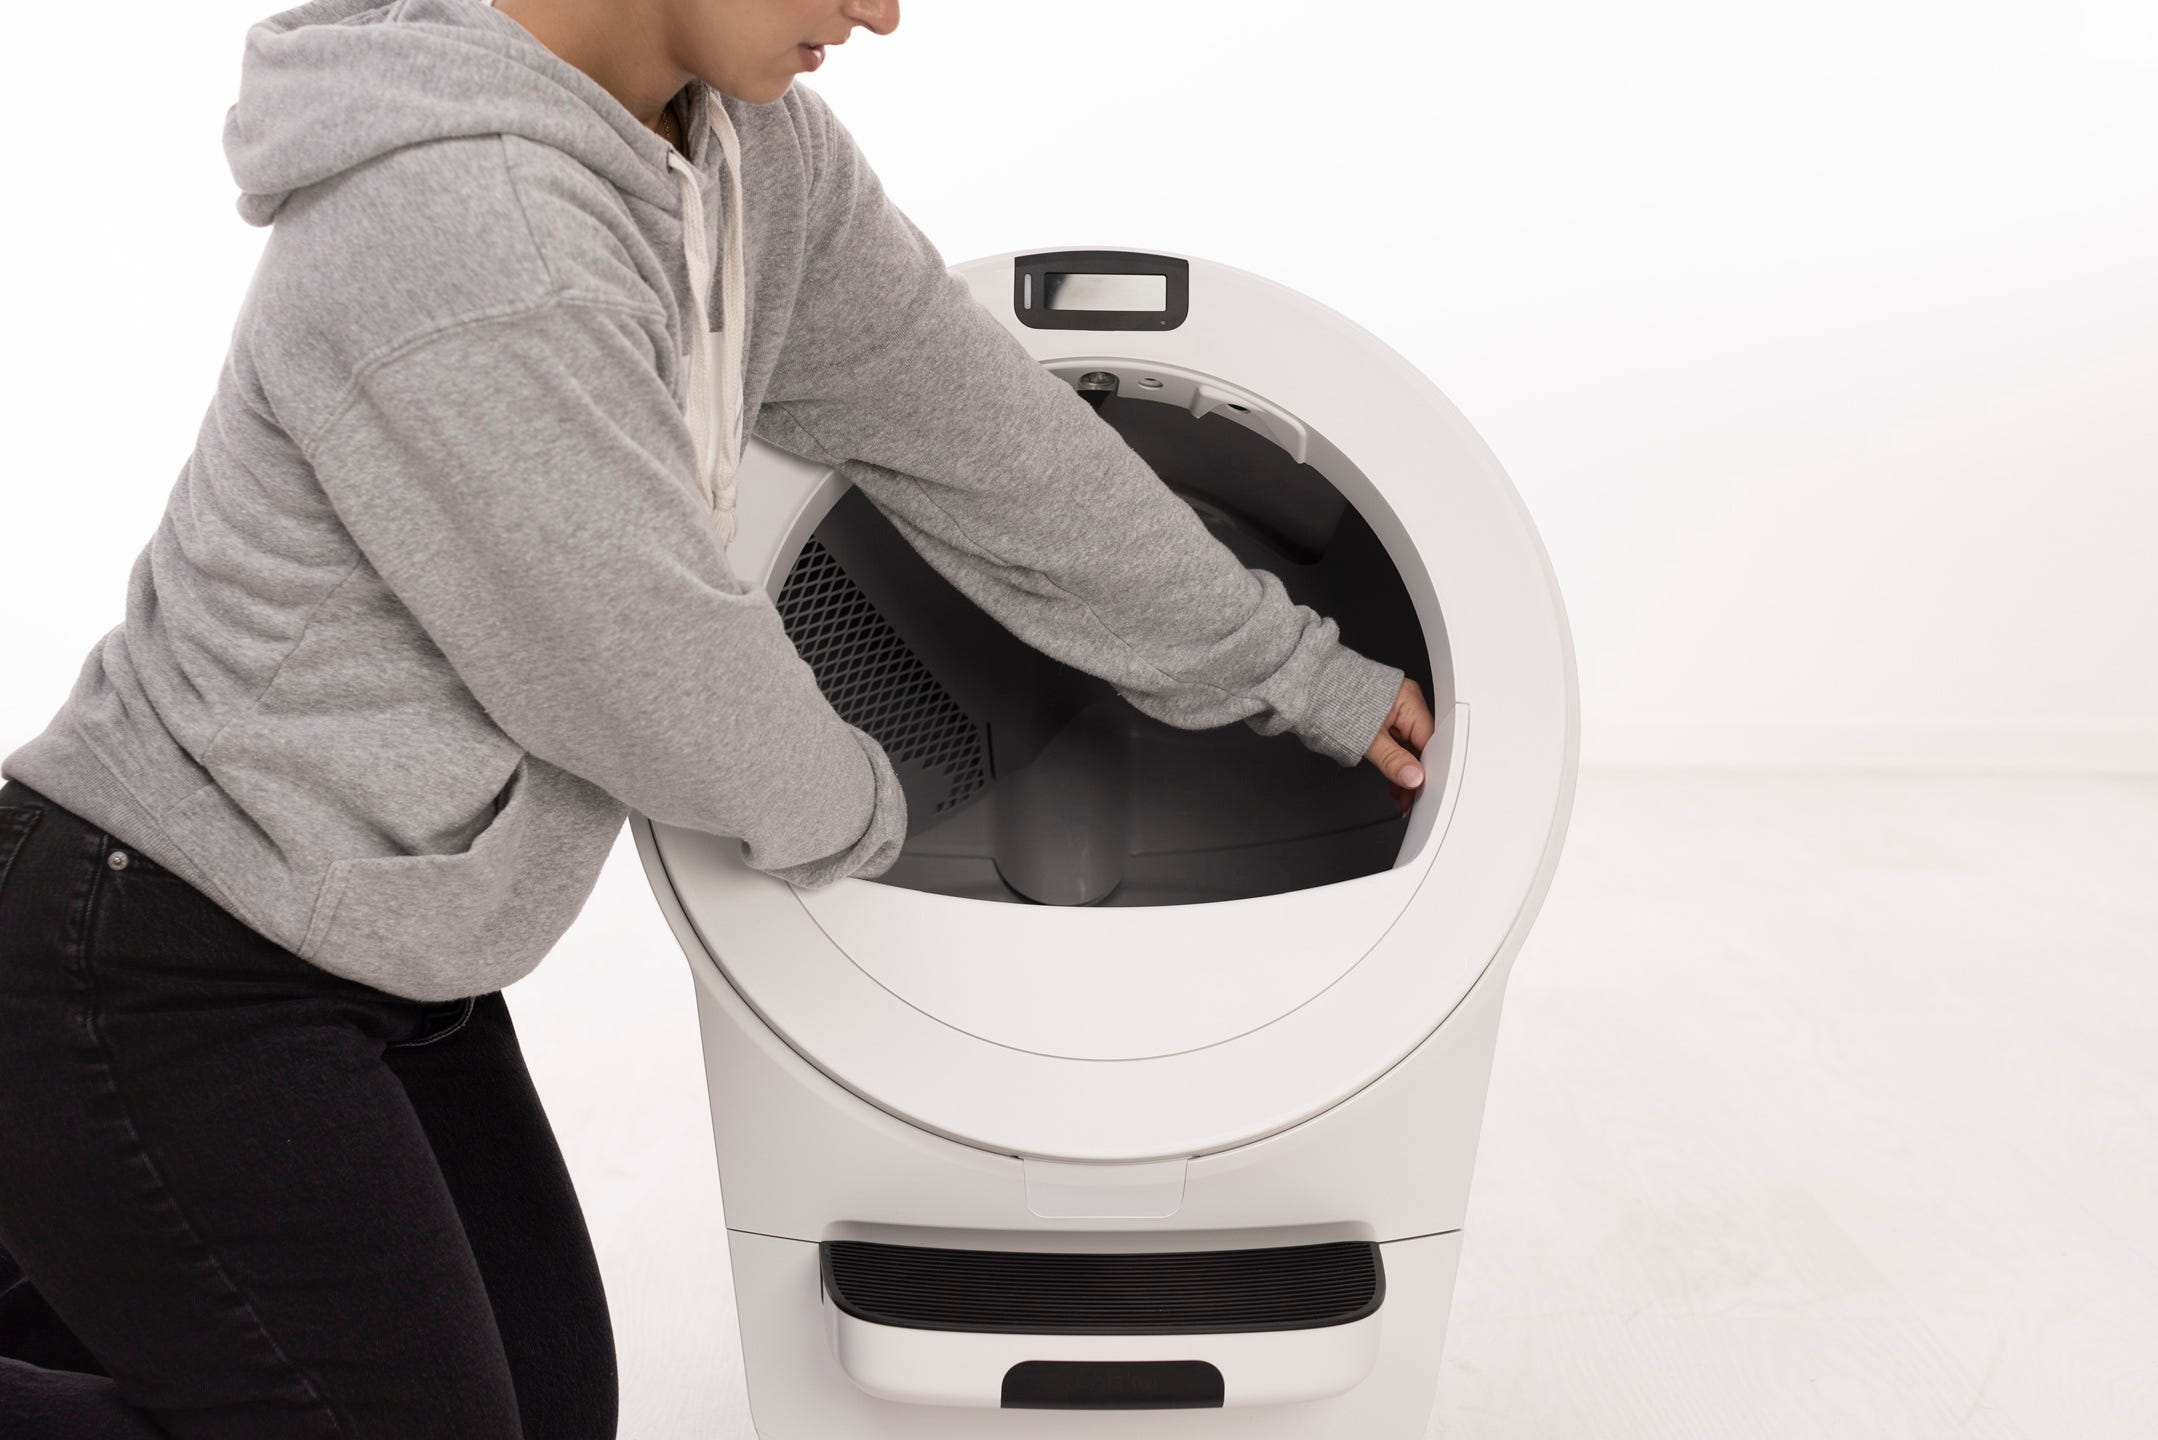
Removing the globe
Lift the globe by the handle while holding the globe key in place to keep it from falling into the waste drawer. Set the globe aside on a flat surface.

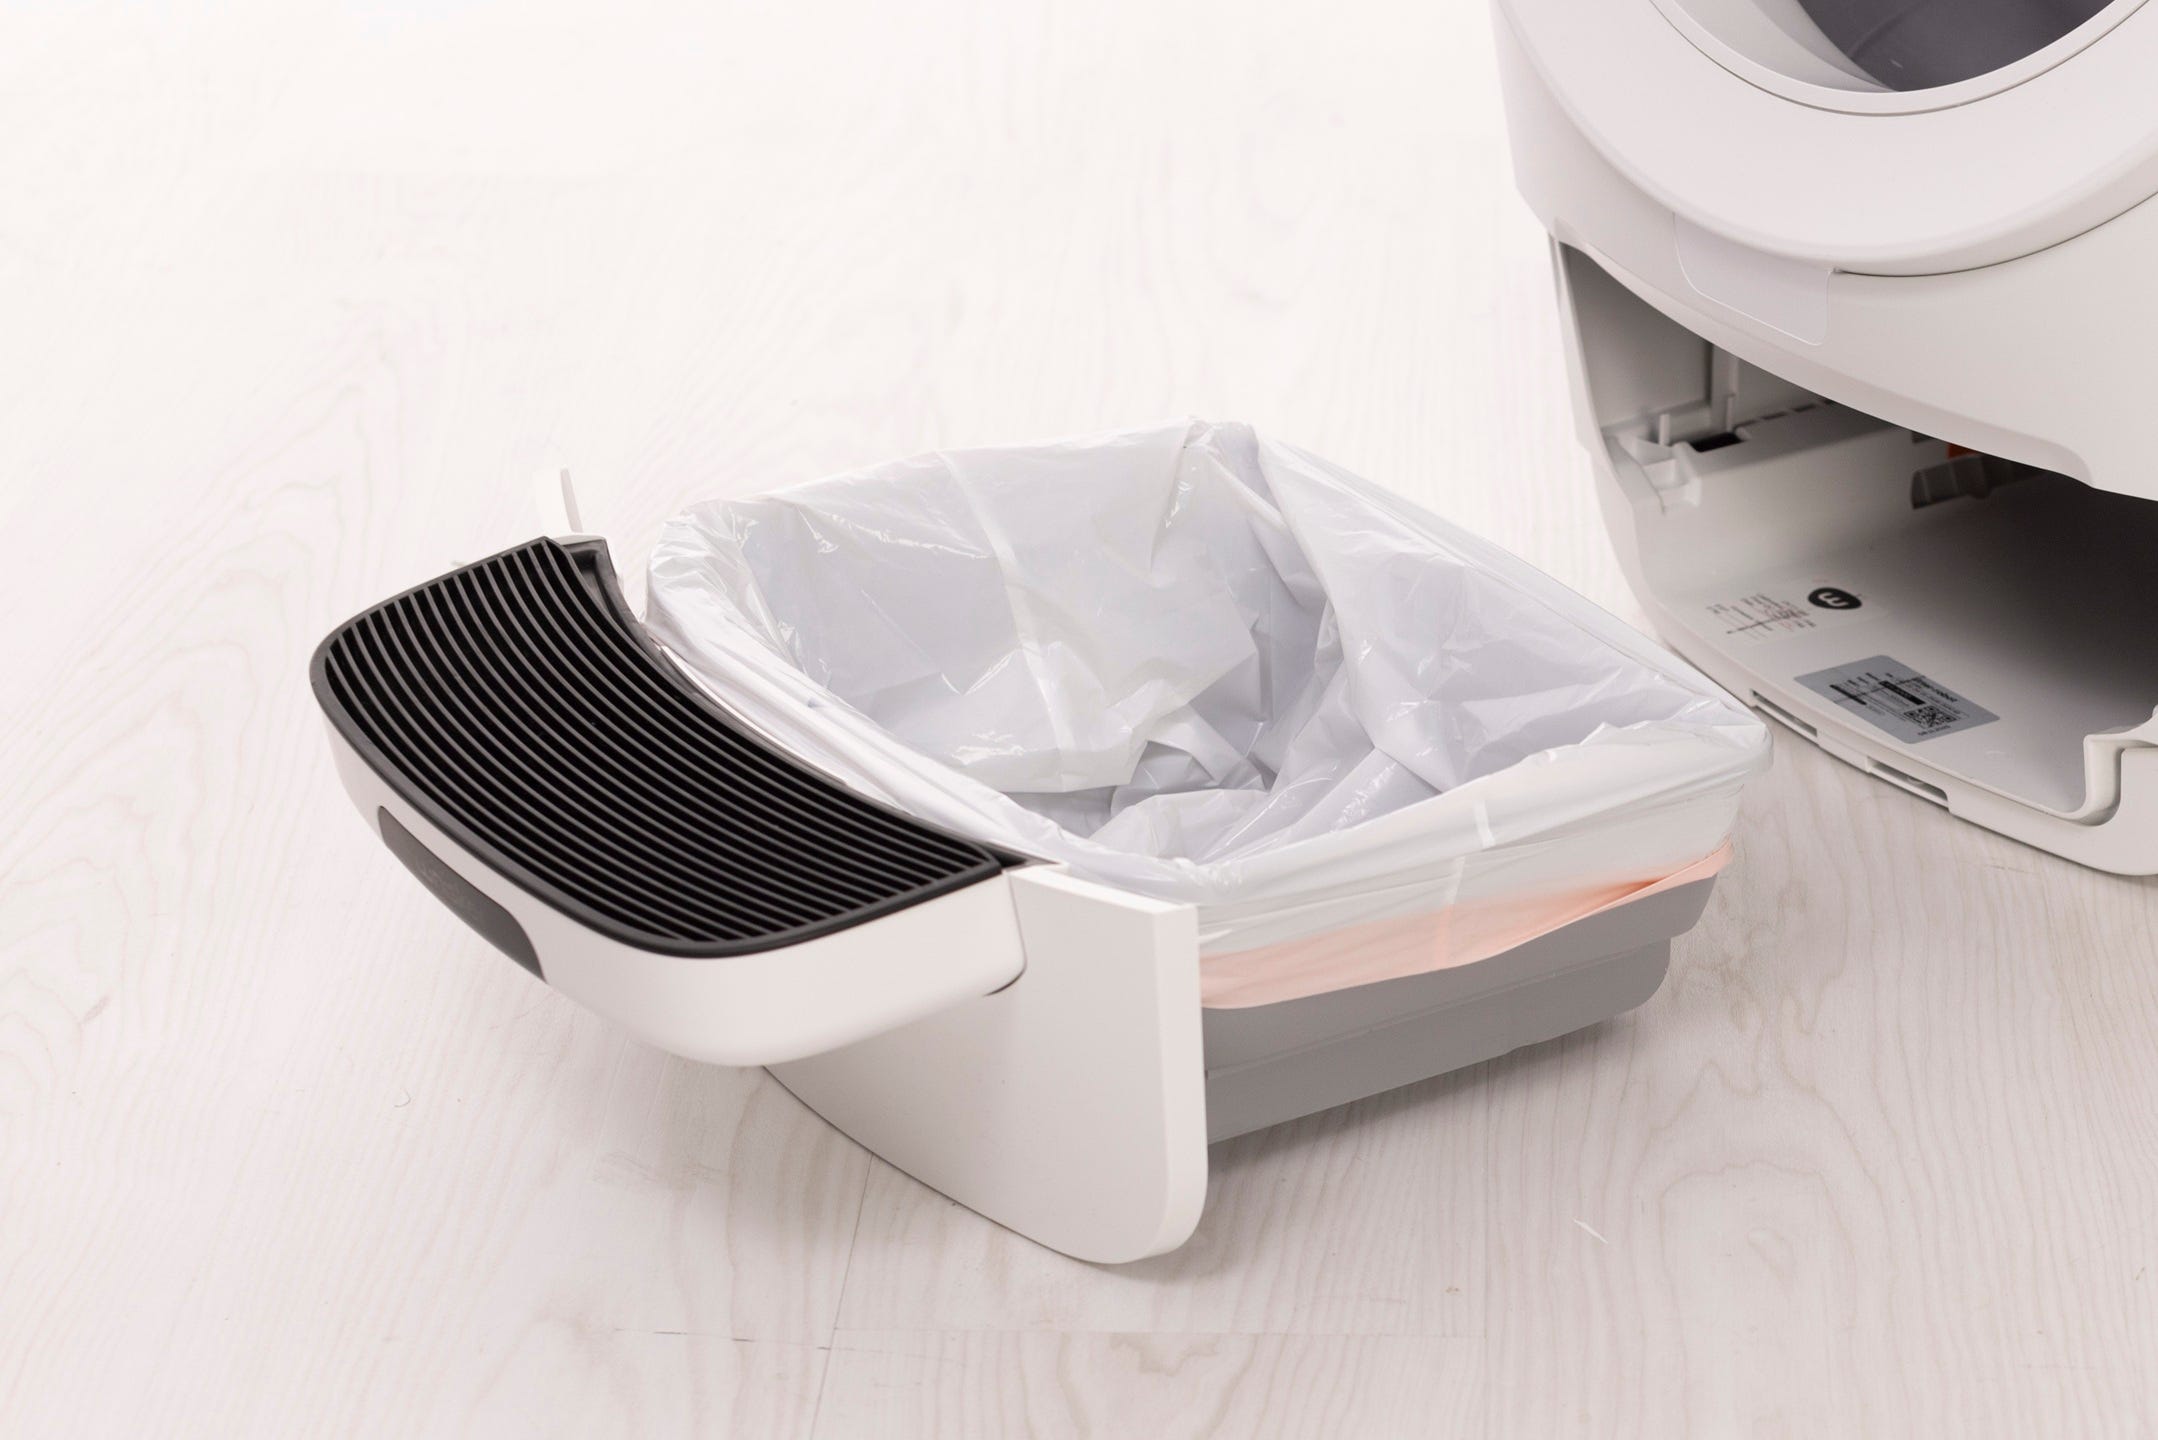
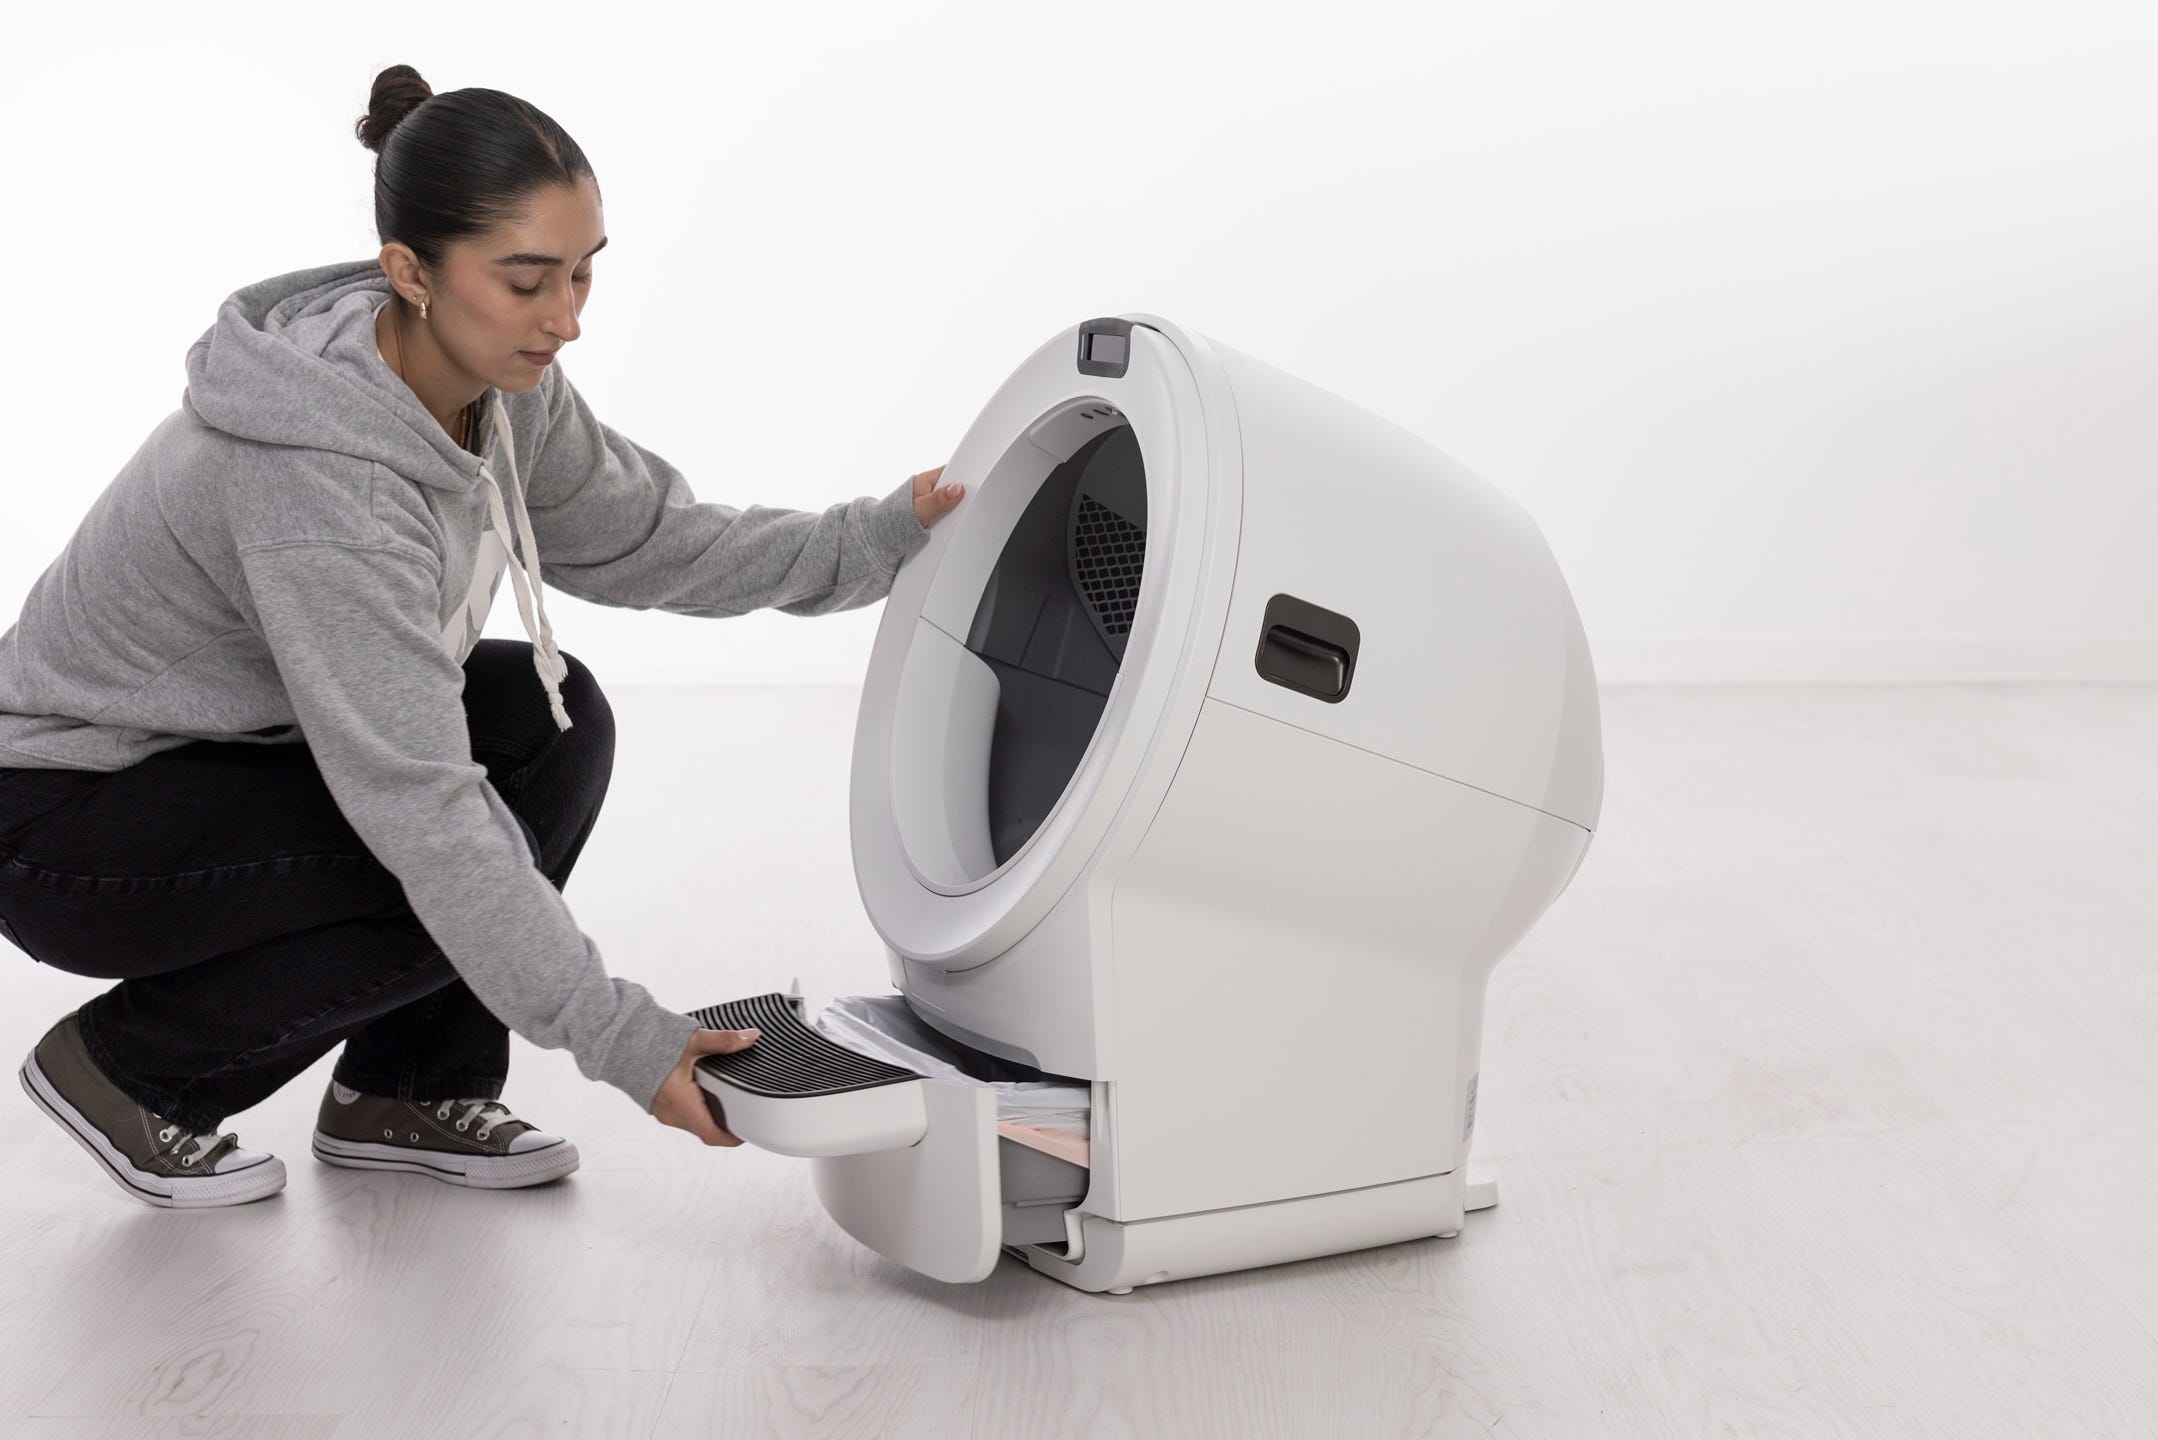
Remove the waste drawer and empty it or set it aside.
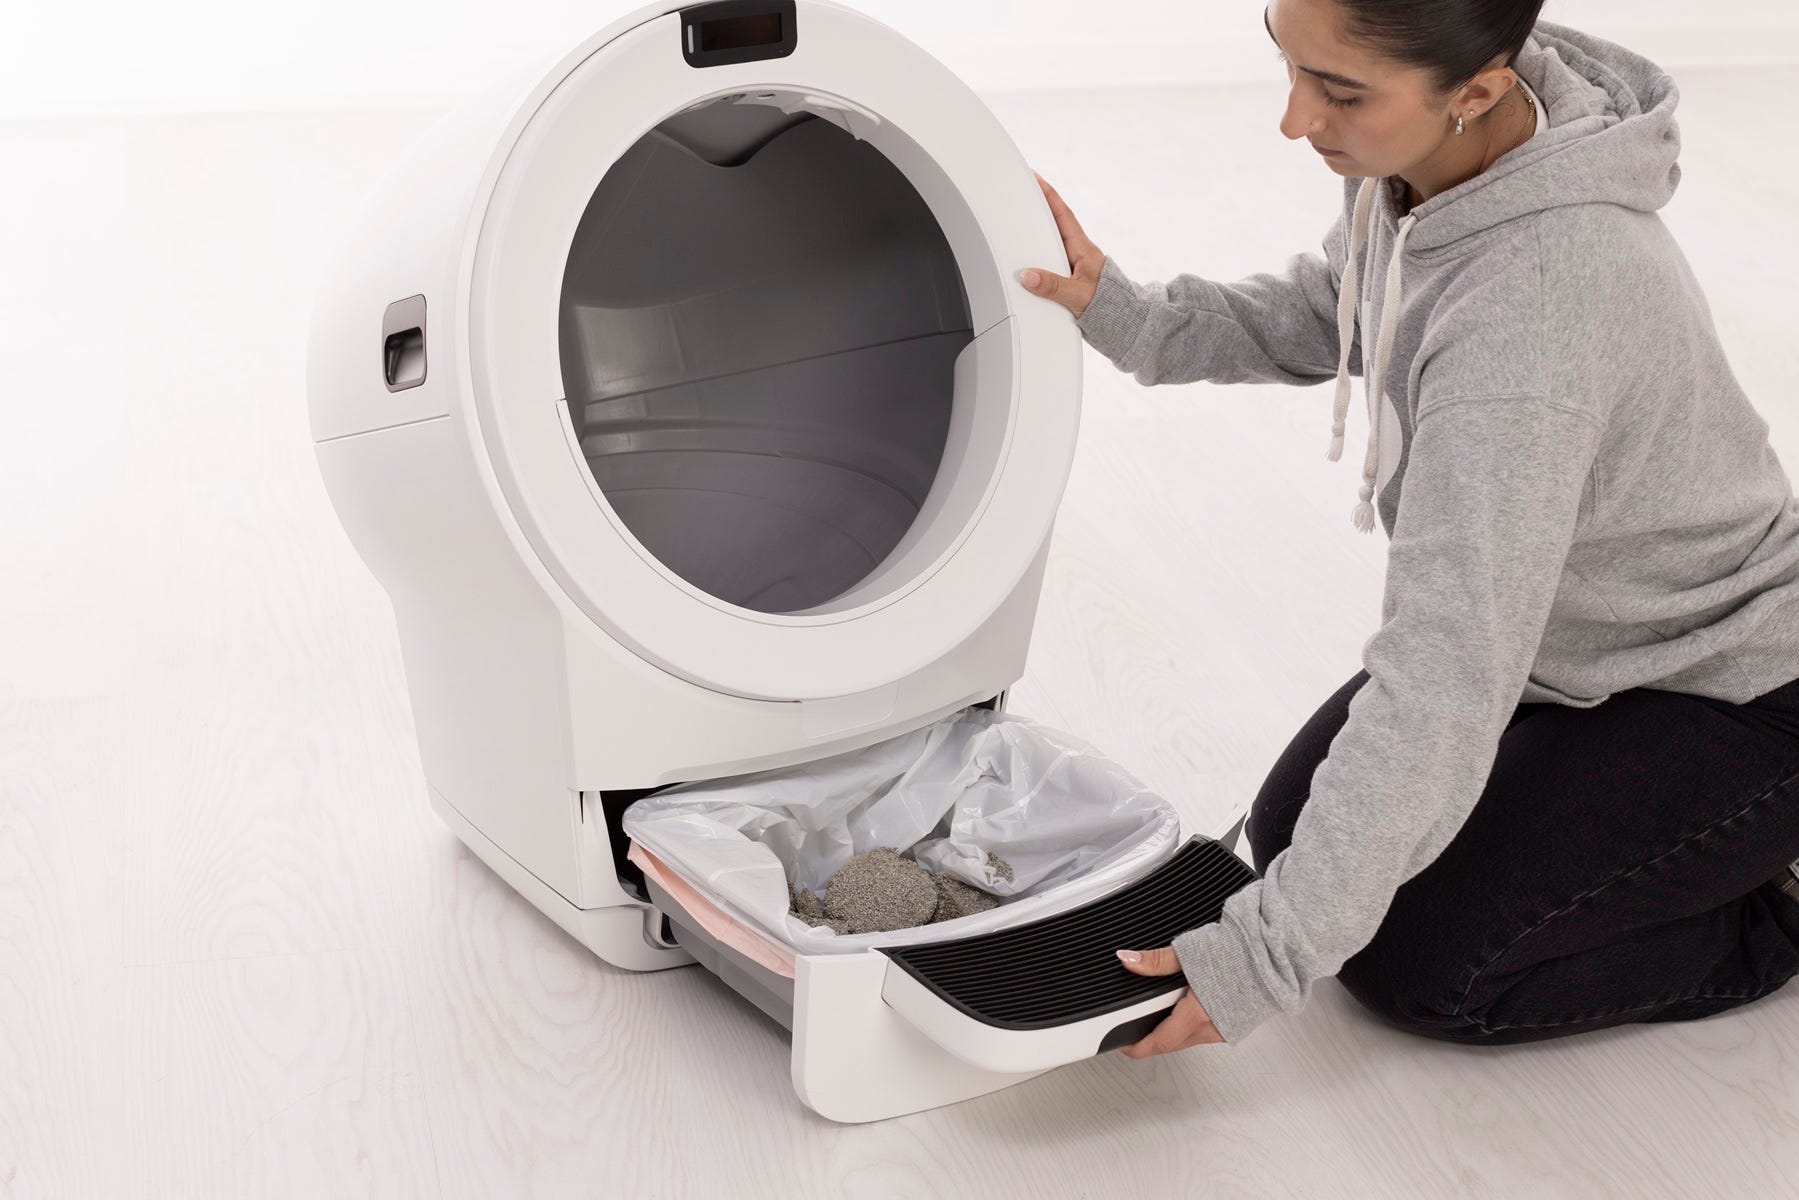
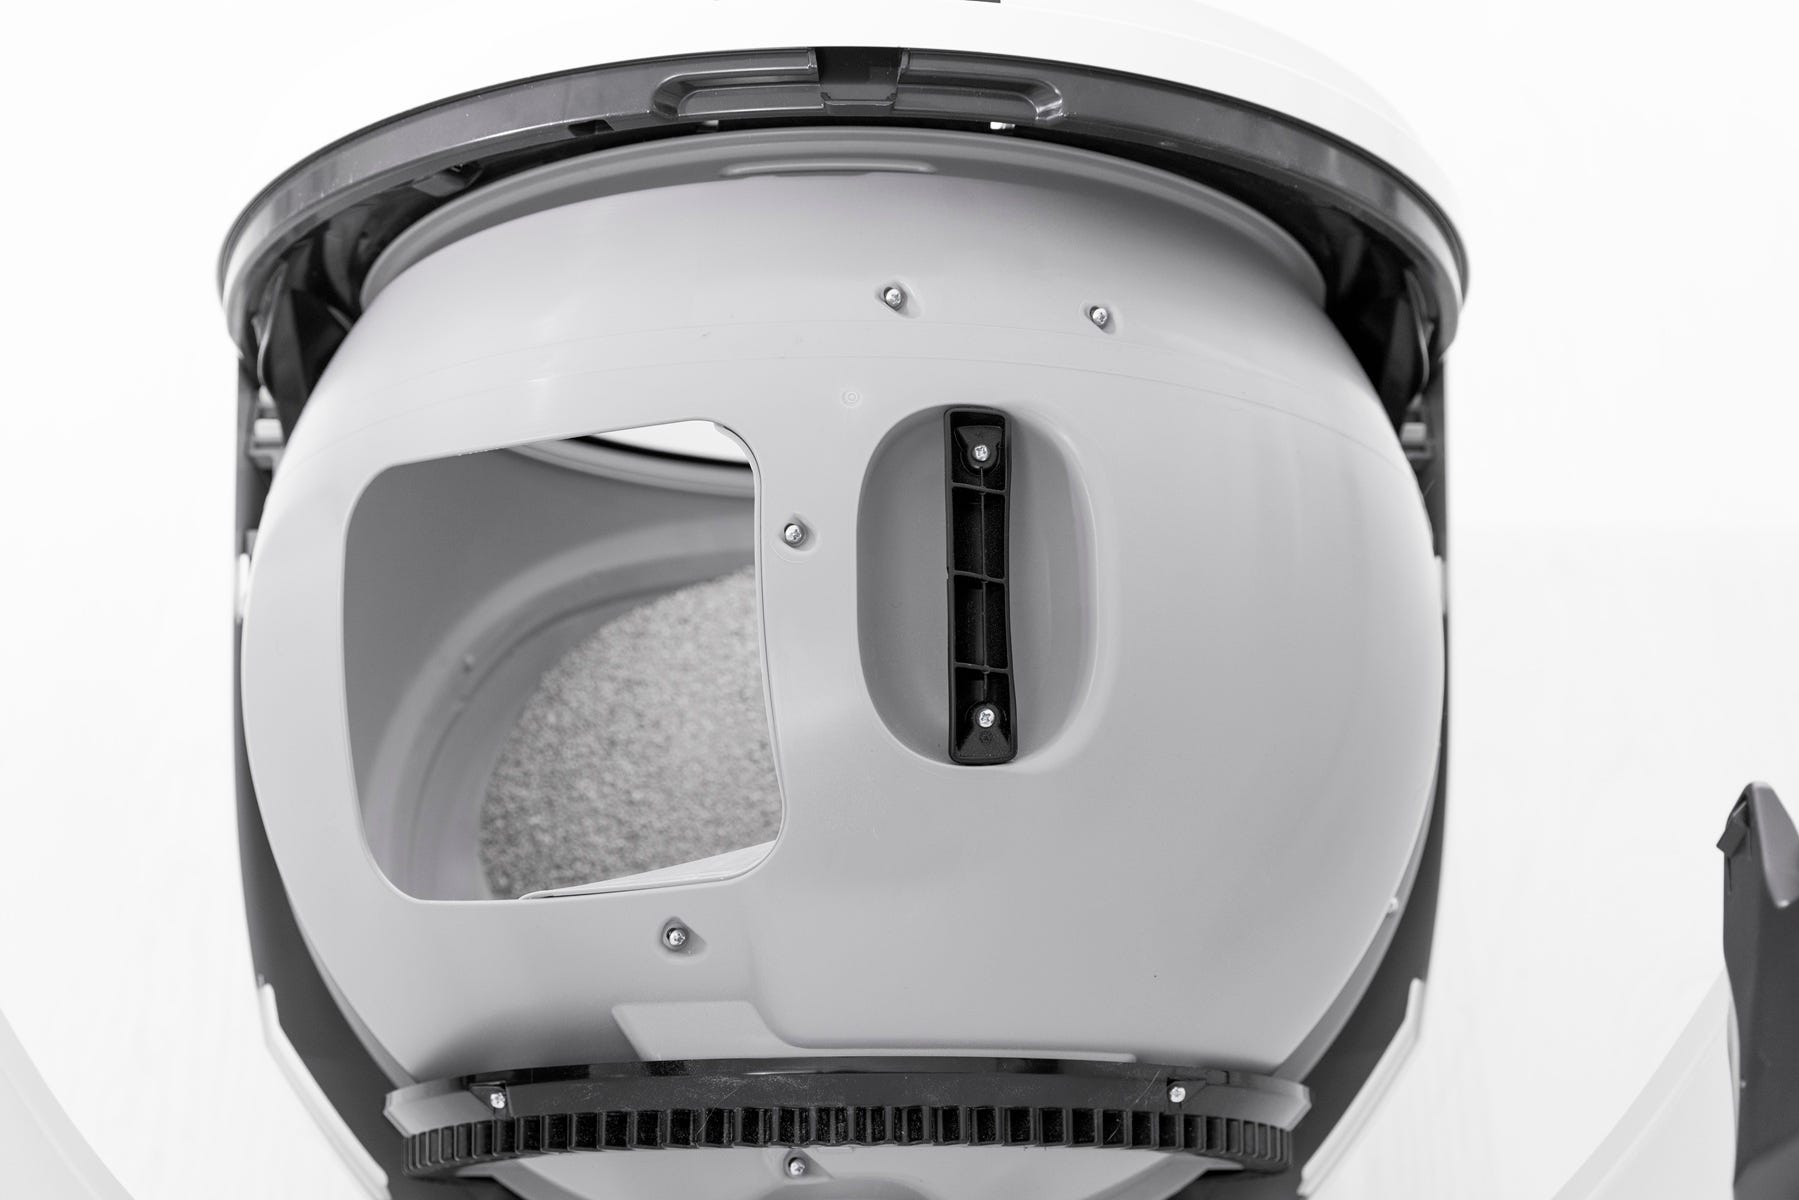
Inspecting the pinch bar area
The pinch bar area is located near the waste drawer opening in the base.
Inspect both sides of the waste drawer opening.
Remove any litter clumps, debris, or plastic that may be contacting the pinch bar area.
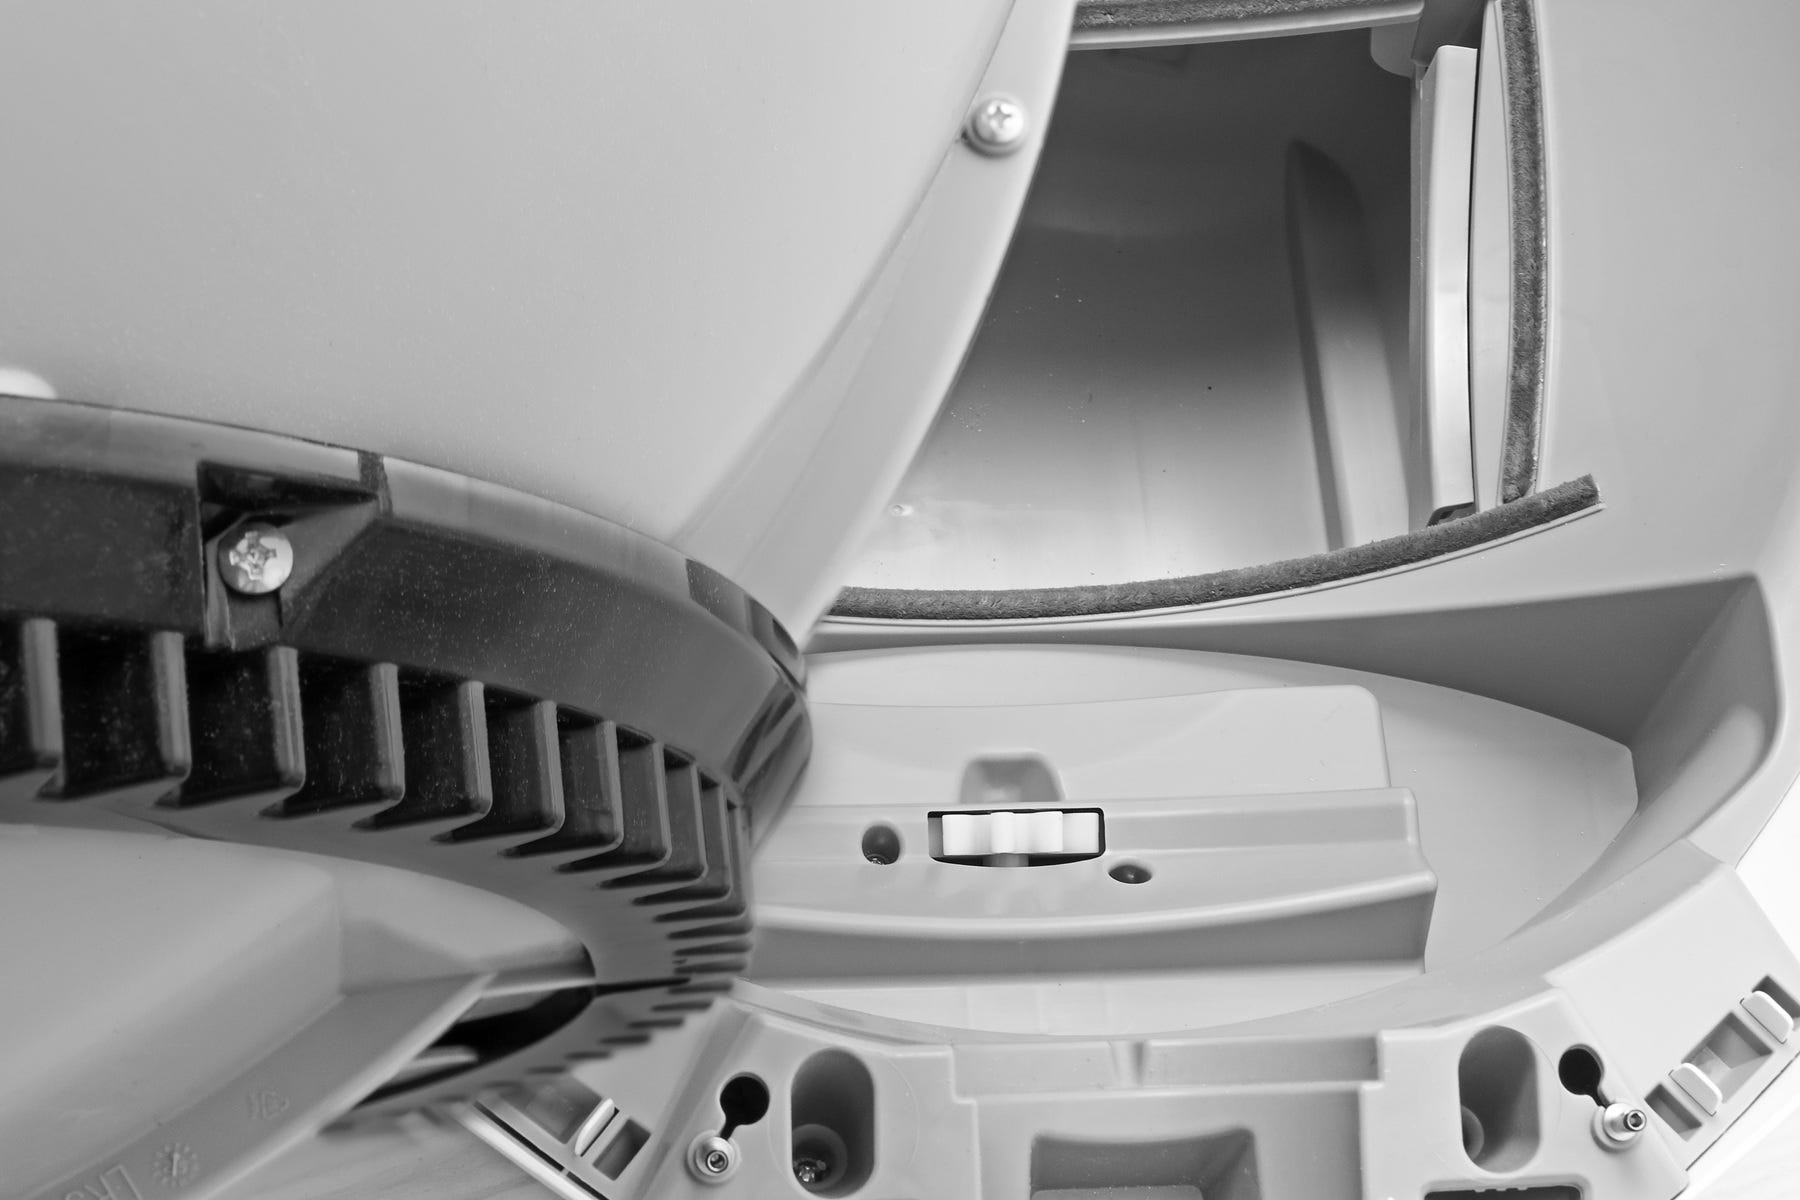
Check the seal strips around the waste port. If a strip is peeling or protruding, gently press it back into place.
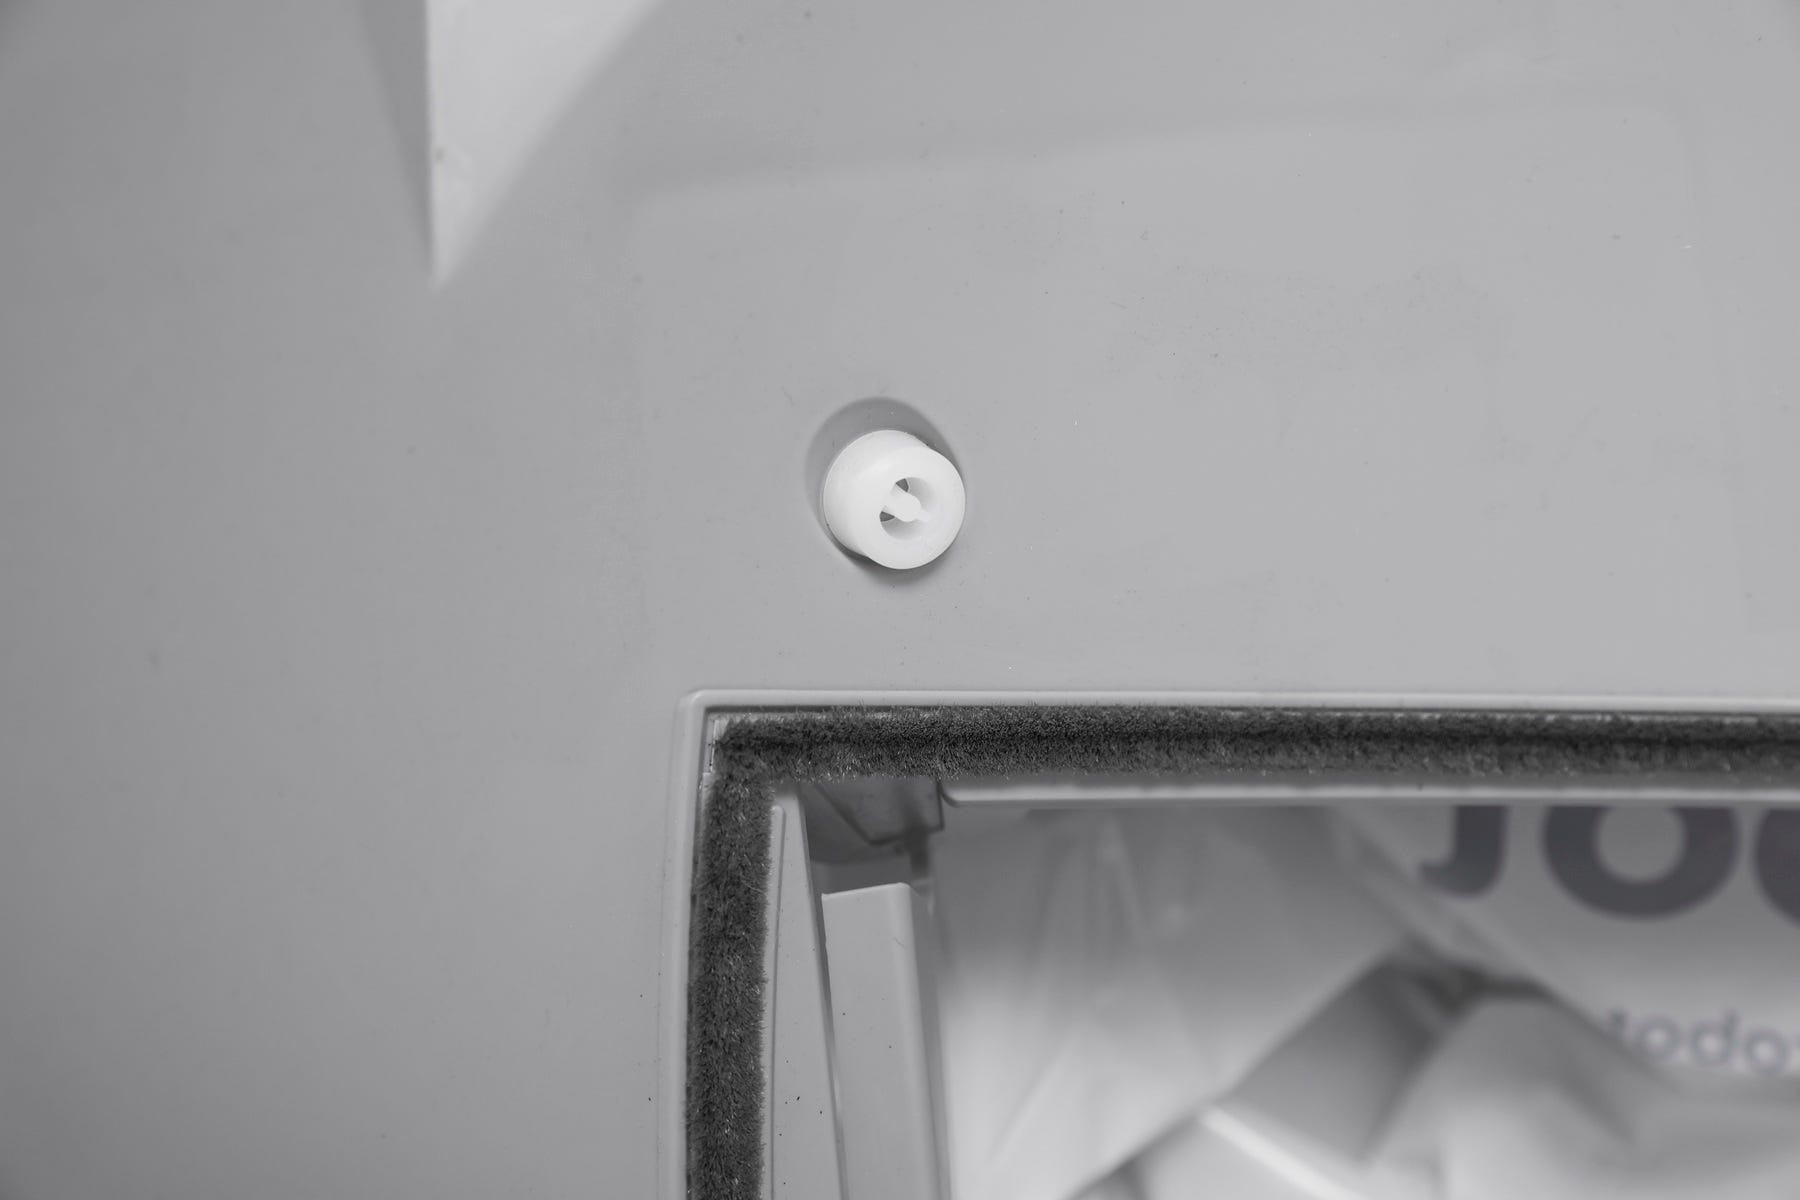
Make sure nothing is caught along the edge of the waste port opening.
Inspecting the filter cover
The filter cover is located on the underside of the globe.
Make sure the filter cover is fully seated and secure.
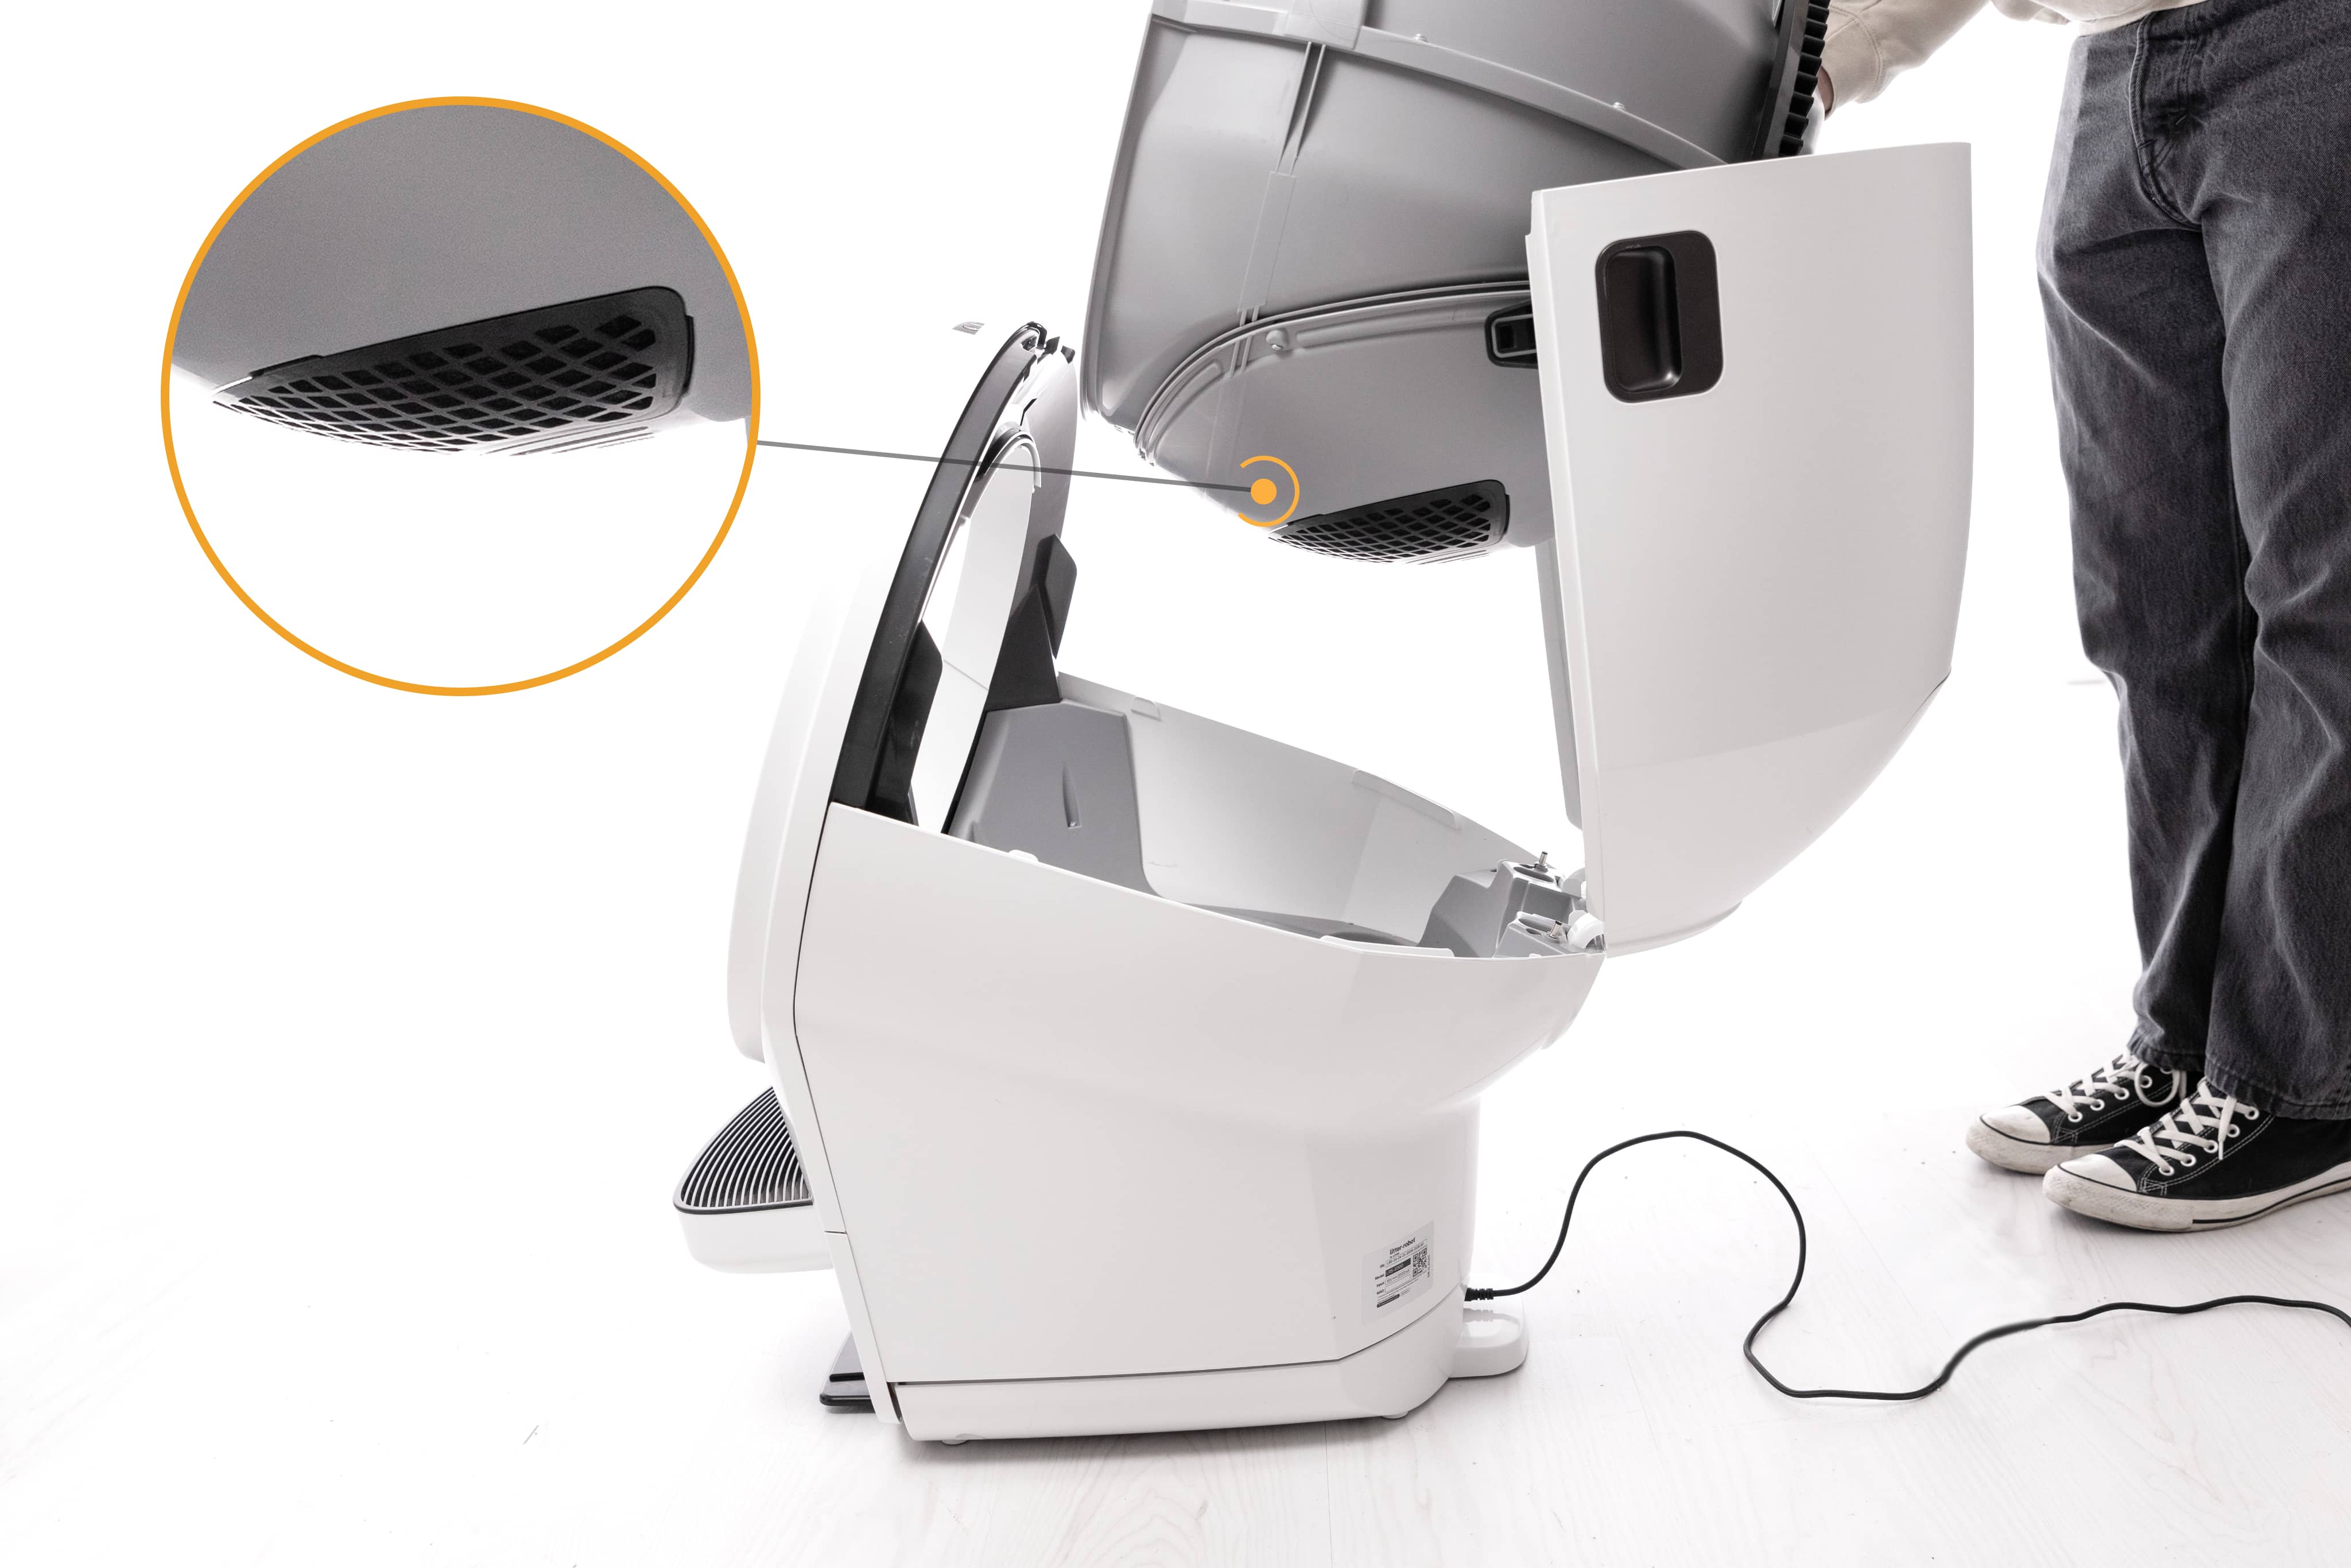
Ensure the cover has not shifted during shipping, cleaning, or reassembly.
Remove any debris around the waste port opening and globe track.
Reinstalling the globe and bonnet
Now that you’ve checked for obstructions, reinstall the globe and bonnet.
Installing the globe
Hold the globe by the handle and place it back into the base. Ensure that the globe key is installed in the back of the globe with the rectangular opening facing up.
Keep the waste port oriented toward the top so the globe is close to the Home position.
Ensure the rear of the globe is seated flush and the gear track engages smoothly with the smaller drive gear in the base.
Installing the bonnet
Rotate the bonnet to the closed position. Apply gentle pressure near both latches.
Confirm the bonnet is fully seated and secure.
Final steps
Reinstall any accessories.
Slide the waste drawer fully back into the unit.
Plug the unit in and press the
Power button to turn it on.
Now, run a test cycle:
Press the
Cancel button to clear the message (if available).Press the
Cycle button to start a Clean Cycle.
Successful: If the unit completes the cycle and returns Home without displaying the message, the issue is resolved.
Unsuccessful: If the Safety Bar Disconnect / Pinch Bar Fault message remains, please contact Whisker Customer Experience for assistance.
Need more help?
Please contact Whisker Customer Experience for more assistance.
Didn't find what you're looking for?
Live support available Mon-Fri: 9AM-9PM EST and Sat-Sun: 9AM-5PM EST, or submit a ticket anytime.