The store will not work correctly in the case when cookies are disabled.

Litter-Robot EVO: Motor installation guide
Learn how to remove and install the Litter-Robot EVO Motor with our official step-by-step replacement guide.
Tools needed:
- Phillips-head screwdriver
- Make sure the unit is in the Home/Ready position.
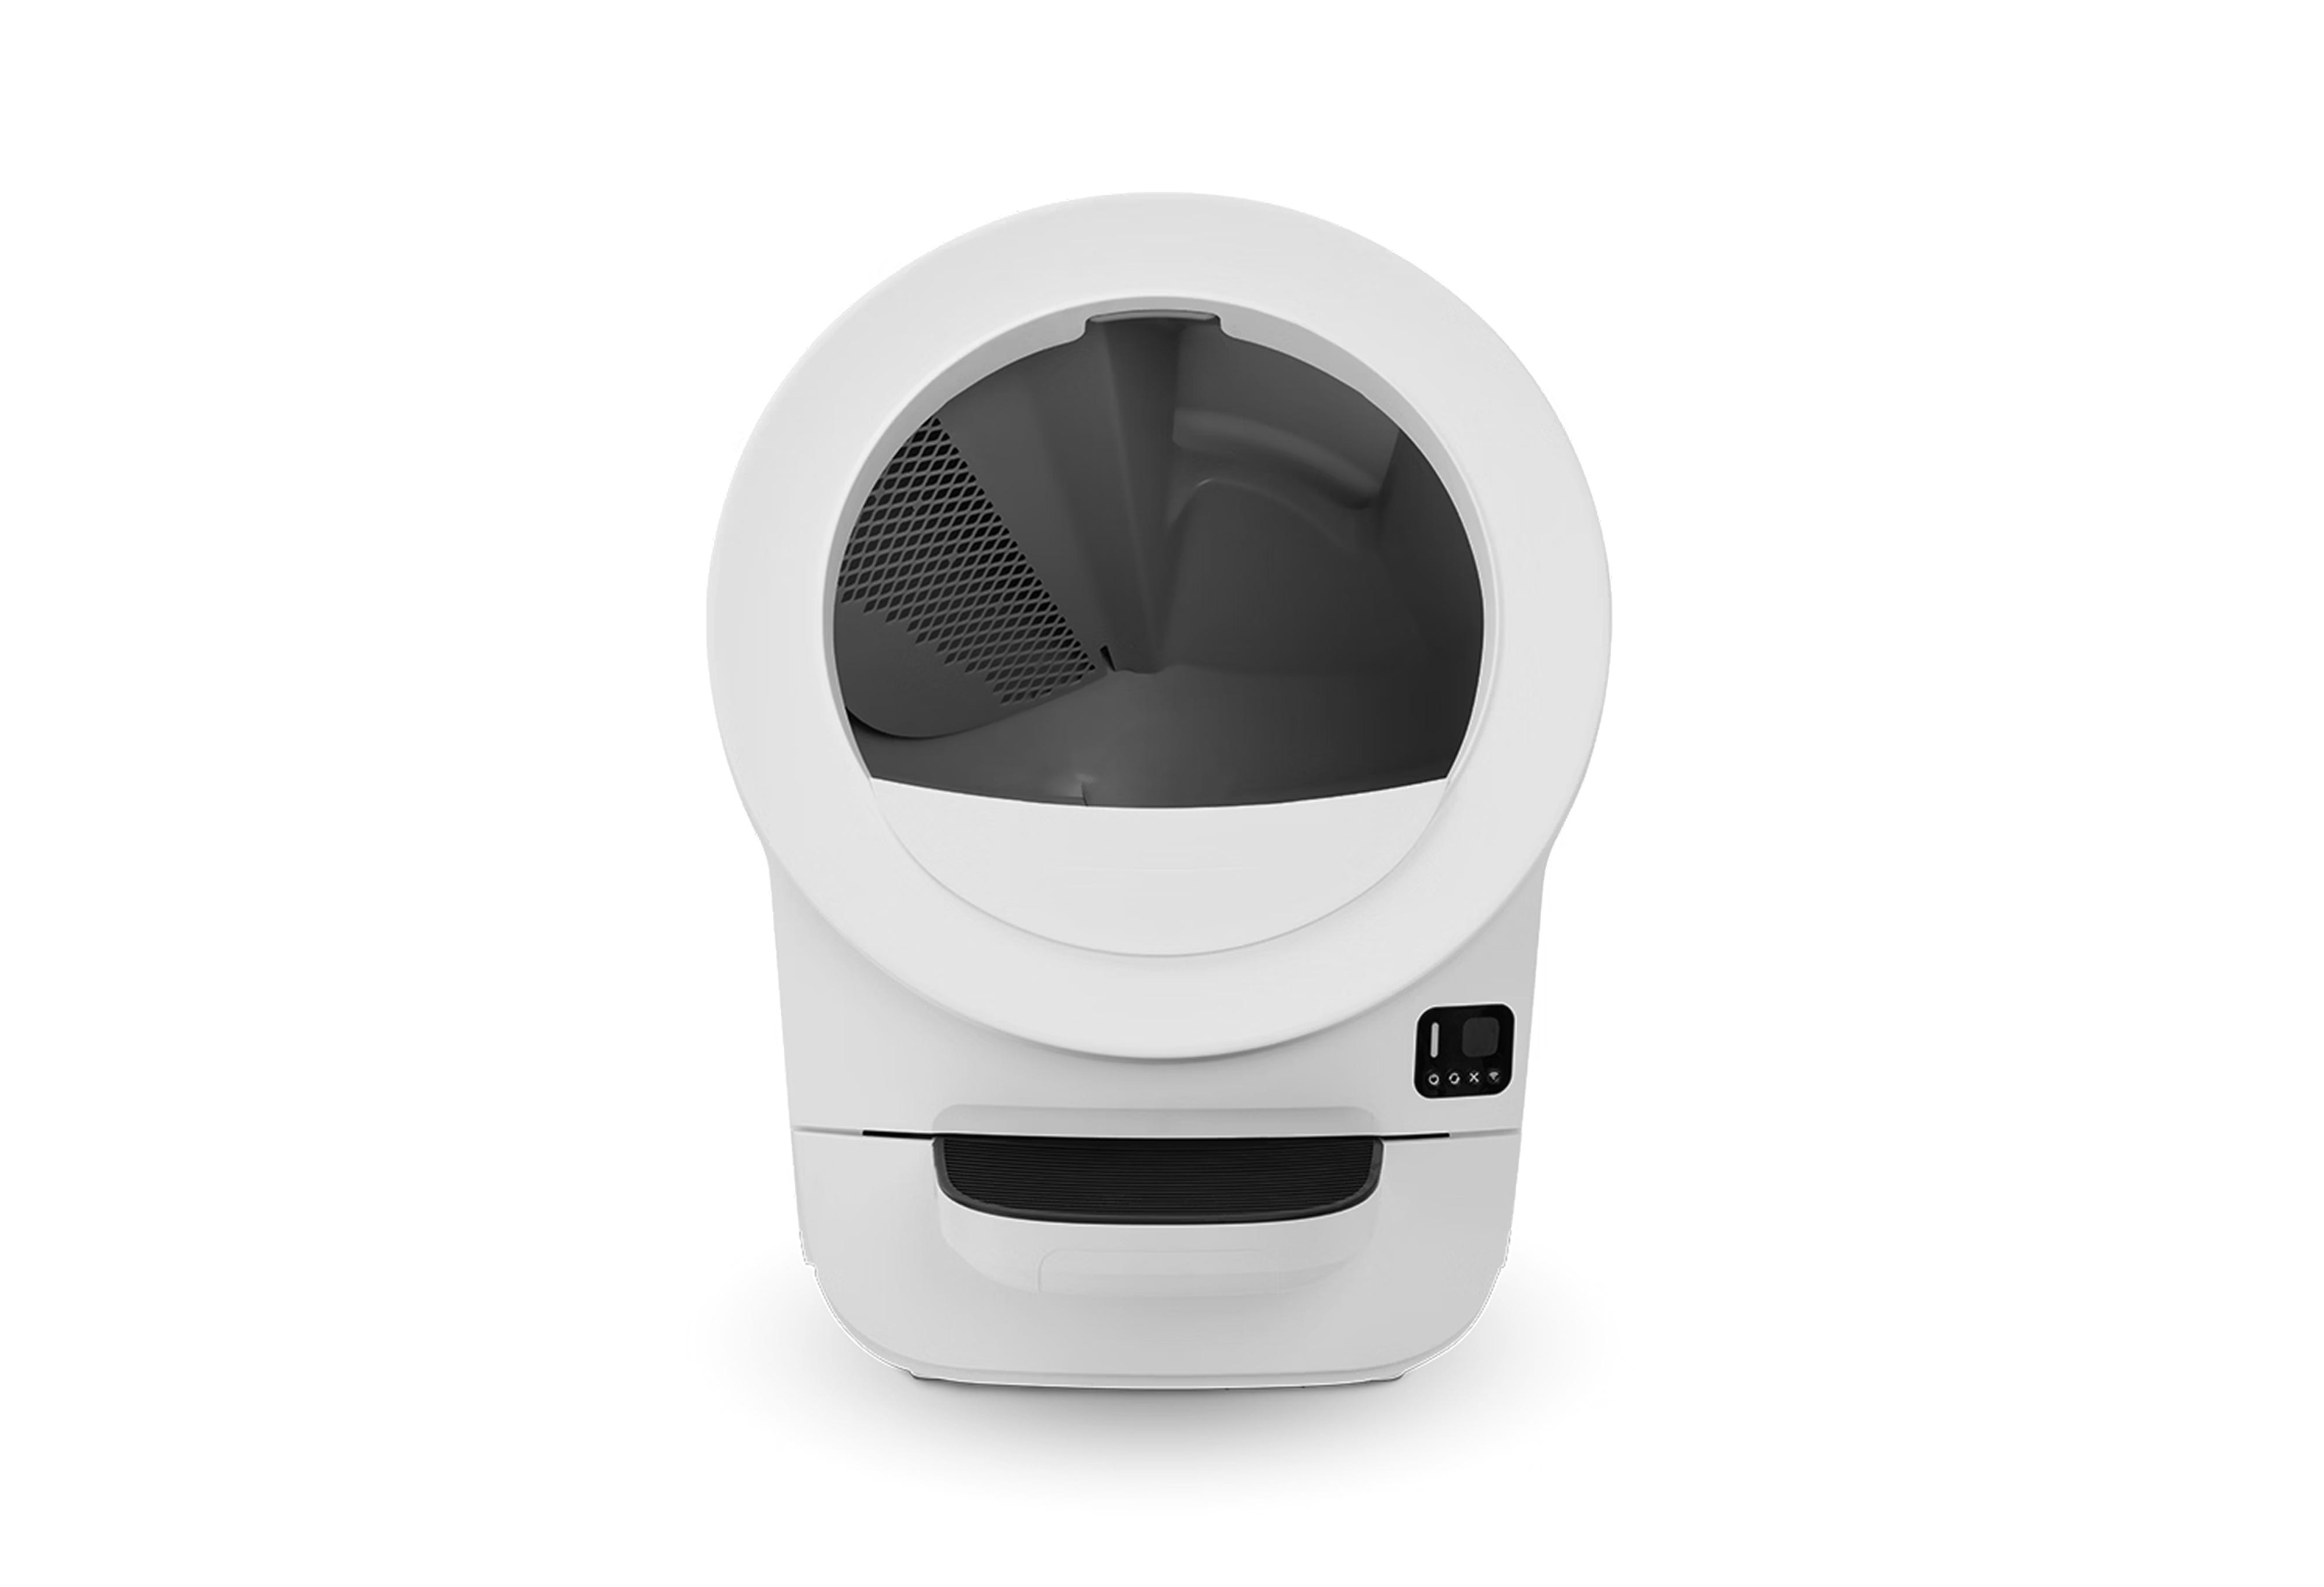
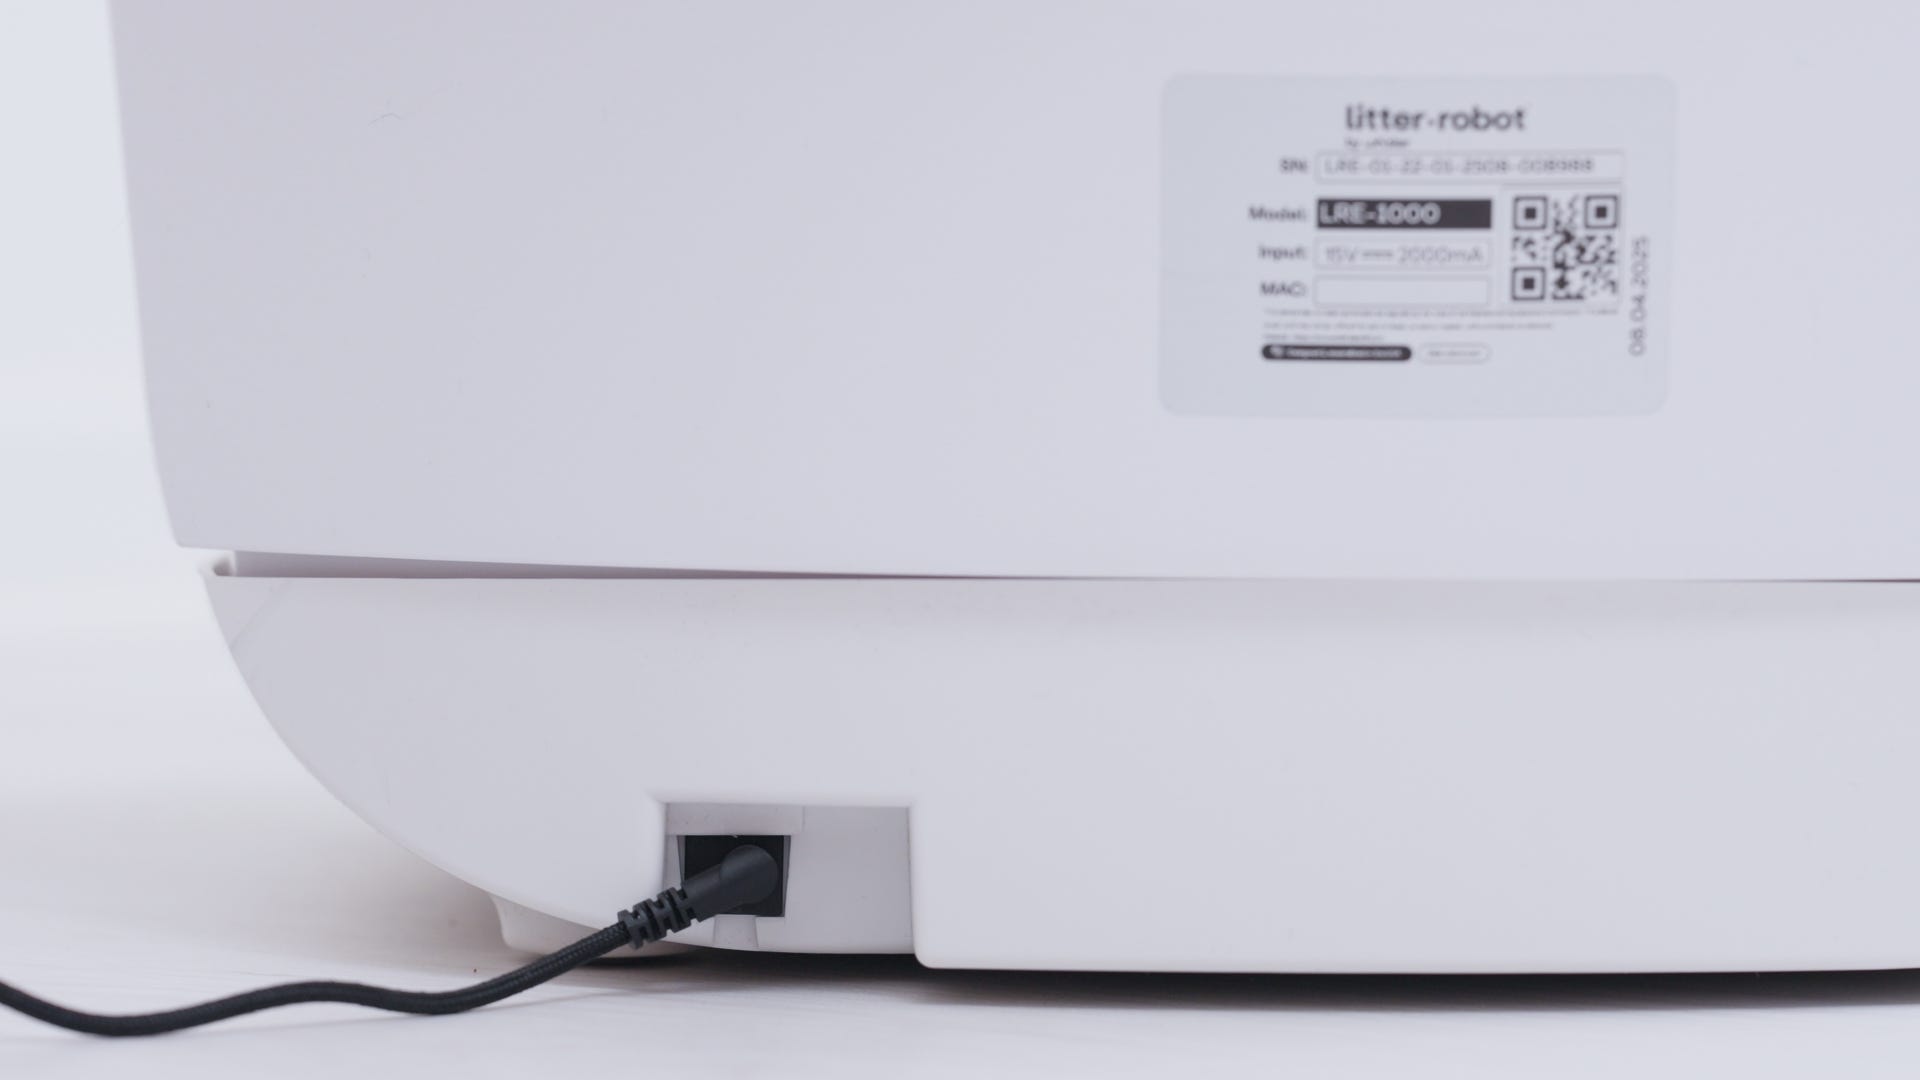
- Press the Power button to turn the unit off, then unplug the unit.
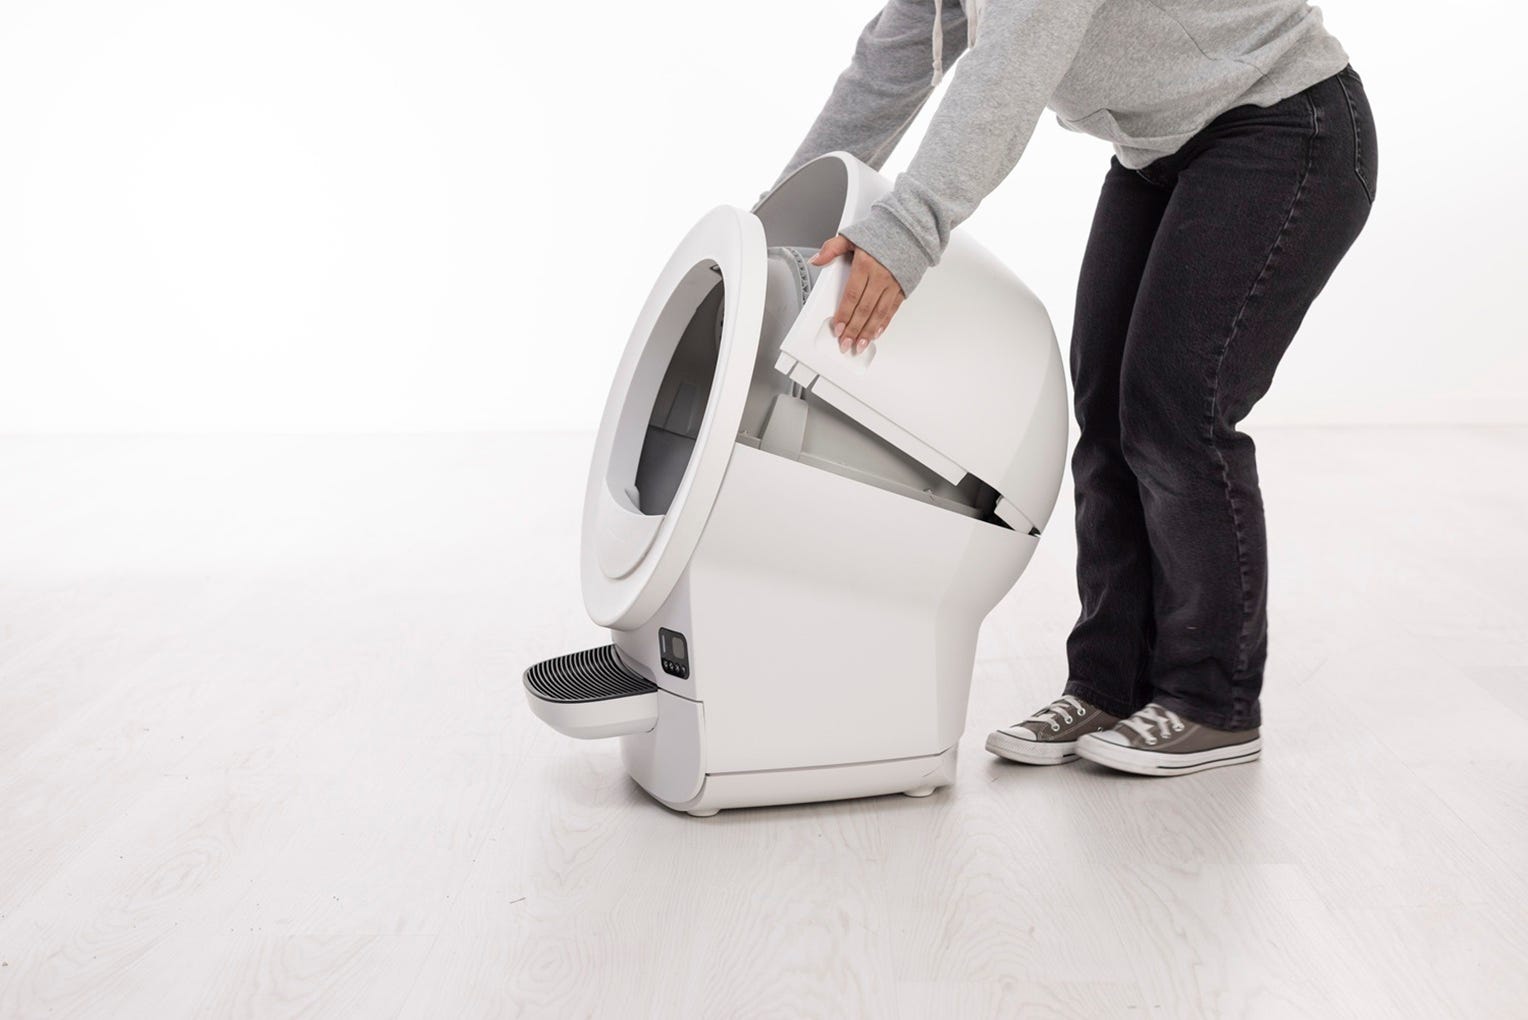
- Remove the bonnet: Use the handles on both sides of the bonnet to lift and rotate it upwards. Remove the bonnet and set it aside.
- Remove the globe: Lift the globe off the base by holding the rib located at the top of the globe entrance and place it on the ground nearby. This will provide access to the base unit.
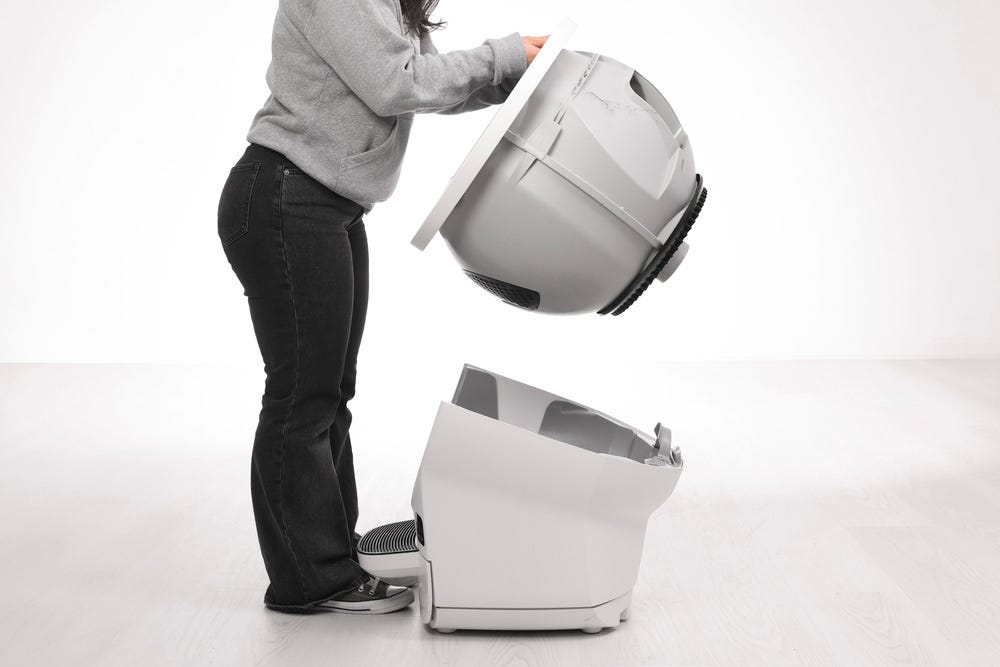
- Remove the waste drawer from the base and set aside.
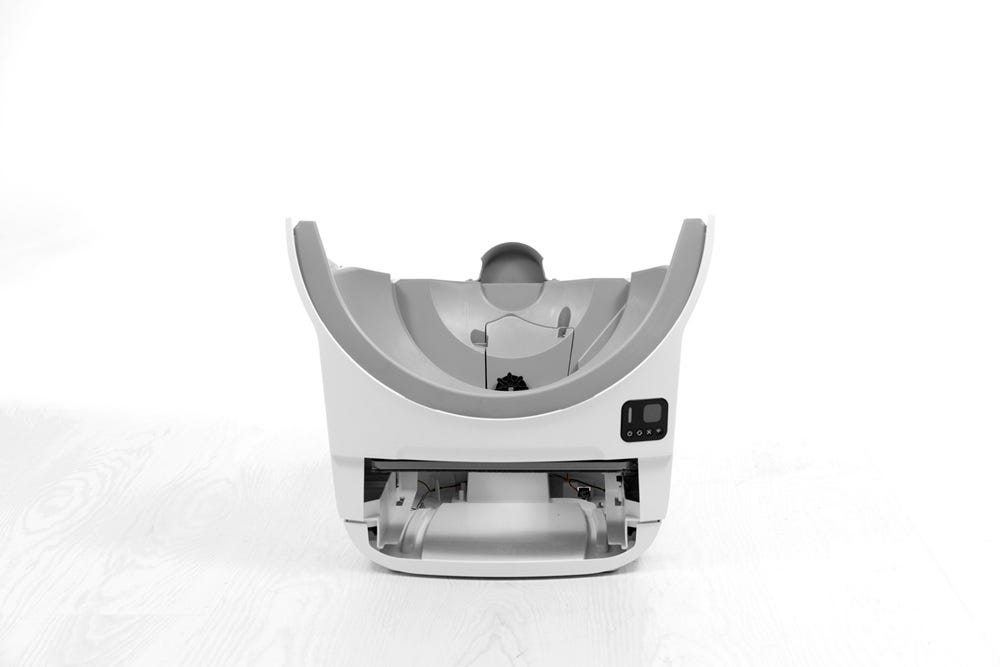
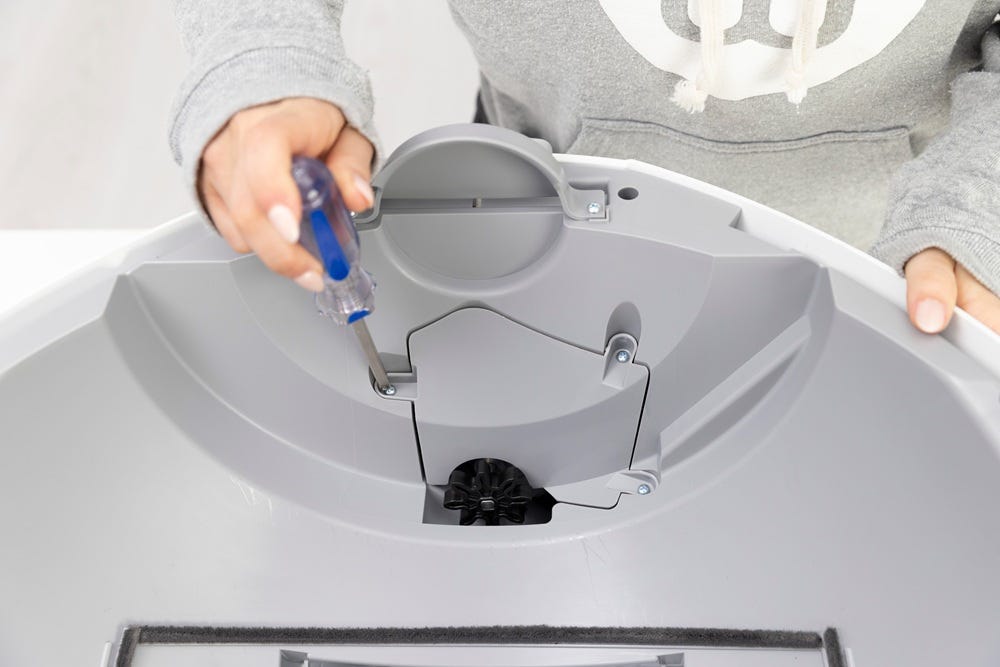
- Locate the motor cover in the base. Using a Phillips-head screwdriver, remove the three (3) screws from the motor cover.
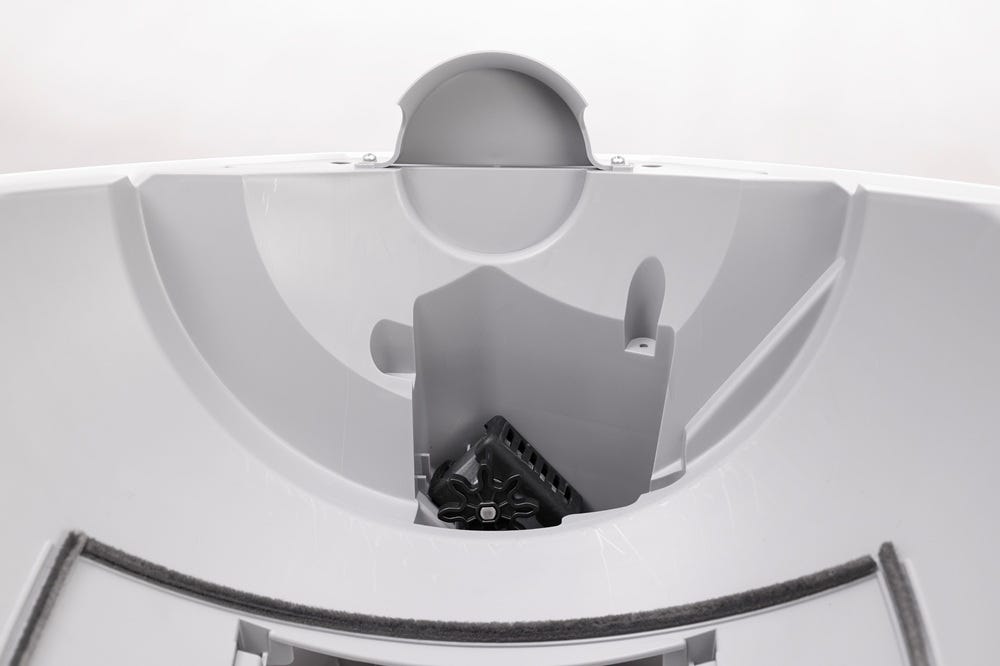
- Remove the motor cover.
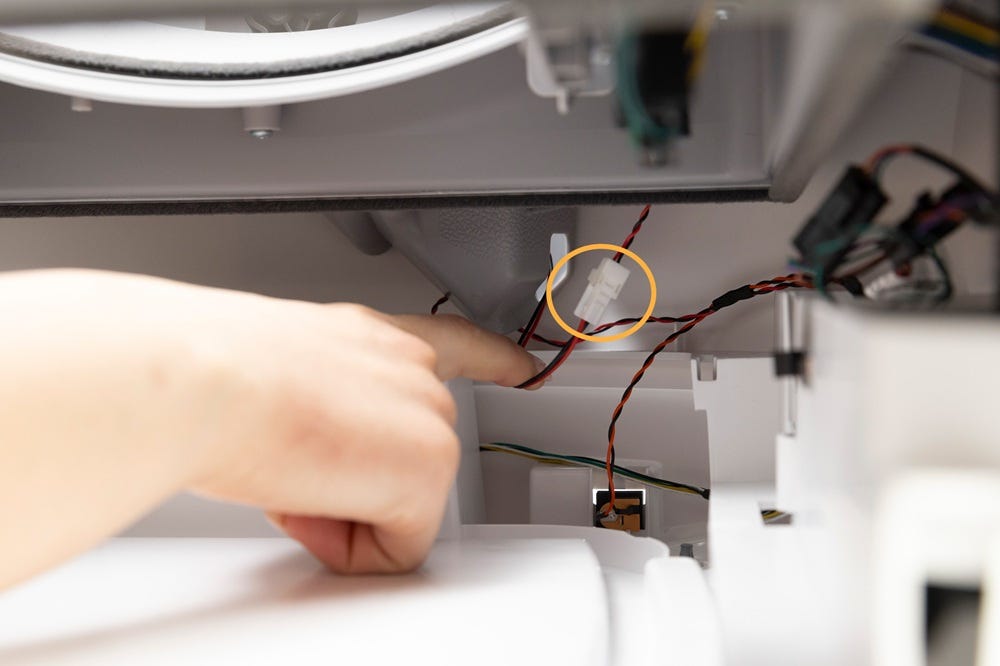
- Place the base on a table with the waste drawer opening facing up. Locate the motor wire connector and disconnect it from the wire harness
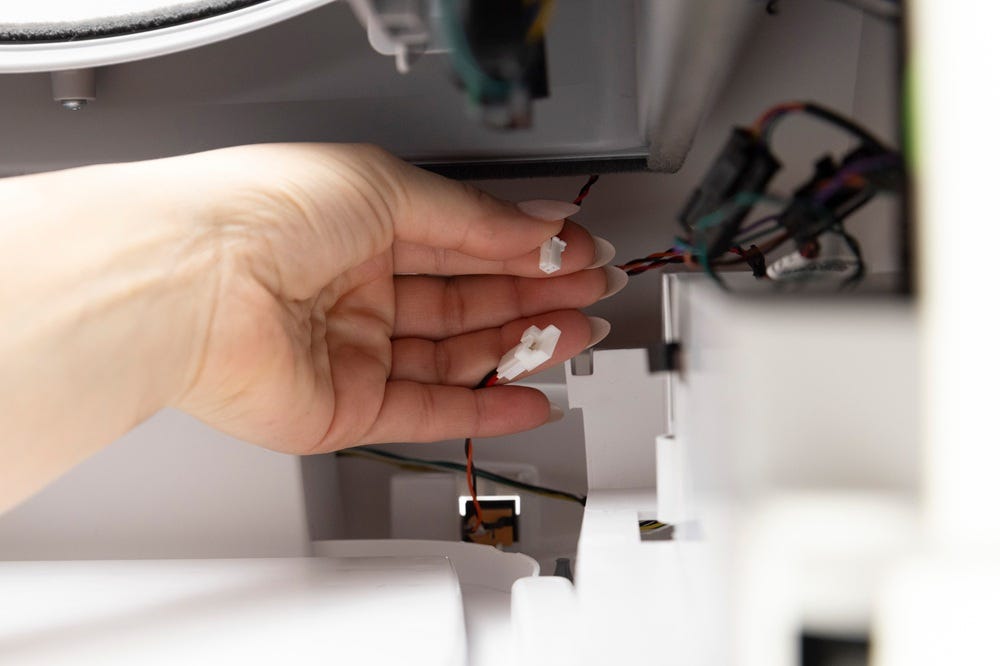
- Gently lift the motor out of the unit. Remove the rubber motor isolator and set it aside
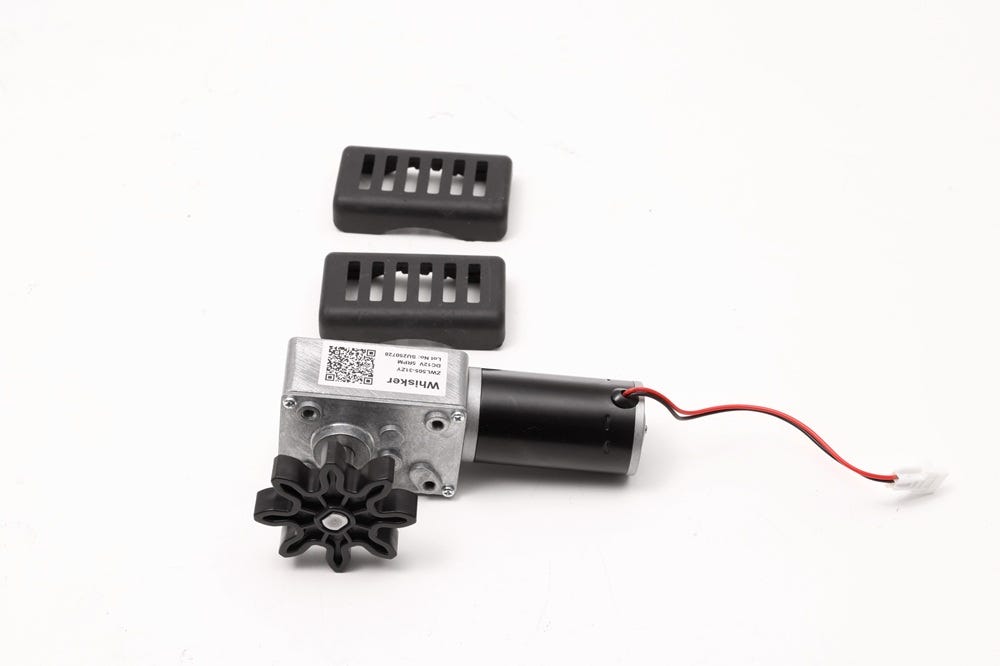
Install the new motor: Place the two rubber motor isolators to the motor. Gently lower the motor into position, checking to make sure the motor and isolators are seated inside the motor pocket firmly.
Make sure the motor wire connector passes through the opening and can be reached from the drawer opening.
- Connect motor wire connector to the main wire harness.
- Install the motor cover with three (3) screws.
- Replace the globe: Hold the globe by the bezel edge and slide it back into the base.
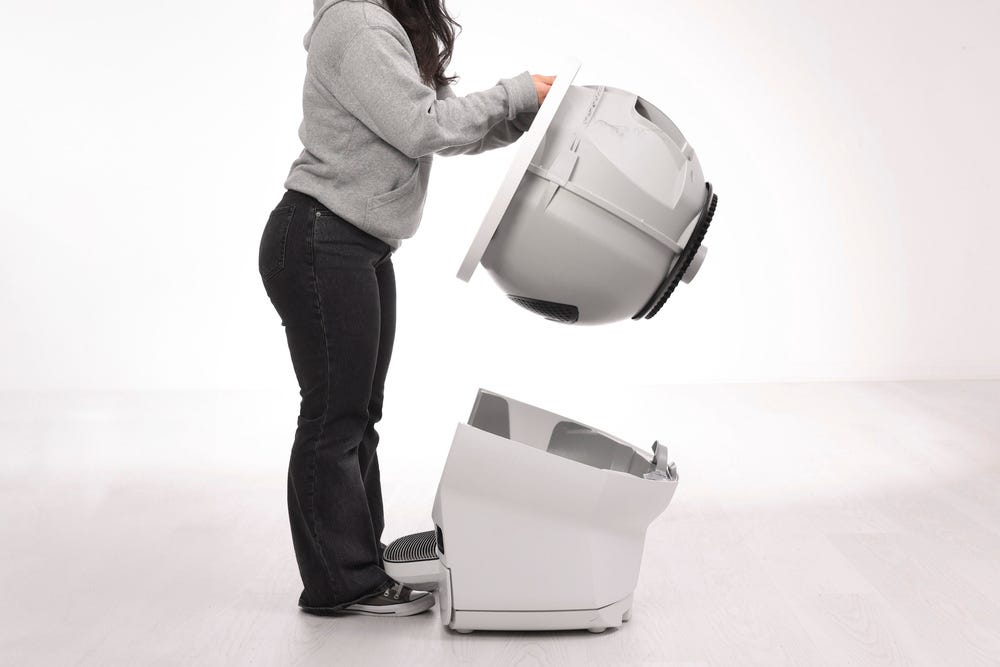
- Ensure the back of the globe is sitting flush in the rear bearing pocket.
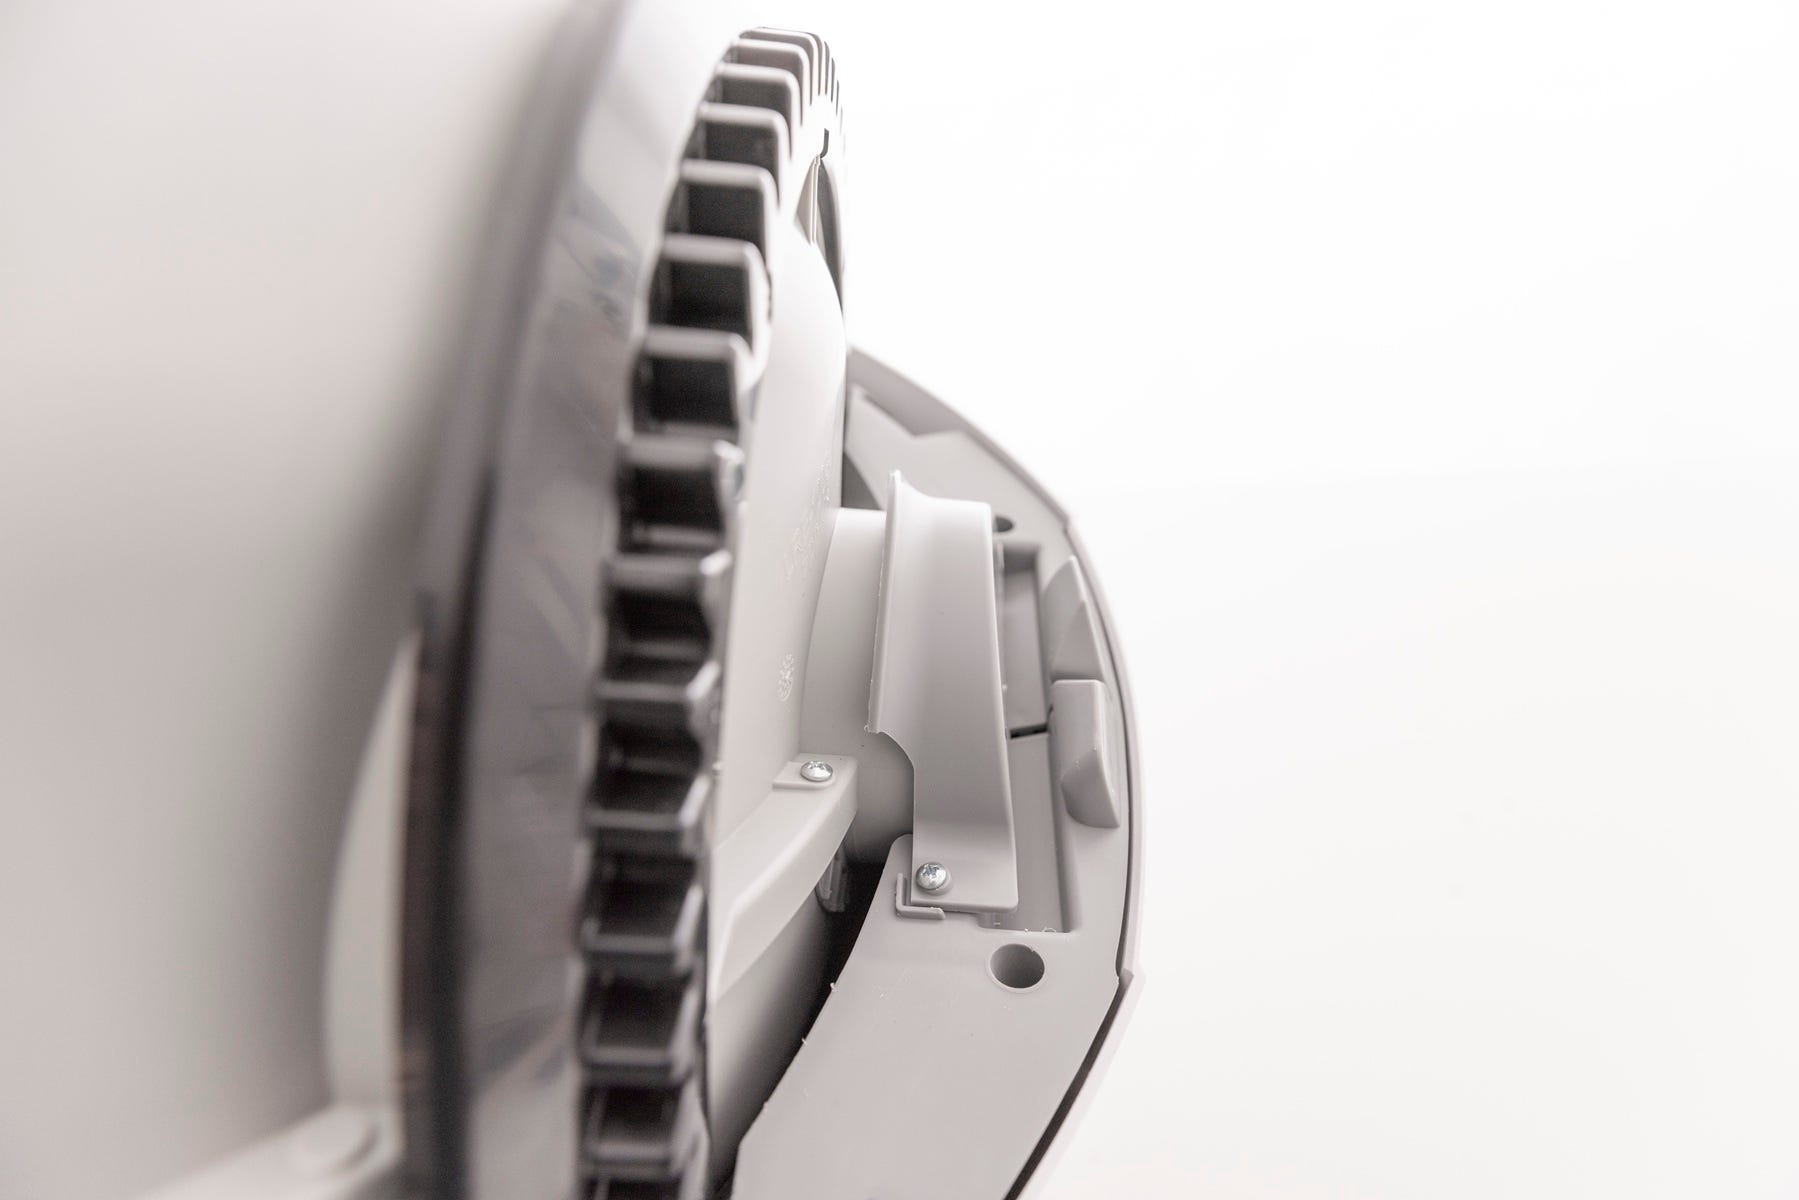
- The large black gear on the rear of the globe will line up with the smaller black gear in the base.

- Replace the bonnet by aligning the tab at the back of the bonnet with the slot in the bonnet hinge.
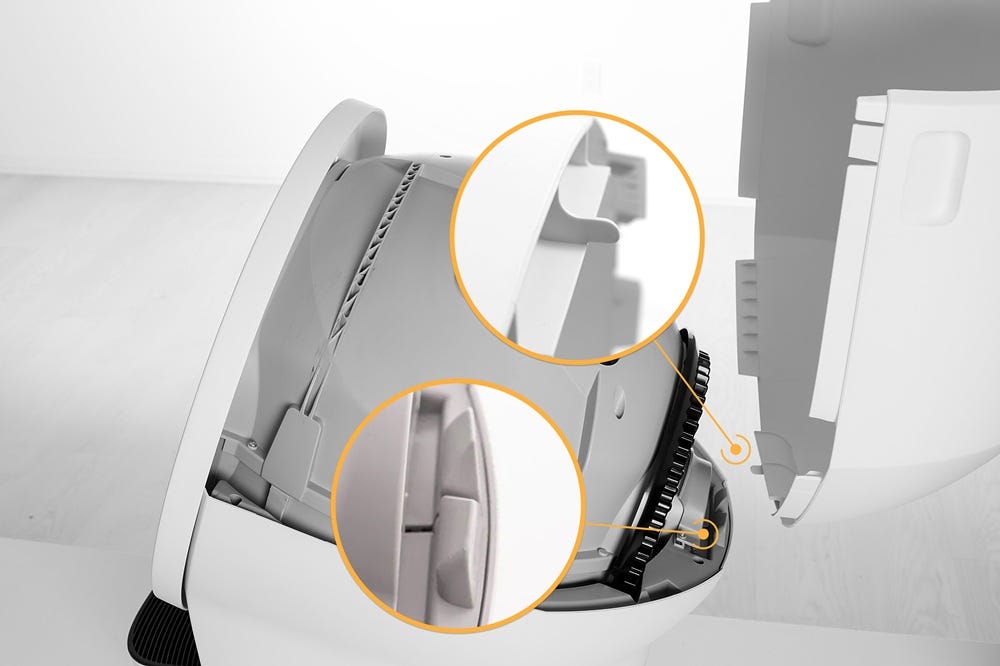
- Rotate the bonnet downward with light pressure on the sides so that it hugs the globe. This will help ensure proper alignment of the bonnet latches in the base.
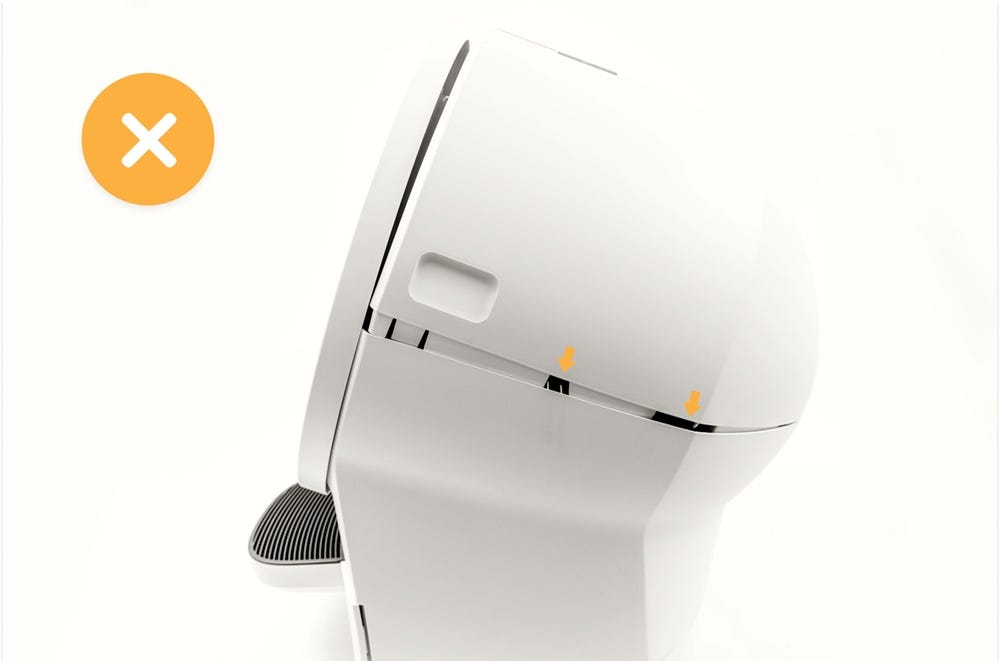
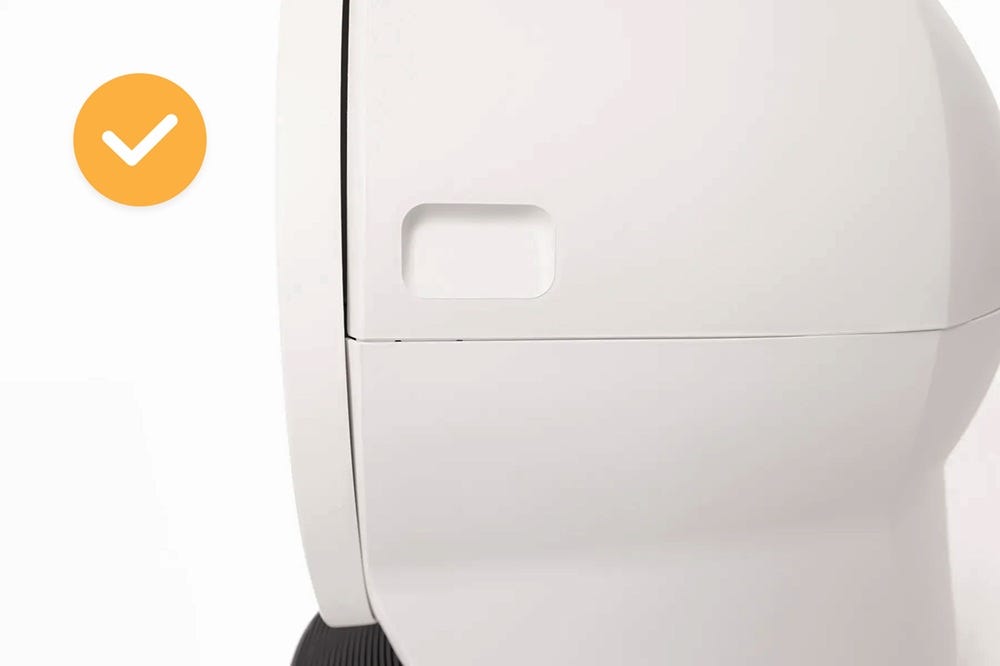
- Confirm that the two channels on each side of the base are properly aligned and that there are no gaps between the bonnet and the base.
Incorrect:
Correct:
- Plug the unit back in and power it on.
Didn't find what you're looking for?
Live support available Mon-Fri: 9AM-9PM EST and Sat-Sun: 9AM-5PM EST, or submit a ticket anytime.