The store will not work correctly in the case when cookies are disabled.

Litter-Robot EVO: Seal strips installation guide
Litter-Robot EVO is equipped with brush-type seal strips that sit along the lower globe and waste port. This seal strip replacement pack contains all varieties of seal strips found on Litter-Robot EVO.
Learn how to install Litter-Robot EVO Seal Strips in both locations on the unit. Seal strips can help reduce odors, as well as reduce litter and waste leaking between parts.
- Make sure the unit is in the Home/Ready position.
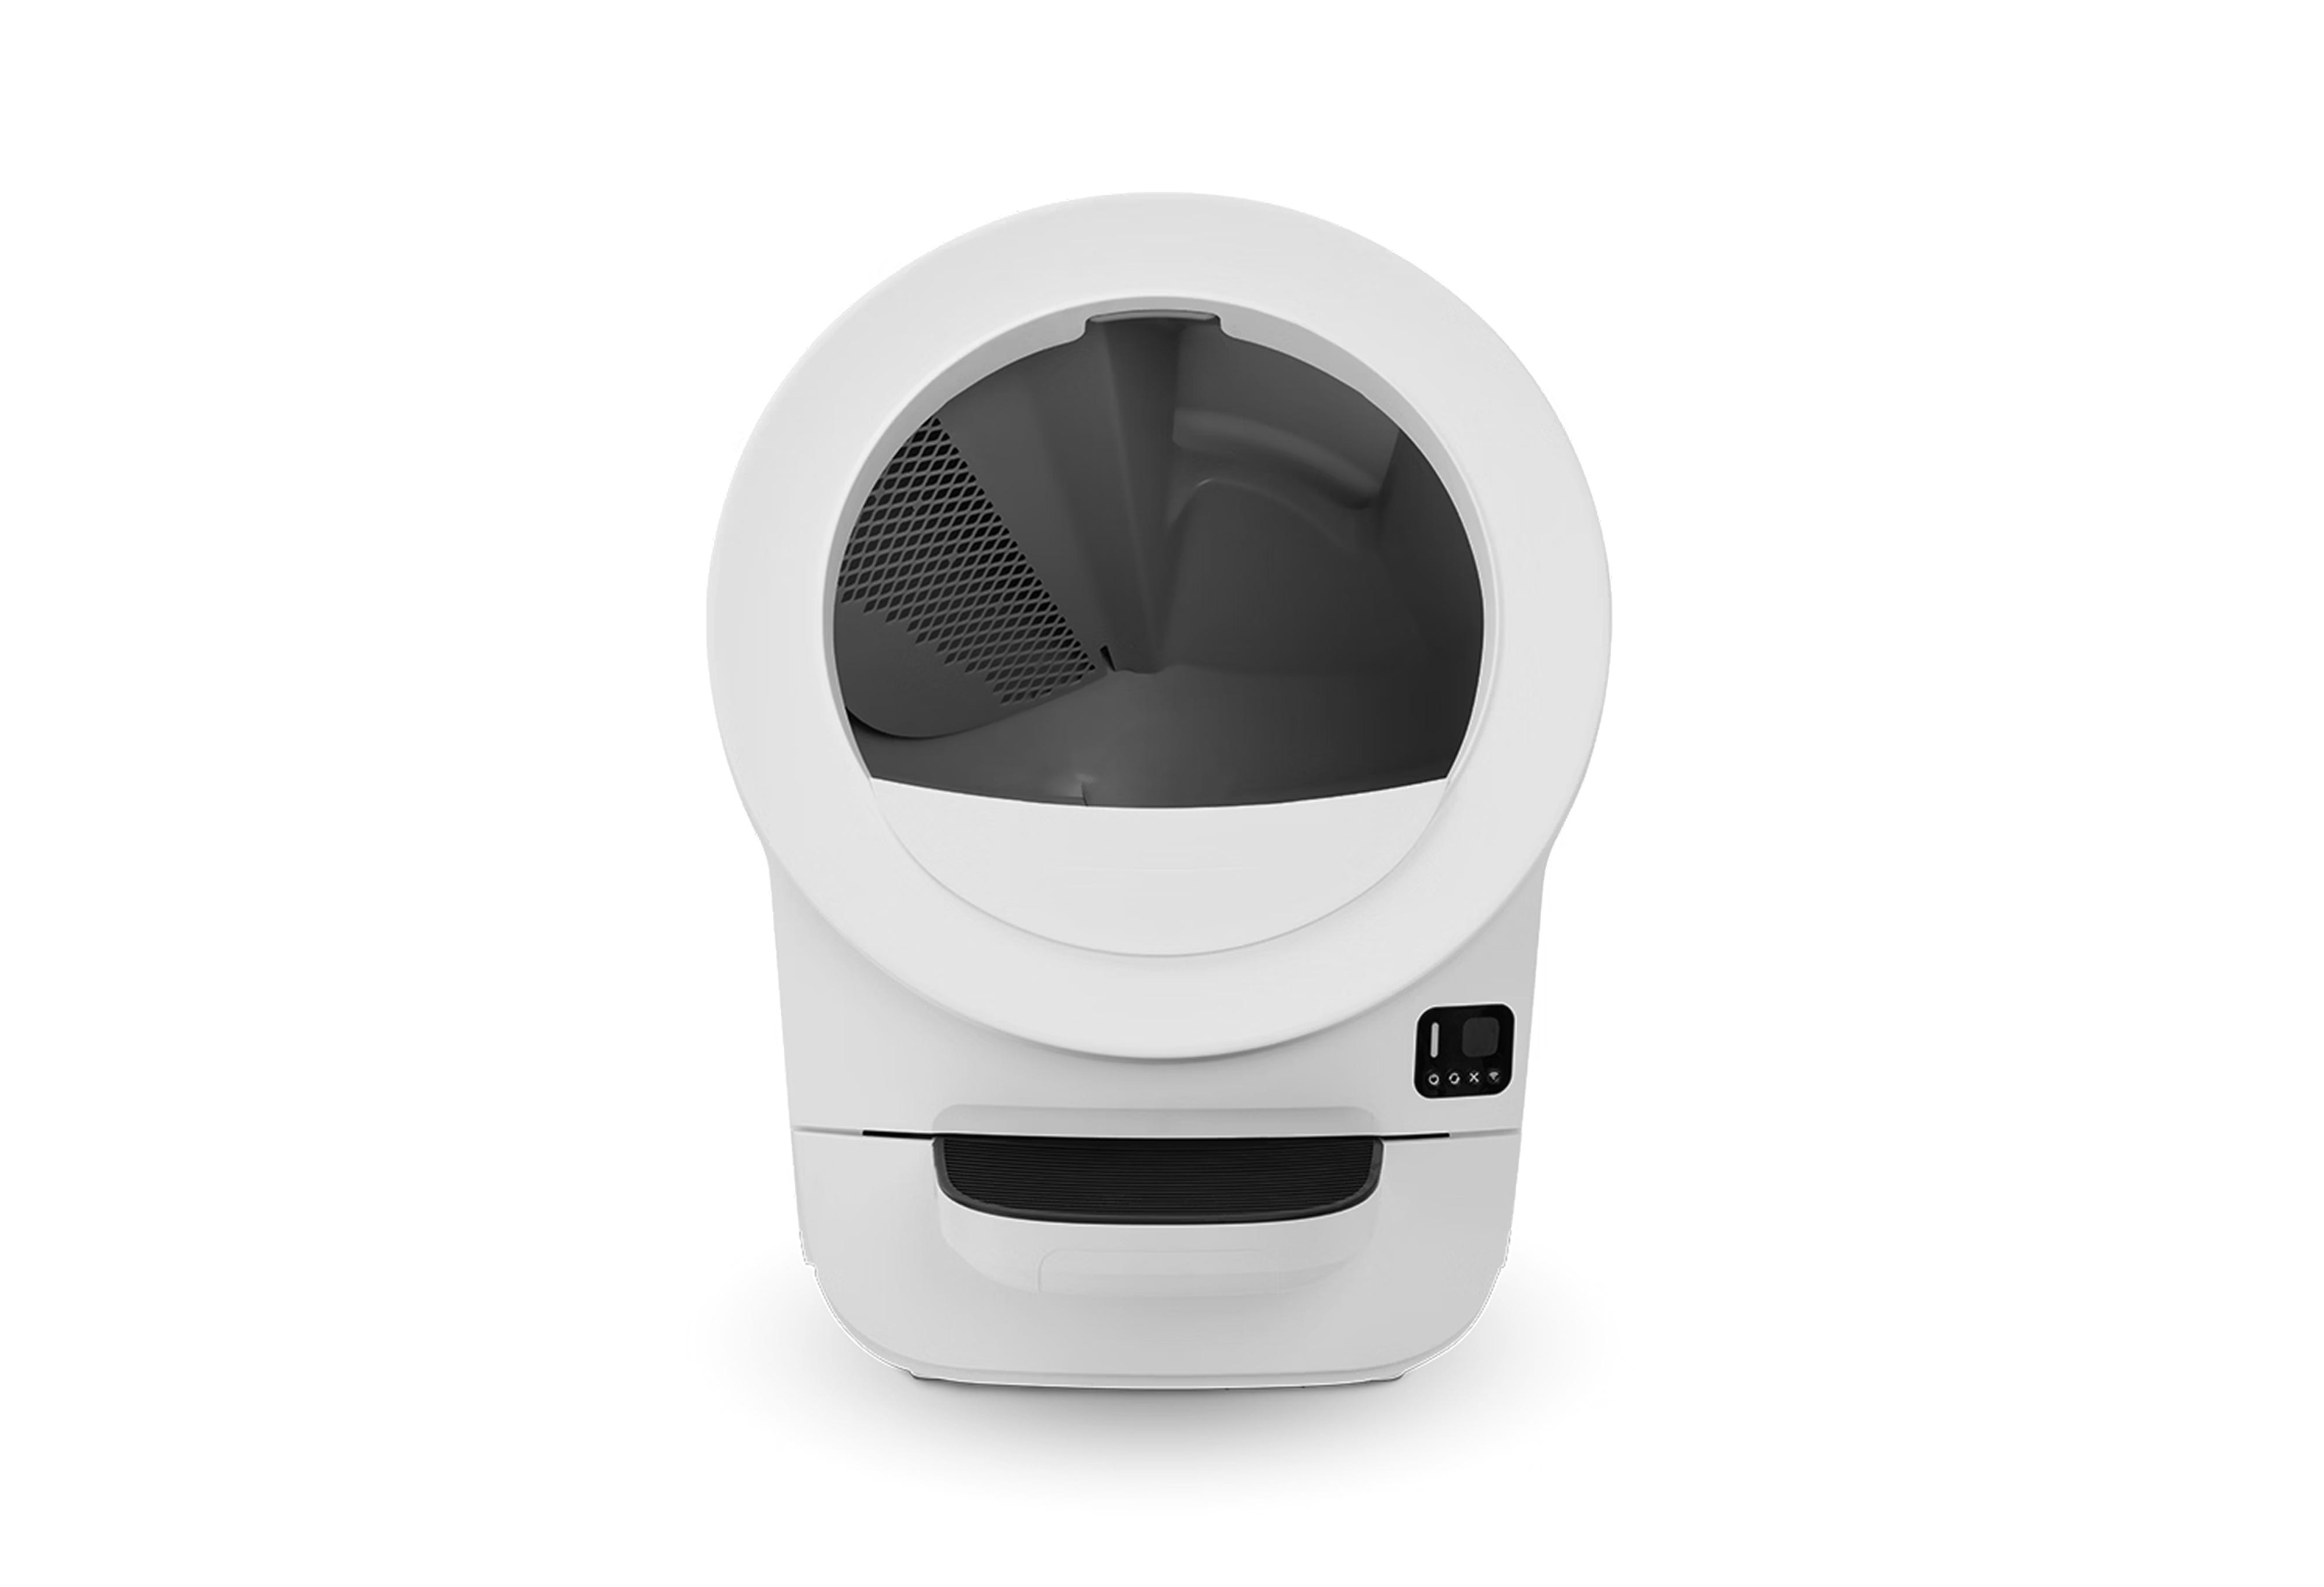
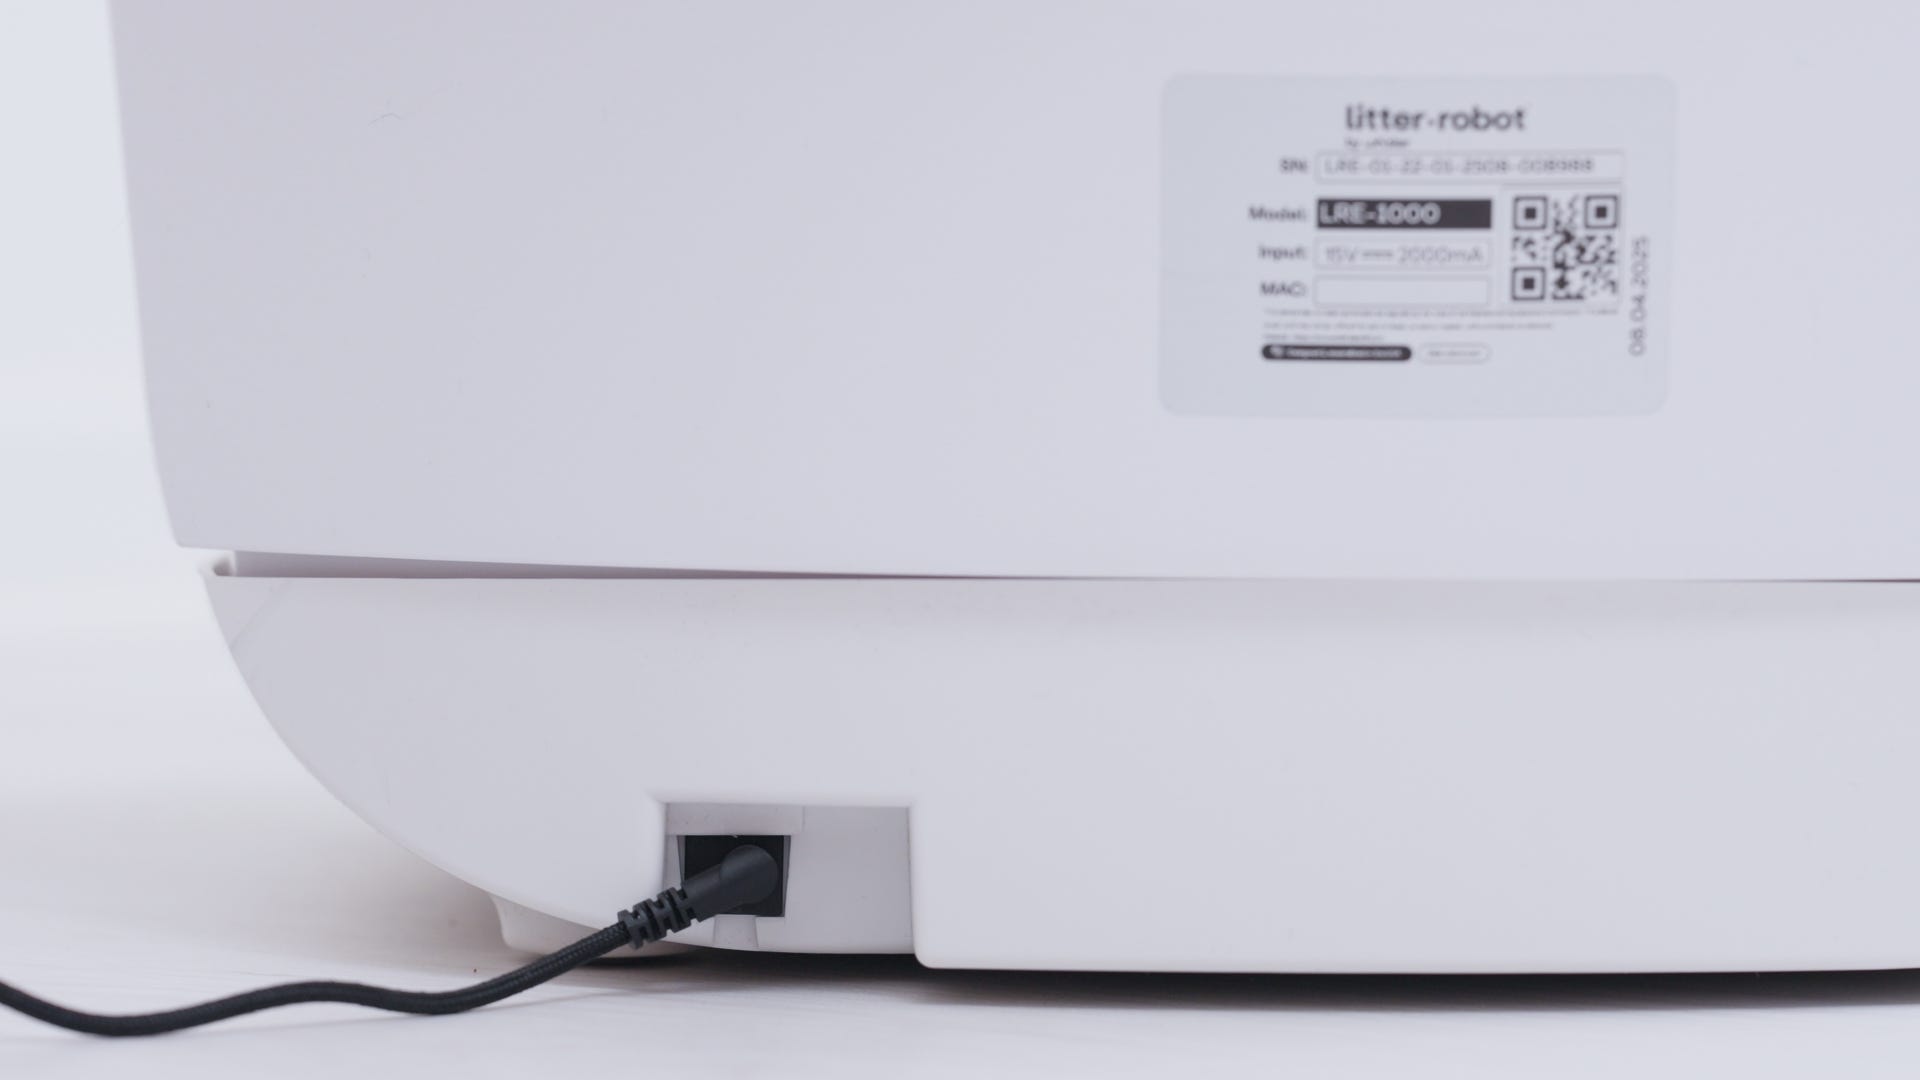
- Press the Power button to turn the unit off, then unplug the unit.
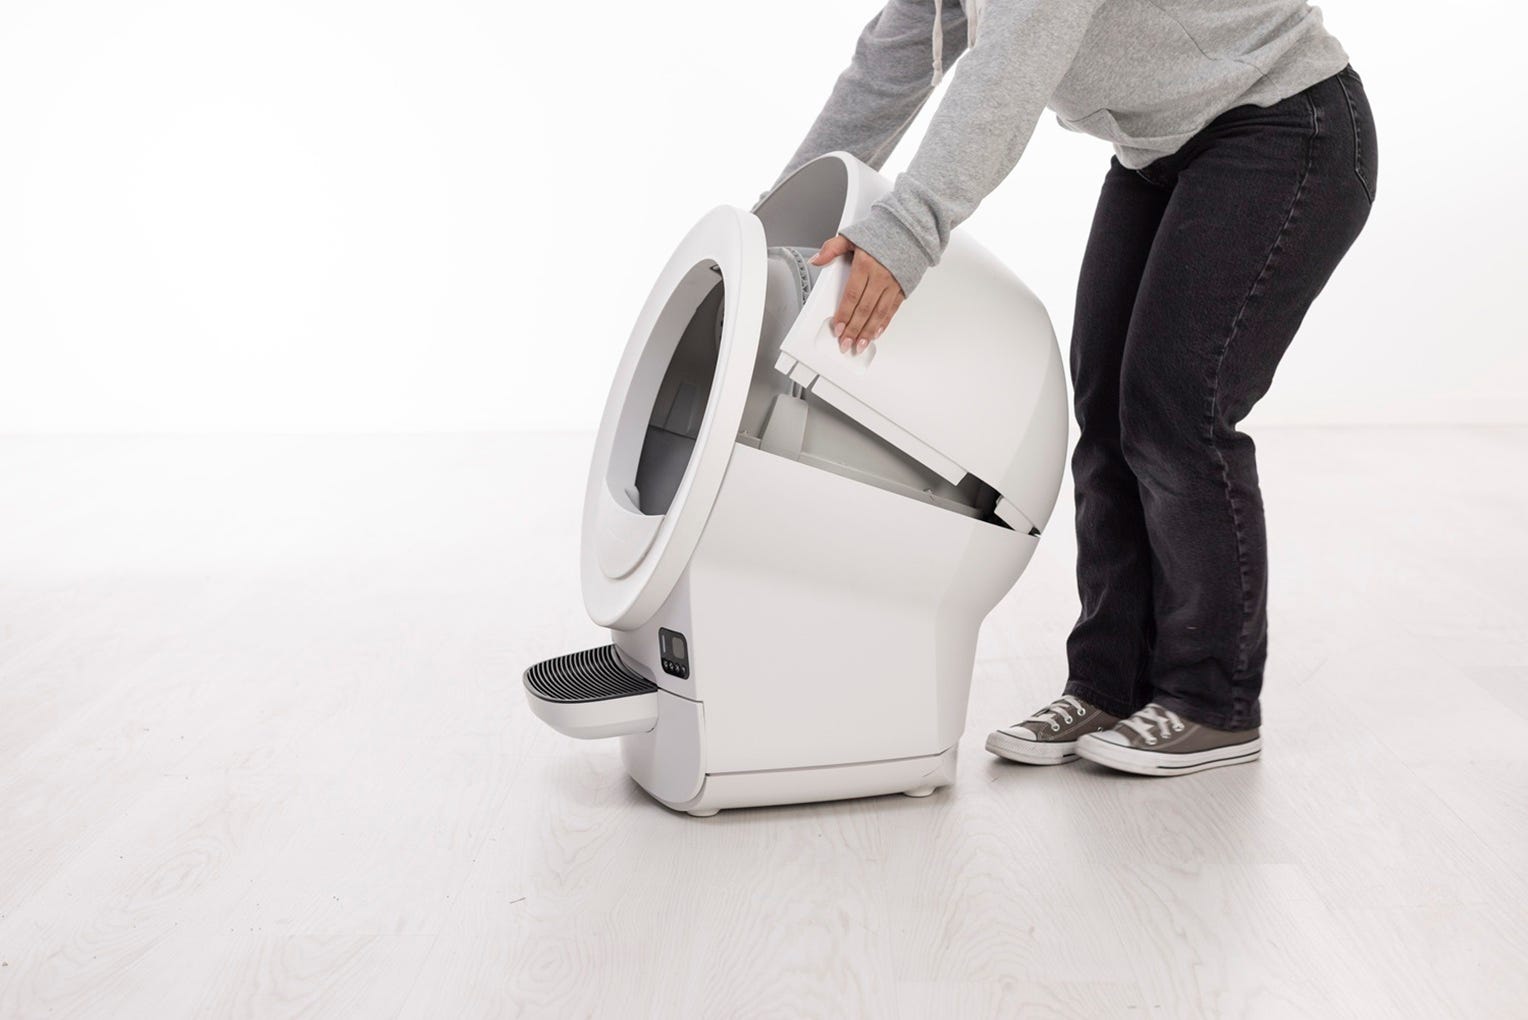
- Remove the bonnet: Use the handles on both sides of the bonnet to lift and rotate it upwards. Remove the bonnet and set it aside.
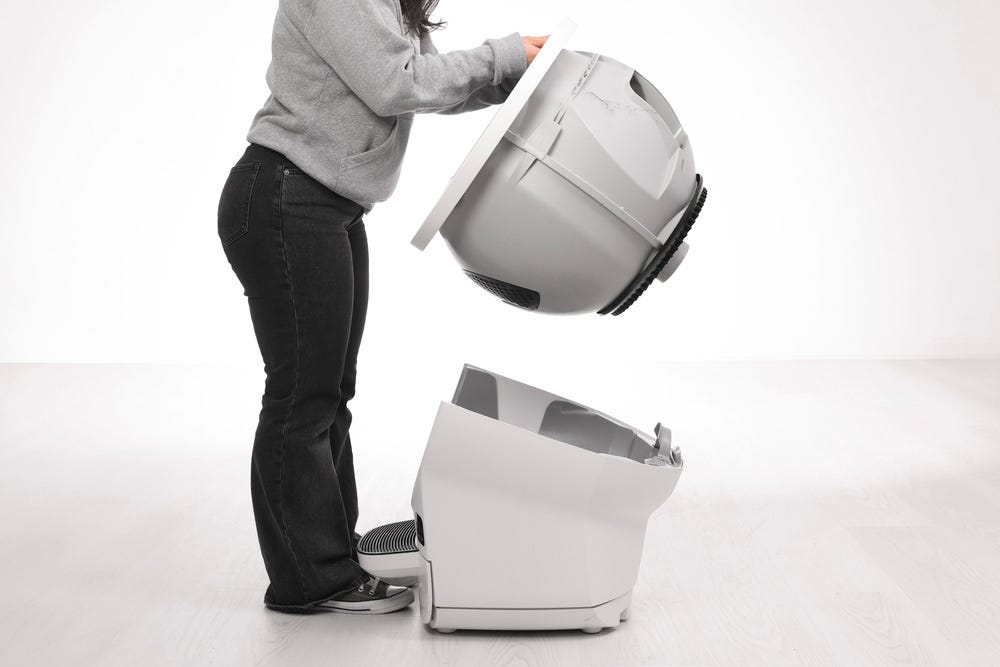
- Remove the globe: Lift the globe off the base by holding the rib located at the top of the globe entrance and place it on the ground nearby. This will provide access to the base unit.
- Remove the waste drawer from the base and set aside.
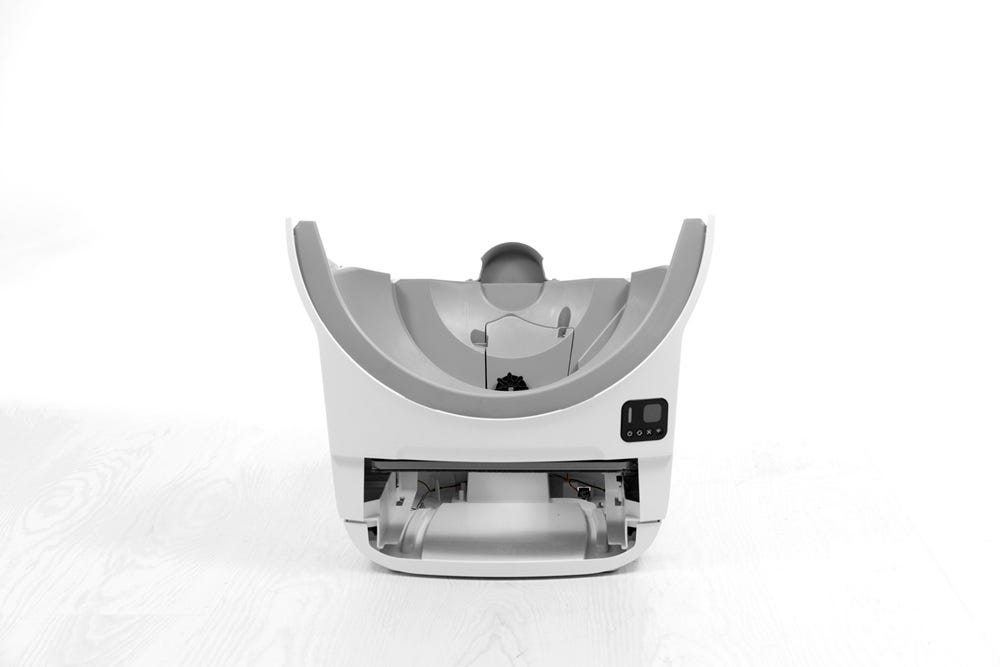
Installing upper base seal strips
Tools needed:
(2) longer base seal strips: 14.8-inches (37.6 cm)
(2) shorter base seal strips: 7.2-inches (18.3 cm)
Putty knife or flathead screwdriver (optional)
Duct tape
Rubbing alcohol
- If seal strips have already been installed here, you’ll need to remove the old strip and any residue to install the new seal strip. To do this, use a putty knife, flathead screwdriver, or your fingernail to lift the corner of the strips and peel them off.
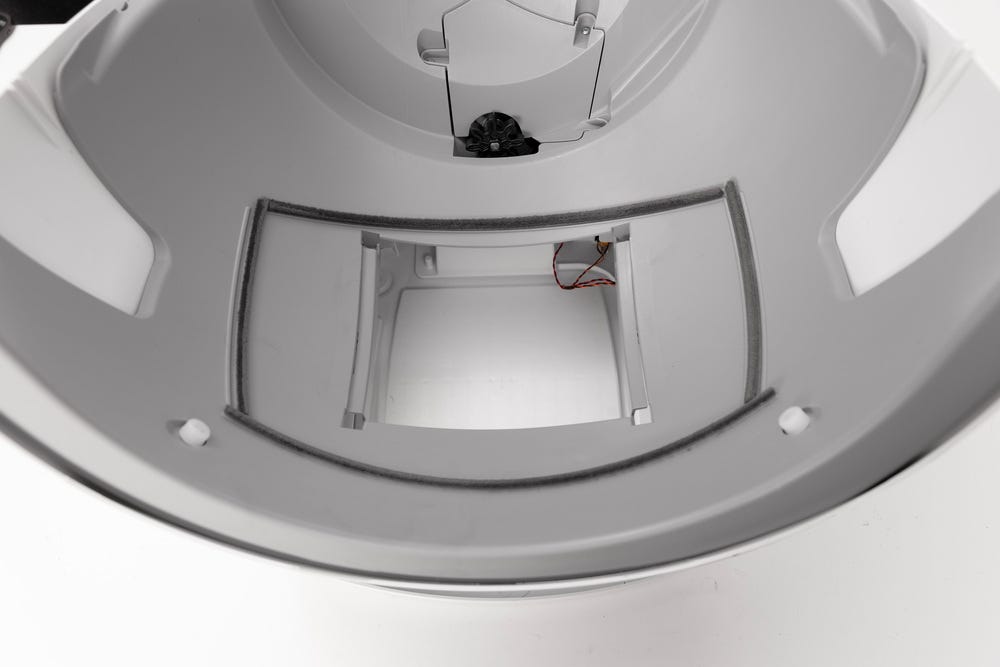
- You can also use ⅜-inch (9.5 mm) strips of sturdy duct tape. Apply tape to residue, rub to adhere firmly, and pull off. Repeat around the port. Clean any residue left behind with rubbing alcohol.
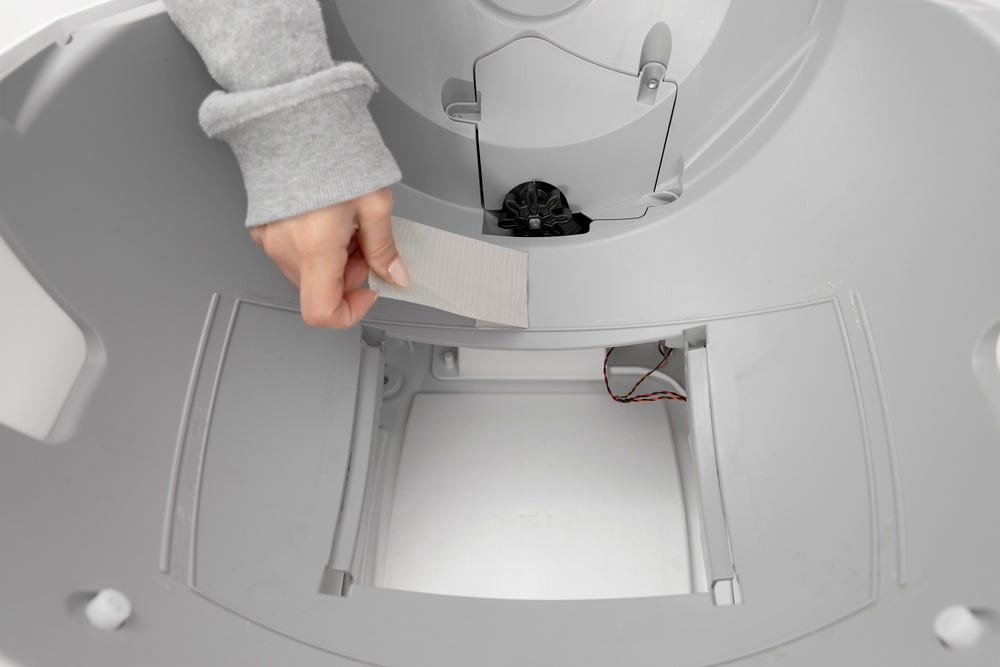
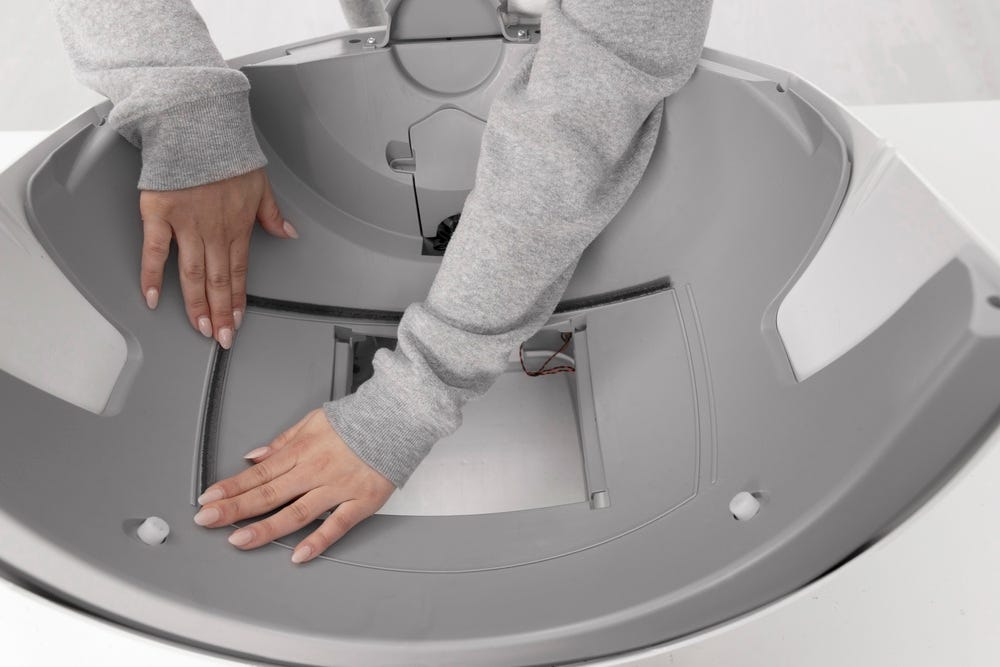
- To apply a new strip, peel off the adhesive backing on the first seal strip. Adhere the first seal strip (1) to the back edge of the base center.
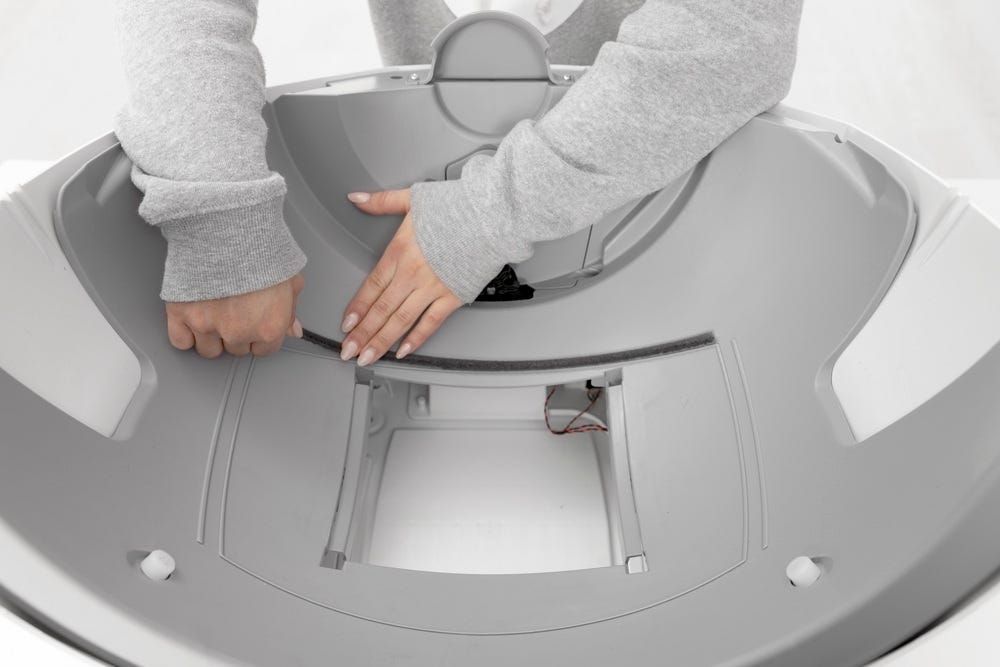
- Then place the two shorter strips (2 & 3) along the left and right of the base center
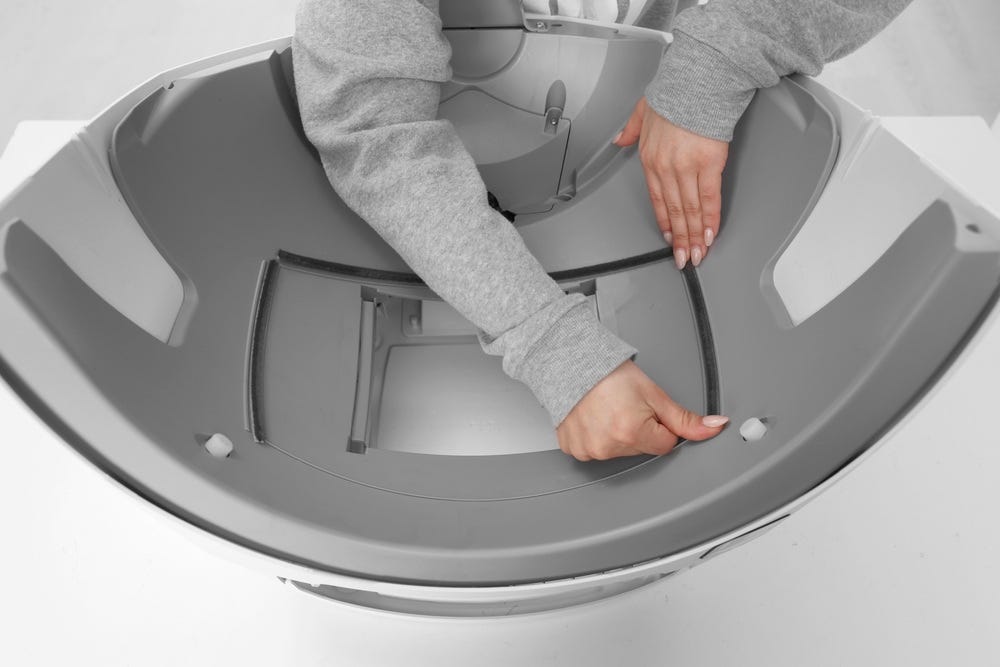
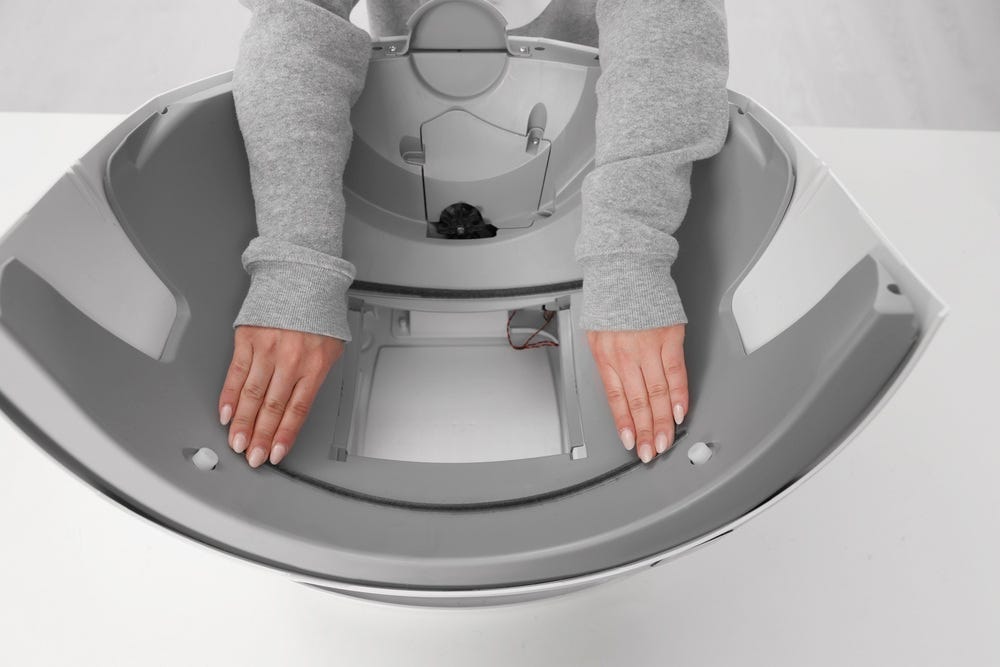
- Next place the fourth strip (4) along the front edge of the base center.
Installing waste port seal strips
Tools needed:
(4) mid base seal strips: 11.7-inches (29.7 cm)
Putty knife or flathead screwdriver (optional)
Duct tape
Rubbing alcohol
- Turn the base upside down and set it on top of the table or box so that the drawer opening is facing up.
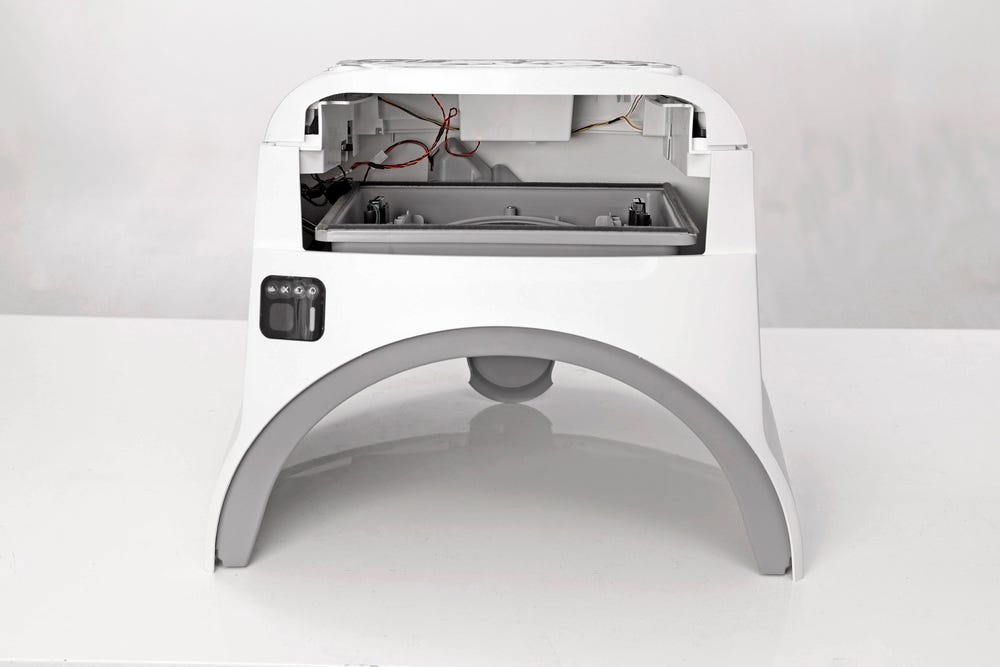
- Locate the old lower waste port seal strips. Use a putty knife, flathead screwdriver, or your fingernail to lift the corner of a strip and peel off all four (4) strips.
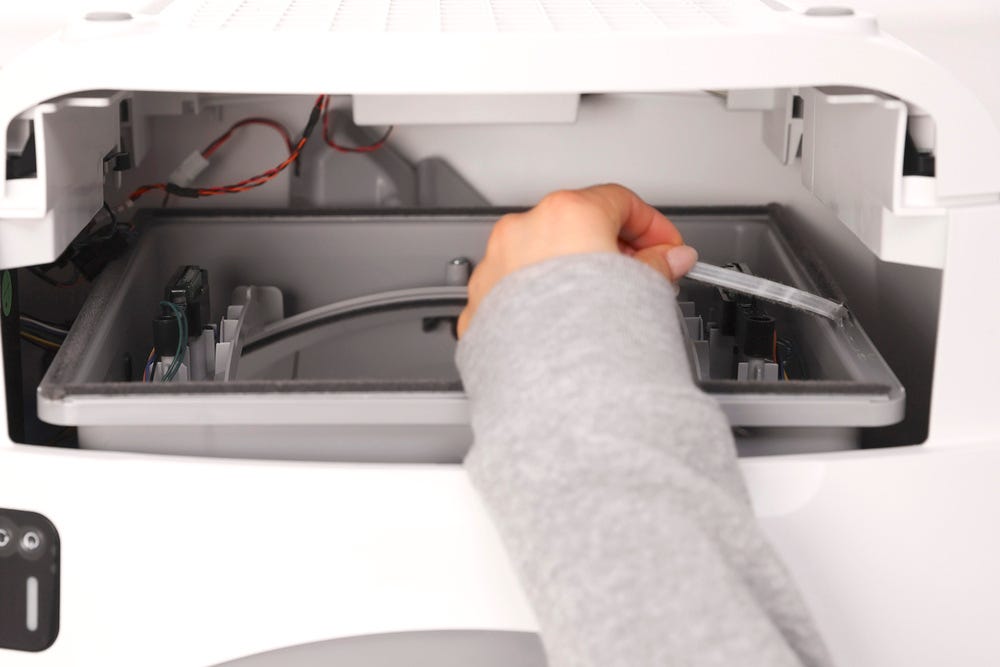
- To ensure that the new seal strips adhere to the base, remove any litter and old strip residue. This can be done with some ⅜-inch (9.5 mm) strips of sturdy duct tape. Apply tape to residue, rub to adhere firmly, and pull off. Repeat around the port.
- Clean any reside left behind with rubbing alcohol.
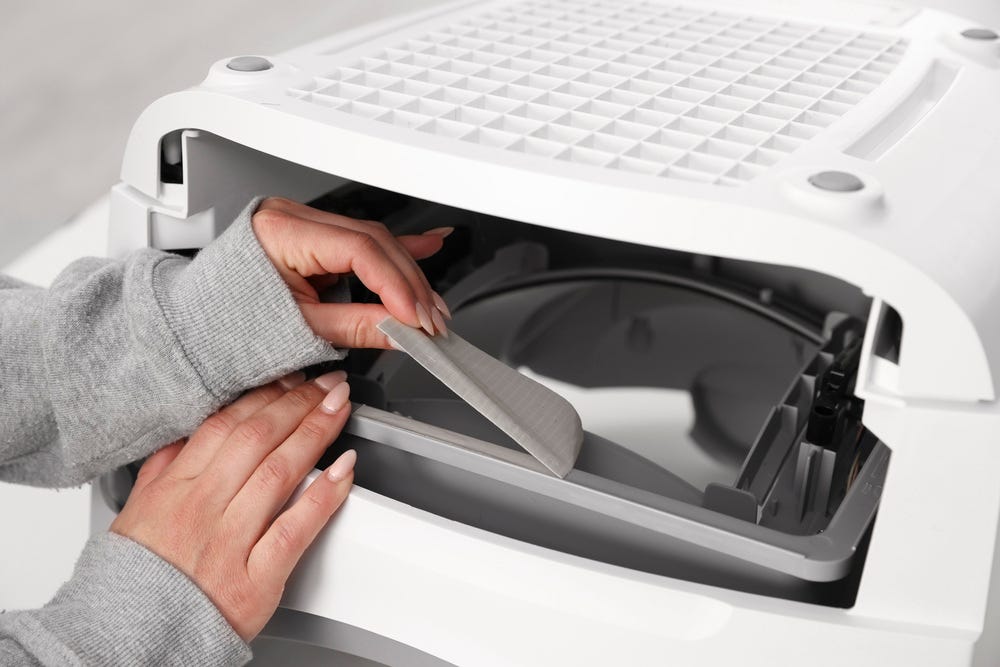
- Replace the (4) side seal strips. Peel off the adhesive backing on the first seal strip.
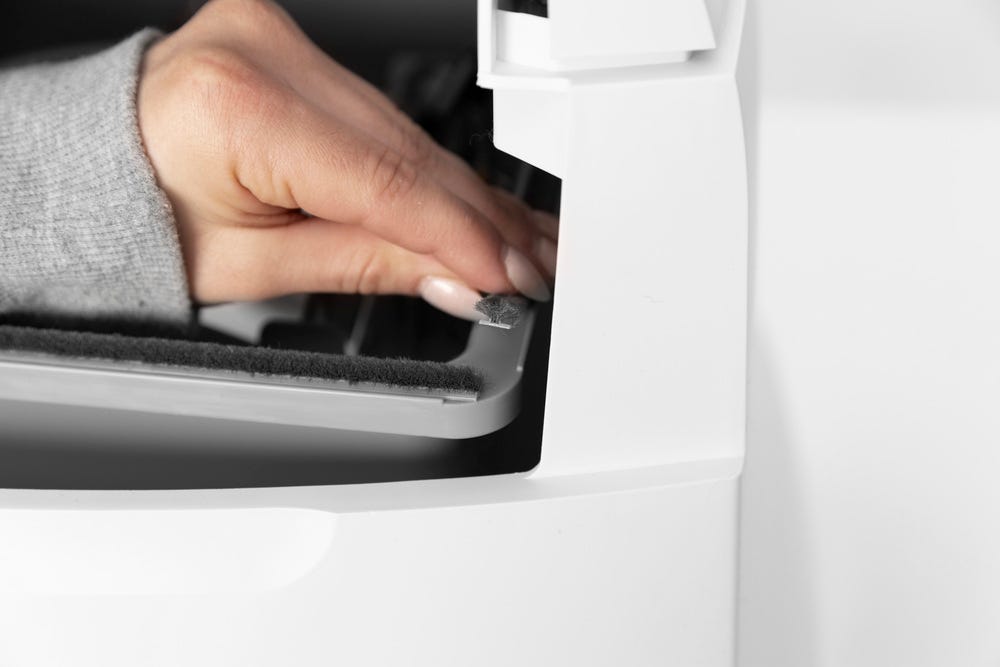
- Start at the front edge, and place the strip backward along the strip guideline. Run your finger along the strip a few times to ensure adhesion.
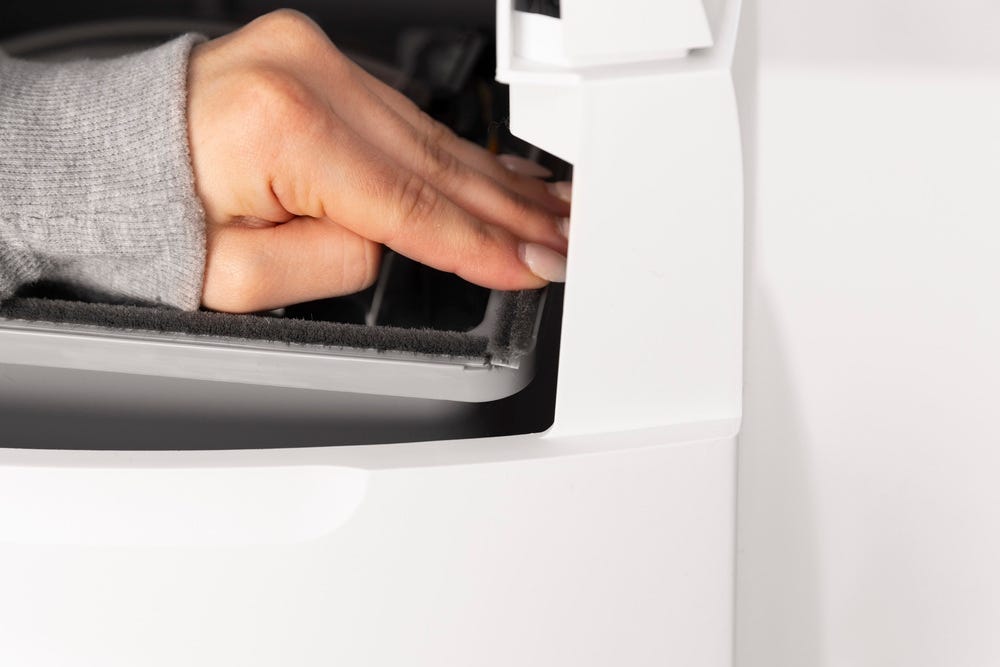
- Repeat with the other side seal strip.
- Then place the rear seal strip in front of the strip guideline.
- Place the base right side up on the floor.
Reassembly
- Replace the globe: Hold the globe by the bezel edge and slide it back into the base.
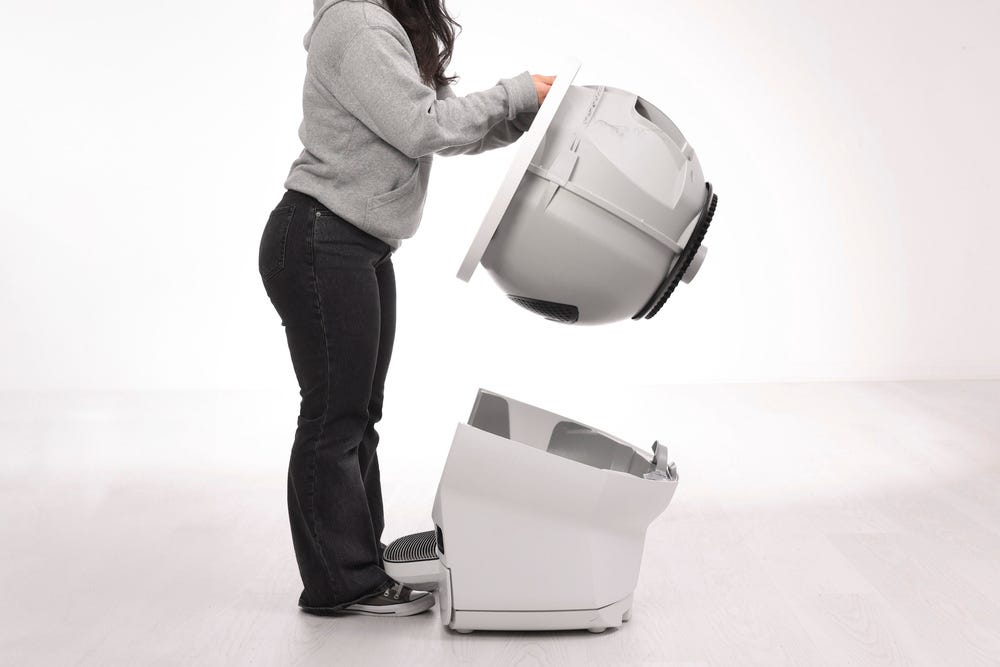
- Ensure the back of the globe is sitting flush in the rear bearing pocket.
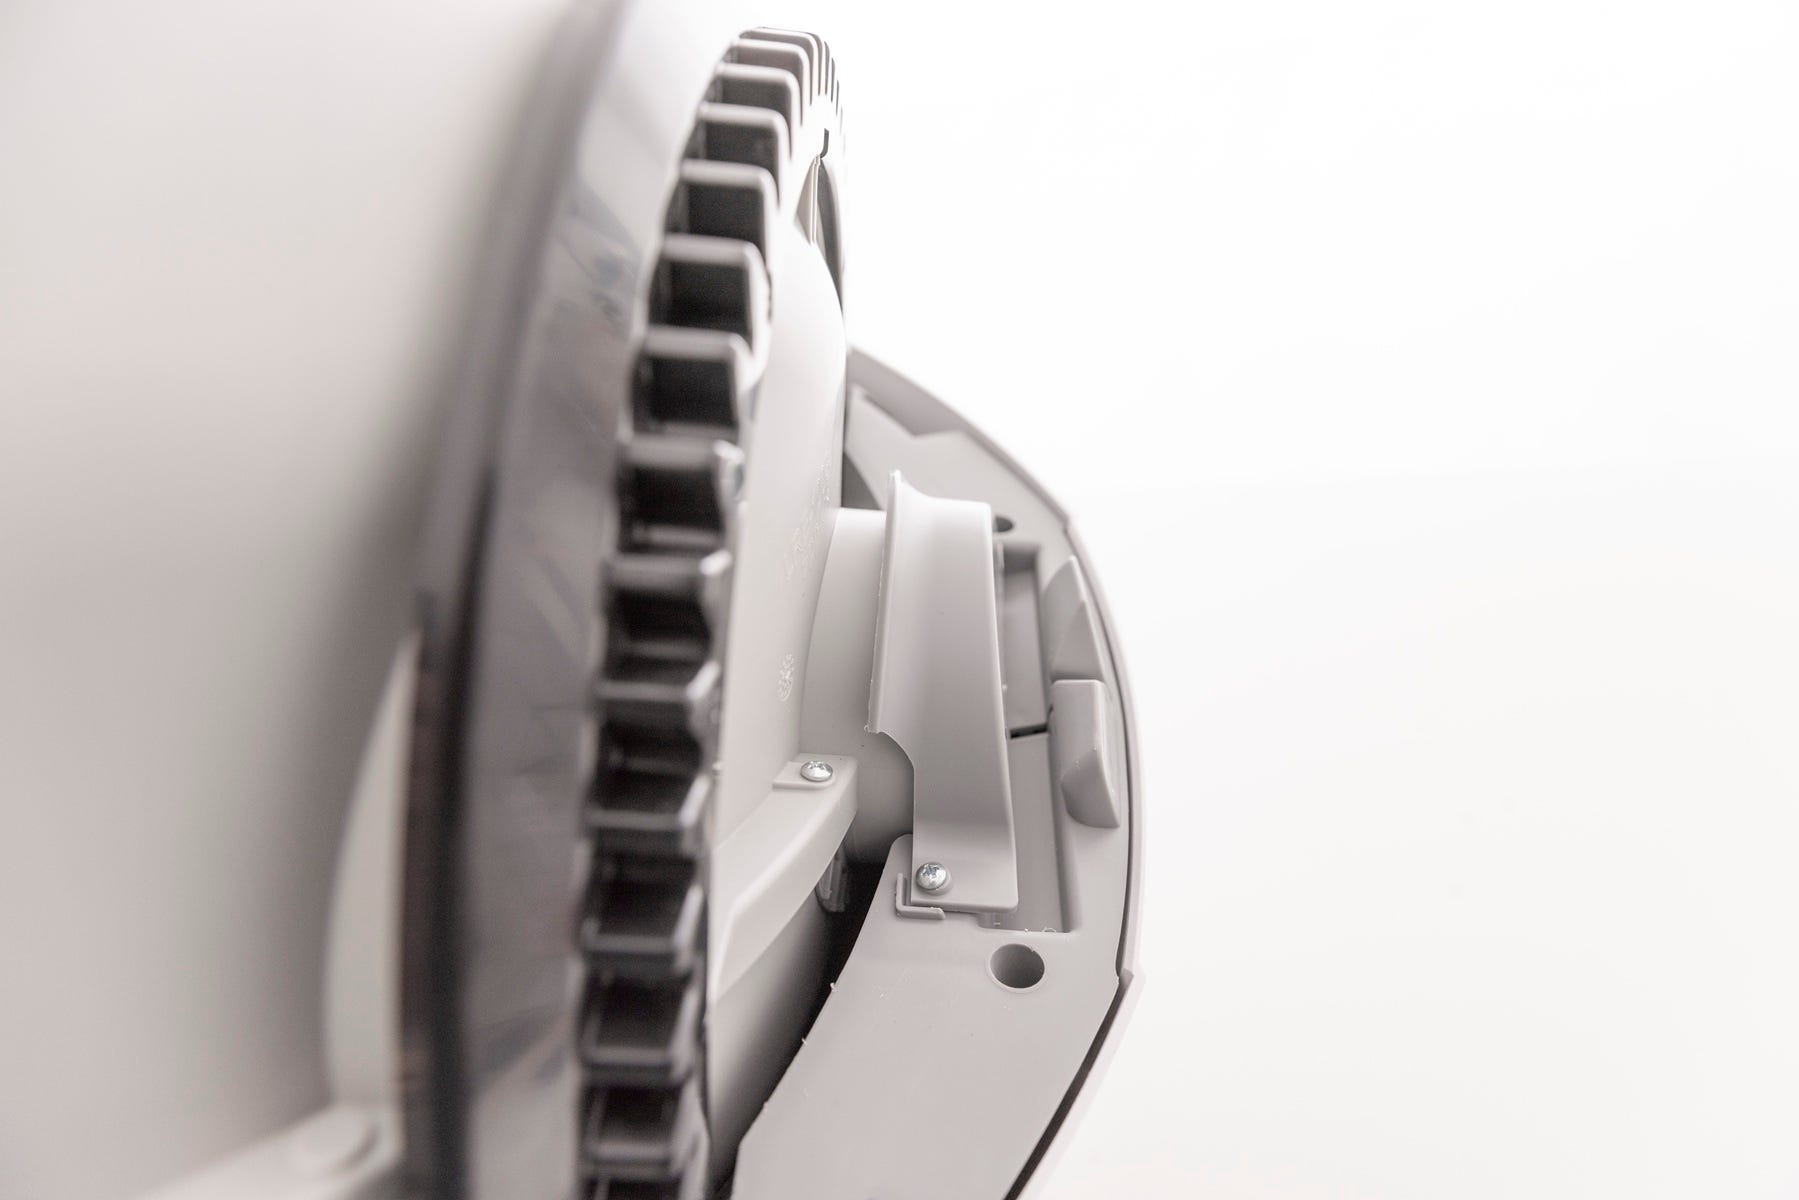
- The large black gear on the rear of the globe will line up with the smaller black gear in the base.

- Replace the bonnet by aligning the tab at the back of the bonnet with the slot in the bonnet hinge.
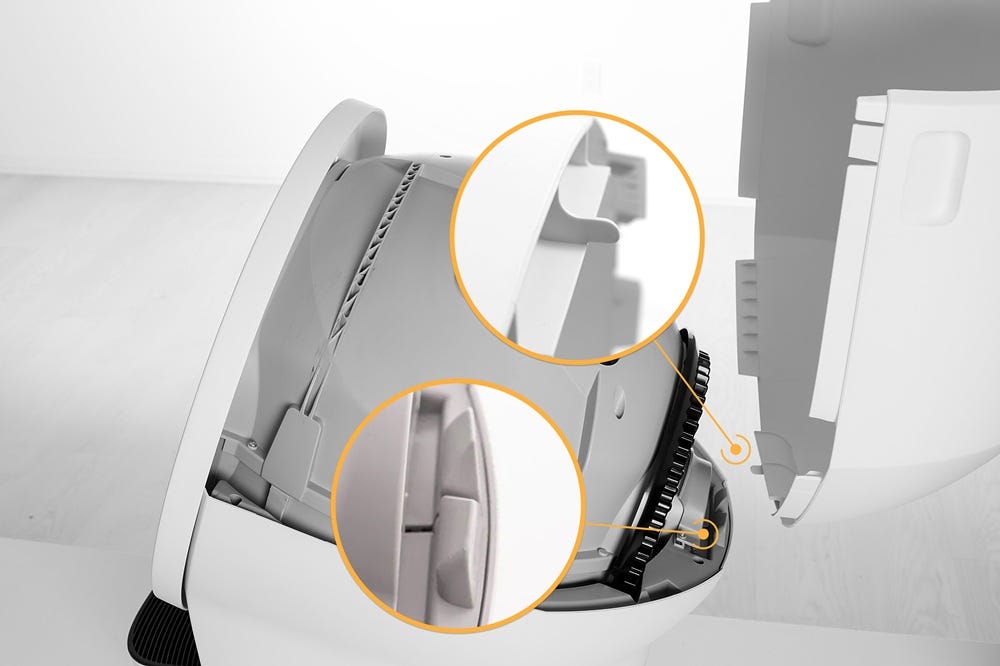
- Rotate the bonnet downward with light pressure on the sides so that it hugs the globe. This will help ensure proper alignment of the bonnet latches in the base.
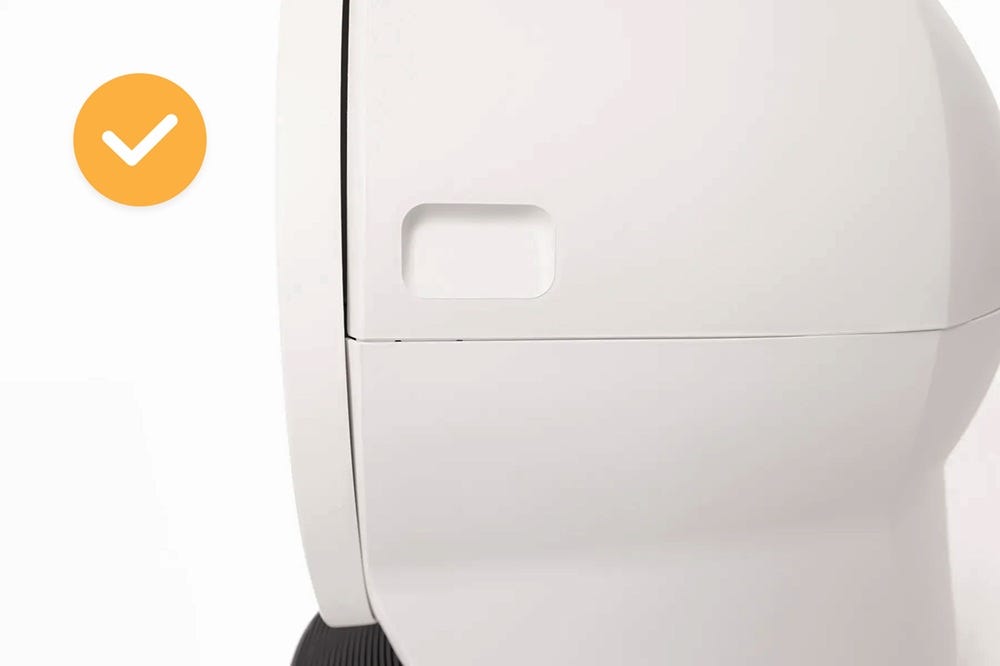
- Confirm that the two channels on each side of the base are properly aligned and that there are no gaps between the bonnet and the base.
Incorrect:
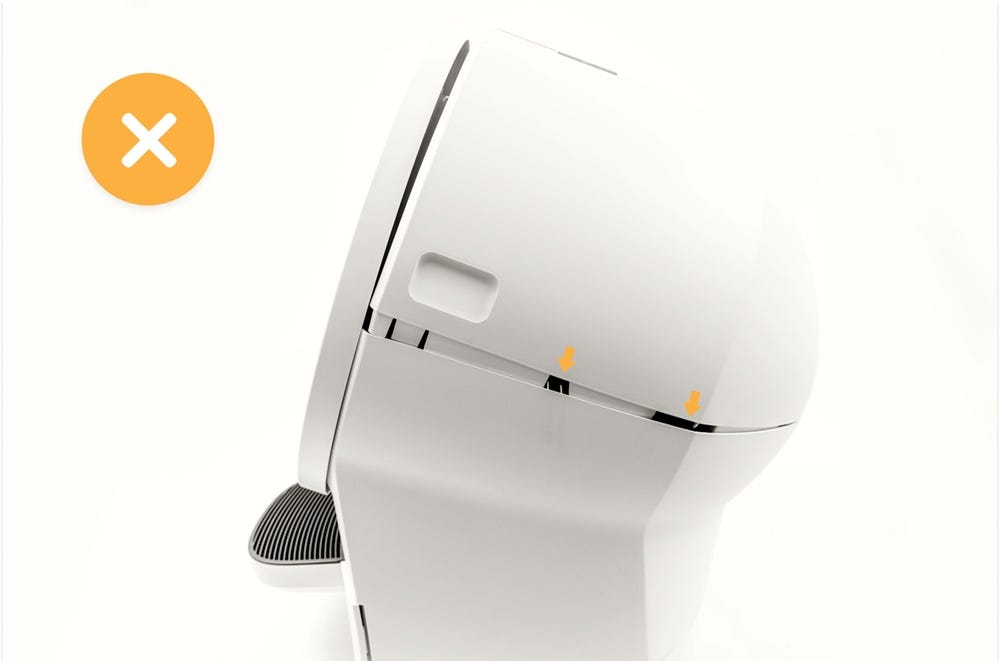
Correct:
- Plug the unit back in and power it on.
Didn't find what you're looking for?
Live support available Mon-Fri: 9AM-9PM EST and Sat-Sun: 9AM-5PM EST, or submit a ticket anytime.