The store will not work correctly in the case when cookies are disabled.
Litter-Robot 3: Yellow flashing slowly (Cycle interrupted)
The bonnet functions as a cover and guard for the waste port as the globe rotates. The globe will not rotate without the bonnet installed.
If a cycle is interrupted or the bonnet is removed, the unit will stop, and the yellow light will flash slowly, about 1x per second.
This will occur if the cat sensor is activated by a cat entering the globe. The unit will resume its cycle 15 seconds after your cat has left the globe.
If the bonnet is removed, the unit will resume its previous function five seconds after the bonnet is replaced.
You will also receive a notification on your phone if you use the Whisker app.
If your Litter-Robot 3 is displaying a yellow light flashing slowly, this indicates a cycle has been interrupted either by the cat sensor or bonnet removal.
Press the Reset button to resume the cycle.
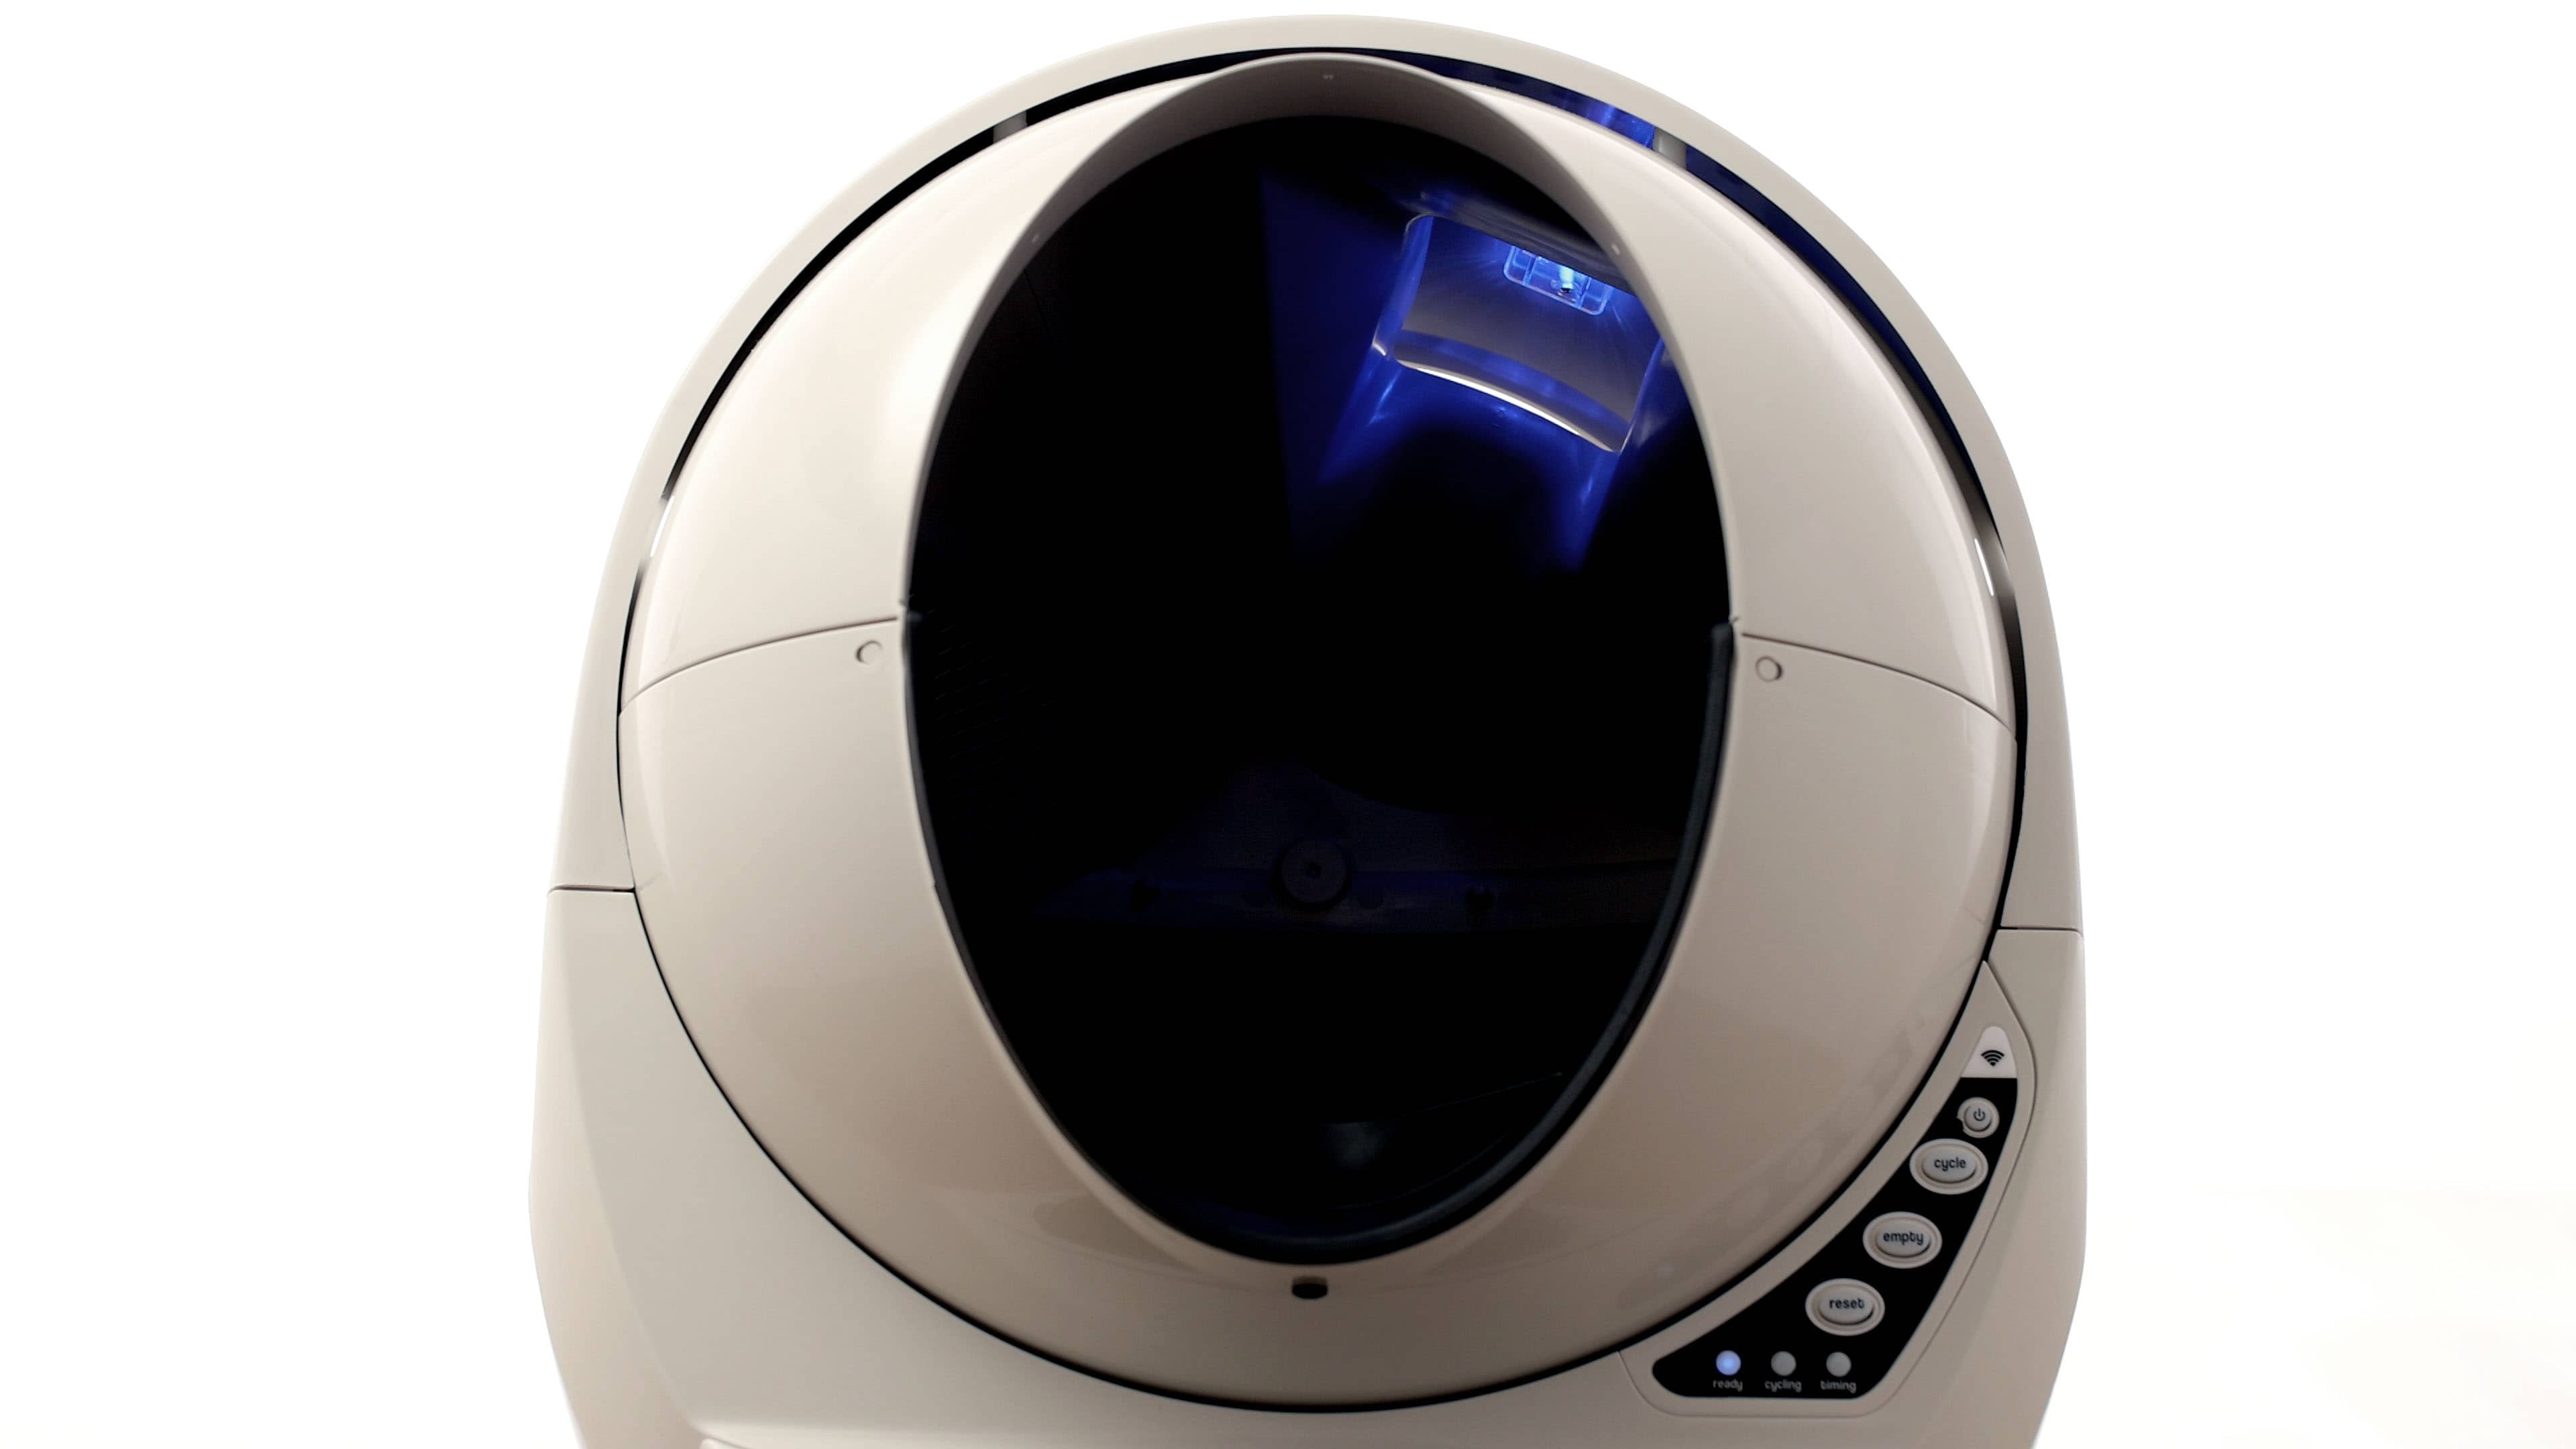
If your unit returned home and displays a solid blue light, you've been successful.
If your unit is not displaying a solid blue light after returning to home position, or cannot complete the cycle, please continue with troubleshooting.
Cat sensor troubleshooting
Cat sensor: Test the cat sensor
We will first troubleshoot the cat sensor. If you received a bonnet removed notification, please feel free to skip to the bonnet troubleshooting section.
- Test the cat sensor by pressing the top of the entryway (not the bonnet) down and away, toward the back of the unit. You should be able to feel a slight spring/bounce movement - this is a good sign that the robot can freely move and that there are no obstructions to prevent the cat sensor from functioning.
- From the Home position, press the Reset button to zero the weight sensors.
- Press the Cycle button.
Once the Clean cycle is complete, the unit should go back to blue ready status.
If your unit is not displaying a solid blue light after returning to home position, or cannot complete the cycle, please continue with troubleshooting.
Check for obstructions
Check for obstructions that might prevent the cat sensor from functioning.
- Make sure Litter-Robot is on a firm, level surface.
- The cat sensor function can be affected if the rear feet of the unit are on carpeting or a litter mat.
- Check that there are no power cords running underneath the base of the robot that might obstruct movement.
- If Litter-Robot is on a slippery surface like tile or a wood floor, it may shift over time and come in contact with a wall or furniture.
- Make sure your unit is at least one inch away from walls and furniture.
- Make sure the litter is at or below the raised fill line. Some brands of litter are heavier than others. We recommend keeping the litter at least a half inch below the fill line for heavier litter to avoid weight-related errors.
- From the Home position, press the Reset button to zero the weight sensors.
The Litter-Robot should return home displaying a blue 'ready light' status.
If your unit is not displaying a solid blue light after returning to home position, or cannot complete the cycle, please continue with troubleshooting.
Cleaning your Litter-Robot
It's important to deep clean your Litter-Robot every 3 months.
Over time, small clumps can accumulate within the internal pocket of the globe which can contribute to weight-related errors.
Cleaning or soaking the globe thoroughly every 3 months will help prevent any excess weight from accumulating within the globe.
Customers with more than one cat may want to perform globe cleanings more frequently.
Bonnet troubleshooting
Bonnet: Inspect bonnet connections
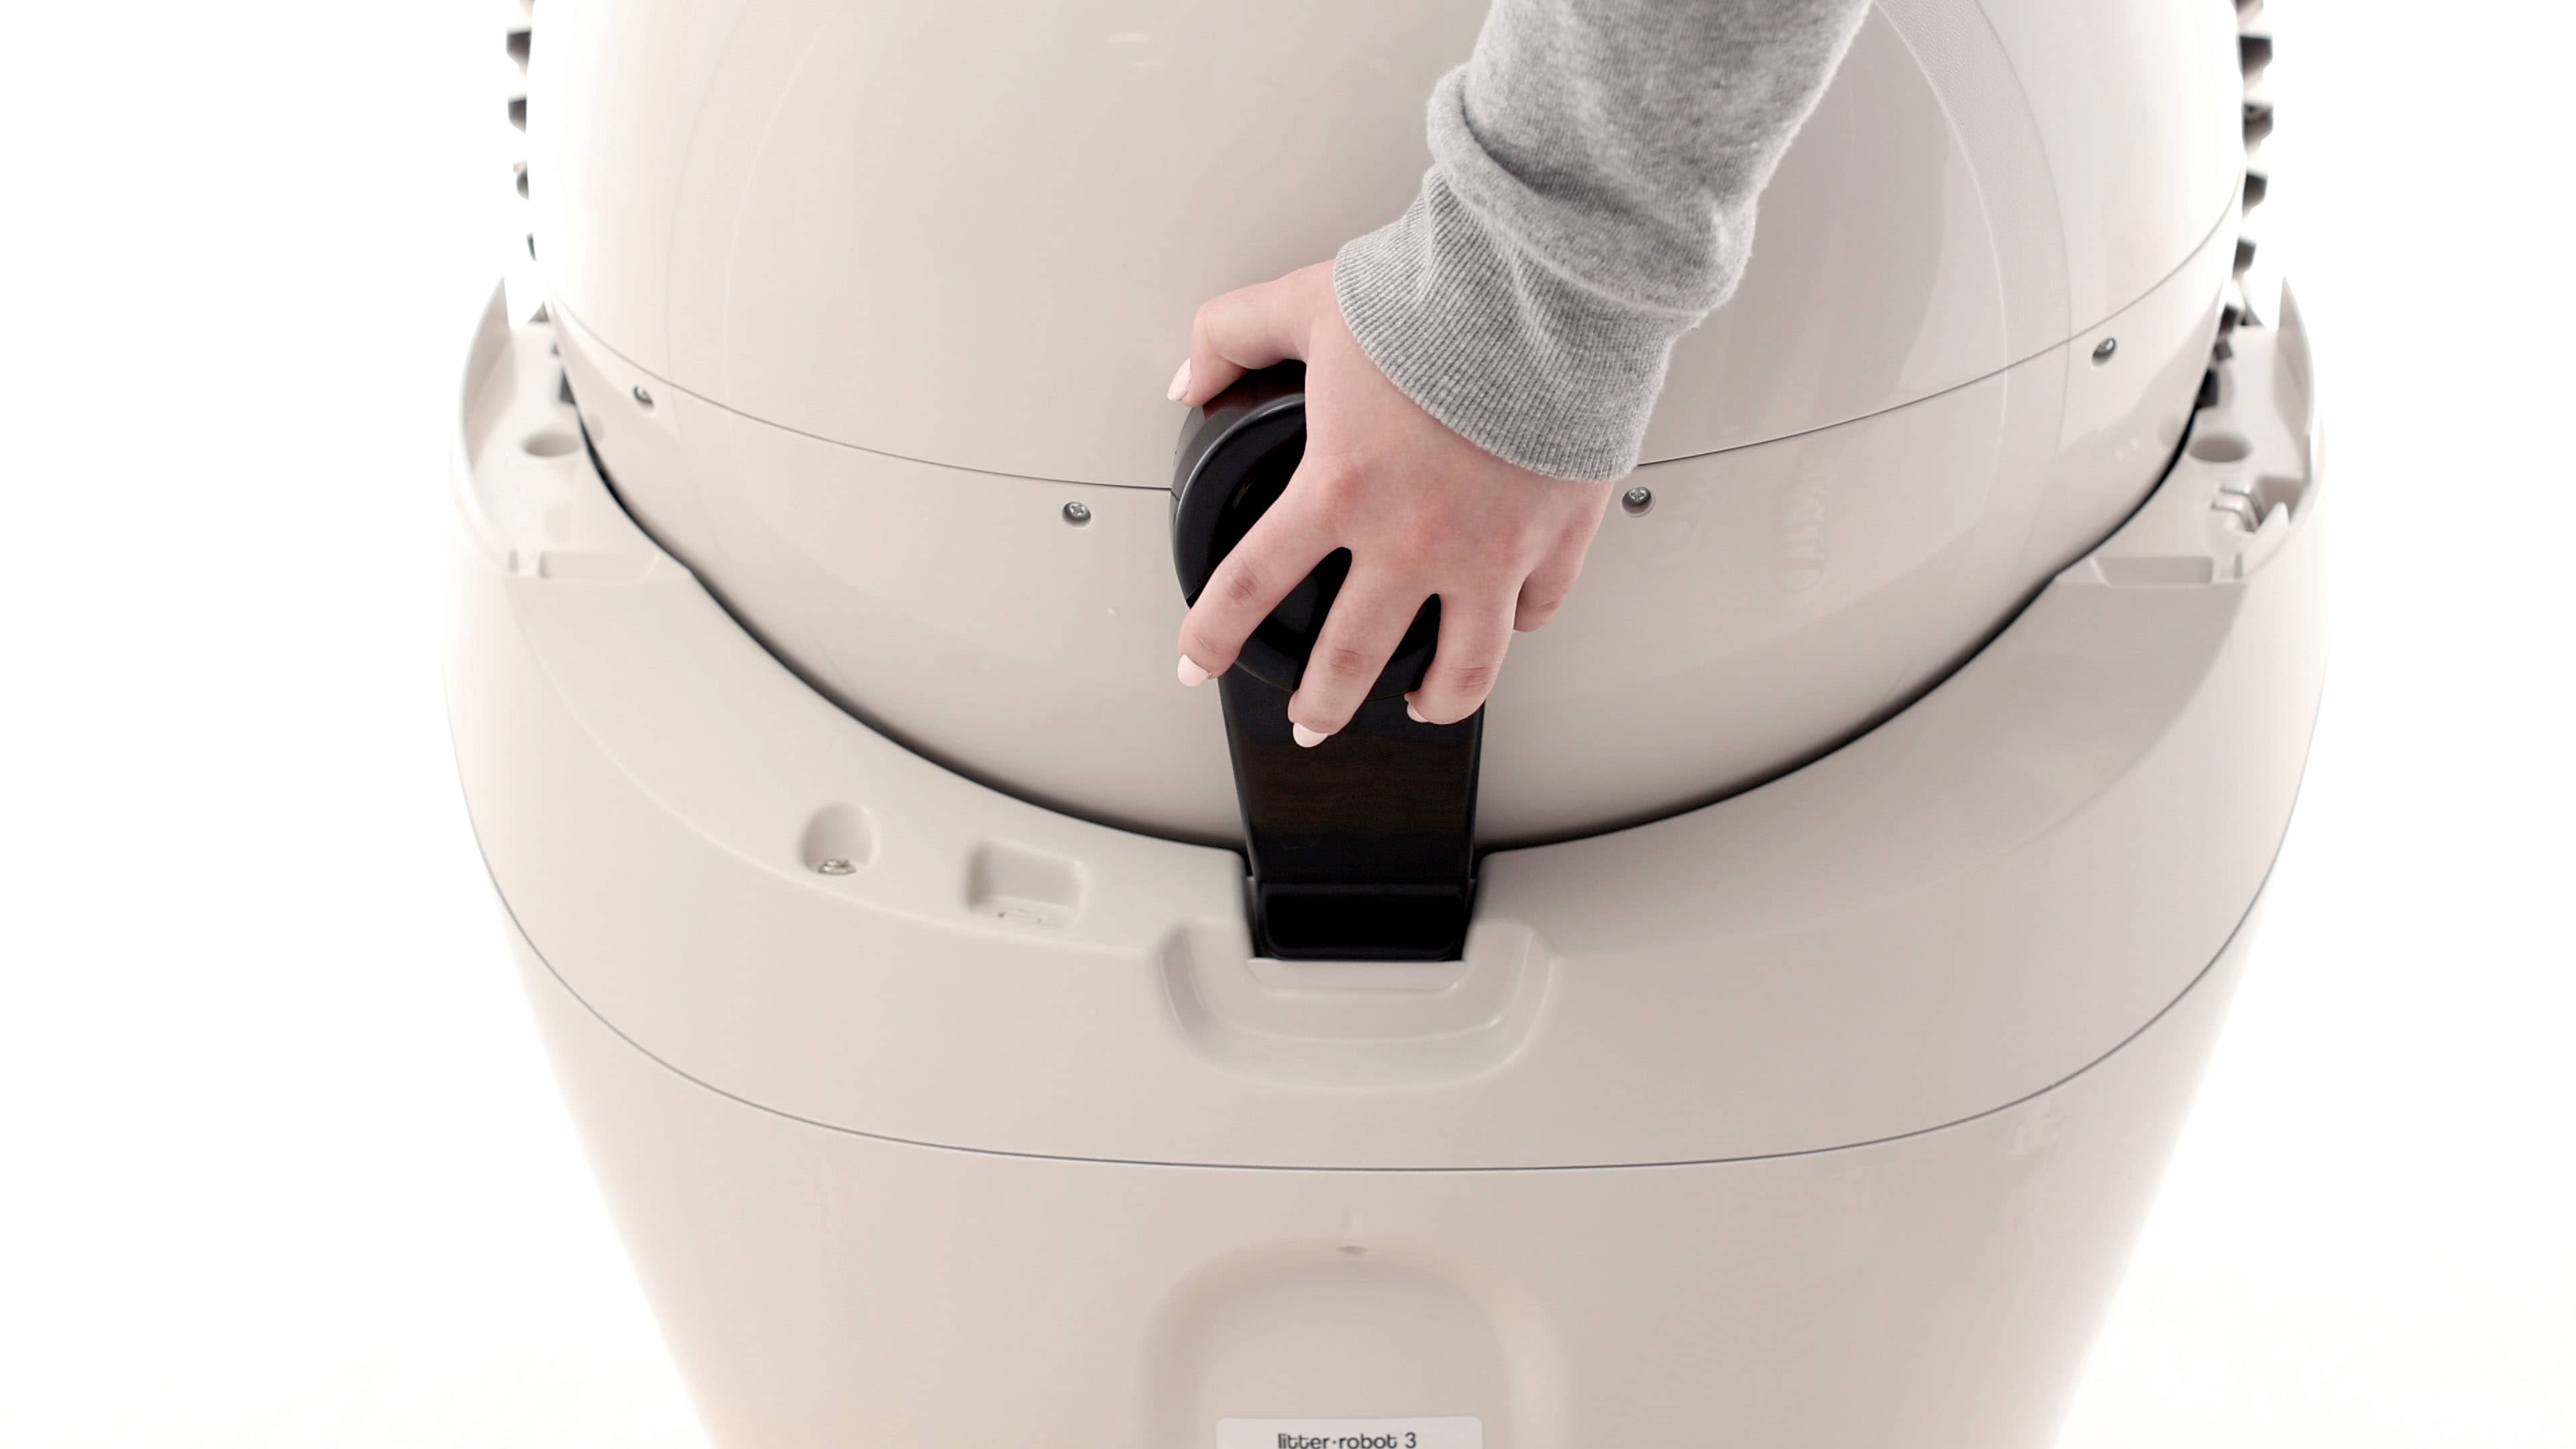
- Remove the bonnet by pressing the latches on both sides of the bonnet, then lift while rotating it backward; there are two plastic tabs on the back of the bonnet that should slide up and out of the base.
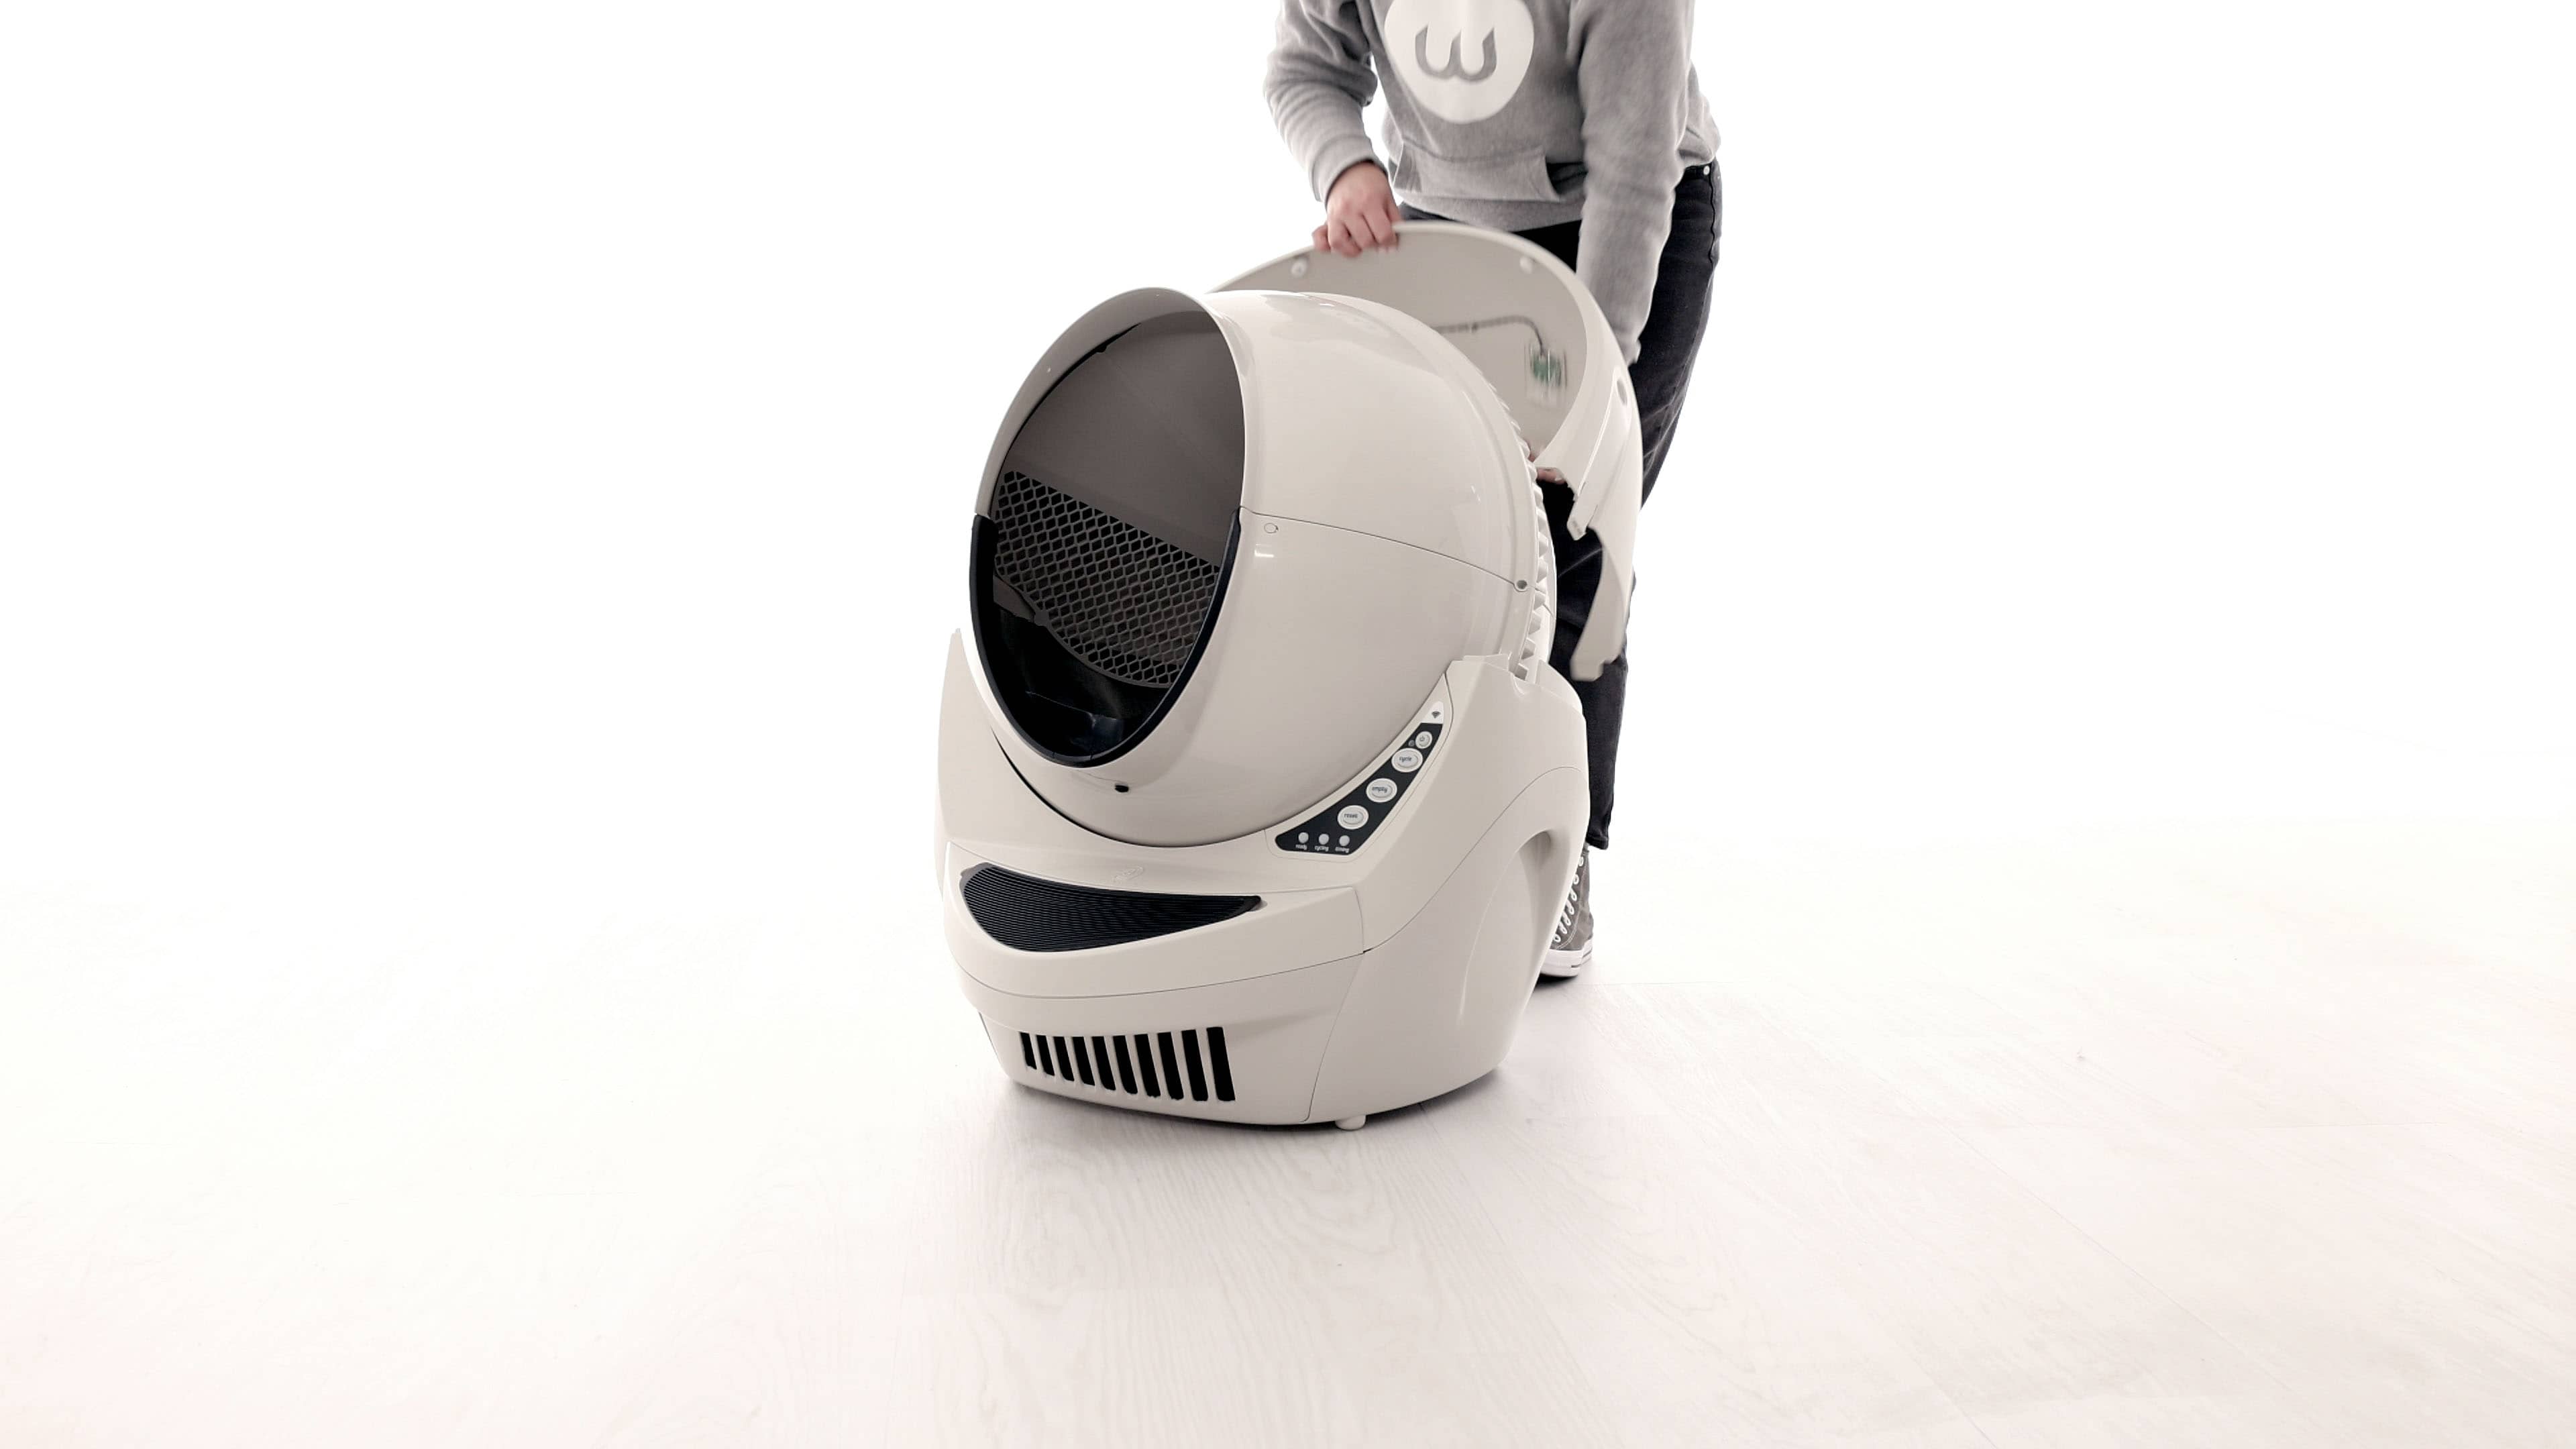
- Set the bonnet aside.
- When standing in front of Litter-Robot, locate the bonnet connection terminals. There are two metal terminals on the left side of the robot base and two mating terminals on the left side of the bonnet.
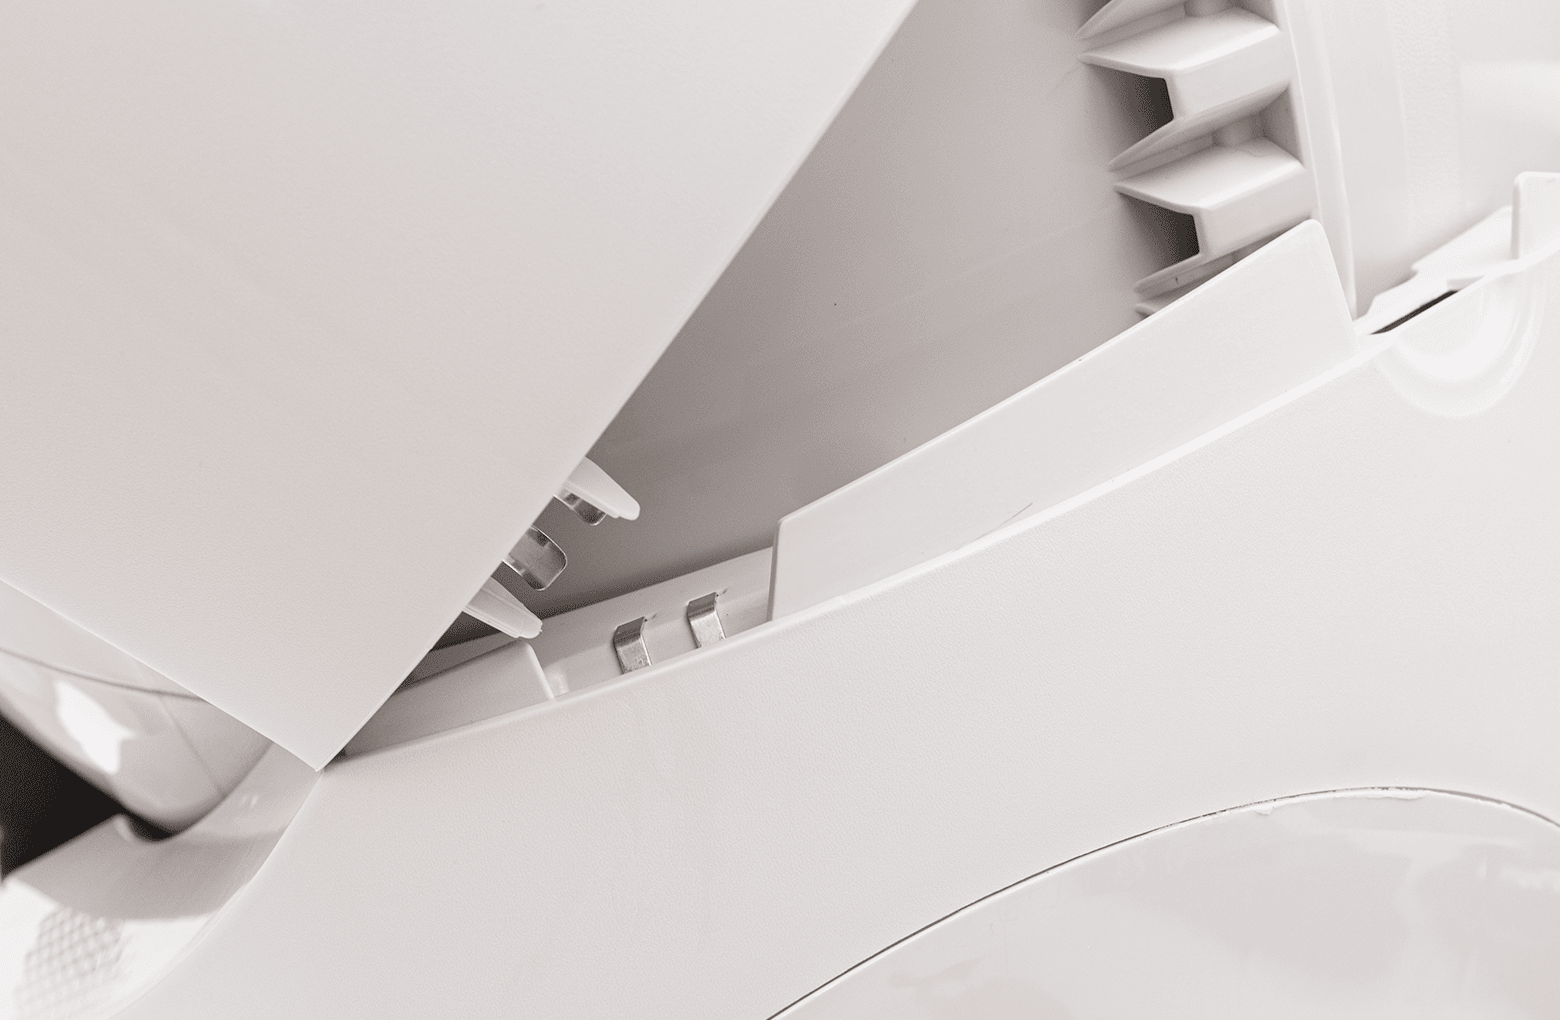
- Inspect bonnet terminals for corrosion, dust, or debris, such as pieces of litter. Remove debris or corrosion which would prevent a good electrical connection.
- Your bonnet tabs should be shiny and free of rust.
- Gently flex the two metal terminals on the left side of the bonnet downward to ensure a solid electrical connection.
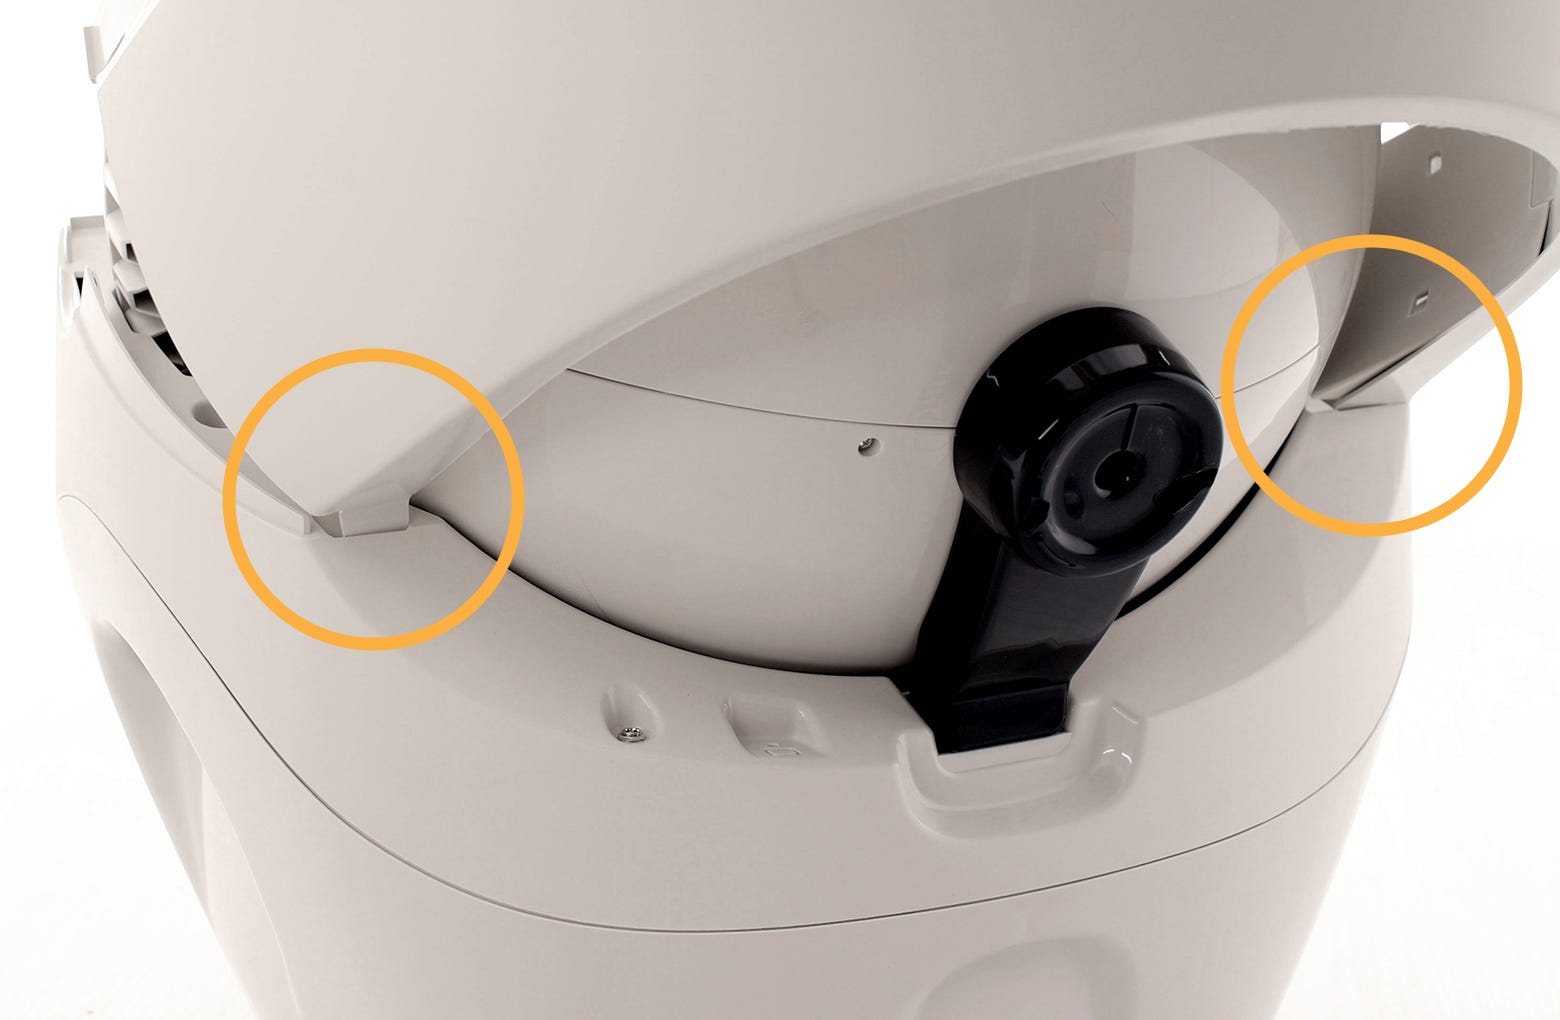
- Gently flex the two plastic tabs on the left and right sides of the bonnet outward to ensure there is solid engagement when the tabs snap into the base.
- Reinstall the bonnet and check if the yellow flashing light is resolved.
- Replace the bonnet by inserting the bonnet tabs into the rear bonnet slots, then press the latches while rotating it forward until the latches click into place.
- From the Home position, press the Reset button to zero the weight sensors.
The Litter-Robot should return home displaying a blue 'ready light' status.
If your unit is not displaying a solid blue light after returning to home position, or cannot complete the cycle, please continue with troubleshooting.
Bonnet: Inspect the bonnet wire harness
- Remove the bonnet again.
- Check the connection between the wire harness and the night light circuit board.
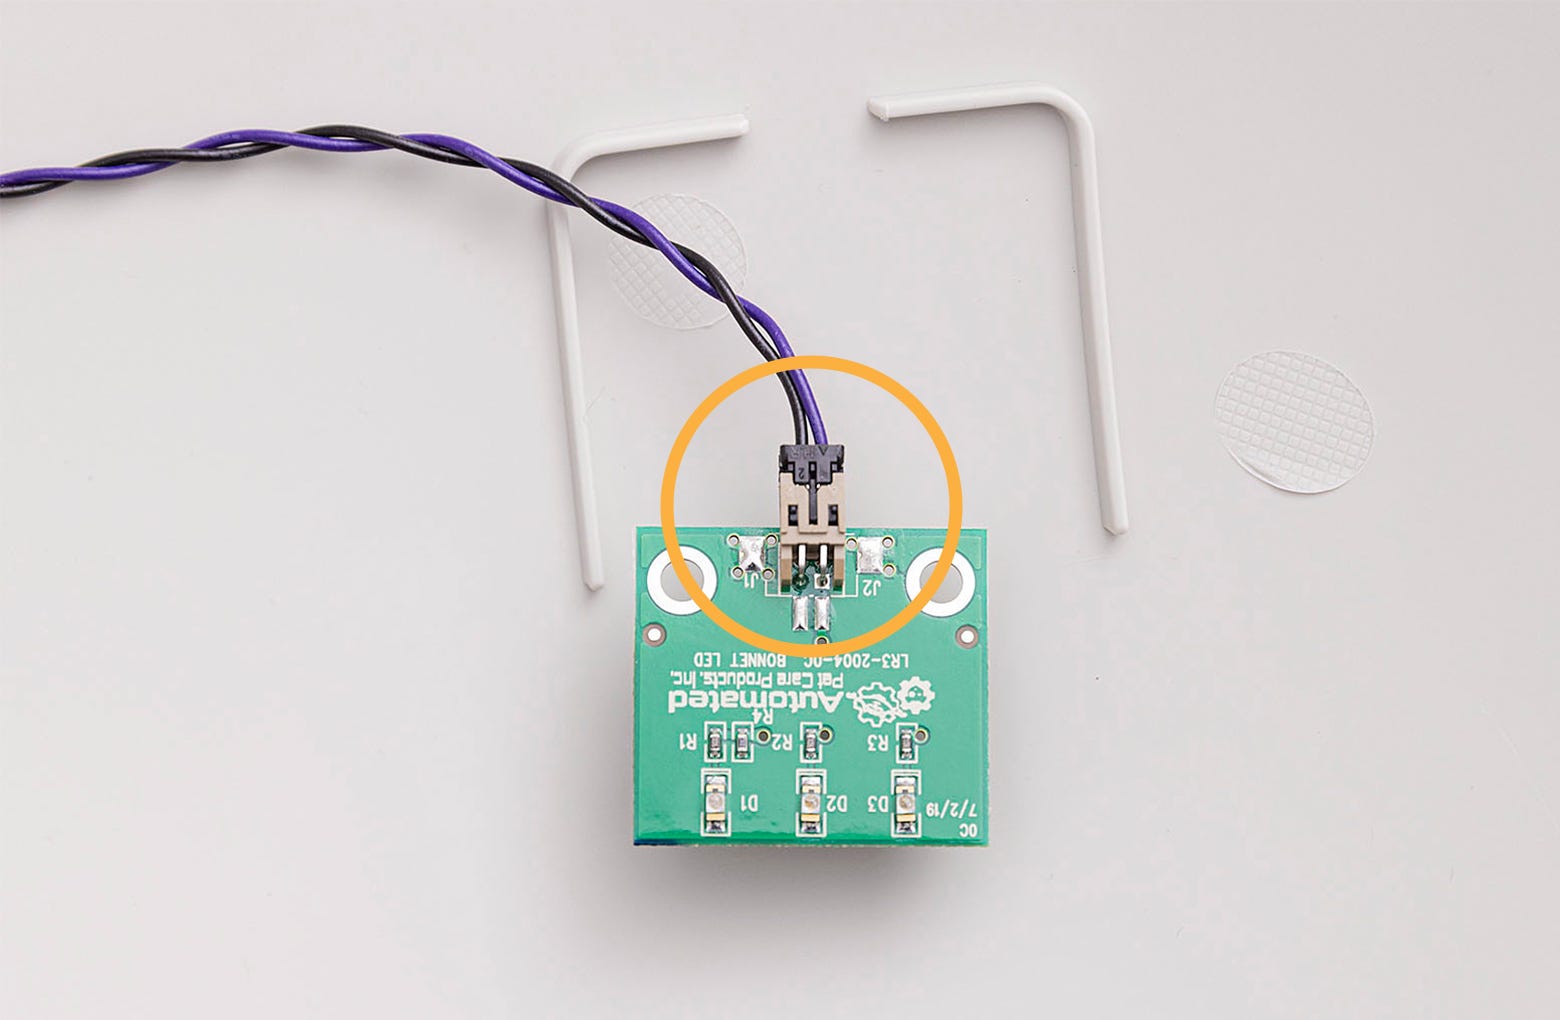
- The wires that run across the underside of the bonnet end in a micro connector that plugs into the circuit board inside the nightlight housing.
- Gently push this micro connector into the circuit board to ensure the connection.
- Inspect the rest of the wire harness that is on the underside of the bonnet. When the globe rotates, it may catch on the wires and cause the rotation to pause with a yellow flashing light.
- Secure any loose wires by taping them flat against the bonnet.
- Replace the bonnet by inserting the bonnet tabs into the rear bonnet slots, then press the latches while rotating it forward until the latches click into place.
Bonnet: Inspect the night light
With the robot fully assembled and at the home position, check that the nightlight is working properly.
If the night light has a burnt-out LED, the change in electrical resistance may trigger a bonnet-removed error.
- Cover the light sensor near the power button to turn on the night light.
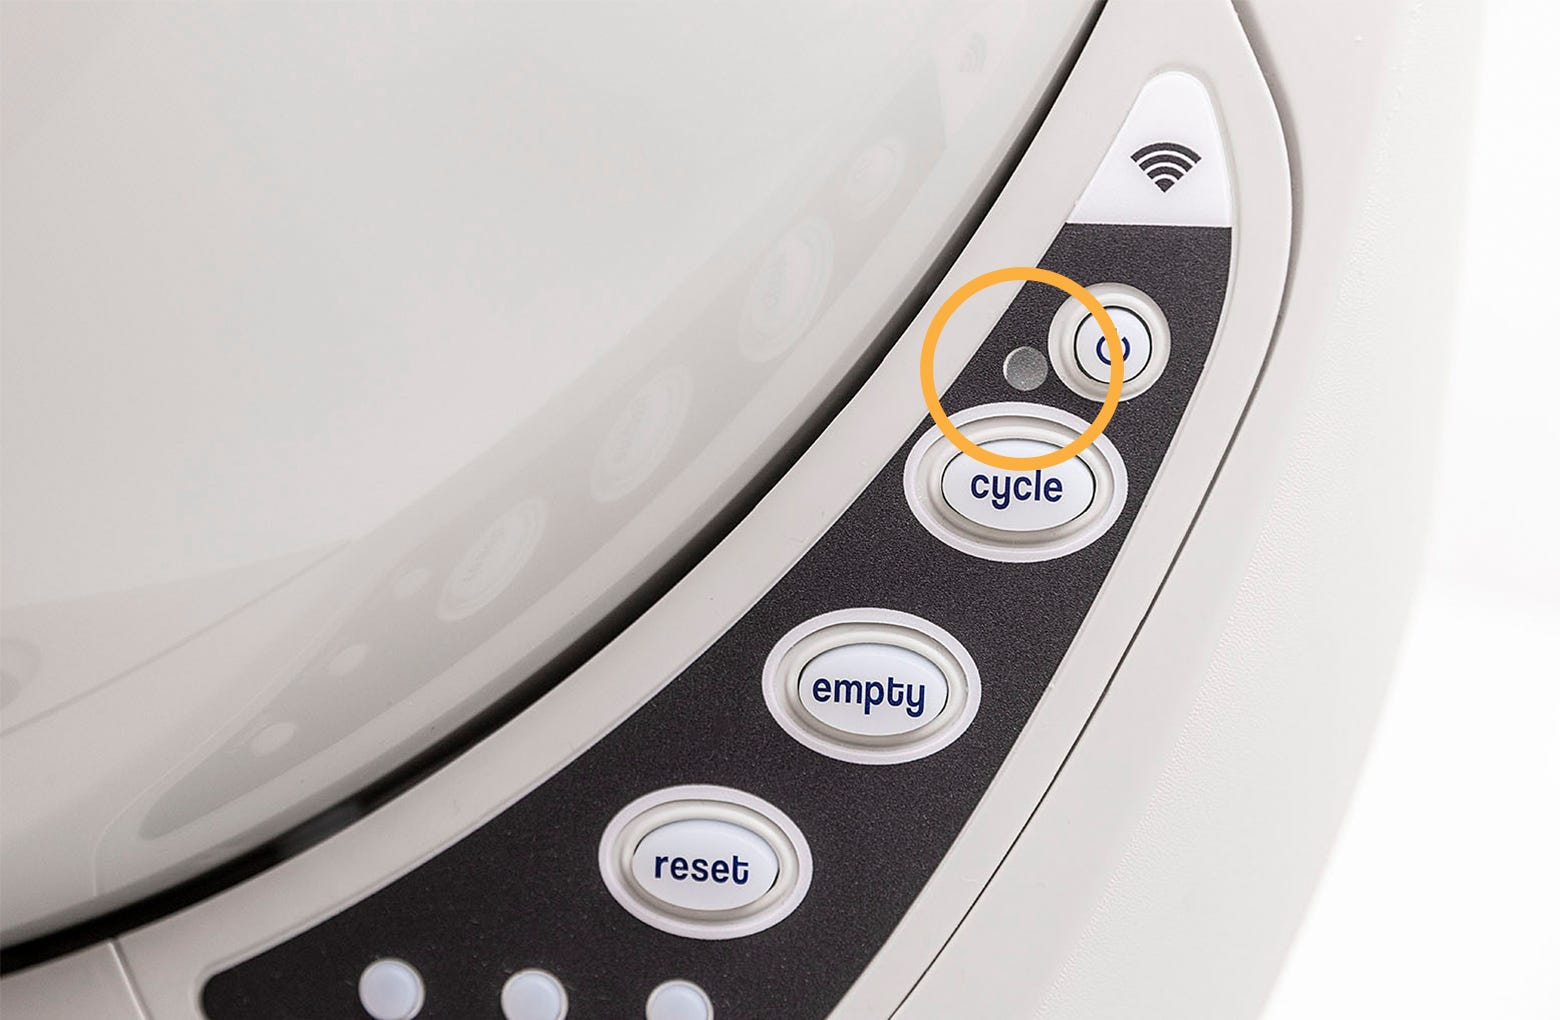
- Look inside the unit to inspect the night light.
- Confirm that all 3 LEDS are emitting light. If only one or two LEDs are working, the night light circuit board should be replaced.
Bonnet: Inspect the globe
Another possible cause of a loose bonnet connection is the globe.
When the globe rotates, it may lift up slightly and press up on the bonnet, breaking the bonnet connection and causing the yellow flashing light.
- With the robot fully assembled and at the Home position, inspect the rear of the globe and ensure that the black key on the back of the globe is pointing down, and fully seated in the pocket on the base.
- Seating the key in the pocket should be done every time the globe is reinstalled after cleaning.
- Once the black key is fully seated in the pocket press the Cycle button.
Once the Clean cycle is complete, the unit should go back to blue ready status.
If your unit returned home and displays a solid blue light, you've been successful.
If your unit is not displaying a solid blue light after returning to home position, or cannot complete the cycle, your unit needs to be repaired.
Issue not resolved?
If you've completed this troubleshooting and your Litter-Robot is still flashing yellow, you will need either a new bonnet or a new base.
If your issue was a result of a bonnet malfunction, you'll need a bonnet replacement.
If your issue was a result of a cat sensor malfunction, you'll need a base replacement.
What do I do?
My unit is covered by WhiskerCare™
If your Litter-Robot is covered by WhiskerCare™ warranty, you have access to replacement parts, at no cost, to get your Litter-Robot up-and-running quickly.
- Simply log in to your account at litter-robot.com.
- Click on ‘My Robots’ to access the parts available for your robot.
- Select the part you need.
- We’ll ship you the part at no cost, along with detailed instructions.
The warranty on my unit has expired
If your unit is no longer under warranty, we can help you with the necessary parts and instructions to properly fix your unit at home.Parts Needed (choose one):
Need technical support?
Our easy-to-use Troubleshooting Wizard will solve most issues and is the fastest way to get help.
Didn't find what you're looking for?
Live support available Mon-Fri: 9AM-9PM EST and Sat-Sun: 9AM-5PM EST, or submit a ticket anytime.