The store will not work correctly in the case when cookies are disabled.

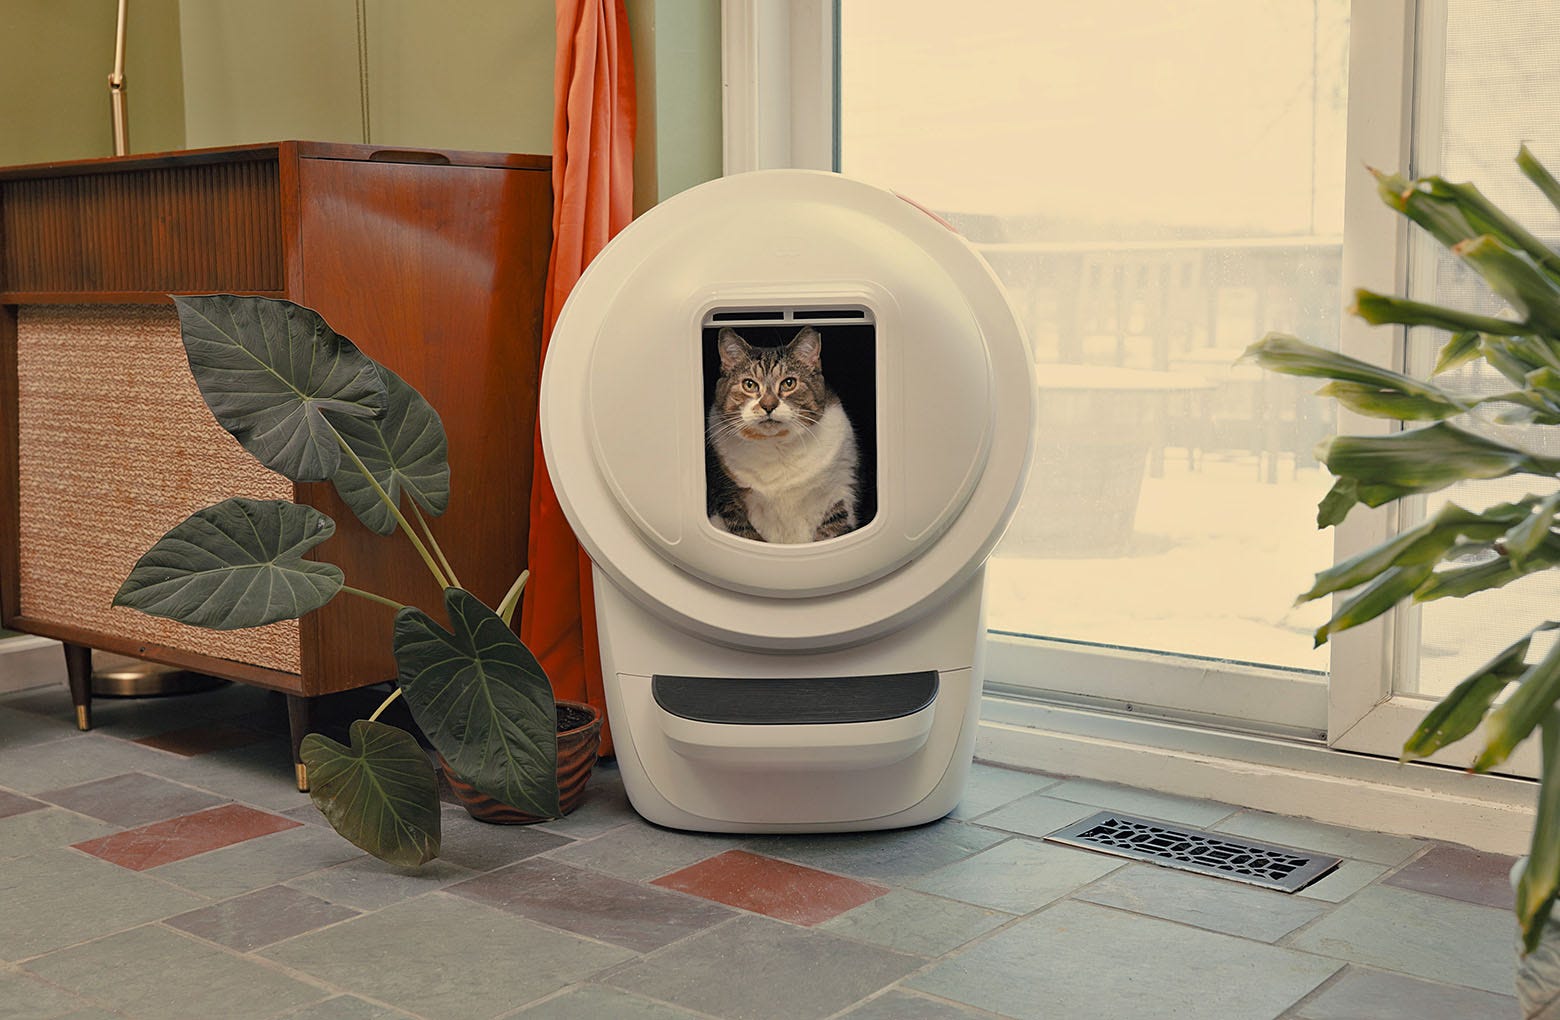
Litter-Robot 4: Shield installation guide
Note: Privacy flap is included in the Litter-Robot 4 Shield packaging. DO NOT DISCARD.
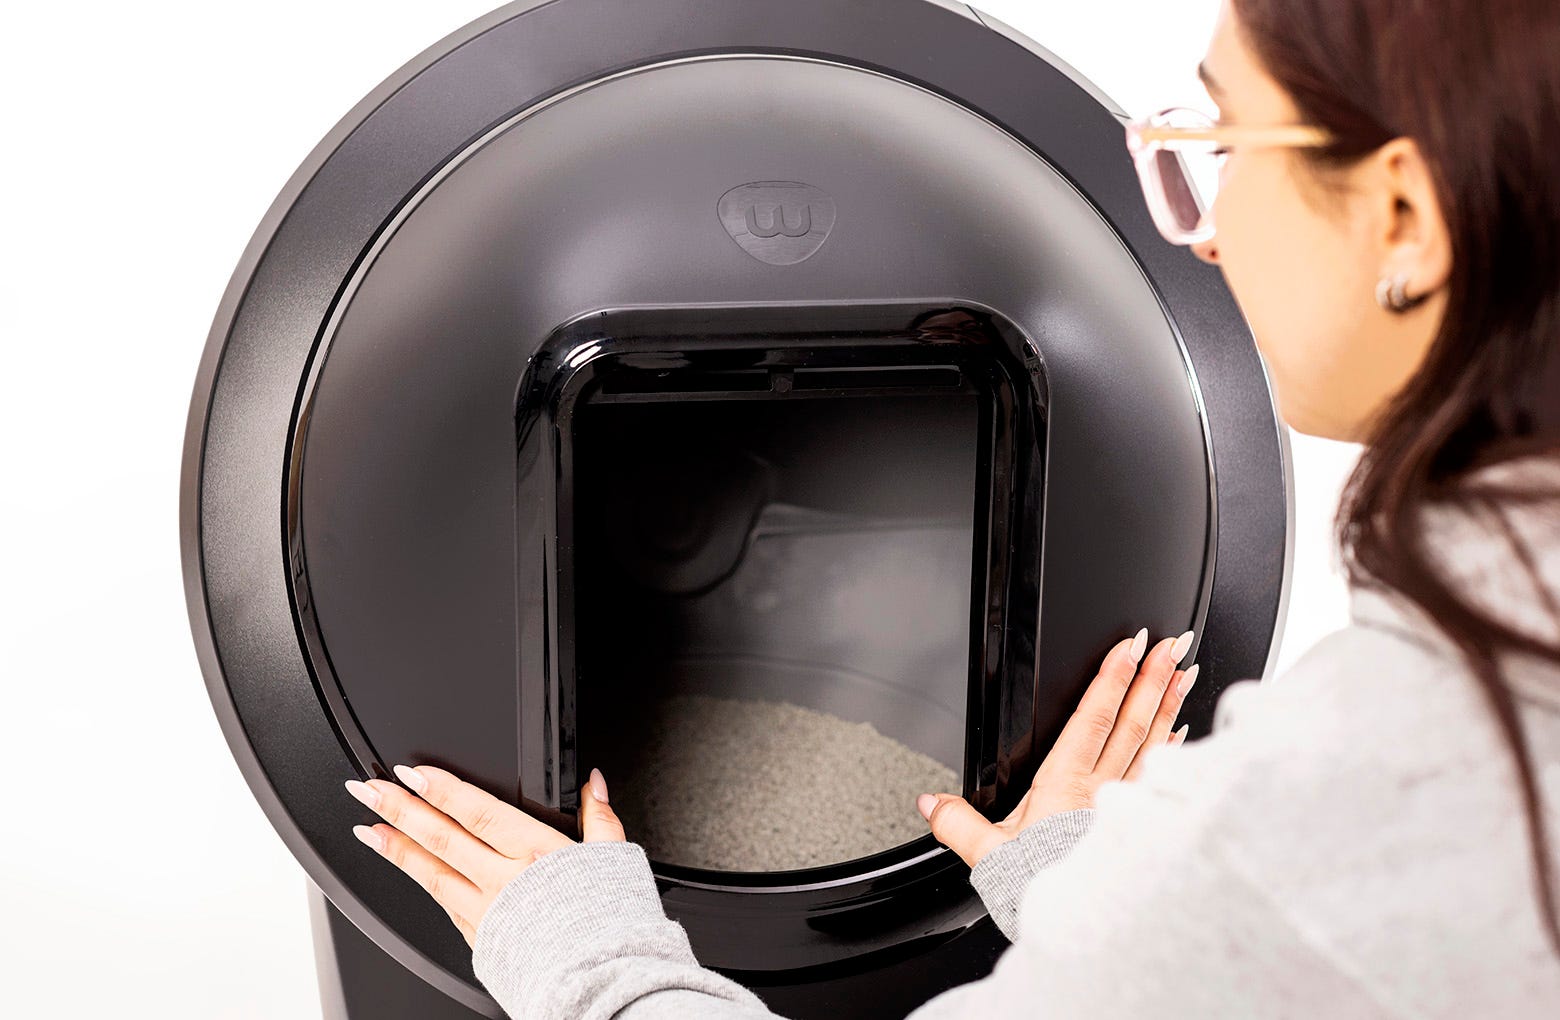
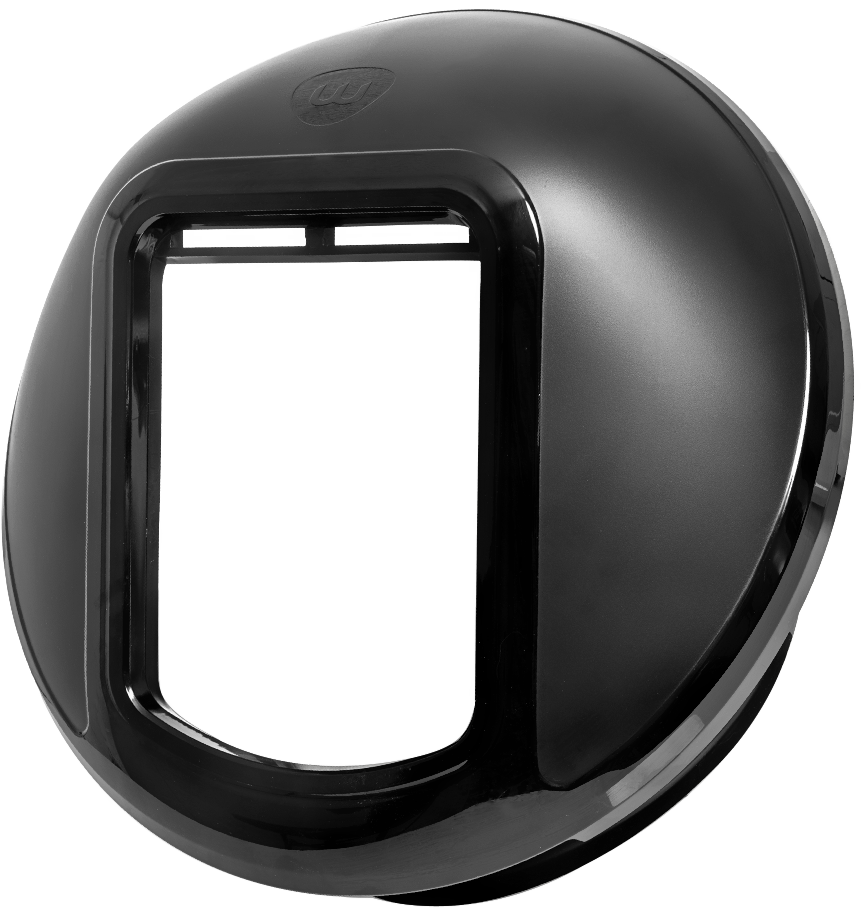
Installing the Litter-Robot 4 Shield & Privacy Flap
The Litter-Robot 4 Shield attaches to the front of the bezel. The shield provides your cat with added privacy while reducing odors and litter tracking. We suggest installing the shield as shipped with the flexible privacy flap unattached. This will allow your cat to become familiar with the new opening of their Litter-Robot 4. Once your cat is comfortable entering and exiting their modified Litter-Robot 4, then it is time to install the privacy flap.
Tools required: None
To install the Litter-Robot shield:
- Remove any fence that is attached to the Litter-Robot bezel. The bezel opening should be unobstructed. (The fence and the shield are not compatible.)
Note: If you plan to use the Litter-Robot 4 Ramp, you must install the shield hinge for the ramp BEFORE installing the shield. (See next section for how to install the shield hinge.)
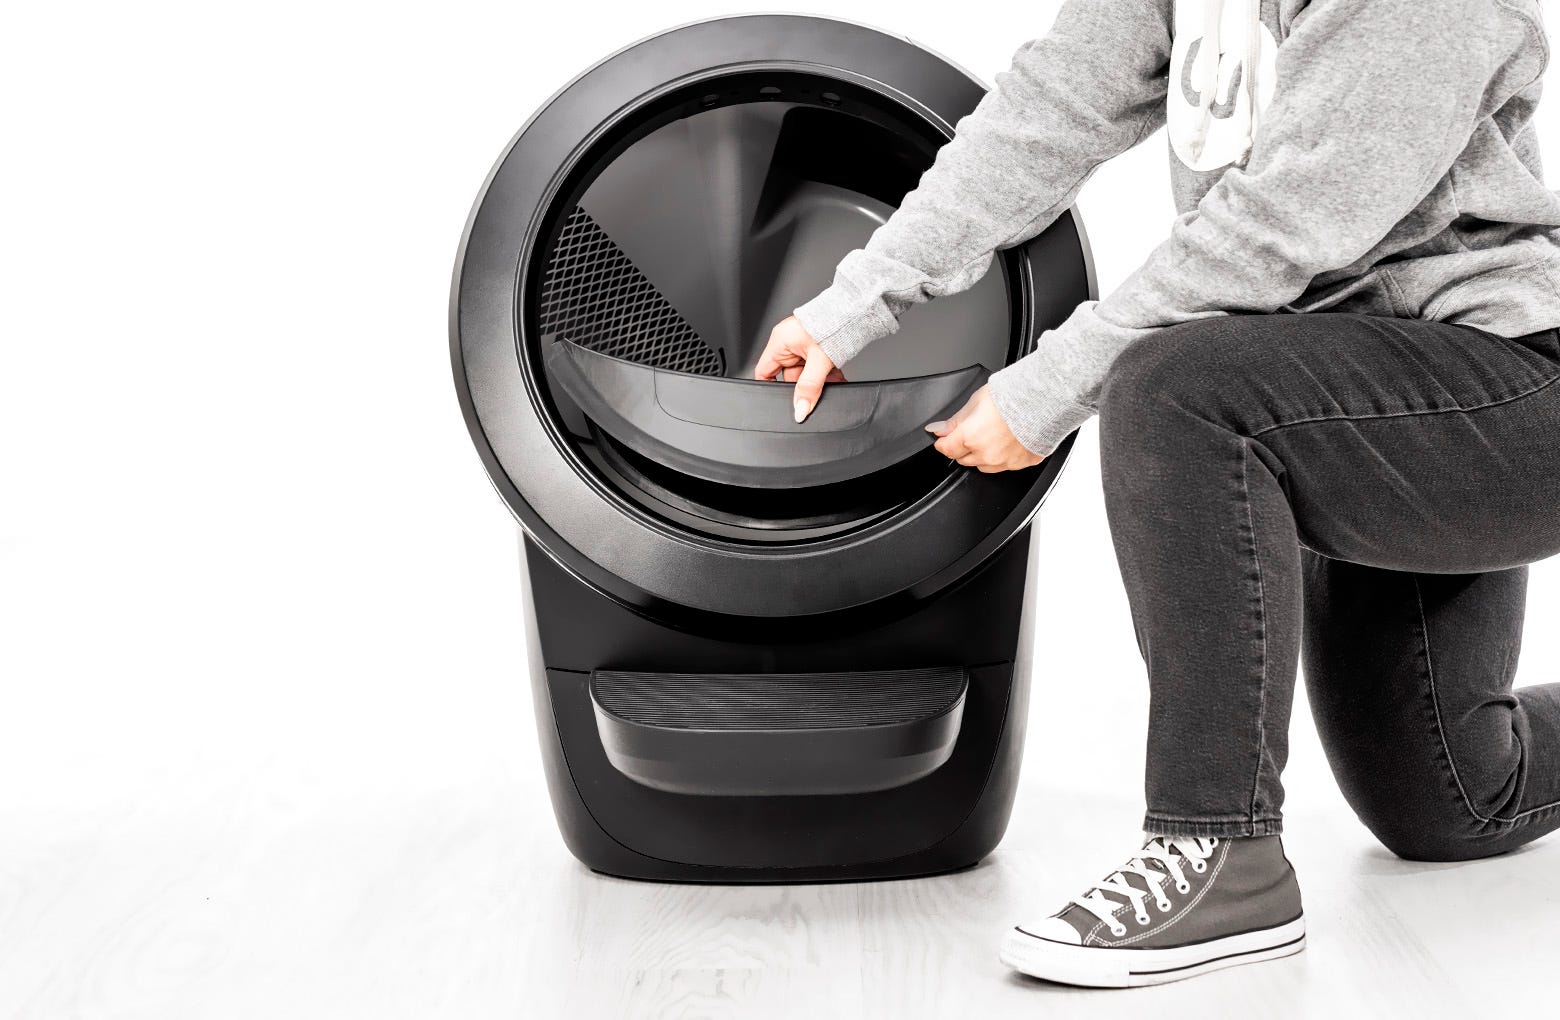
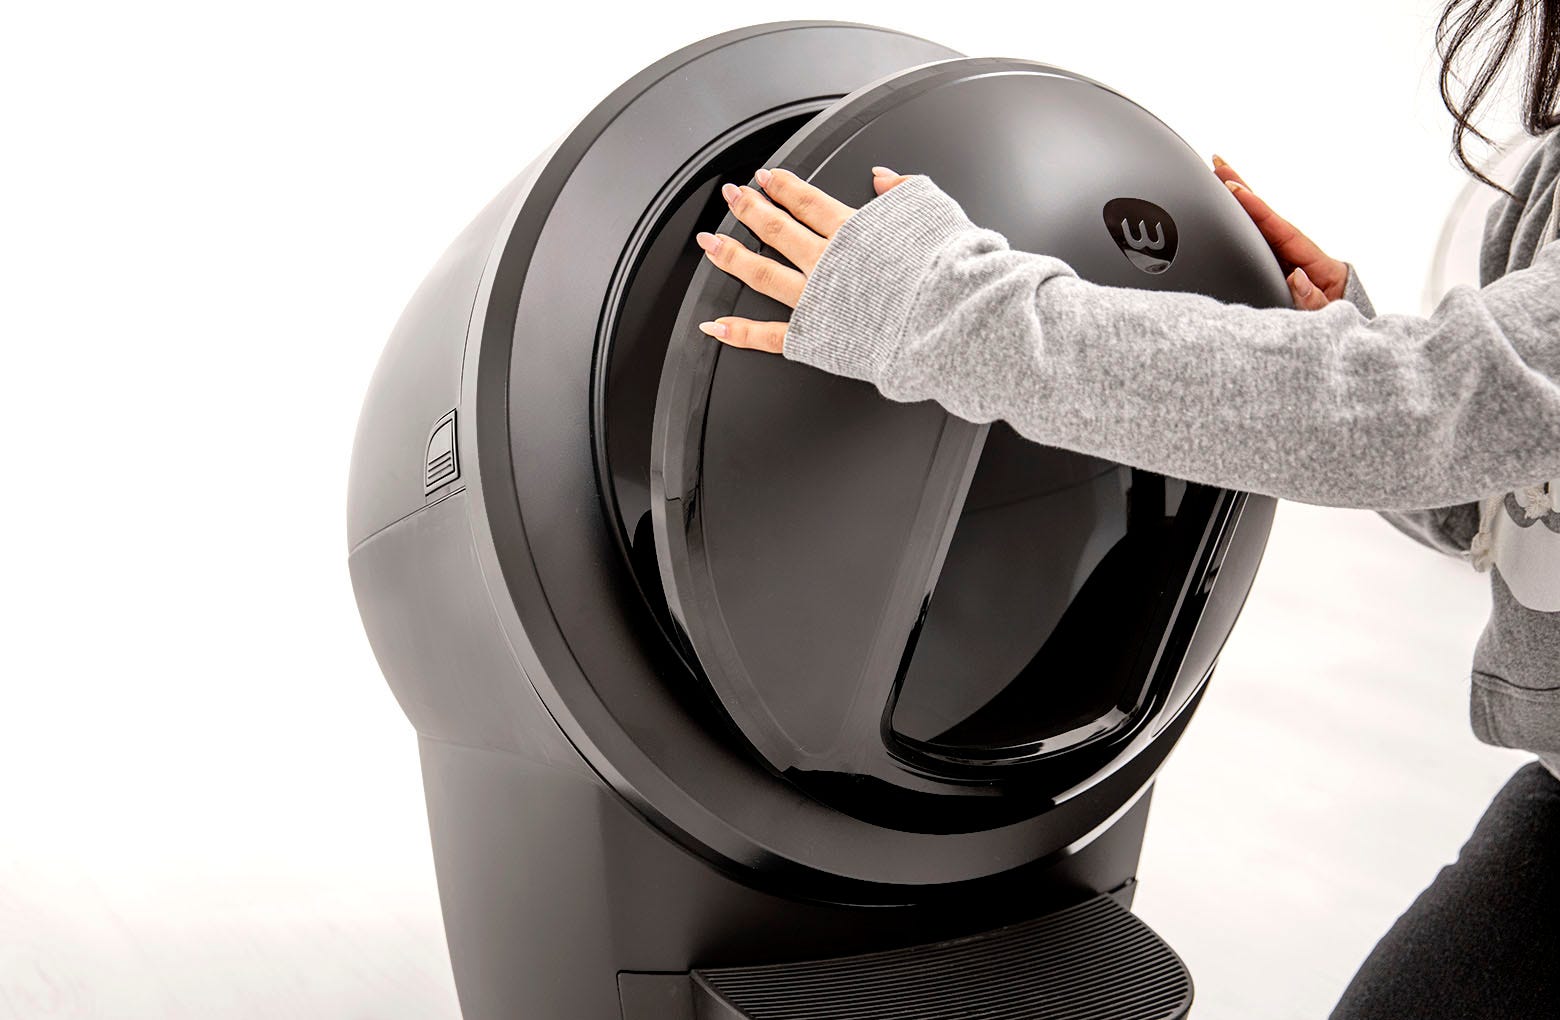
- Set the bottom of the shield on the lower edge of the bezel.
Note: The bottom portion of the shield attaches to the inner BOTTOM surface of the bezel using lower attachment features. These features rest against the front surface and inside rear edge of the bezel to hold it in place.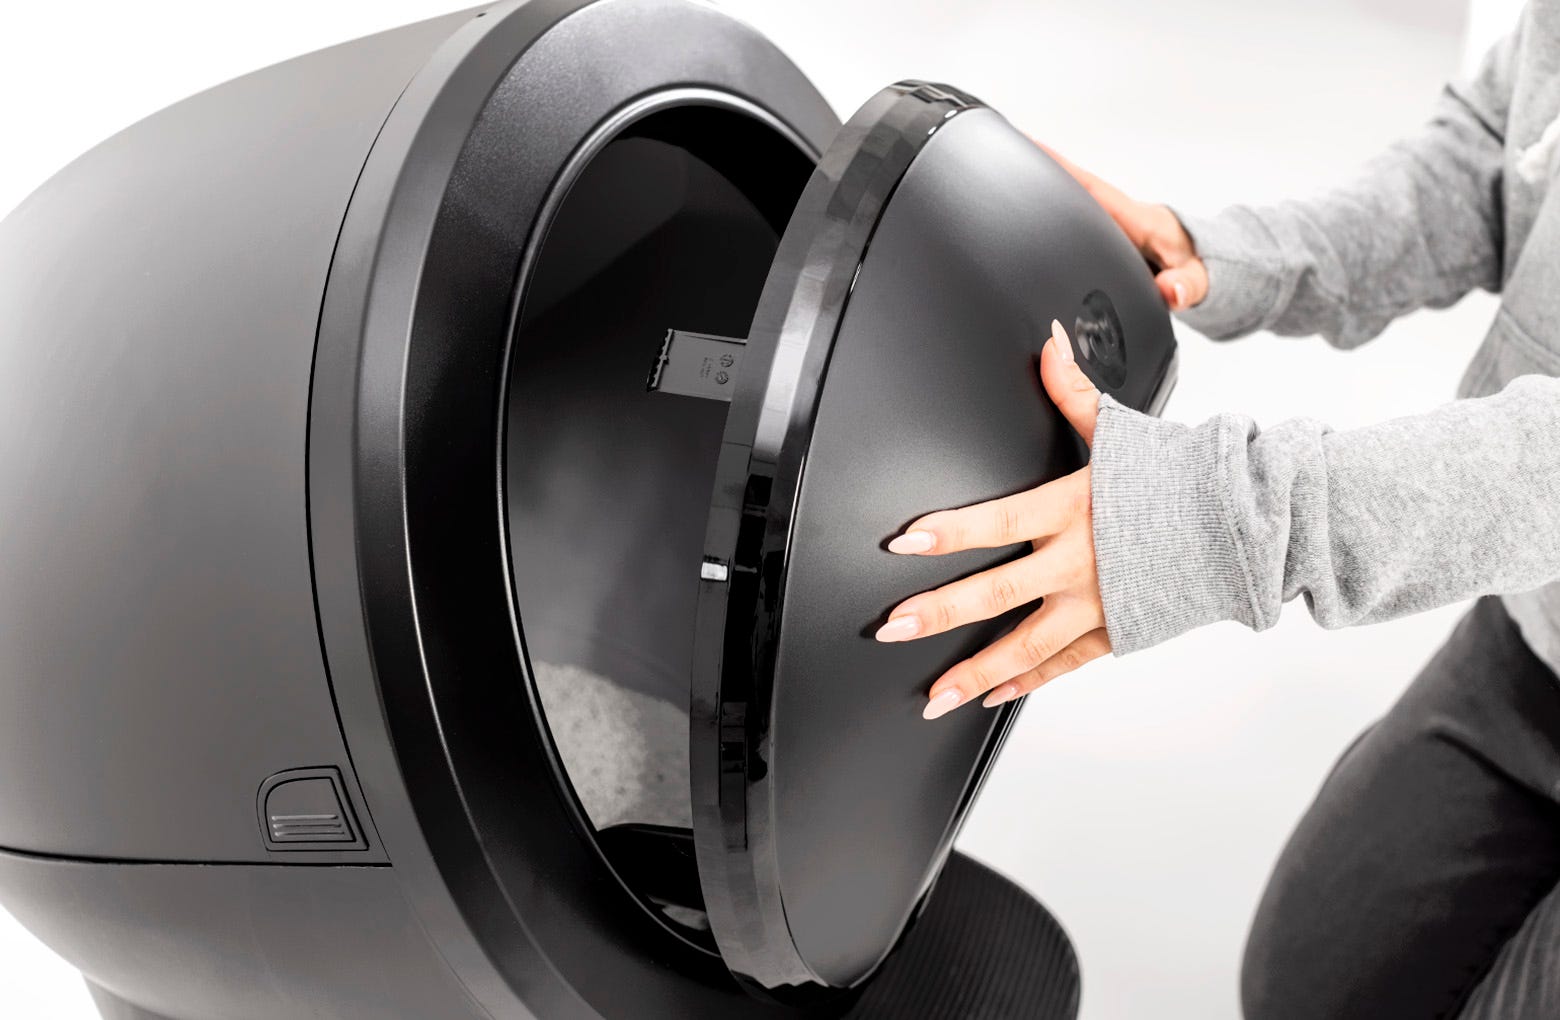
- Slowly push the top of the shield towards the bezel, ensuring that the hooks enter the opening.
Note: The top portion of the shield attaches to the inner TOP surface of the bezel using (2) upper attachment hooks. These hooks “grab” the inside rear edge of the bezel to hold it in place. Each hook has a small orientation tab that sits in a notch on the inside edge of the bezel.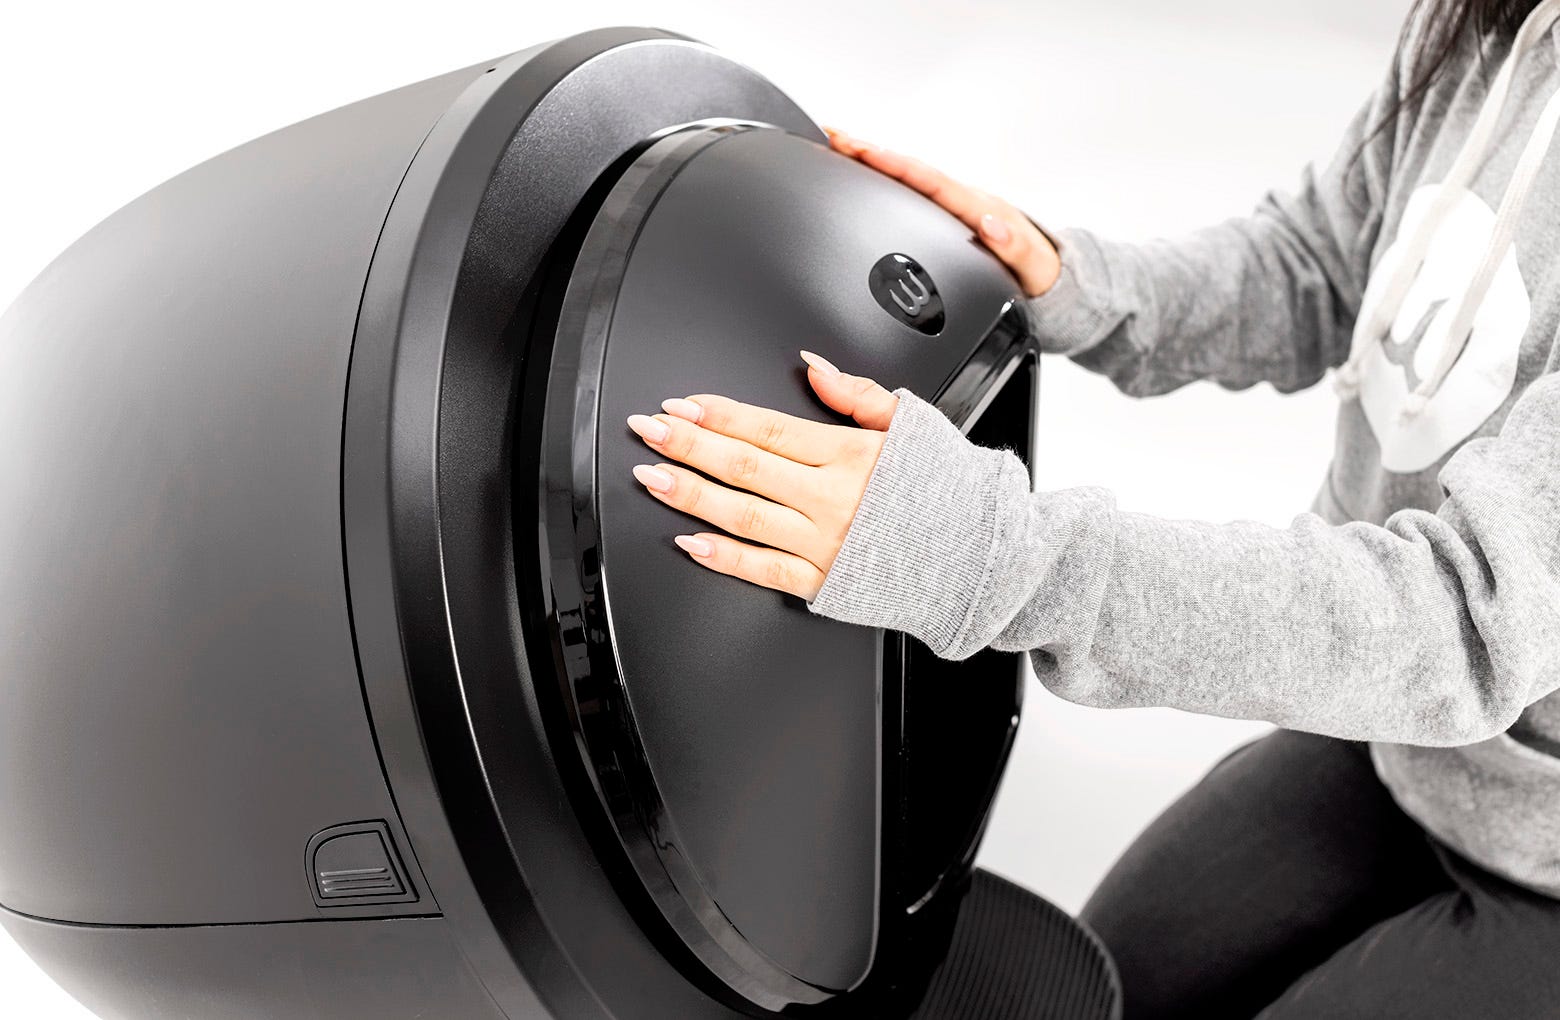
- Continue to push the top of the shield until it rests completely against the bezel. The hooks should snap and engage the inside edge of the bezel.
Note: When installed correctly, you should hear a ‘snap’ or ‘click,’ locking the shield into place. If you do not, the shield may be dislodged when your cat exits.
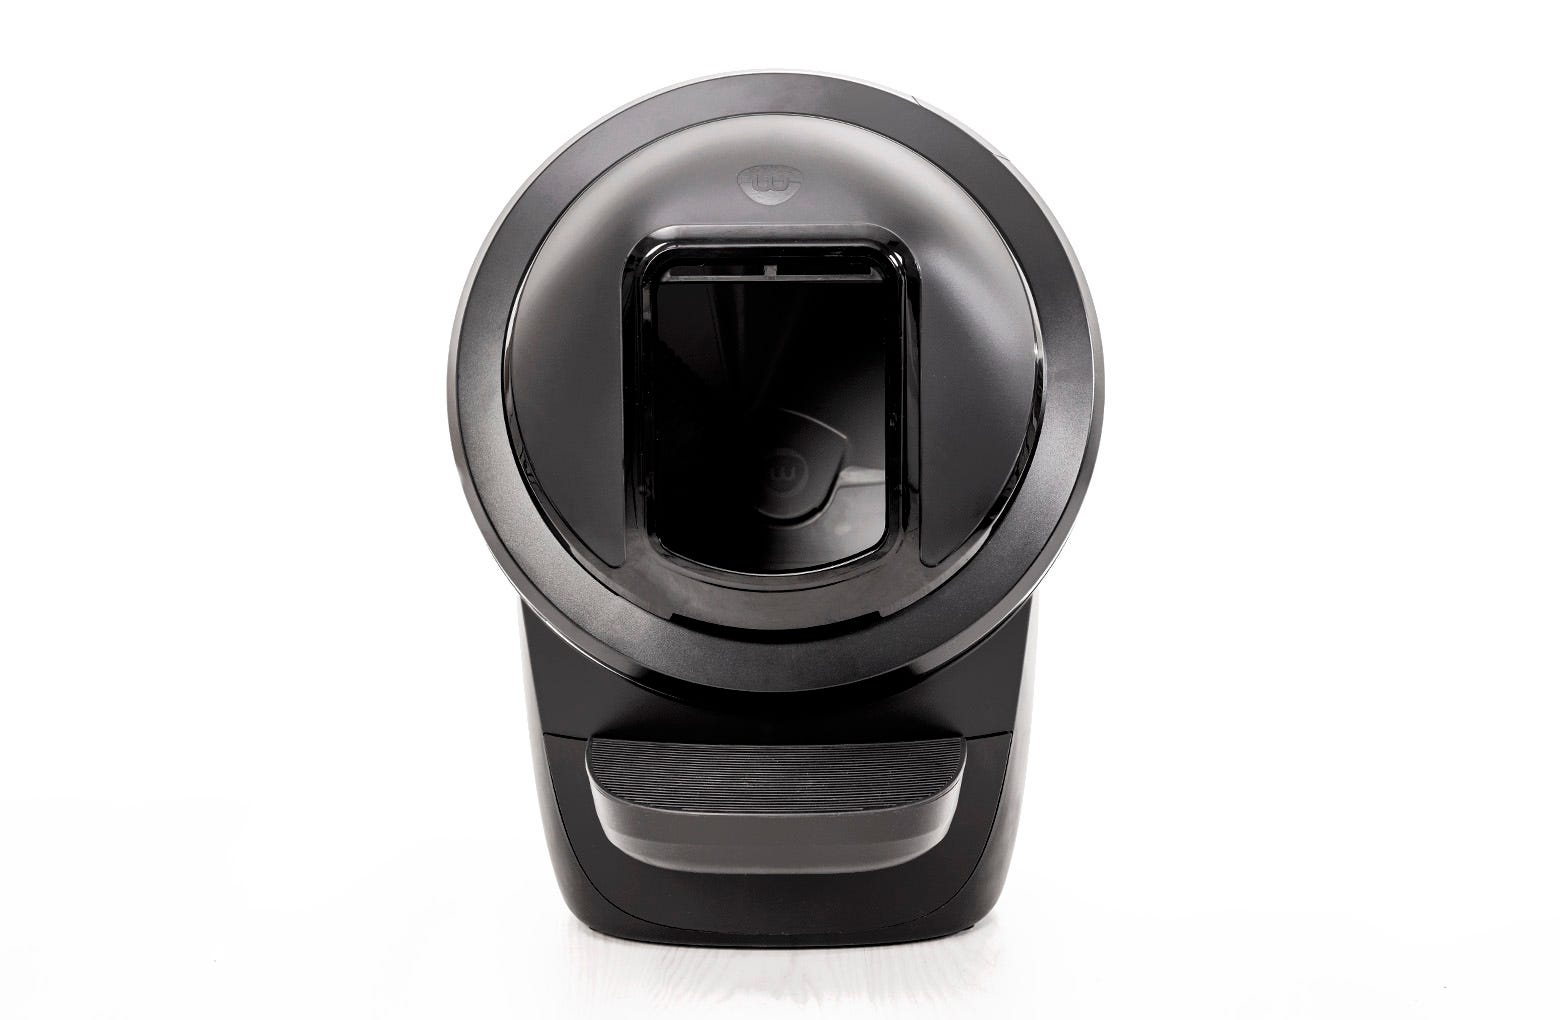
- Once installed, the shield opening should appear centered on the unit. If the opening is tilted, adjust the orientation by rotating the shield slightly in either direction until the hook tabs rest inside the notches on the bezel.
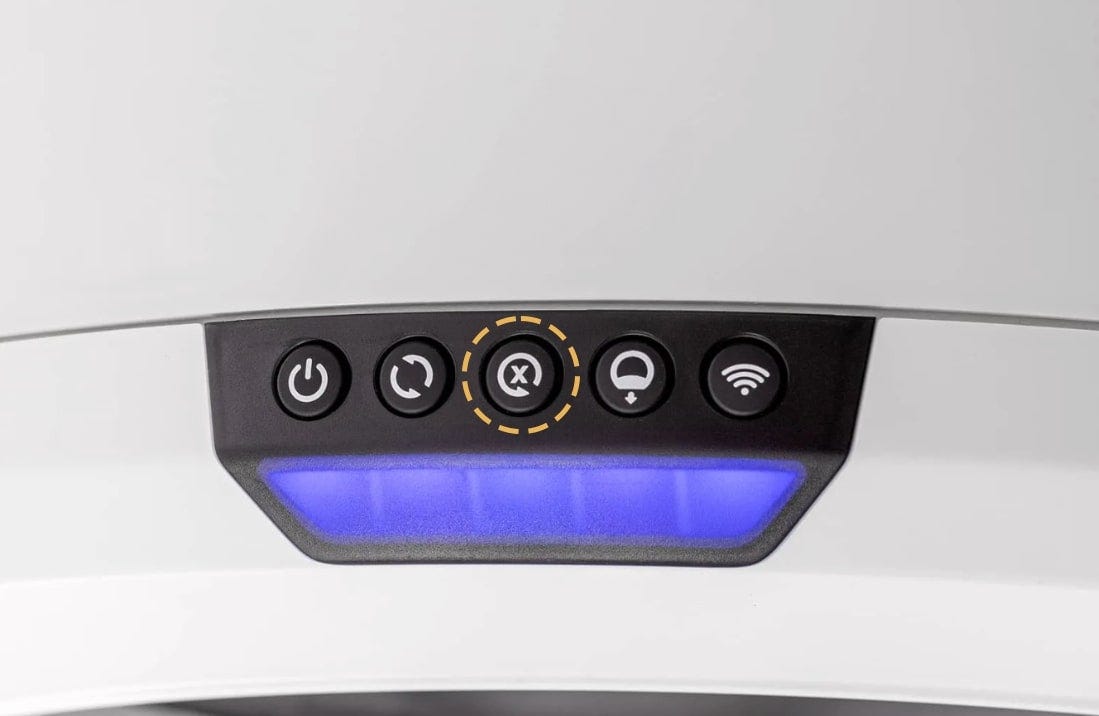
- Press the Reset button to zero the weight sensors.
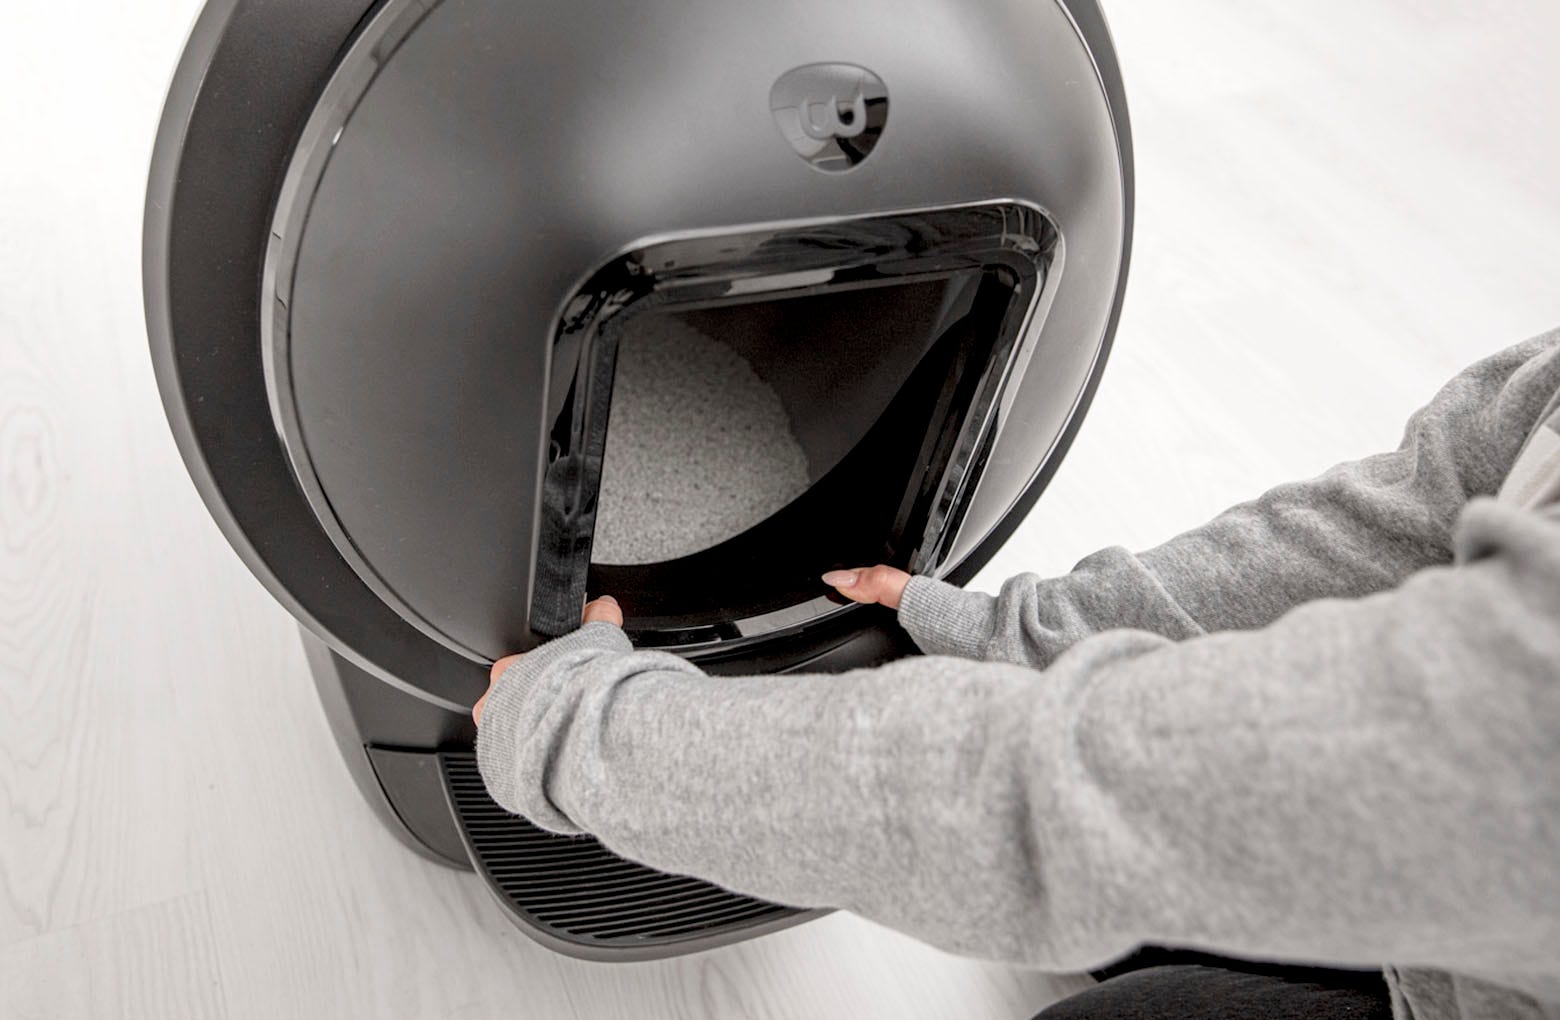
To install the privacy flap:
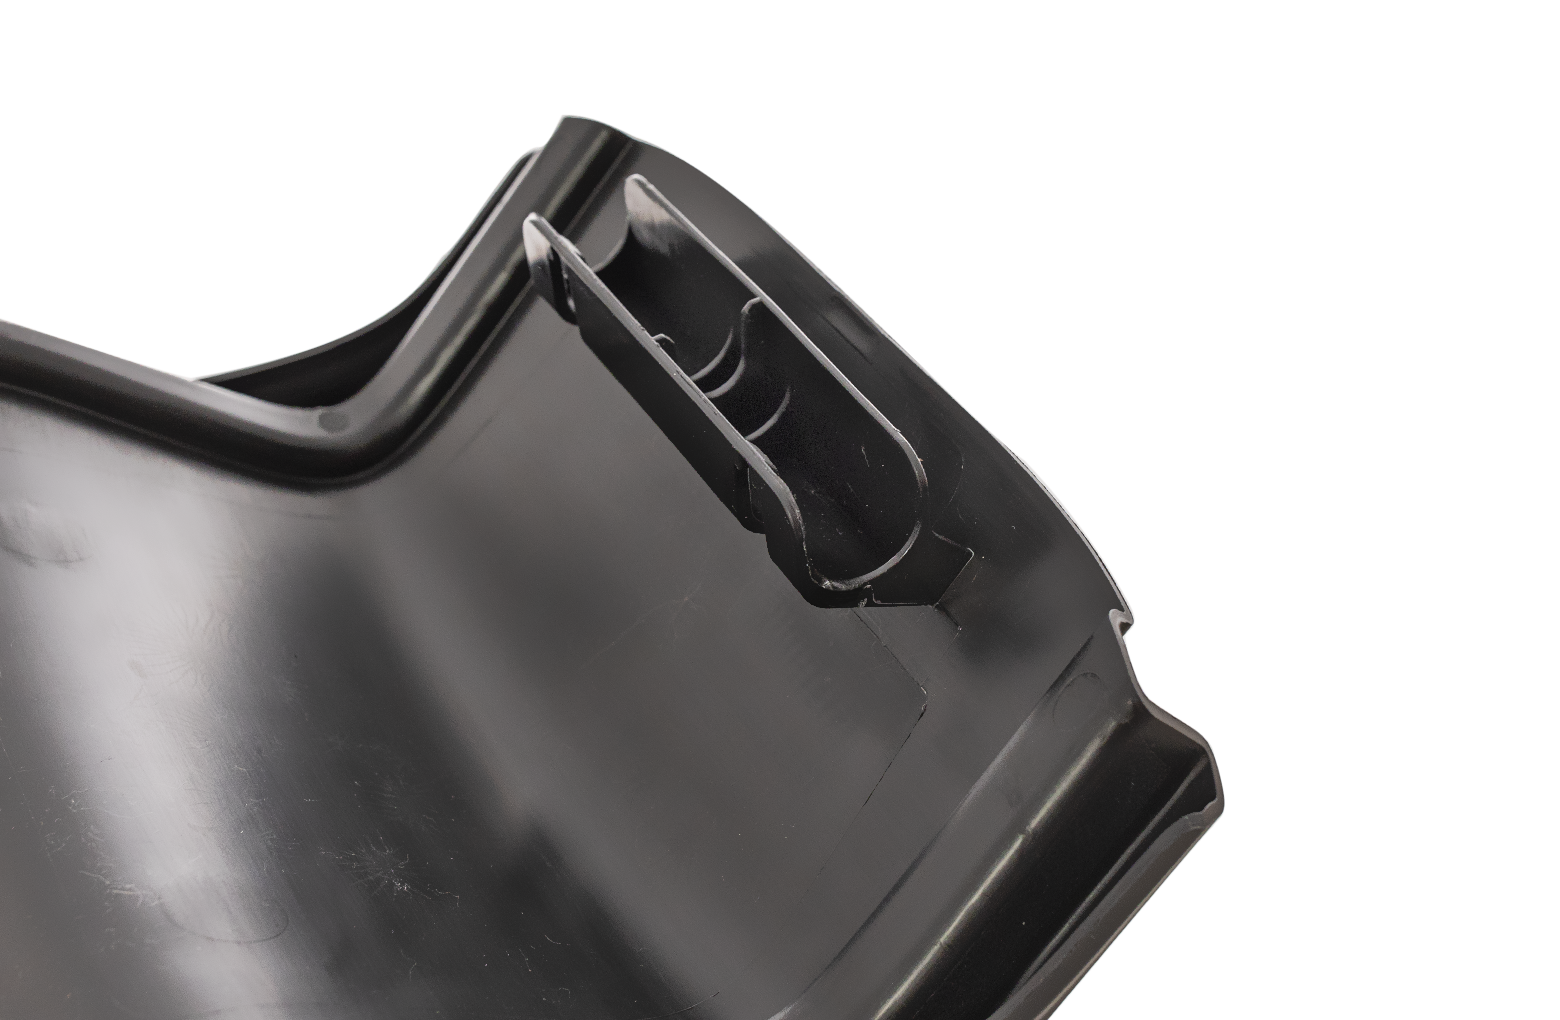
Along the upper edge of the privacy flap is a hook feature that holds the flap in place. The hook feature is squeezed when pushed through a retention pocket in the top of the shield opening.
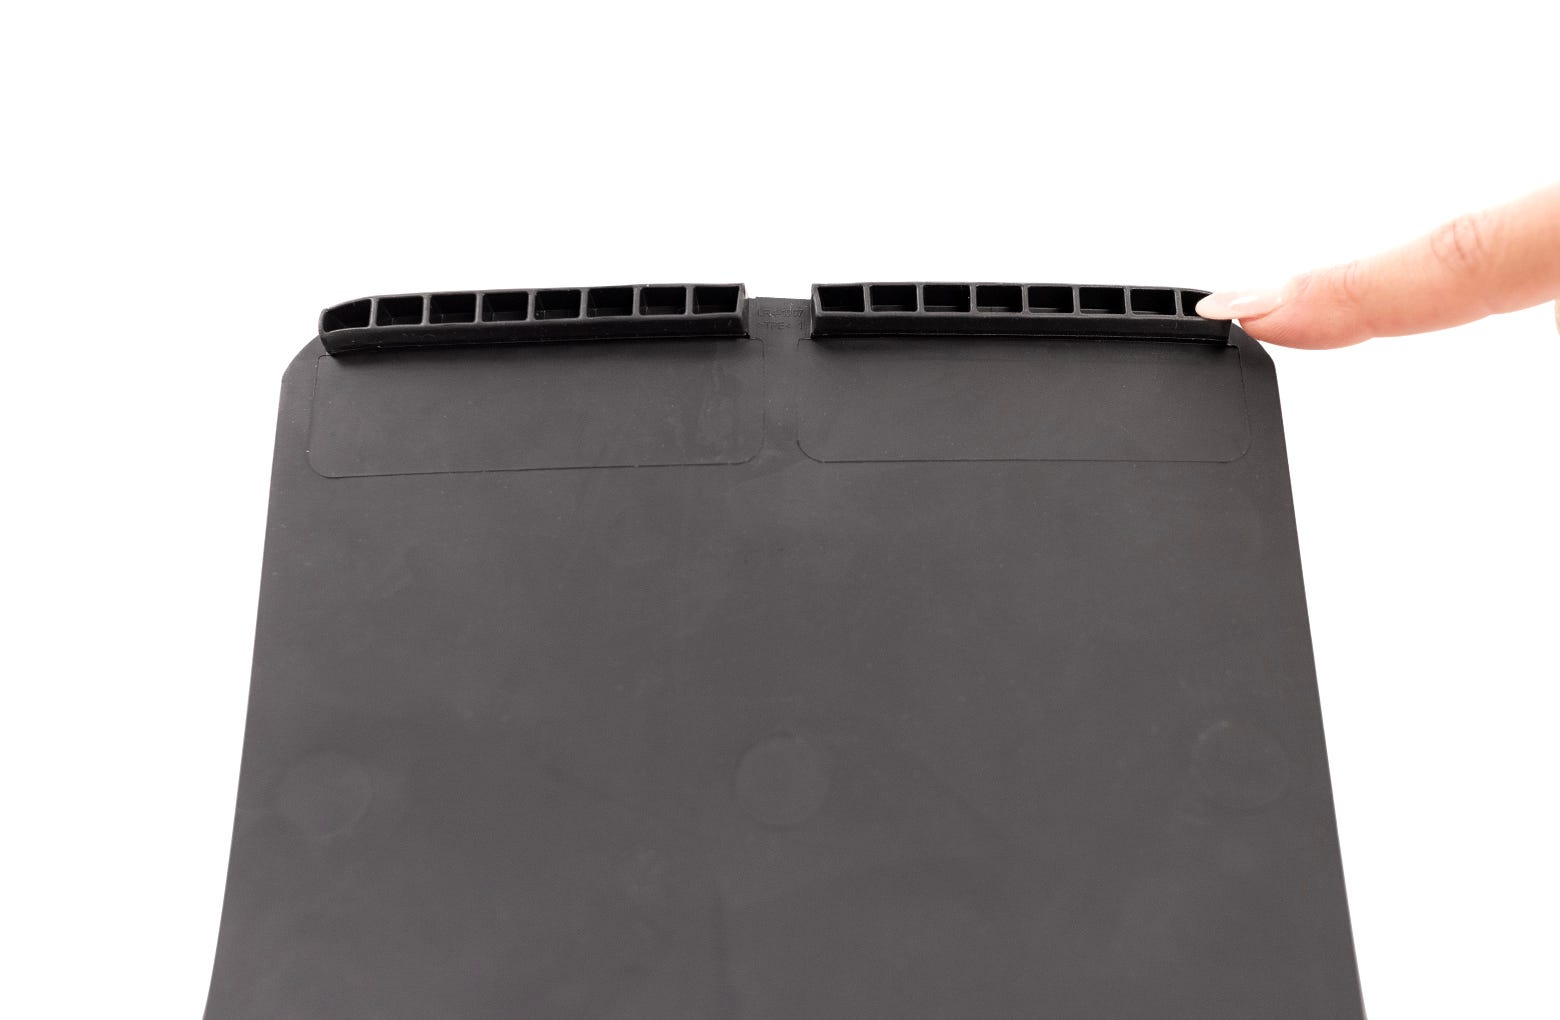
Starting in the center of the privacy flap, place the hook feature into the retention pocket opening. Press the hook until it pops all the way in.

Work your way from the center to the edge, one side at a time, until the privacy flap is fully attached.

To remove the privacy flap, simply pull it out of the shield’s retention pocket.

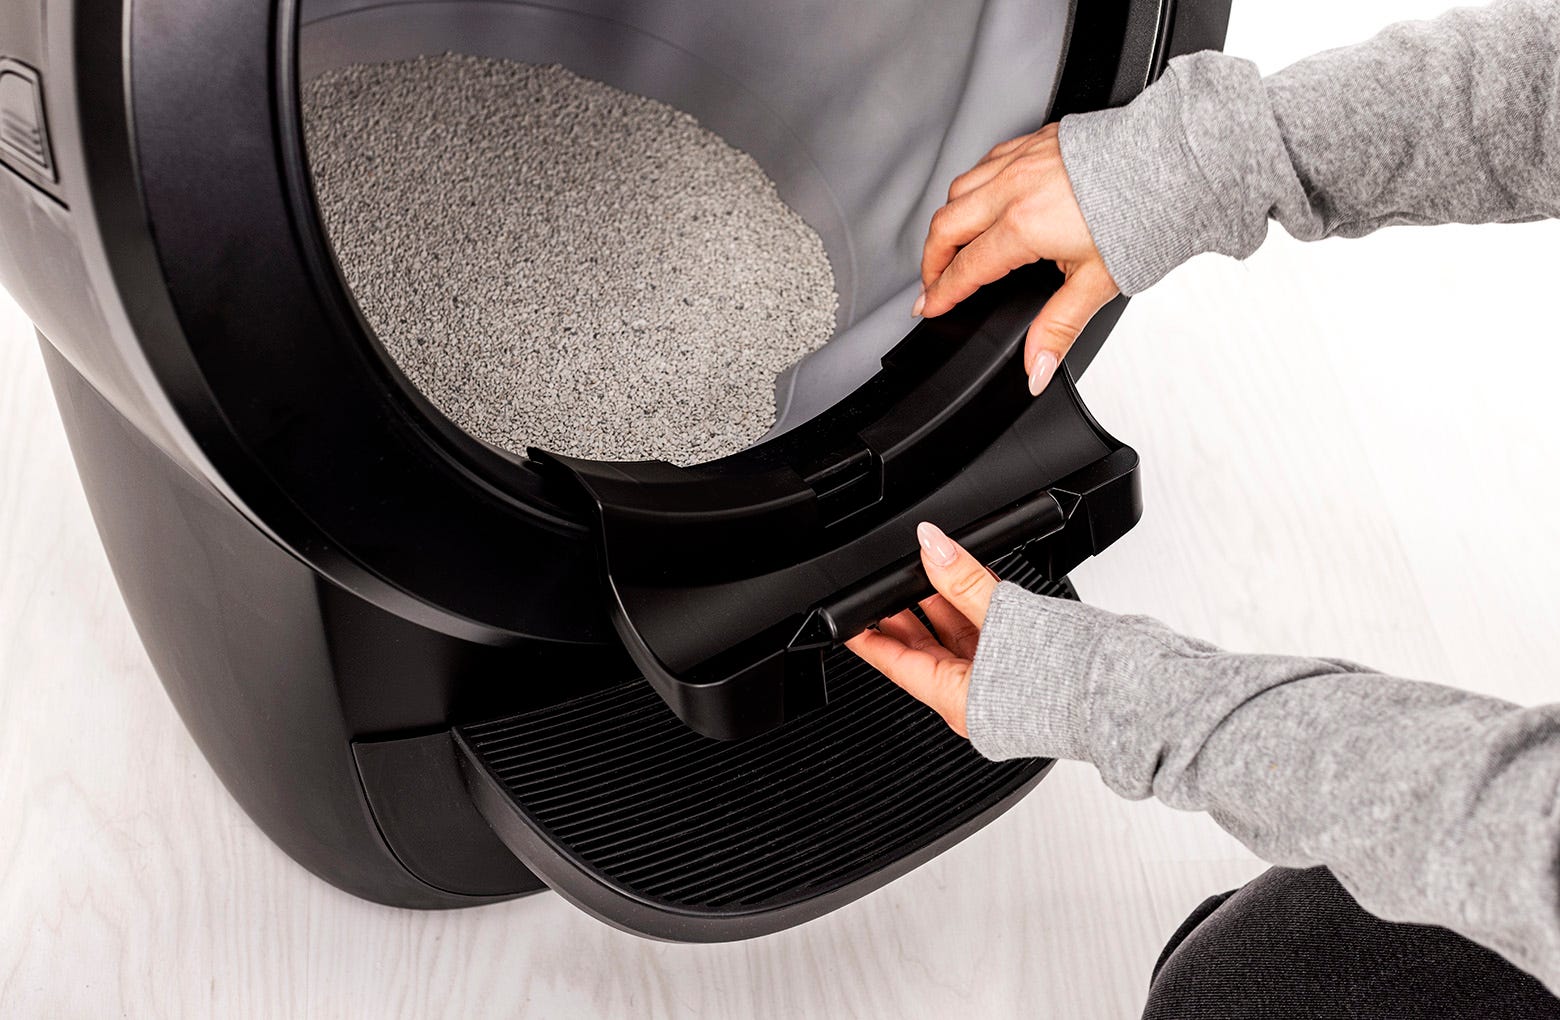
To remove the shield:
- Reach inside the shield opening and place your finger on the hook tab. Gently pull the tab on one side slightly downward until you feel it release from the edge of the bezel. Repeat on the other side.

- With the hooks detached, slowly pull the top of the shield away from the bezel until the hooks clear the opening.
- Once the hooks have cleared the bezel opening, lift up on the shield to remove it.

- Press the Reset button to zero the weight sensors.
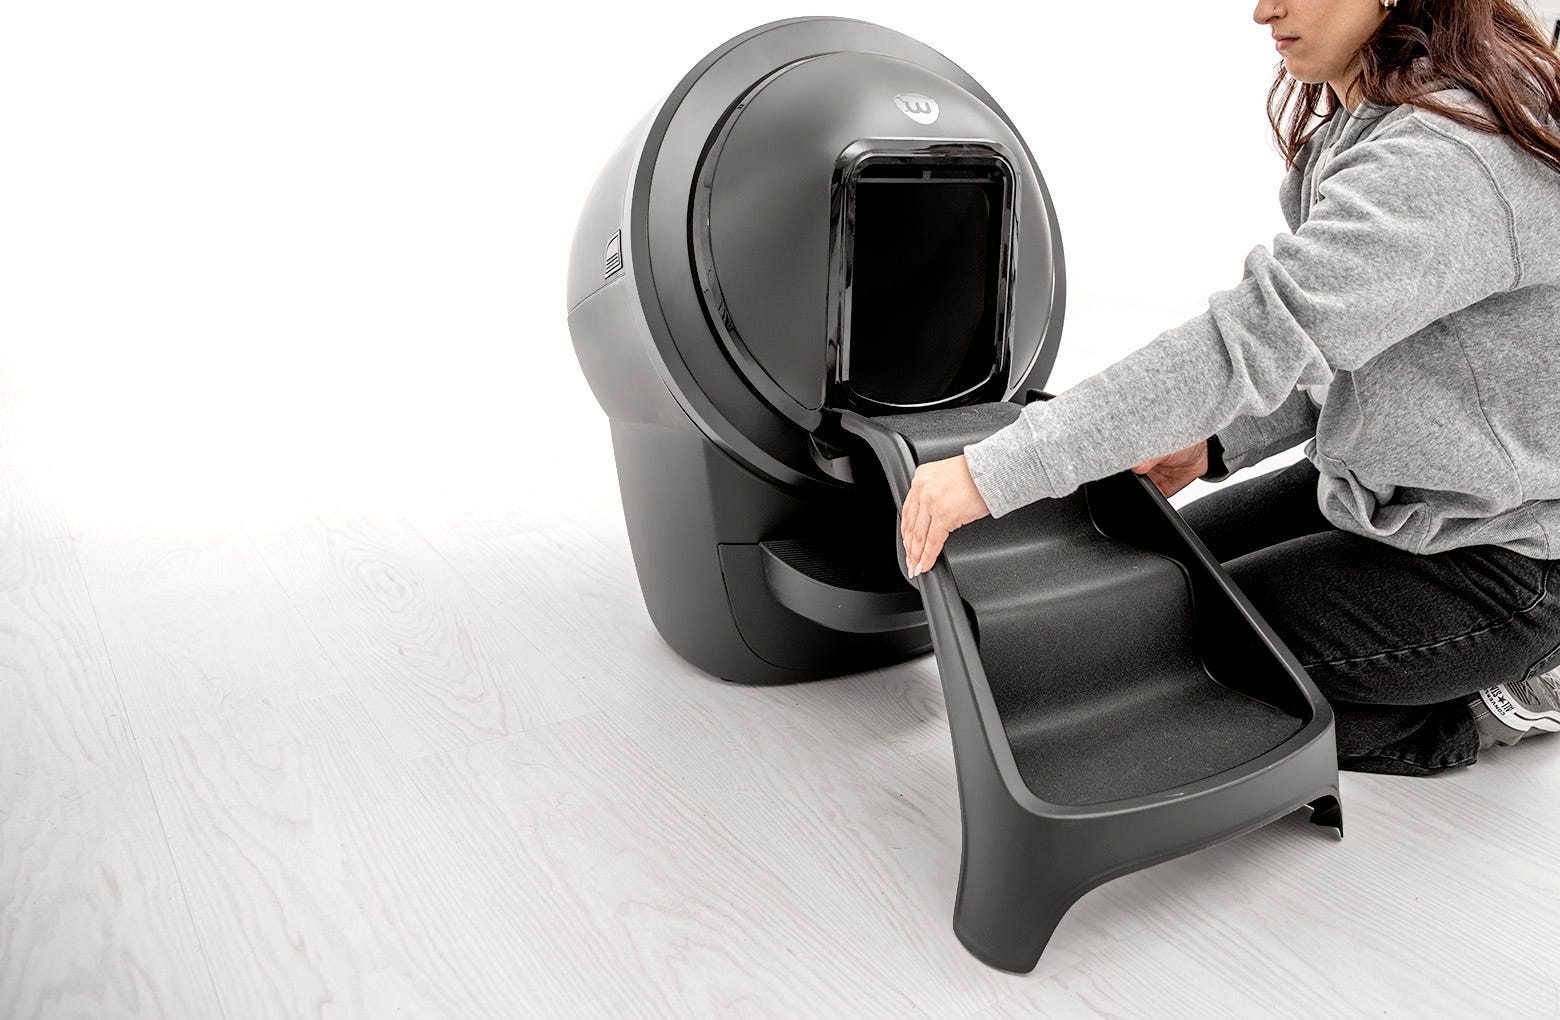
Installing the Litter-Robot 4 Ramp with the shield
The Litter-Robot 4 Ramp and Litter-Robot 4 Shield are compatible as long as the shield hinge (included with purchase of the Litter-Robot 4 Shield) is used with the ramp. After the hinge is attached, you can install the shield first or the ramp first—the specific installation order does not matter.
Note: If you have already installed the Litter-Robot 4 Shield, you must remove it to install the shield hinge.
- Remove any fence that is attached to the Litter-Robot bezel.

- Notice the two “notches” on the lower inside edge of the bezel.

- Set the shield hinge onto the bezel using the notches as a guide to center the hinge. Press firmly on each side until the hinge is securely snapped onto the bezel.
- Using your thumb and forefingers, hold one end of the shield hinge against the bezel. Press down until you hear a click, then repeat on the opposite end.
- Ensure both ends of the shield hinge are resting tightly against the surface of the bezel.

Note: There is a rib in the center of the ramp that aligns with a groove in the middle of the shield hinge to ensure the ramp is centered correctly during installation.
- Align the ramp with the hinge and press down to snap in place. The ramp is now ready to use!
- Press the Reset button to zero the weight sensors.
Purchase Litter-Robot 4 Shield
Didn't find what you're looking for?
Live support available Mon-Fri: 9AM-9PM EST and Sat-Sun: 9AM-5PM EST, or submit a ticket anytime.