The store will not work correctly in the case when cookies are disabled.
Litter-Robot 5 & Pro: Deep cleaning guide
Regular deep cleaning helps keep your Litter-Robot 5 or Litter-Robot 5 Pro fresh and reliable for your cat. We recommend a basic wipe-down weekly, a globe cleaning every 1–3 months, and a deep cleaning at least every 3 months, depending on usage and number of cats. Here’s how to deep clean Litter-Robot 5.
Quick links
Before you start
Materials needed:
Whisker Cleaner Spray or Wipes (recommended) or mild soap and water
Disinfectant (non-bleach, non-ammonia)
Sponge, brush, or microfiber cloth
Vacuum or handheld vac for litter granules (for the base and waste port area)
Towels for drying
Reminders
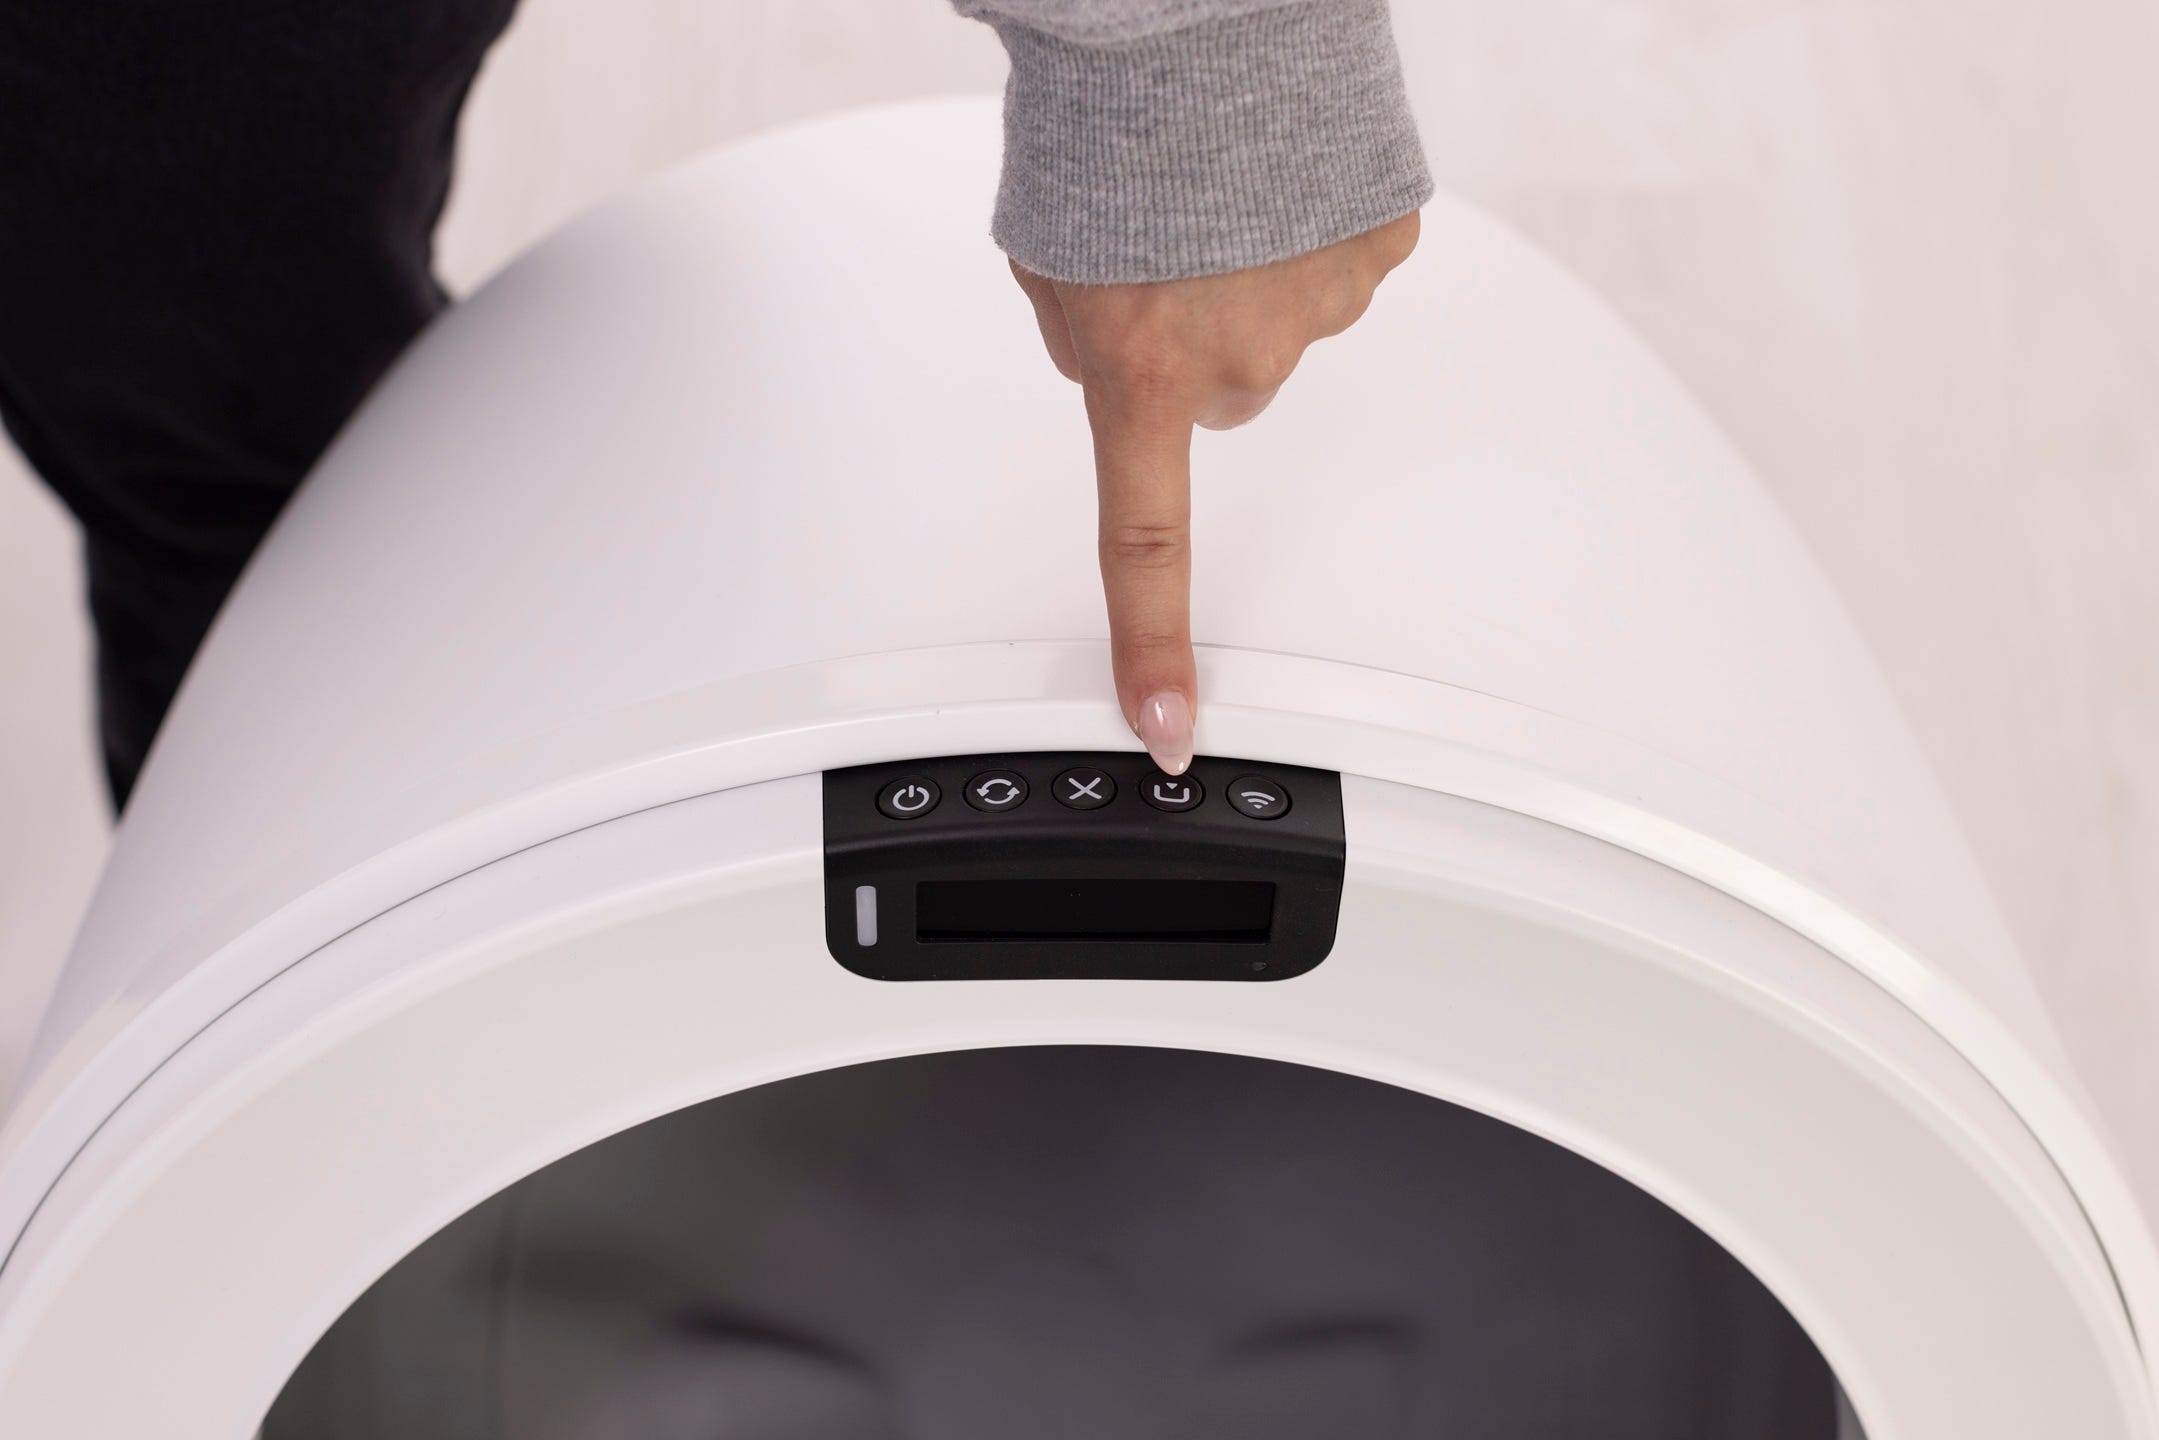
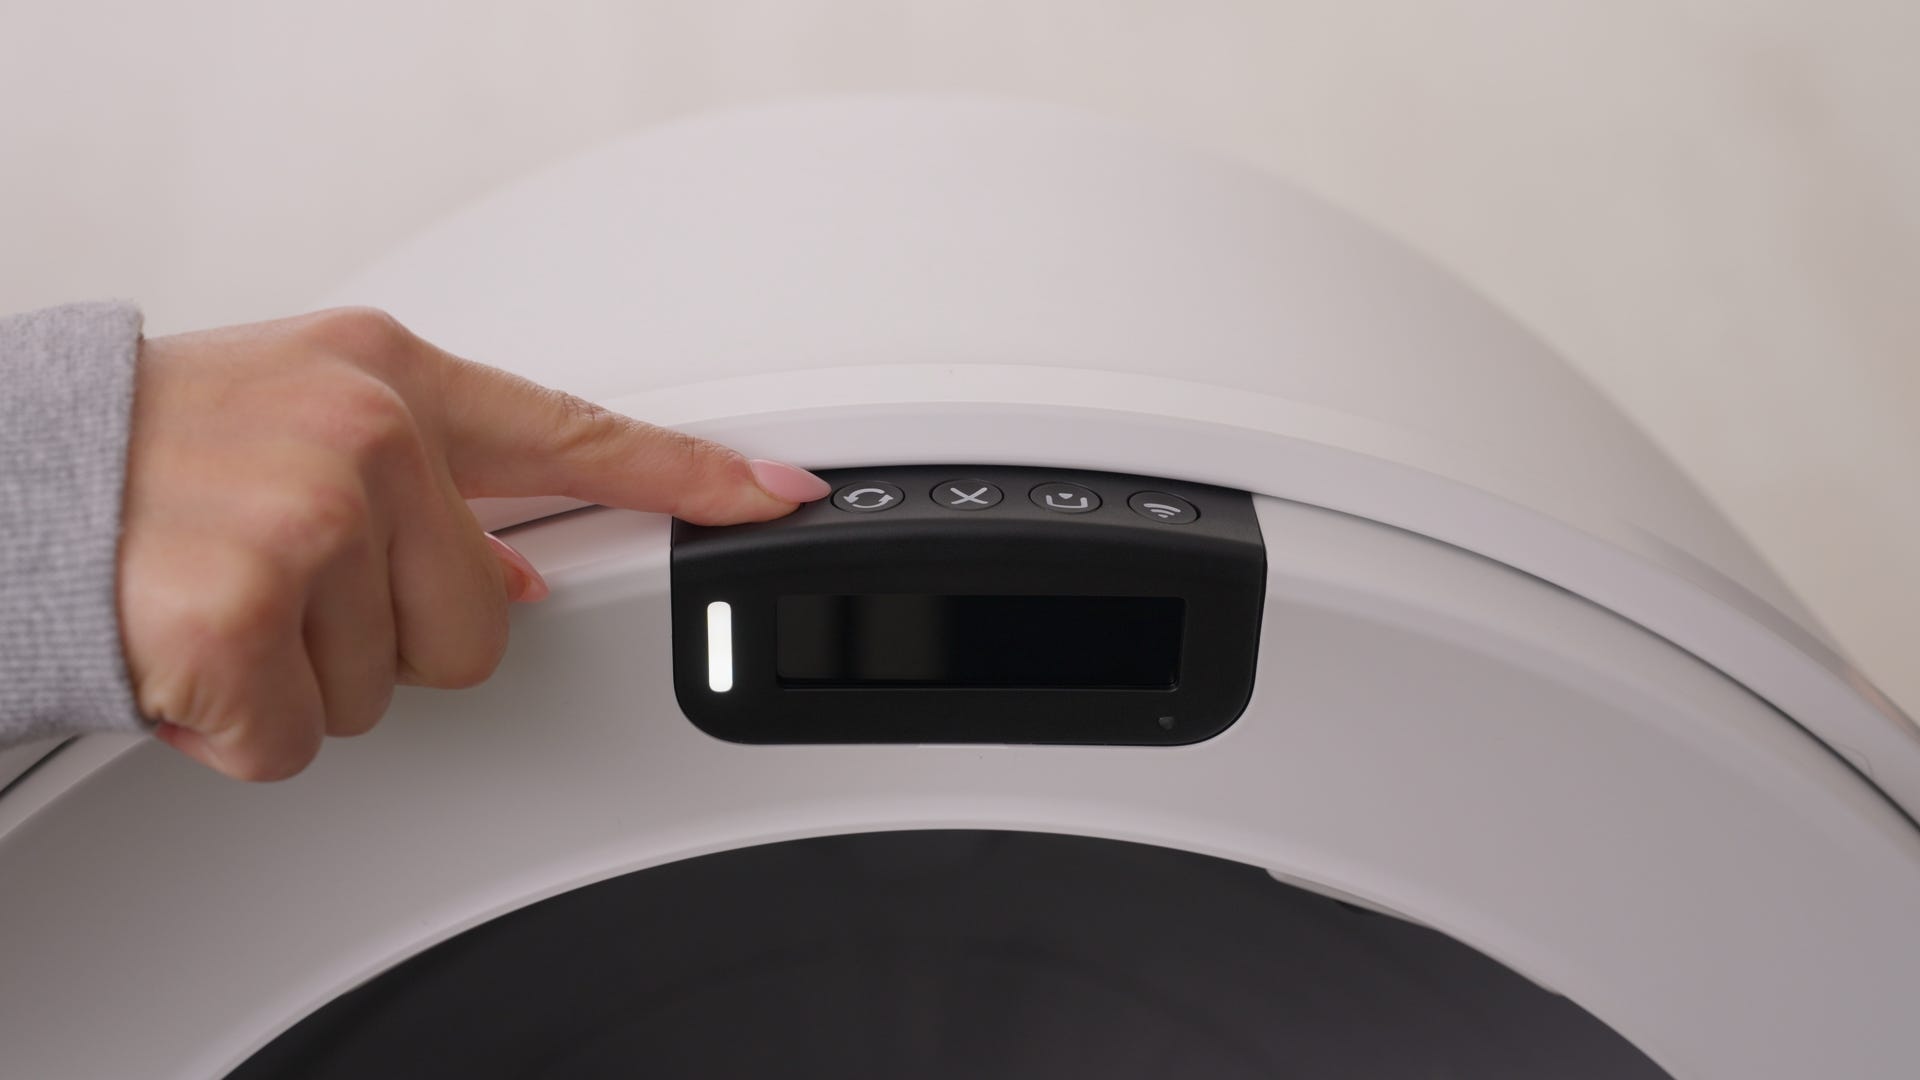
- Always power OFF and unplug the unit before cleaning.
- Never submerge the base or control panel.
- Do not use bleach or ammonia-based cleaners.
Cleaning the globe
Empty the litter
- Short press the Empty button. The globe will rotate clockwise and dump all litter into the waste drawer.
Sweep any leftover litter toward the waste port.
- Press Empty again to return the globe to the Home position.
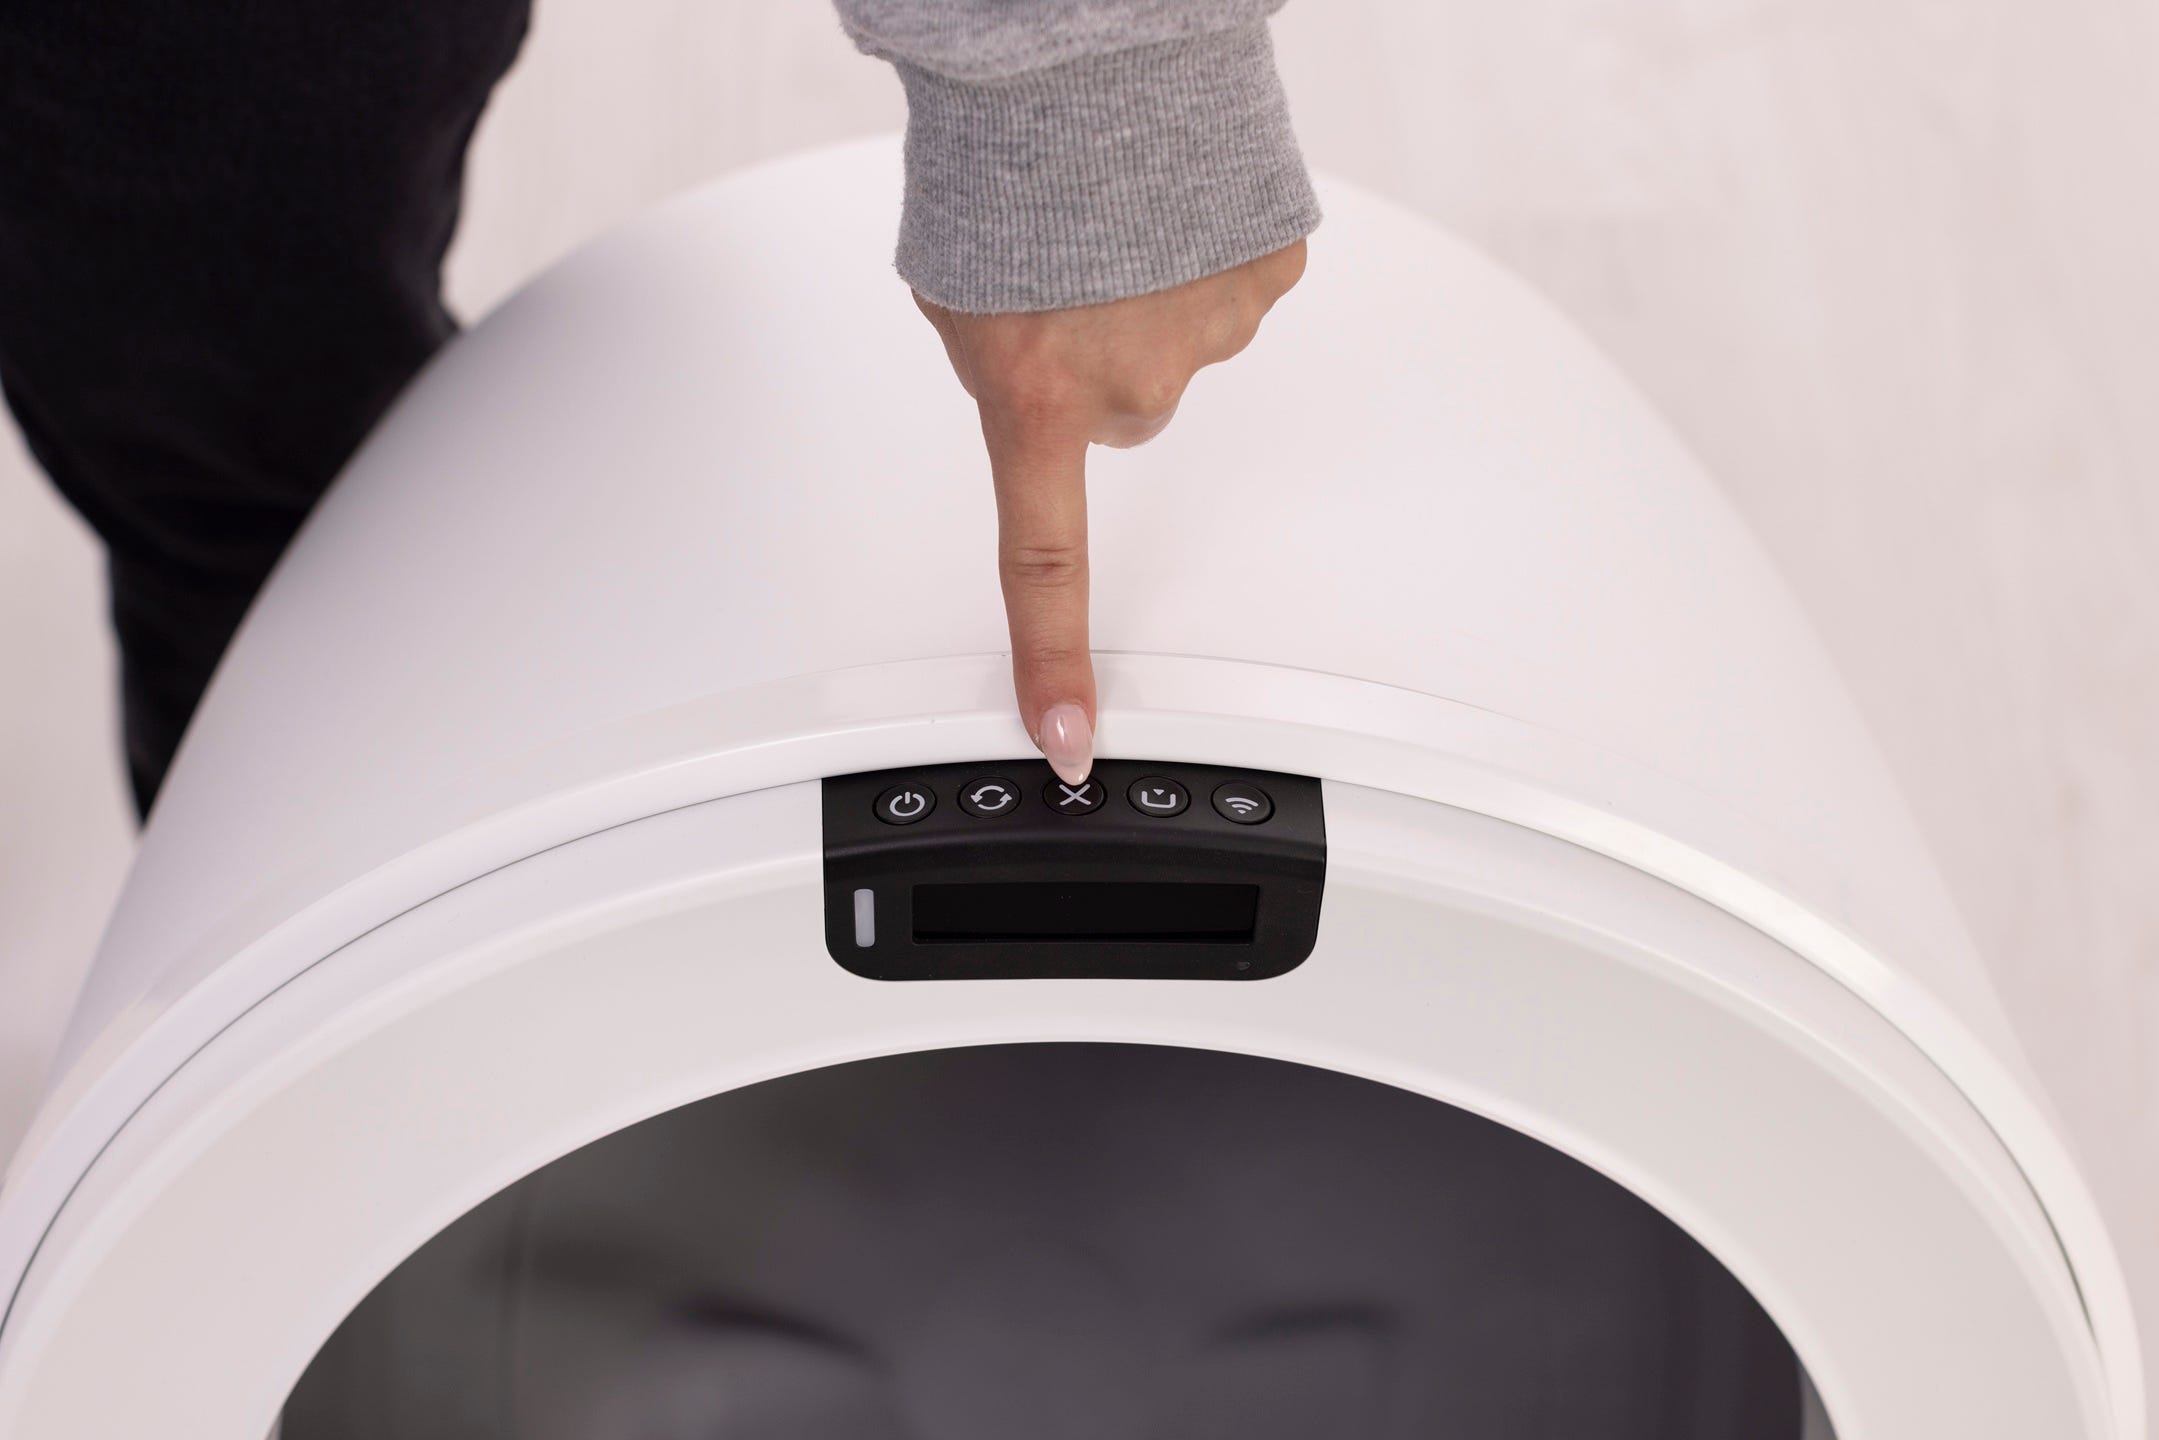
- Turn the unit OFF and unplug.
- Remove accessories
- If there are any accessories installed, these can be removed.
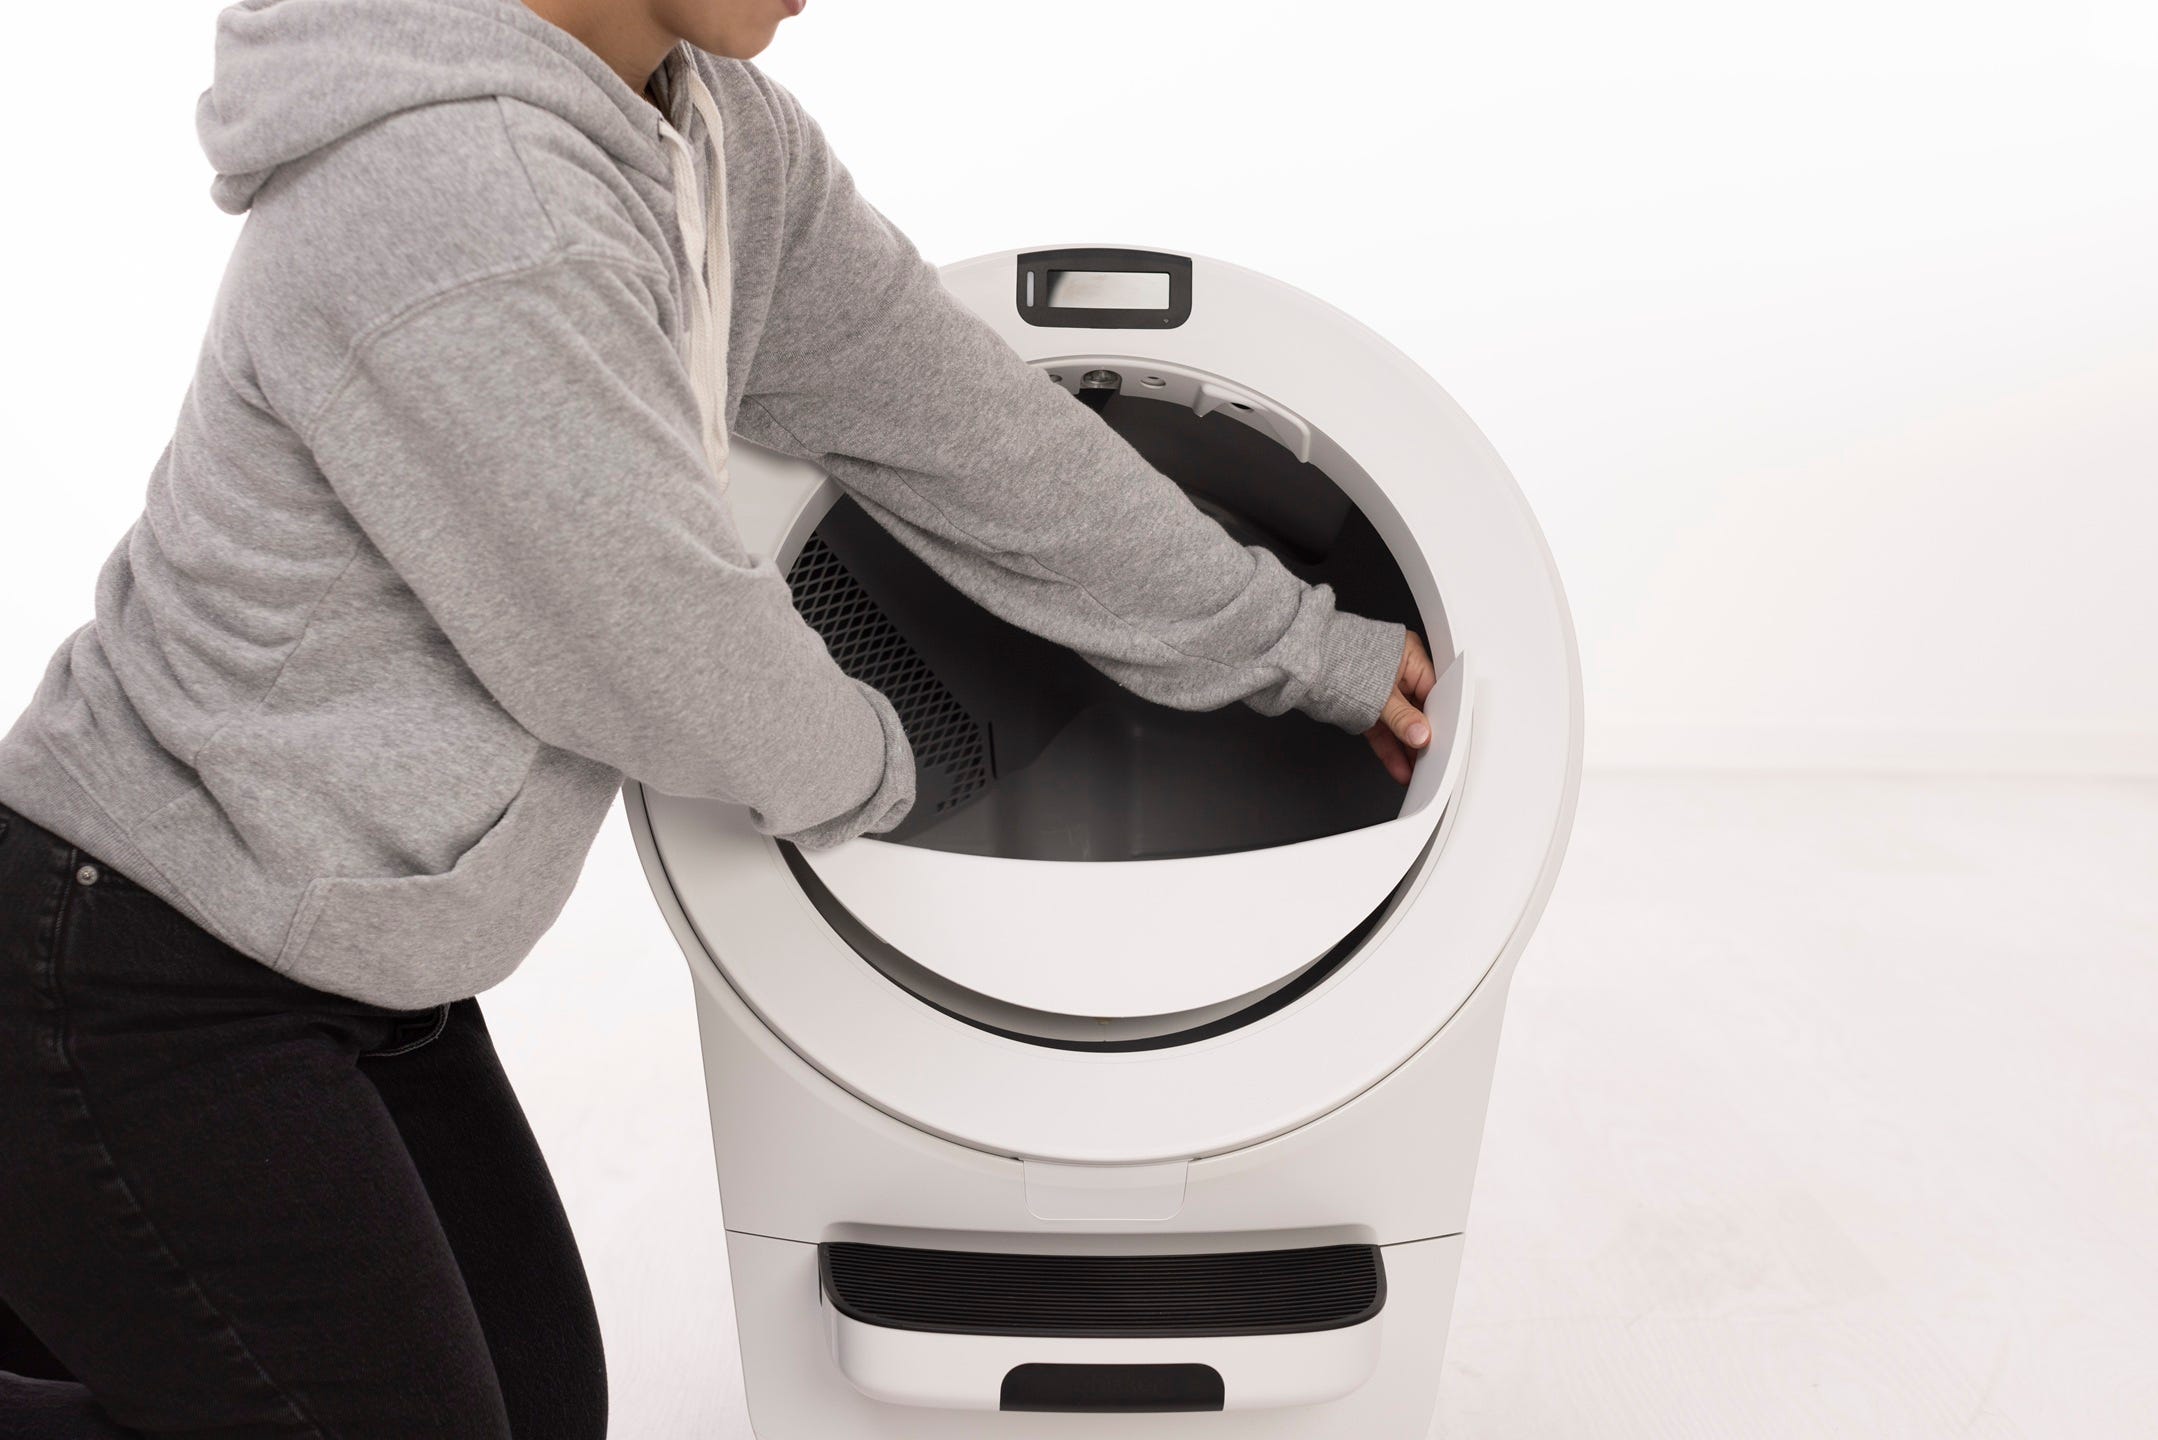
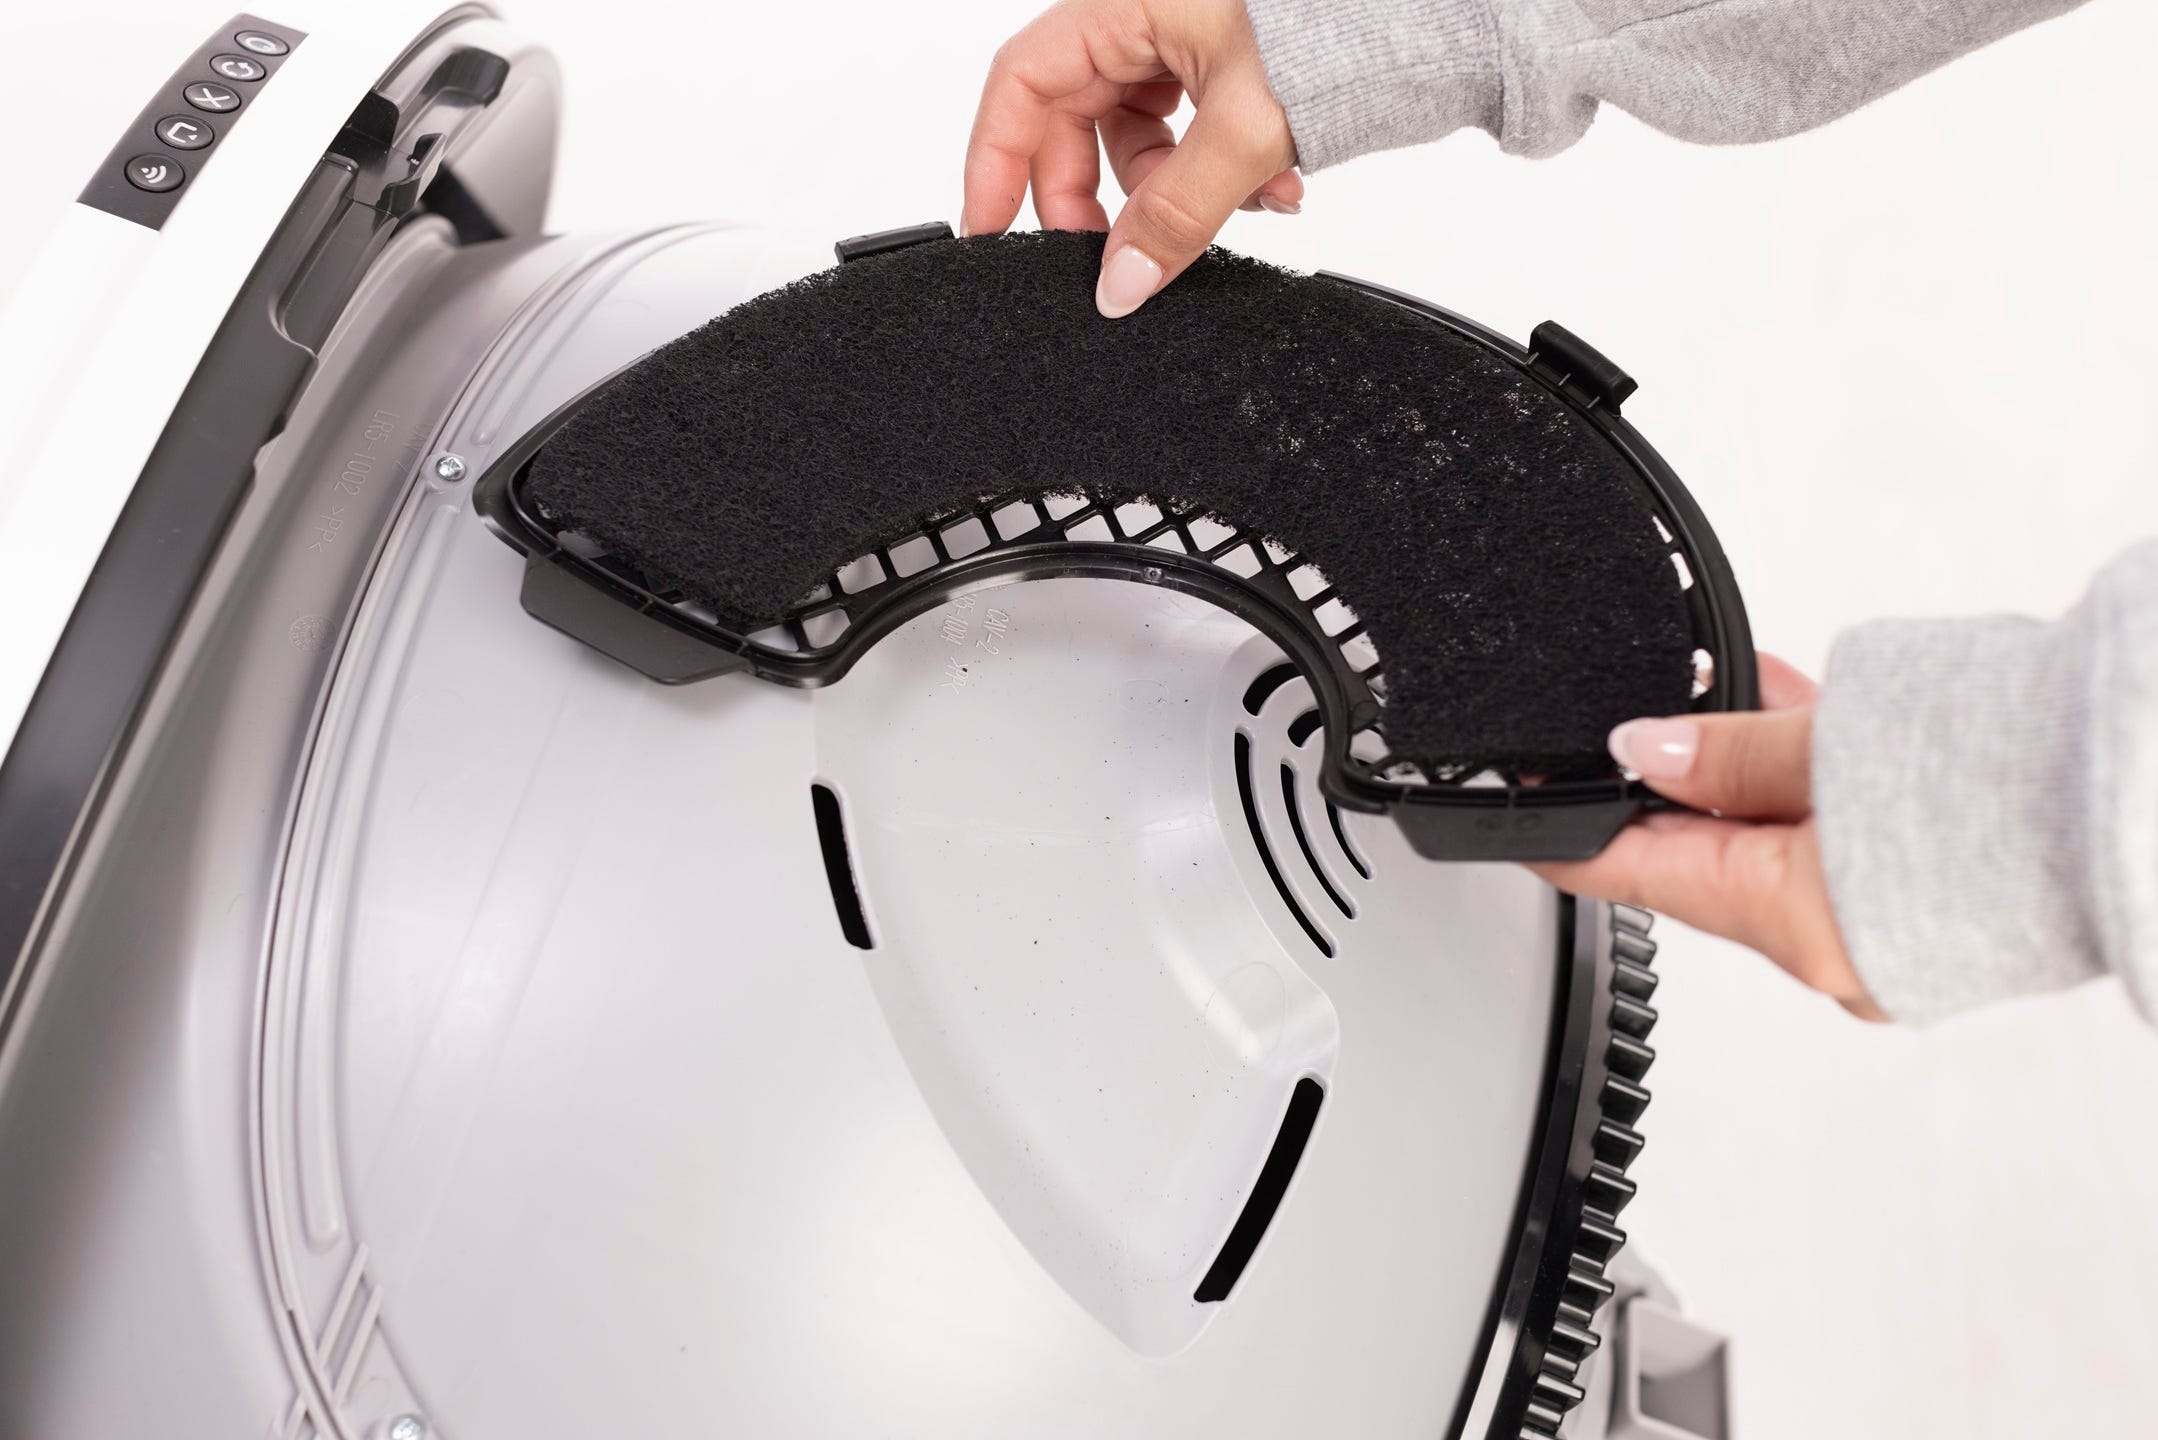
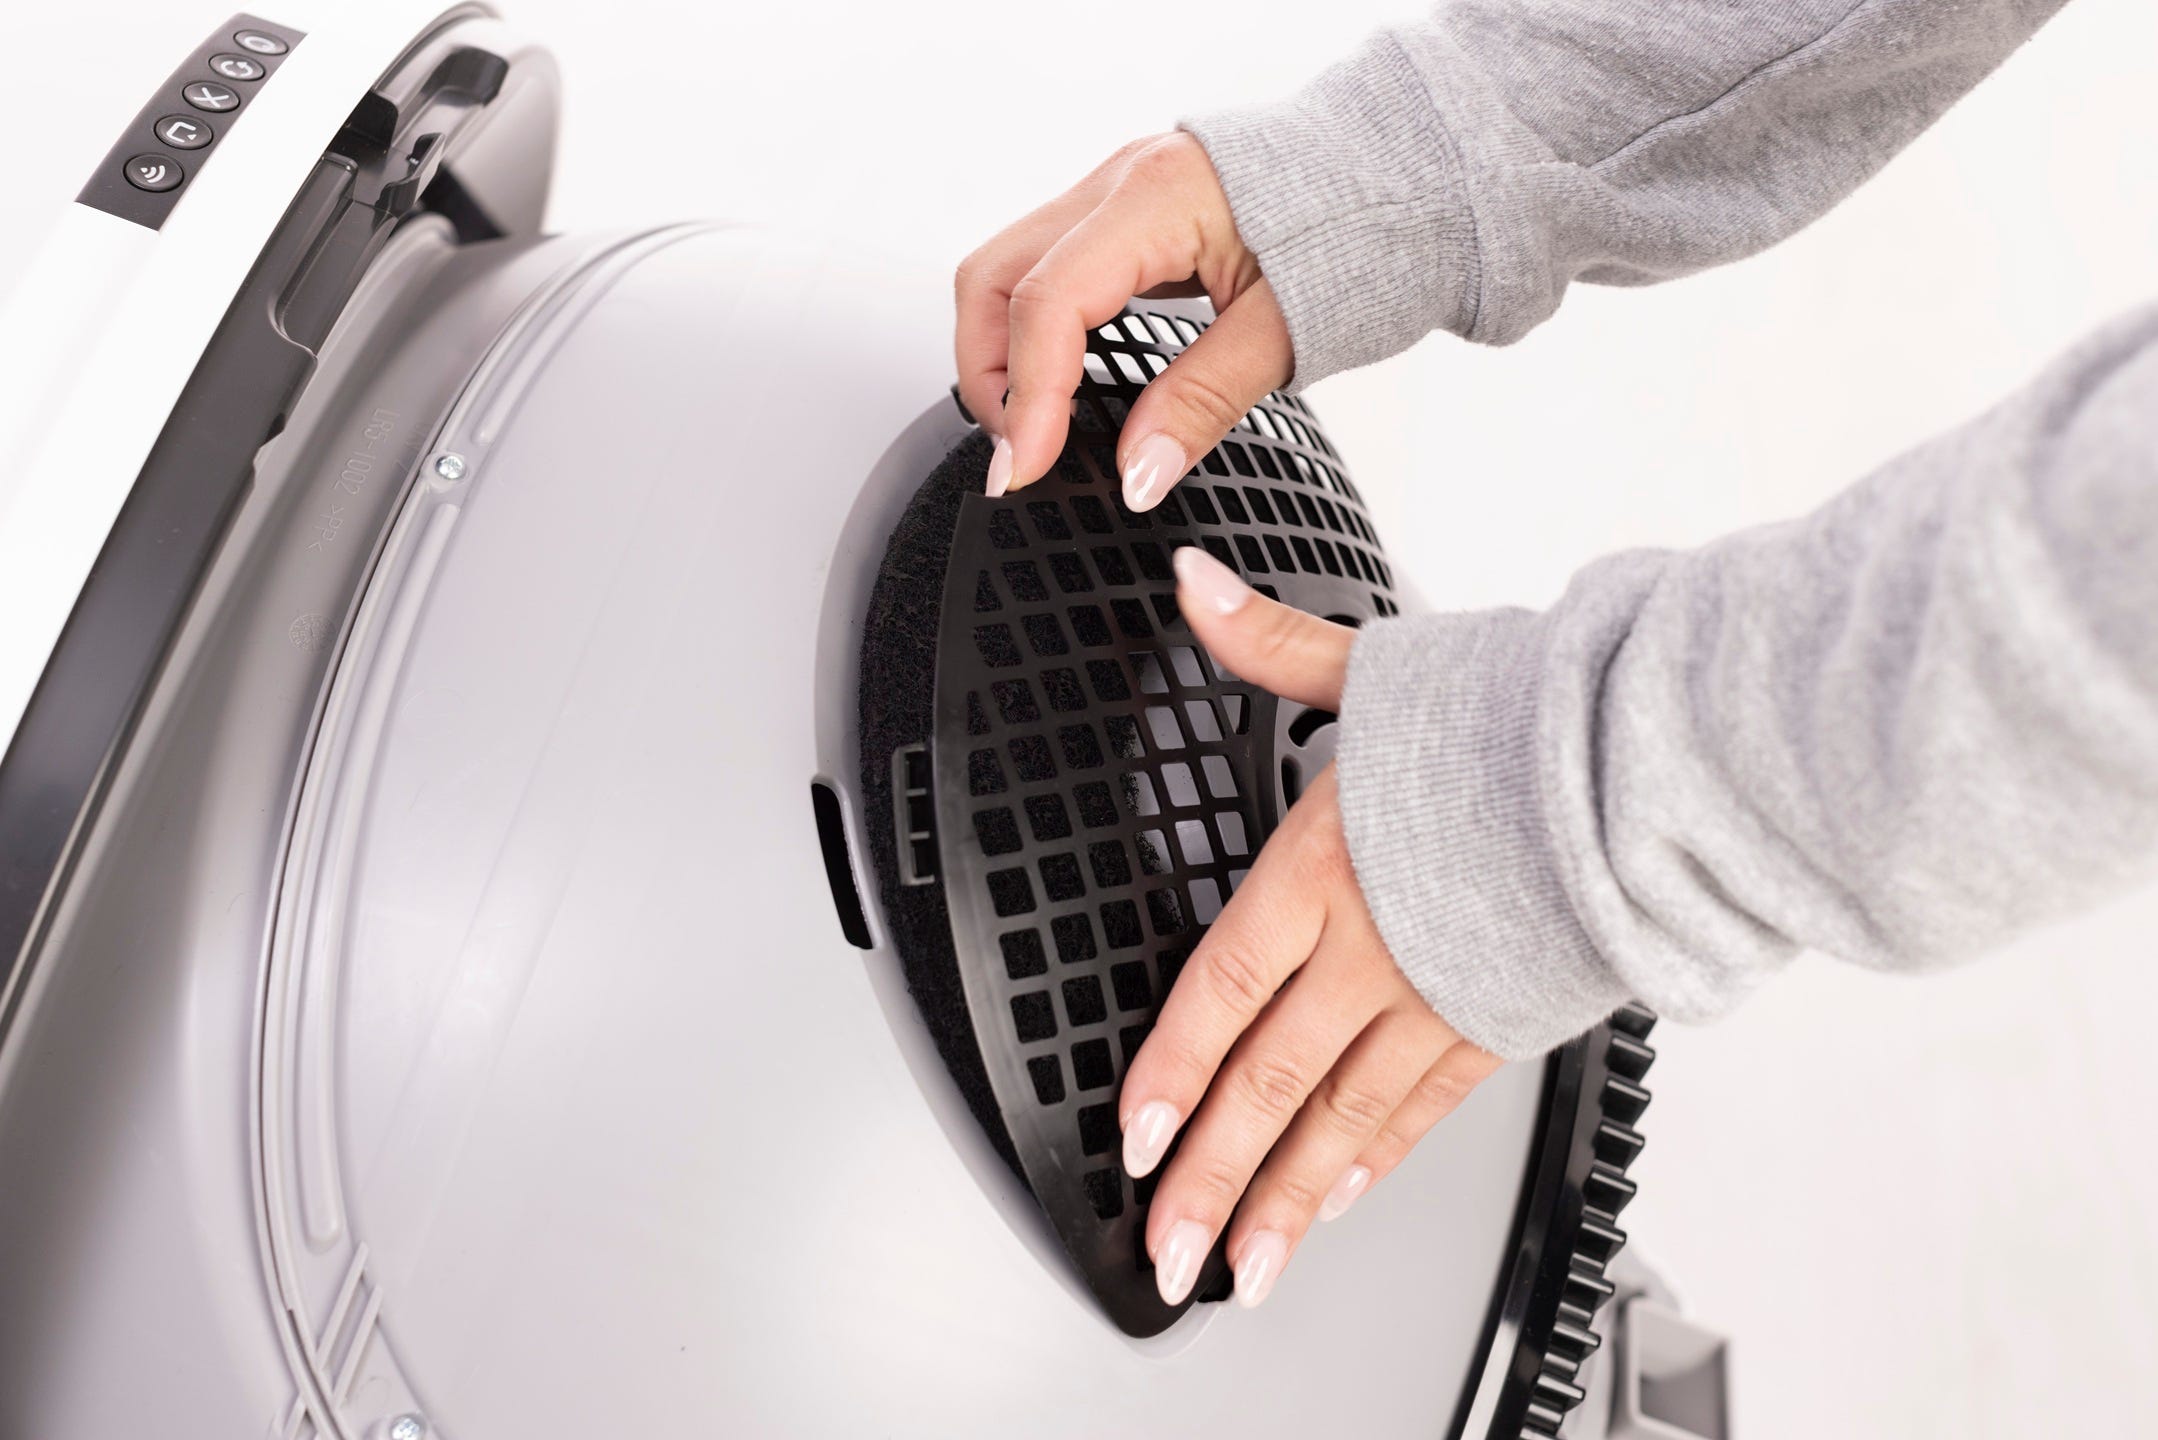
- Remove the carbon filter or OdorTrap® Holder from under the globe.
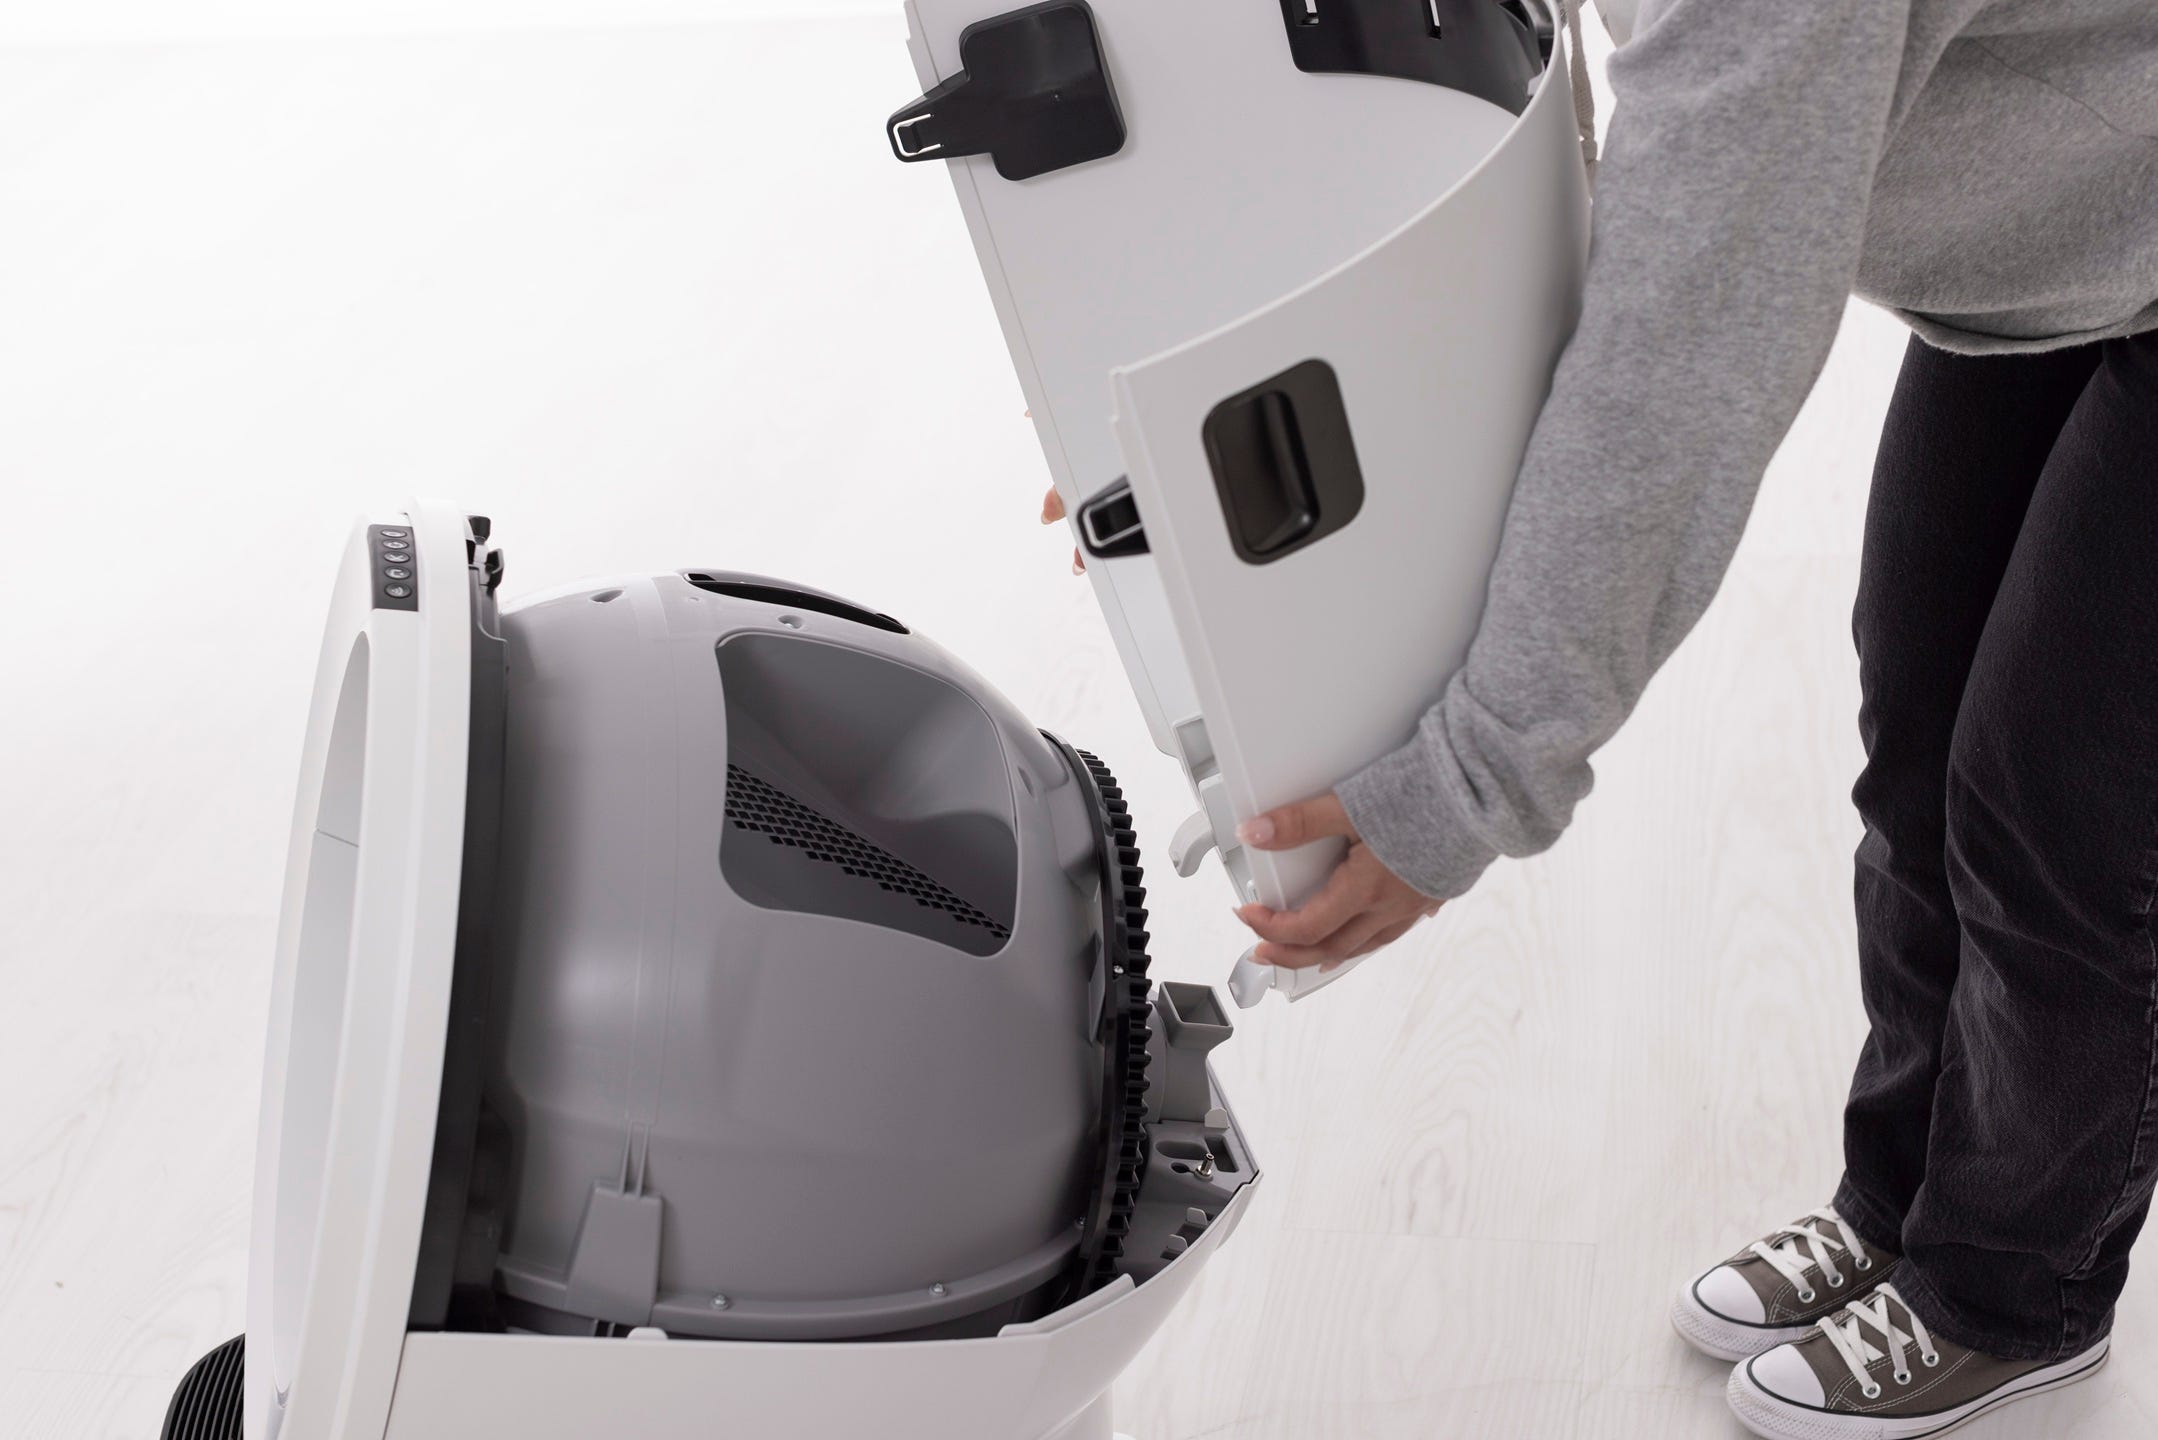
Remove the bonnet and globe
- To remove the bonnet, use the latches on both sides and rotate the bonnet to about 45°. It cannot be removed in its fully open position. Lift the bonnet up and away and set it aside.
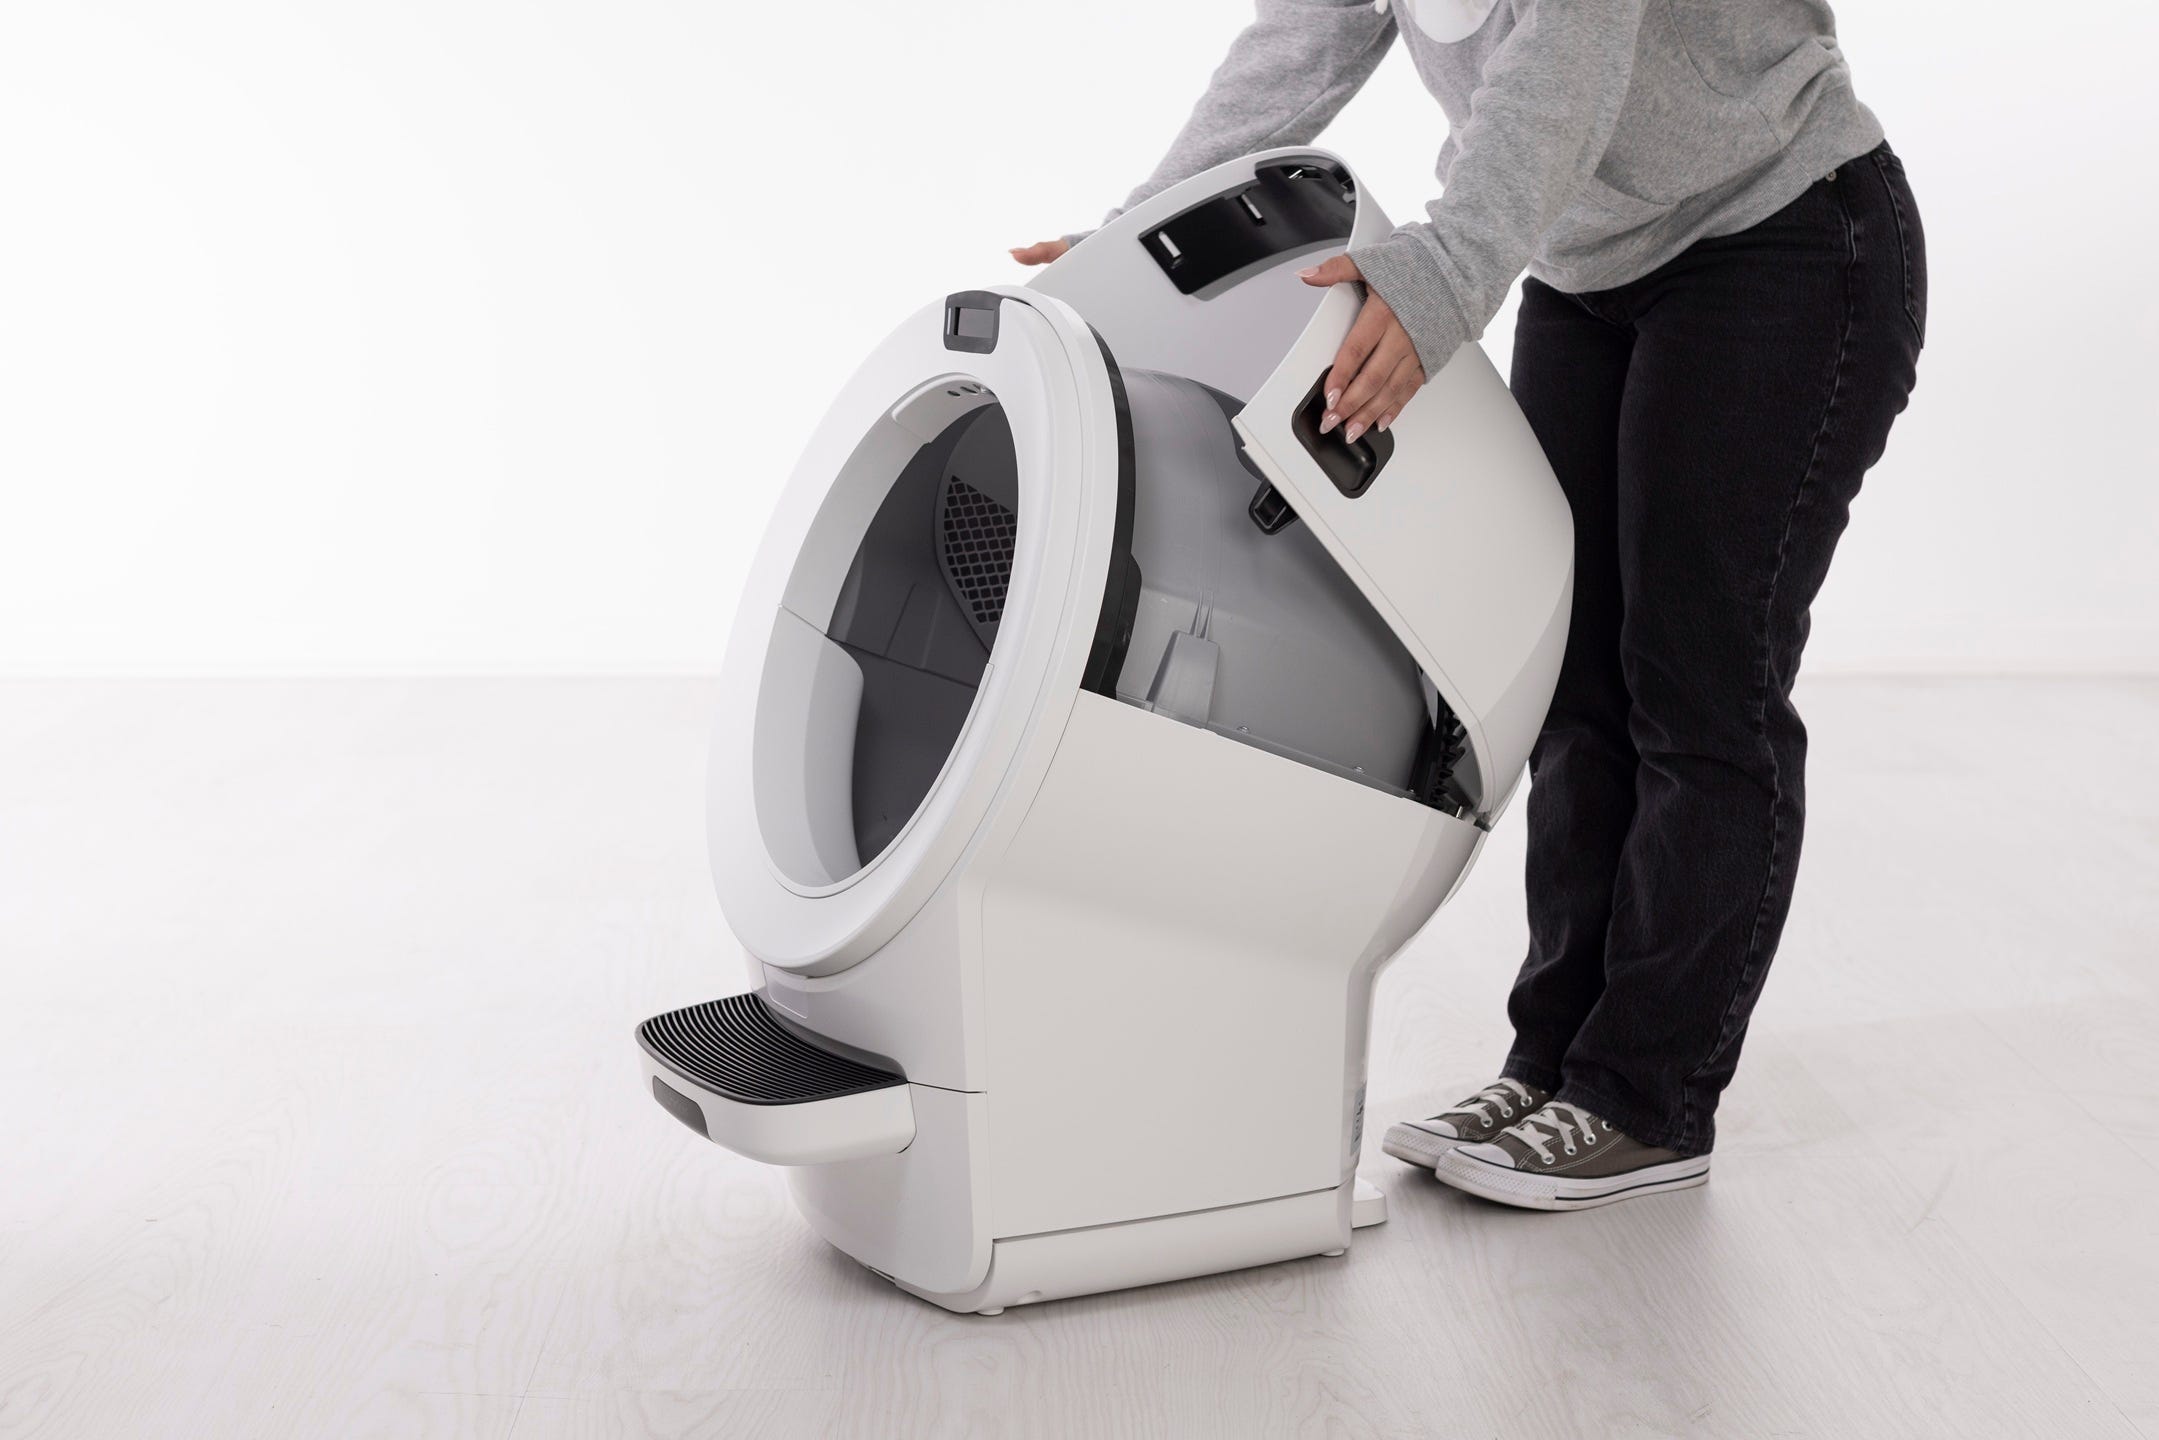
- Remove the globe by holding the handle and lifting it straight off the base.

- Wash the globe
Clean with Whisker Cleaner Spray or Wipes. Mild soap and water may also be used.
- For heavy soiling, the globe can be soaked or rinsed with a hose (do not wet the base).
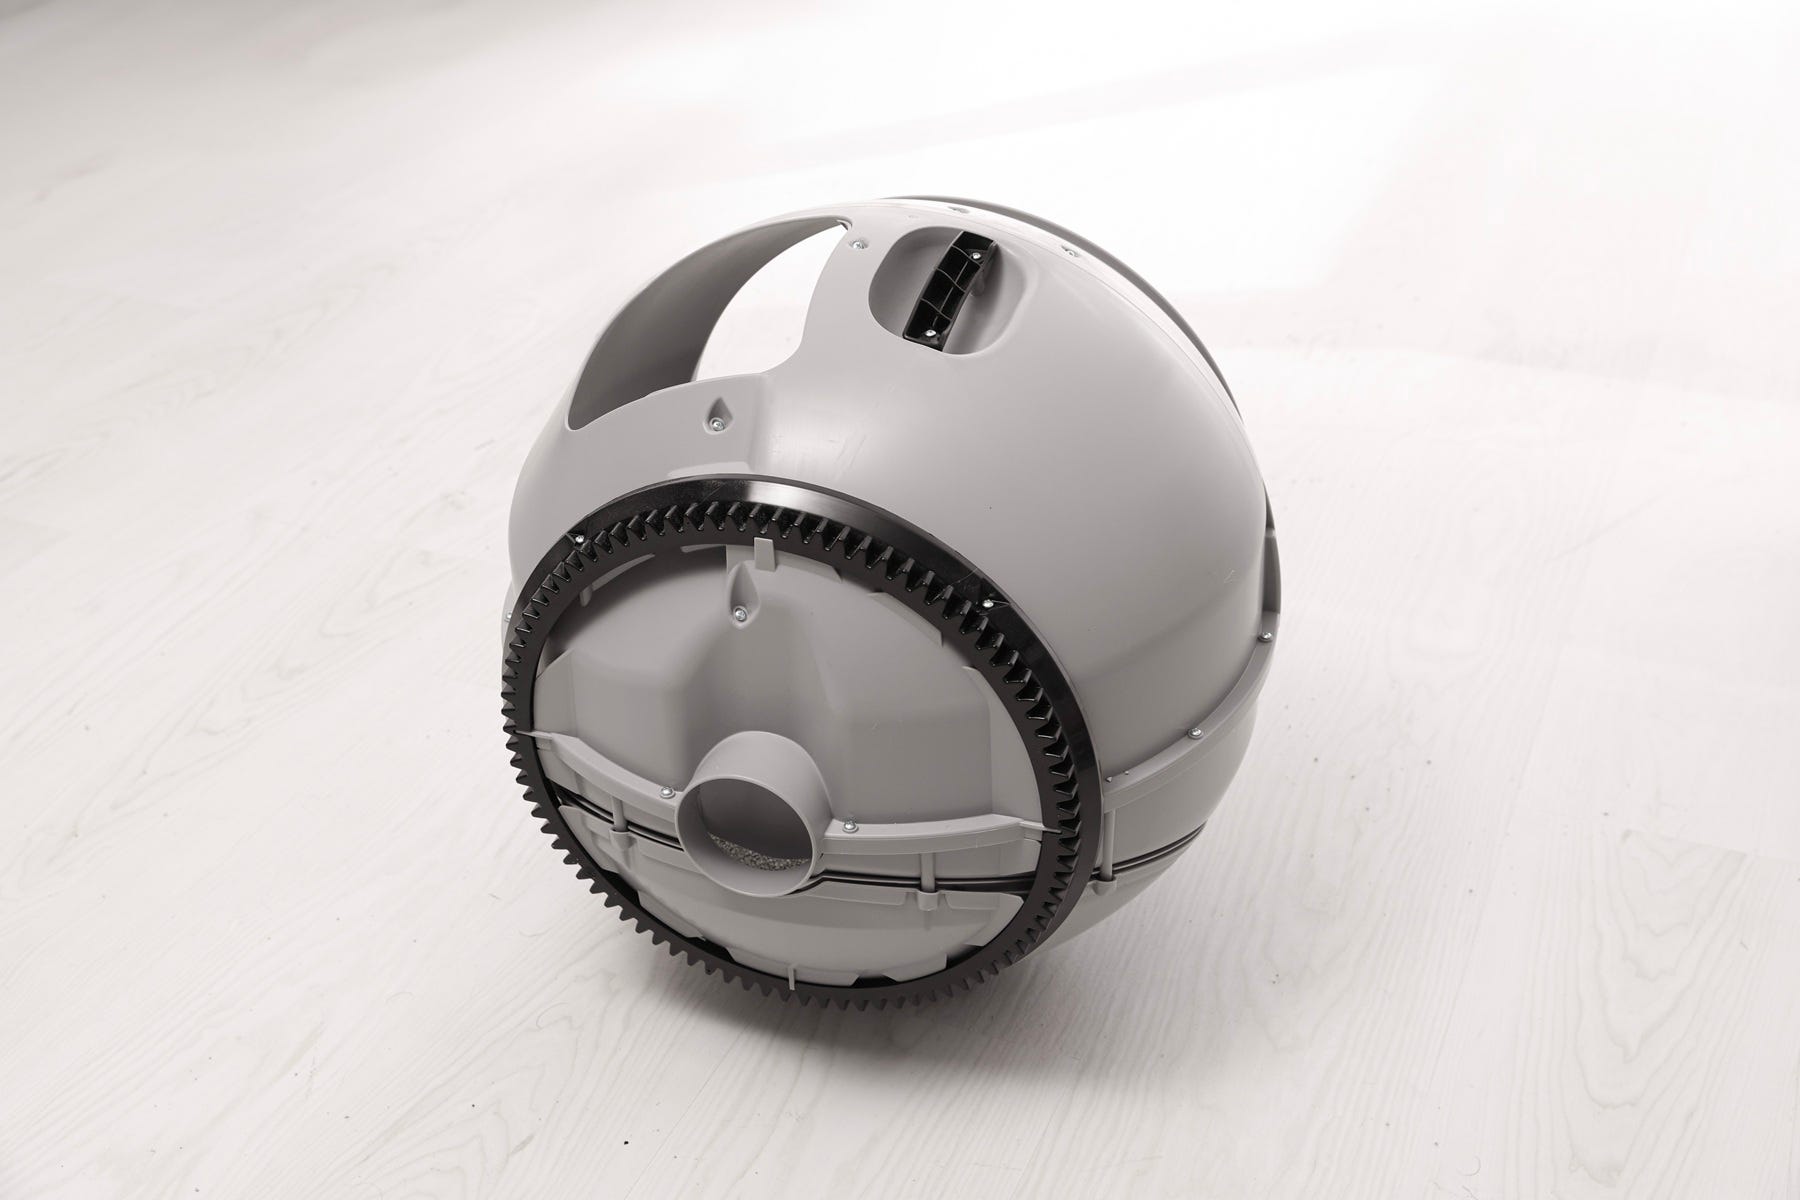
Rinse thoroughly and allow to dry completely. Wet litter can clump and jam the system.
Quick clean option: Without removing the globe, you can manually rotate it to expose the liner and wipe surfaces for a fast refresh.
Cleaning the waste drawer
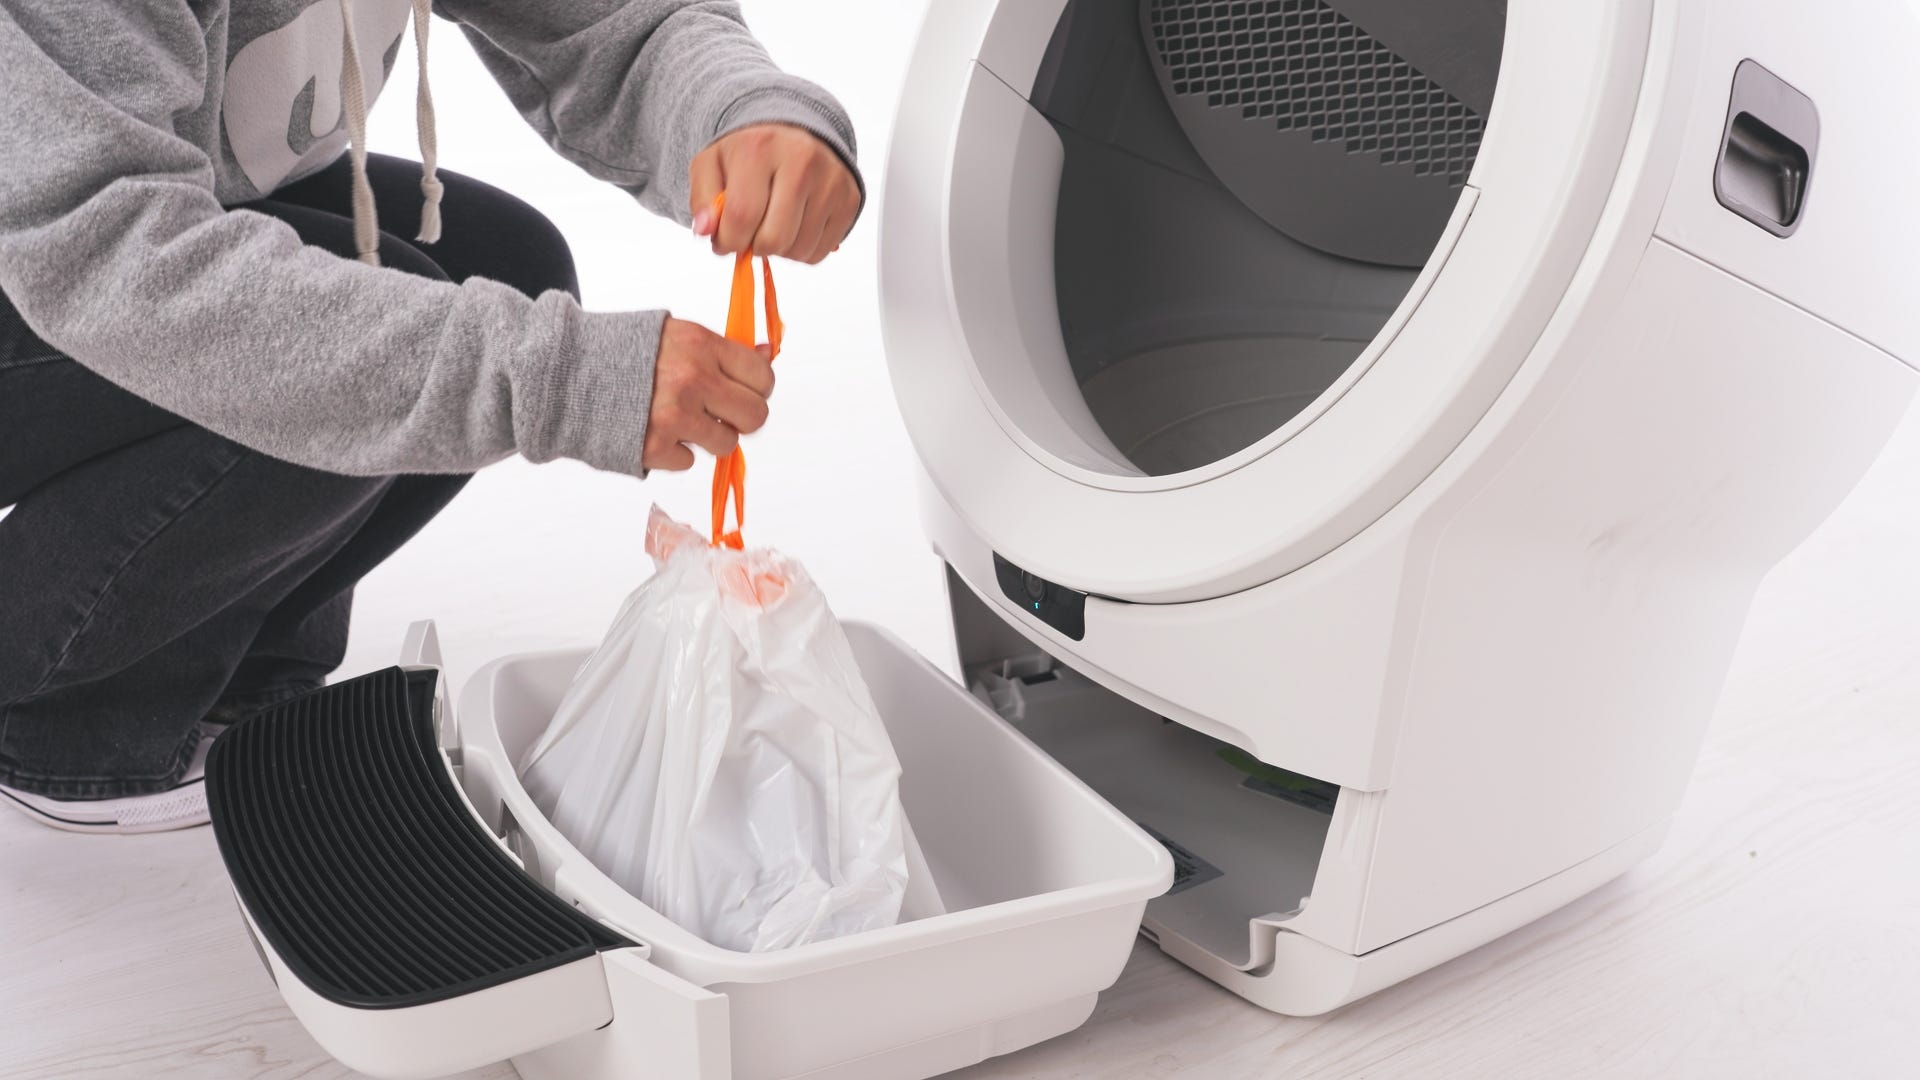
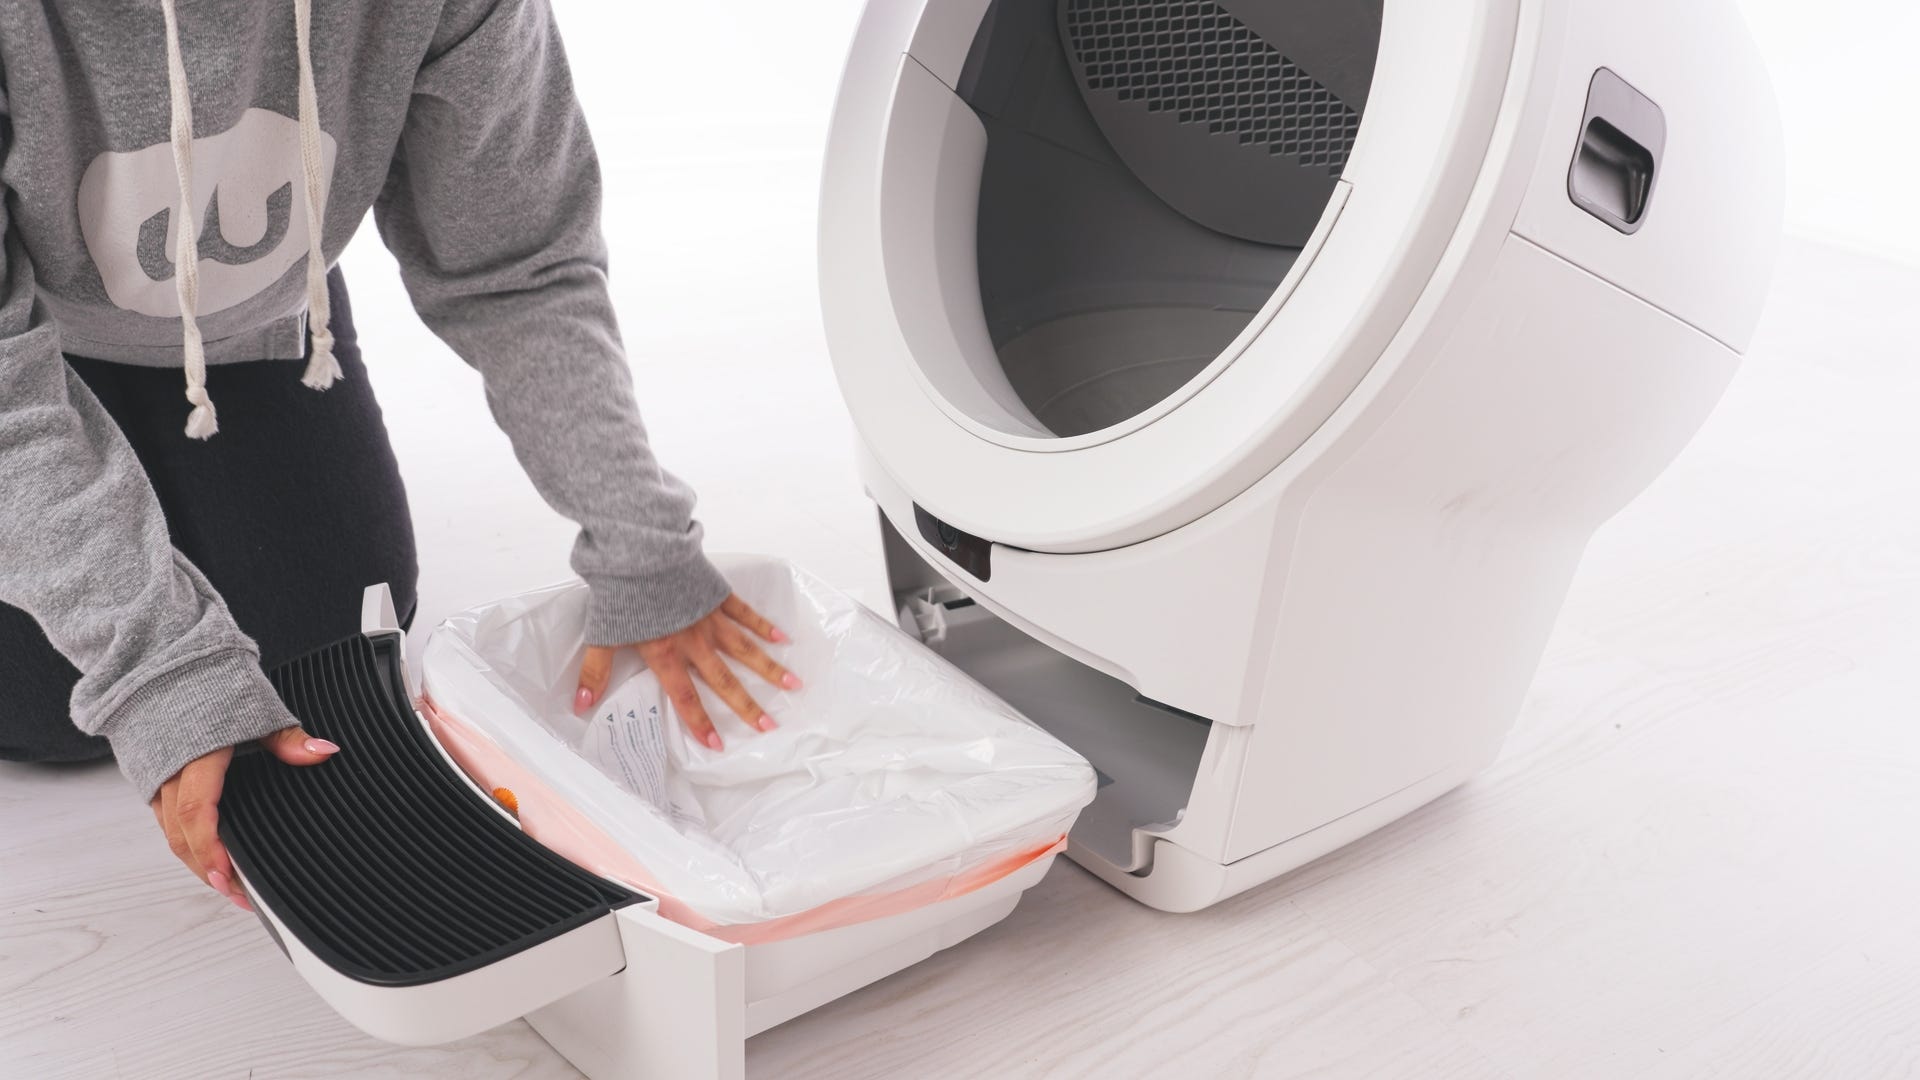
Remove the drawer
- Slide it out fully and remove the liner.
Wash and dry
Clean with Whisker Cleaner Spray or Wipes. Mild soap and water may also be used.
Dry completely before reinserting.
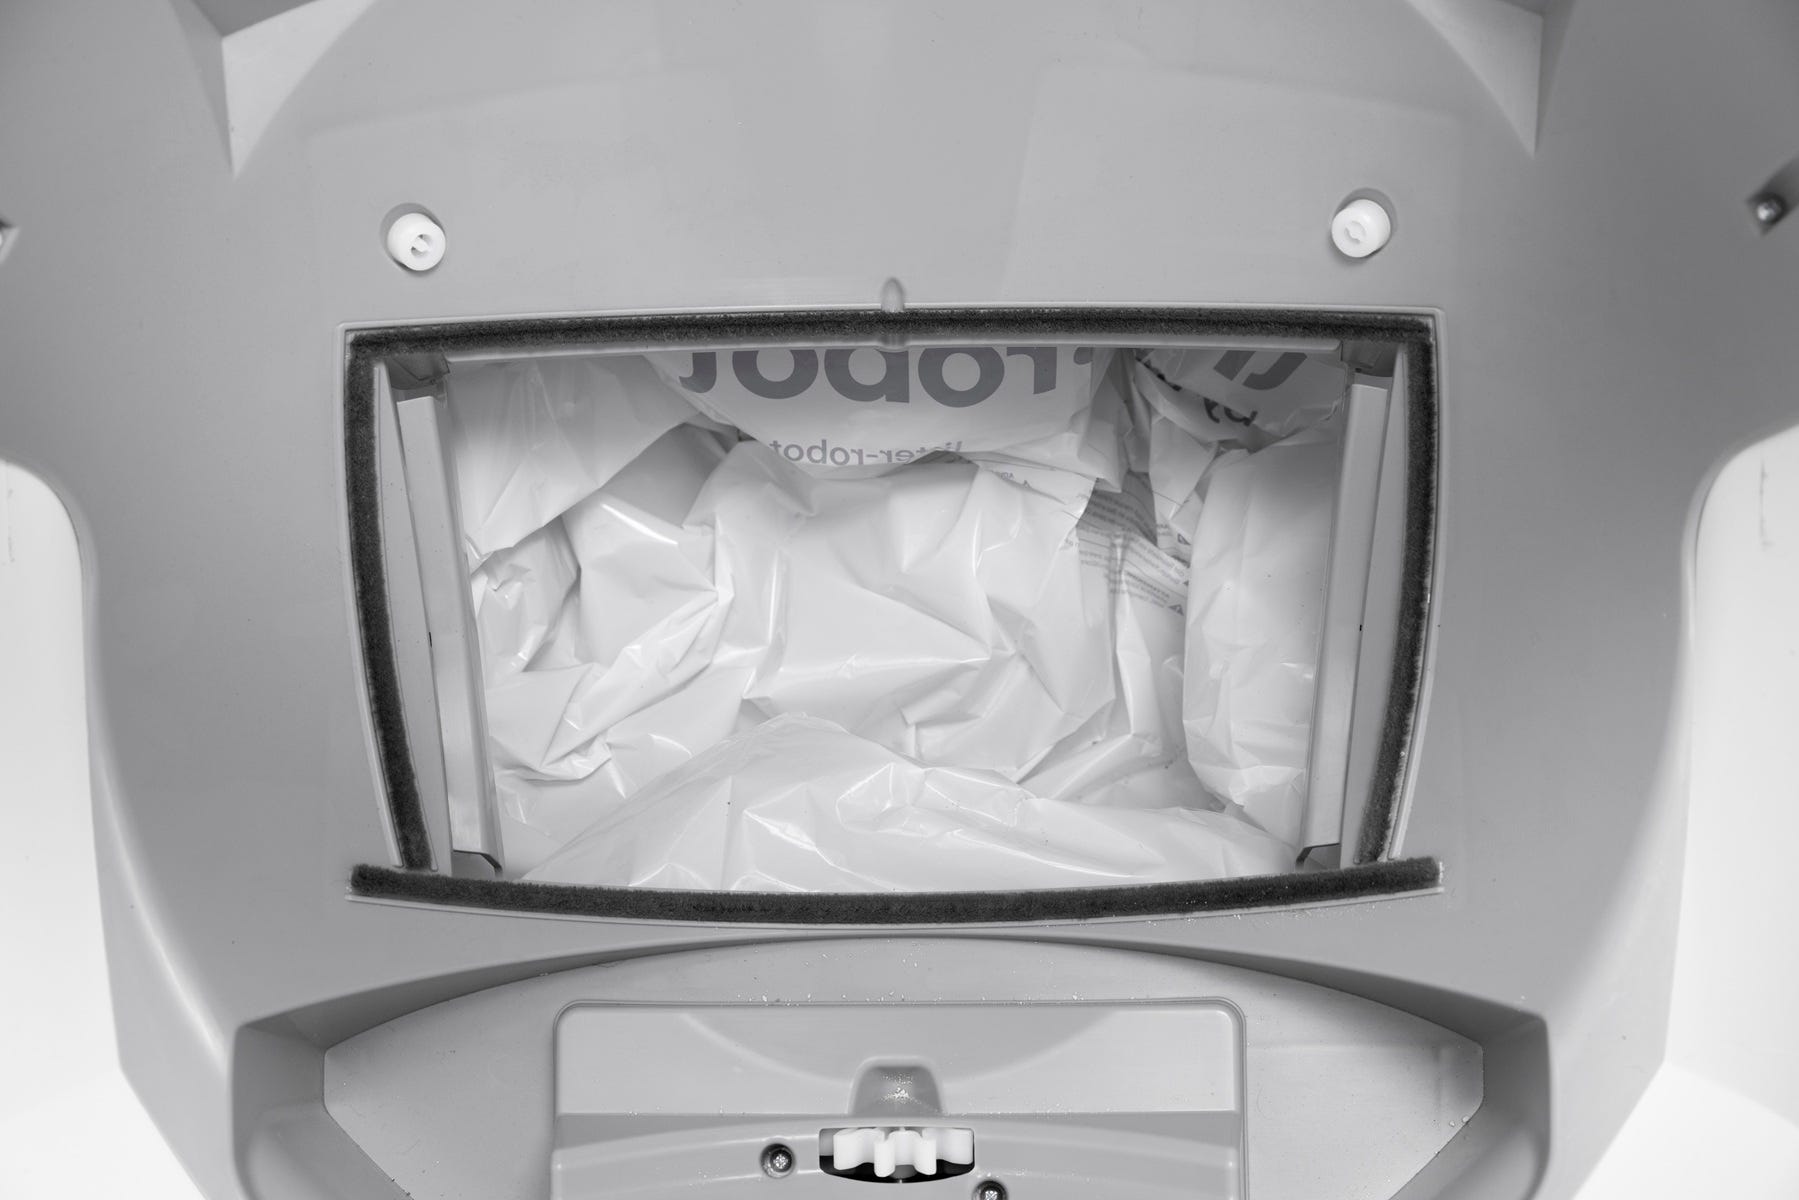
- Install a fresh liner
Use Whisker Waste Drawer Liners or a white 10–13 gallon bag.
- Wrap the edges tightly over the rim so the Drawer Full Indicator works correctly.
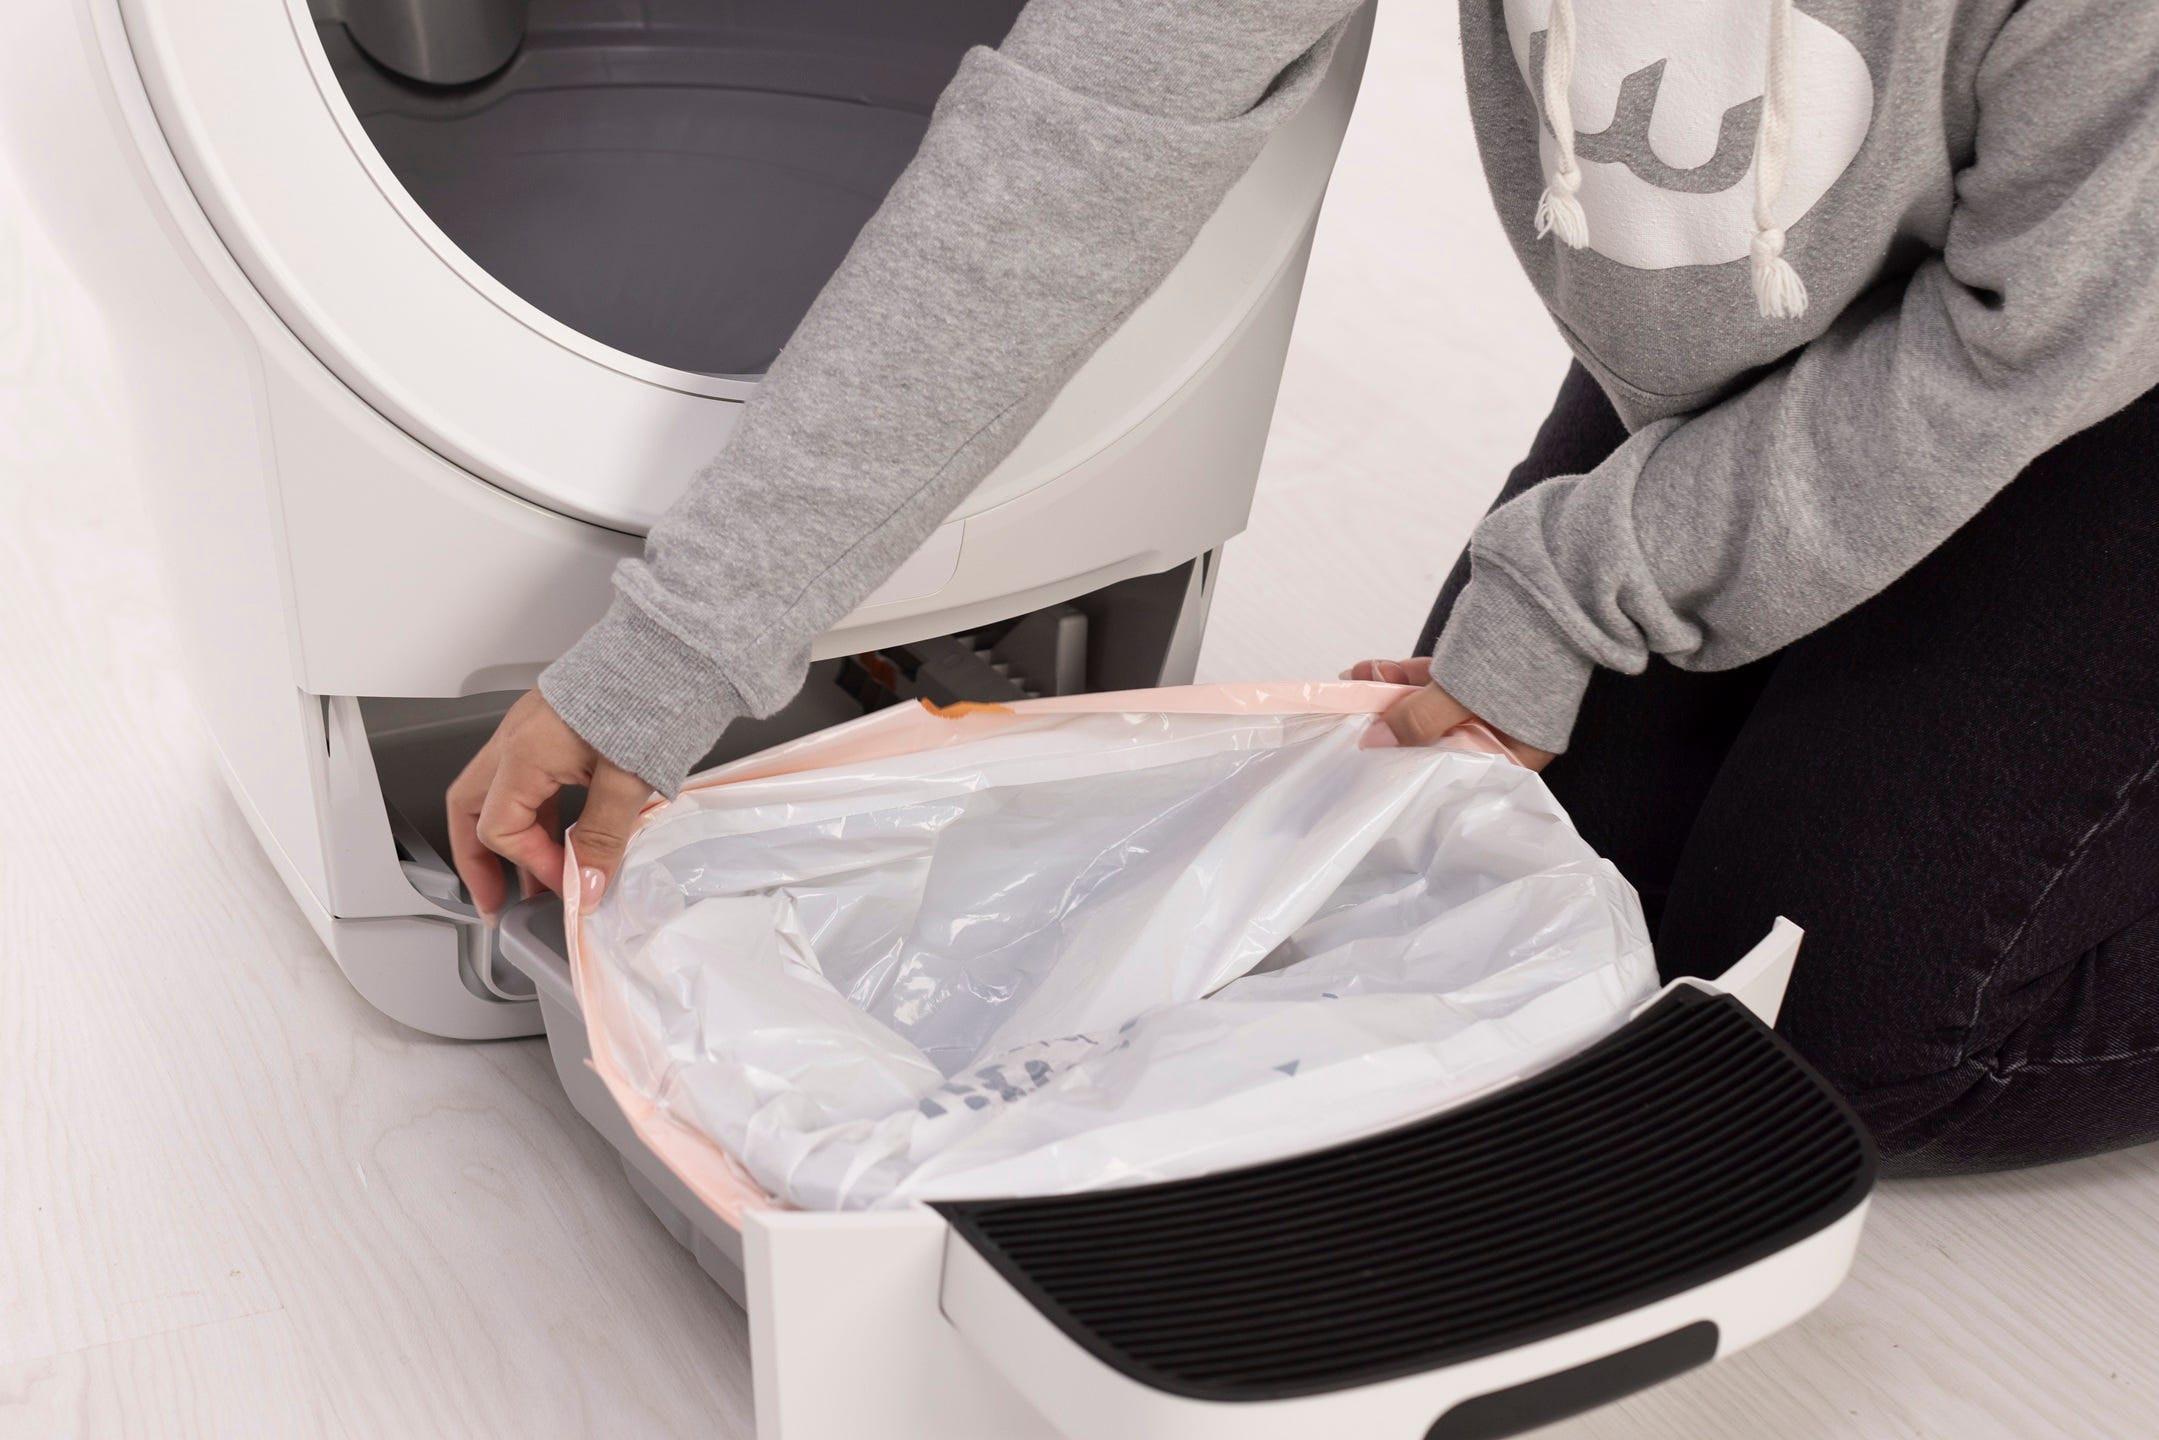
Smooth the liner flat against the sides and bottom.
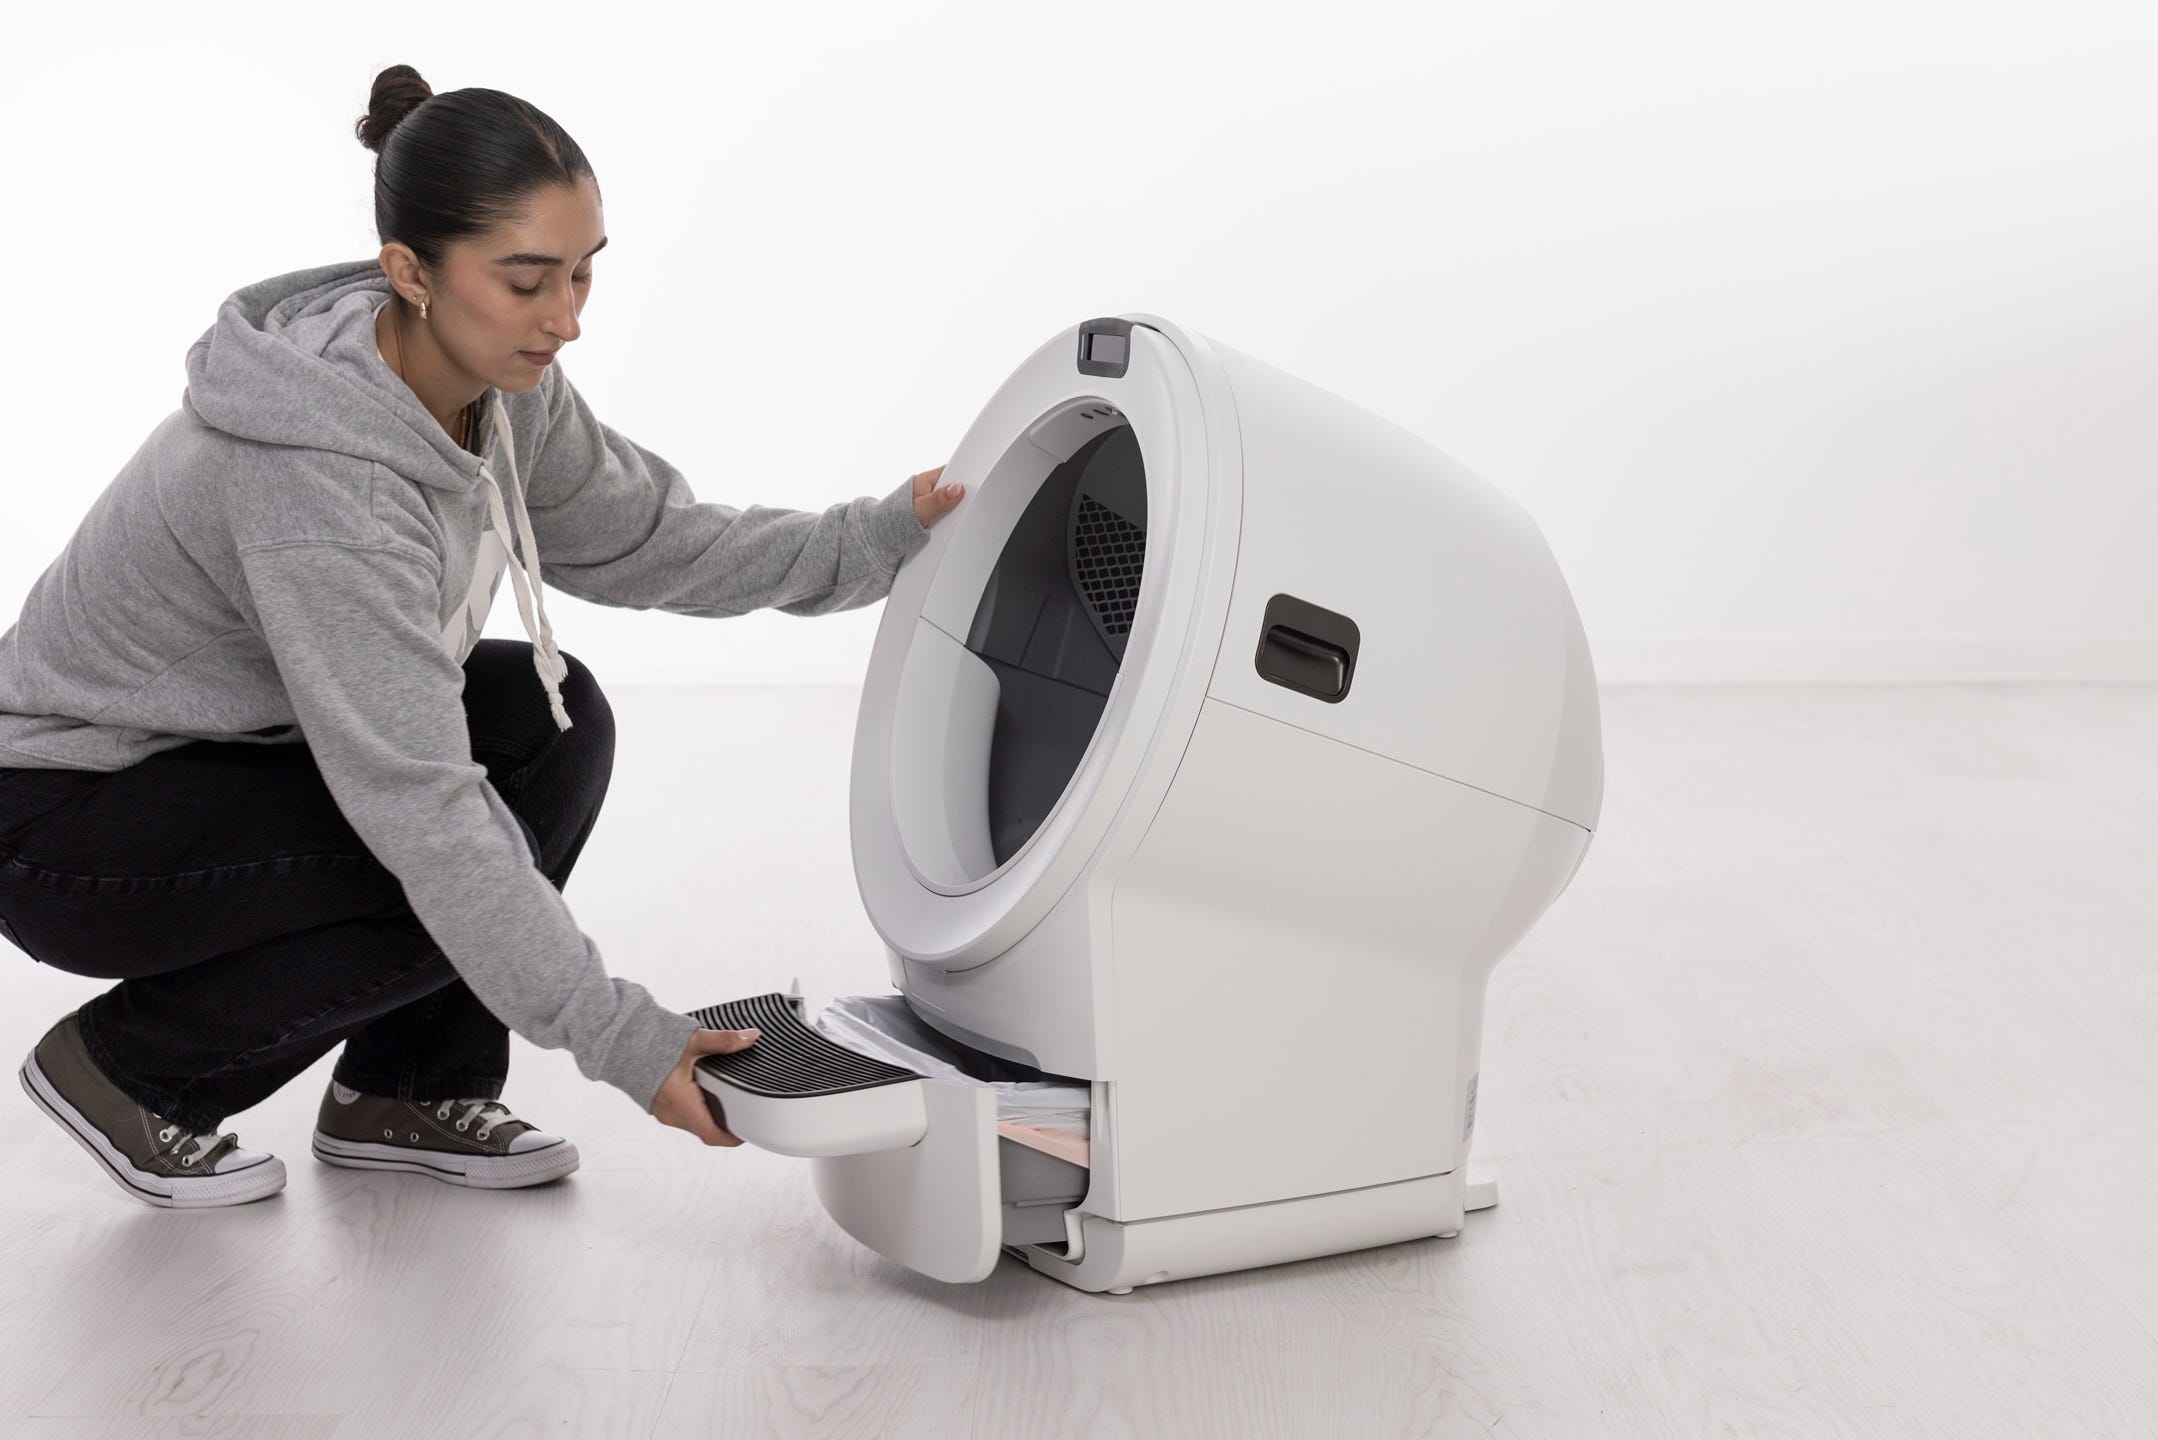
Cleaning the step mat
Remove the waste drawer step mat by pinching an edge and lifting to release the three pegs.
Shake off loose litter and wash with soap and water.
Dry thoroughly before reattaching.
Reinstall by aligning the pegs and pressing firmly until seated.

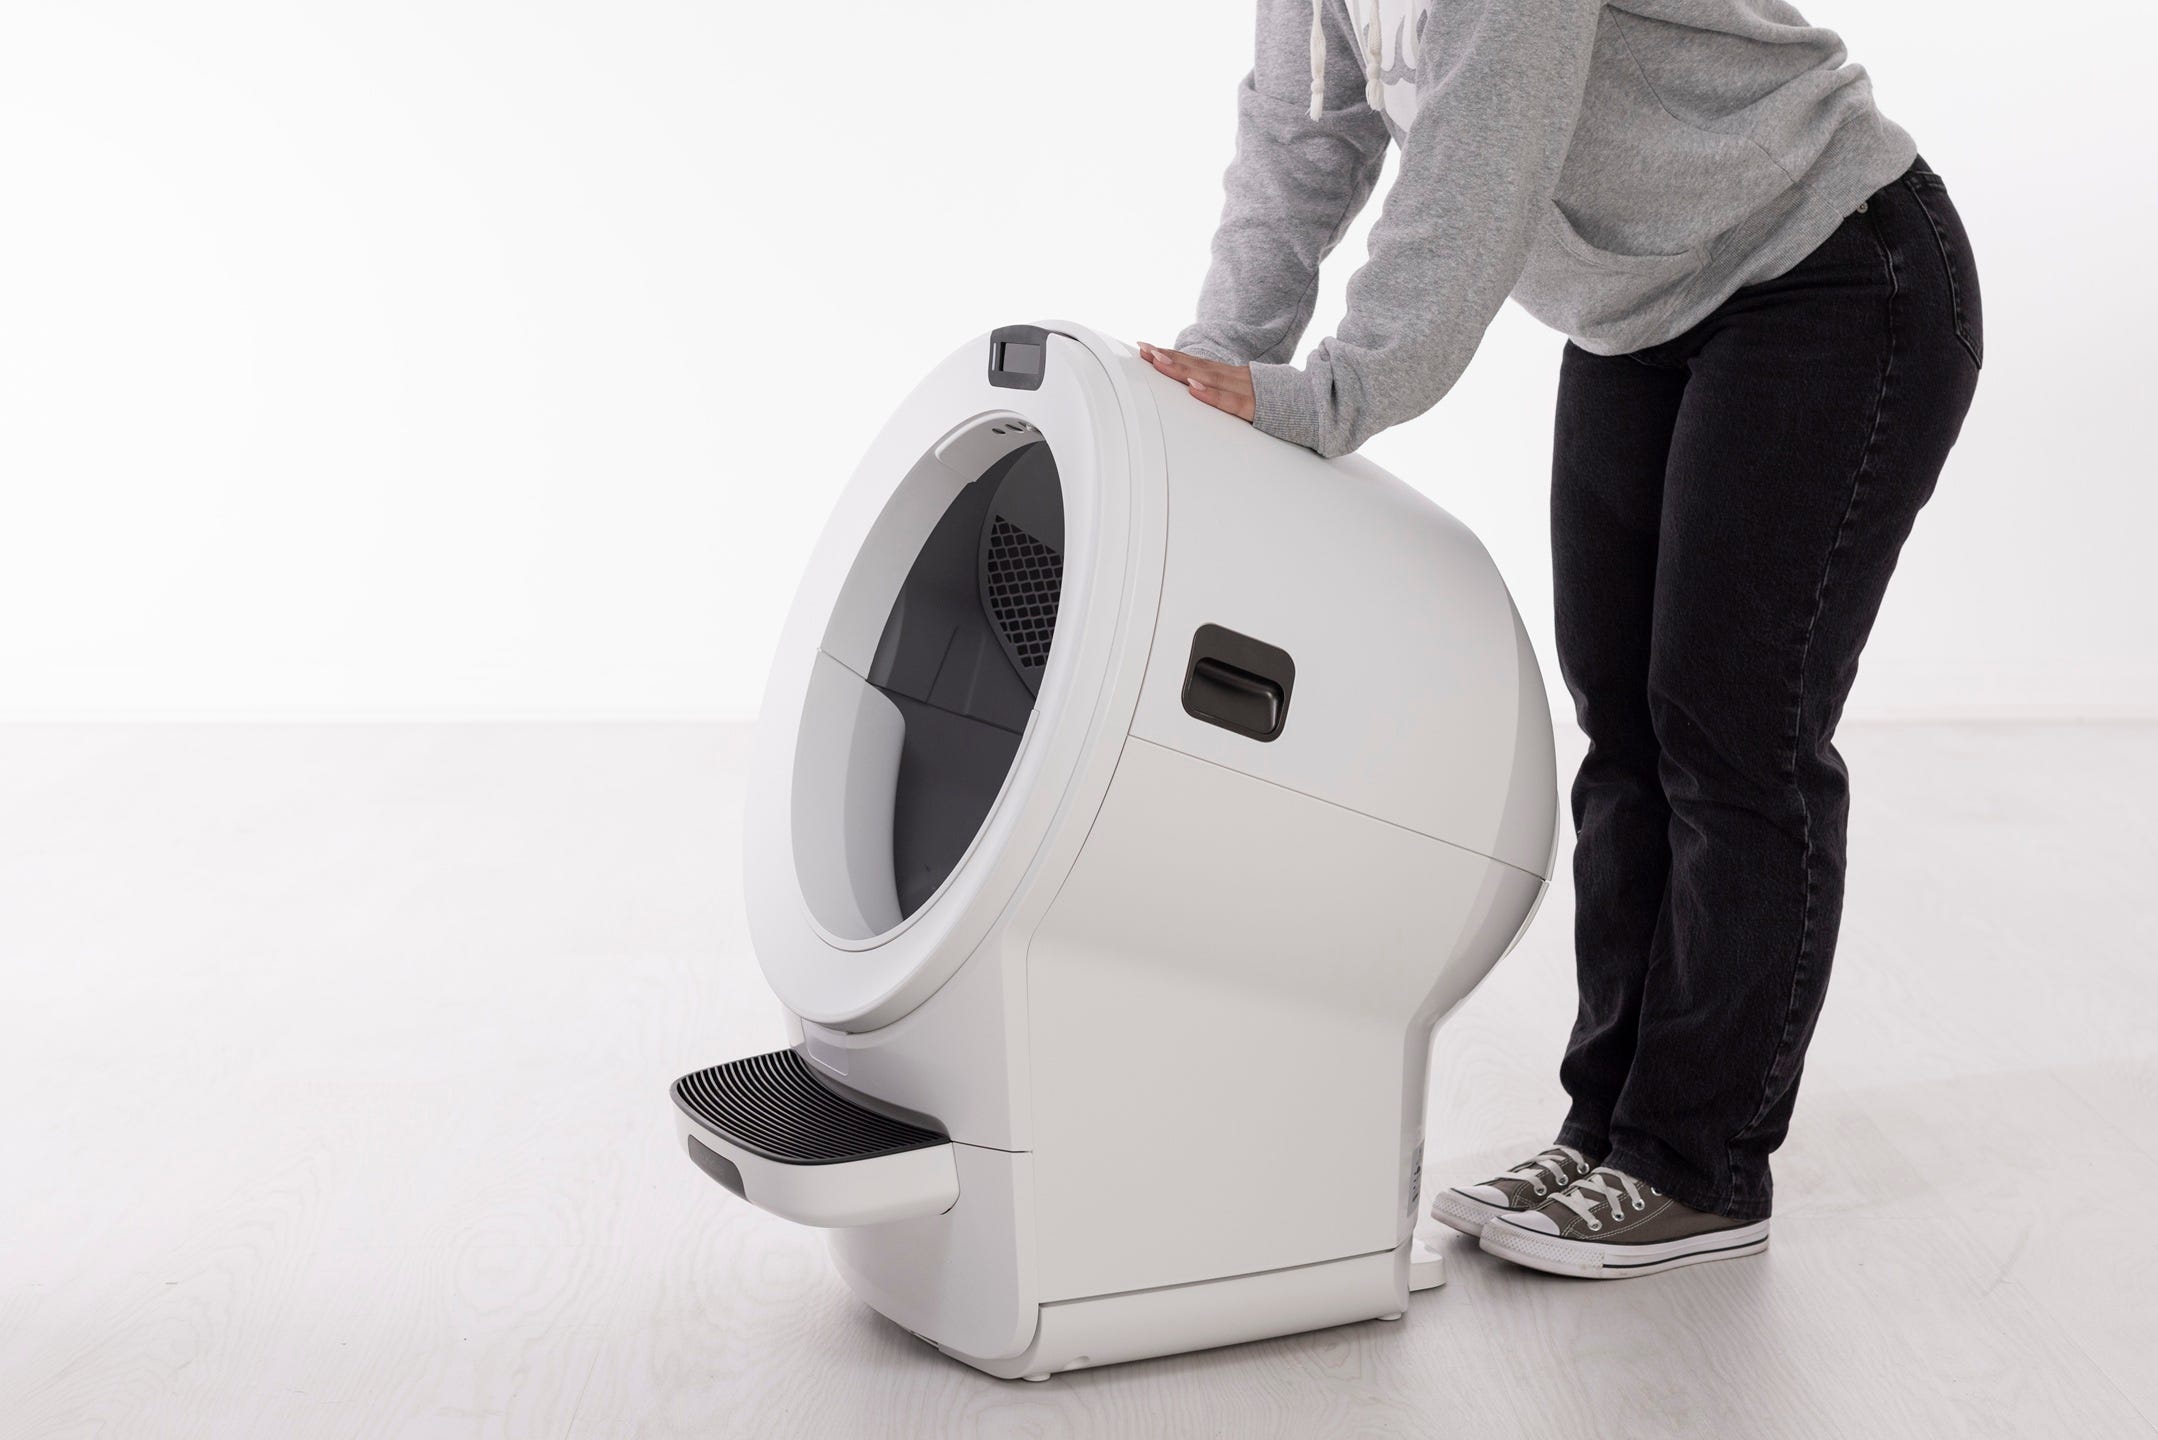
Cleaning the base
Never submerge, spray, or soak the base.
Vacuum debris
- Use a vacuum to remove litter granules from the waste port, seal strips, and around the SmartScale feet.
Wipe surfaces
Clean with a cloth dampened with disinfectant (spray onto the cloth, not the base).
Do not use bleach.
- Sensor care
Gently wipe the curtain sensor lens (located at the bezel) with a clean, dry microfiber cloth.
- Do not use a wet or damp cloth. Never use a vacuum on the curtain sensor area.
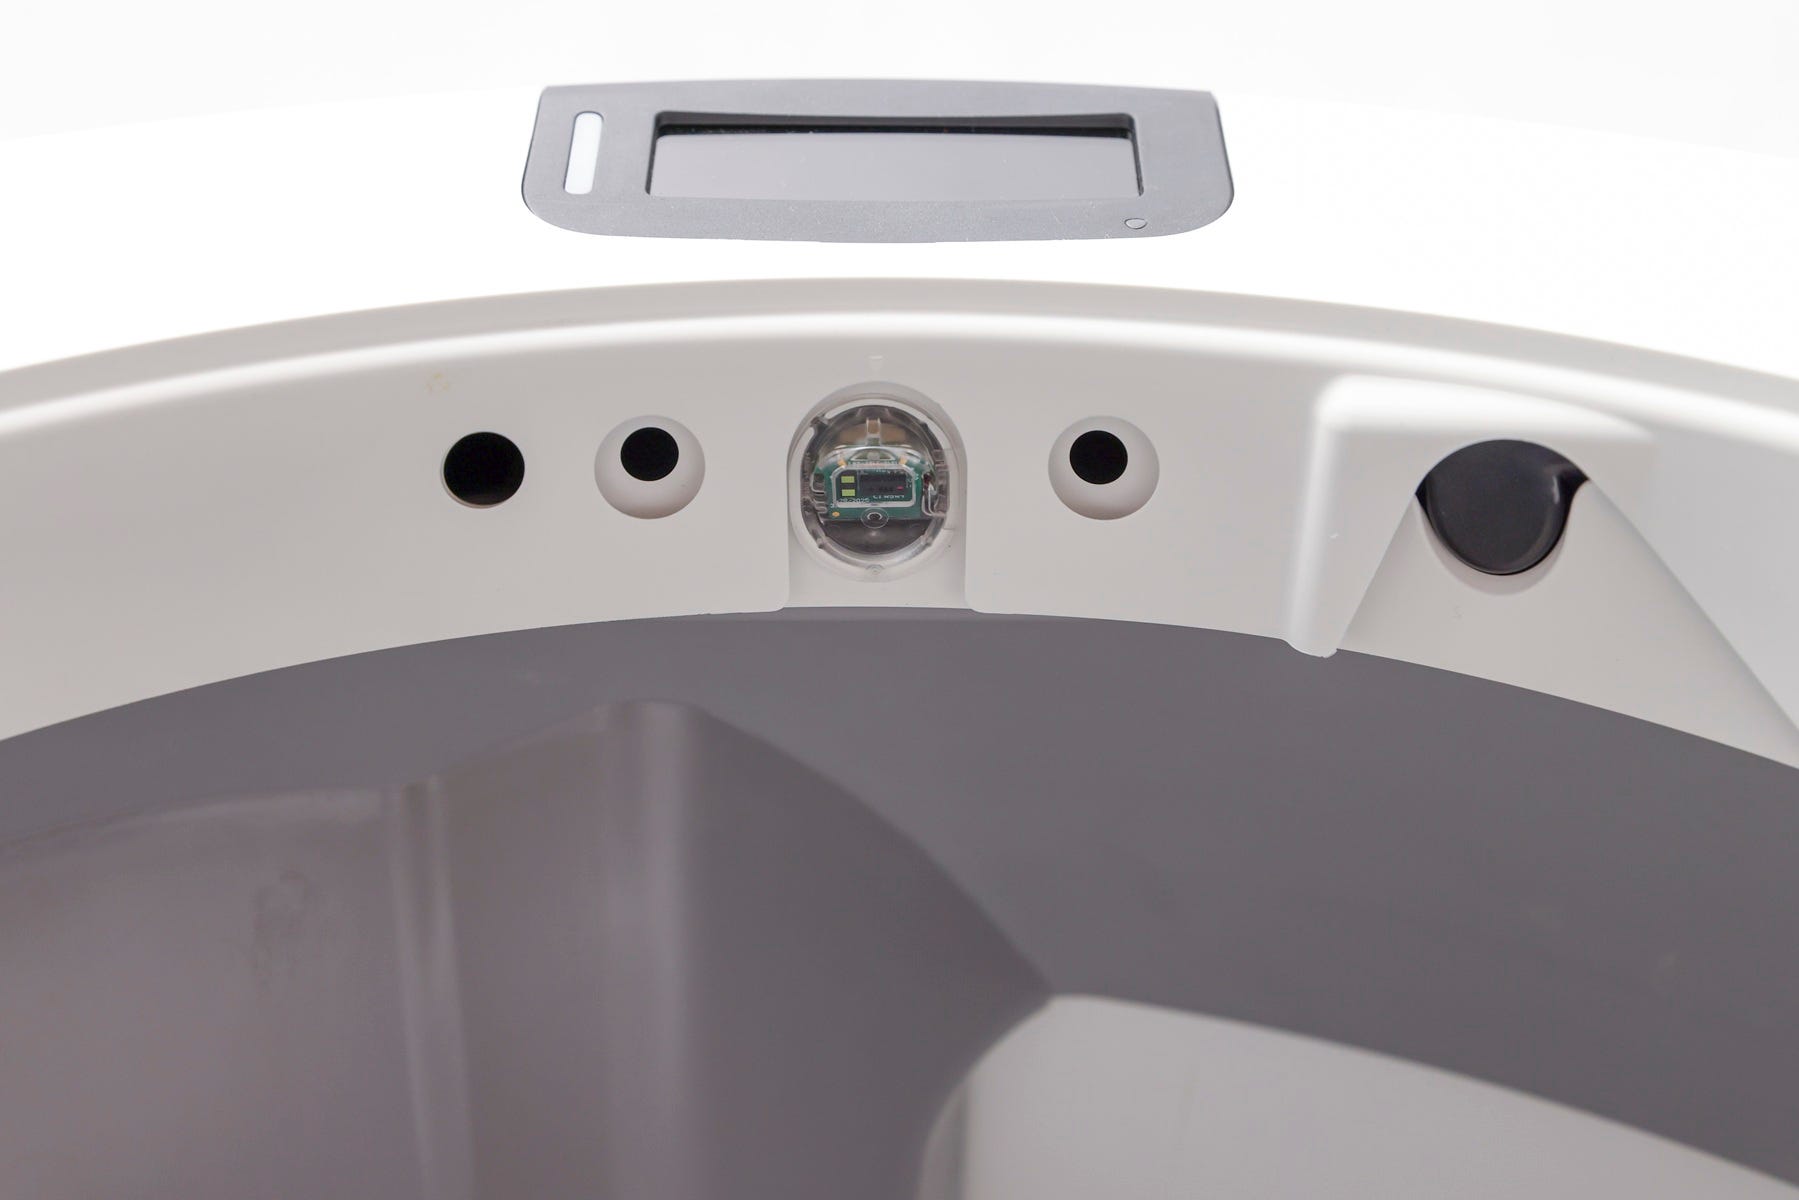
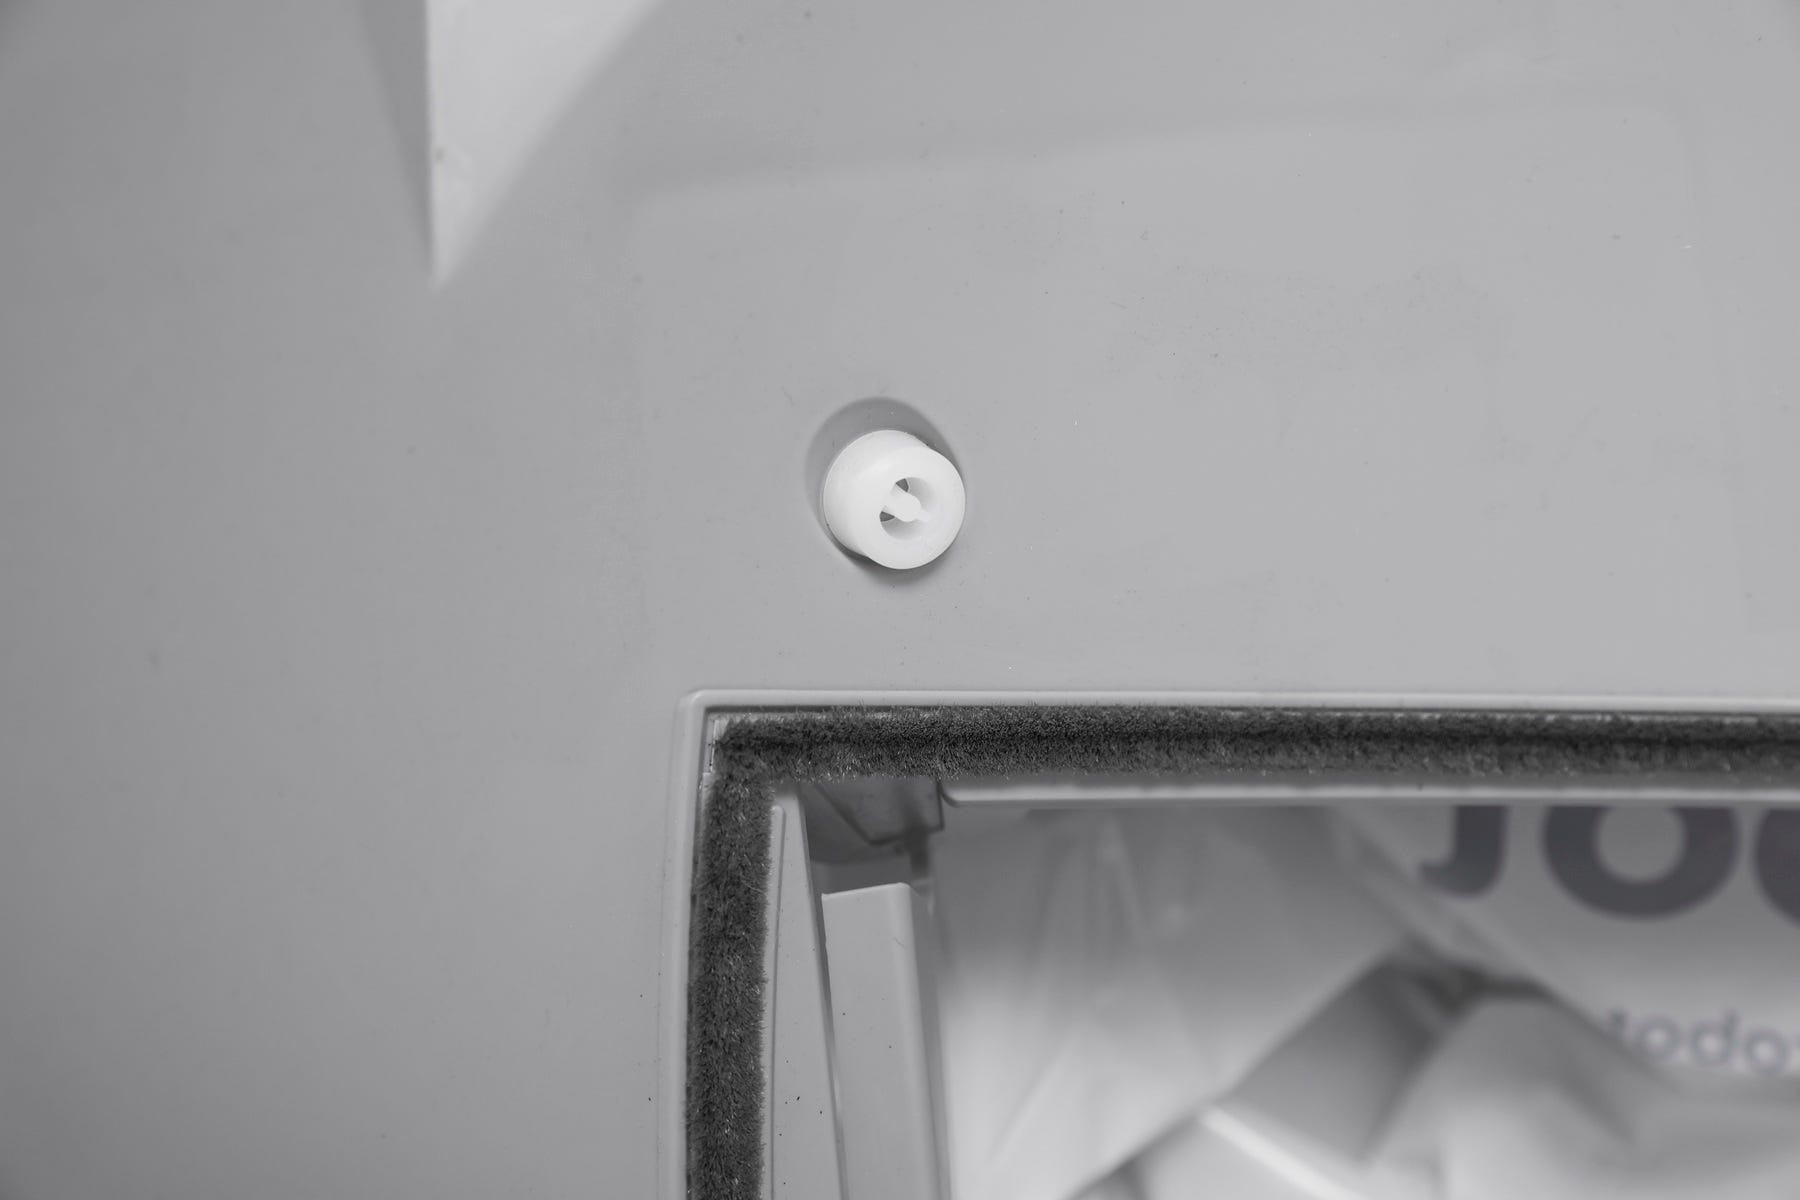
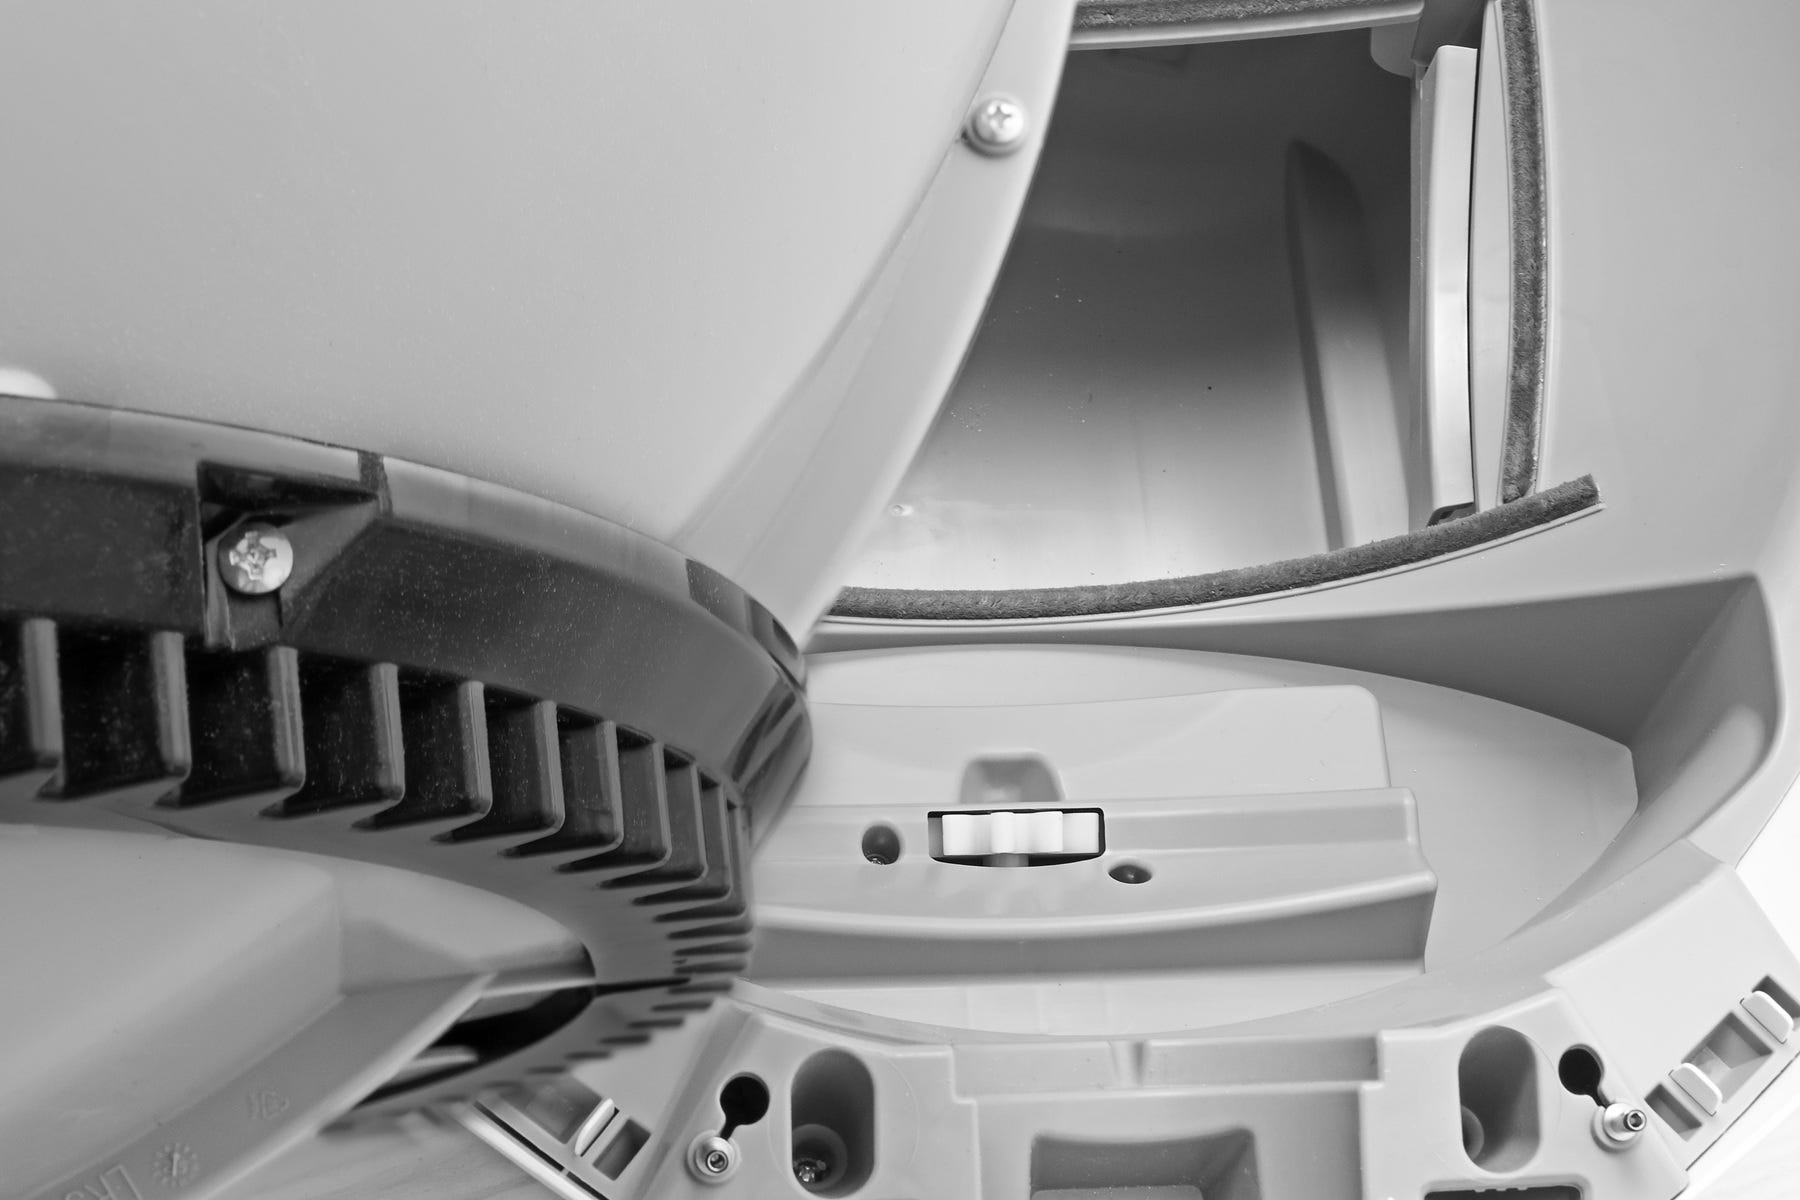
Check seal strips
Ensure seal strips are clear of fur or debris. Replace them if worn.
Reinstalling the globe and bonnet
- Reinstall the carbon filter or OdorTrap Holder under the globe.
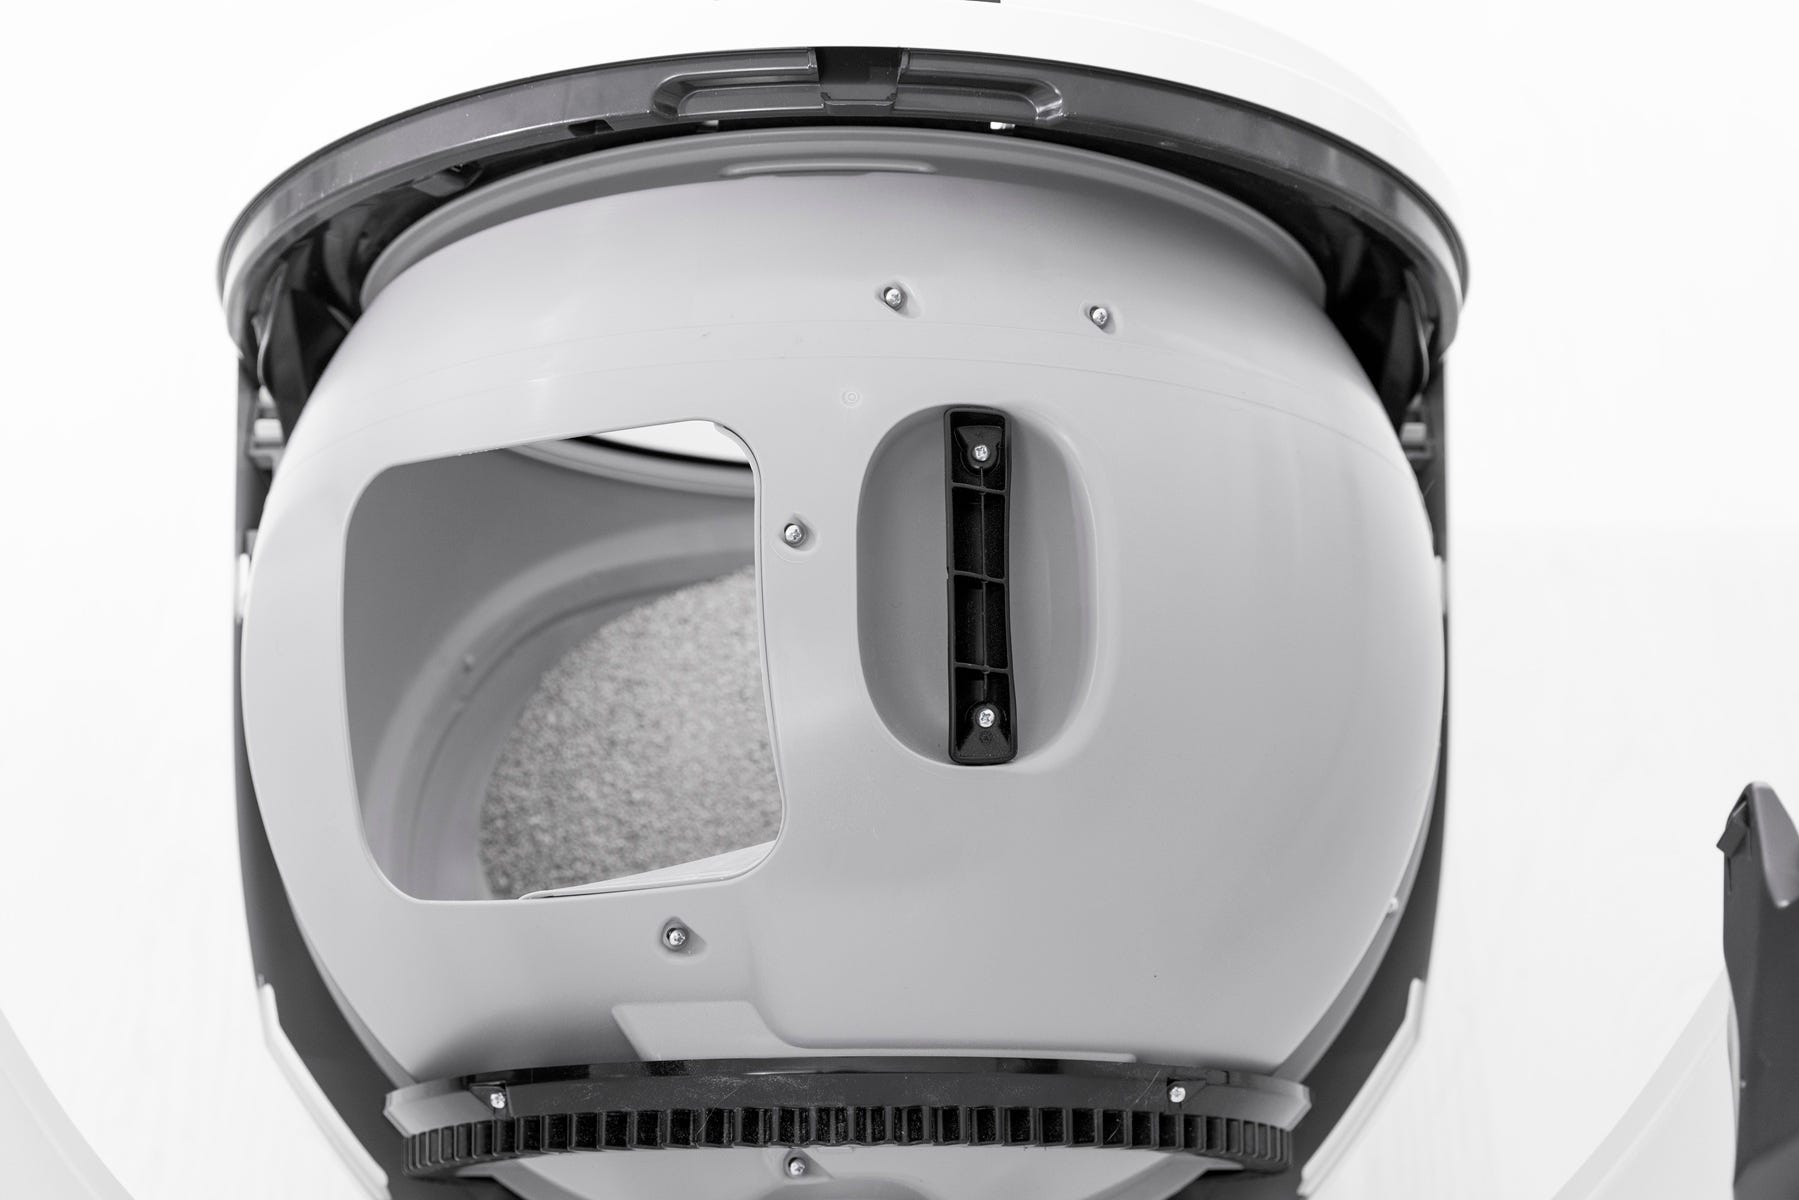
- To install the globe, ensure that the globe key is installed in the back of the globe and oriented with the rectangular opening facing up.
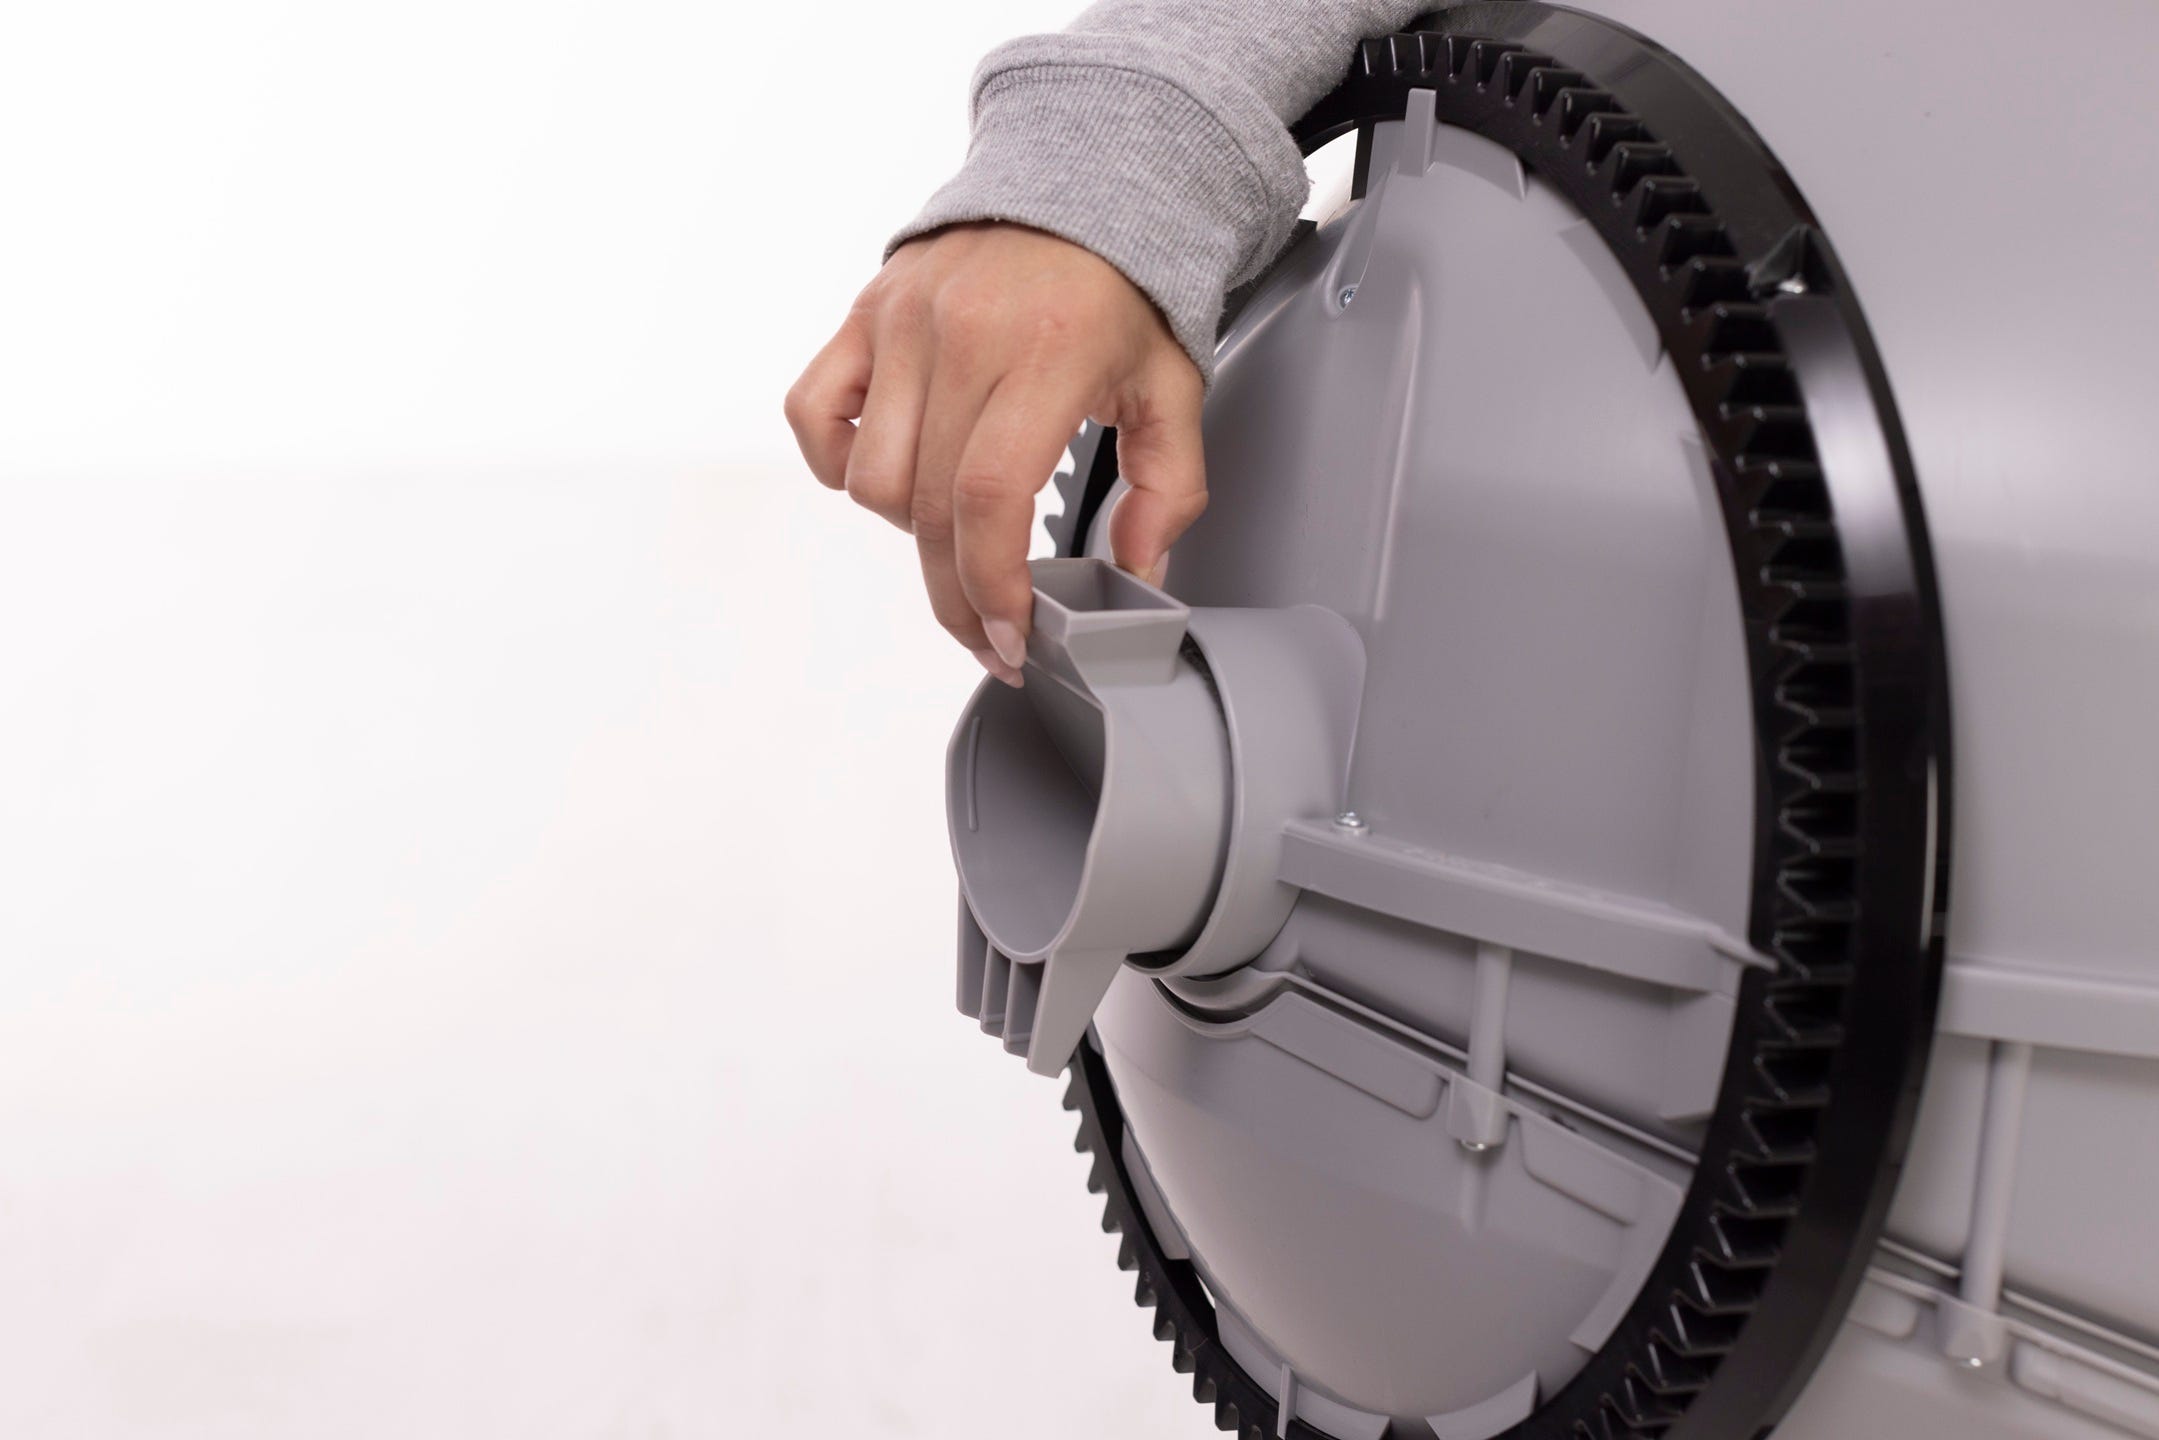
- While holding the key in place, lift the globe and place it back into the base. The key must drop down into the pocket completely.
- Keep the globe handle and waste port oriented toward the top to ensure the globe is close to the Home position.
- The large black gear on the rear of the globe should easily engage with the smaller drive gear in the base.
- Reinstall the bonnet
- Rotate the bonnet upward at a 45 degree angle and align the hinge feature of the bonnet at the back of the base.
- To close the bonnet, rotate the bonnet downward over the globe. The bonnet should automatically latch into place; press on the handles to ensure they're latched and secure.
- Reinsert the waste drawer with the liner flat and tucked.
- Plug in and power on
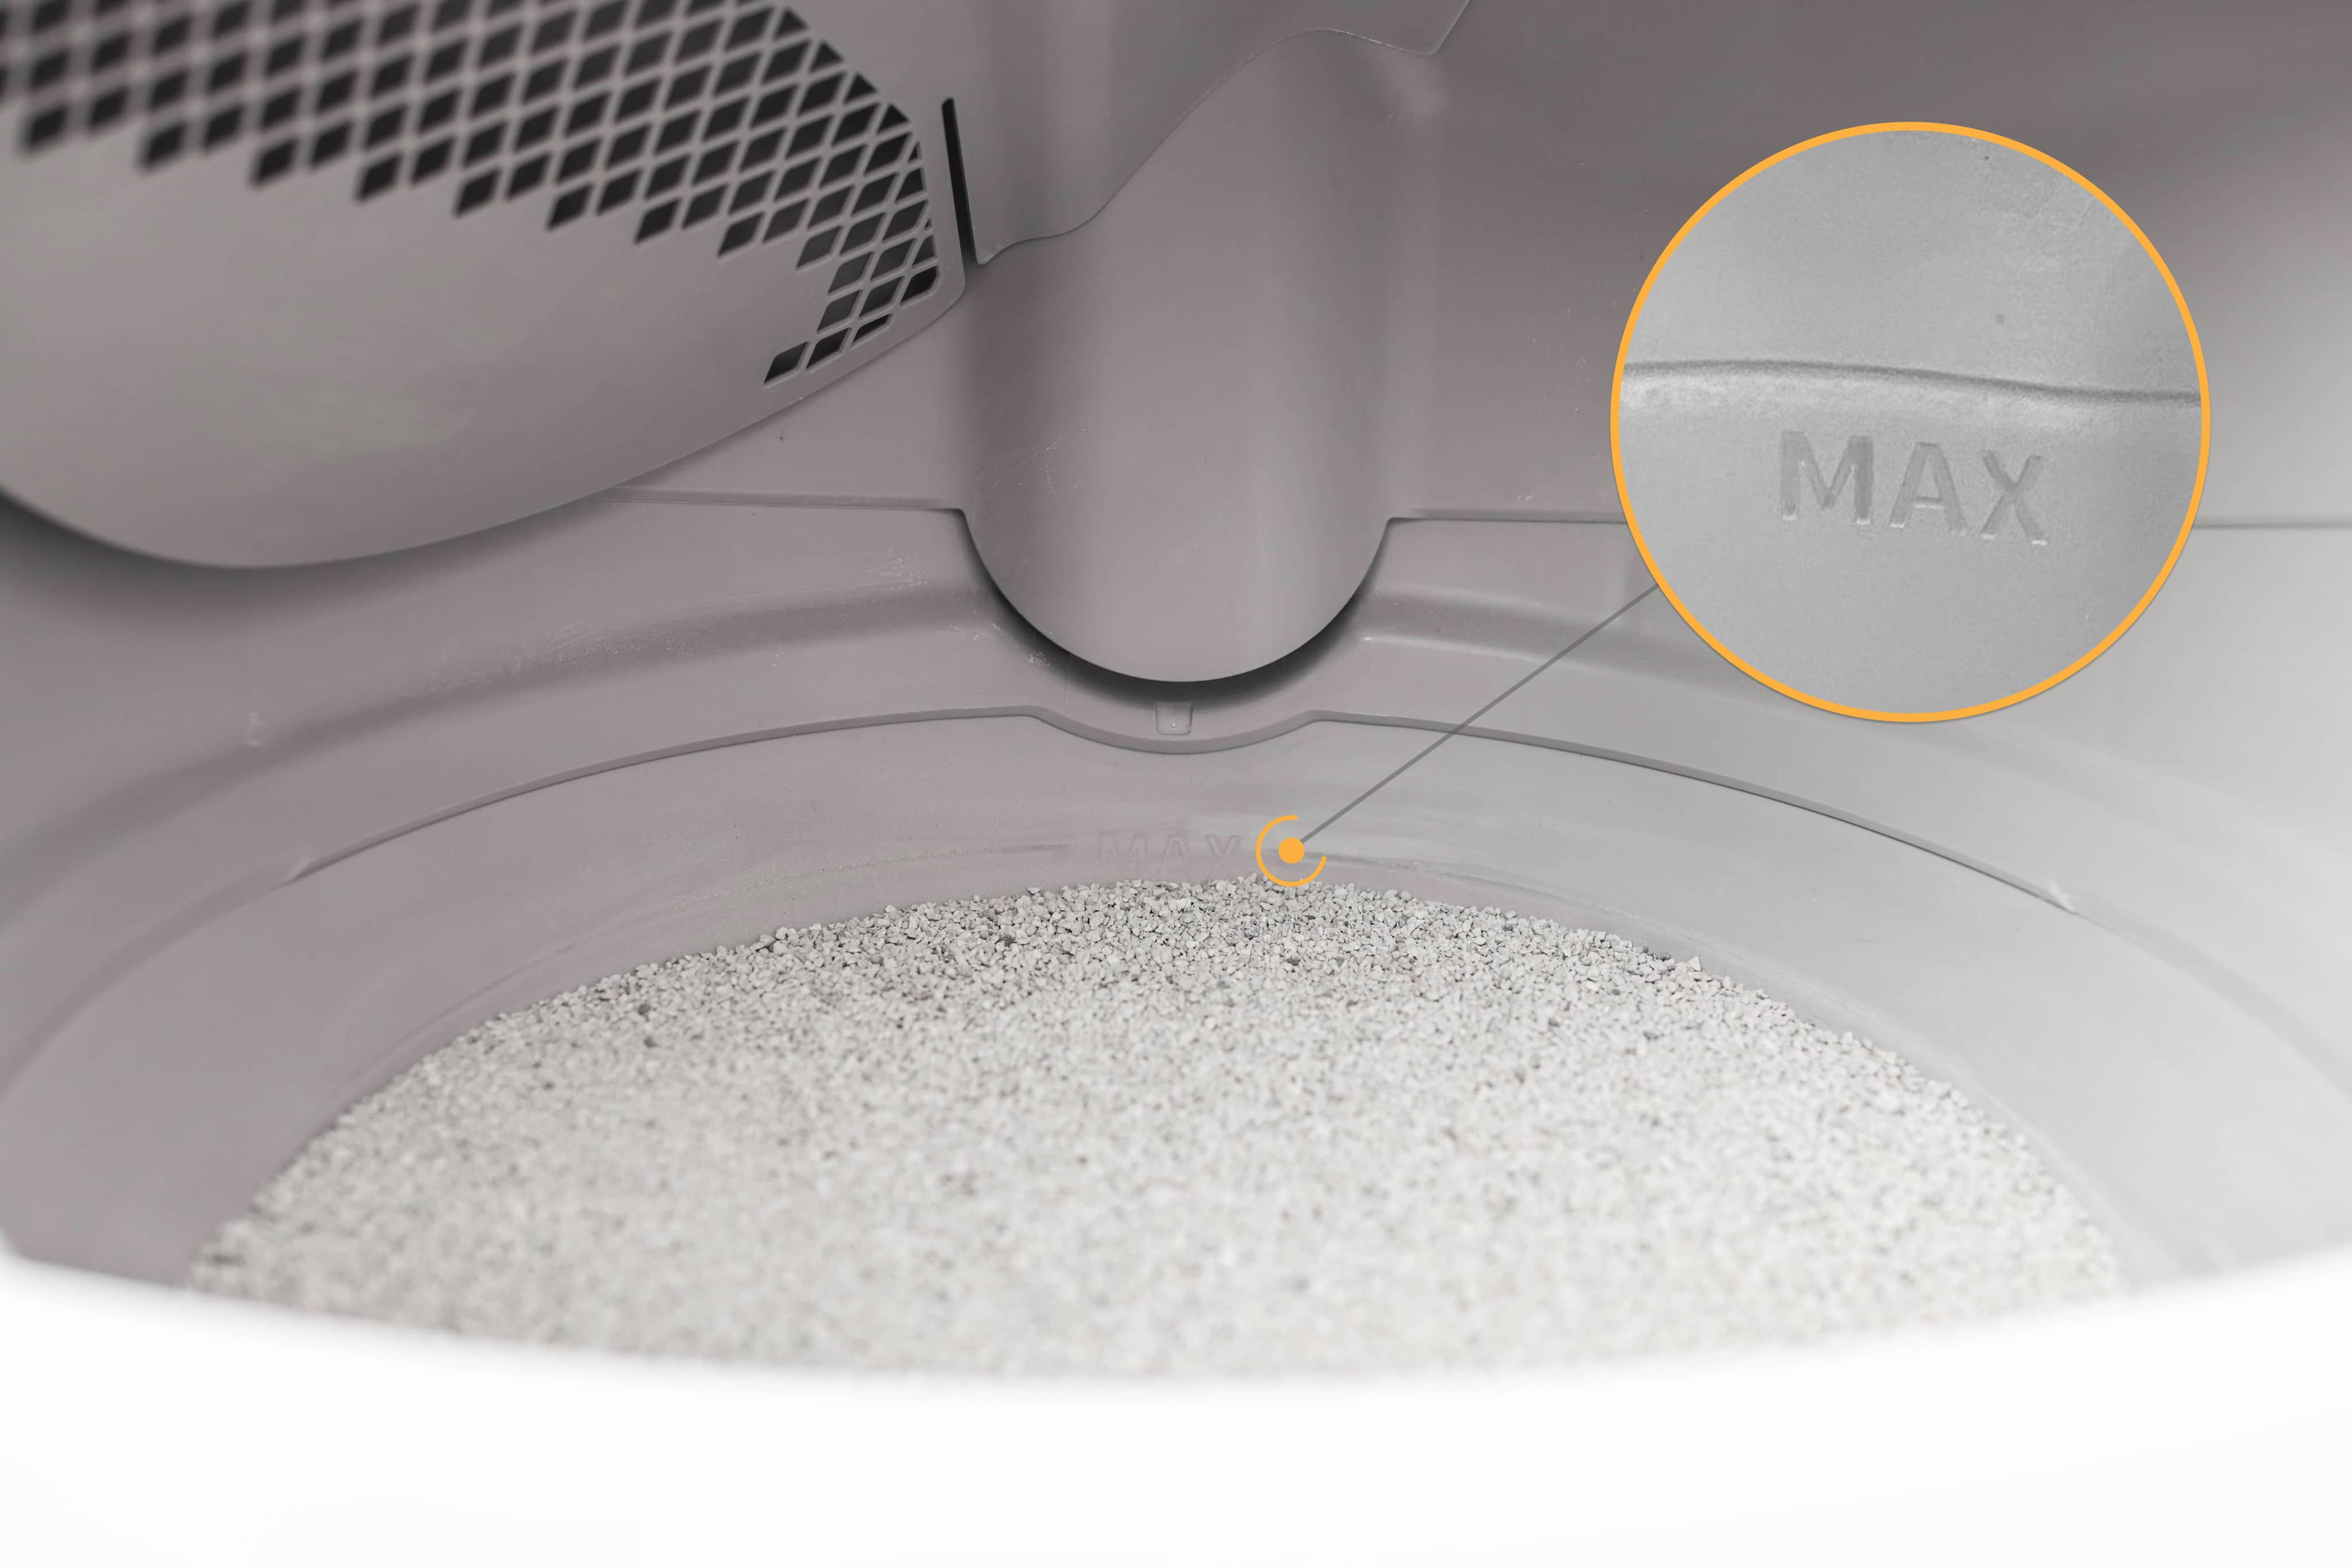
- Ensure the globe is entirely dry and add litter up to raised MAX Fill Line.
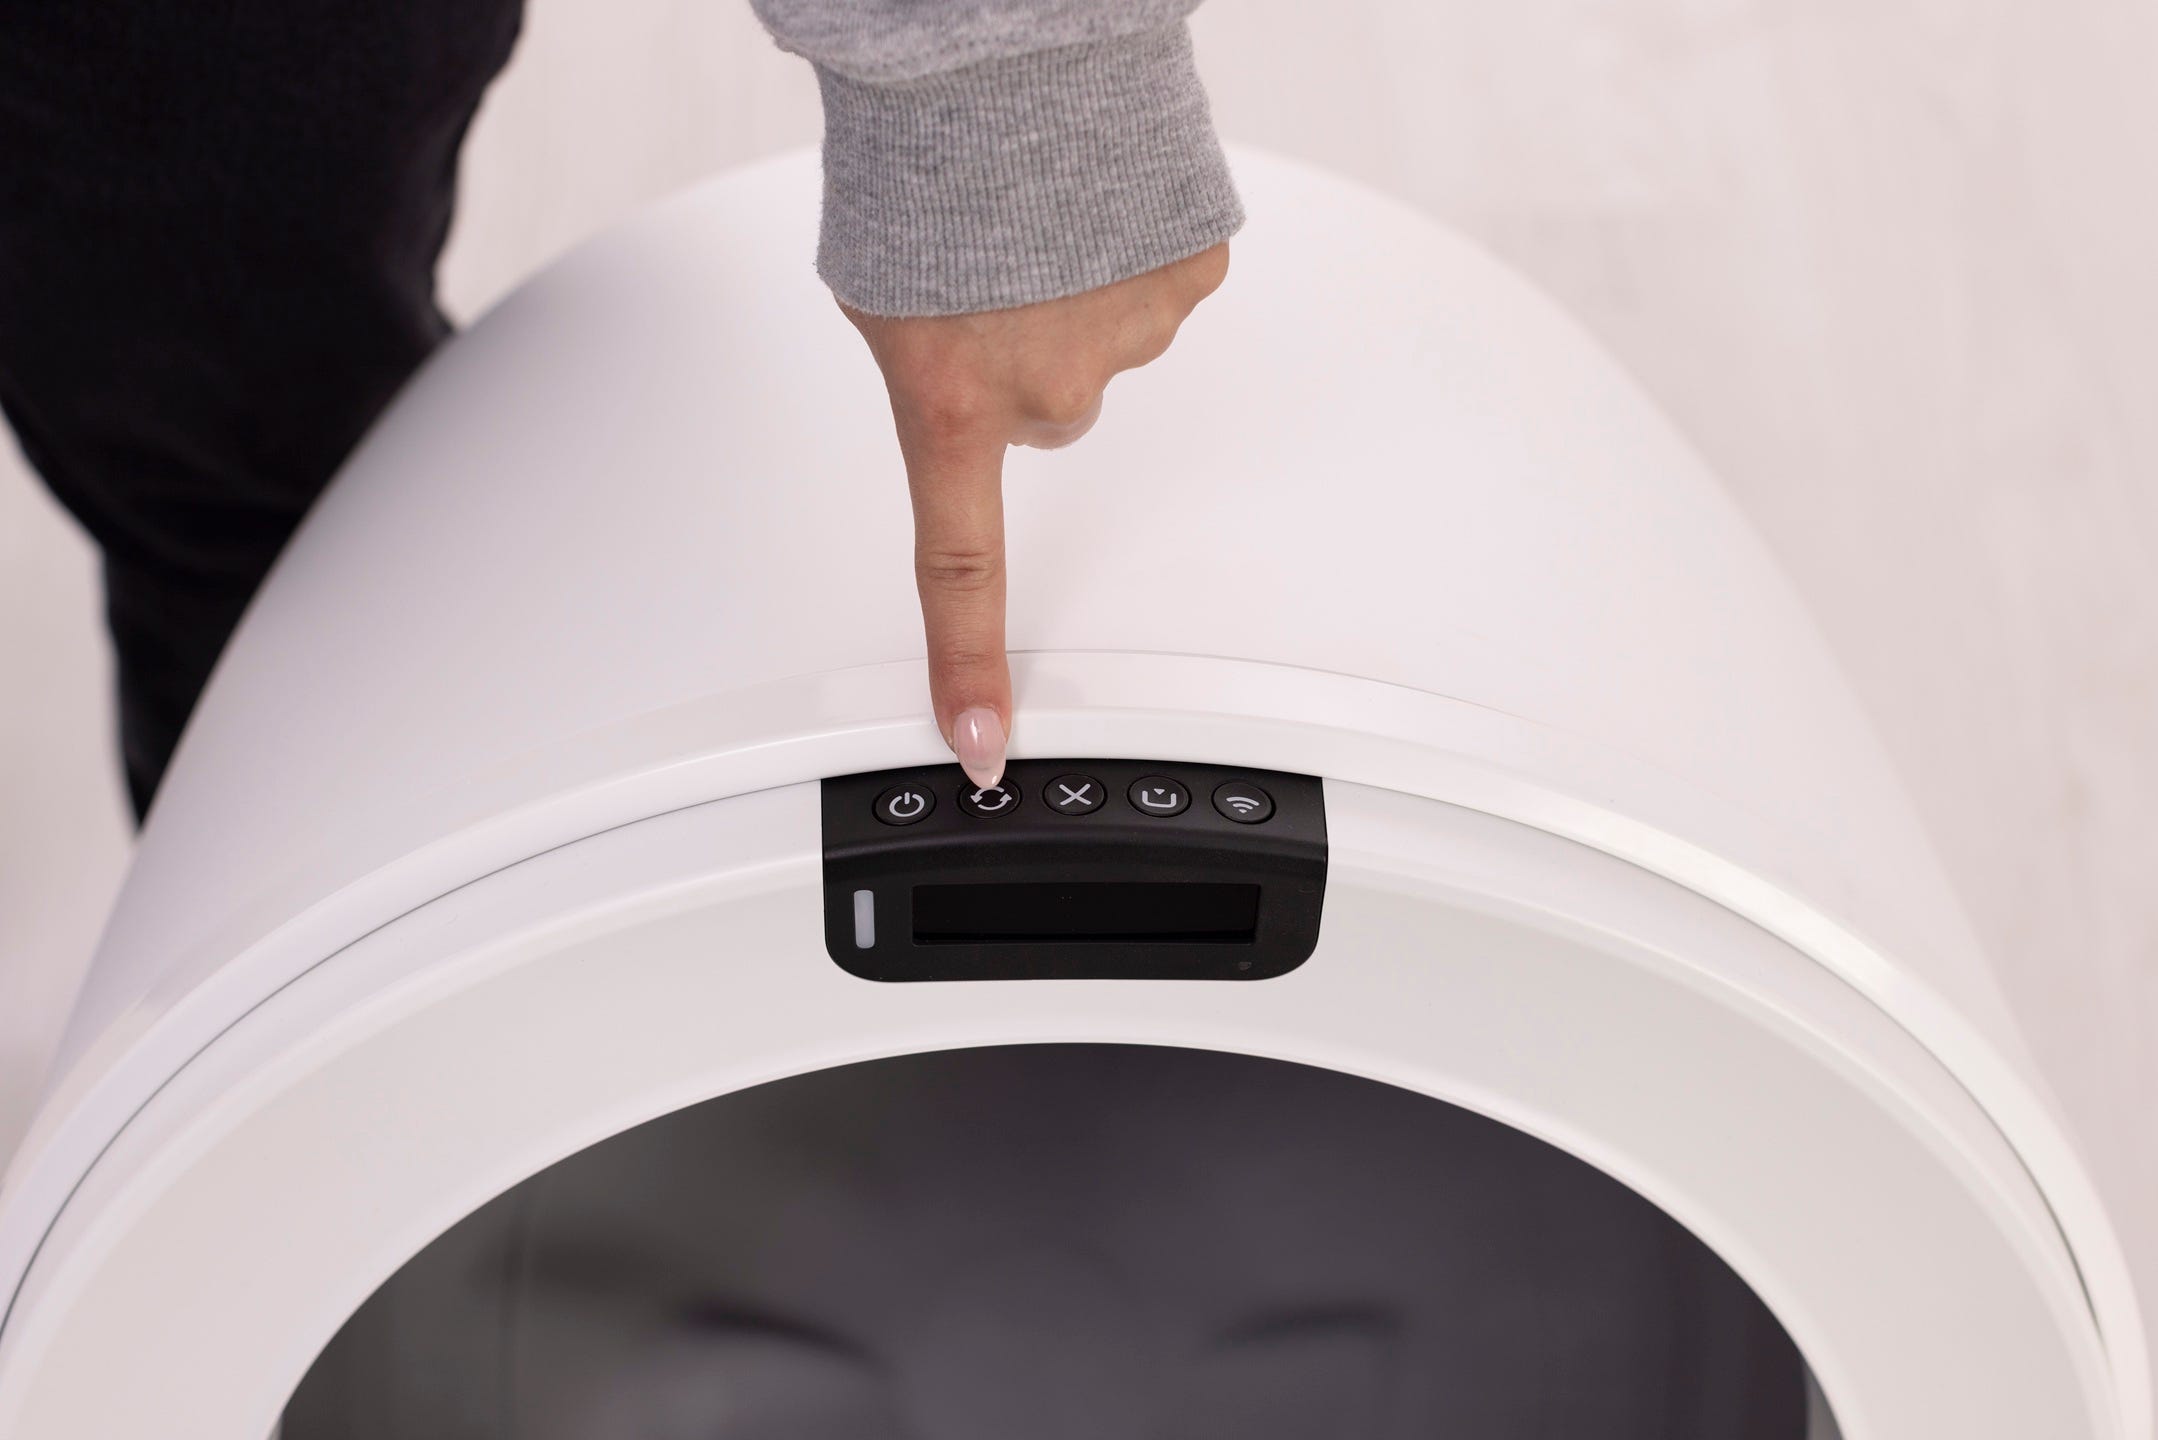
- Short press Cancel to zero the SmartScale.
- Run a test cycle
Press Cycle once.
Successful: Unit completes the cycle and returns Home with a solid white light.
Need more help?
If you’ve followed these cleaning steps and still experience issues, contact Whisker Customer Experience for more help.
Didn't find what you're looking for?
Live support available Mon-Fri: 9AM-9PM EST and Sat-Sun: 9AM-5PM EST, or submit a ticket anytime.