The store will not work correctly in the case when cookies are disabled.
Litter-Robot 5 & Pro: Overloaded globe (Motor fault)
If your Litter-Robot 5 displays an Overloaded Globe or Motor Fault notification, follow the steps below to identify and correct the issue.
Quick links
Before you begin
- Make sure your unit is plugged in.
- Make sure your unit is connected and online.
- Make sure your firmware is up-to-date. If the app does not give you the option to update, you have the latest version.
Preparation
Litter-Robot 5 continuously monitors the motor current to ensure the globe is rotating smoothly and is not obstructed.
If your unit displays an Overloaded Globe or Motor Fault error message on the LCD screen, this indicates that the globe is most likely jammed or overloaded. You will also receive a notification in the Whisker app.
The motor will stop and retract briefly. After a short pause, the unit will attempt to continue the cycle. If the globe is unable to continue the cycle, it will remain in its current position.
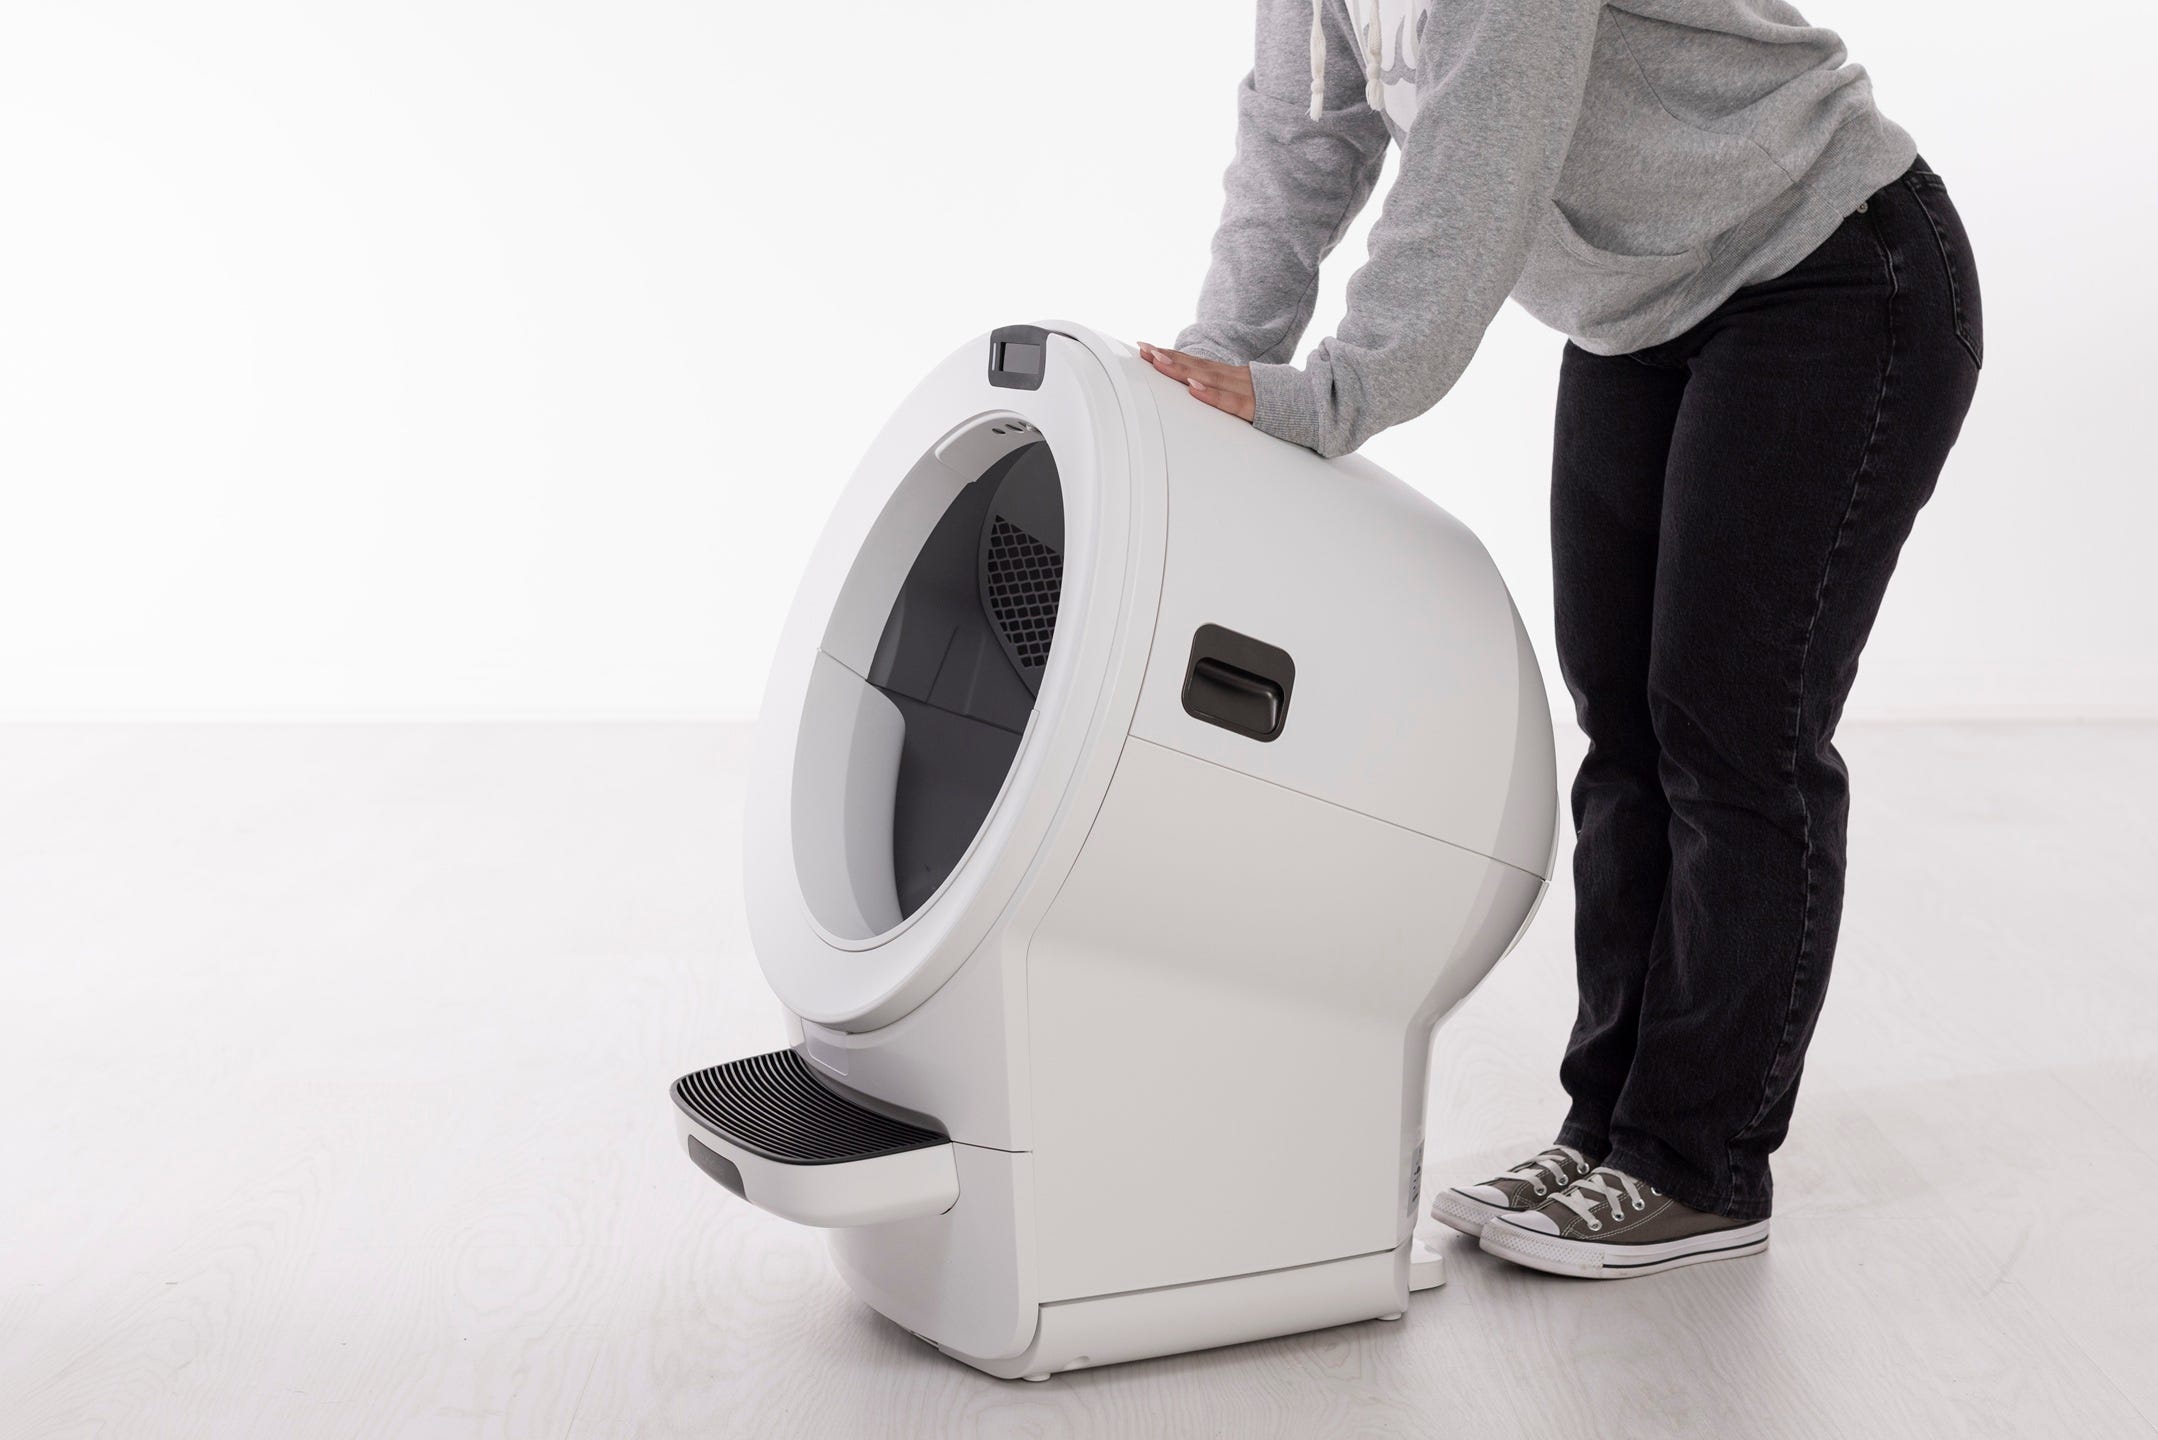
If the globe is stuck mid-cycle, open the bonnet and manually rotate the globe back to the Home position before proceeding.
Remove excess weight
- Check that your unit is not overfilled with litter. If the litter is above the raised MAX fill line, remove some until it is just below that line.
- Ensure that the litter is leveled across the globe.
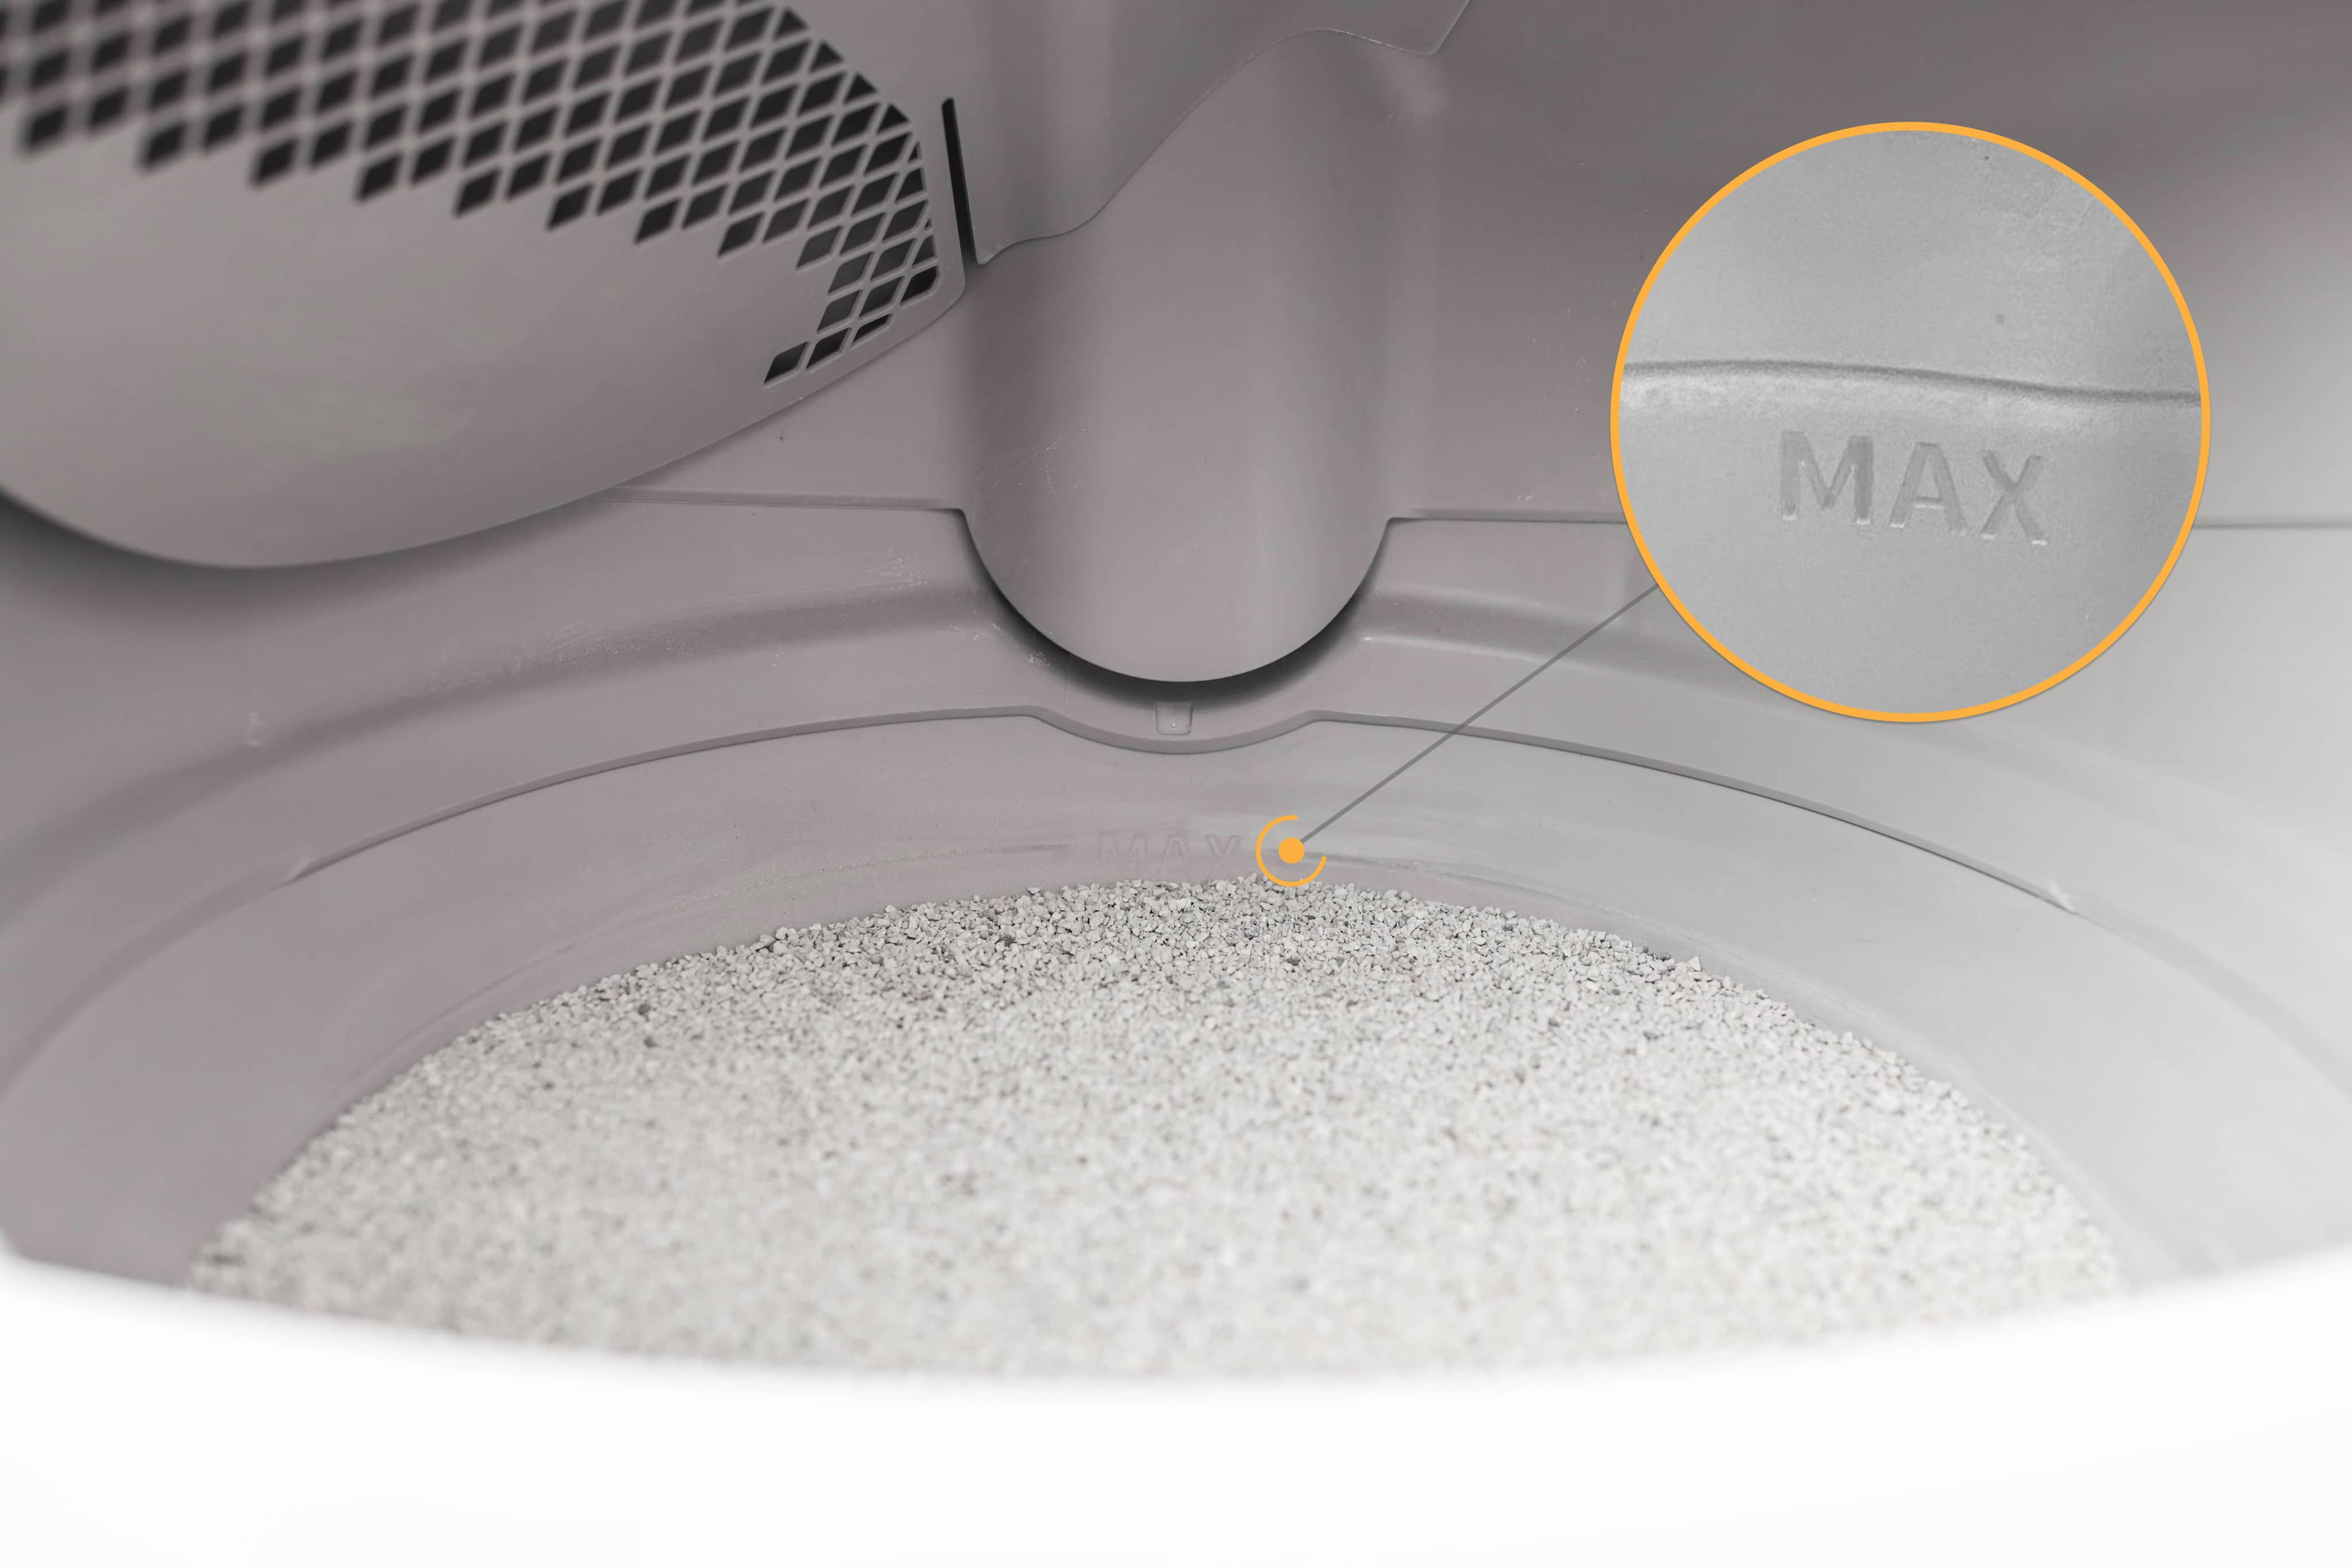
If you recently added litter, the globe could have slowed down enough to trigger this fault. If the issue clears after an additional cycle, your unit should operate normally.
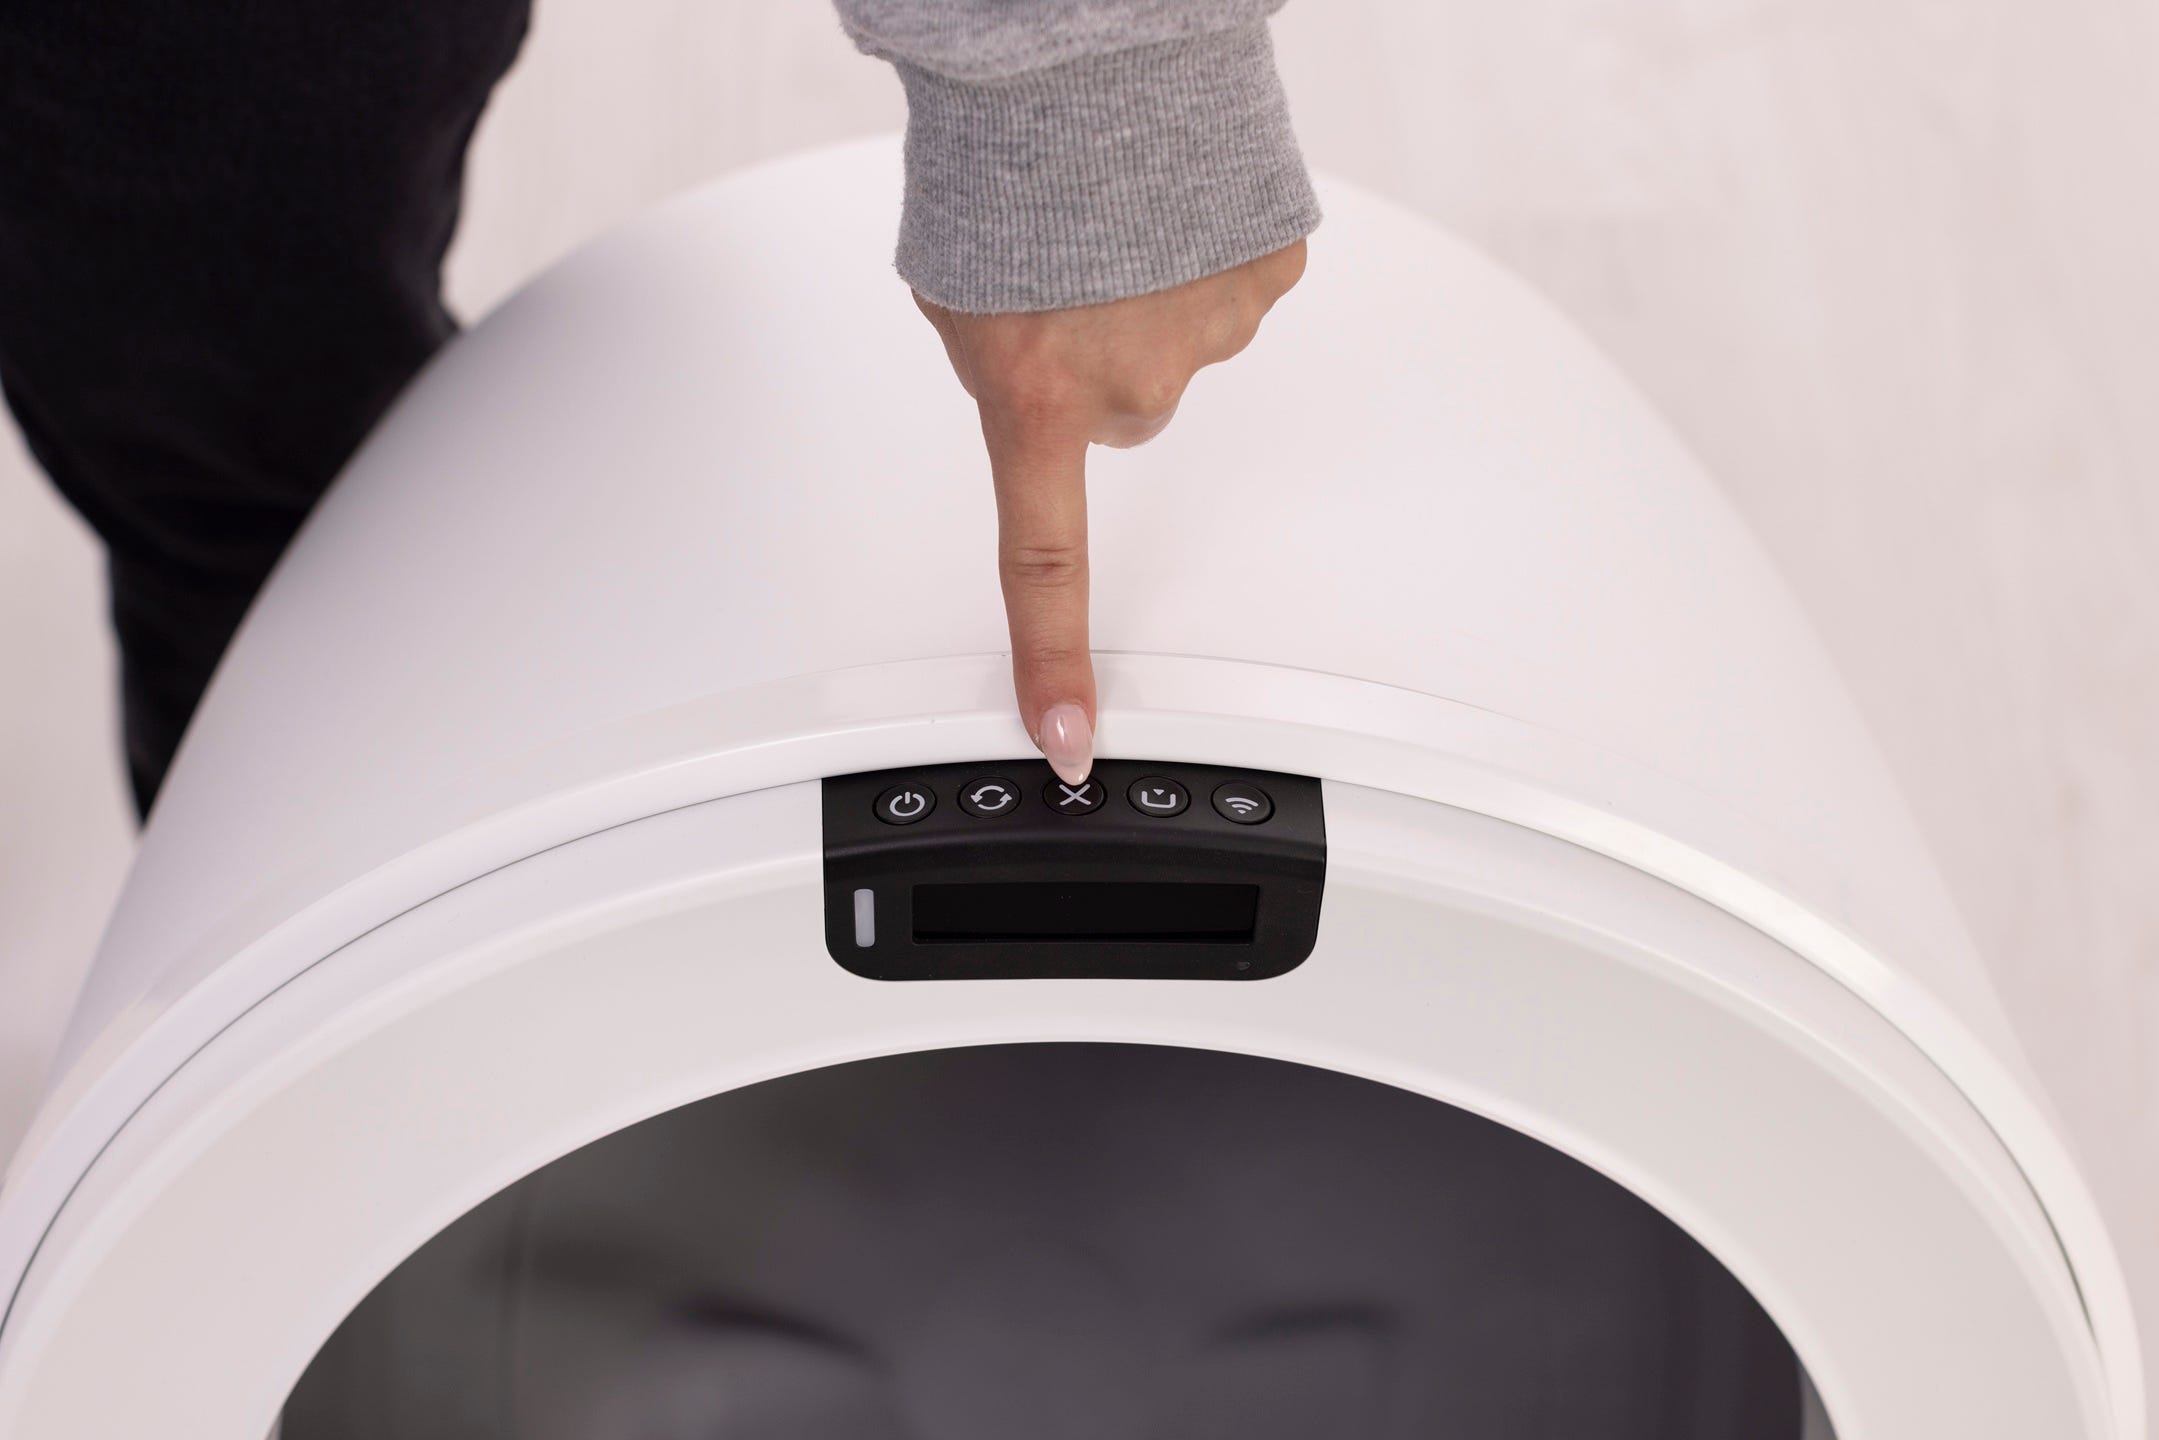
- Short press the
 Cancel button to zero the weight scale.
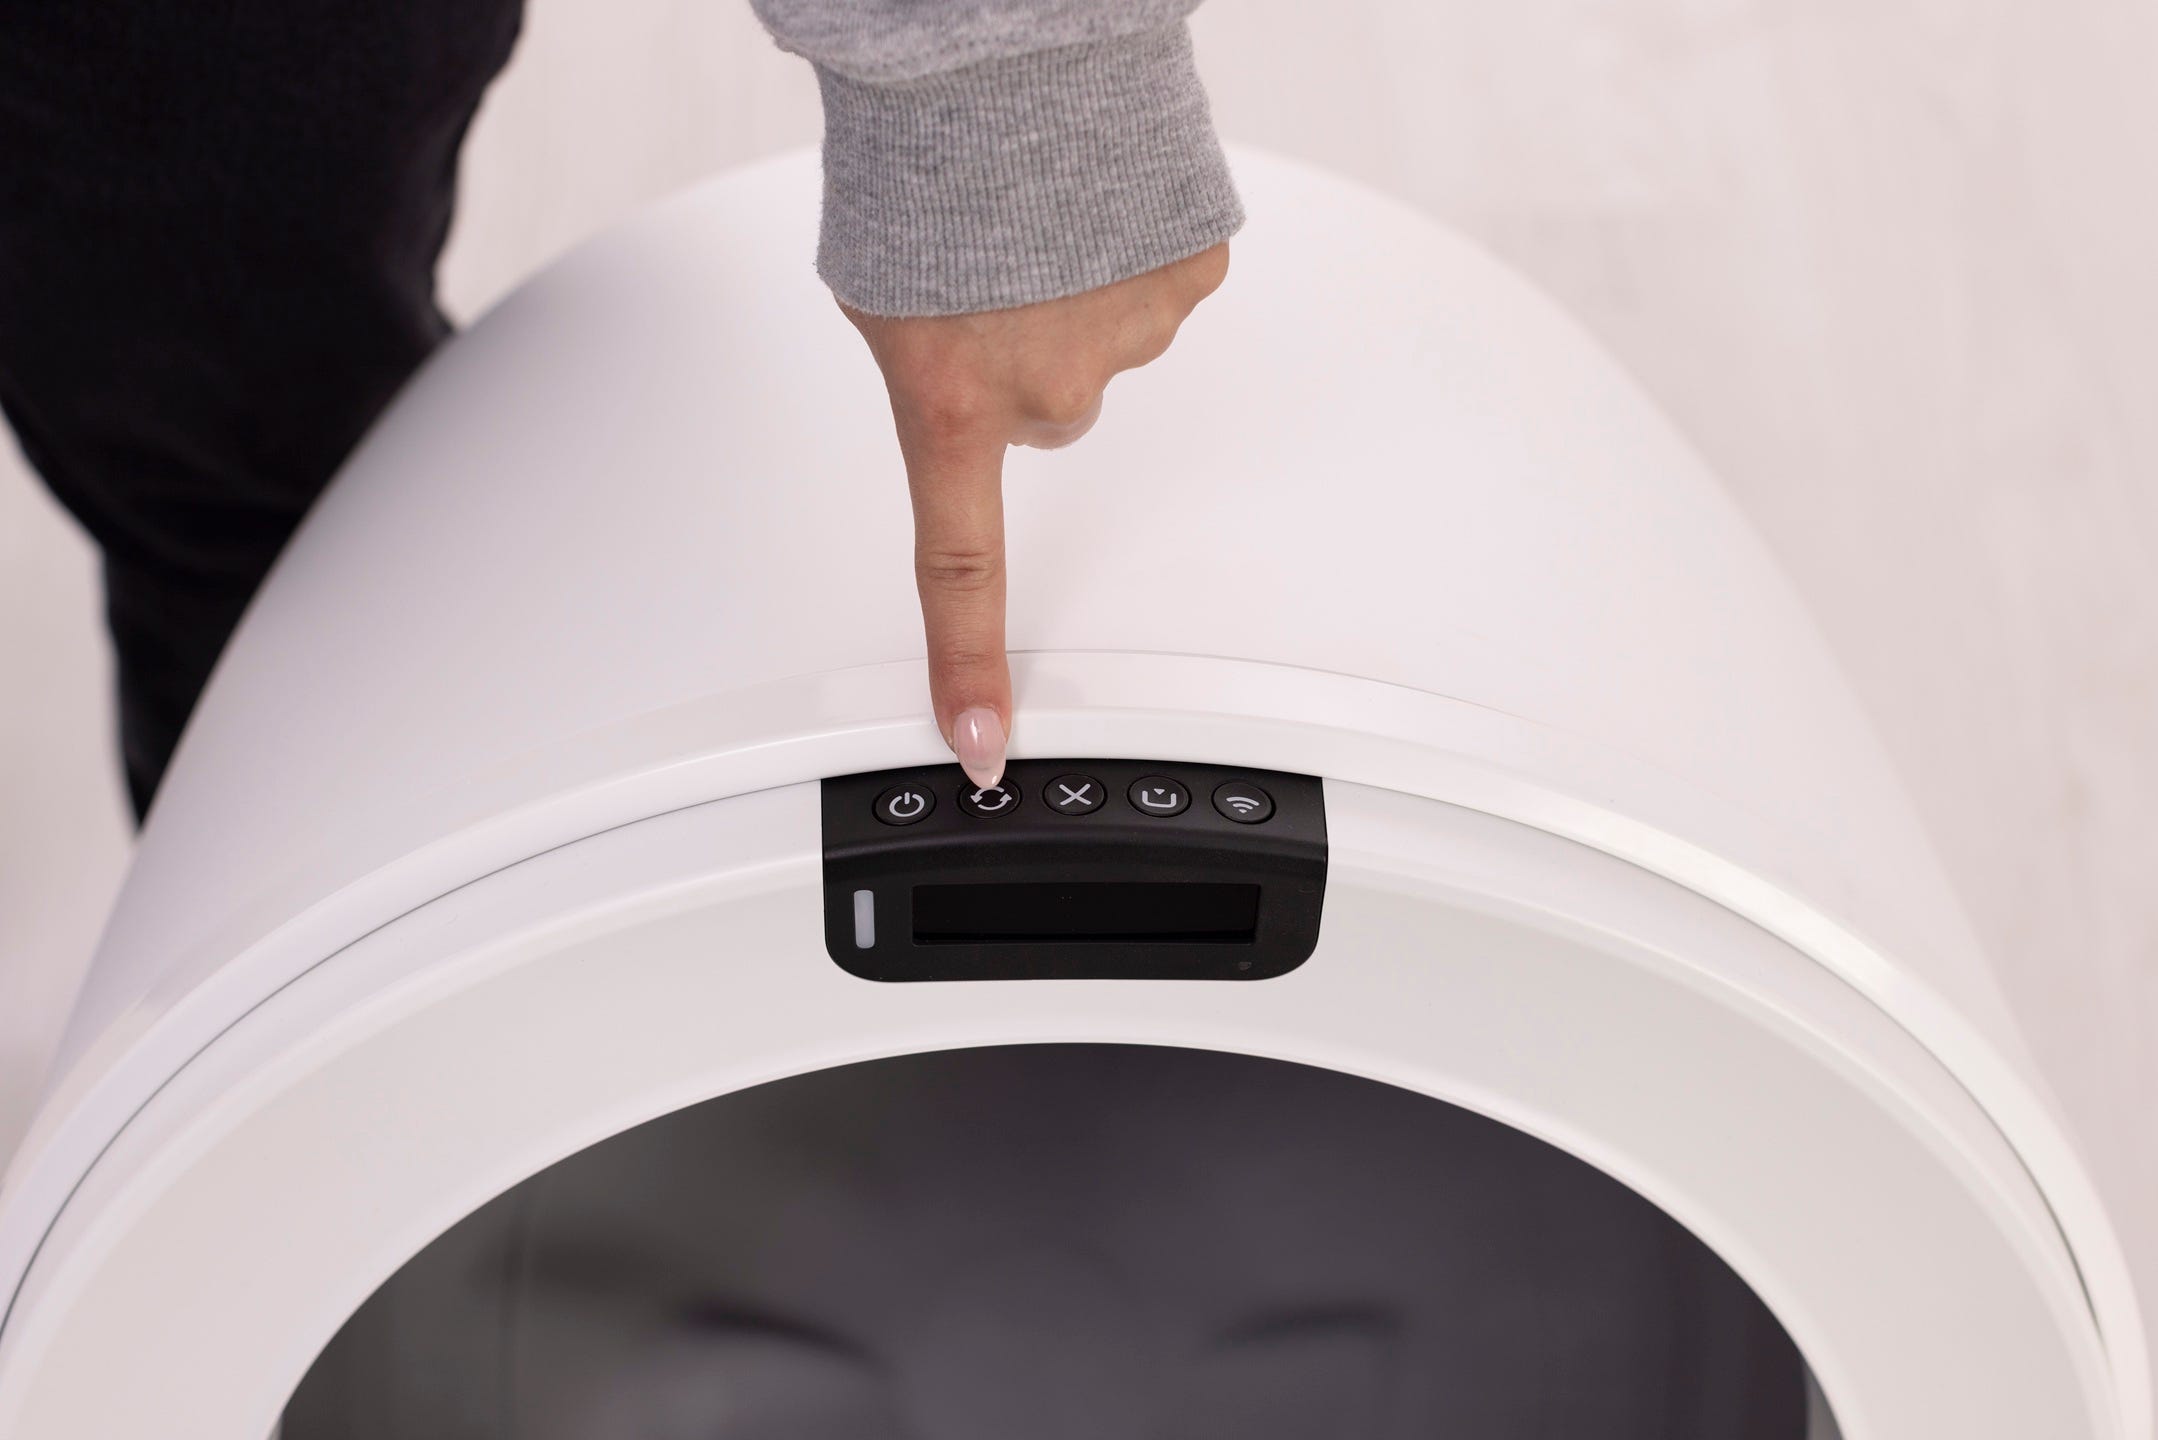
- Short press the
 Cycle button to run a Clean Cycle.
After cycling, the unit should return Home with a solid white LED Indicator Light.

Successful: Solid white LED Indicator Light.
Unsuccessful: If the unit is still displaying an error message continue below.
Check for obstructions
We will look for any obstructions that may be overloading or jamming the globe during the cycle. Start by inspecting the bonnet and globe.
Removing the bonnet and globe
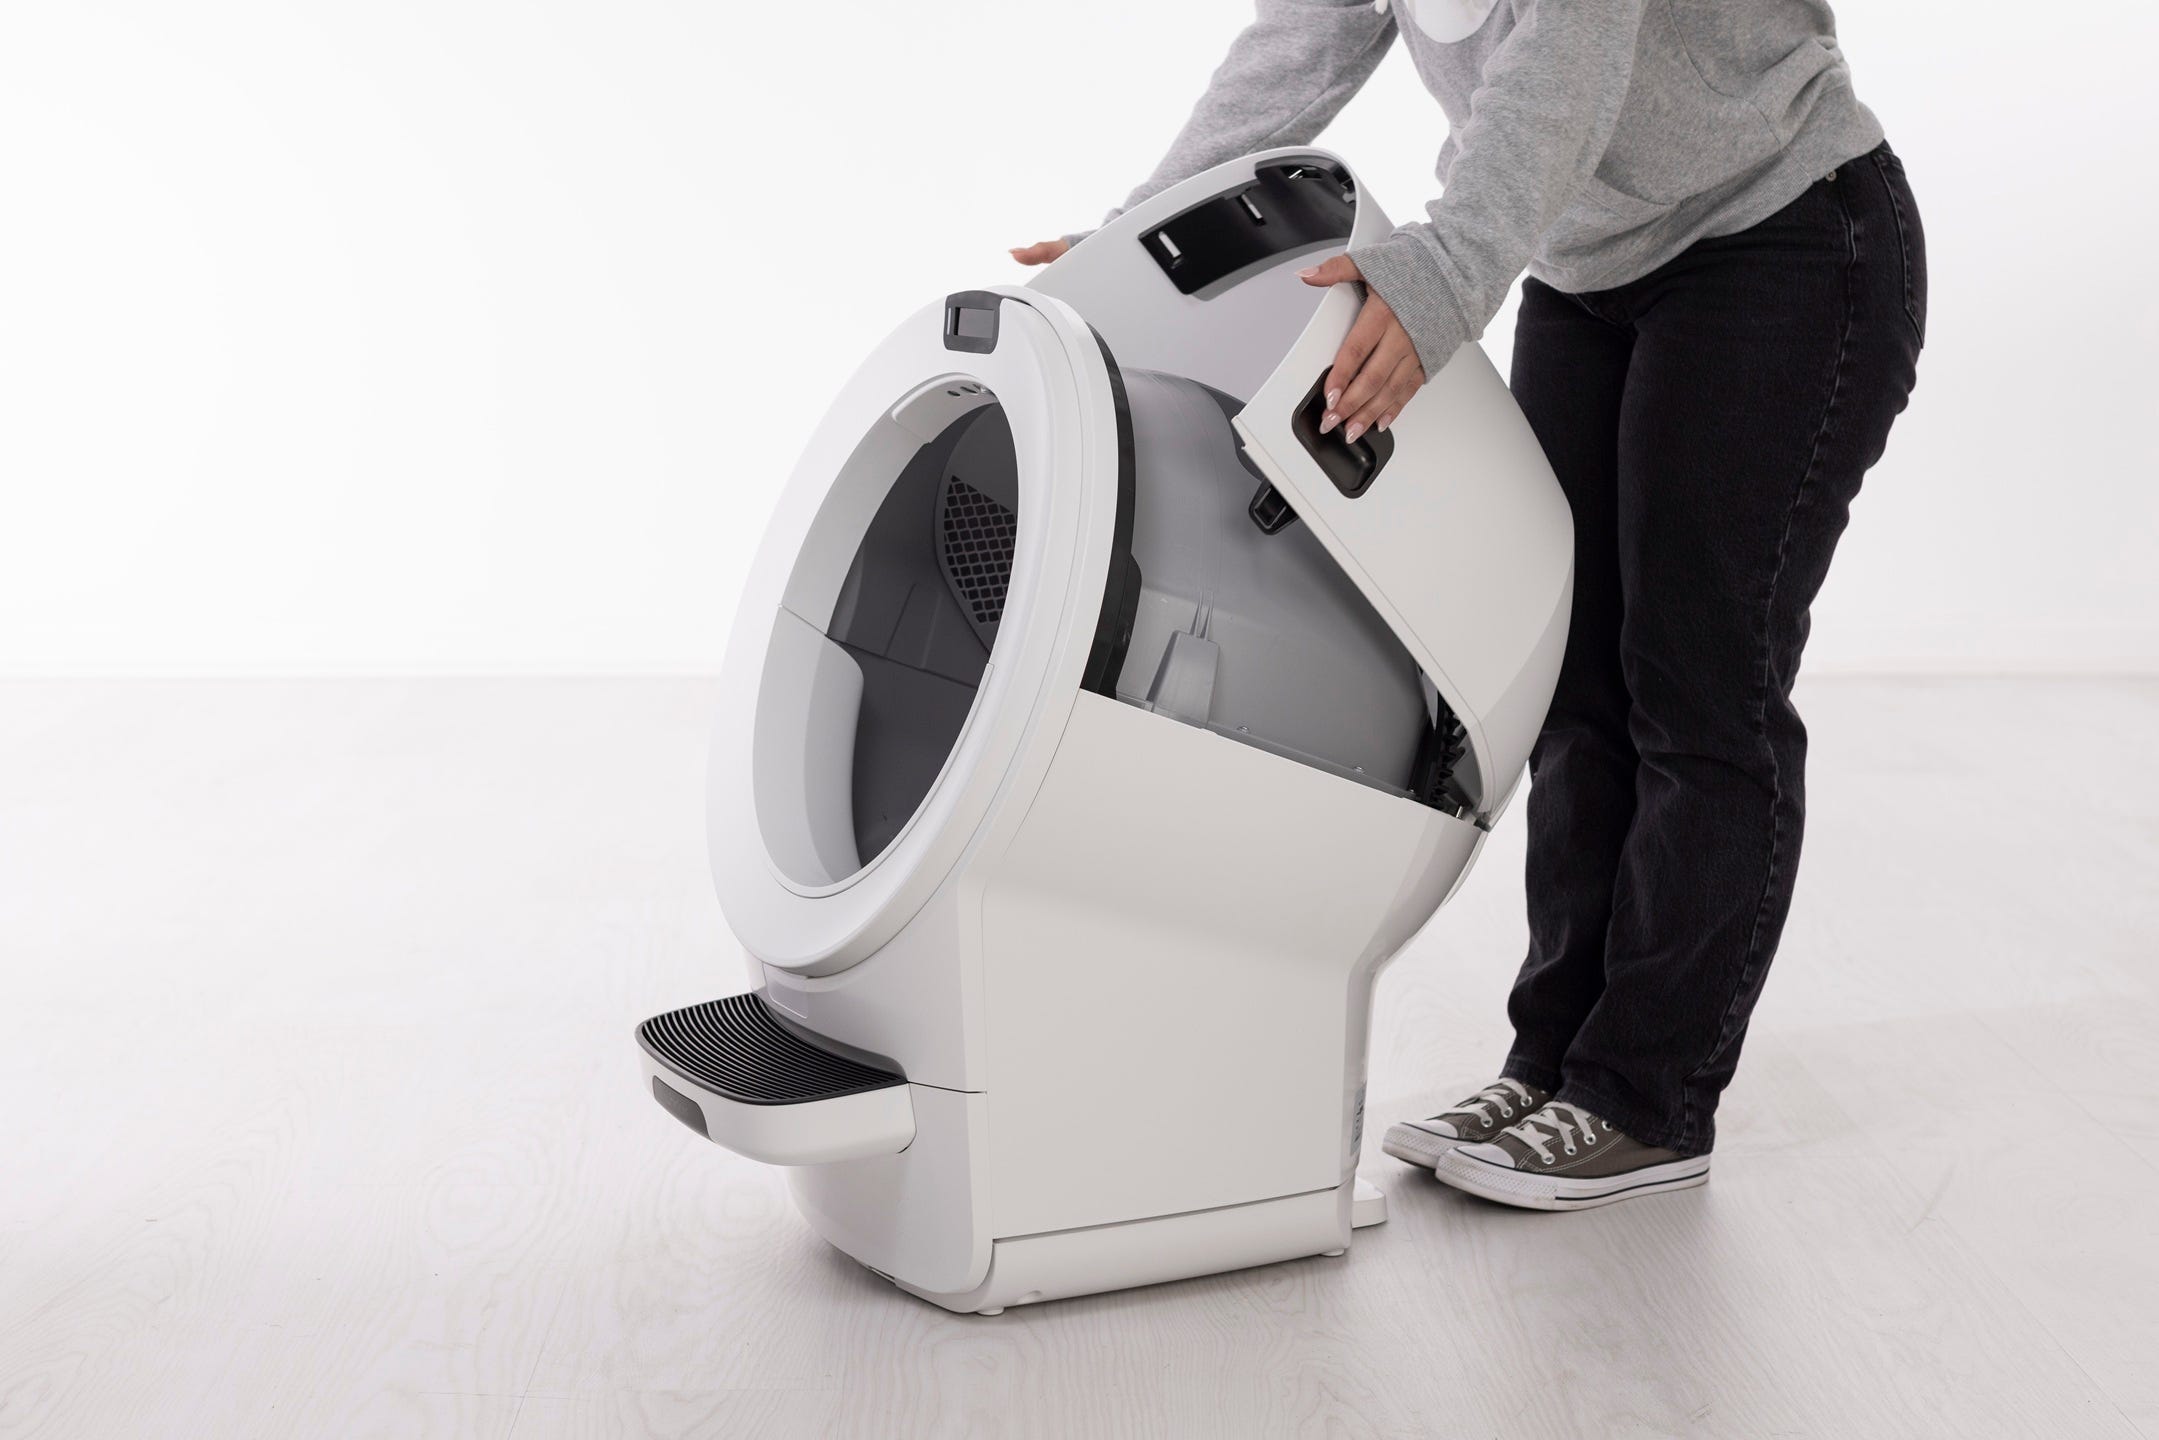
- Use the side latches to rotate the bonnet open.
- The LED Indicator Light will blink red to show that the bonnet has been removed.
- The LED Indicator Light will blink red to show that the bonnet has been removed.
- If you have a fence or other accessories installed, remove them from the bezel.
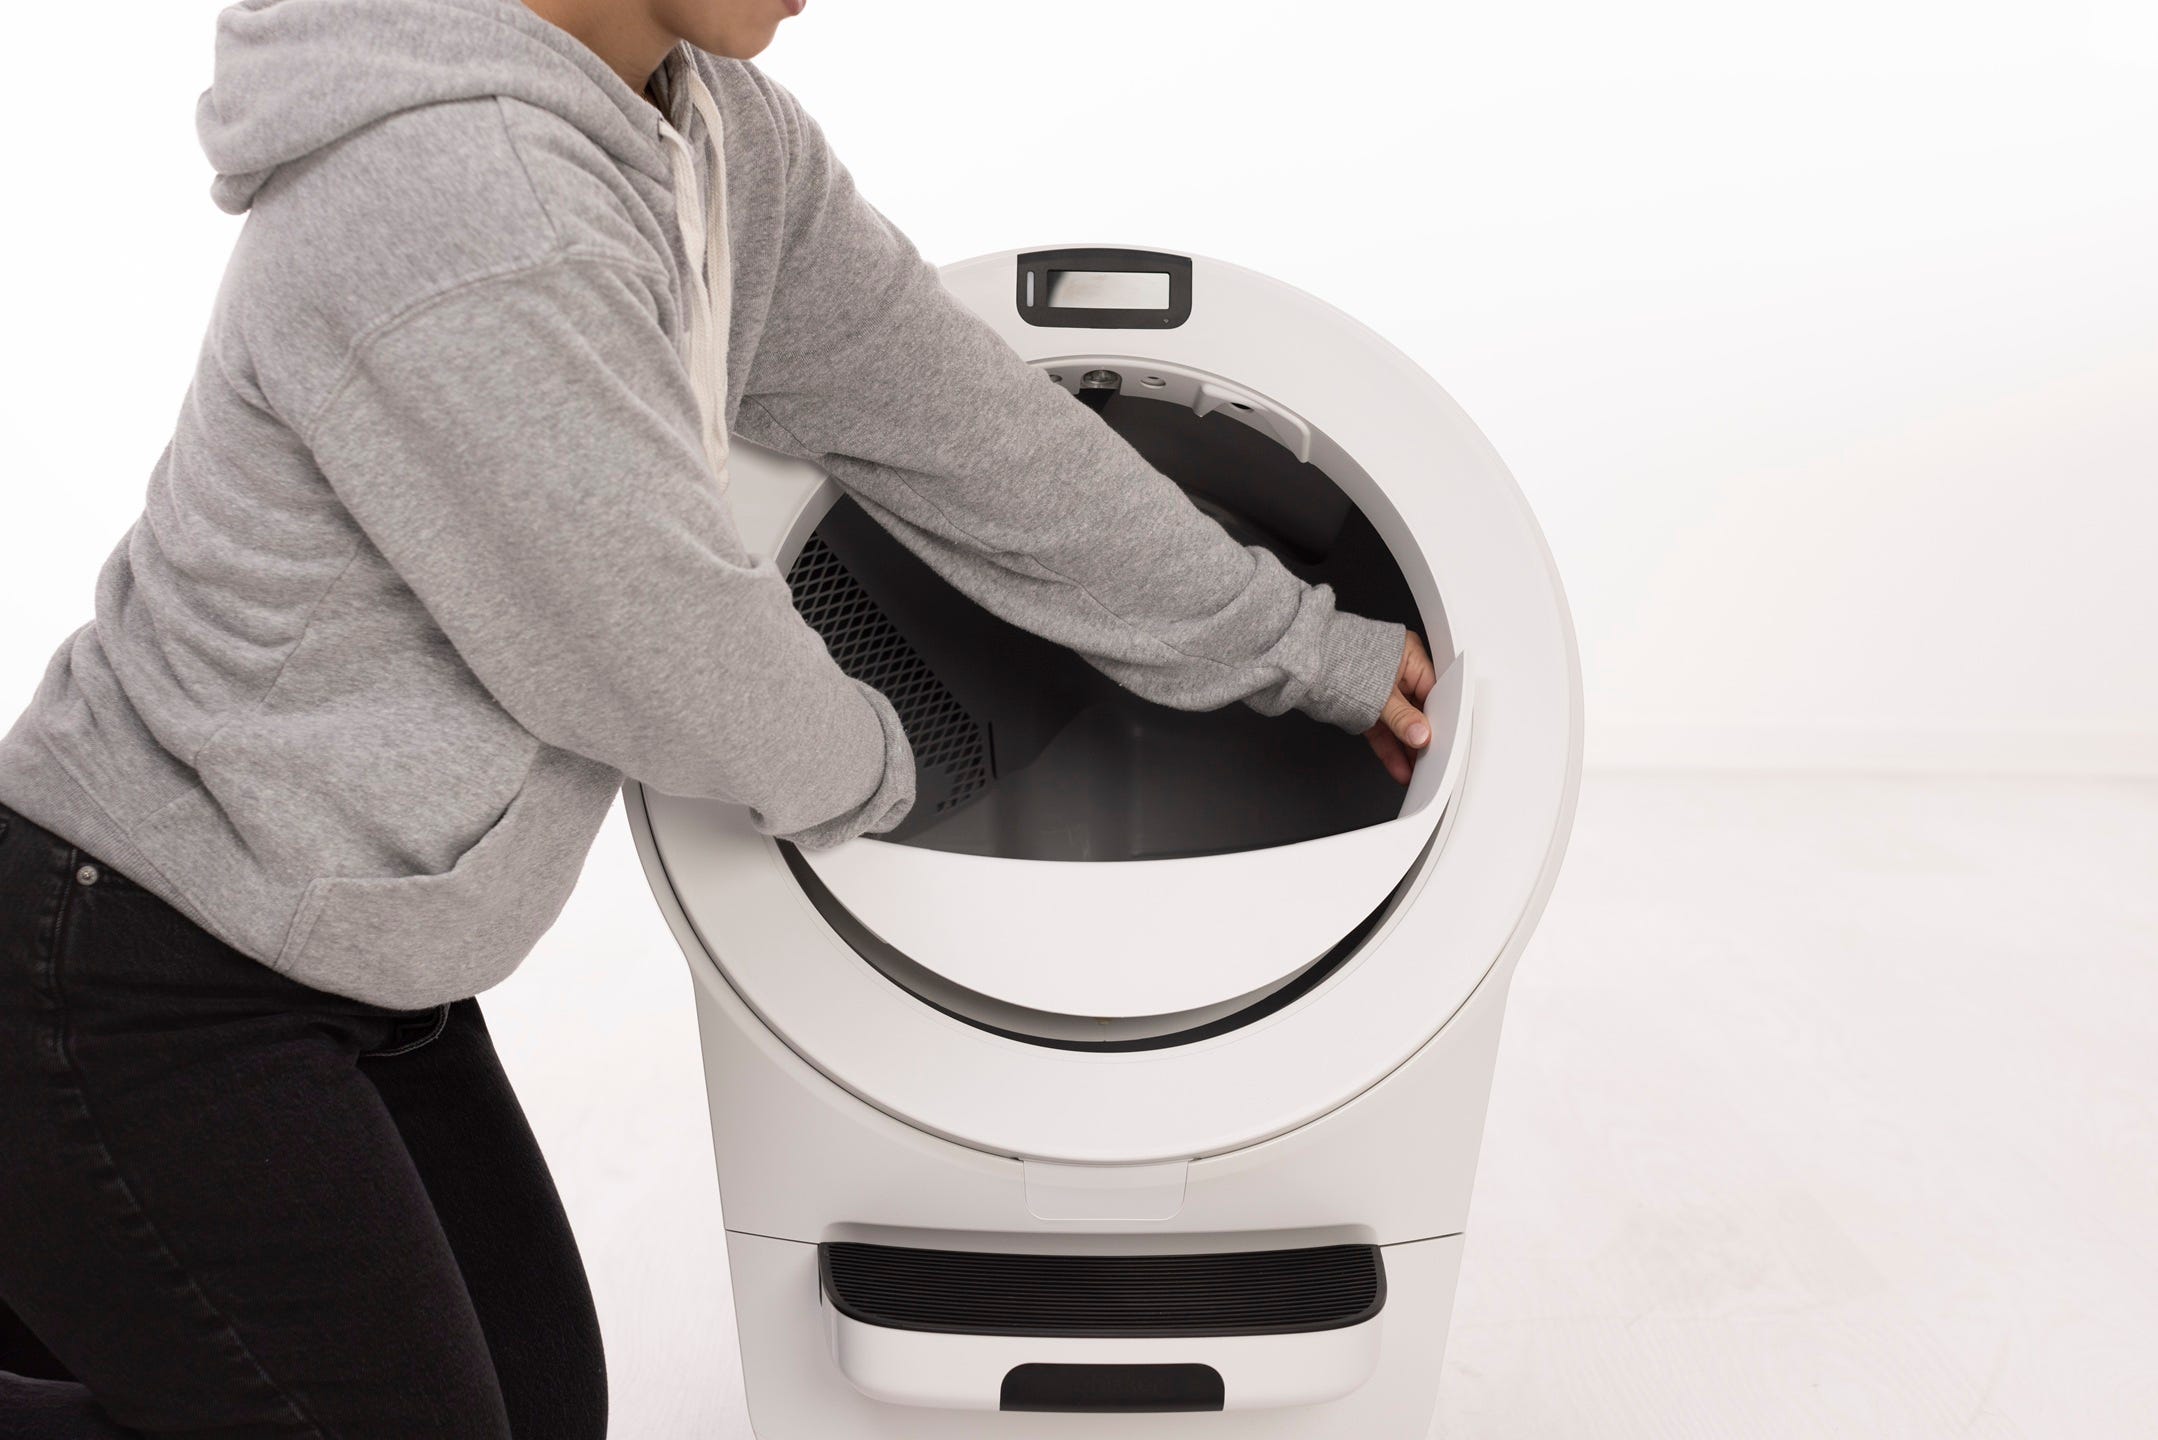
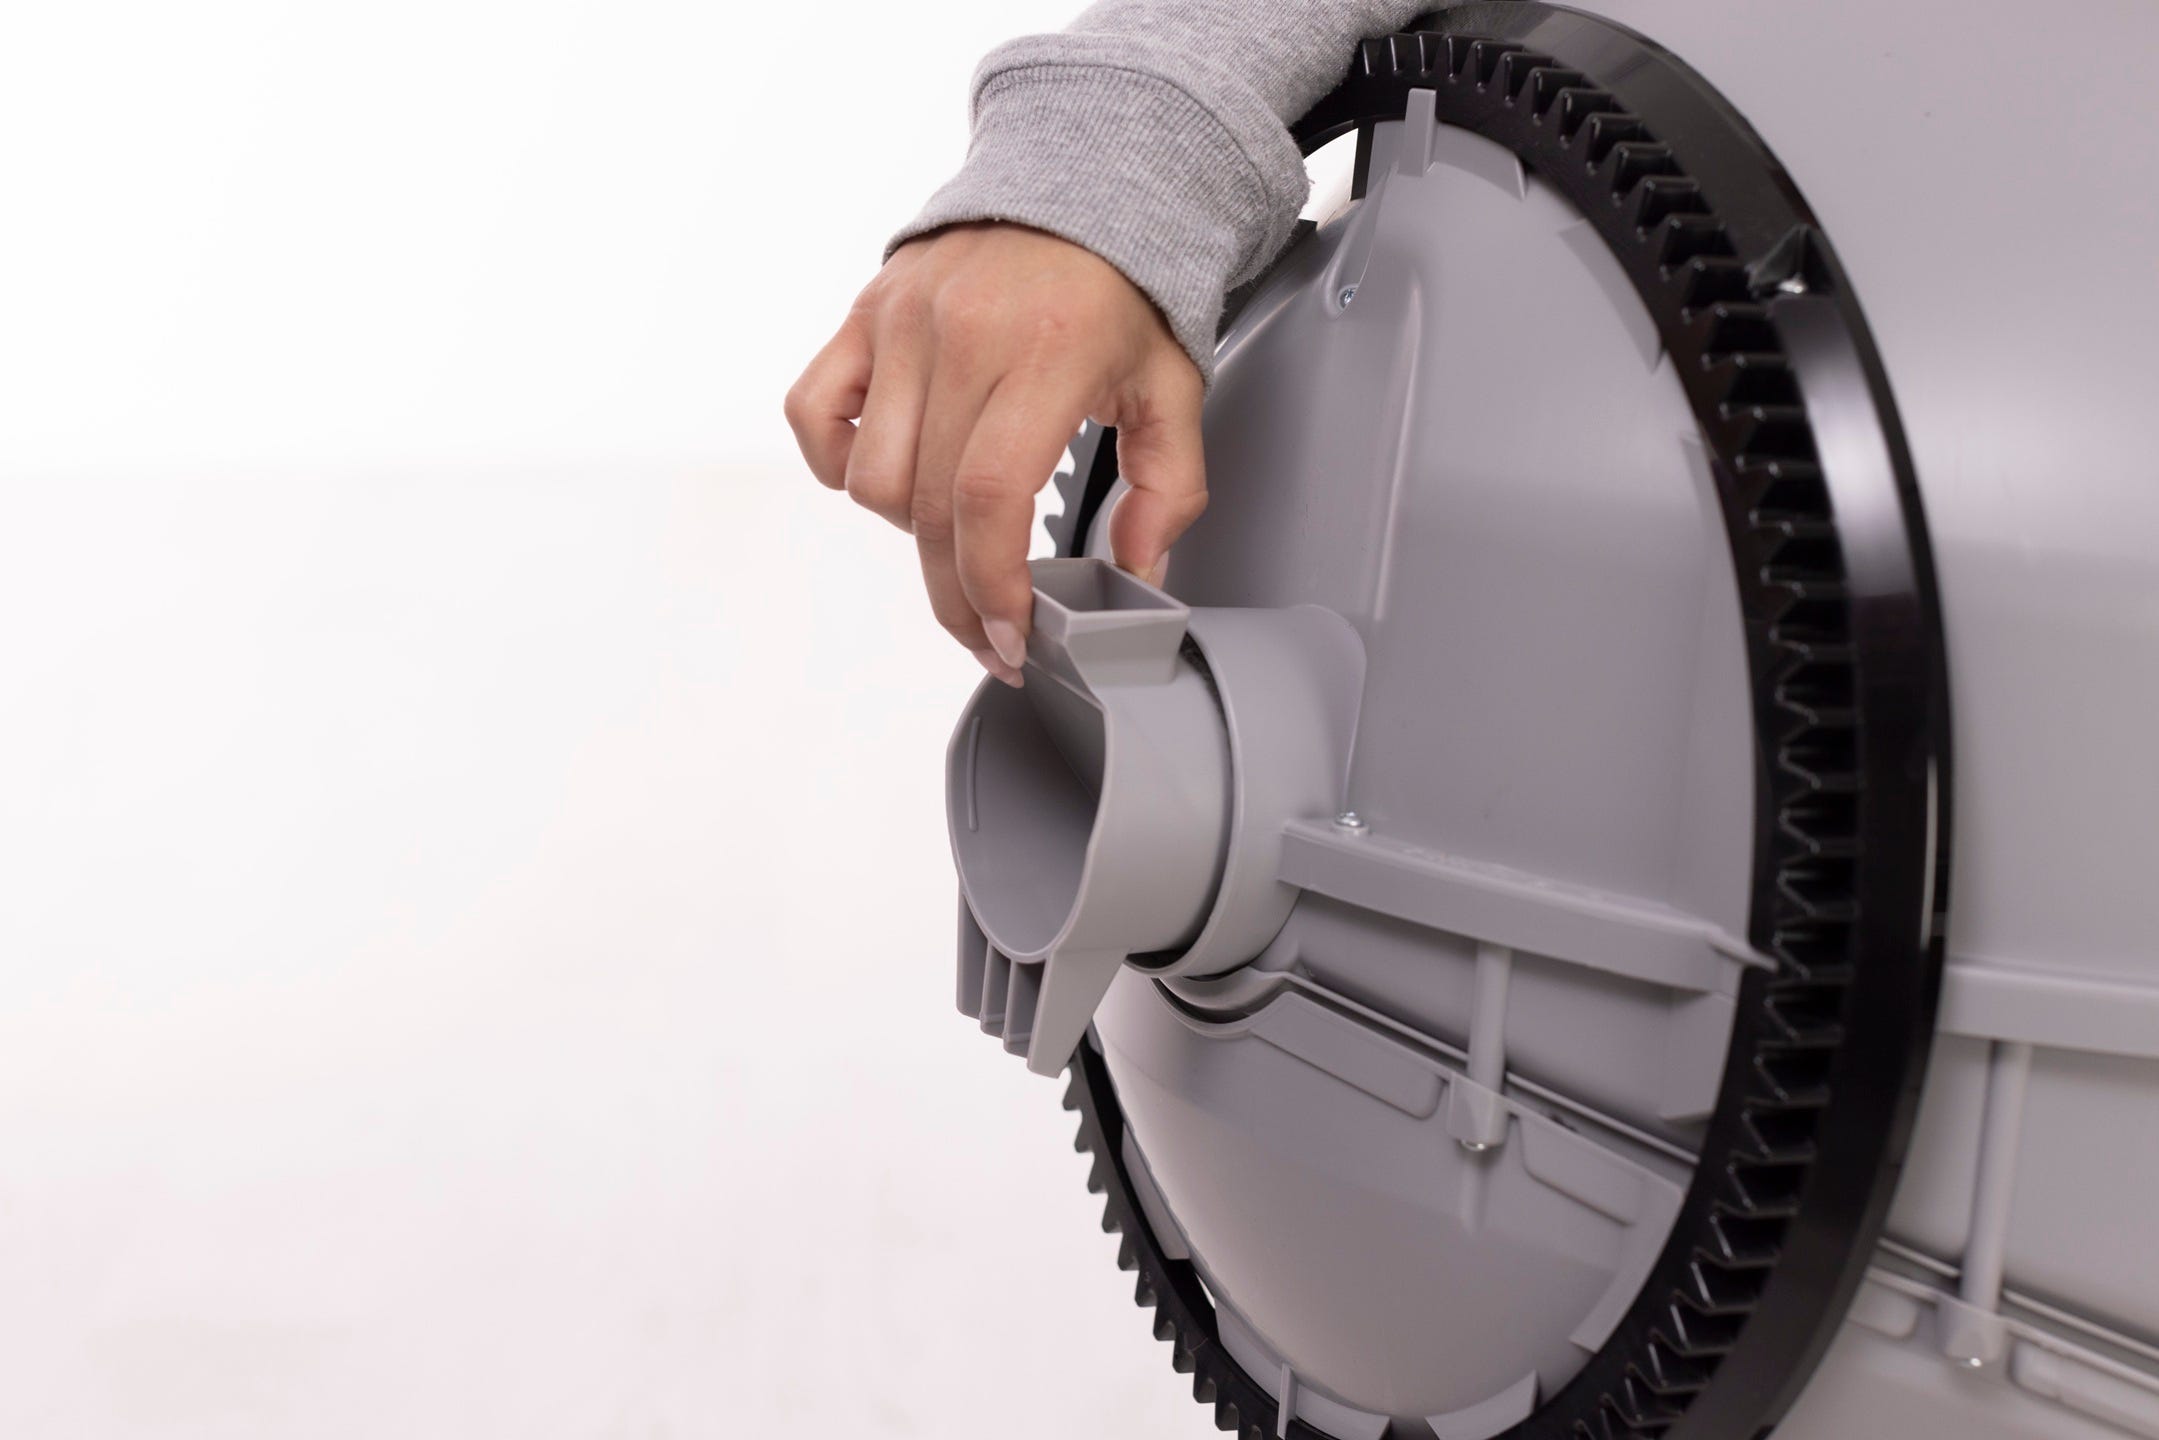
- Lift the globe by the handle while holding the globe key in place to keep it from falling into the waste drawer. Set both aside.

Inspecting the globe
Inspect the globe for damage such as deep scratches, separating seams, or cracked plastic. Ensure the black gear track is not loose.
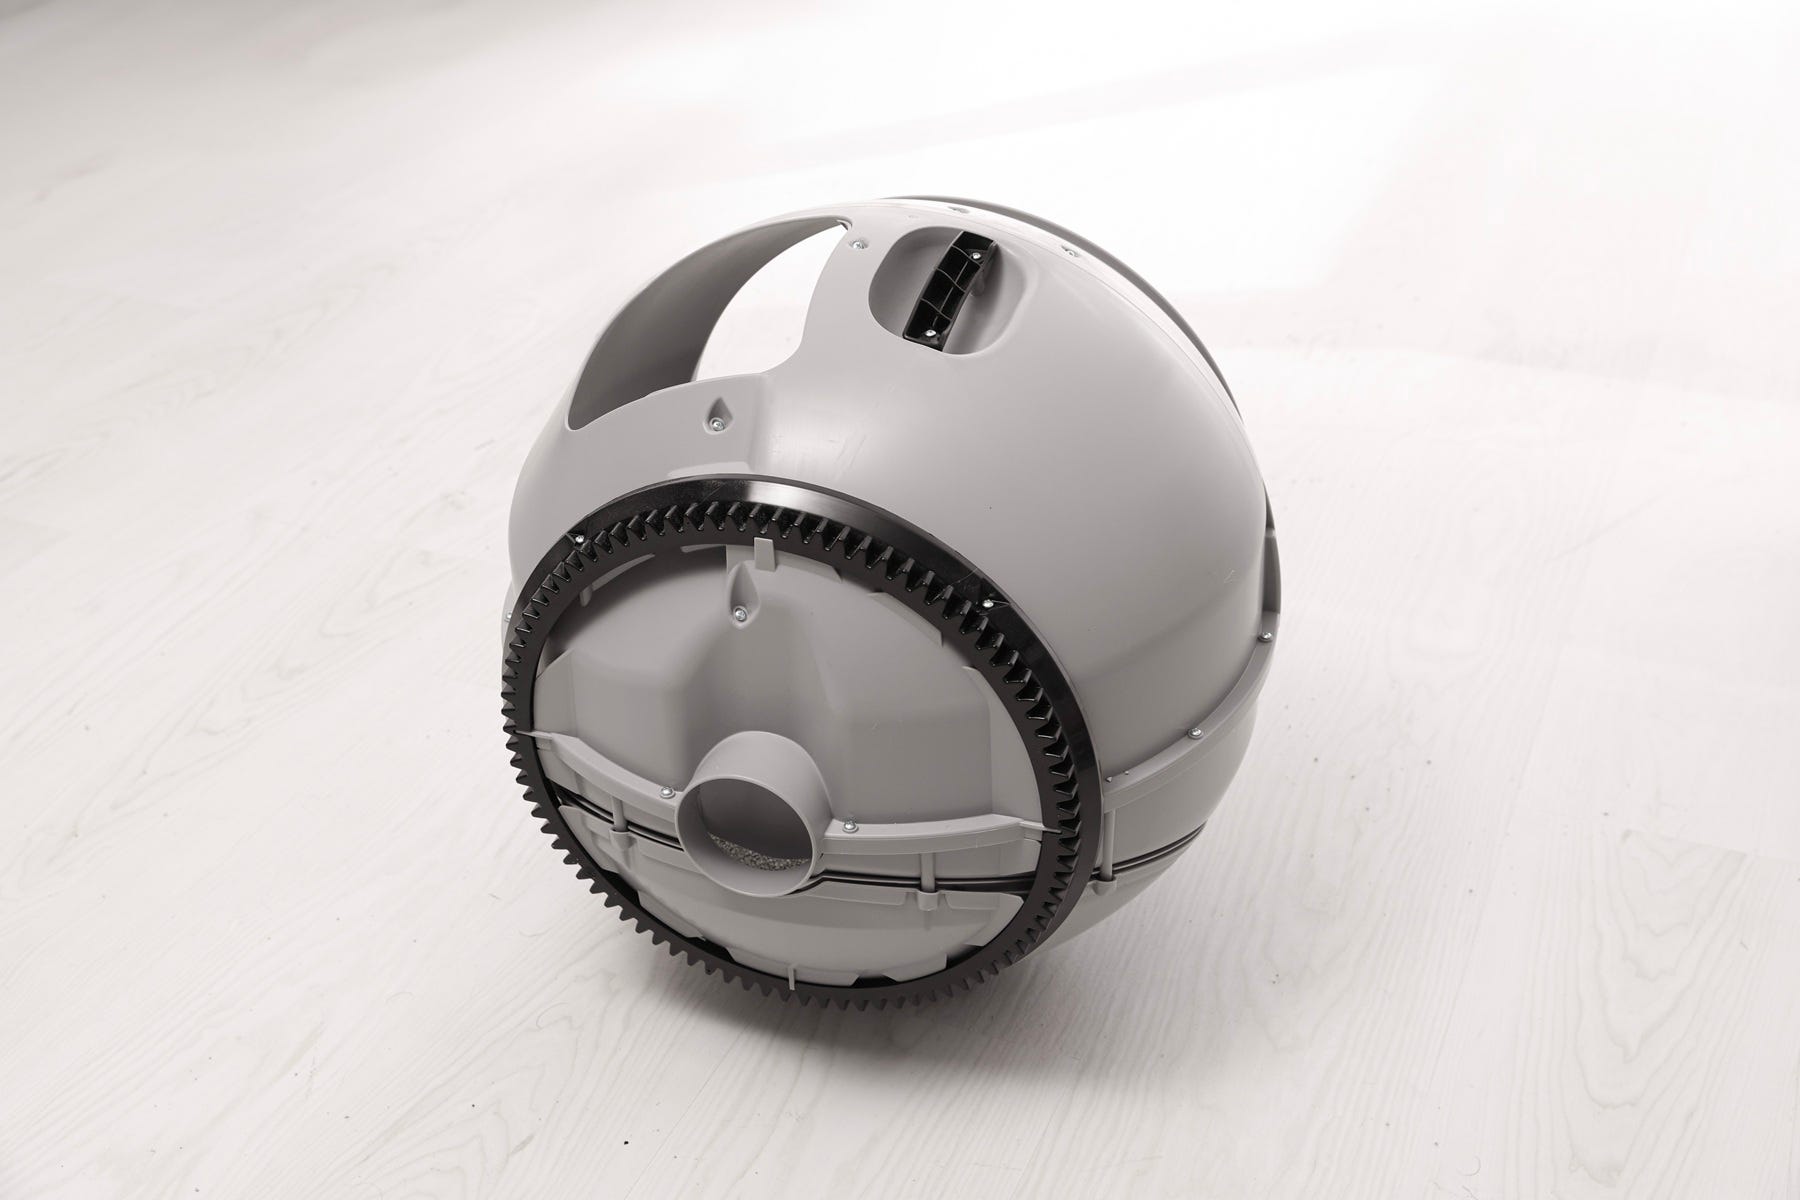
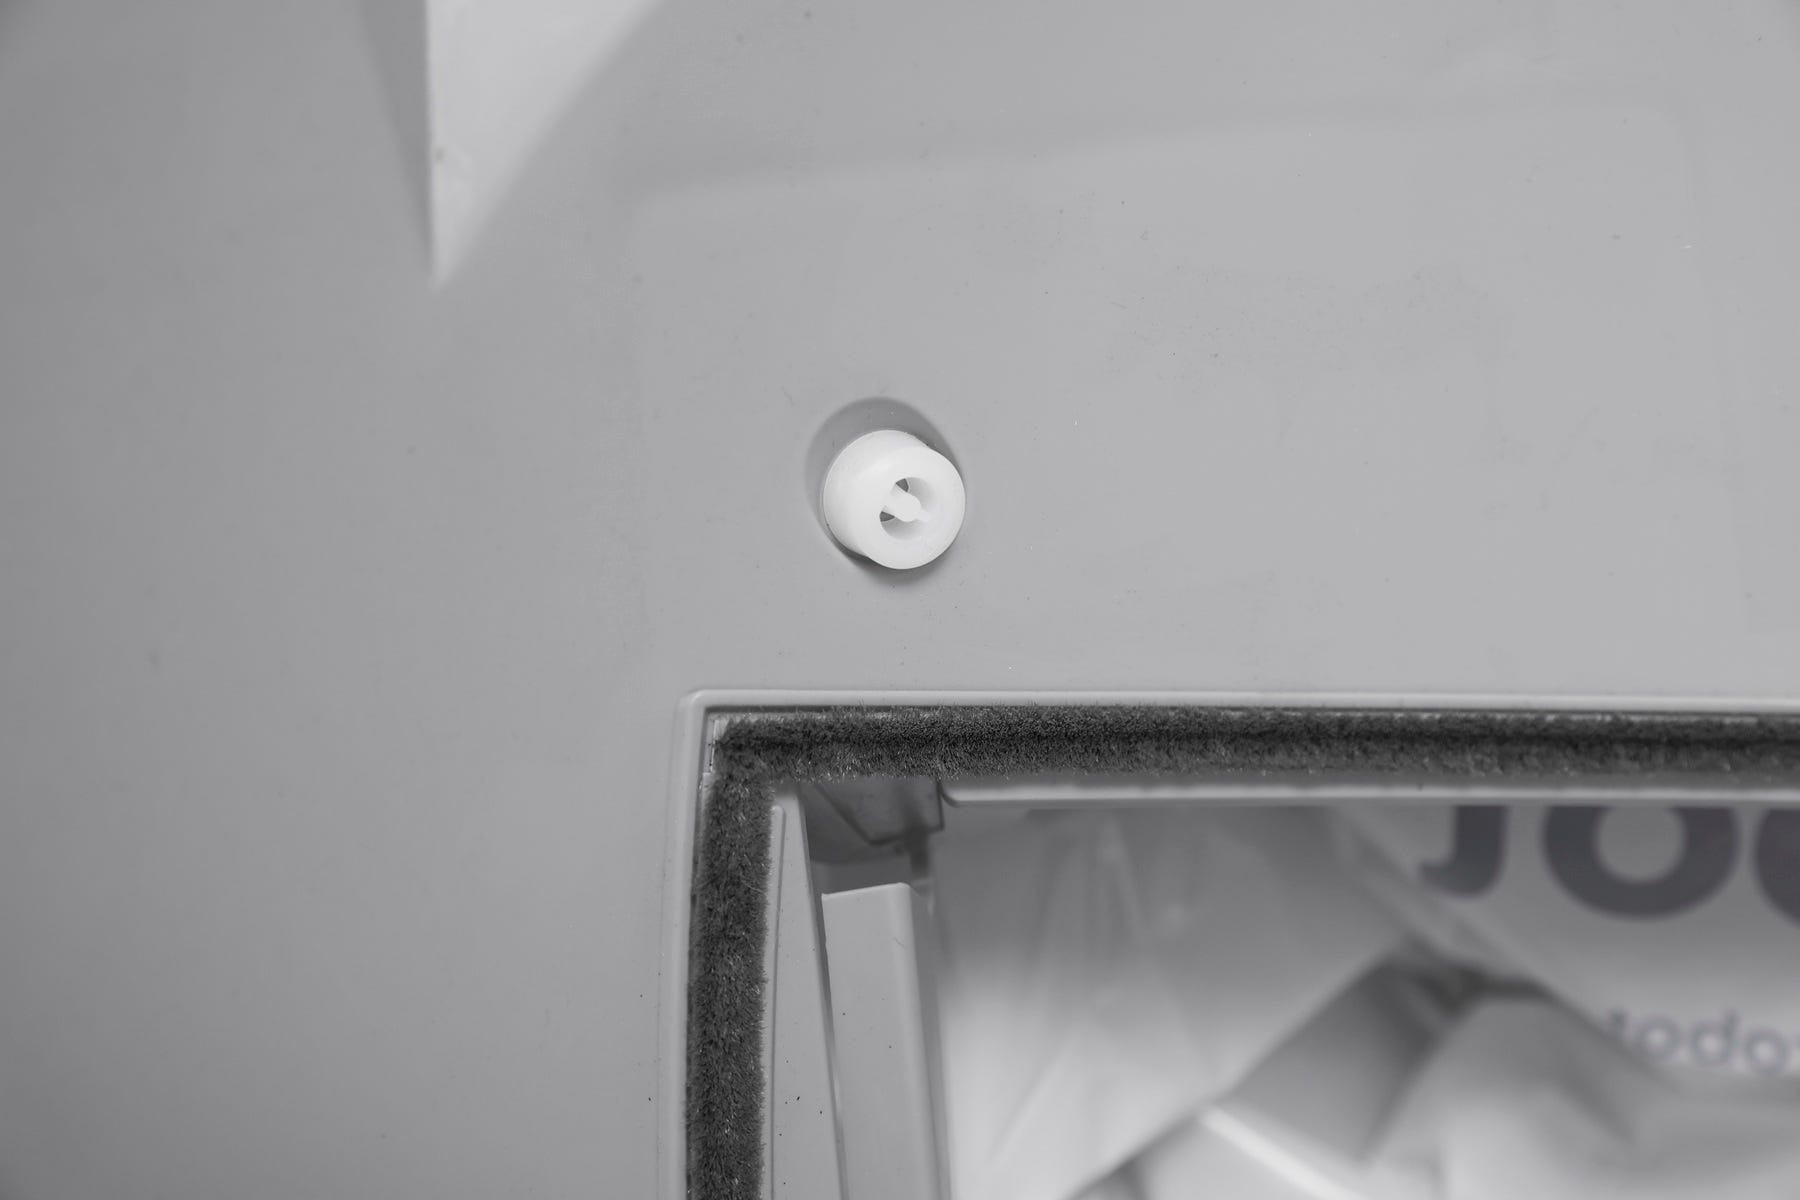
Make sure the carbon filter cover is fully seated and has not popped out. If it is not flush and snapped in properly, it may interrupt the cycle.
Note: The filter pocket holds one (1) carbon filter. If using an OdorTrap® holder, it can hold up to three (3) OdorTrap® Packs. The carbon filter and OdorTrap packs cannot be used together.
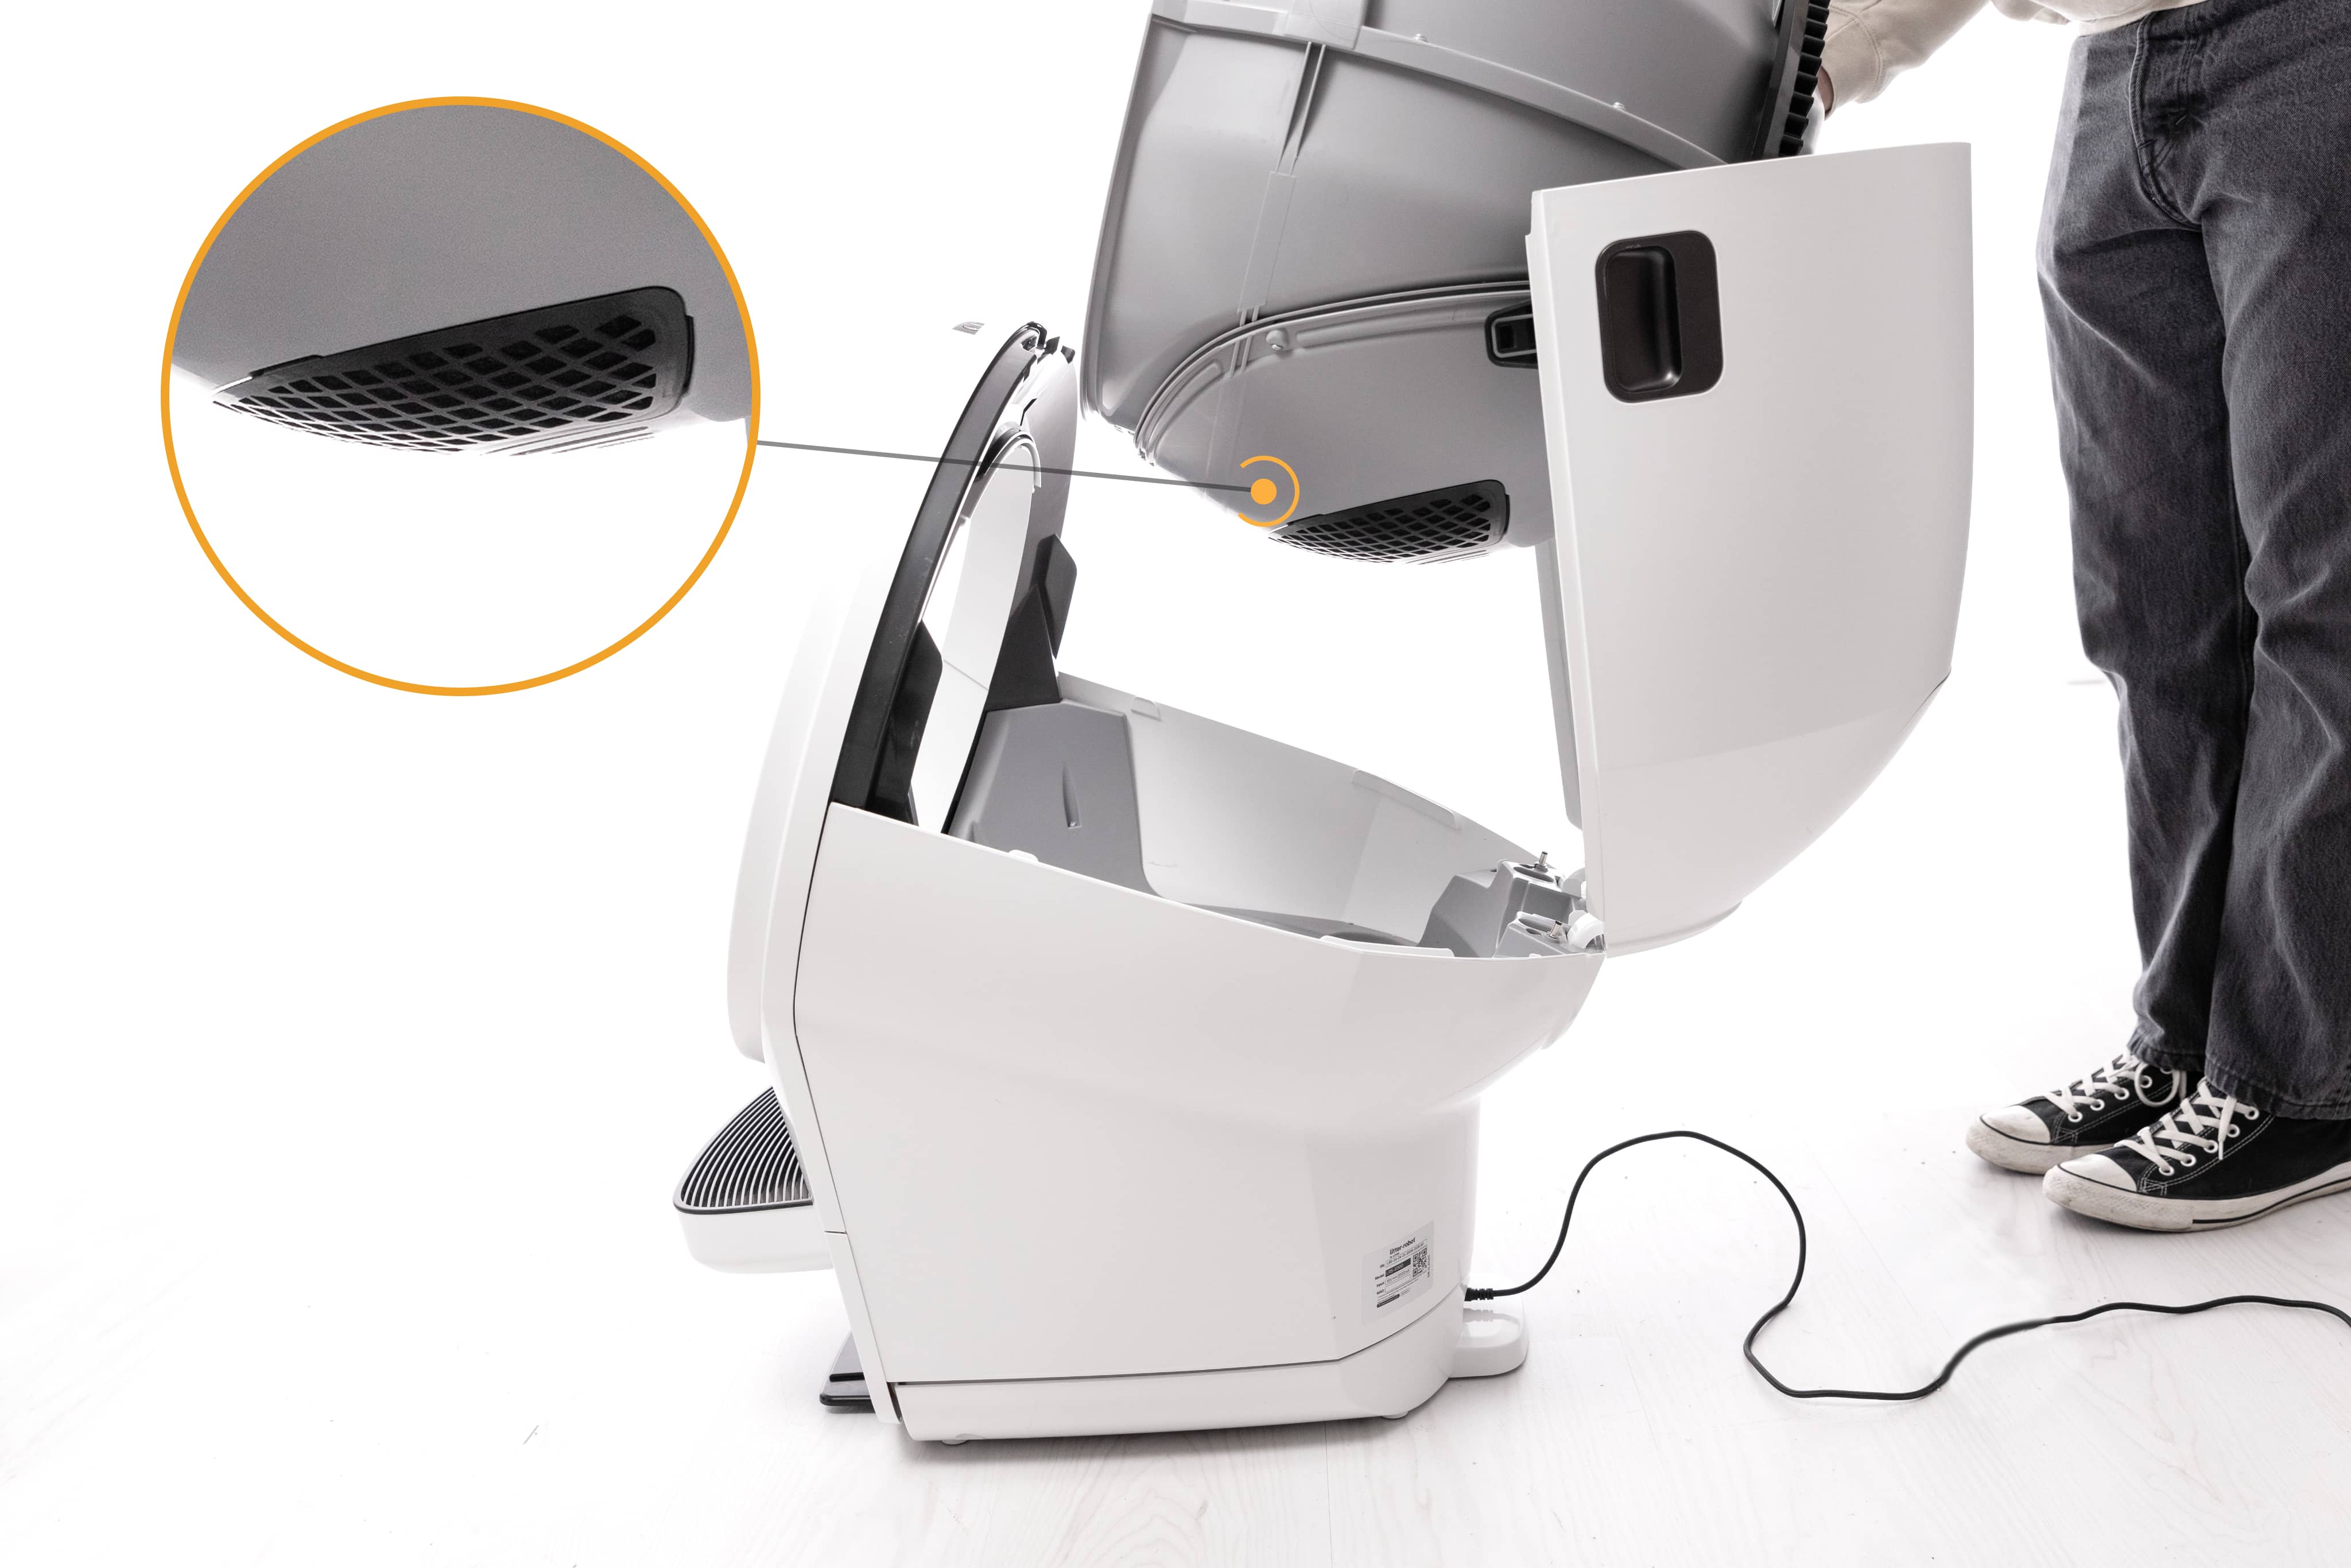
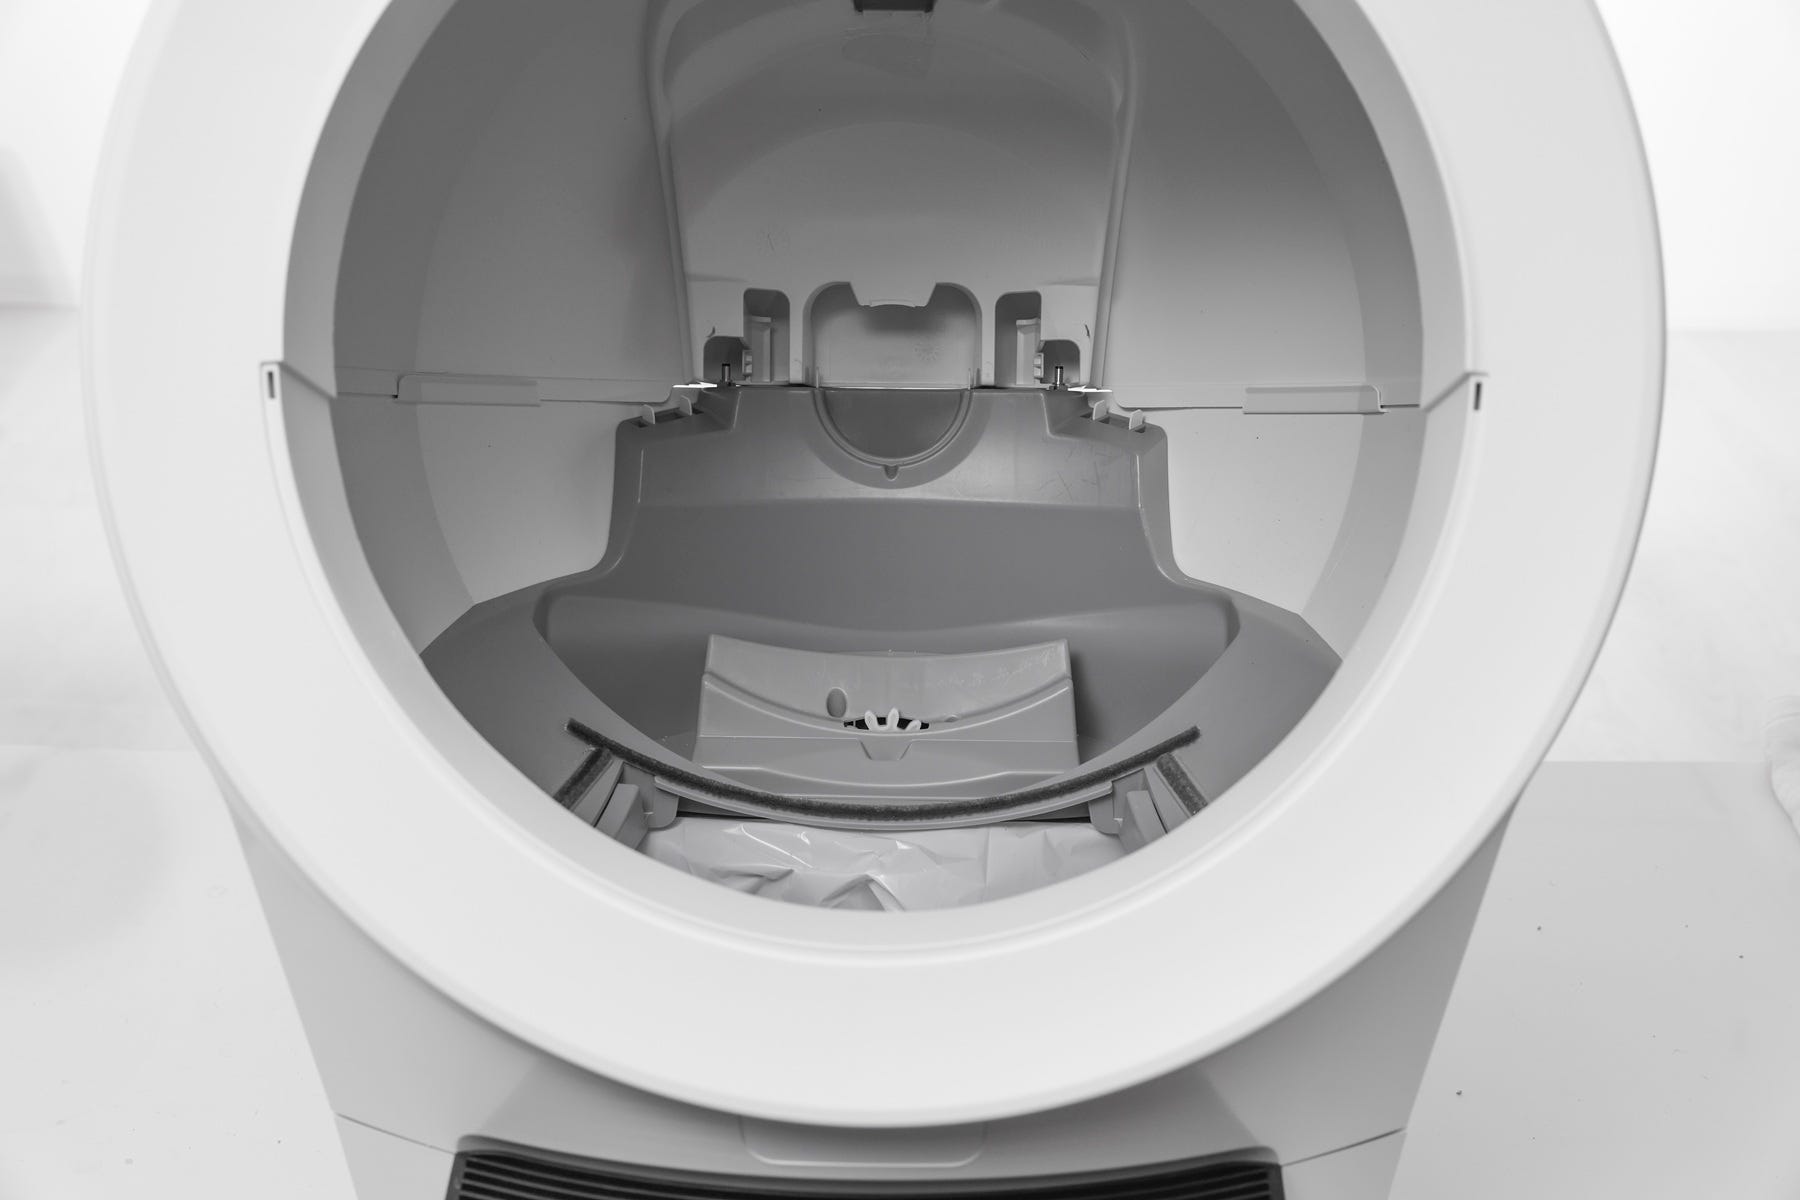
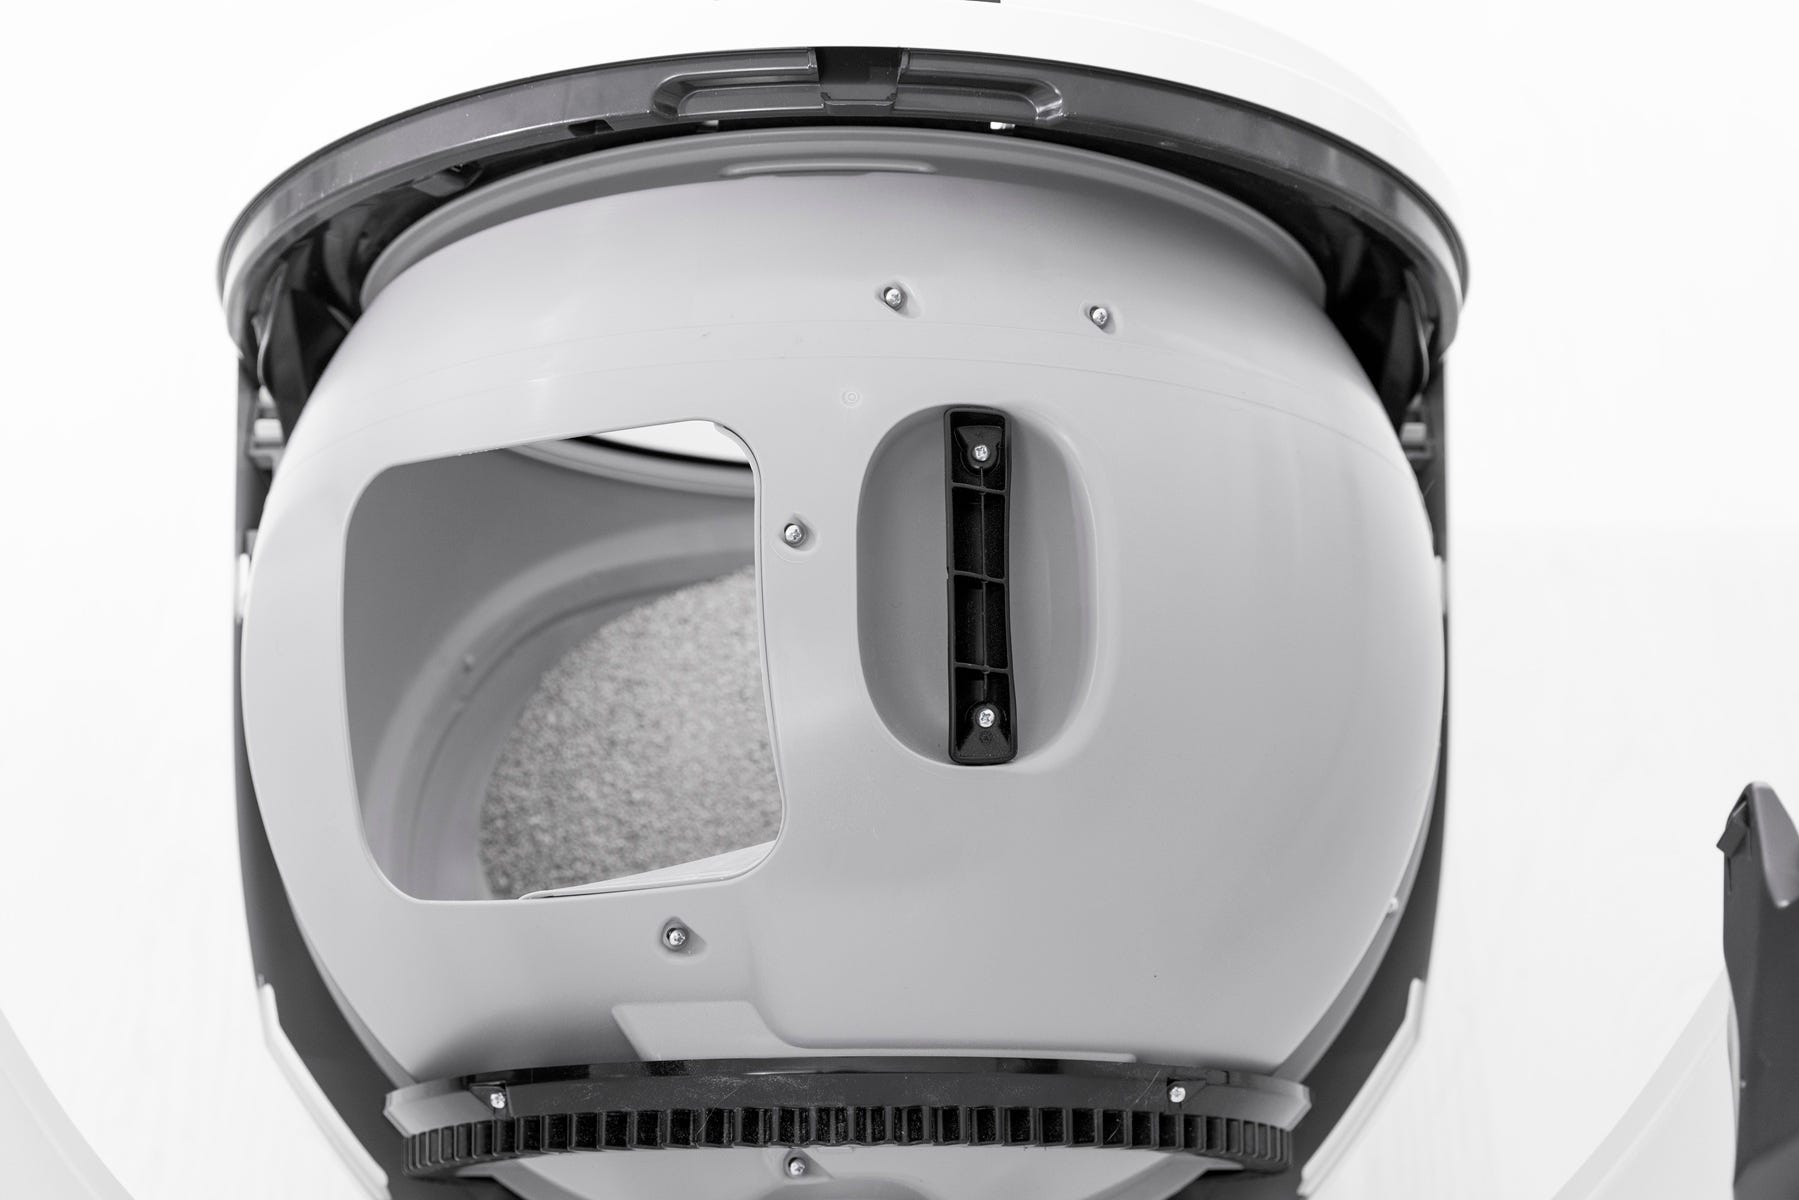
Inspecting the base
- Inspect the exterior top portion of the base where the globe usually rests. Remove any excess litter that may have missed the dump port (vacuuming is recommended).
- Ensure the seal strips are not peeling up or collecting litter. These help reduce odor and litter leakage but are not required for function.
- Confirm both globe glider buttons are attached.
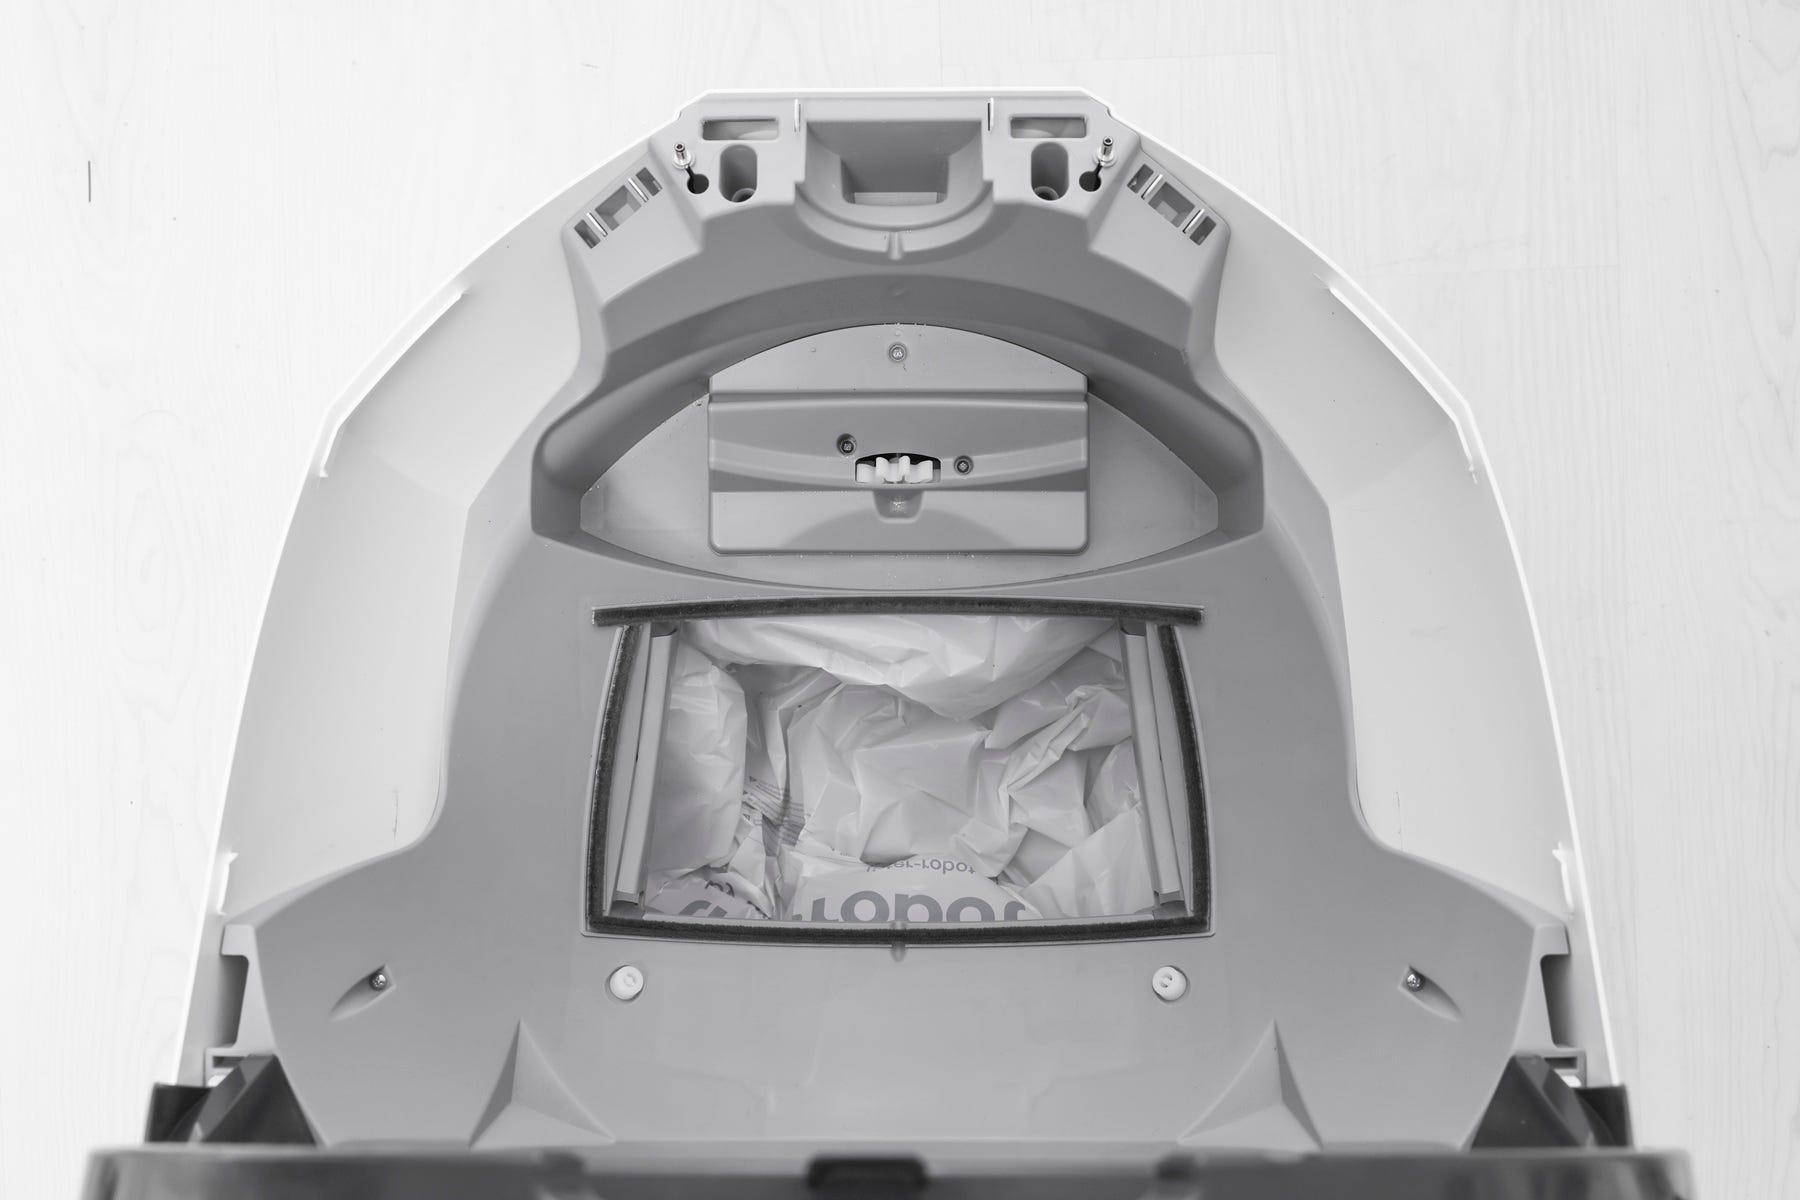
Inspecting the motor
- Check the motor area for possible obstructions. Ensure the motor cover is fully seated and screwed down tightly.
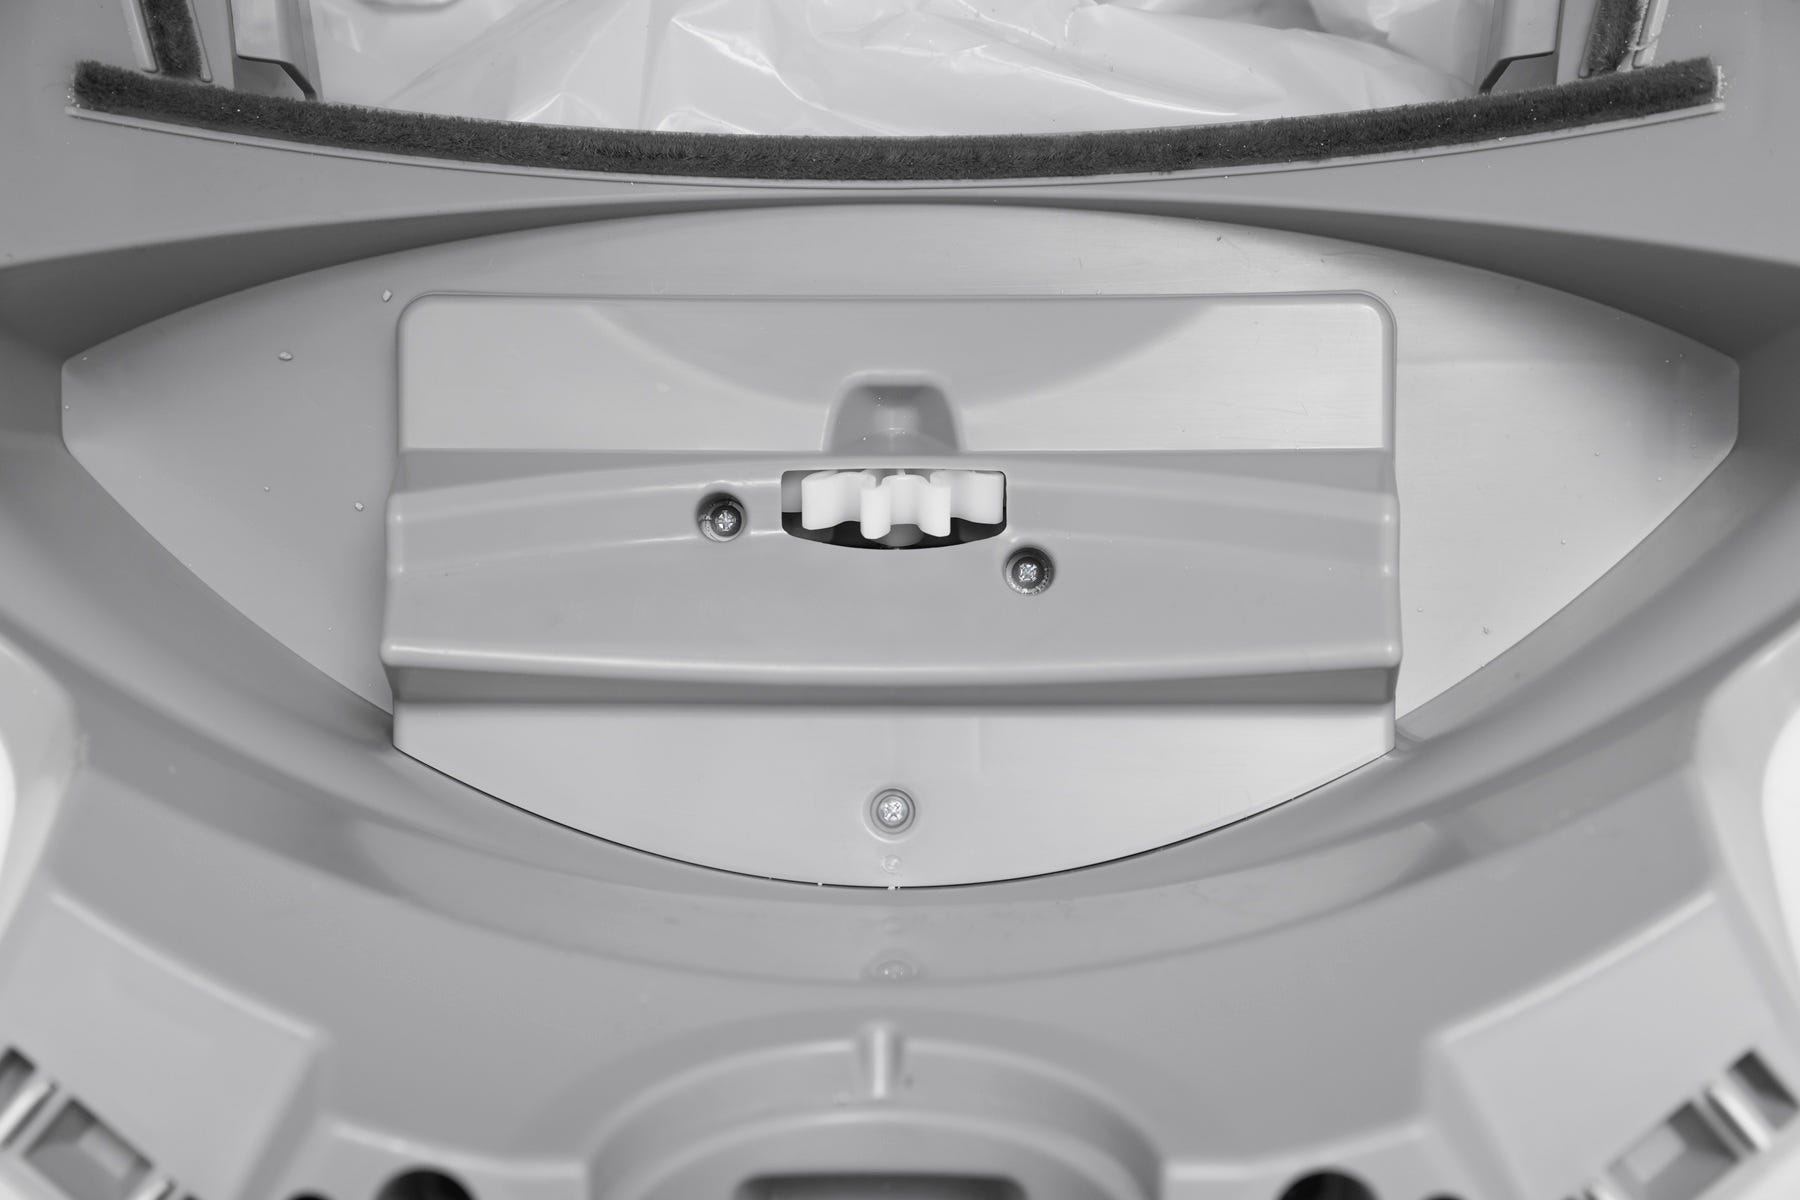
- Confirm that the gear on the motor is secure and does not rotate freely. If the gear is loose, you will need to replace the motor assembly.
Motor test
Test the motor without the globe installed.
- Rotate the bonnet to the closed position (the motor will not run if the bonnet is removed).
- Ensure it latches securely.
- Short press the Cancel button until the light is solid white.
- Short press the Cycle button to test the motor.
- The white gear should rotate and the control panel should display a blinking green LED Indicator Light.
Successful: The motor functions normally. Perform a deep cleaning and re-check for obstructions.
Unsuccessful: If the unit is still displaying an error message continue below.
Reassembly
Now that all components have been inspected, reassemble the globe and bonnet.
Installing the globe and bonnet
- Ensure the globe key is installed in the back of the globe with the rectangular opening facing up. Hold the key in place, lift the globe, and set it back into the base so the key drops fully into the pocket.
- Keep the globe handle and waste port oriented toward the top (Home position). The large black gear at the rear should easily engage with the smaller drive gear in the base.
- Rotate the bonnet downward over the globe until it automatically latches into place. Push down on the bonnet near the handles on the sides of the bonnet to make sure it has latched into place and feels secure.
Final steps
- Reinstall any accessories, then short press the Cancel button.
- Litter-Robot will display a solid white LED Indicator Light to show it’s ready for use. Short press the Cycle button to run a full cycle.
Successful: Unit returns Home with a solid white LED Indicator Light.
Unsuccessful: If the unit is still displaying an error message, there is likely an issue with your Litter-Robot.
Need more help?
If the Overloaded Globe / Motor Fault error persists, please contact Whisker Customer Experience.
Didn't find what you're looking for?
Live support available Mon-Fri: 9AM-9PM EST and Sat-Sun: 9AM-5PM EST, or submit a ticket anytime.