The store will not work correctly in the case when cookies are disabled.
Litter-Robot 5 & Pro: Globe position fault
If your Litter-Robot 5 or Litter-Robot 5 Pro displays a Position Fault notification, the globe position sensor did not detect the globe’s position correctly during the last cycle. This guide will help you identify and clear the issue so your unit can return to normal operation.
Quick links
Before you begin
Make sure:
Your unit is plugged in.
Your unit is connected and online.
Your firmware is up to date. (If the app does not give you the option to update, you already have the latest version.)
How the globe position system works
Litter-Robot 5 uses sensors and rotation speed calculations to track the globe’s position during operation.
These sensors verify that the globe reaches key positions during each rotation.
If a position is missed or rotation slows unexpectedly, the unit will display a Position Fault notification.
The robot will continue to function in automatic mode, but this notification indicates a position sensor or rotation issue that should be checked.
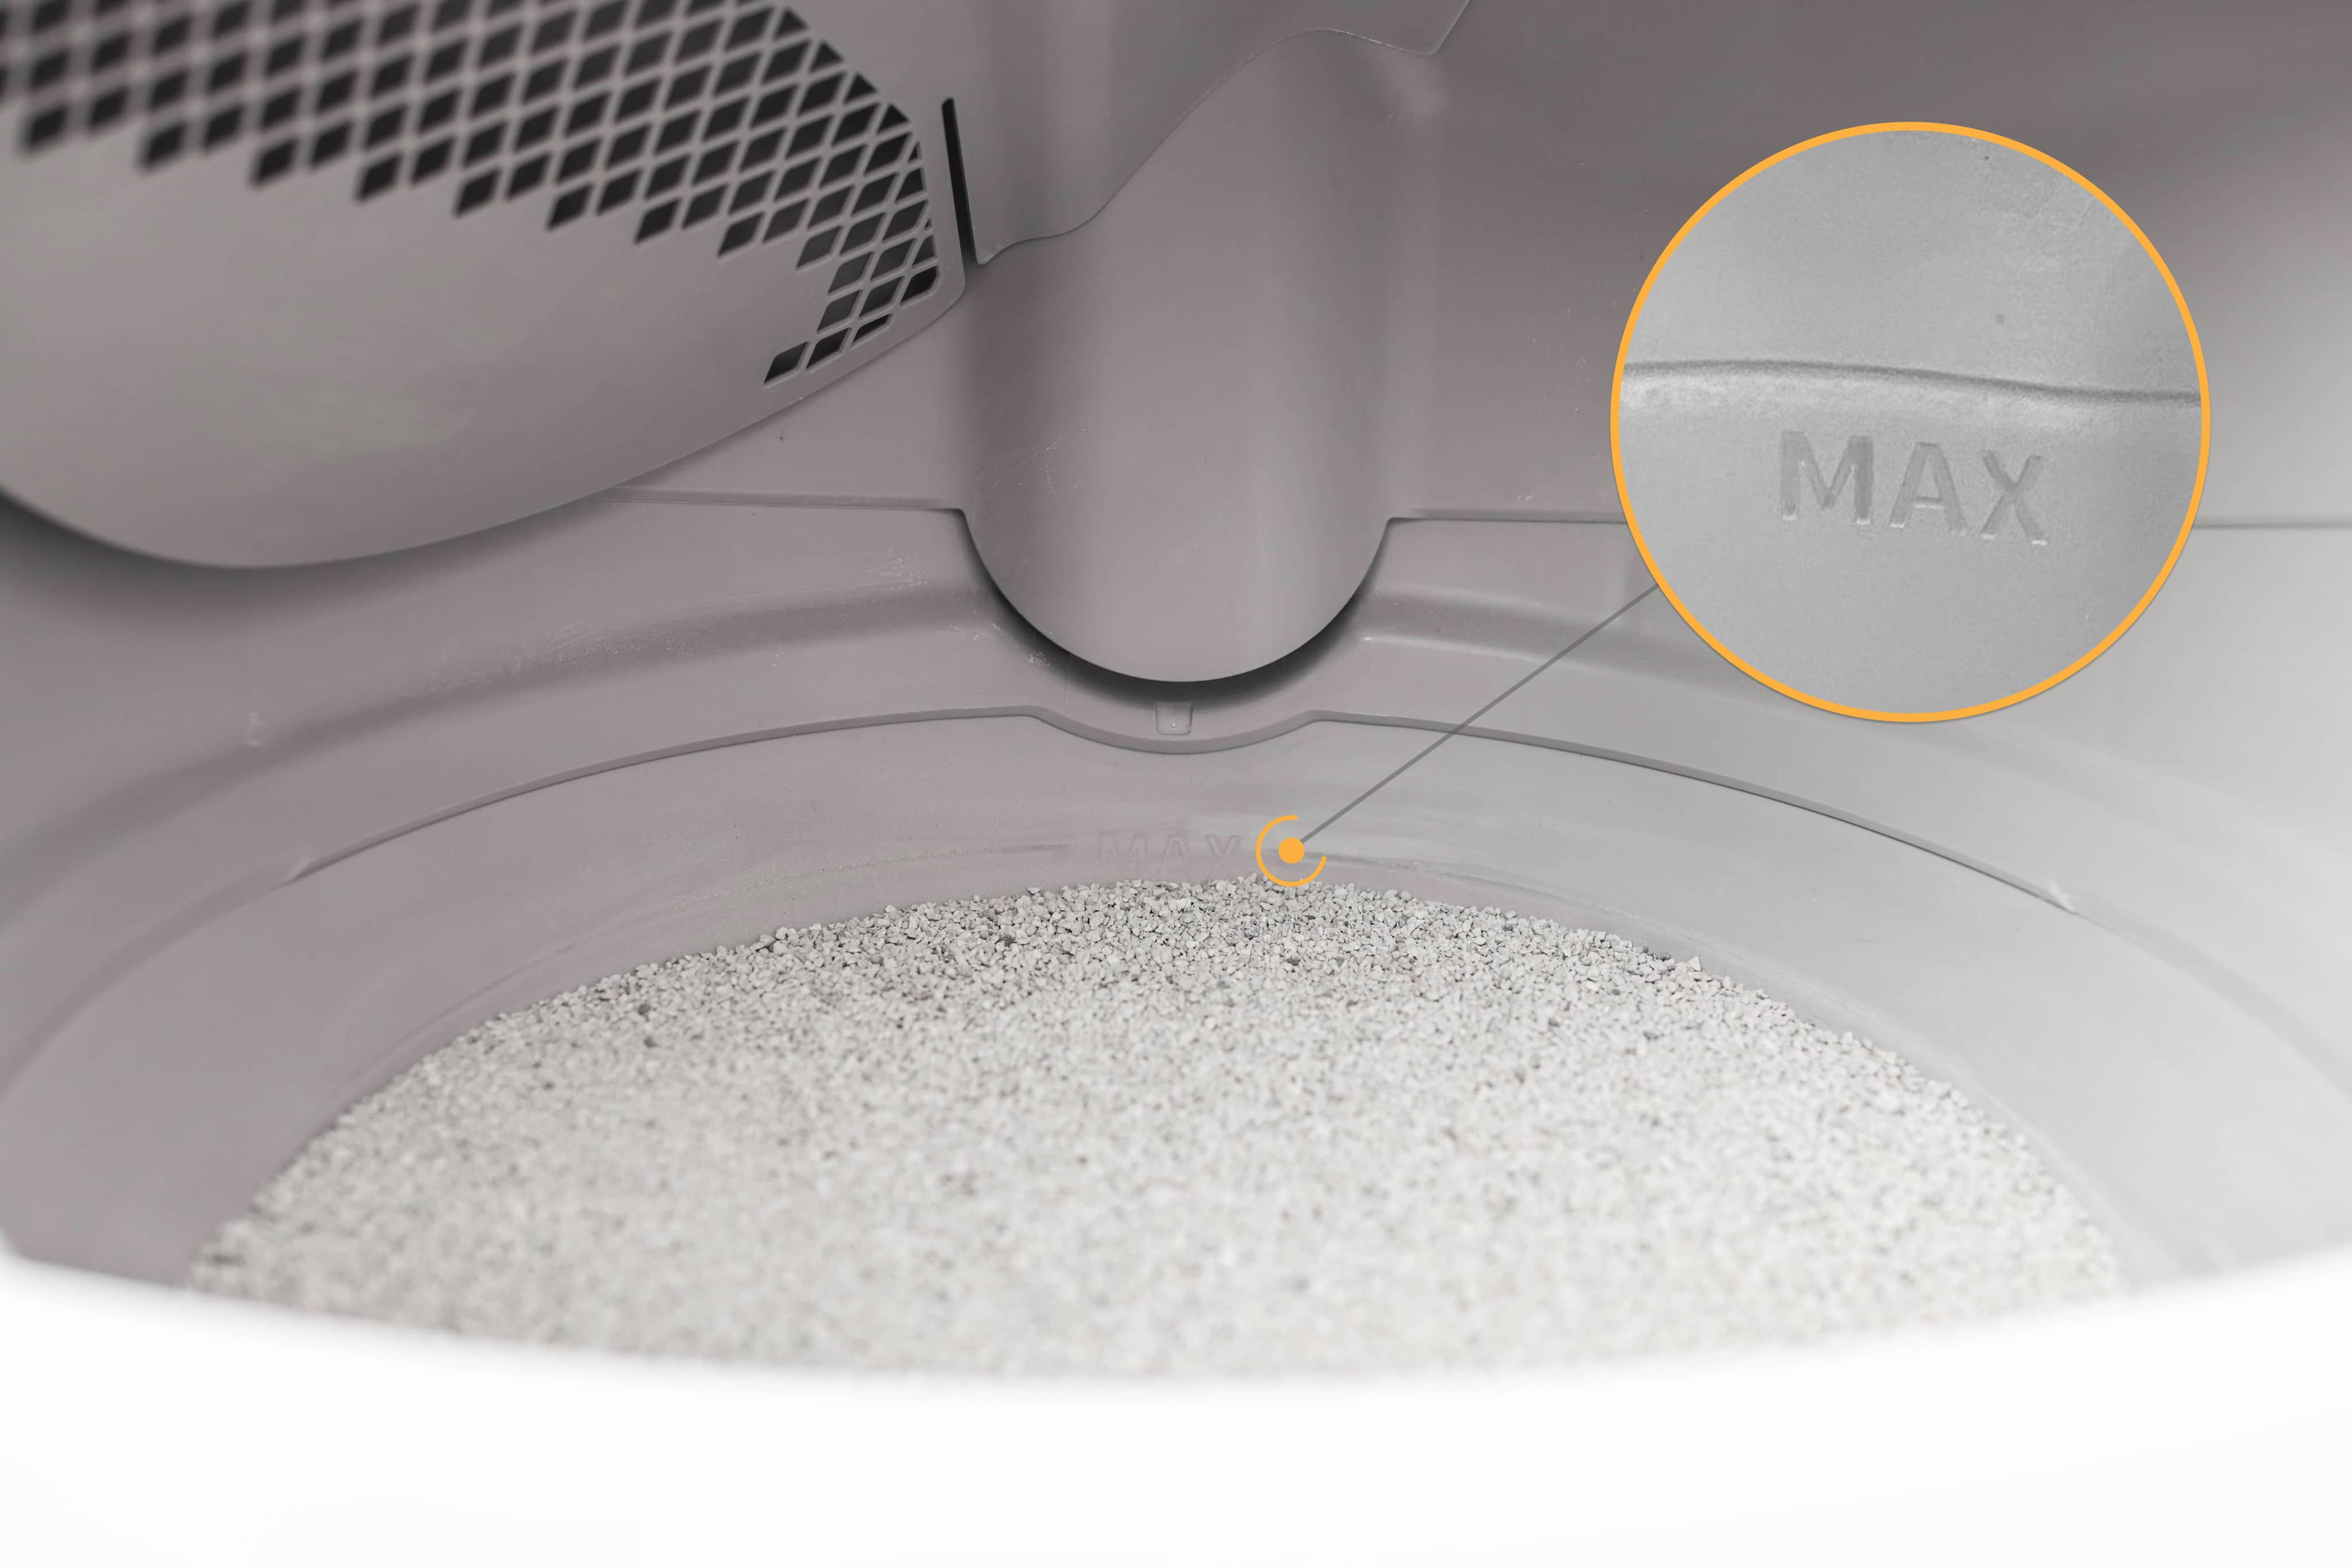
Remove excess weight
If your globe is overfilled with too much litter, the extra weight may slow rotation enough to trigger a position fault. Let’s make sure the globe isn’t overloaded before testing.
- Check that the litter level is up to the raised MAX fill line. If the globe is overfilled, remove some litter before proceeding.
- Short press the Cancel button to clear any notifications.
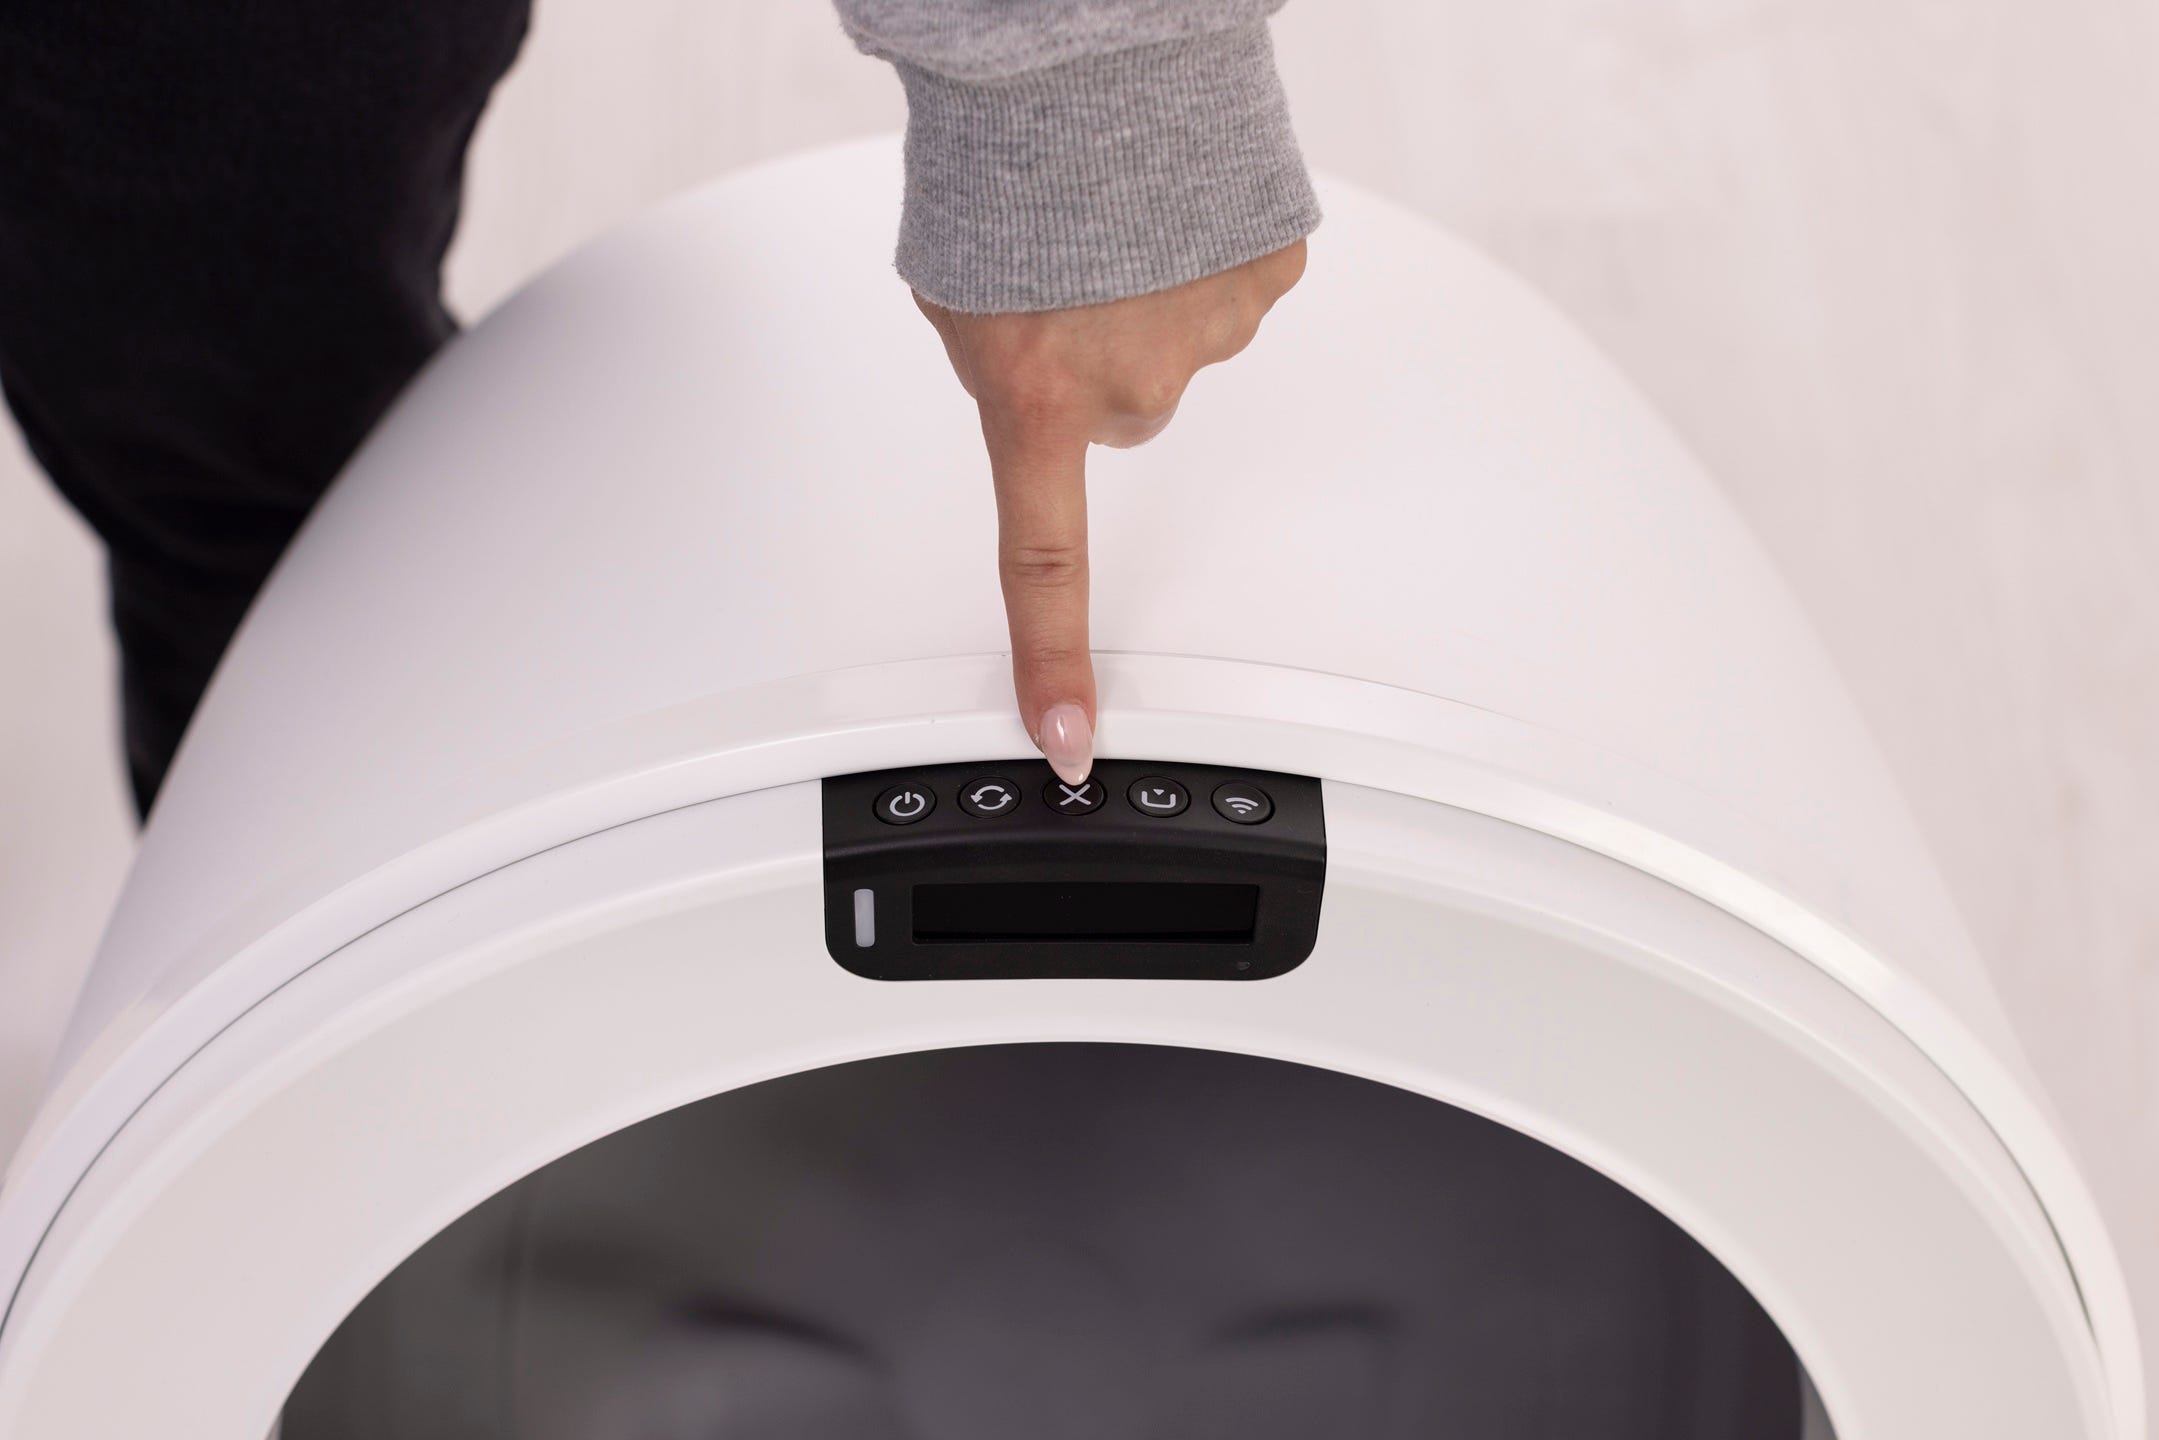
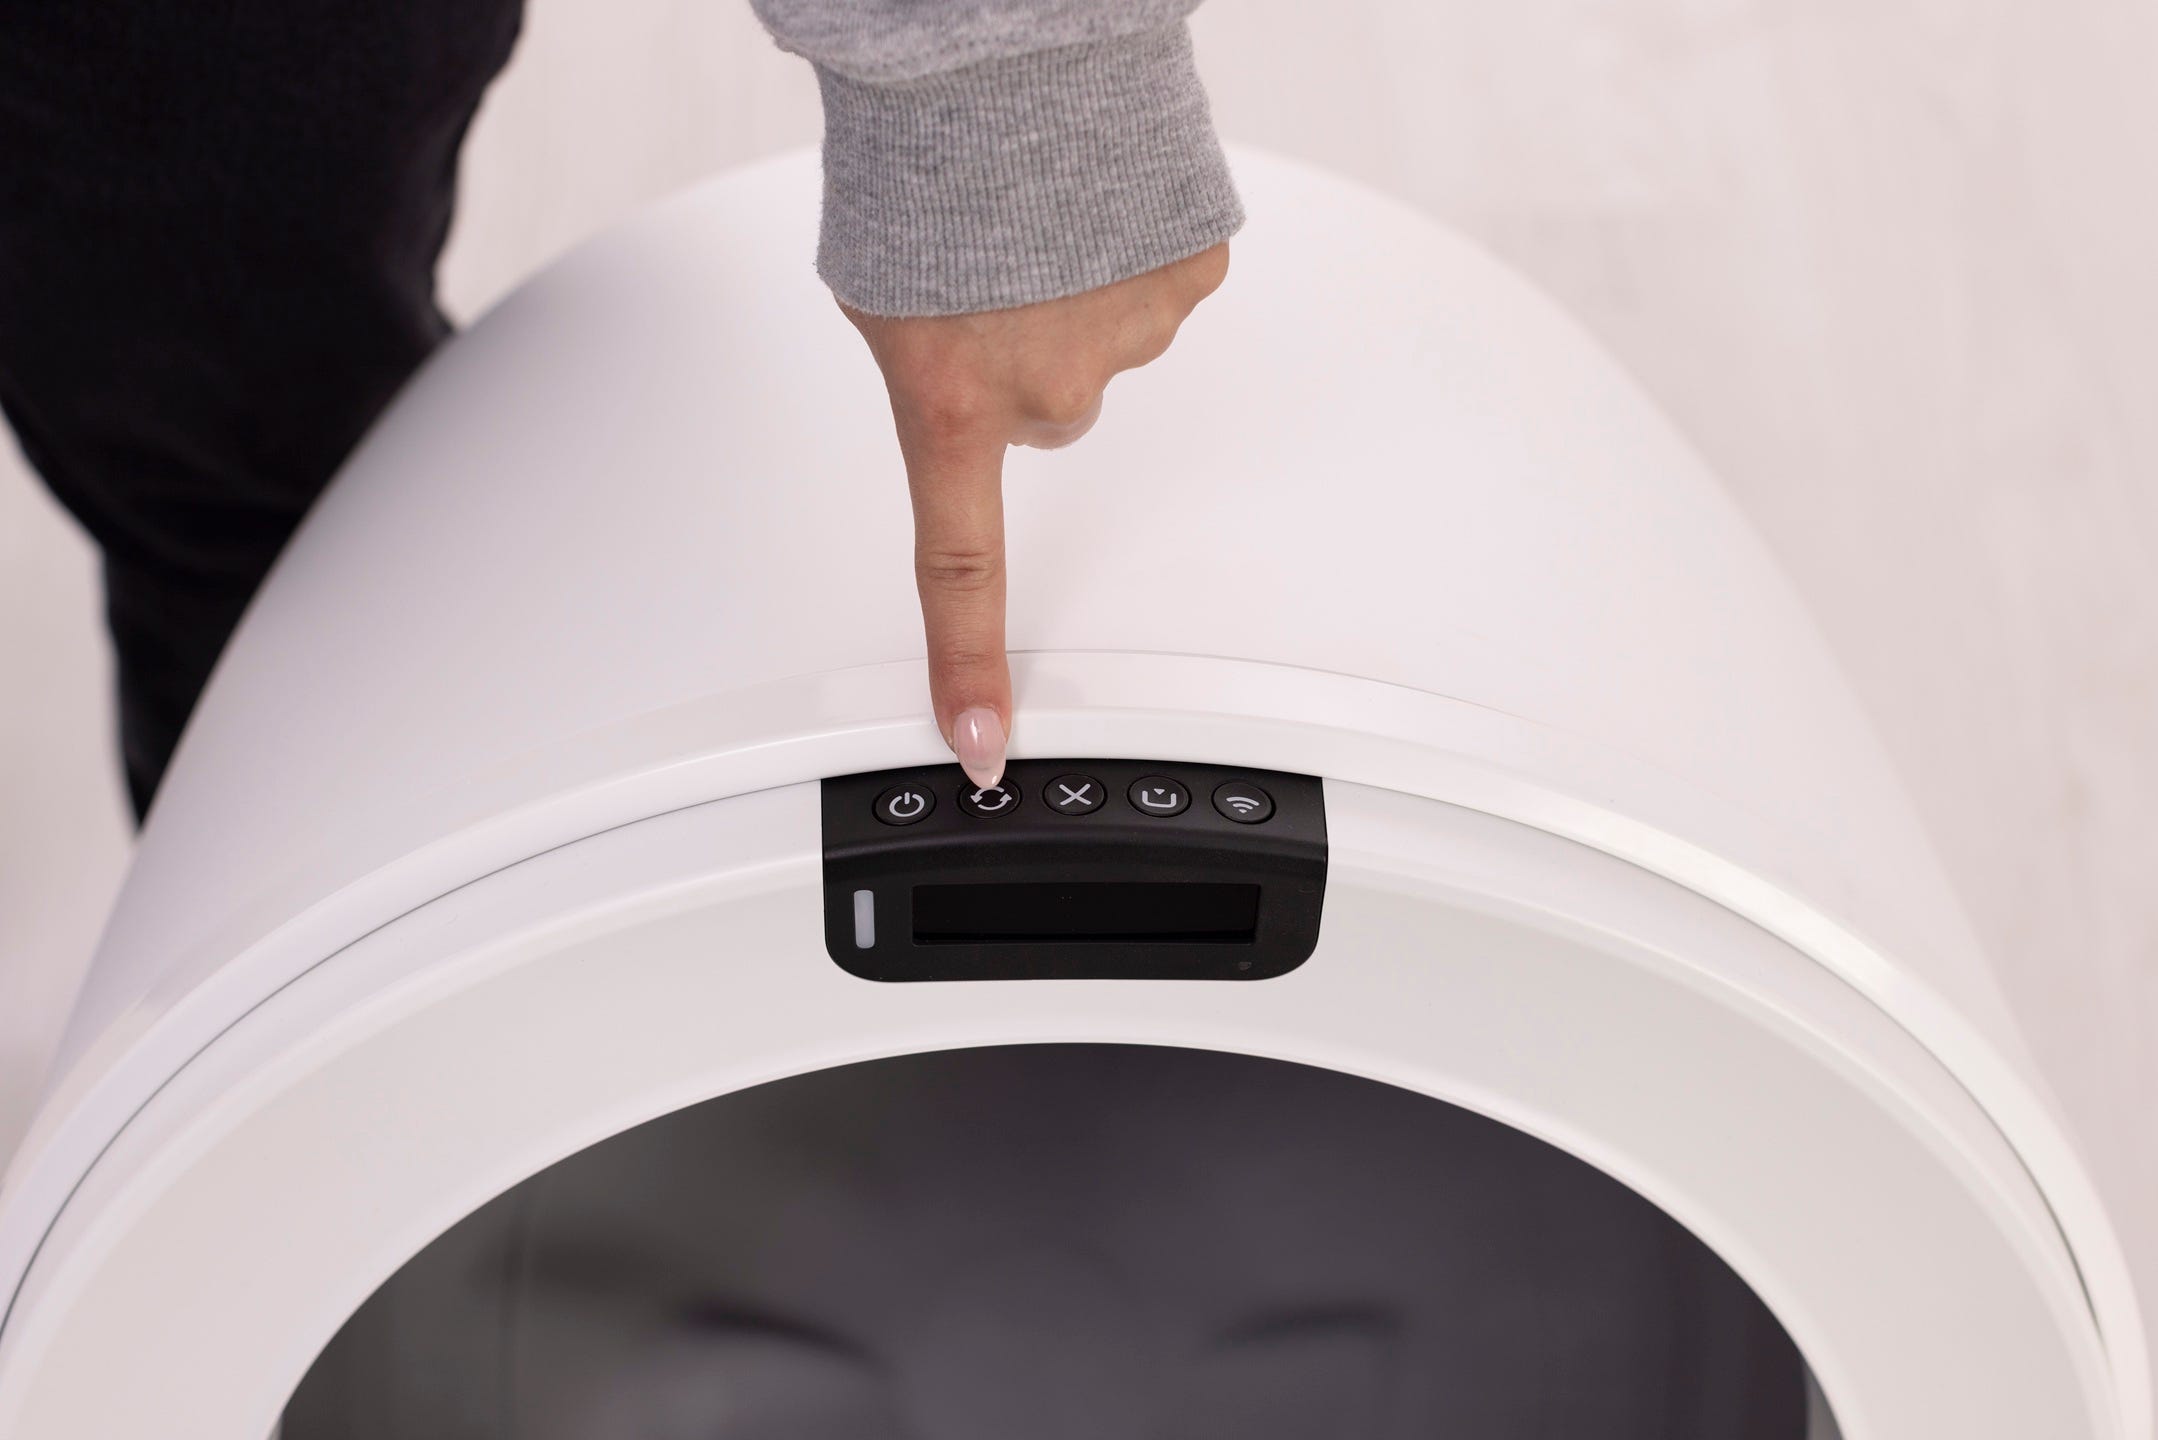
Short press the Cycle button to run a Clean Cycle.
Successful: The unit completes the cycle and returns Home with a solid white light.
Unsuccessful: If the Position Fault notification returns, continue below.
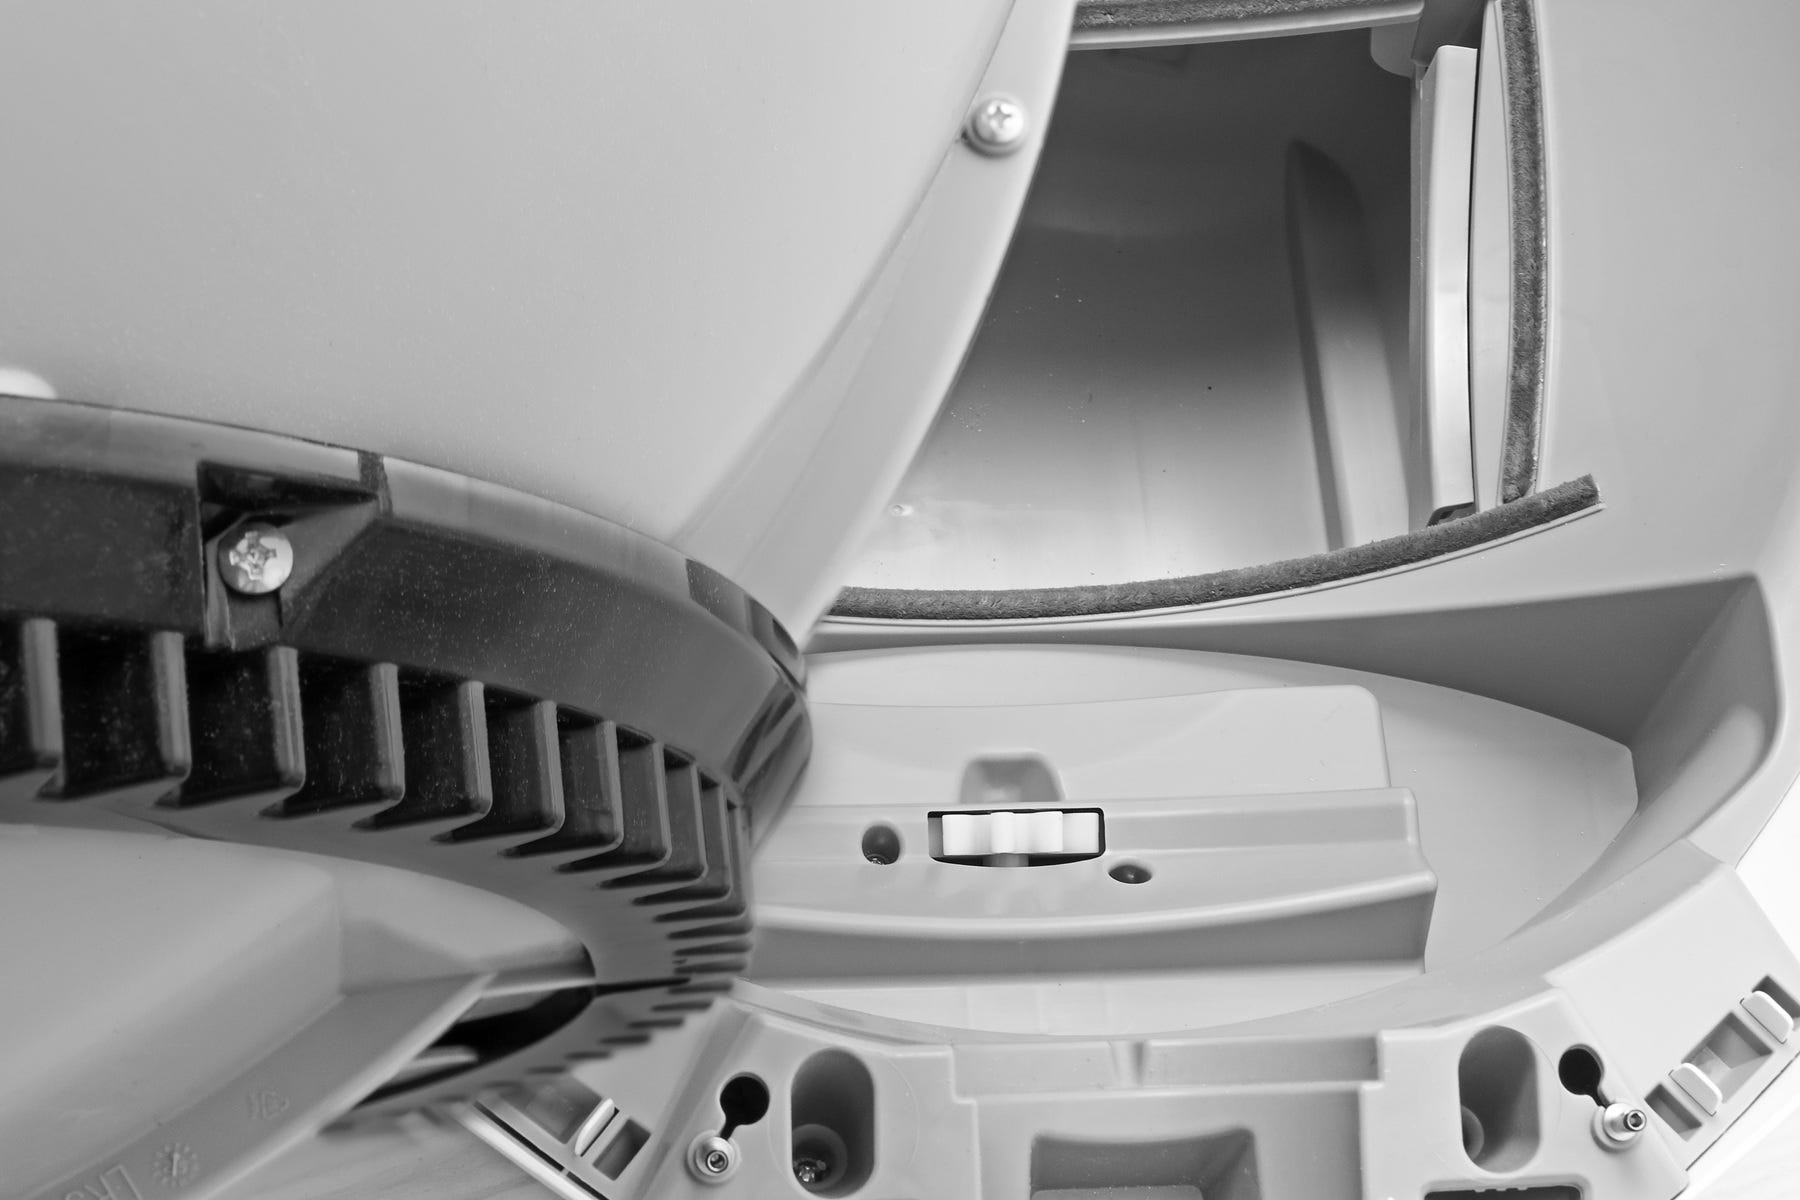
Inspect the globe
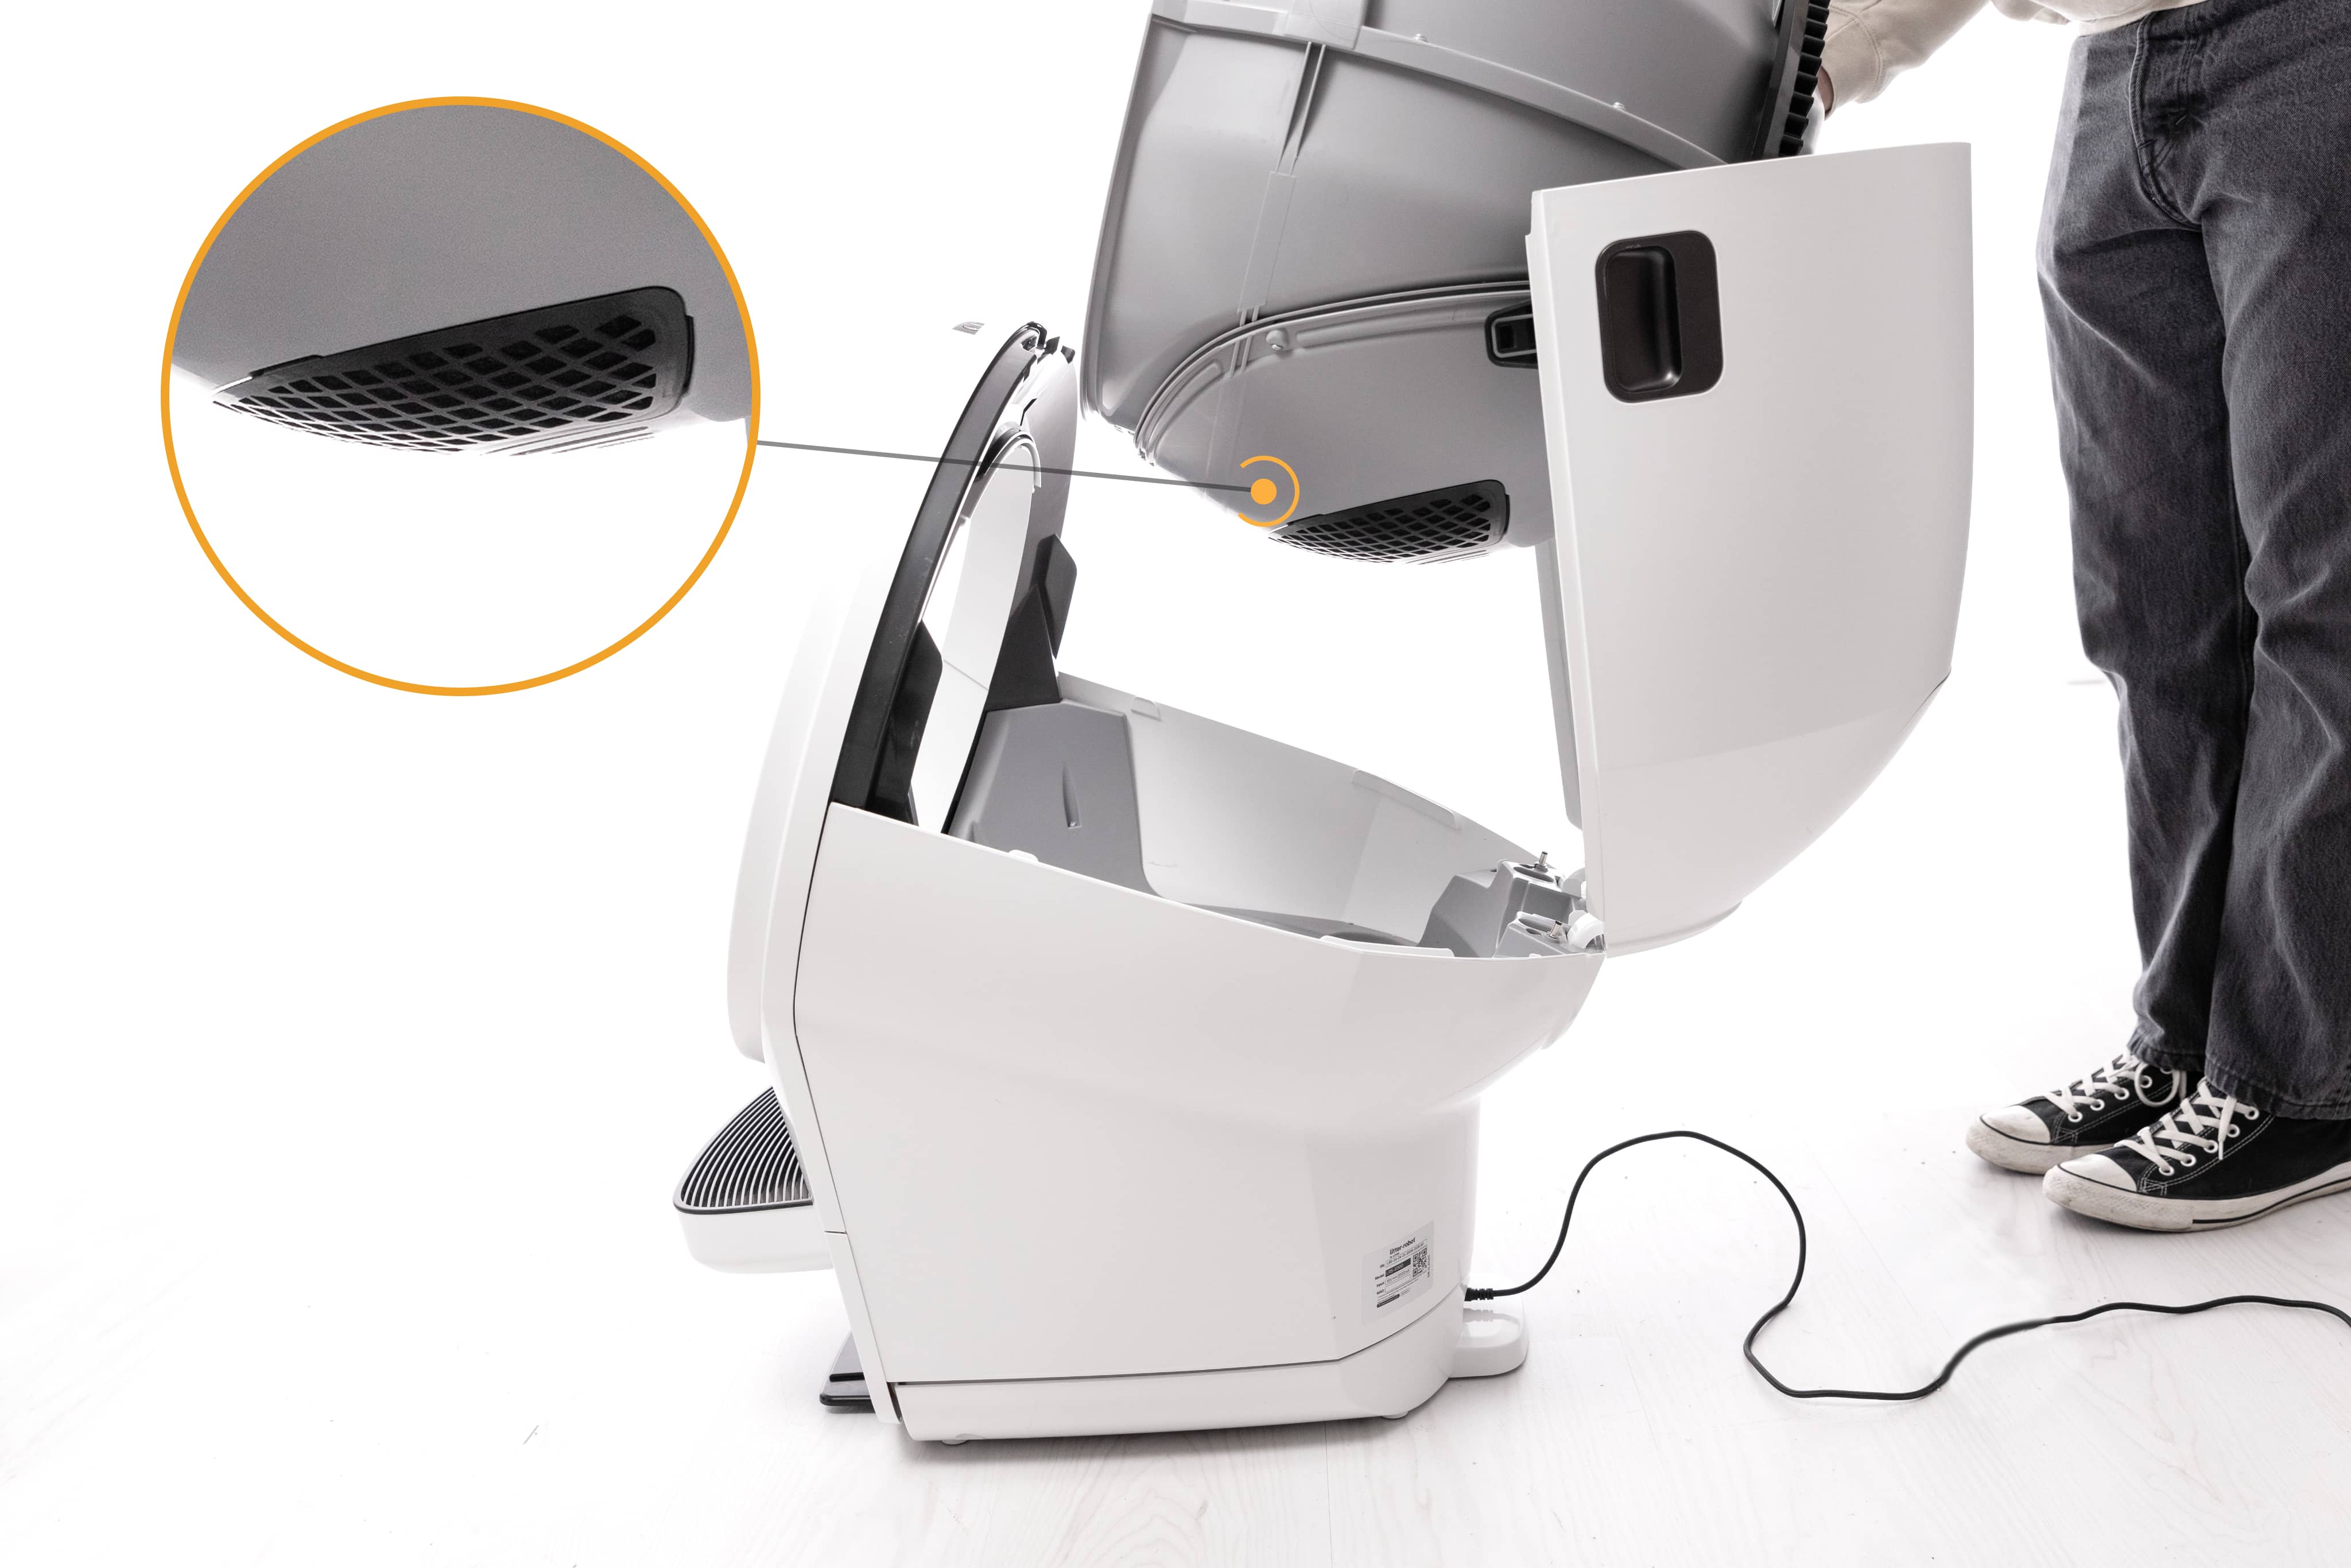
Power off the unit using the Power button, then unplug it.
Use the handles on both sides of the bonnet to lift and rotate it upwards to its open position.
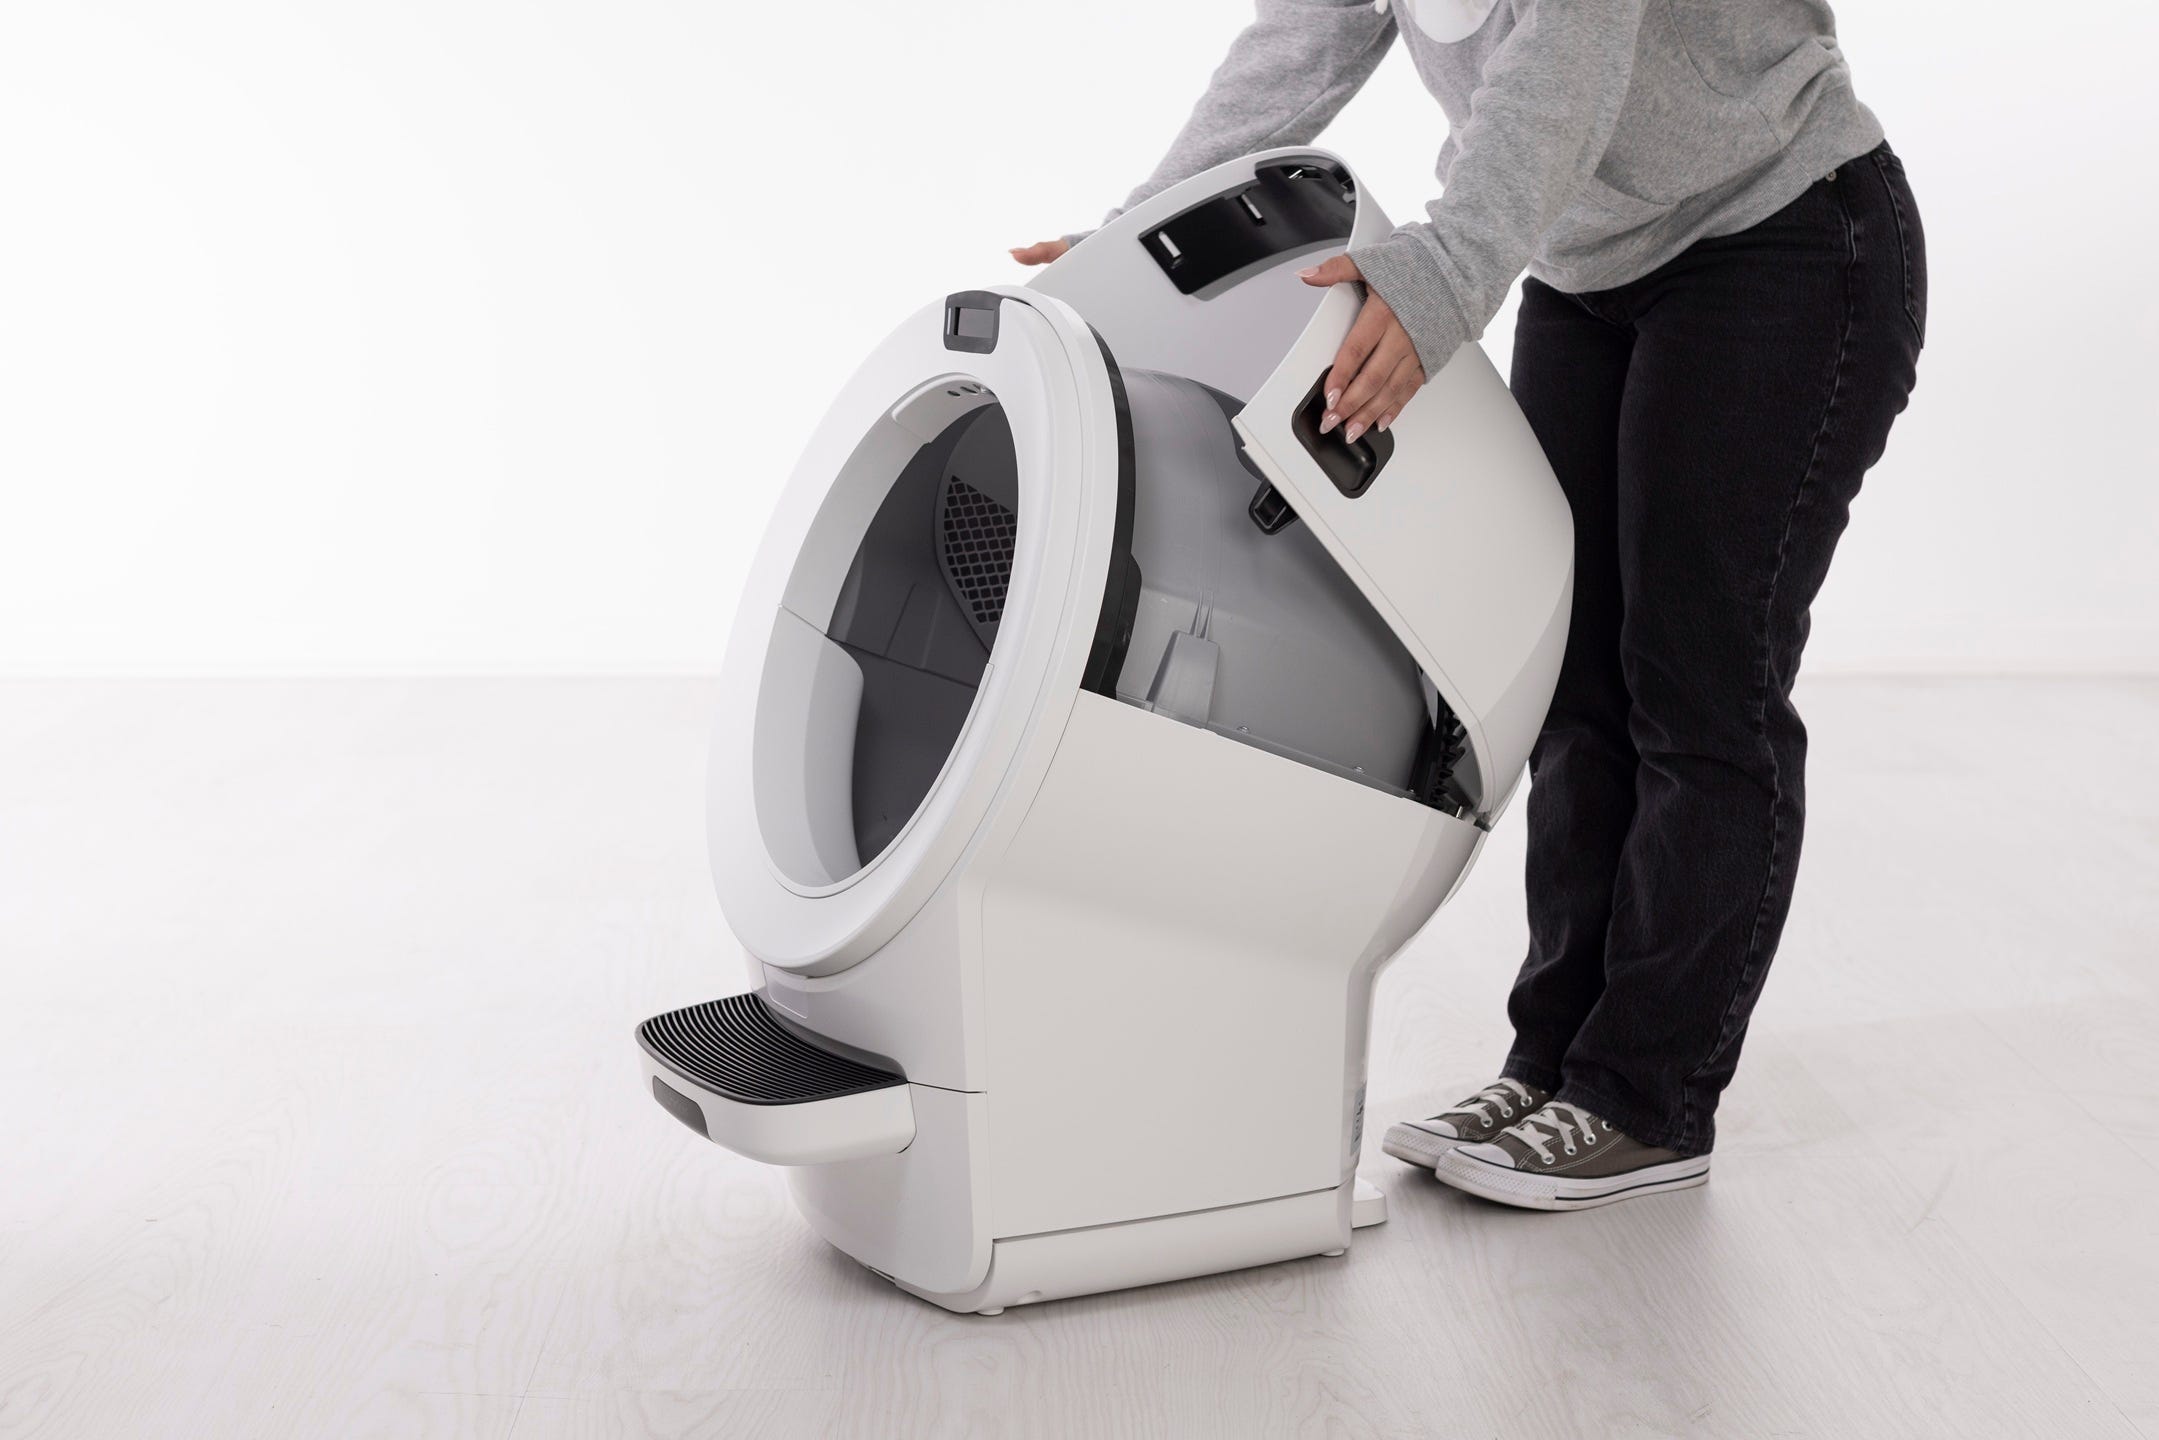
If you have a fence or other accessories installed, remove them from the bezel.
Lift the globe by the handle while holding the globe key in place to keep it from falling into the waste drawer. Set both aside.
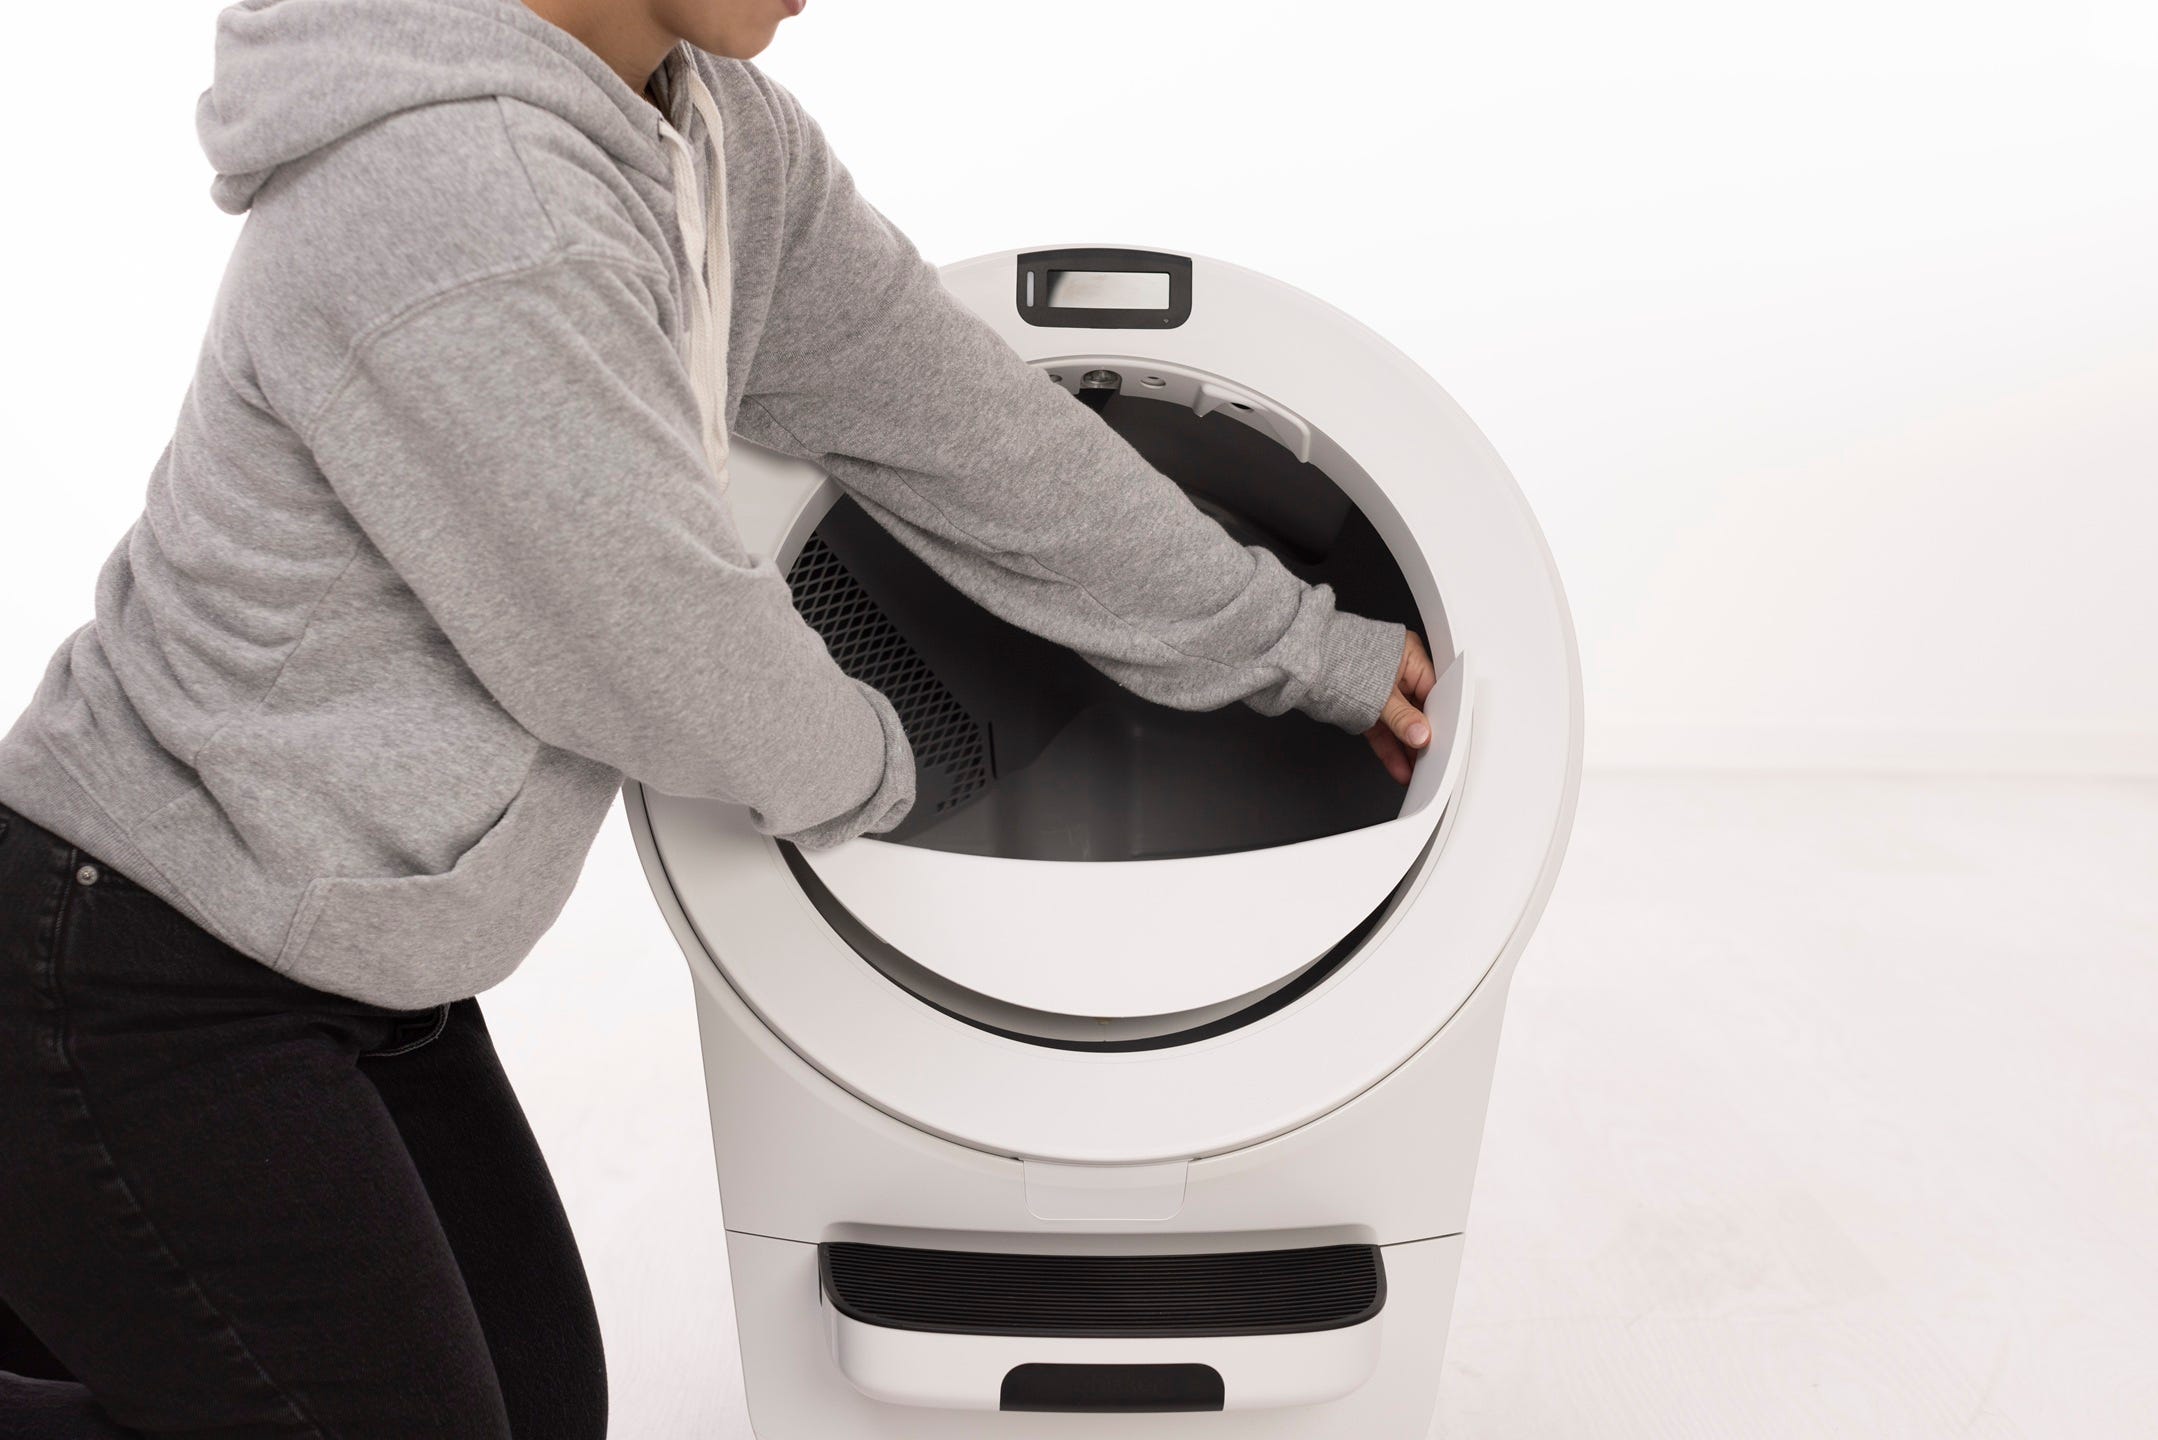
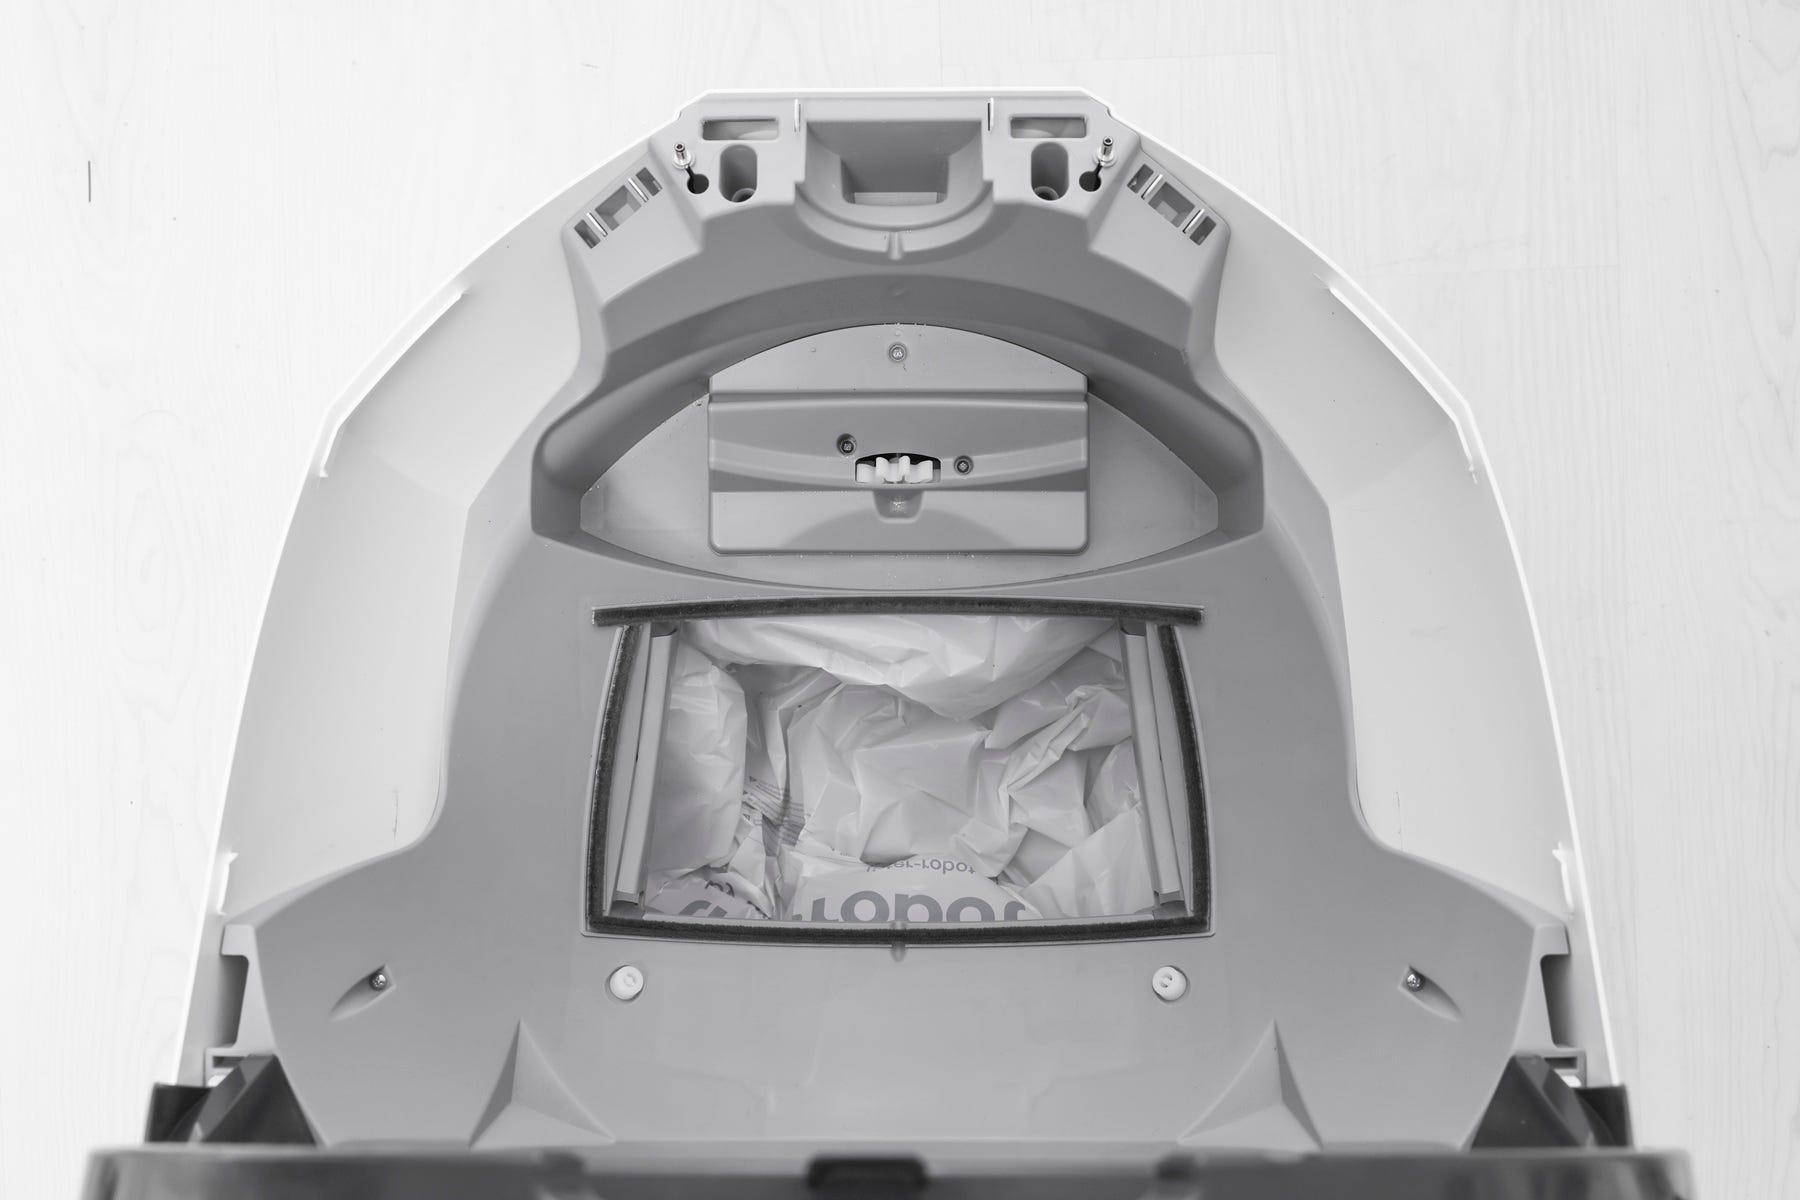
Inspect the globe for:
- Cracks, deep scratches, or loose seams.
- The carbon filter cover: Verify it’s fully seated underneath the globe and hasn’t popped out.
The globe magnets: If you have recently disassembled the globe, ensure the globe magnets are intact and properly seated; orientation is critical for correct operation.
Inspect the base
After removing the globe, check the base for anything that could slow rotation or block sensor detection.
Clear any litter or debris from the area where the globe rests.
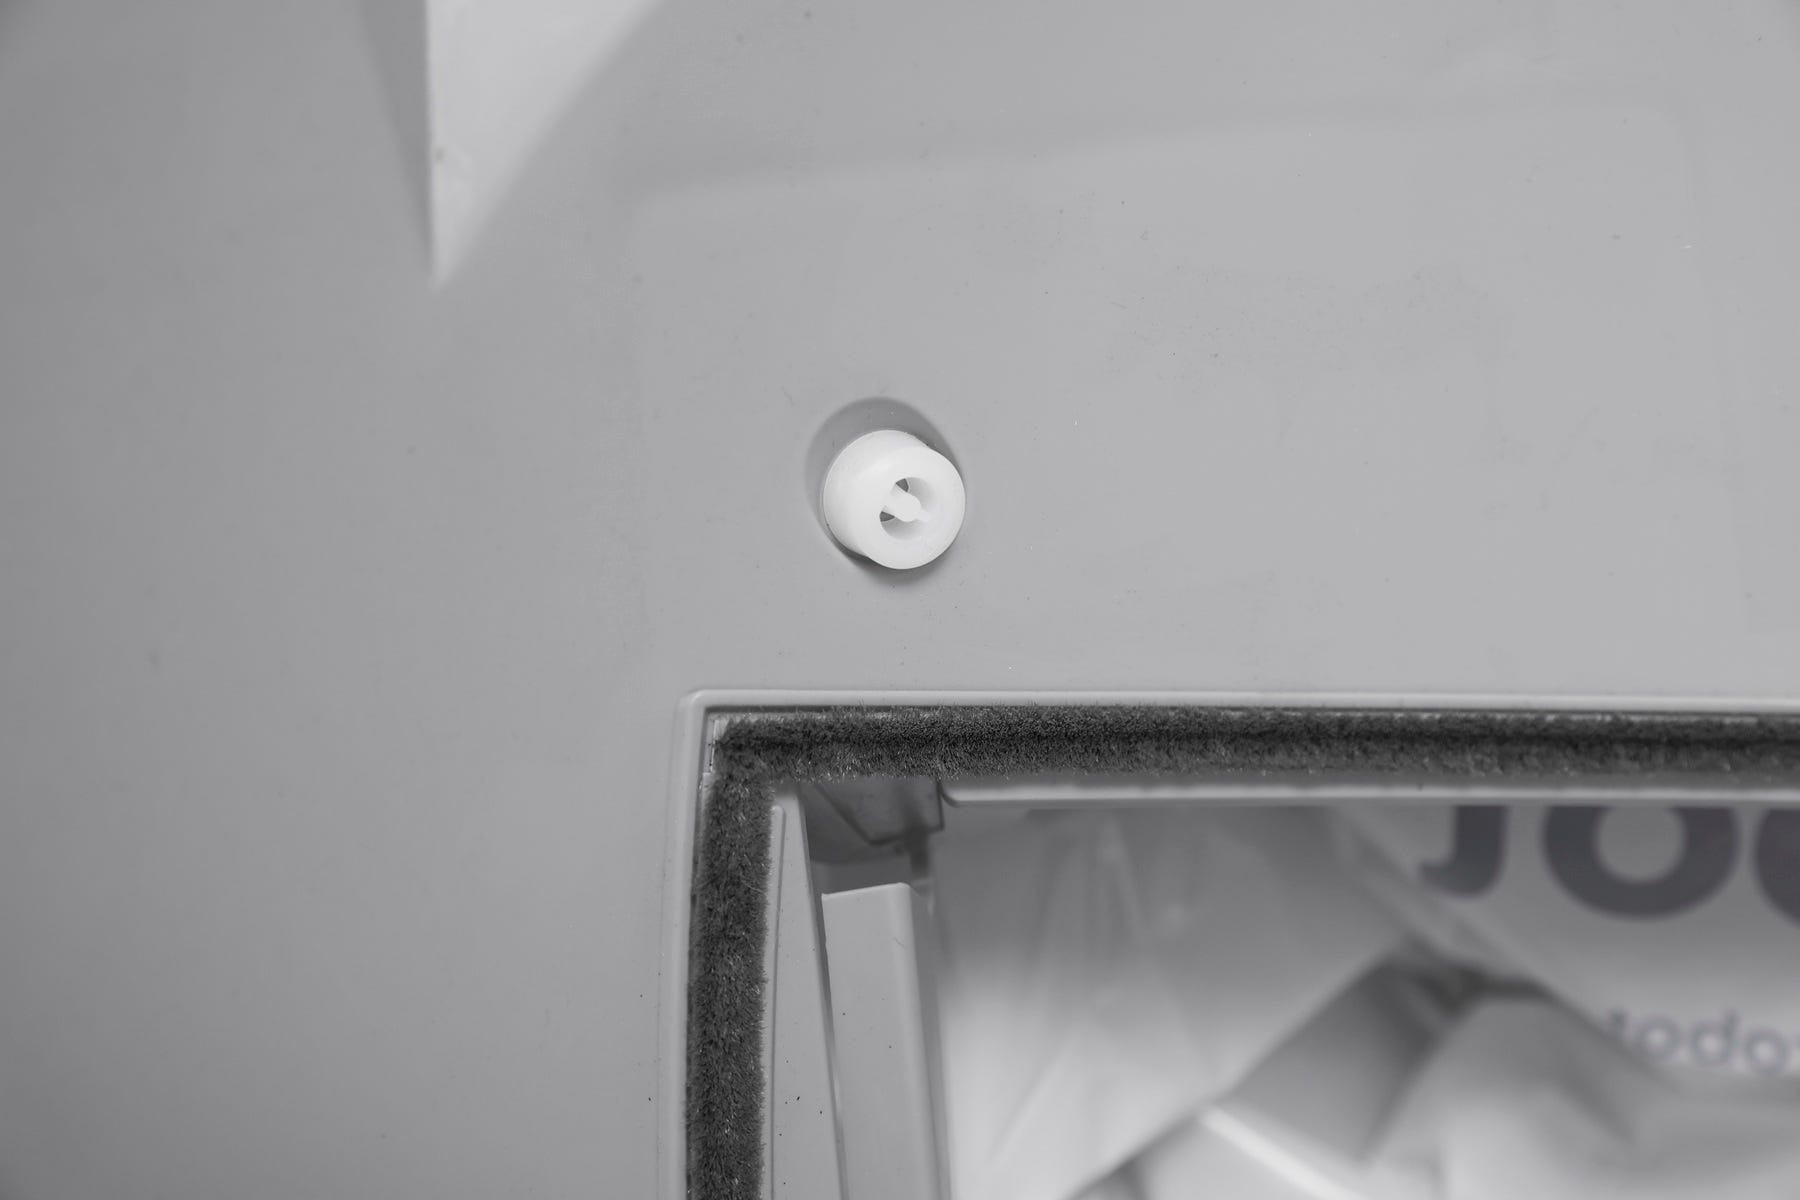
Ensure seal strips around the dump port are intact and not lifting.
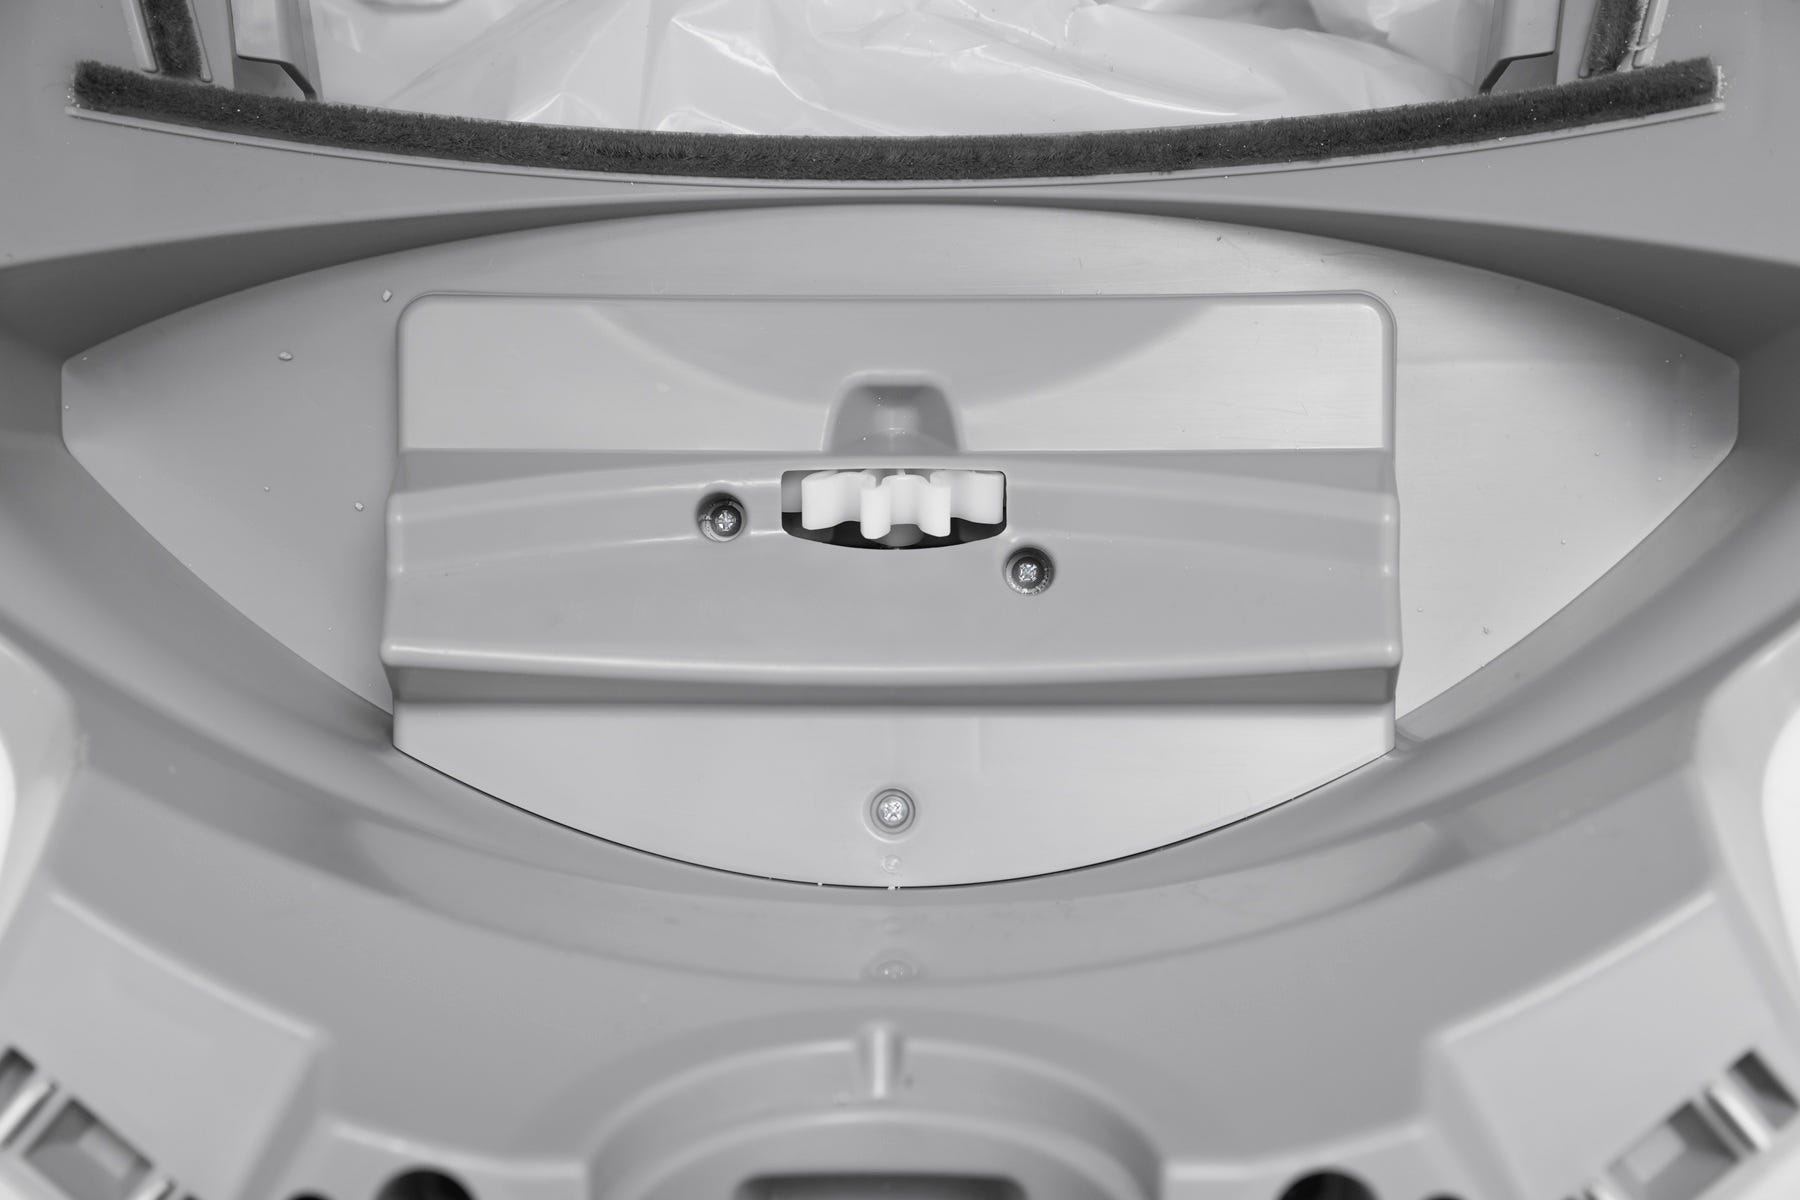
- Confirm both glider buttons on the base are attached.
Check that the drive gear on the motor is free of litter buildup.
Inspect the motor
If the globe and base appear clear, briefly check the motor area.
Ensure the motor cover is fully seated and secured with its screws.
Verify the drive gear on the motor is tight on the shaft and does not spin freely.
Confirm there is no litter or debris caught around the gear teeth.
If the gear or motor cover appear loose or damaged, the motor assembly may need replacement.
Reinstall the globe and bonnet
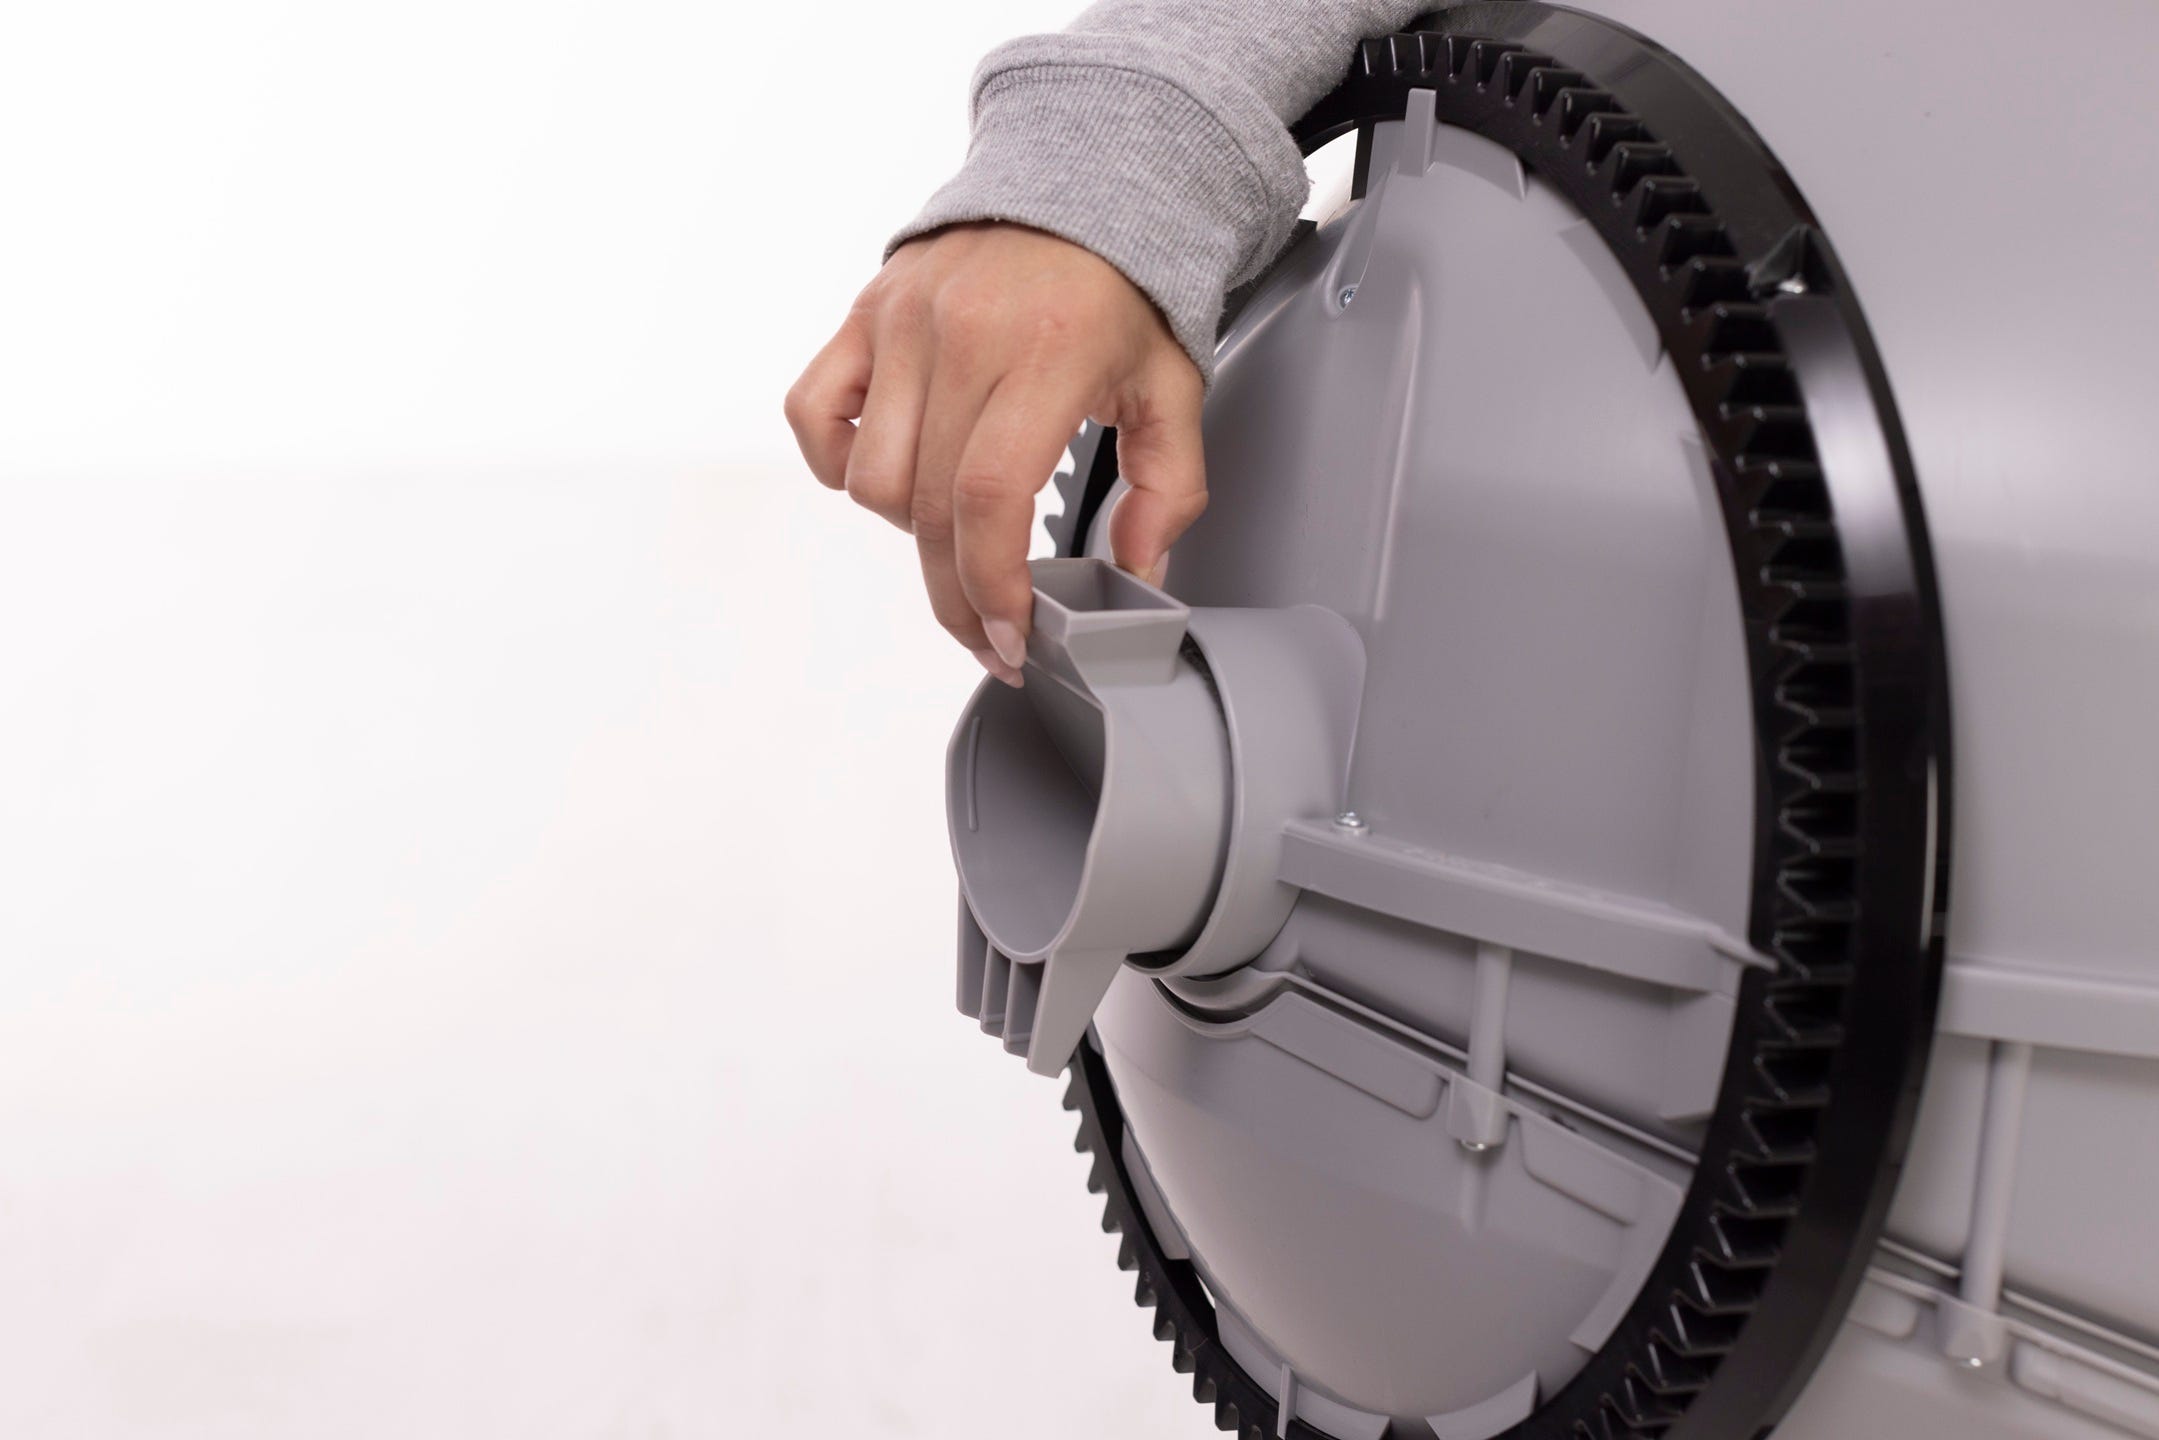
- Ensure the globe key is installed in the back of the globe with the rectangular opening facing up. Hold the key in place, lift the globe, and set it back into the base so the key drops fully into the pocket.

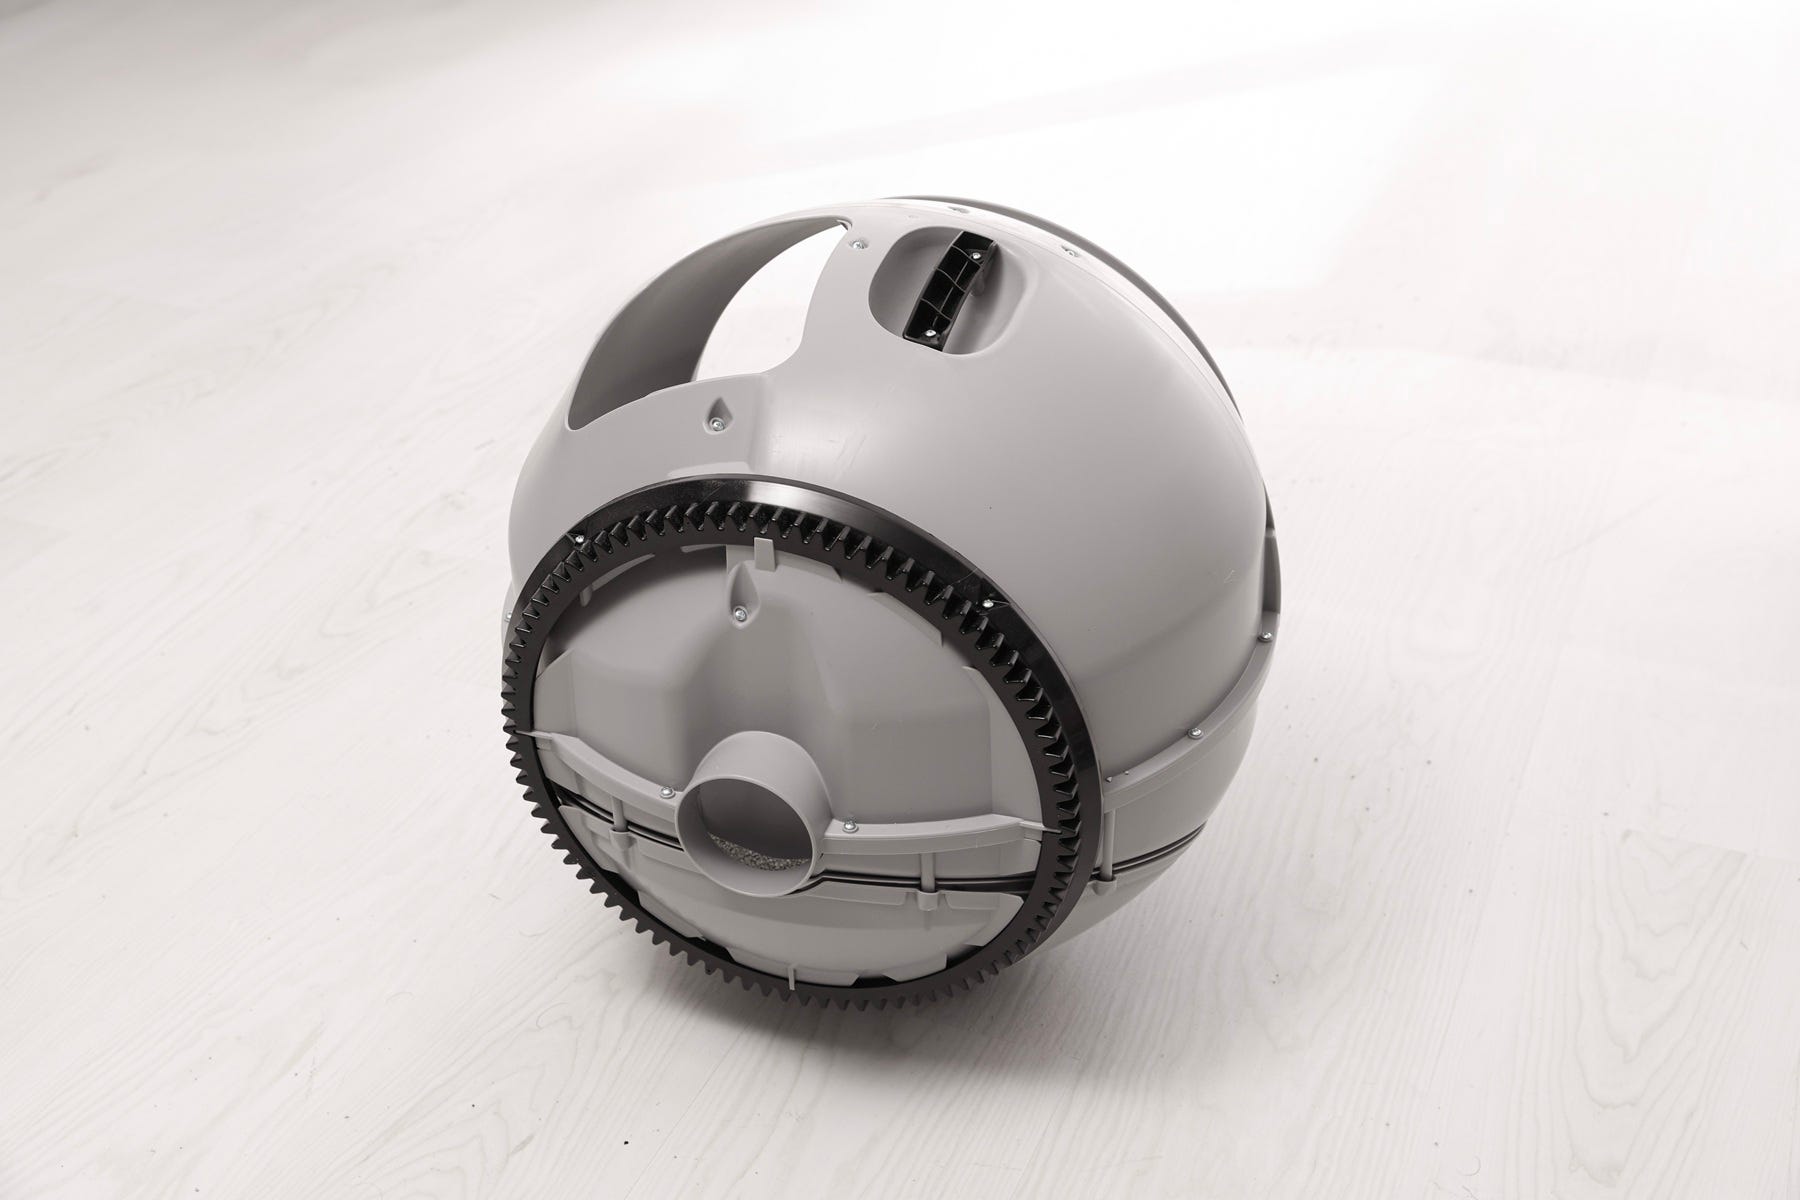
- Keep the globe handle and waste port oriented toward the top (Home position). The large black gear at the rear should easily engage with the smaller drive gear in the base.
- Rotate the bonnet downward over the globe until it automatically latches into place. Press on top to confirm it’s secure.
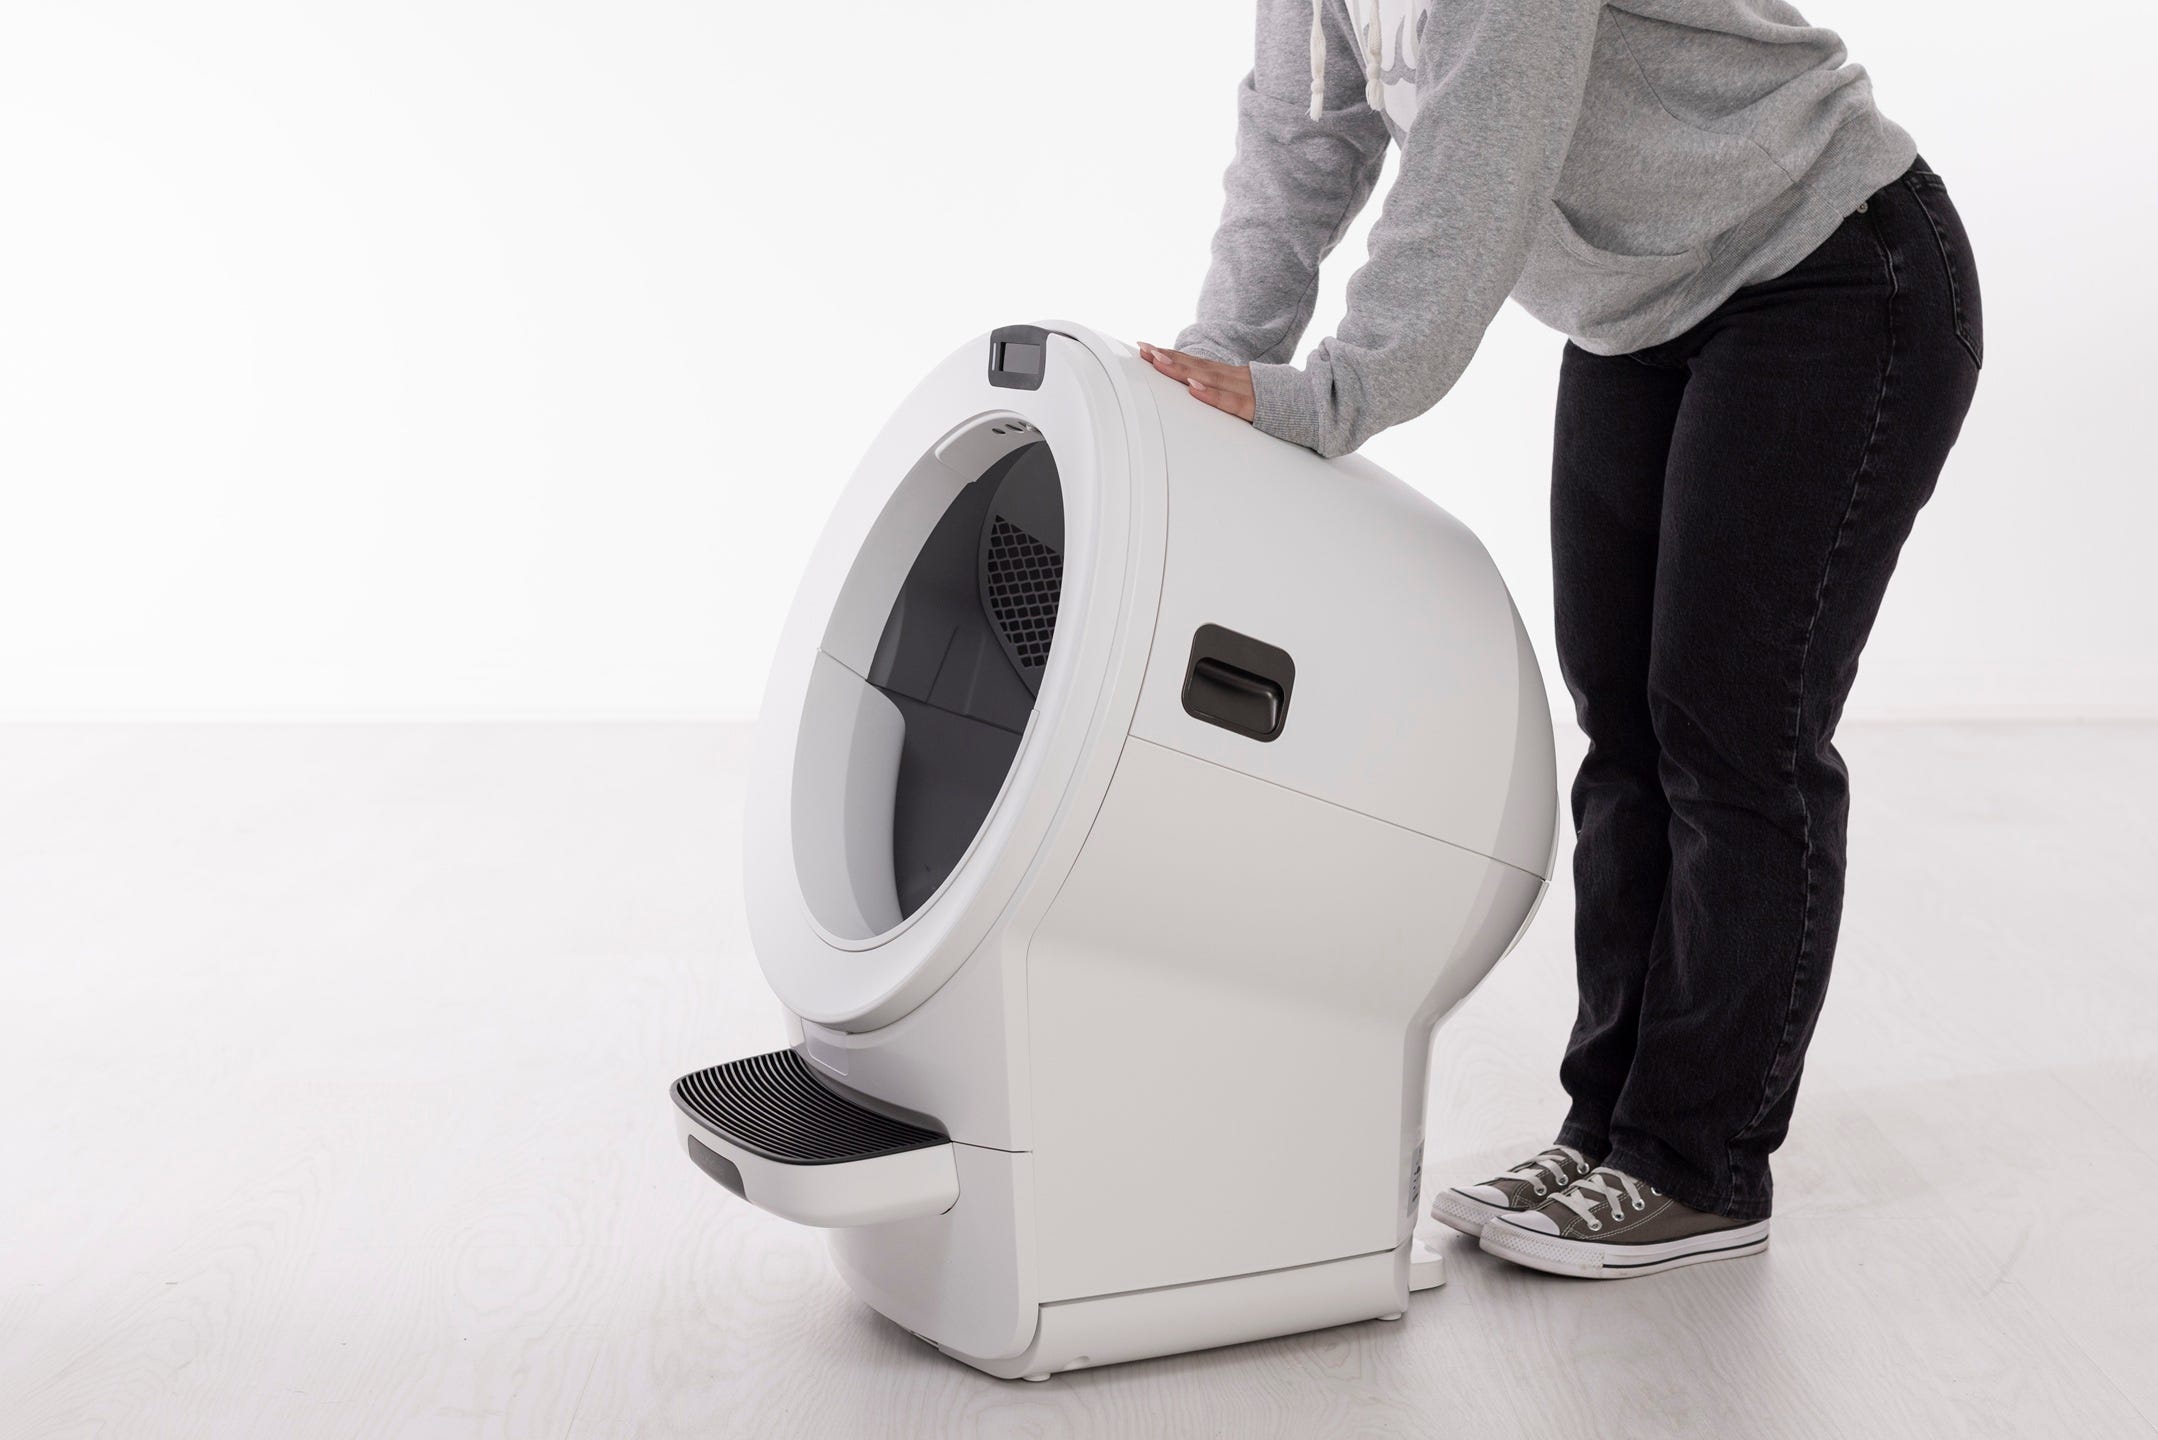
- Plug the unit in and press the Power button to turn it on.
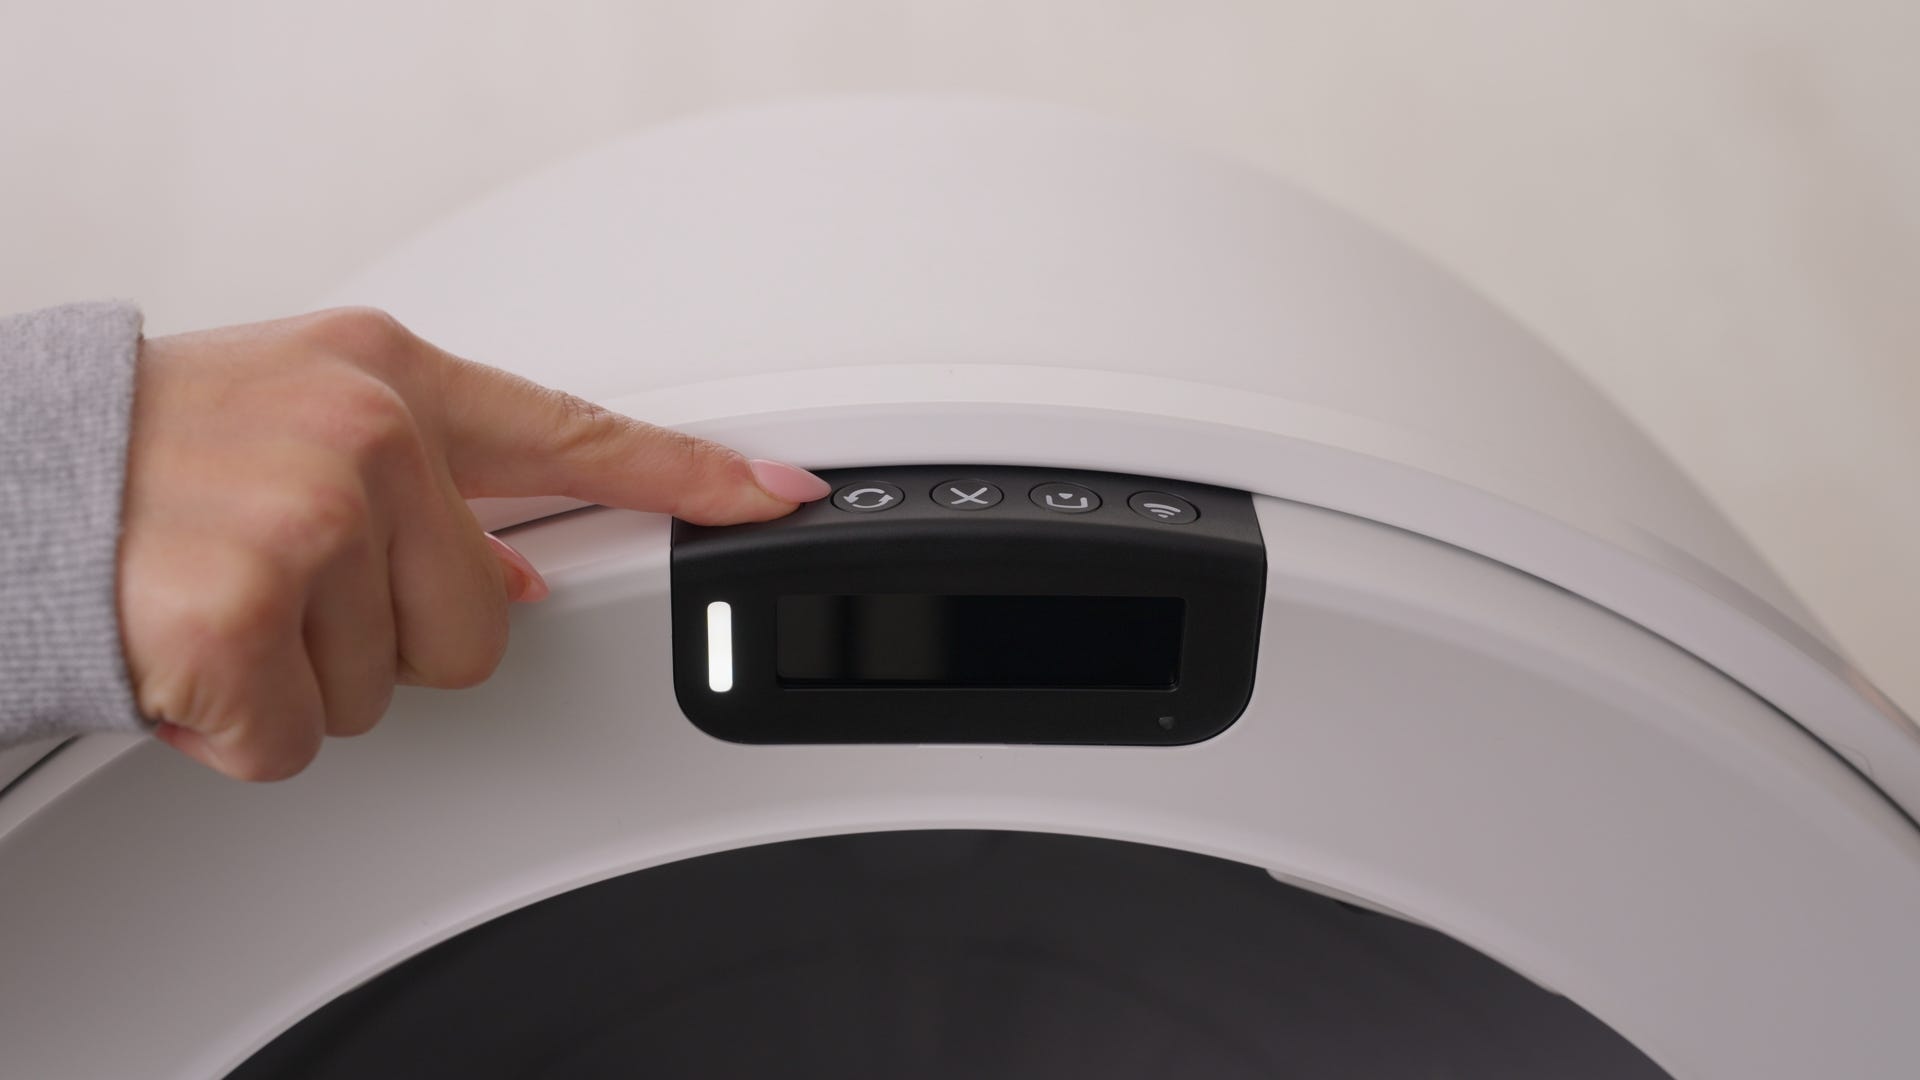
- Short press the Cancel button to zero the SmartScale.
Short press the Cycle button to run a test cycle.
Successful: The unit completes a full cycle and shows a solid white light.
Unsuccessful: If you continue to see a Position Fault notification, there may be an issue with the globe, motor, or base.
Need more help?
If you are still experiencing a Position Fault notification, please contact Whisker Customer Experience for further assistance.
Didn't find what you're looking for?
Live support available Mon-Fri: 9AM-9PM EST and Sat-Sun: 9AM-5PM EST, or submit a ticket anytime.