The store will not work correctly in the case when cookies are disabled.

Litter-Robot: Backup battery installation guide
The Litter-Robot Backup Battery ensures you don't have to scoop in the event of a power outage. It provides 24-48 hours of use when power is interrupted.
WiFi and night light functionality will be disabled during backup battery mode to conserve energy. Light bar display intensity will be reduced by 50%.
Jump to Litter-Robot 3 instructions
Before you start
Tools Needed
- Philips-head screwdriver
Litter-Robot 4, Litter-Robot 5, and Litter-Robot EVO
Installing the backup battery
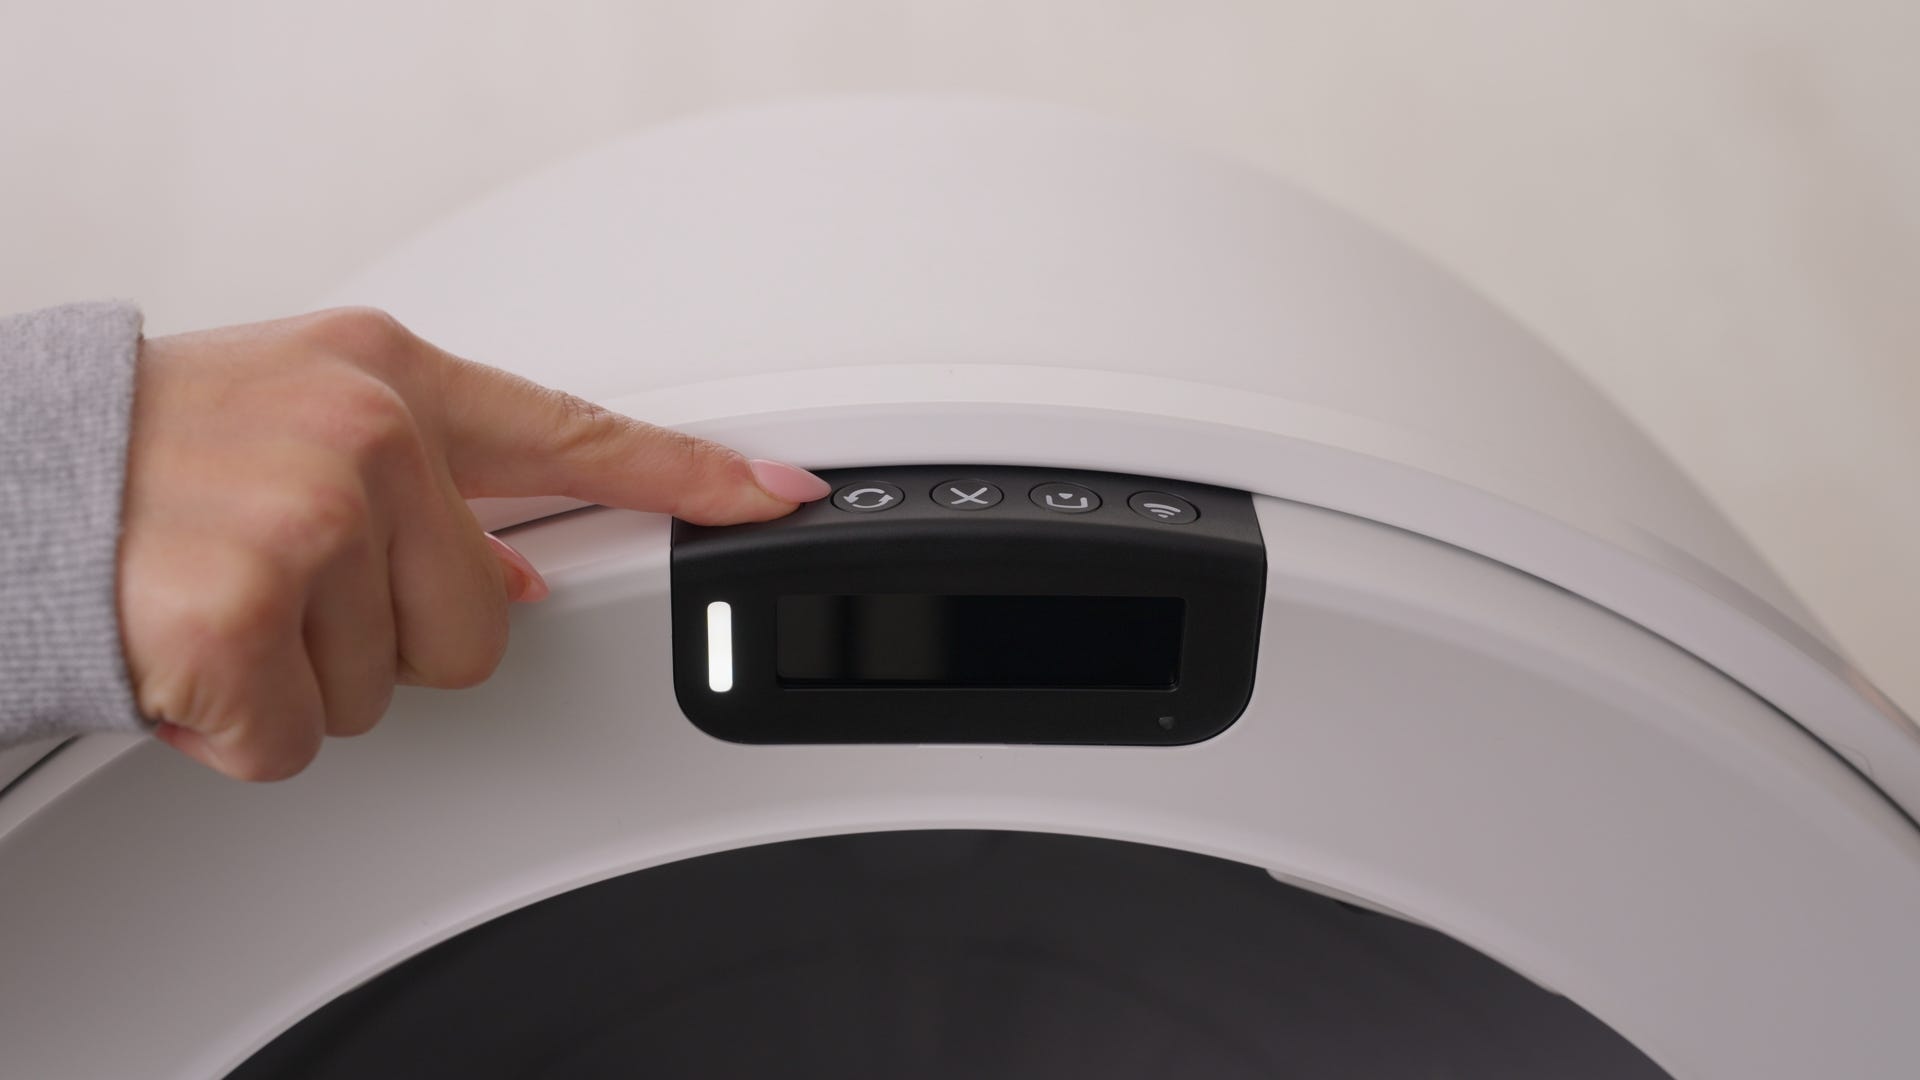
1. Press the Power button to turn the unit off, then unplug the unit.
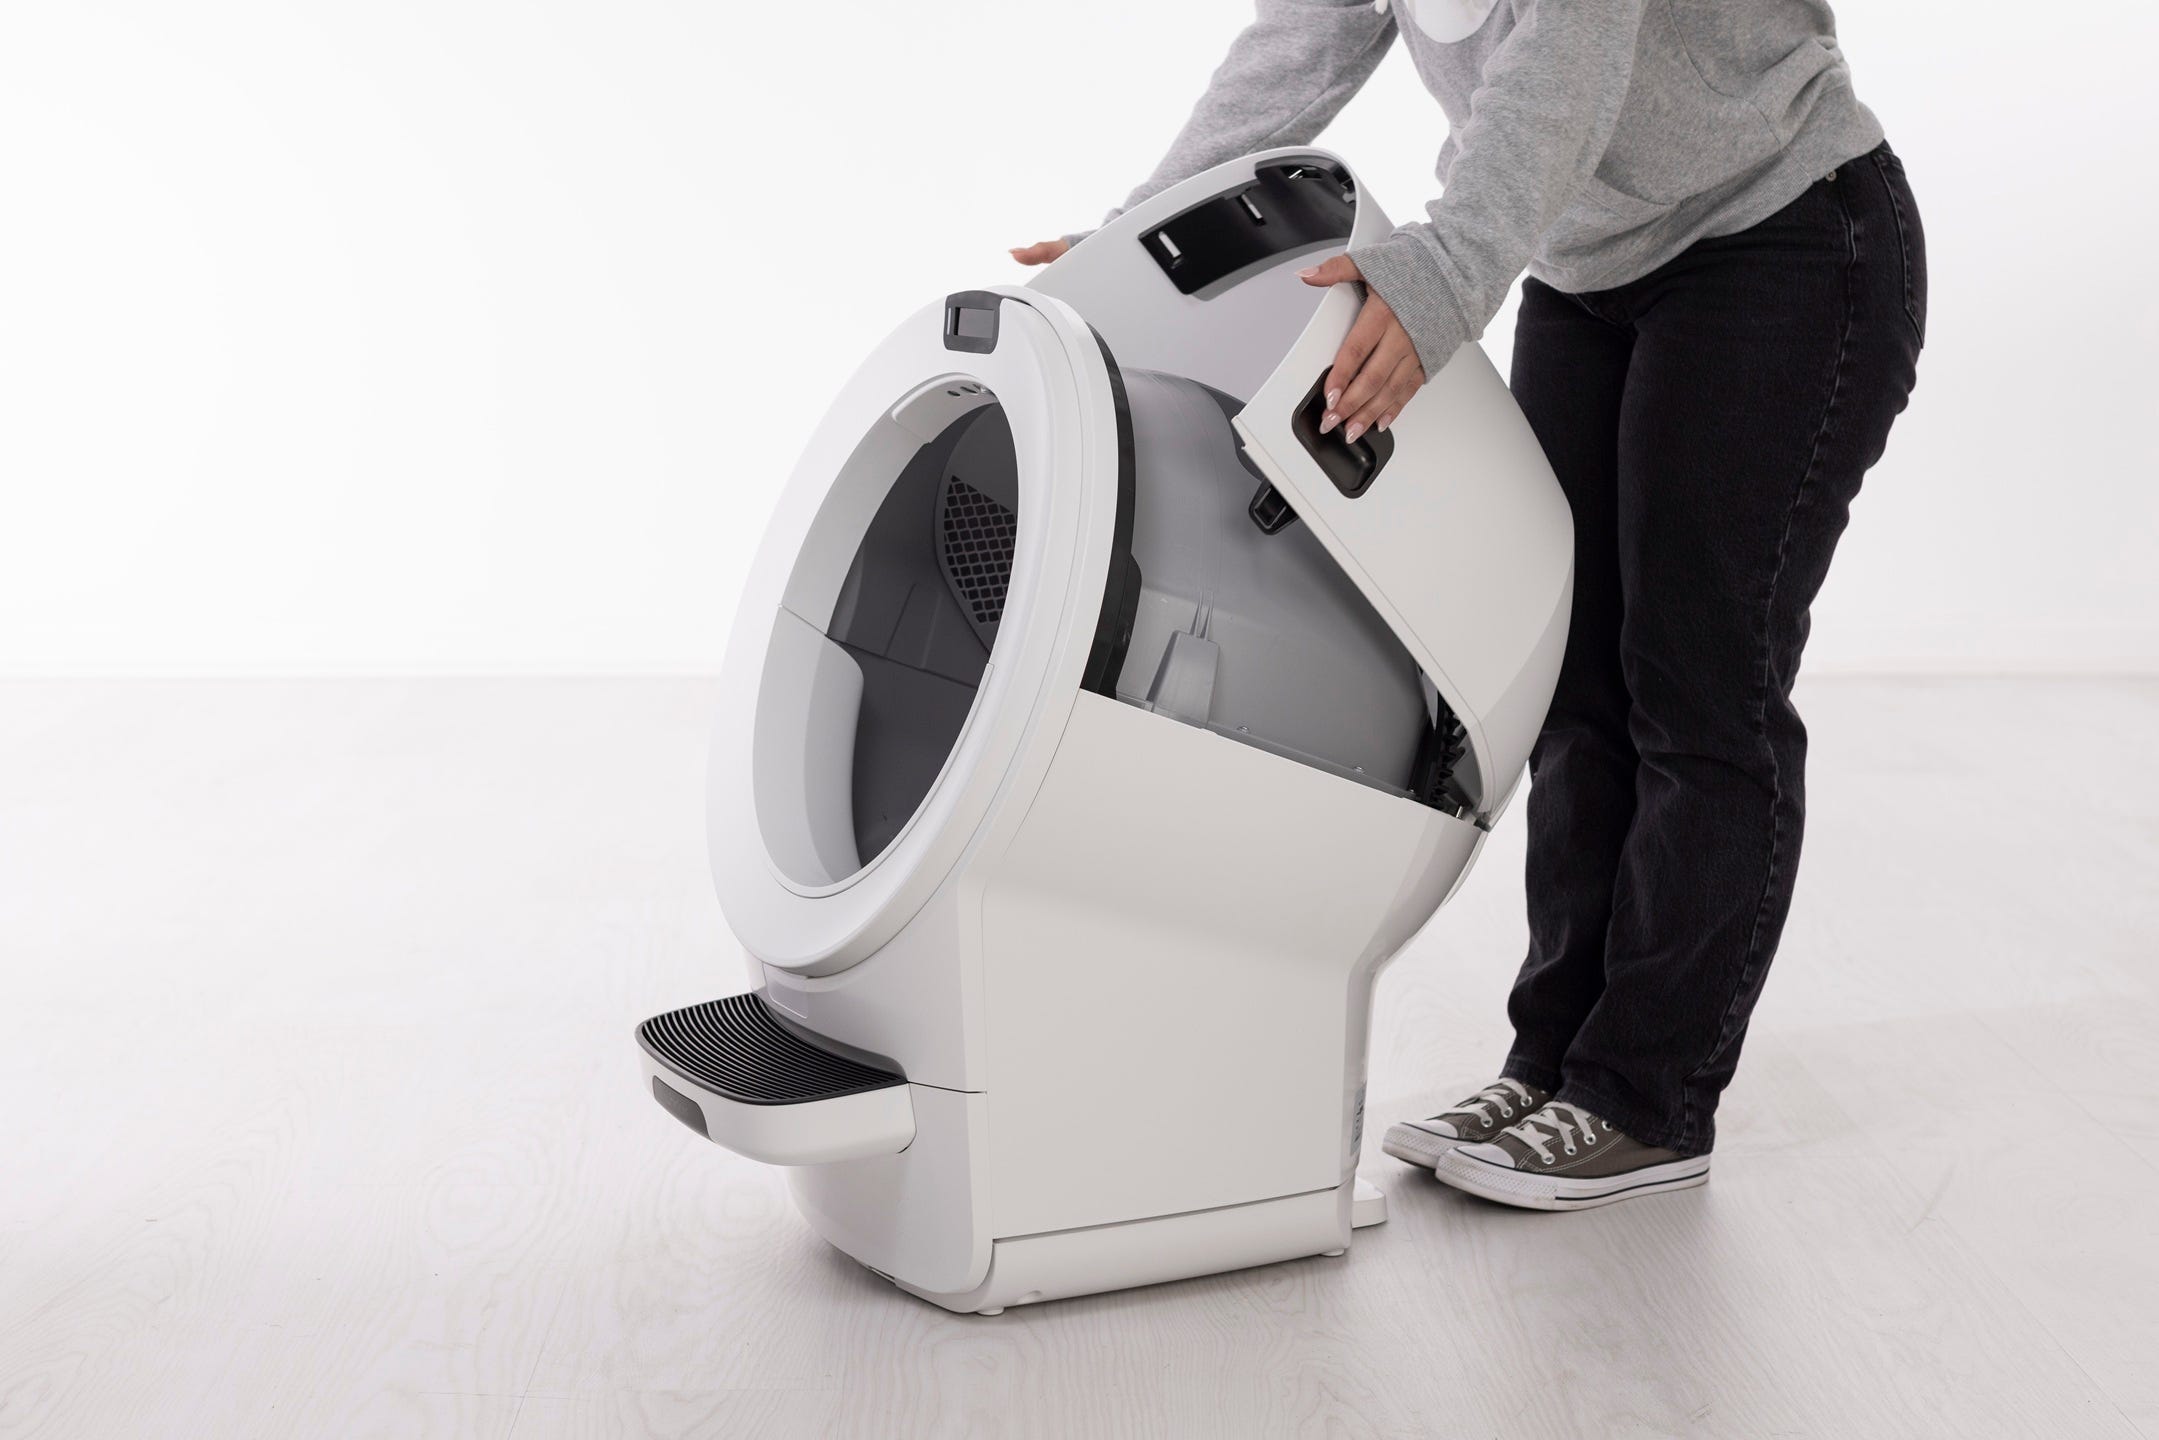
2. Open the bonnet: Press and hold the latches on both sides of the bonnet.
- Litter-Robot 4 and Litter-Robot 5: Lift and rotate the bonnet to its open position.
- Litter-Robot EVO: Remove the bonnet completely and set aside.
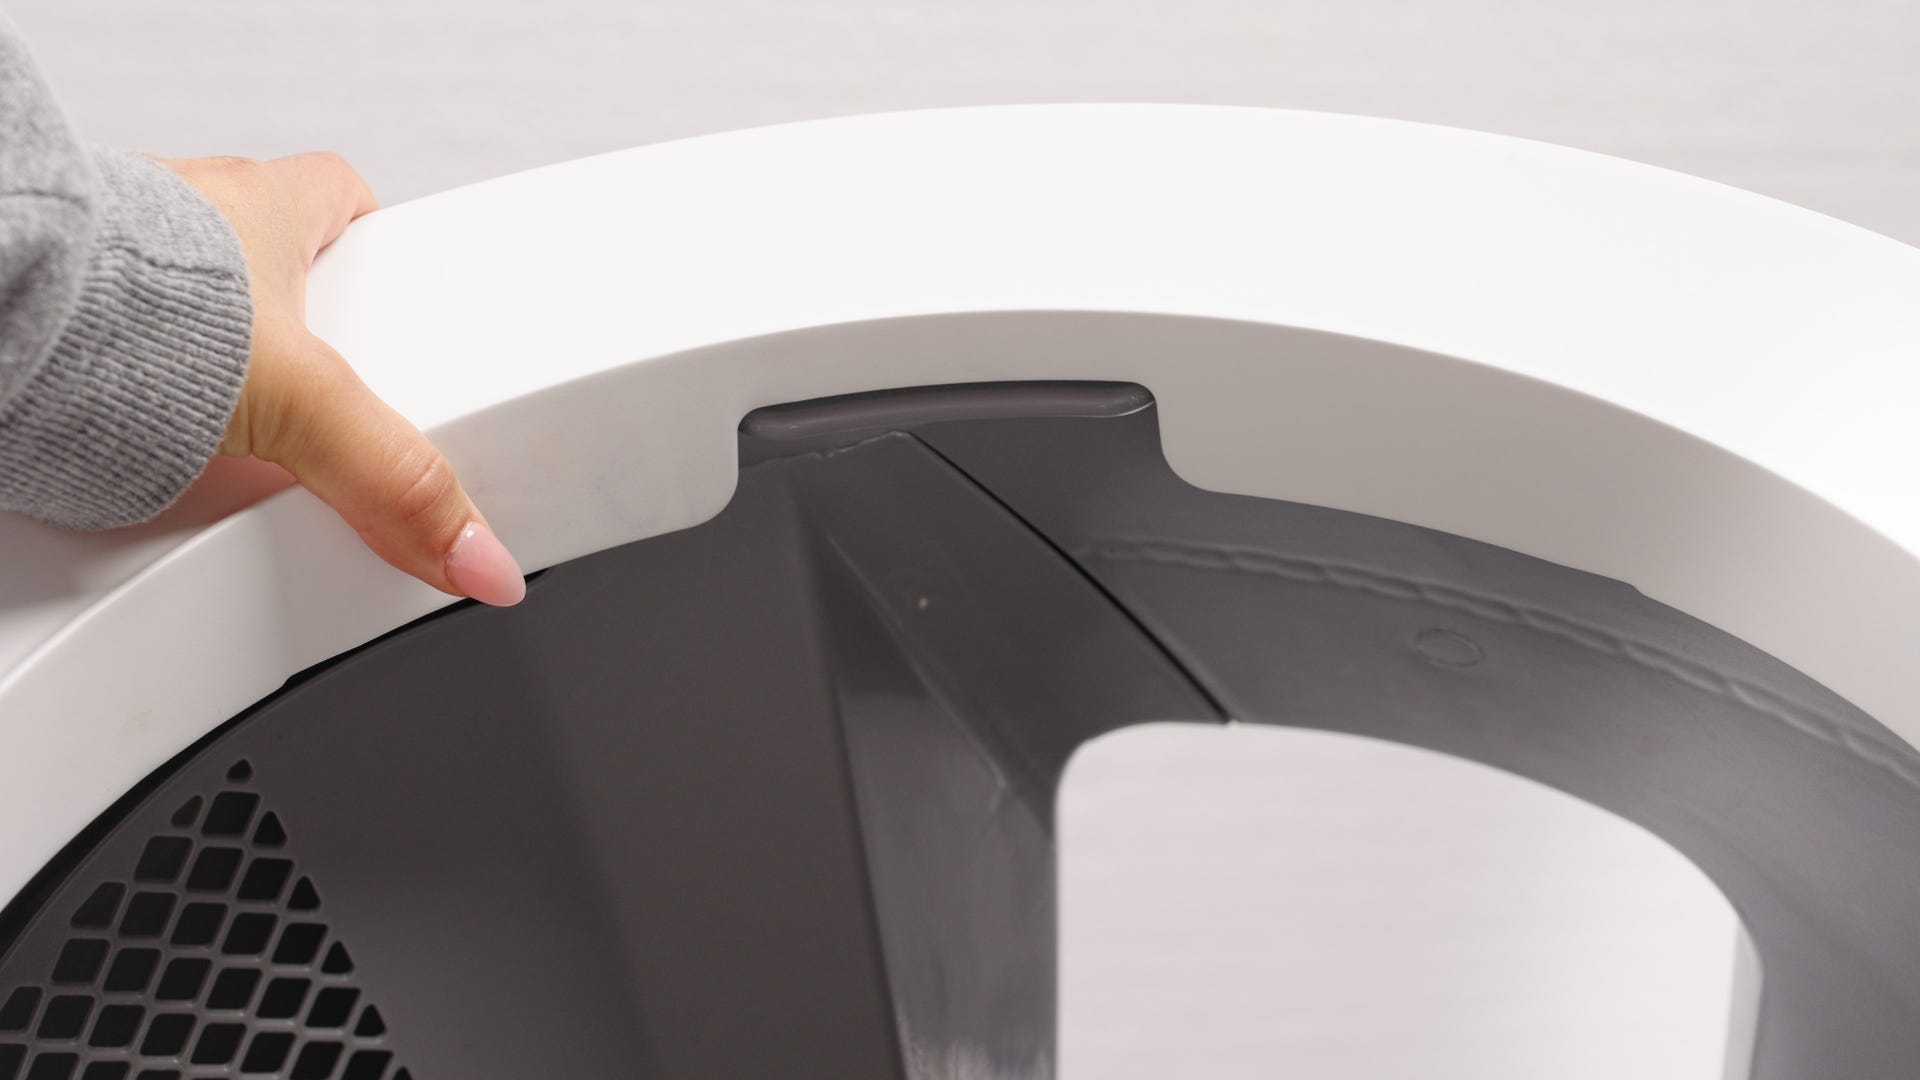
3. Remove the globe:
- Litter-Robot 4 and Litter-Robot 5: Using the handle on top of the globe, lift it off the base.
- Litter-Robot EVO: Lift the globe off the base by holding the rib located at the top of the globe entrance.
4. In the base, locate and remove the screws holding the motor cover in place with the use of a Phillips-head screwdriver.
- Litter-Robot 4 has four screws.
- Litter-Robot EVO and Litter-Robot 5 both have three screws.

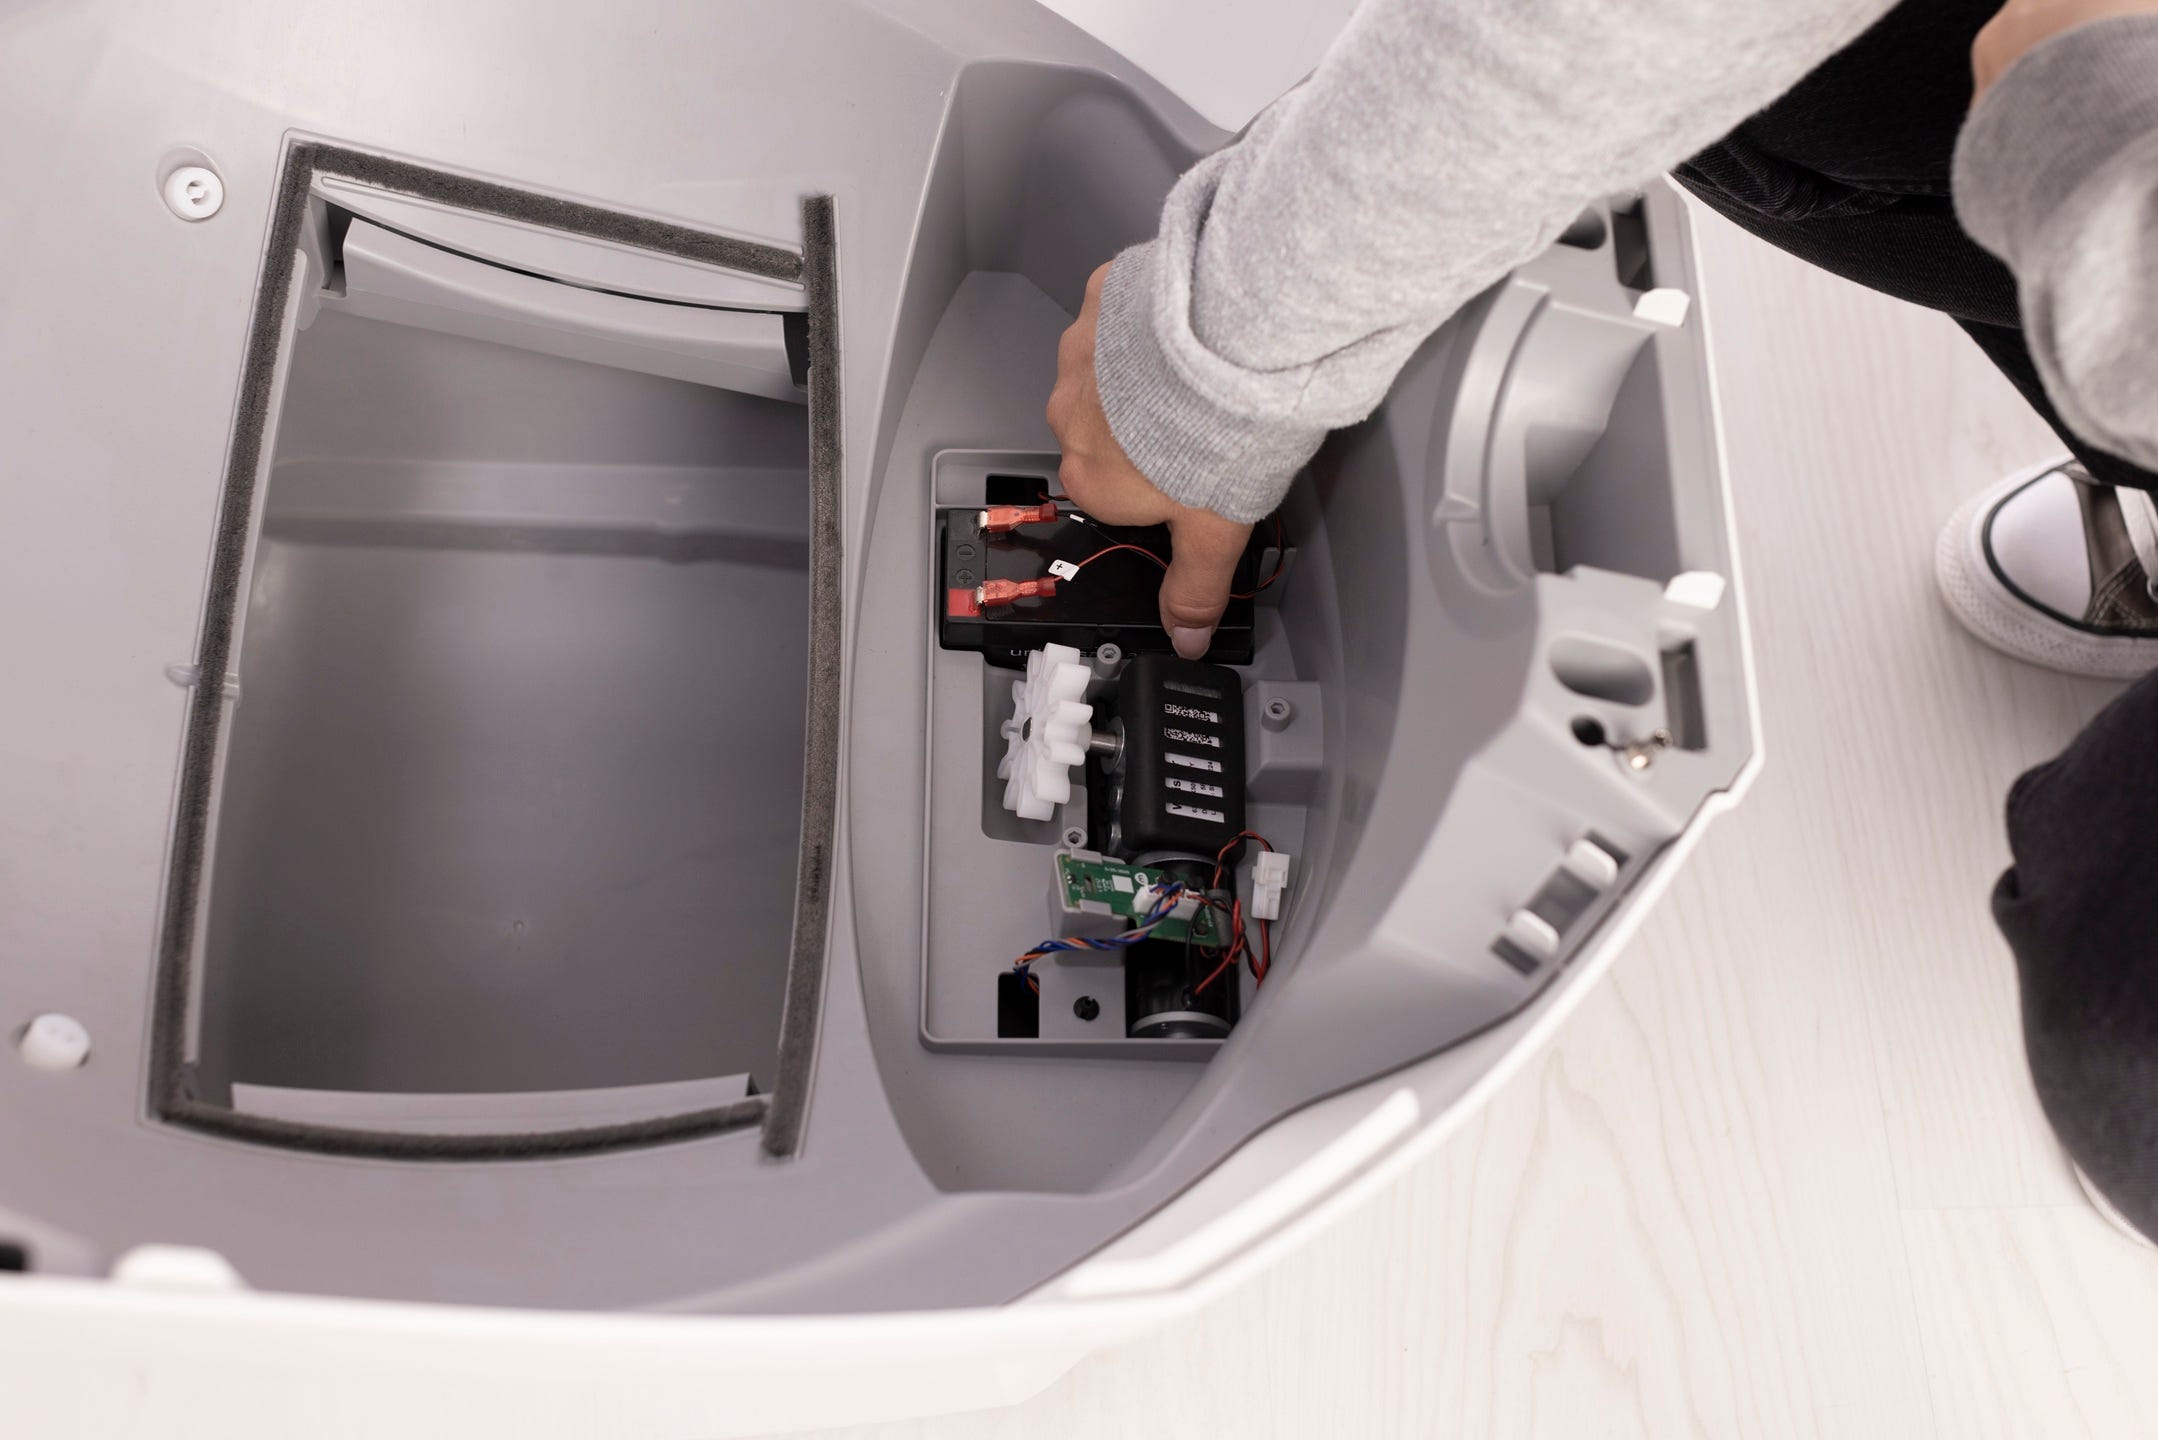
5. Connect the battery, making sure to connect the leads and terminals correctly: RED lead to the RED terminal and BLACK lead to the BLACK terminal.
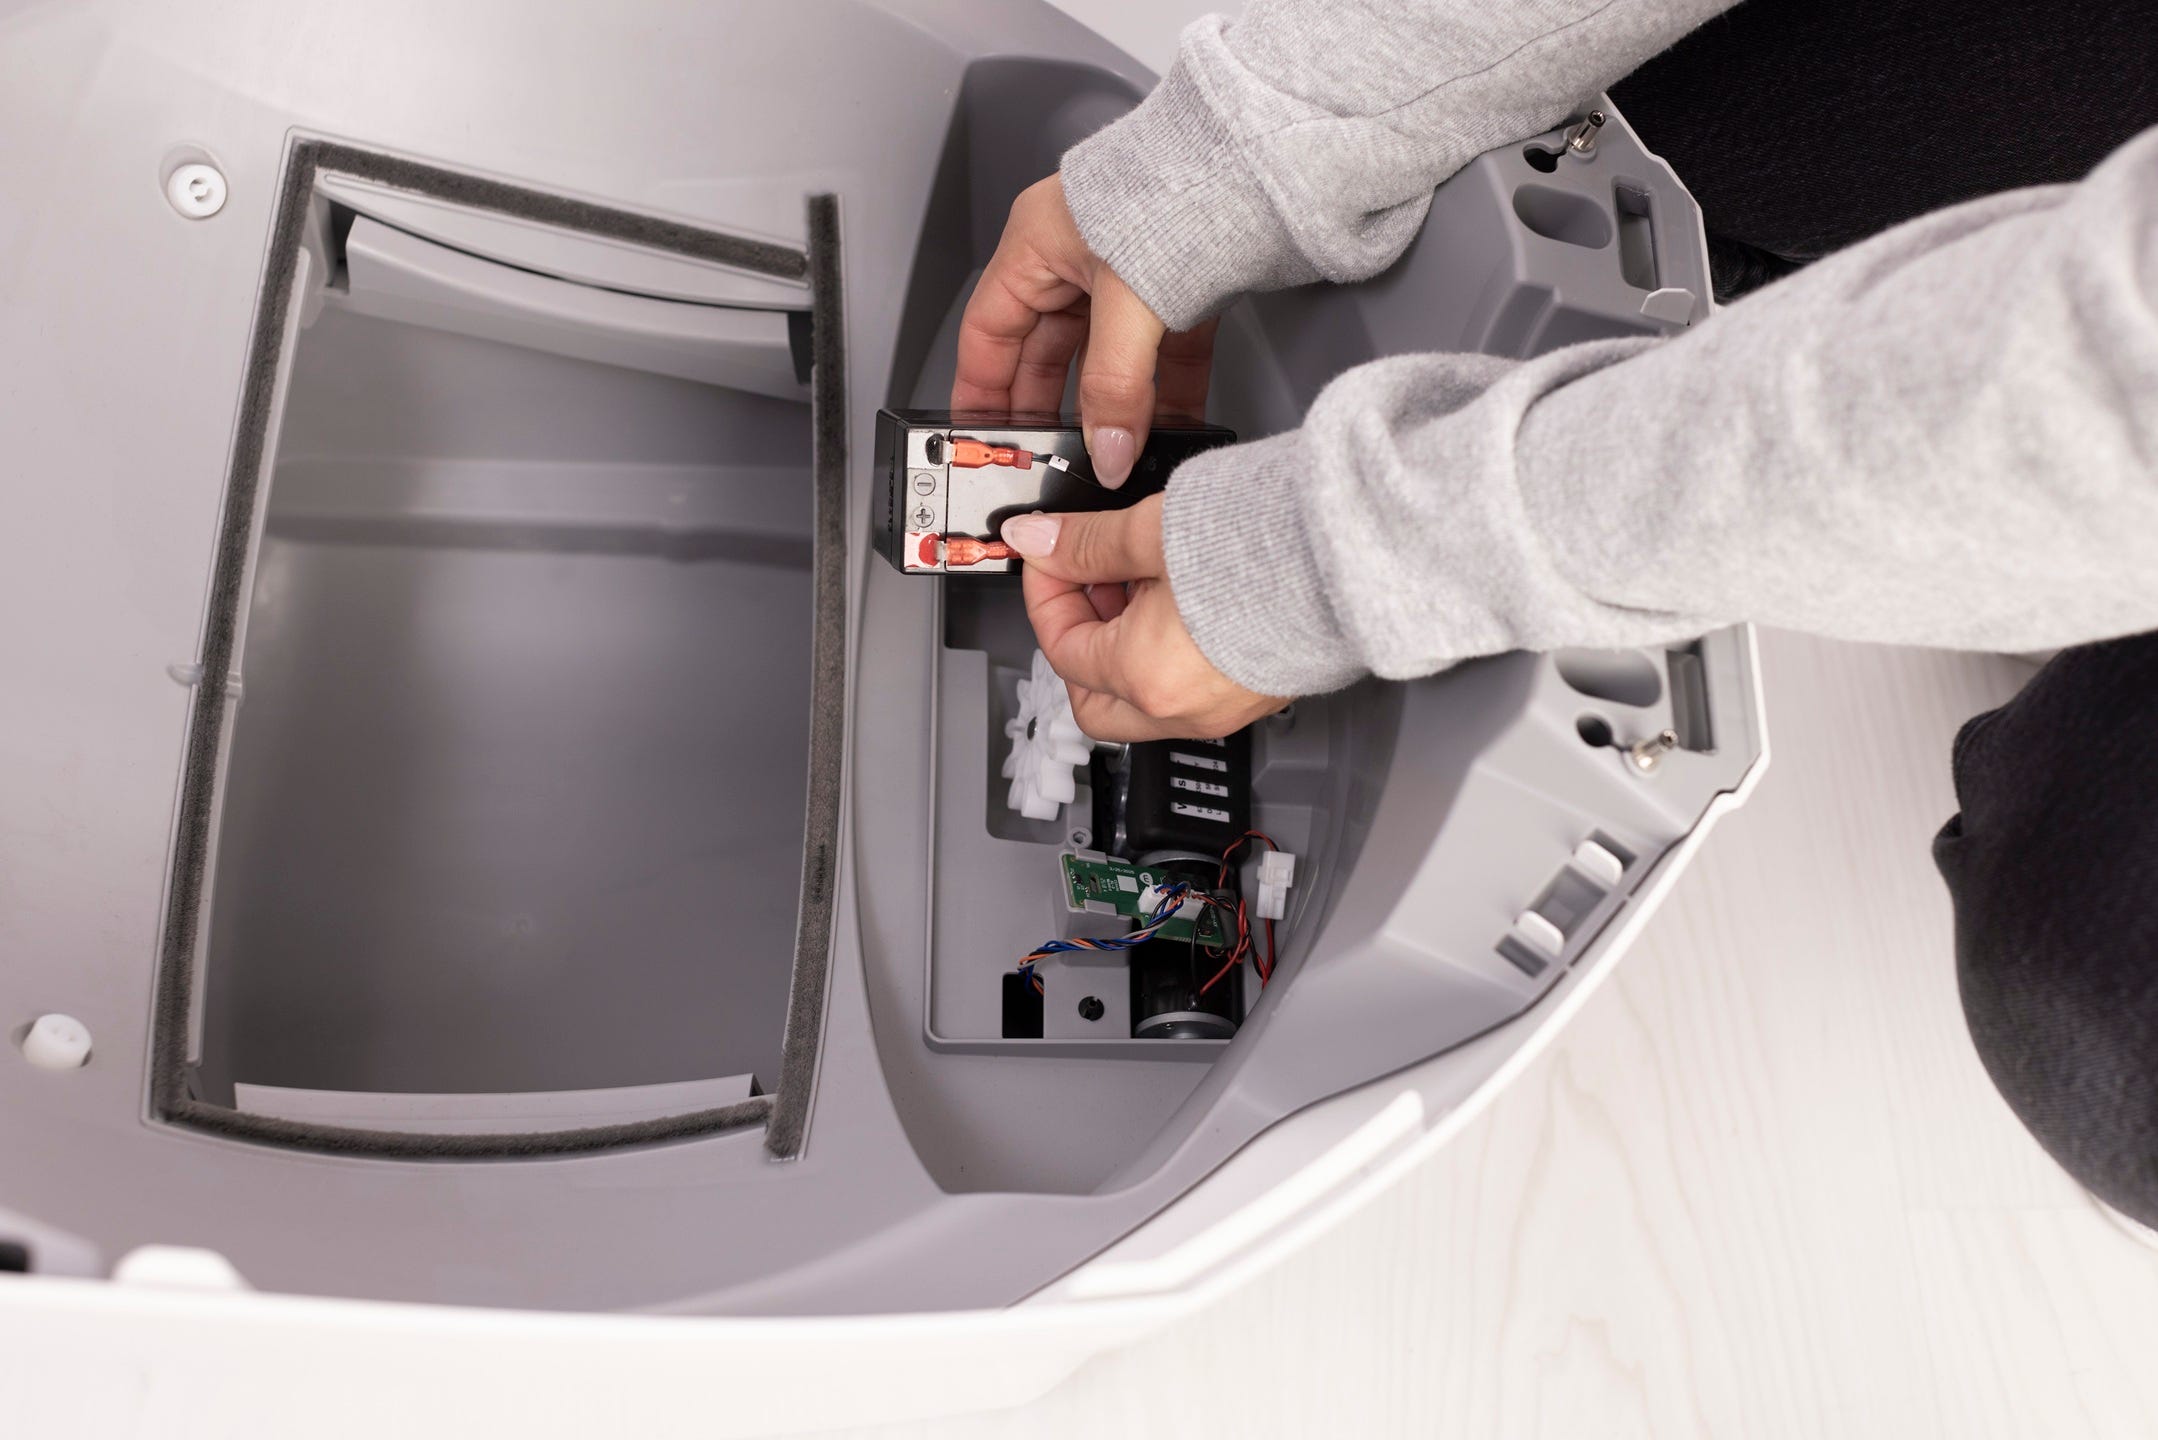
6. Insert the battery into the pocket. Reinstall the motor cover using the screws provided.
7. Replace the globe:
- Litter-Robot 4 and Litter-Robot 5: Hold the globe by the handle and slide it back into the base. Ensure the back of the globe is sitting flush in the rear bearing pocket.
- Litter-Robot EVO: Hold the globe by the rib located at the top of the globe entrance and slide it back into the base. Ensure the back of the globe is sitting flush in the rear bearing pocket.
8. Close the bonnet:
- Litter-Robot 4 and Litter-Robot 5: Rotate the bonnet downward over the globe and push down on the bonnet from the top to make sure it is latched and secure.
- Litter-Robot EVO: Replace the bonnet by aligning the tab at the back of the bonnet with the slot in the bonnet hinge. Rotate the bonnet downward with light pressure on the sides so that it hugs the globe. This will help ensure proper alignment of the bonnet latches in the base.
9. Plug the unit back in and power it on.
Successful installation: The backup battery should now be installed and functioning. The unit will automatically switch to battery power in the event of an outage and resume normal operation once power is restored.

Purchase Litter-Robot Backup Battery
Download PDF
Download PDF (English/Français/Deutsch/Italiano)
Litter-Robot 3: Backup Battery installation guide
The Litter-Robot 3 Backup Battery provides up to 48 hours of operation if power is interrupted. When power is interrupted, the unit will automatically switch to battery power and a yellow light will illuminate the Power button on the Control Panel.
To conserve energy, the night light will not function. Litter-Robot will switch back to household power when it returns, and the unit will begin recharging the battery.
Tools needed
- Phillips-head screwdriver
1. Press the Power button to turn the unit off, then unplug the unit.
2. Remove the Bonnet and Globe.
3. Locate the unit serial number. It can be found on the inside back wall of the base, behind the waste drawer, or on the exterior backside of the Base, to the right of the power jack.
4. Gently turn the unit over to access the battery pocket on the underside of the Base.

5. According to the serial number, connect the battery leads as follows:
- Serial numbers 934 and above: Connect the RED lead to the RED terminal. Connect the BLACK lead to the BLACK terminal.
- Serial numbers 0-933: Connect the RED lead to the BLACK terminal. Connect the BLACK lead to the RED terminal.

6. Insert the battery into the pocket, so the connected side goes in the Base first.
7. Align the Retainer across the bottom of the battery and attach using screws provided.

8. Reassemble the Waste Drawer, Globe, and Bonnet, then plug the unit in and turn it on.

Purchase Litter-Robot 3 Backup Battery Kit
Didn't find what you're looking for?
Live support available Mon-Fri: 9AM-9PM EST and Sat-Sun: 9AM-5PM EST, or submit a ticket anytime.