The store will not work correctly in the case when cookies are disabled.
Litter-Robot 3: Solid yellow light (No globe movement)
Once your kitty exits the globe, the countdown to a Clean cycle begins. When the wait time has elapsed, the red light turns off and the yellow cycling light turns on as the globe begins to rotate counterclockwise.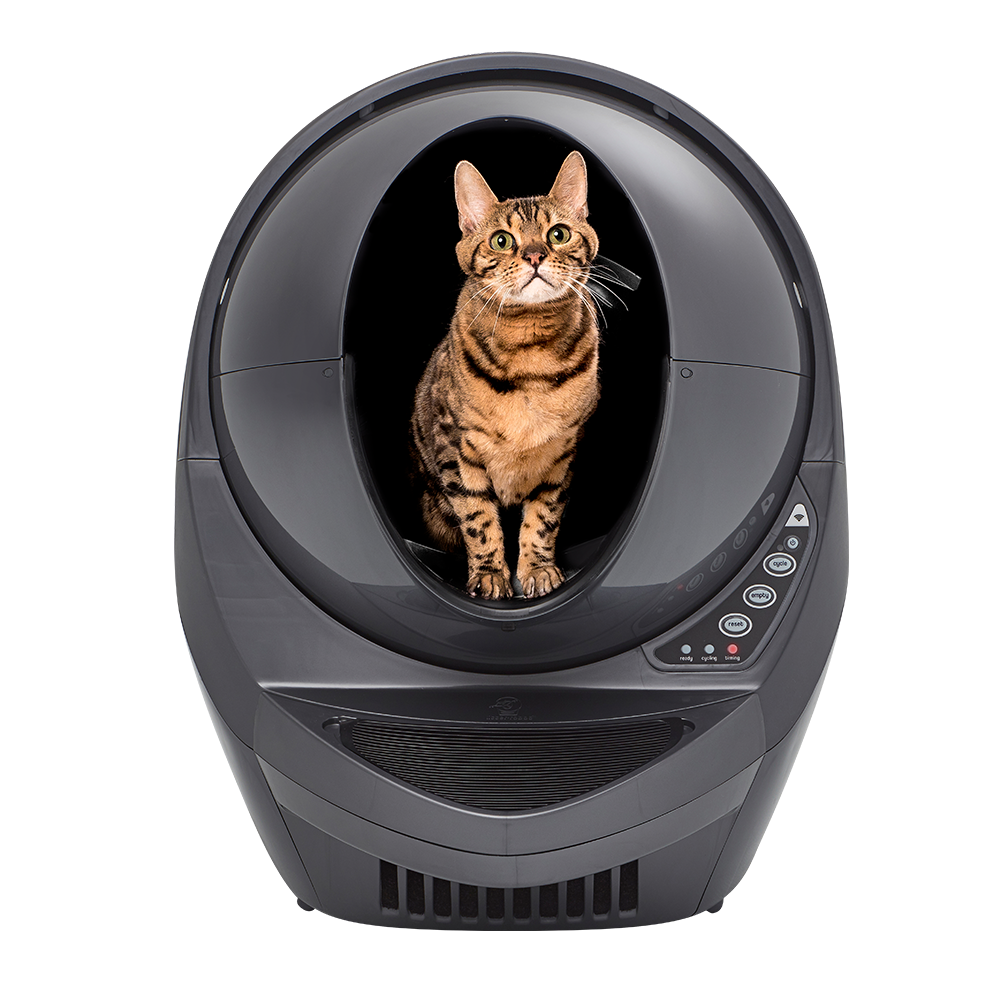
If your Litter-Robot 3 is displaying a solid yellow light with no movement of the globe, there are several things we need to check.
First, press the Cycle button to ensure the unit is not paused.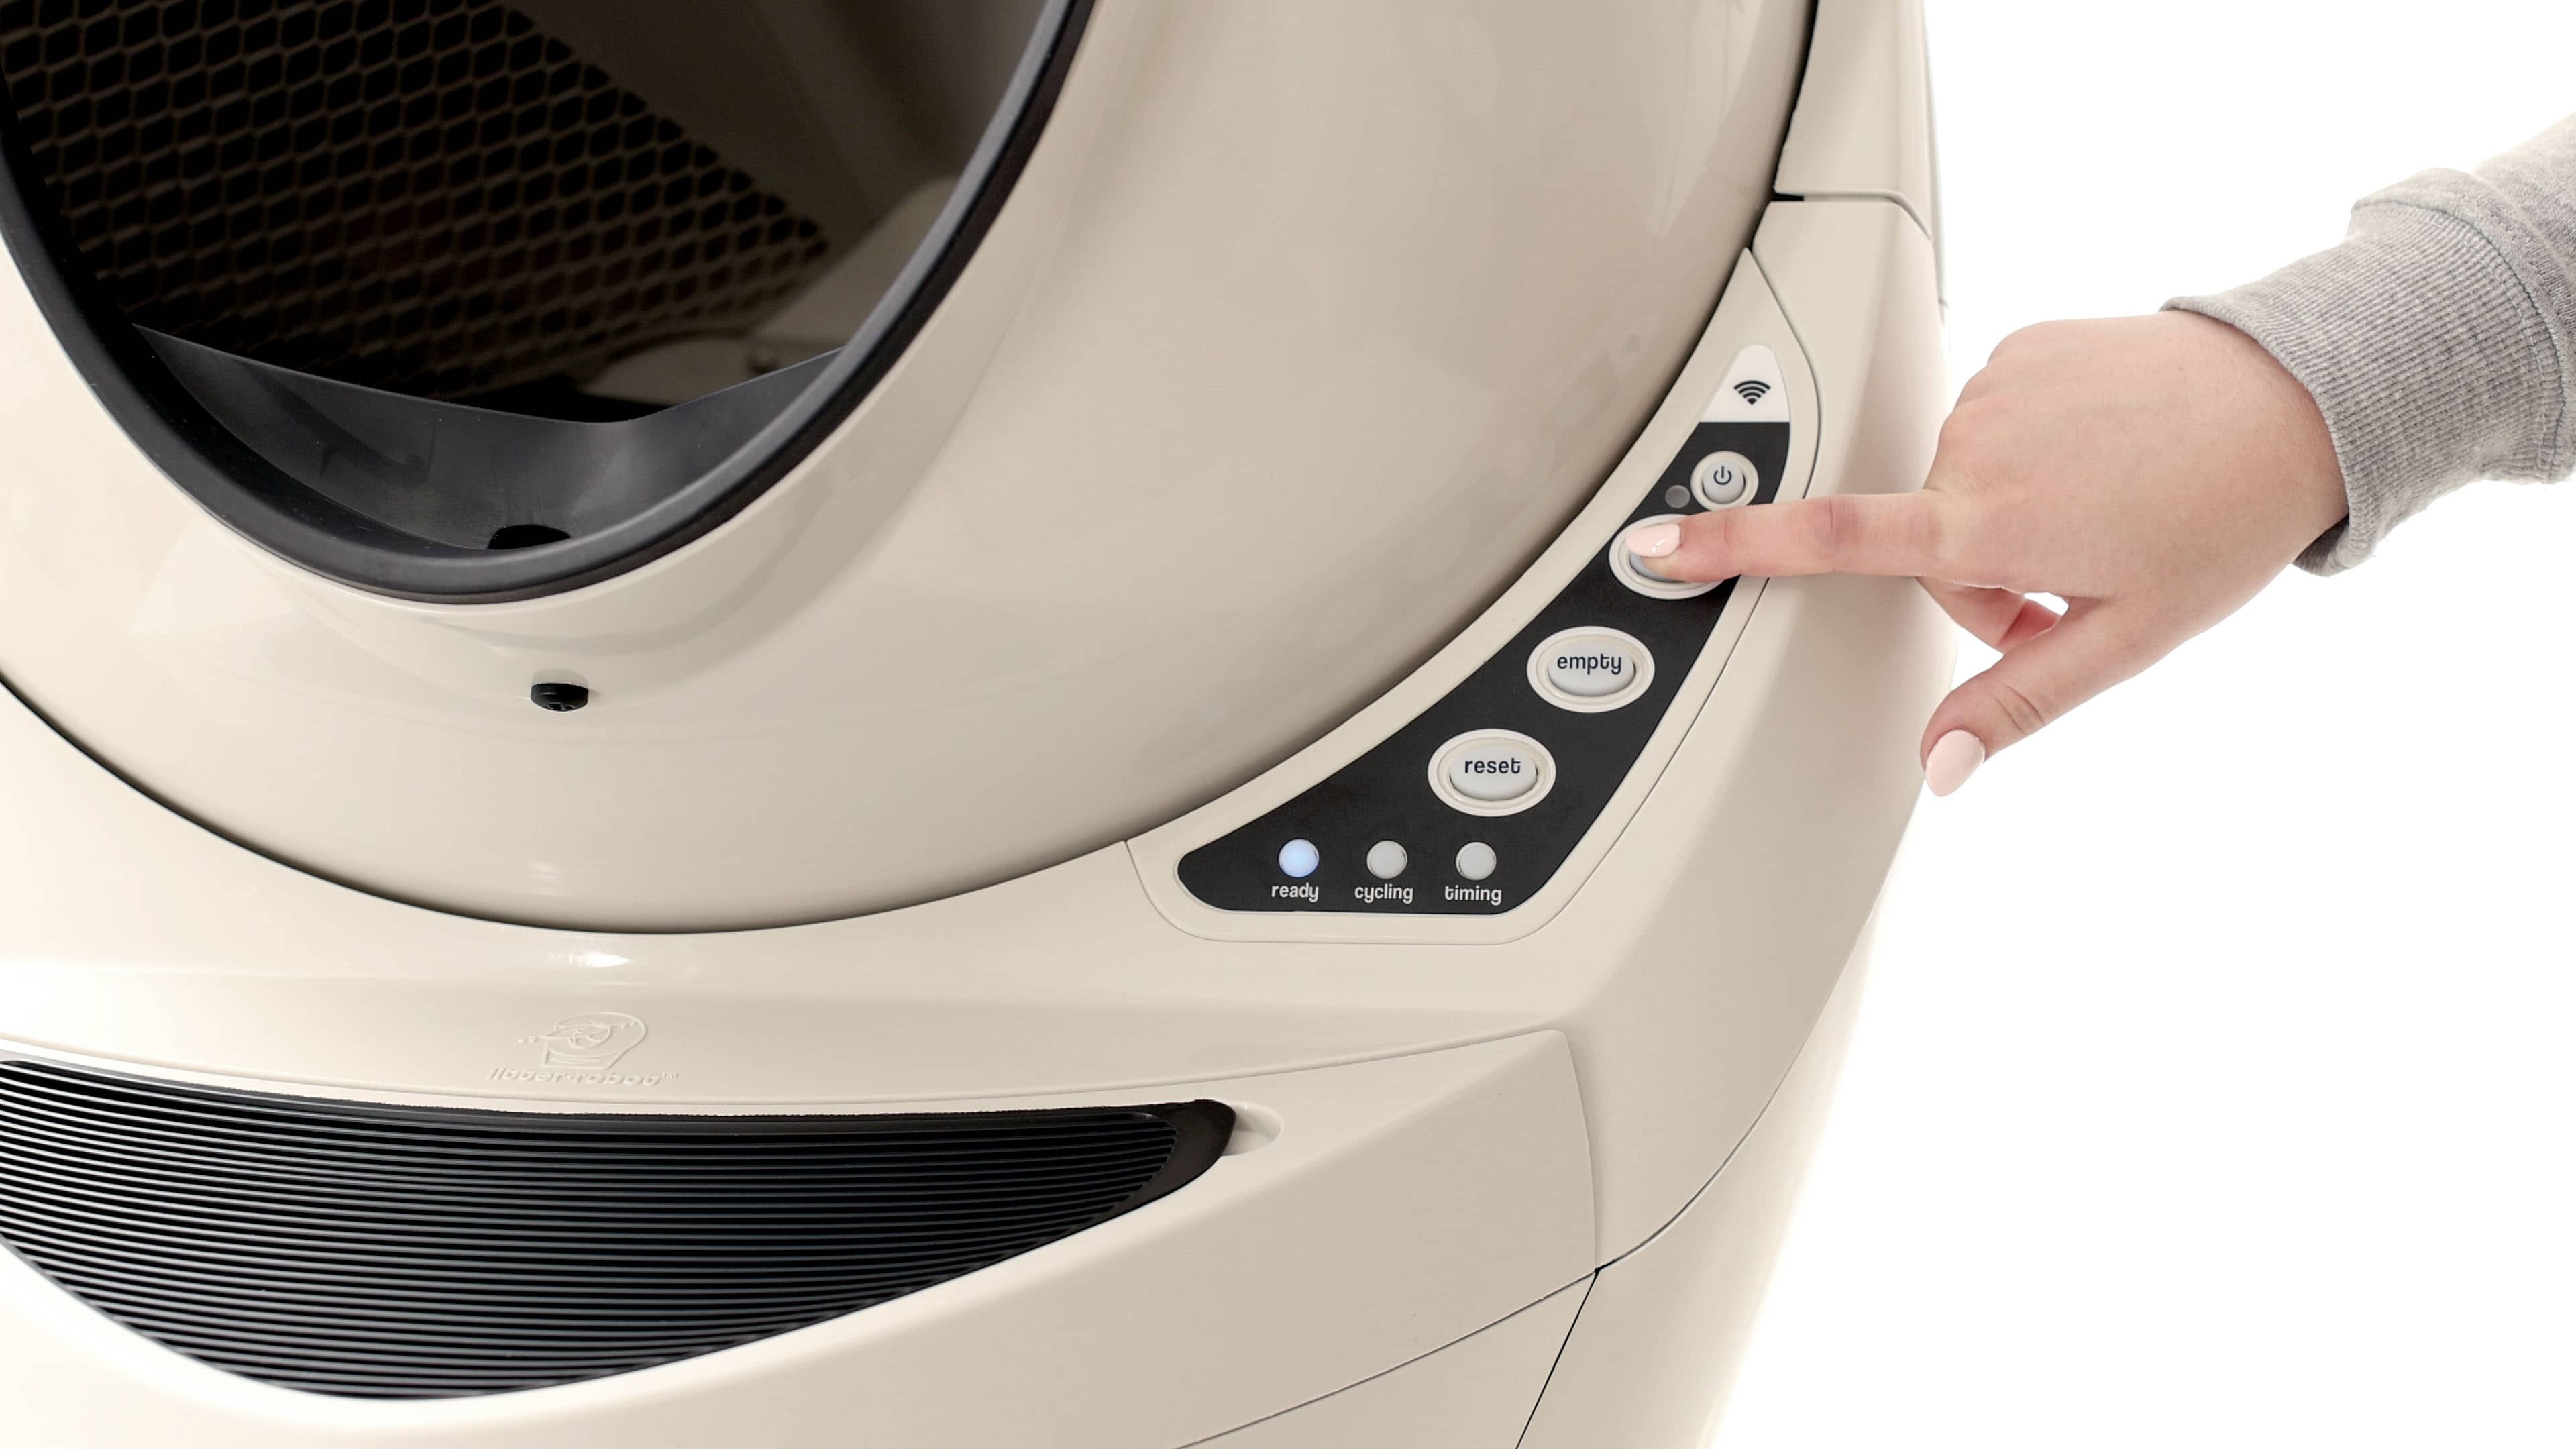
The Empty cycle allows you to empty all of the litter from the globe into the waste drawer for easy disposal. After the litter is emptied, the globe will stop with the yellow light on and await your action. Press any button to return the globe to the Home position.
If you use the Whisker app, press Reset Gauge in the Controls section of the app when you empty the waste drawer to reset the waste drawer level in the app.
Inspect the globe
Next, we'll check that the globe is positioned correctly.
- Press the Power button to turn the unit off.
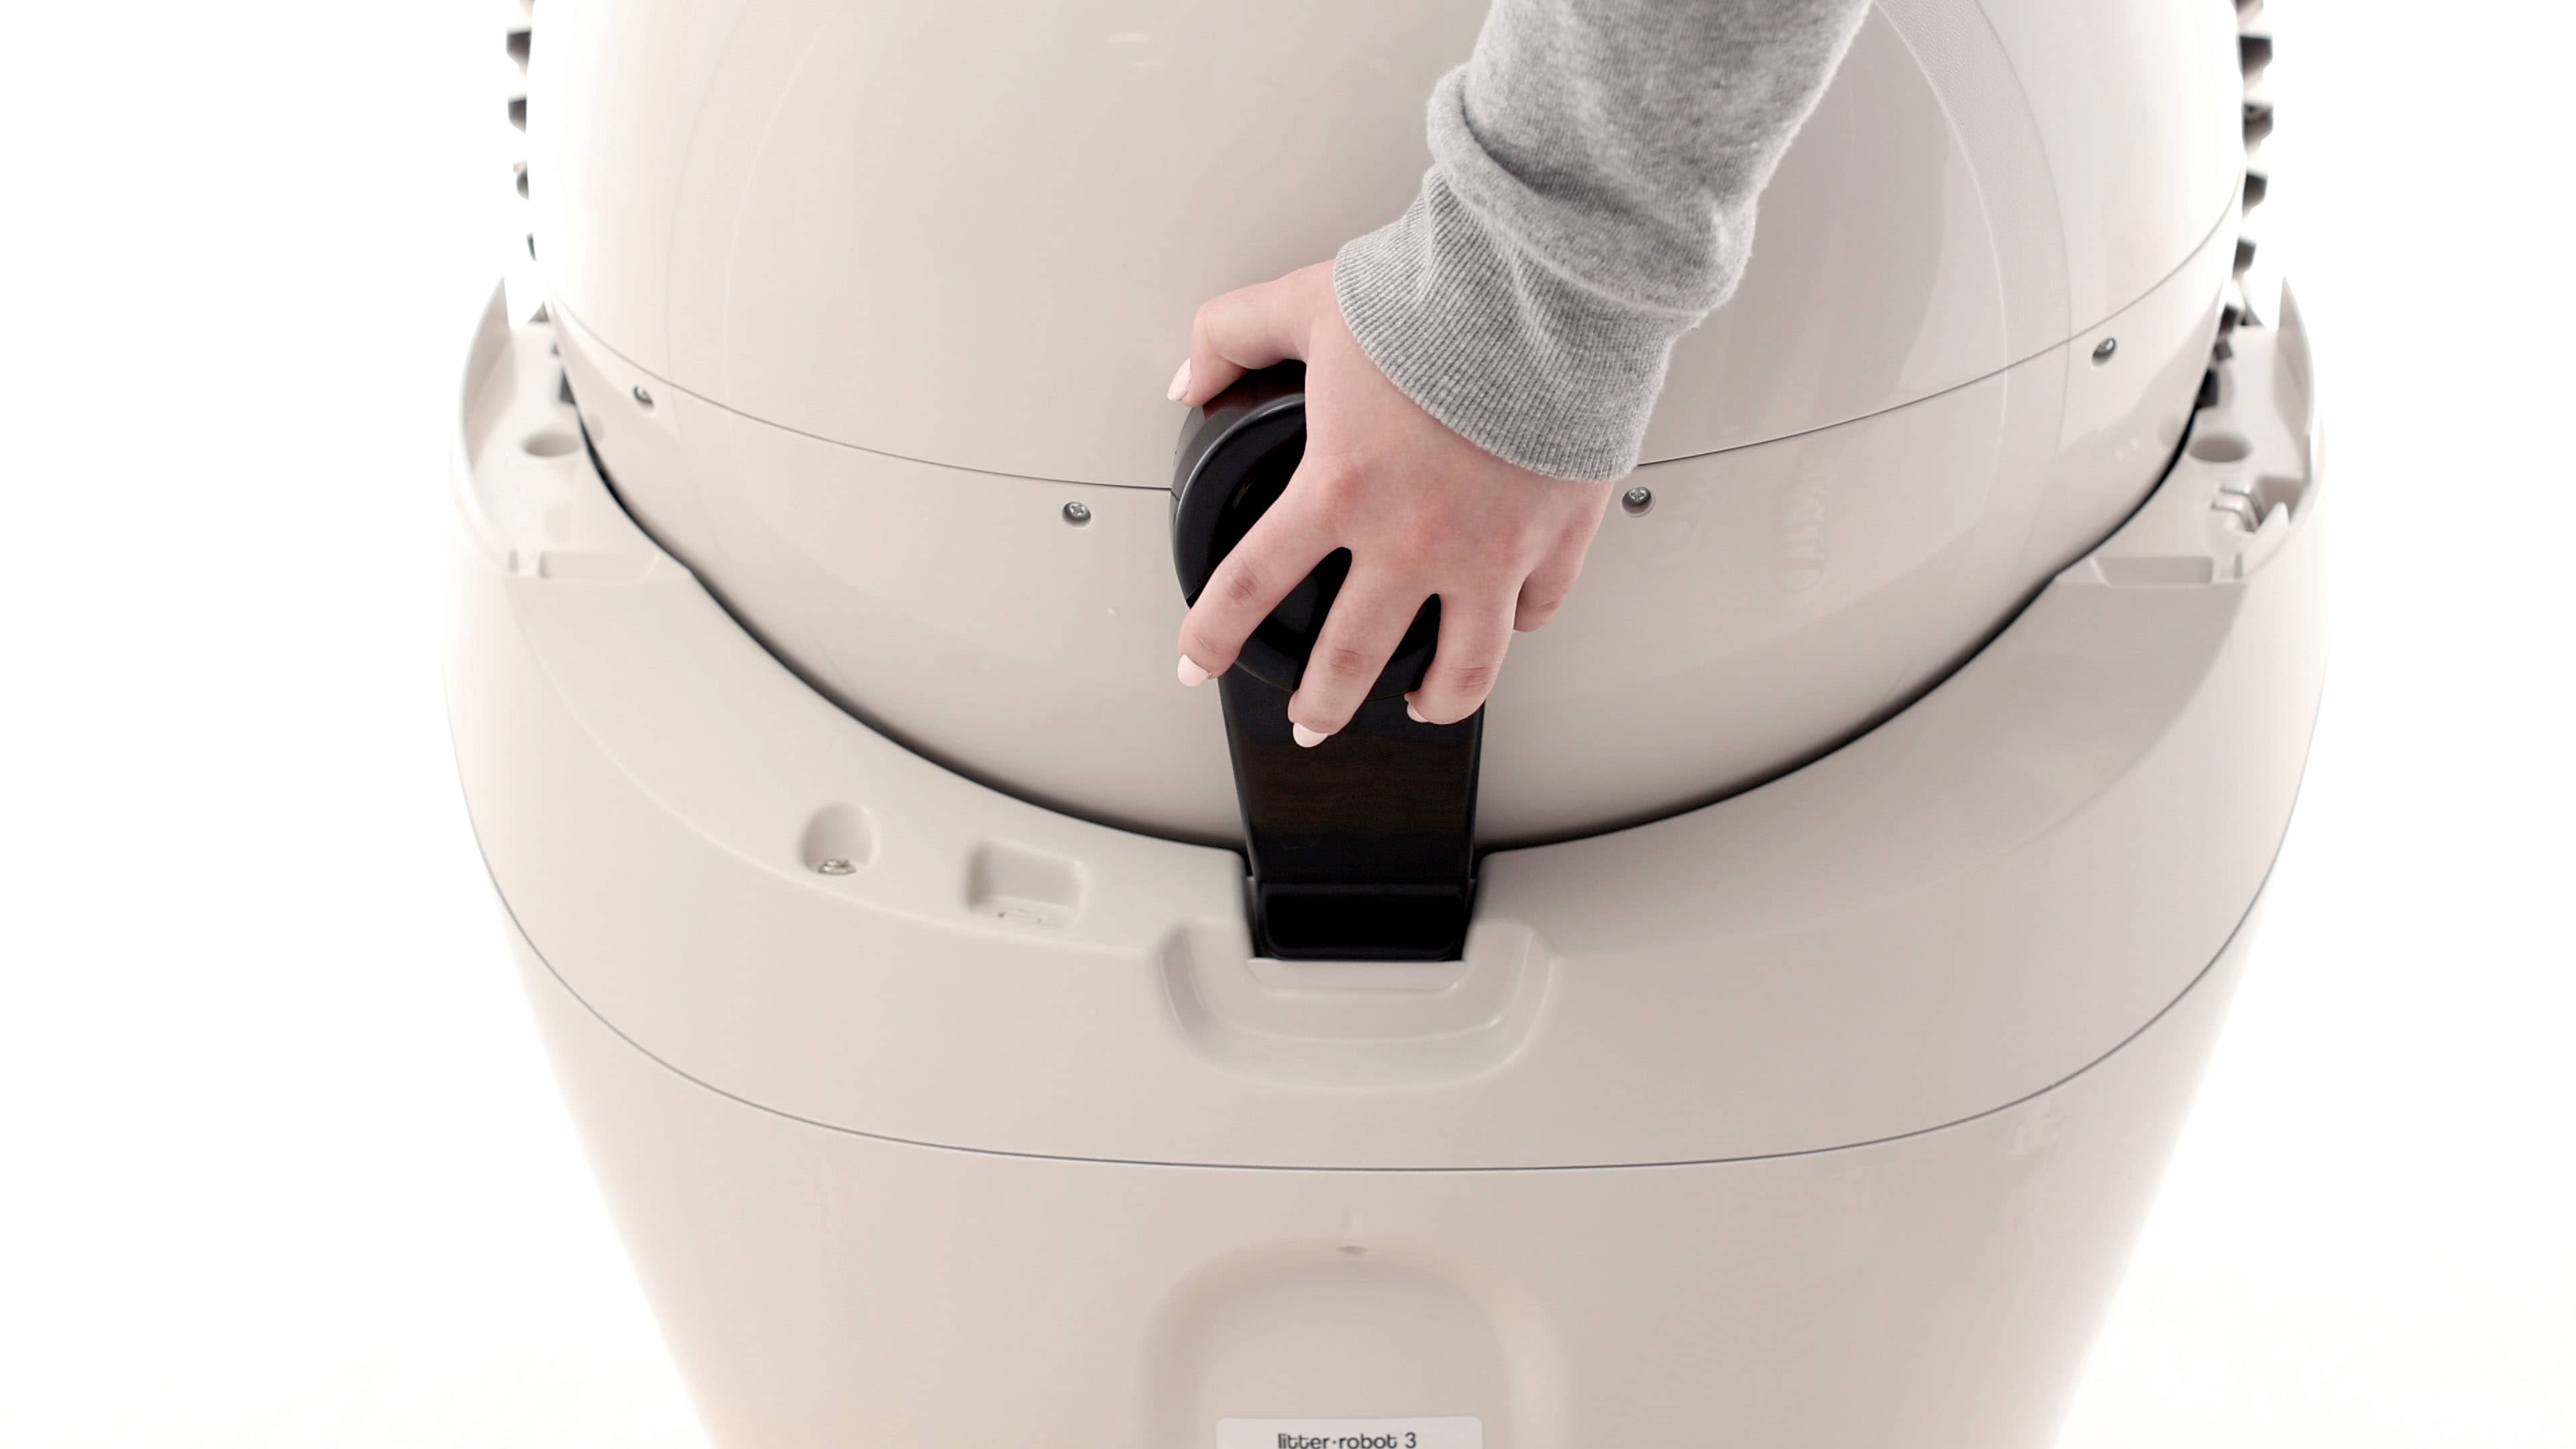
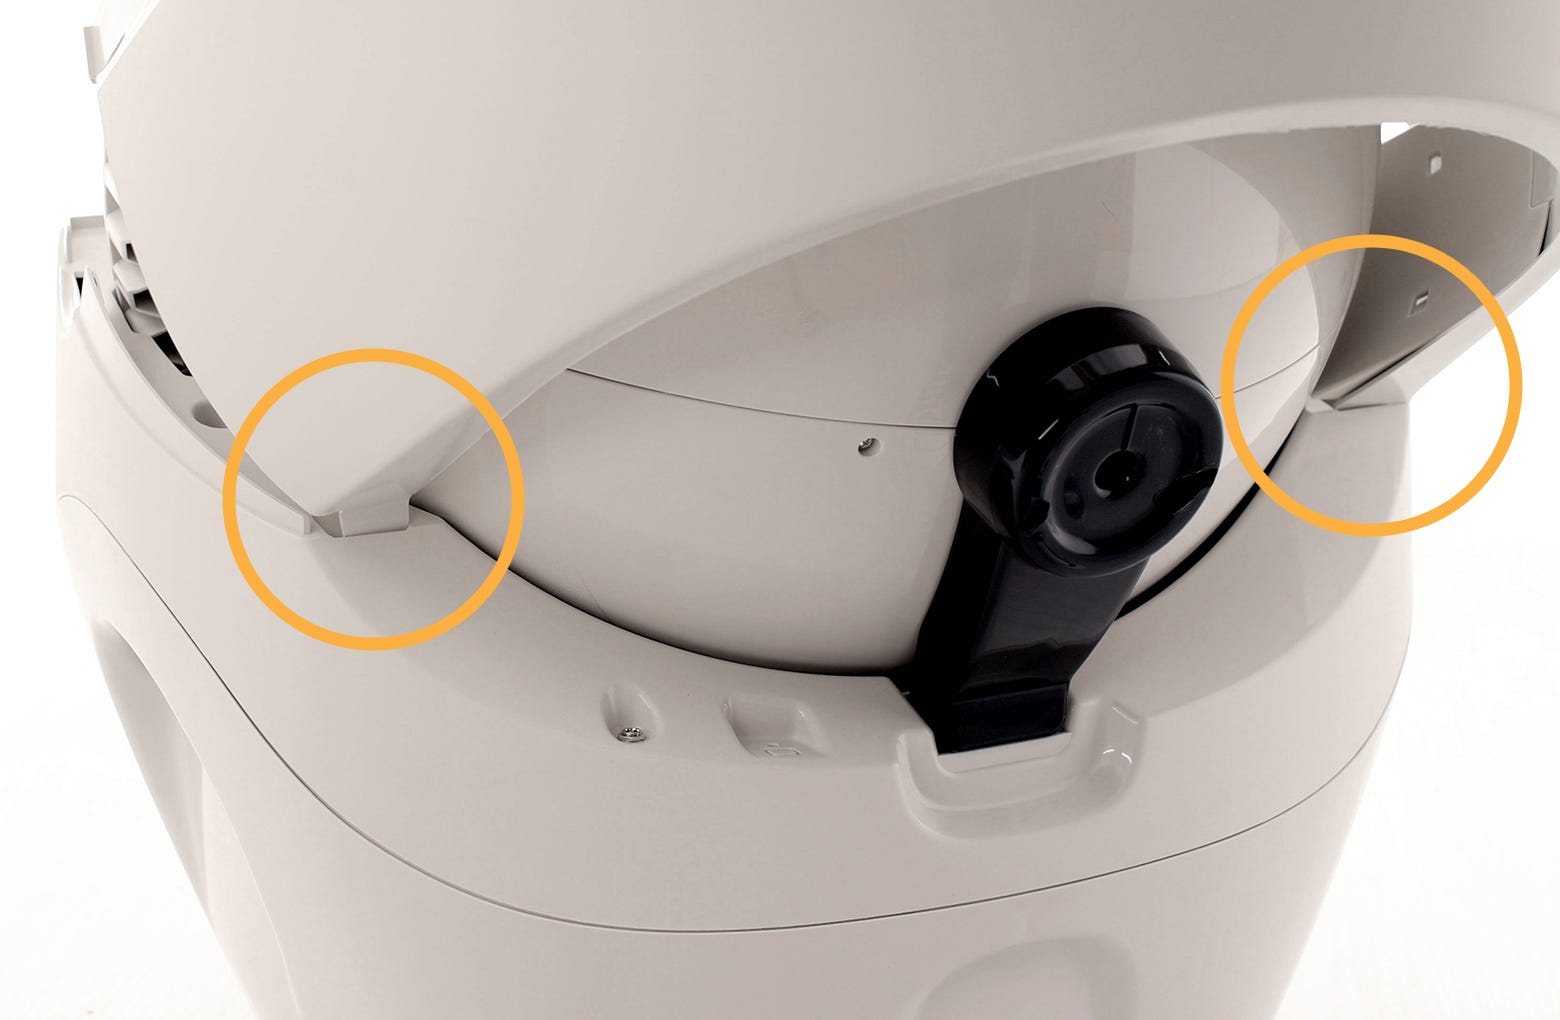
- Remove the bonnet by pressing the latches on both sides of the bonnet, then lift while rotating it backwards.
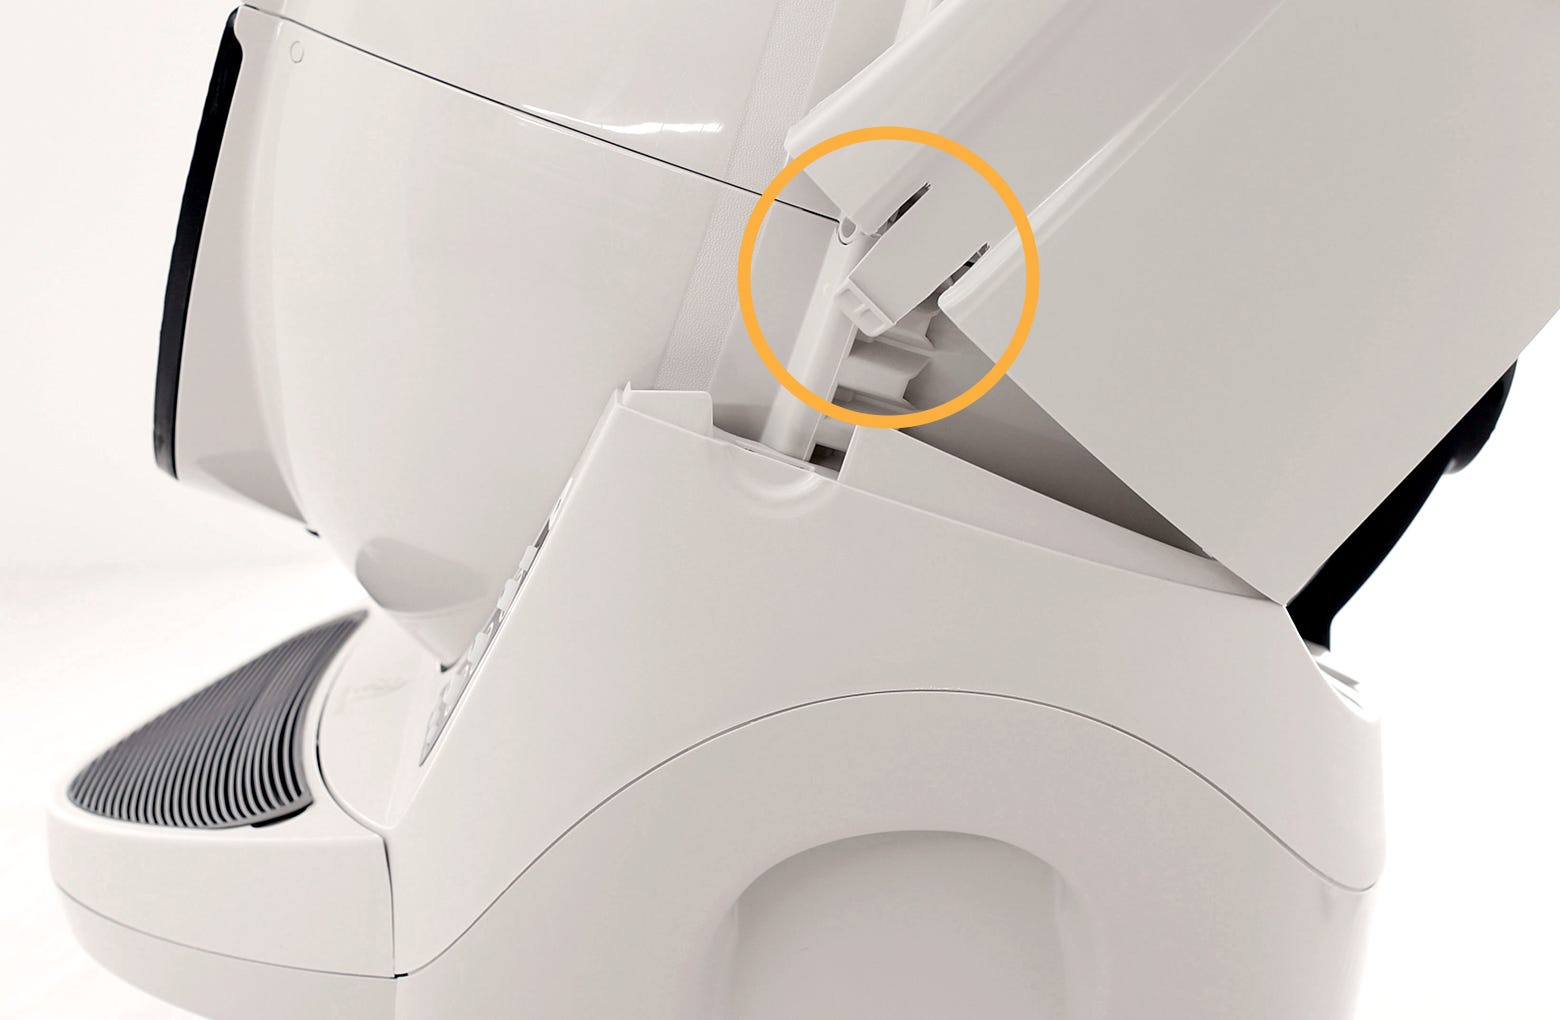
- There are two plastic tabs on the back of the bonnet that should slide up and out of the base. Set the bonnet aside.
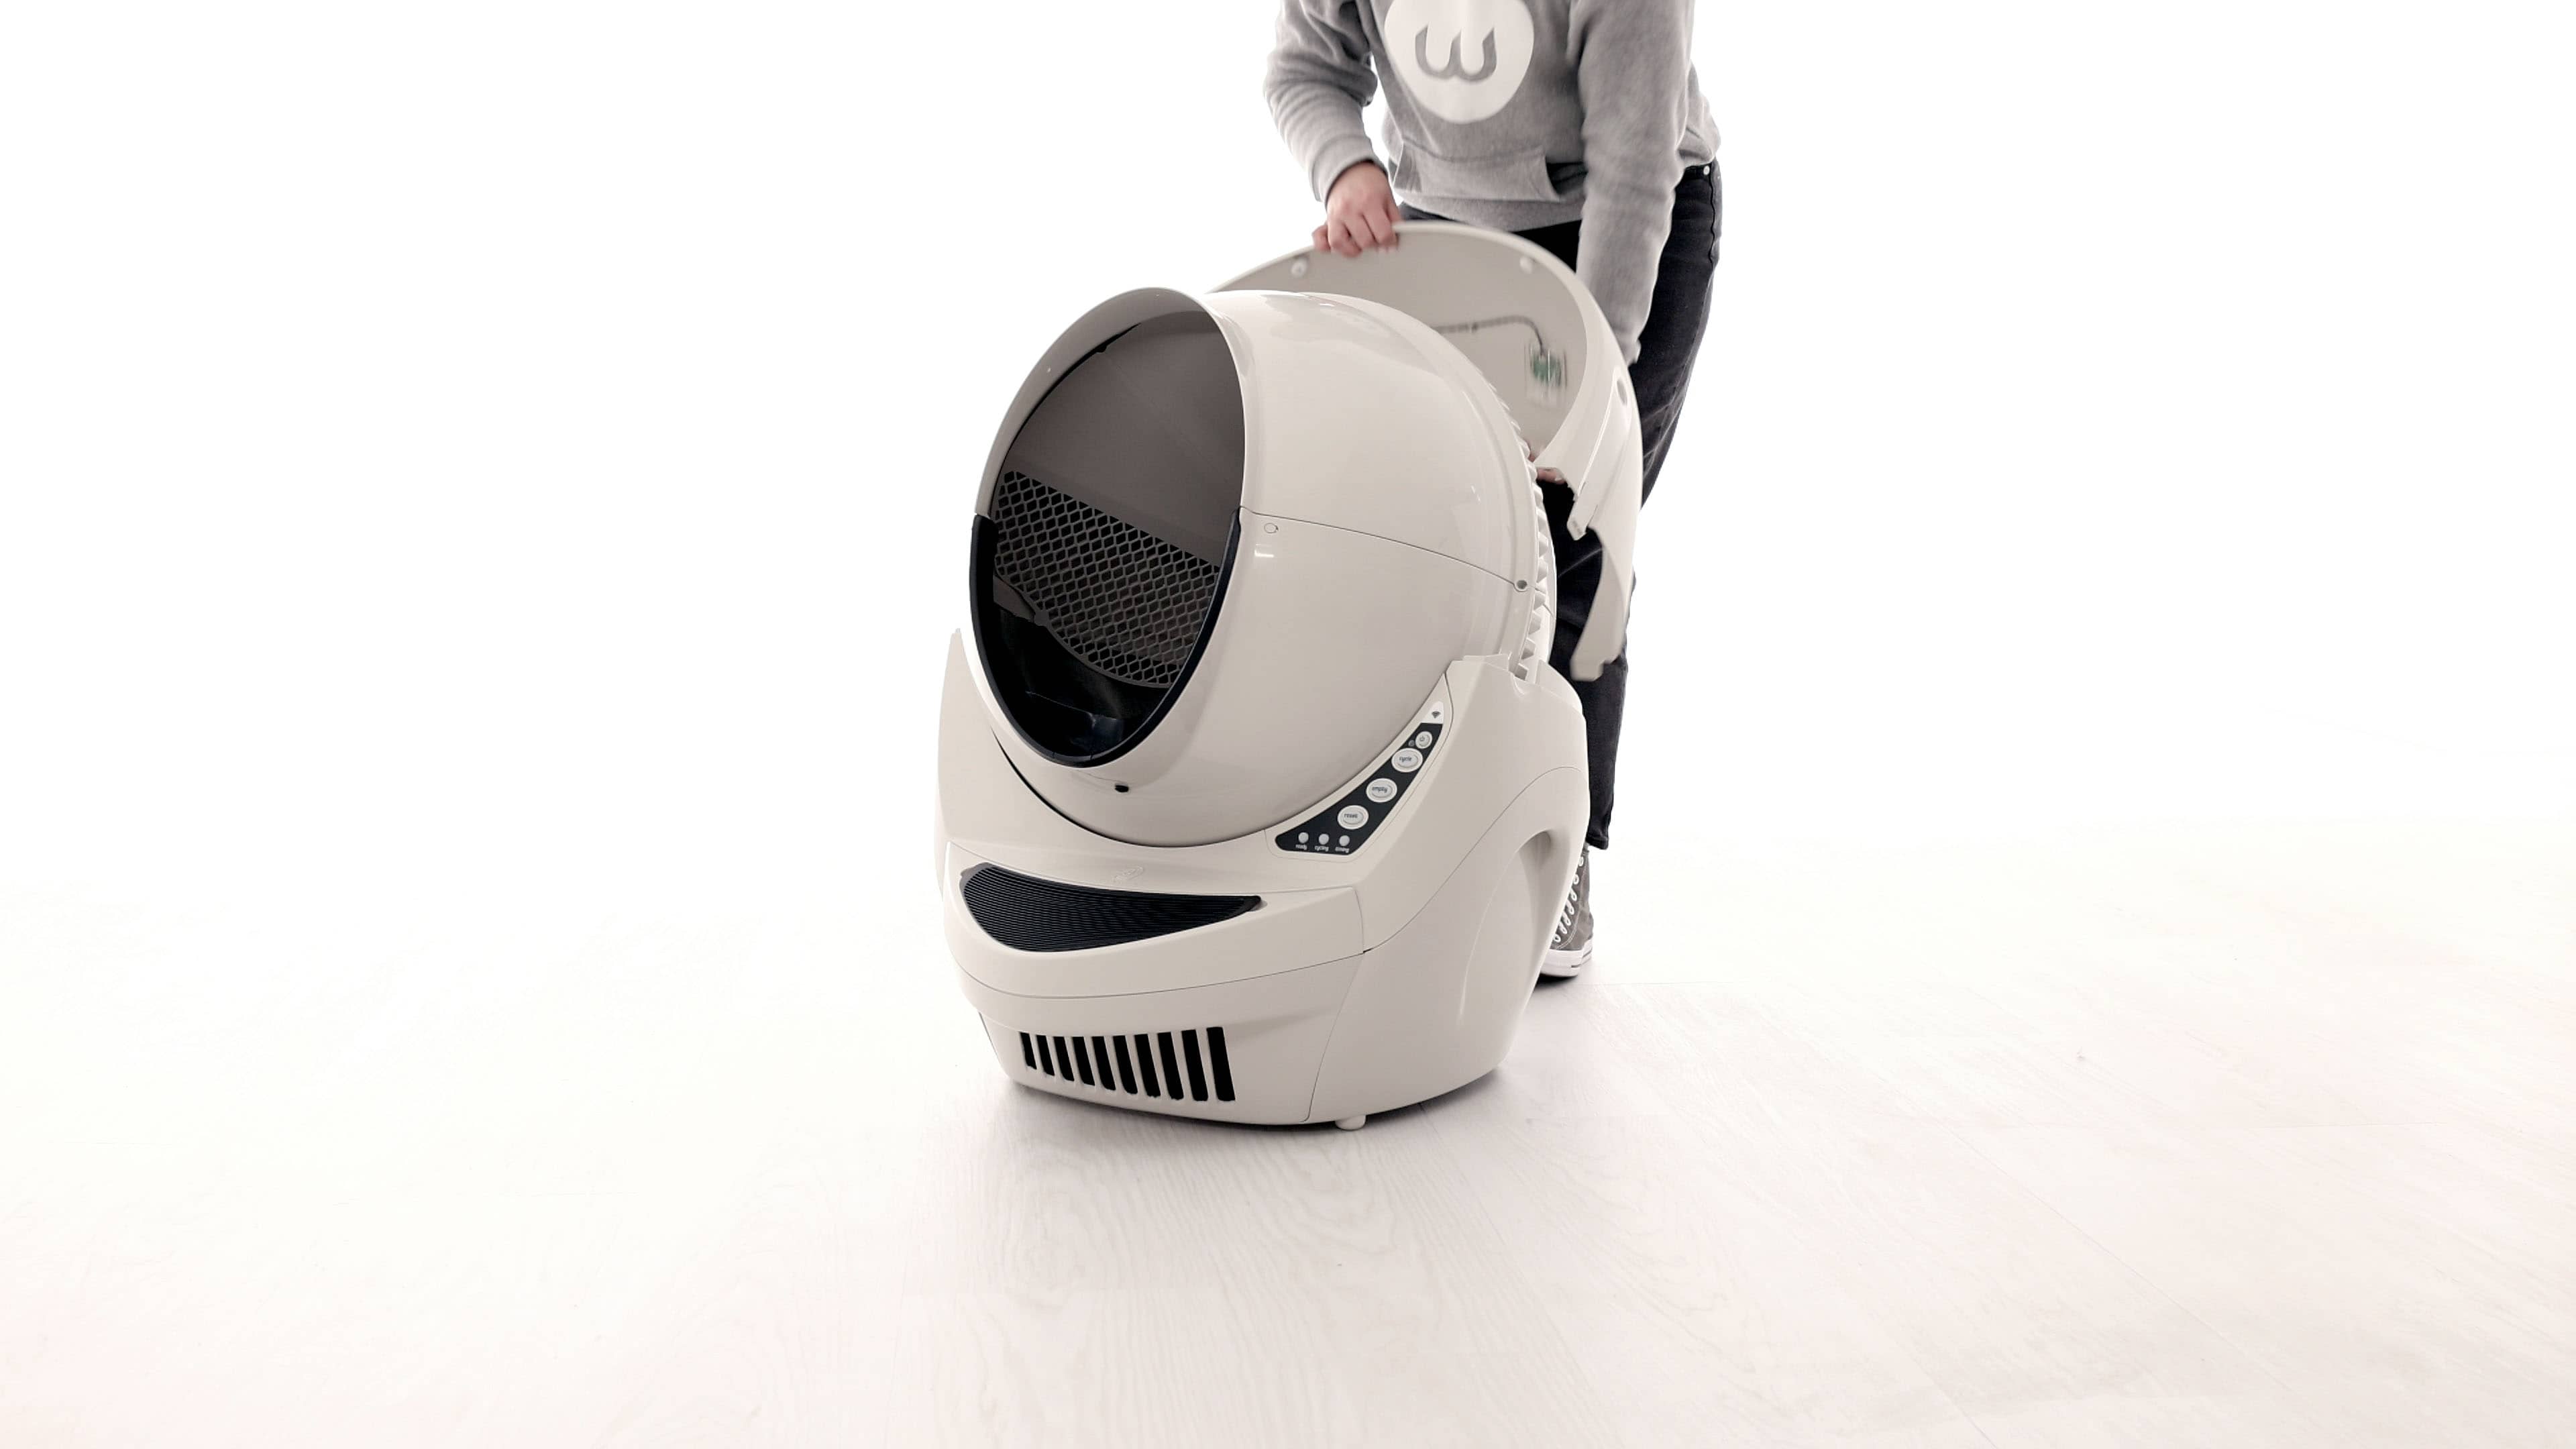
- Confirm that the globe is positioned correctly. Visually check that the large gear that runs around the globe is sitting in the track on the base.
- At the back of the globe, turn the black key into the key pocket.
- Reassemble the bonnet and try to cycle again. Insert the bonnet tabs into the rear bonnet slots, then press the latches while rotating it forward, until the latches click into place.
- Press the Power button to turn the unit on.
Successful: If your unit returned home and displays a solid blue light, you've been successful.
Unsuccessful: If you are still seeing a solid yellow light or cannot complete the cycle, please continue with troubleshooting.
Inspect the motor gear
- Remove the bonnet by pressing the latches on both sides of the bonnet, then lift while rotating it backwards.
- There are two plastic tabs on the back of the bonnet that should slide up and out of the base. Set the bonnet aside.
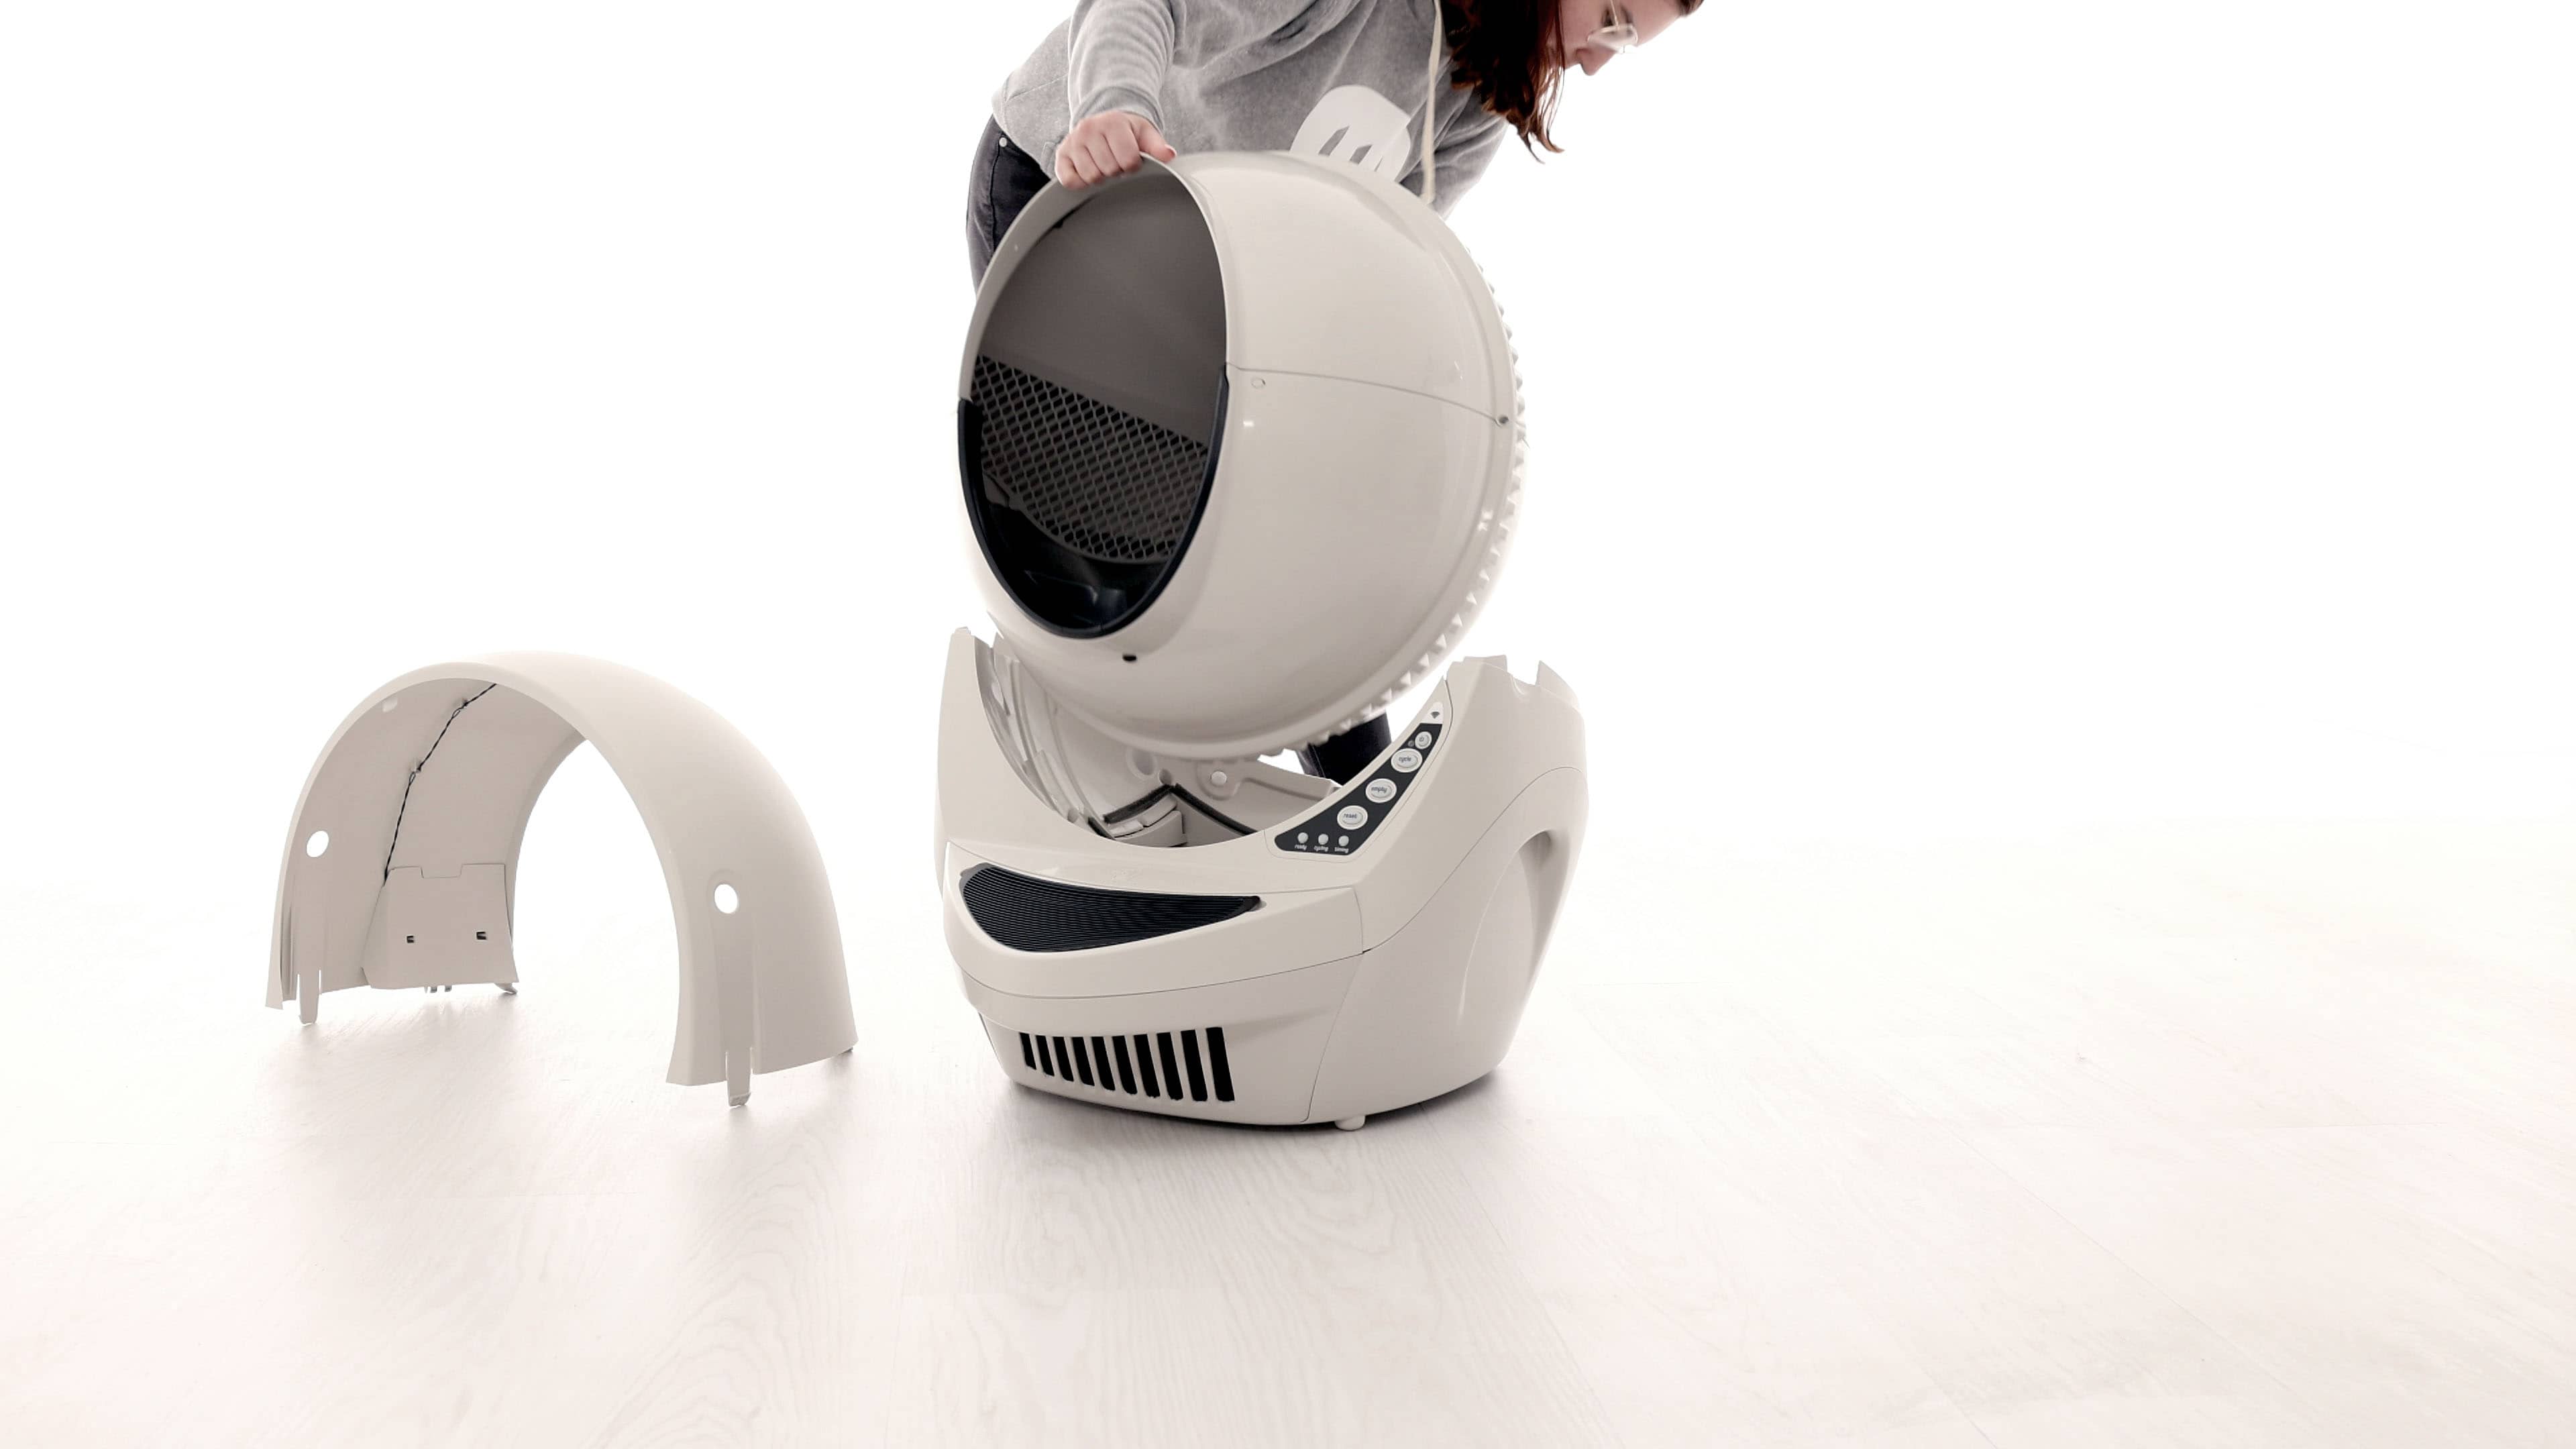
- Remove the globe and set aside.
- Next, we'll reinstall the bonnet in order to cycle the unit.

- Replace the bonnet by inserting the bonnet tabs into the rear bonnet slots, then press the latches while rotating it forward, until the latches click into place.
- To determine if the set screw needs to be tightened, locate the black gear partially exposed from behind the control panel cover on the right side of the base. The set screw holds the gear to the motor shaft.
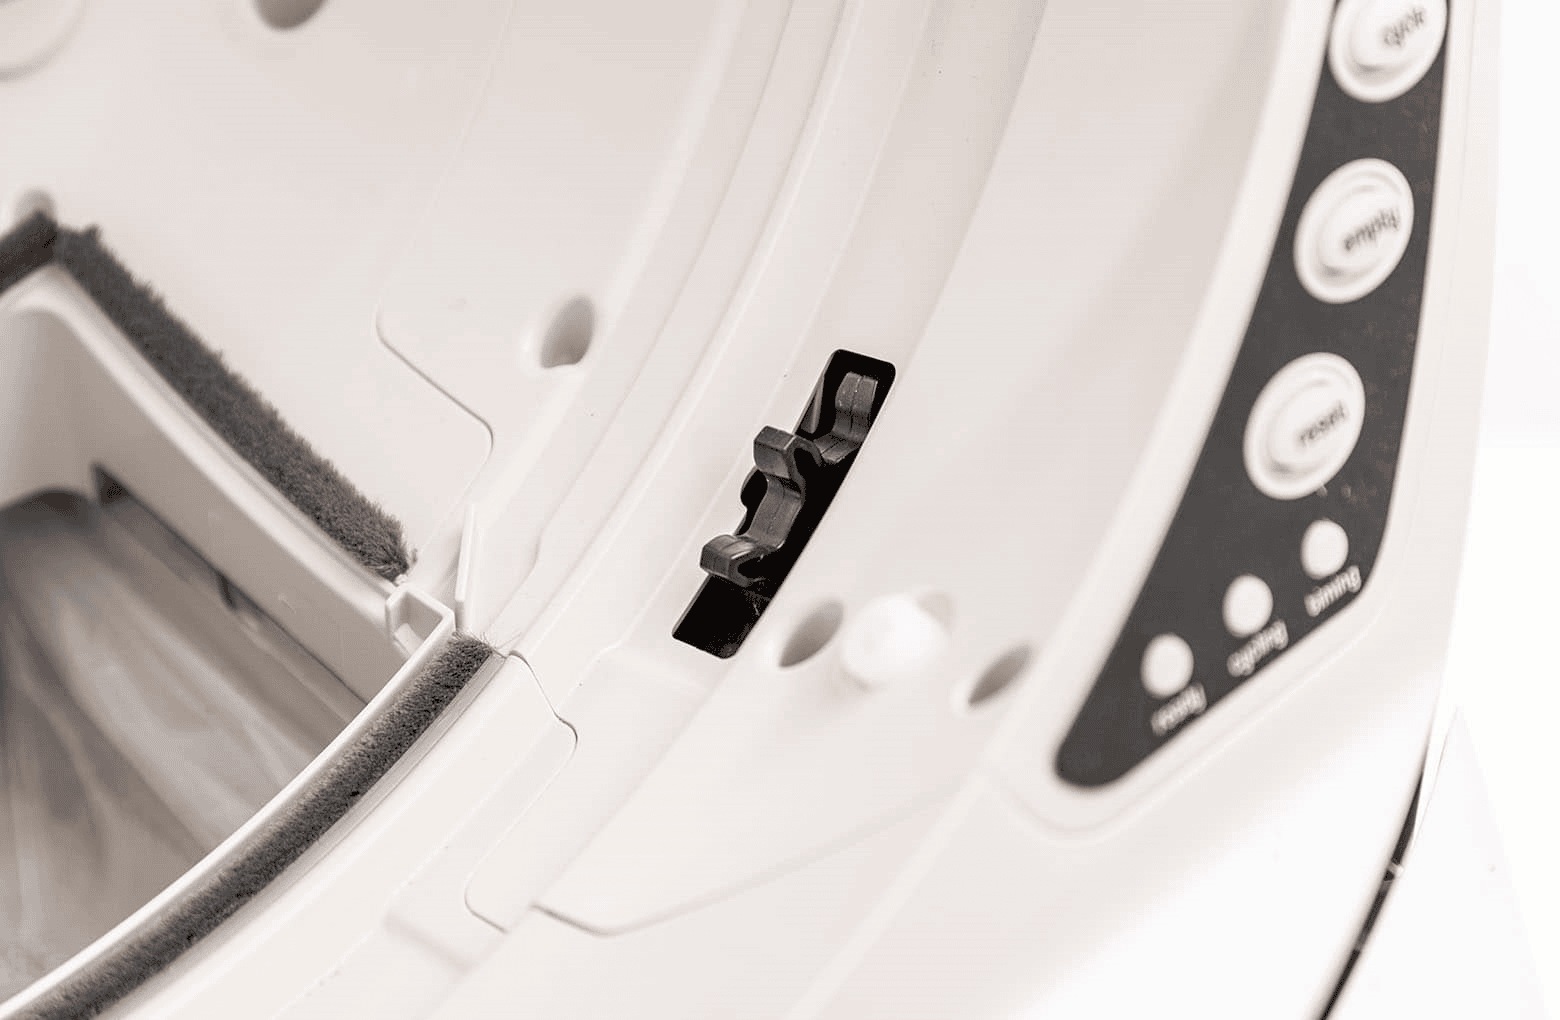
- Try to wiggle the gear with your hand. If the gear slides on the motor shaft, you'll need to tighten the set screw. Visit our Litter-Robot 3: Fixing a loose gear article to learn how to tighten the set screw.
- Next, press the Cycle button.
- If you hear the motor running but the gear is not turning, you'll need to tighten the set screw. Visit our Litter-Robot 3: Fixing a loose gear article to learn how to tighten the set screw.
- If you could not wiggle the gear with your hand and you could not hear the motor running, you need a new motor; skip the next section to review your repair options below.
Reassemble the globe and bonnet
- Remove the bonnet and replace the globe, making sure it is on straight and in its tracks.
- At the back of the globe, turn the black key into the key pocket.
- Replace the bonnet by inserting the bonnet tabs into the rear bonnet slots, then press the latches while rotating it forward until the latches click into place.
- Plug Litter-Robot into the wall.
- Press the Power button to turn the unit on.
- Once the initial Clean cycle is complete, the unit should return home, displaying a blue 'ready light' status.
Successful: If your unit returned home and displays a solid blue light, you've been successful.
Unsuccessful: If you are still seeing a solid yellow light or cannot complete the cycle, please continue with troubleshooting.
Check the power supply
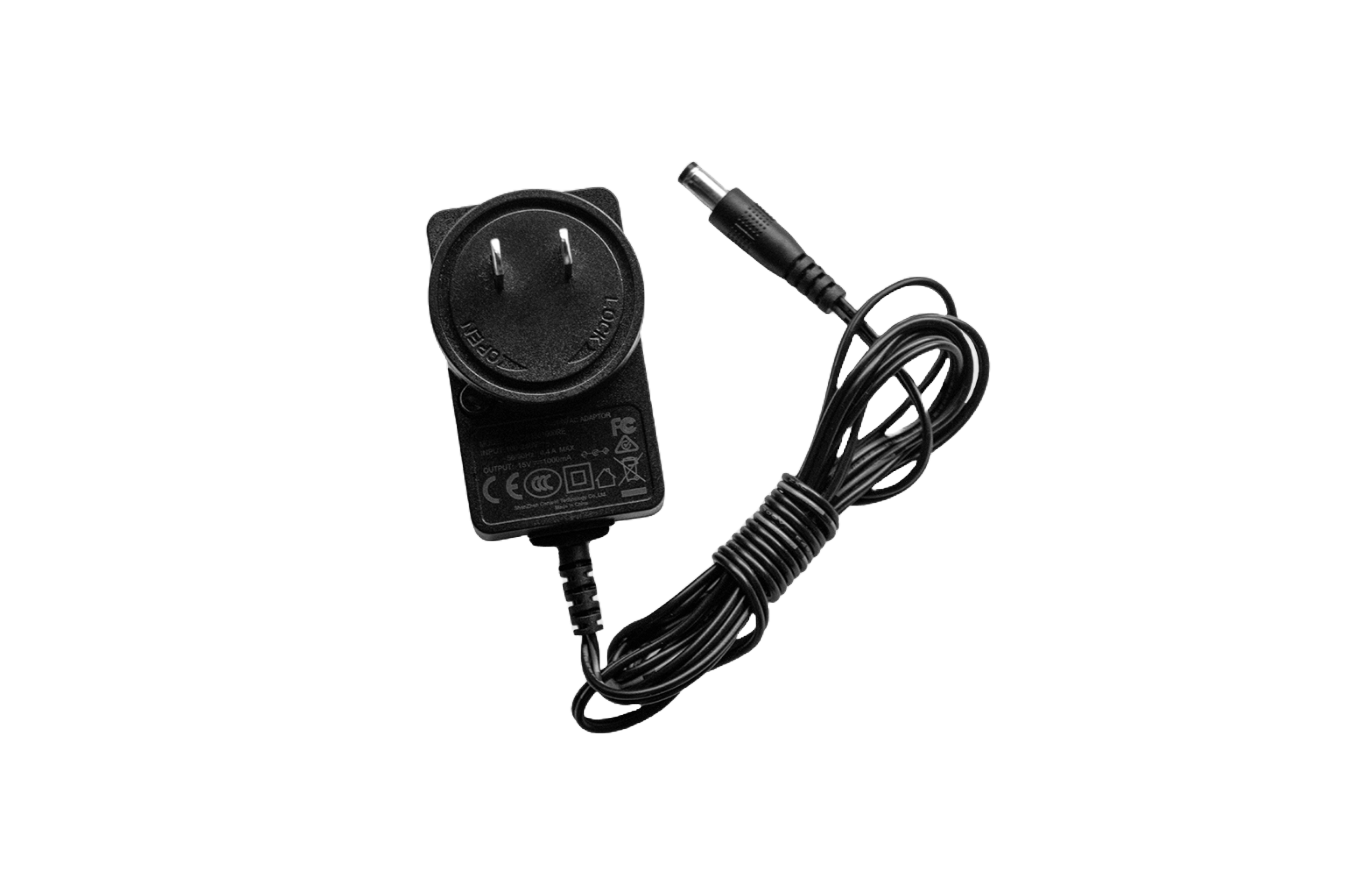
- Visually inspect the power supply cord for damage such as deformities or punctures.
- Confirm that your outlet is working by testing it with a known working device.
- Check the power supply label, The label should read 15V DC 1000mA or 1A.
- If you've had any power fluctuations in your home due to outages or brownouts, you may need to replace your power supply or your base.
- Plug your unit directly into a wall outlet, to eliminate the possibility of defective extension cords or power strips.
- Press the Power button to turn the unit on.
Successful: If your unit returned home and displays a solid blue light, you've been successful.
Unsuccessful: If you are still seeing a solid yellow light or cannot complete the cycle, you may need to repair your unit.
Issue not resolved?
To repair your Litter-Robot, you will either need a new motor assembly, power supply, or base.
What do I do?
My unit is covered by WhiskerCare™
If your Litter-Robot is covered by WhiskerCare™ warranty, you have access to replacement parts, at no cost, to get your Litter-Robot up-and-running quickly.
- Simply log in to your account at litter-robot.com.
- Click on ‘My Robots’ to access the parts available for your robot.
- Select the part you need.
- We’ll ship you the part at no cost, along with detailed instructions.
The warranty on my unit has expired
If your unit is no longer under warranty, we can help you with the necessary parts and instructions to properly fix your unit at home.Parts Needed (choose one):
Need technical support?
Our easy-to-use Troubleshooting Wizard will solve most issues and is the fastest way to get help.
Didn't find what you're looking for?
Live support available Mon-Fri: 9AM-9PM EST and Sat-Sun: 9AM-5PM EST, or submit a ticket anytime.