The store will not work correctly in the case when cookies are disabled.
Litter-Robot 3: Yellow flashing quickly (Pinch sensor) and part replacement
This guide will help you troubleshoot and, if necessary, order the required replacement part to get your Litter-Robot up and running.
Preparation
Litter-Robot is equipped with an Anti-Pinch safety feature to make Litter-Robot extra safe for your cat.
While cycling, if a potential pinch condition is detected, the globe will stop and temporarily reverse direction.
The yellow light will begin flashing quickly, about four times per second.
You will also receive a notification on your phone if you use the Whisker app.
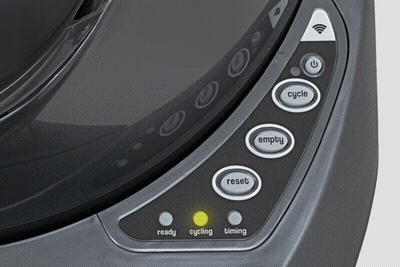
If your Litter-Robot 3 is displaying a yellow light flashing quickly, this indicates a cycle has been interrupted by the Anti-Pinch safety feature and you will need to inspect the pinch sensor.
Quick navigation
- Disassembly
- Inspect the pinch bar
- Inspect the pinch contacts
- Inspect the pinch terminals
- Reassembly
- Order part replacement
Disassemble Litter-Robot
- Press the Power button to turn the unit off.
- Unplug the unit from the wall.
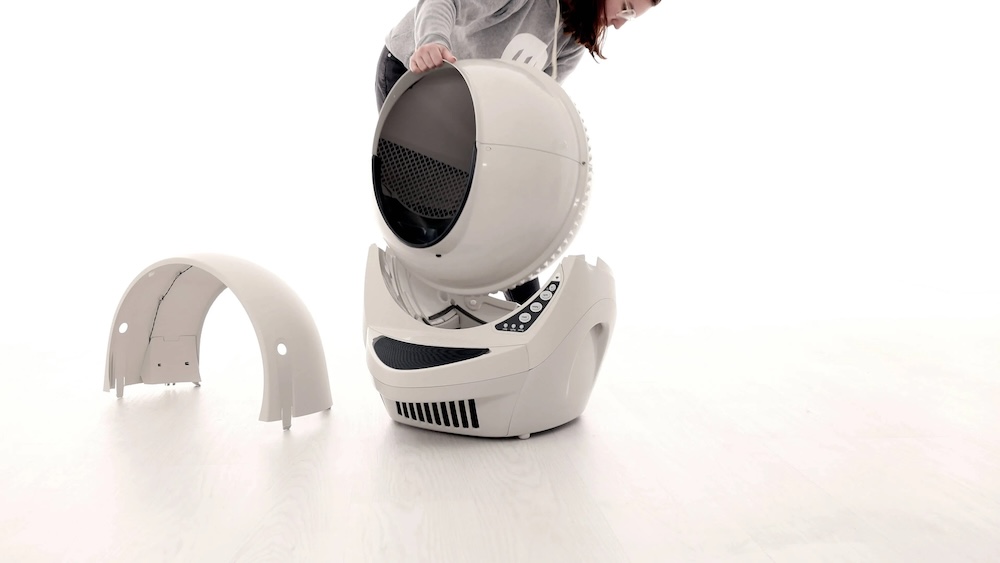
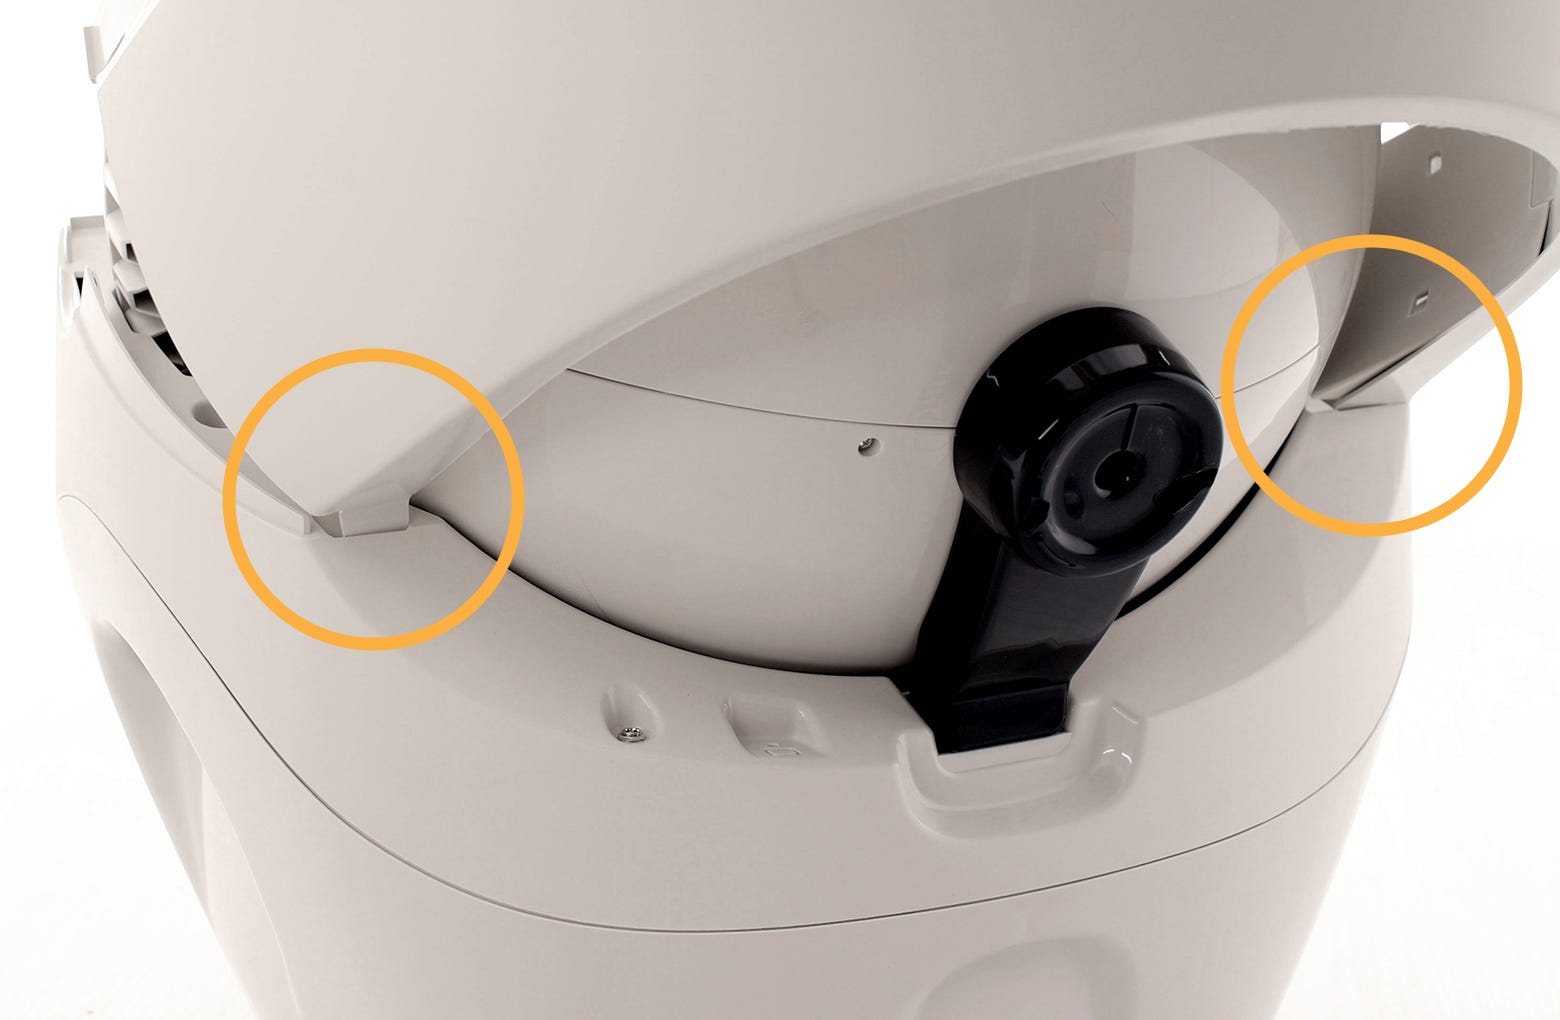
- Remove the bonnet by pressing the latches on both sides of the bonnet, then lift while rotating it backwards. There are two plastic tabs on the back of the bonnet that should slide up and out of the base.
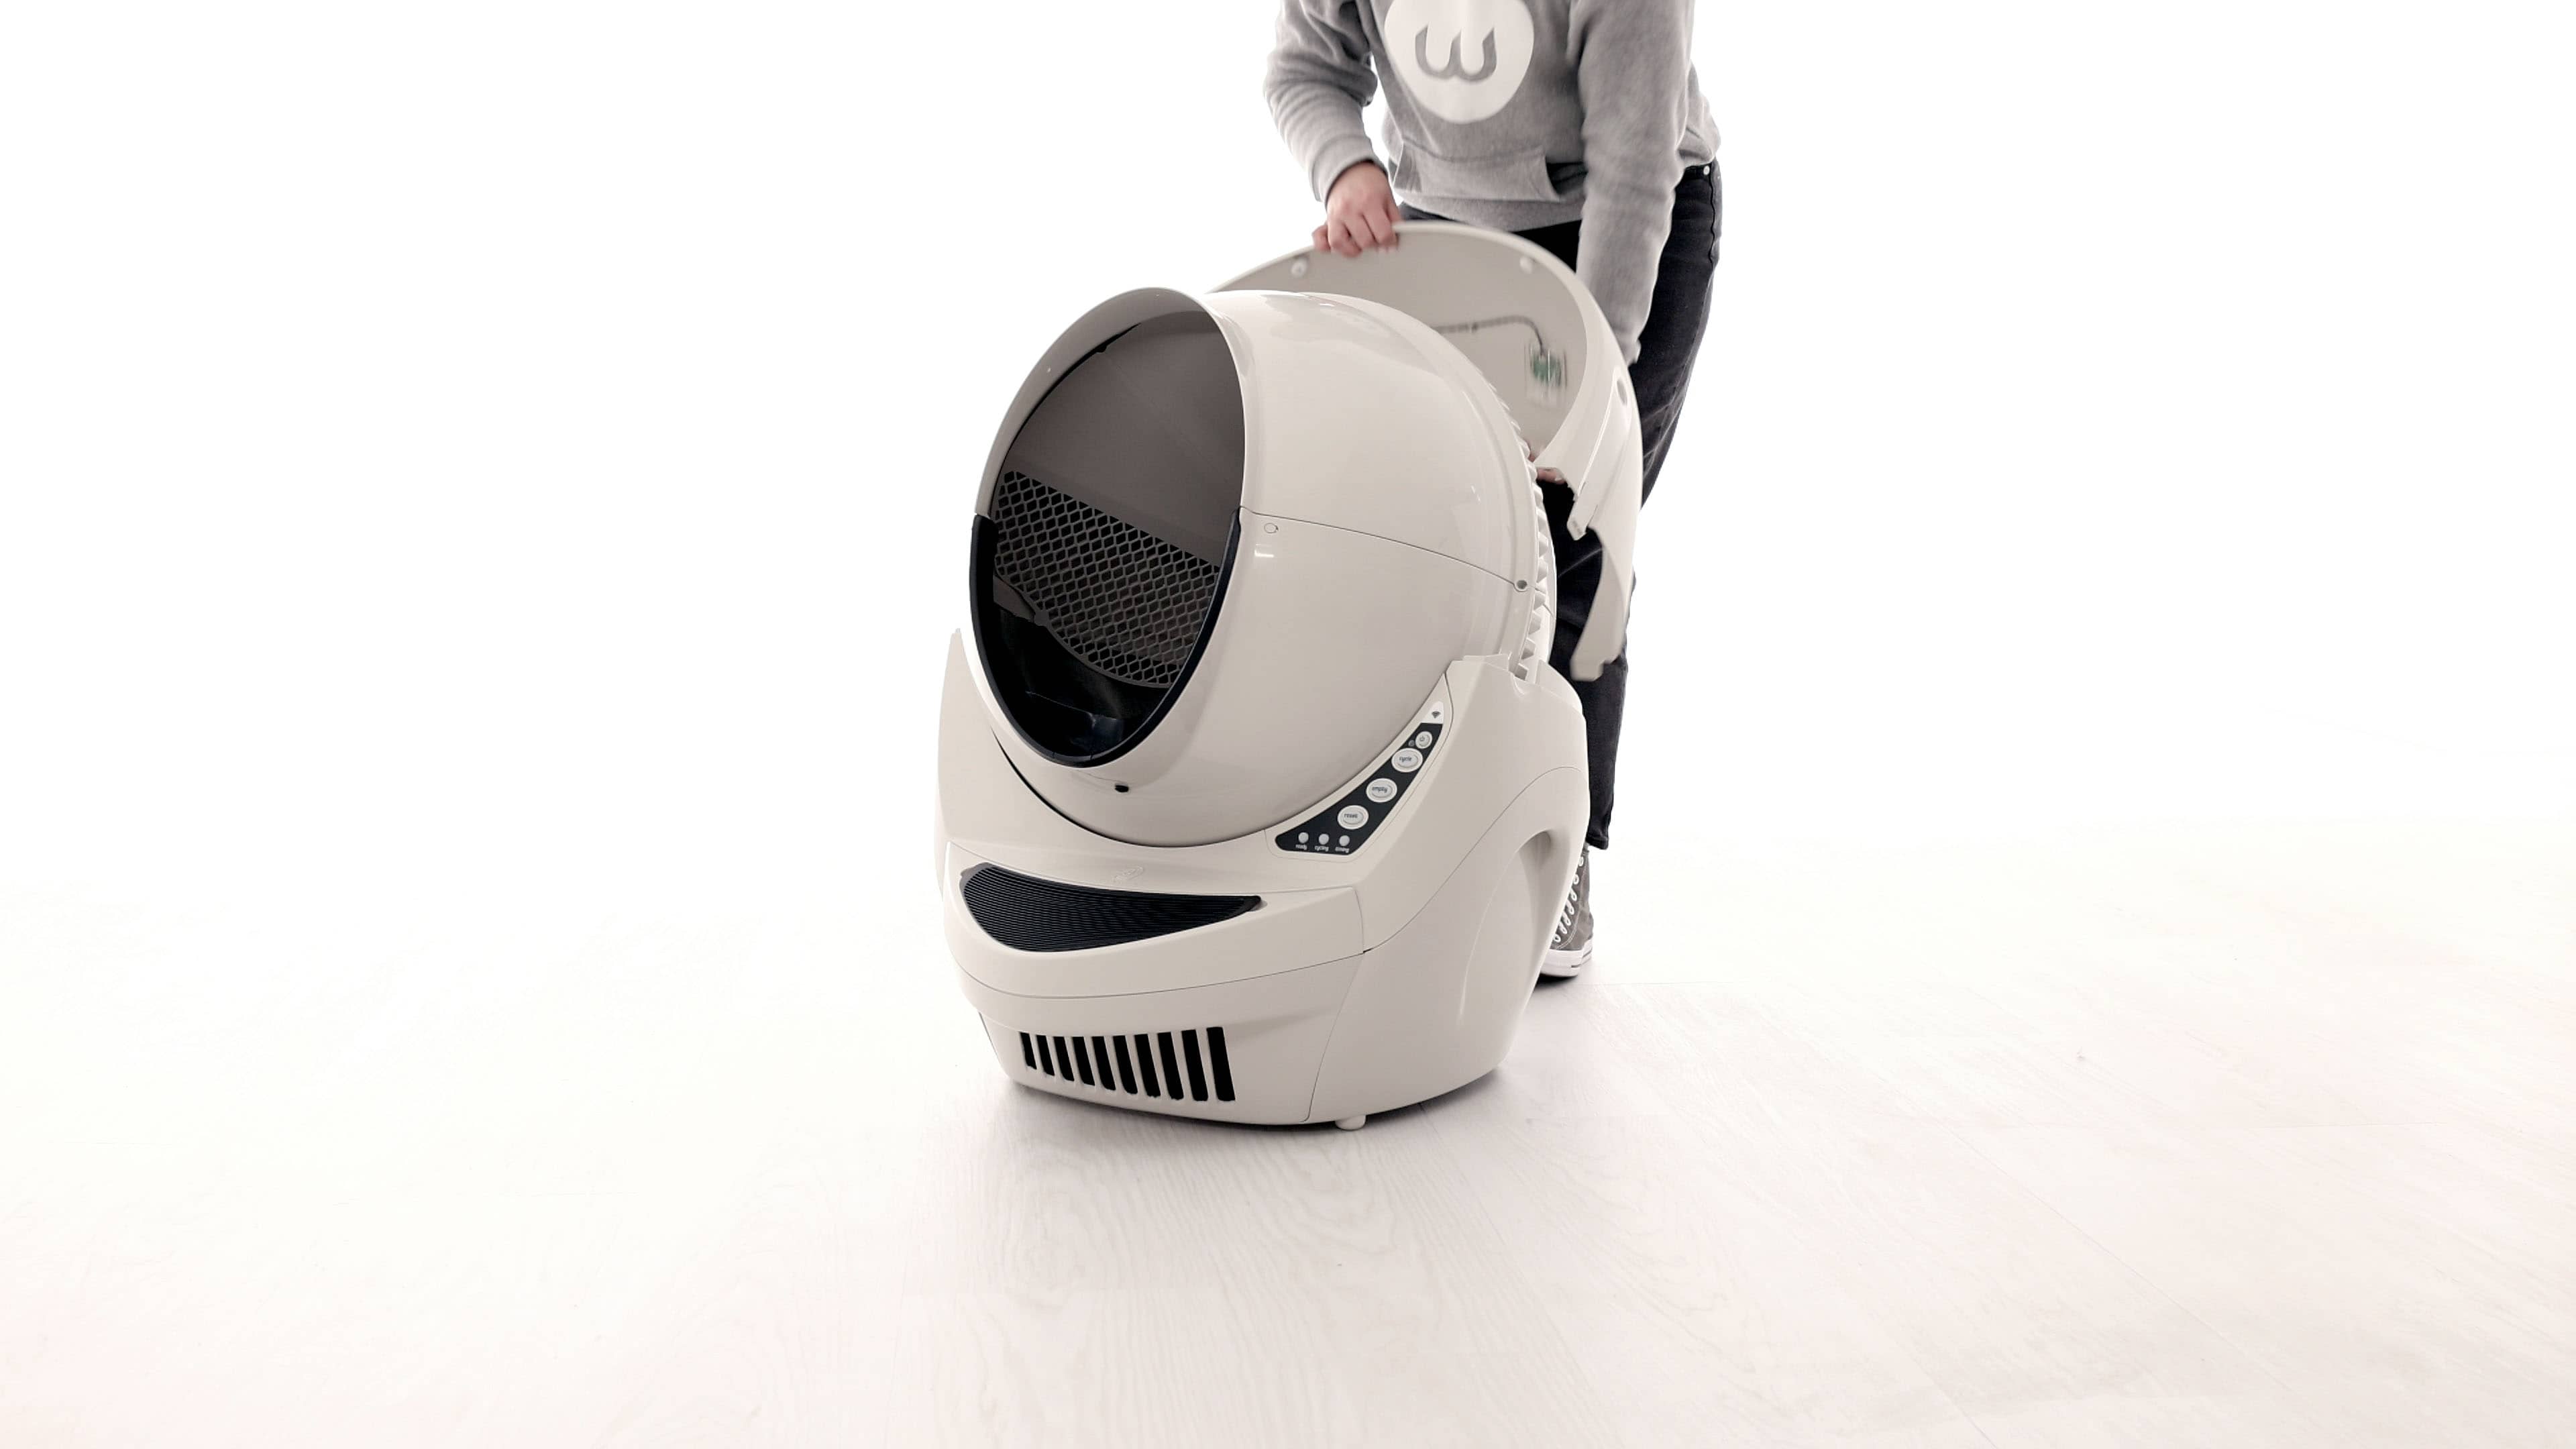
- Set the bonnet aside.
- Remove the globe and set aside.

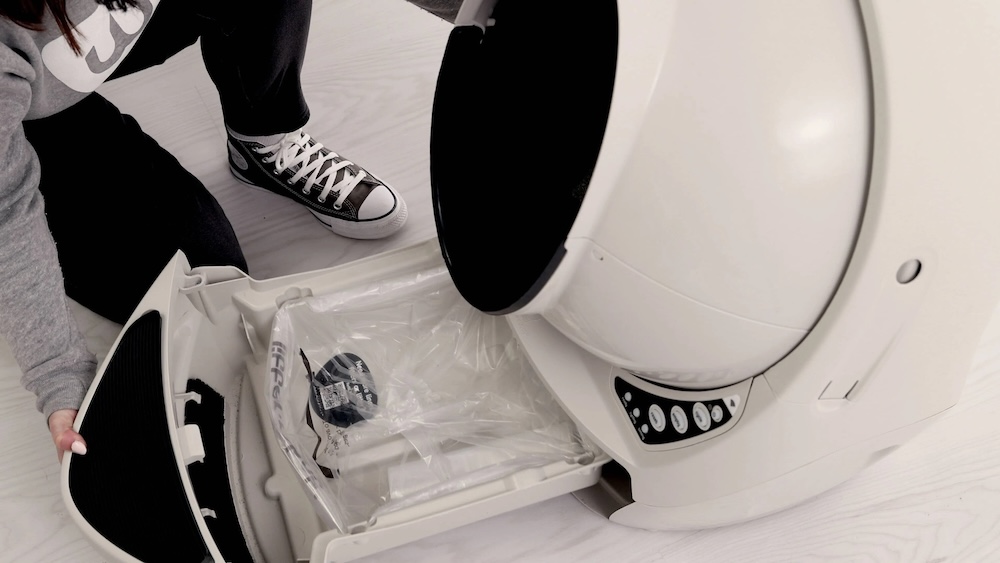
- Remove the waste drawer and set aside.
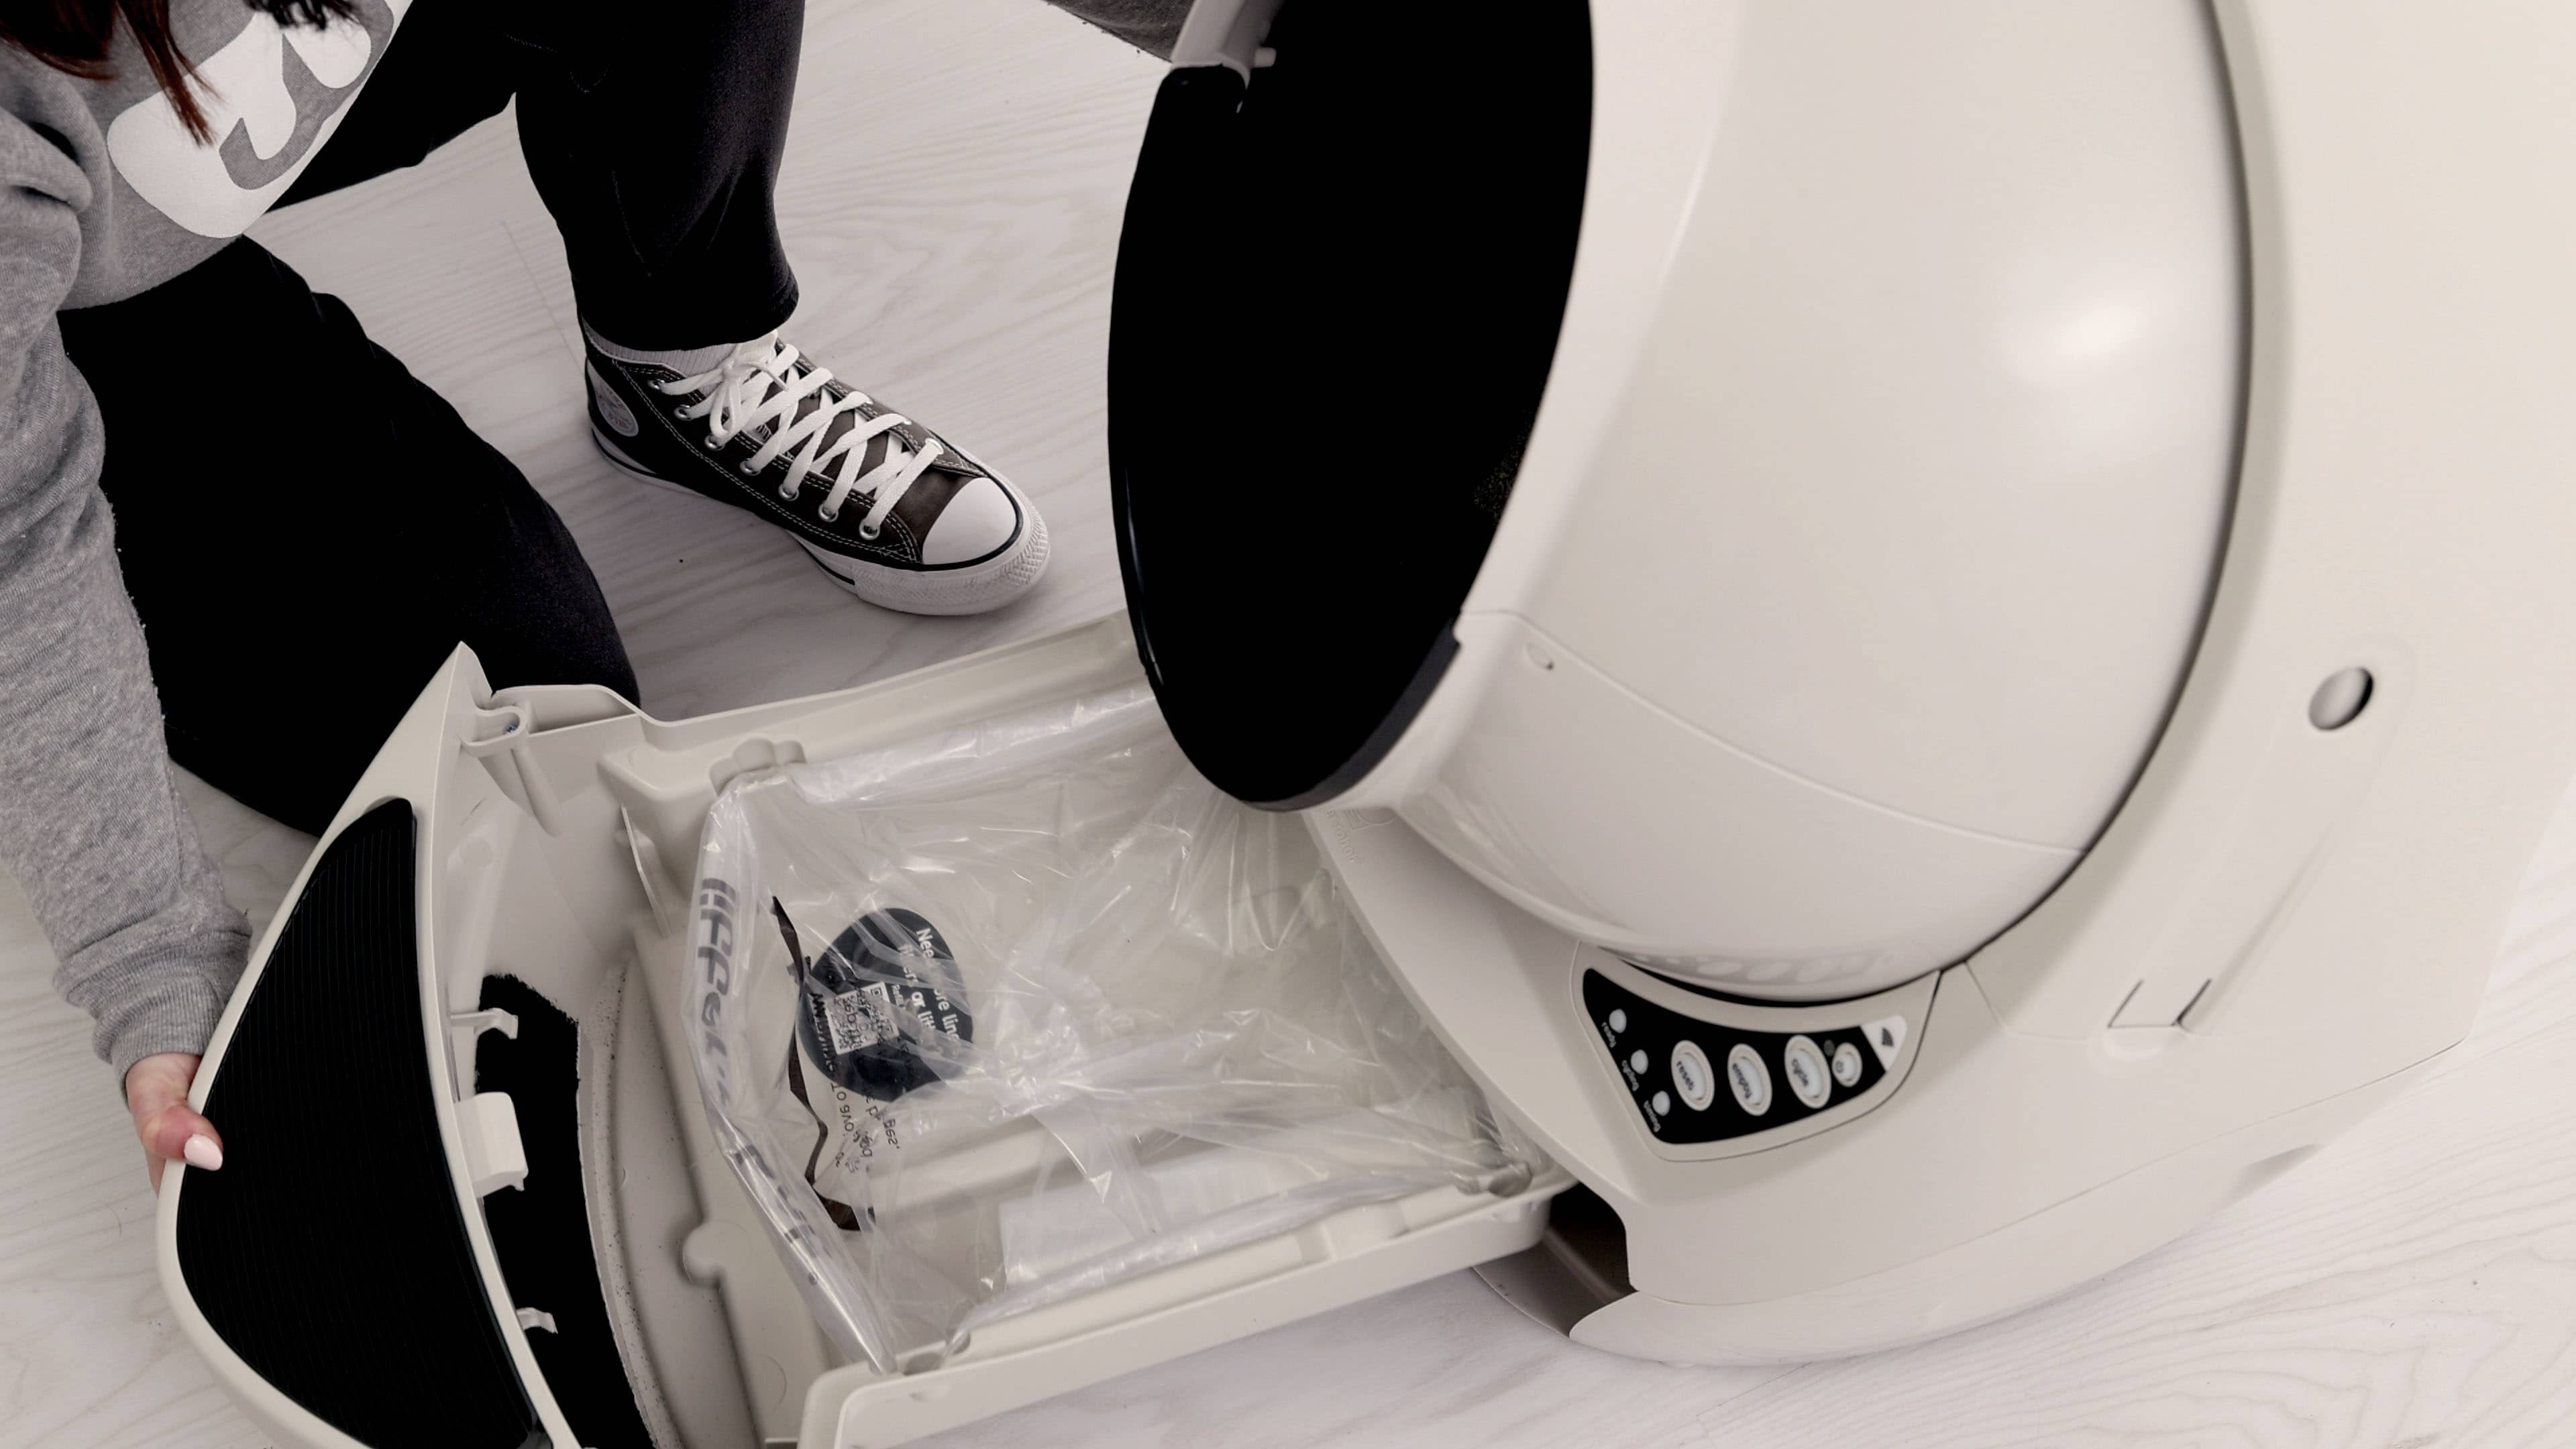
- Clean any excess litter that you see that may have missed the dump port. Vacuum cleaning is recommended.
Inspect the pinch bar
The purpose of the pinch sensor is to detect if an object is blocking the waste port during the globe rotation.
- The pinch sensor is located in the base.
- Look at the top of the base, and locate the plastic pinch bar on the left side of the waste port opening.
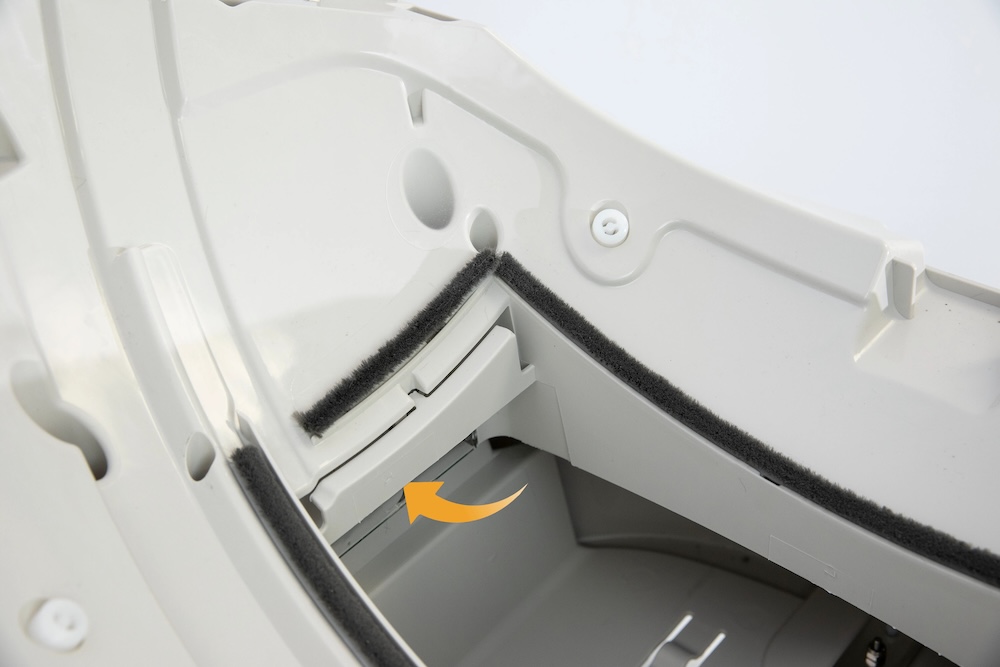
- Press the bar inward several times to dislodge any built-up litter or debris.
- Rotate the base so the waste port opening is facing up.
Inspect the pinch detect contacts
- Check the two metal pinch detect contacts for corrosion or debris.

- Using a dry cloth or cotton swab, clean any debris from the pinch contacts. The metal should be shiny to ensure a good electrical connection. You may purchase a replacement pinch contact & DFI kit at Litter-Robot.com.
- Ensure the pinch contacts are fully seated in the slot and that the upper and lower contacts are overlapping. Both pinch contacts should be touching each other. A flathead screwdriver can help to gently push them into place.

Depending on how many cats use the litter box, you may need to empty the waste drawer every few days to once a week. Plant-based litter retains more moisture, which can corrode internal metals and wiring, requiring more frequent cleaning.
Inspect the pinch terminals
- Locate the two black wires connected to the metal pinch terminals. These need to be securely attached to ensure a sound connection.
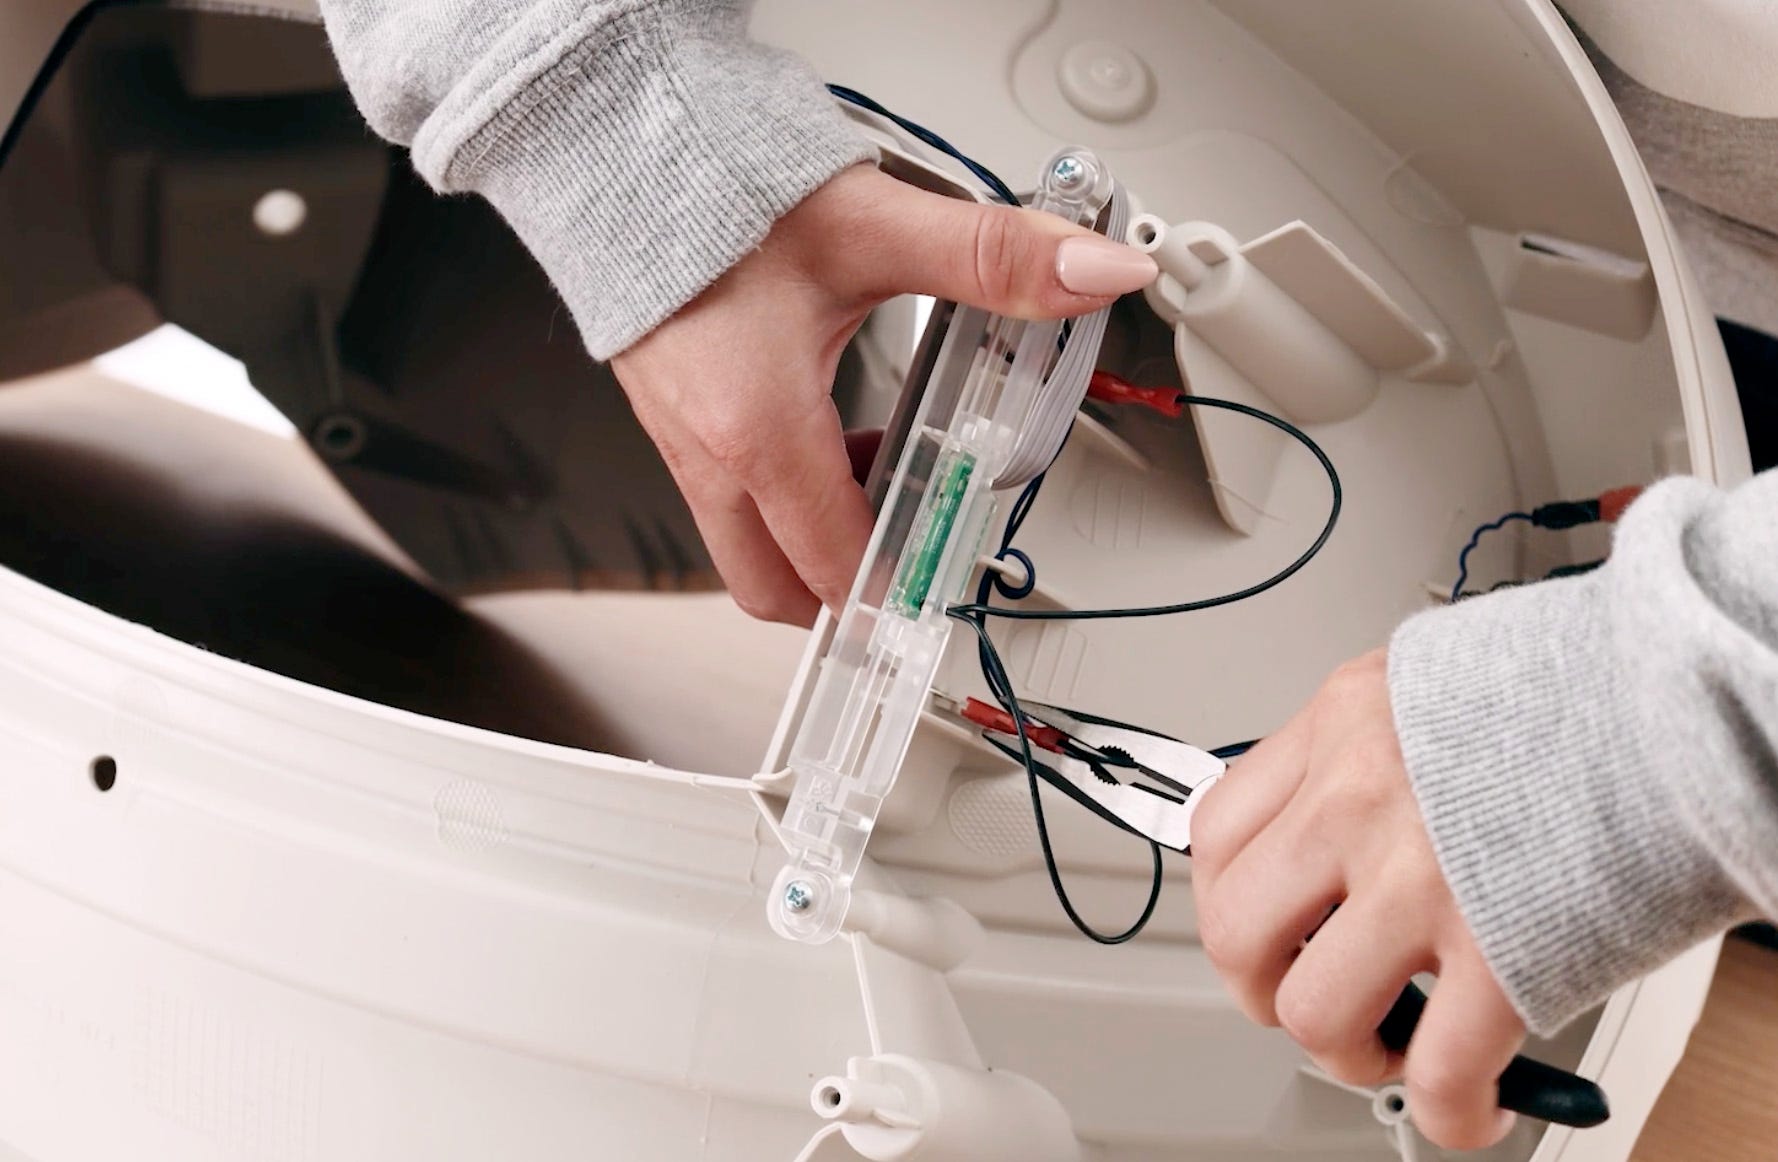
- To reduce stress on the component, it is best to place a finger opposite the connector as you apply pressure. Make sure the metal terminal is inserted into the metal connector and not accidentally pushed into its red case.
Reassemble Litter-Robot
- Reinstall the waste drawer.
- Replace the globe, making sure it is on straight and in its tracks.
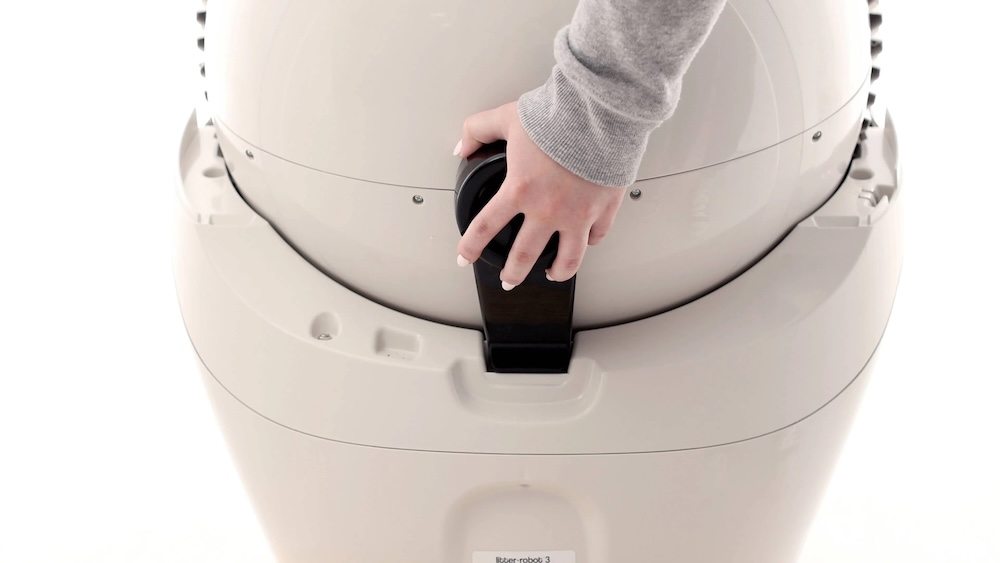
- Turn the black key into the key pocket at the back of the globe.
- Replace the bonnet by inserting the bonnet tabs into the rear bonnet slots, then press the latches while rotating it forward, until the latches click into place.
- Plug the Litter-Robot into the wall.
- Press the Power button to turn the unit on.
Once the initial clean cycle is complete, the unit should return home displaying a blue 'ready light' status.
Successful: If your unit returned home and displays a solid blue light, you've been successful.
Unsuccessful: If your unit is not displaying a solid blue light after returning to home position, or cannot complete the cycle, your unit needs to be repaired.
Issue not resolved?
To repair your Litter-Robot, you will need a pinch contact & DFI kit or a base.
What do I do?
My unit is covered by WhiskerCare™
If your Litter-Robot is covered by our WhiskerCare™ warranty, you have access to replacement parts, at no cost, to get your Litter-Robot up-and-running quickly.
- Simply log in to your account at litter-robot.com
- Click on ‘My Robots’ to access the parts available for your robot.
- Select the part you need
- We’ll ship you the part at no cost, along with detailed instructions.
The warranty on my unit has expired
If your unit is no longer under warranty, we can help you with the necessary parts and instructions to properly fix your unit at home.Parts Needed (choose one):
Need technical support?
Our Troubleshooting Wizard will solve most issues and is the fastest way to get help.
Didn't find what you're looking for?
Live support available Mon-Fri: 9AM-9PM EST and Sat-Sun: 9AM-5PM EST, or submit a ticket anytime.